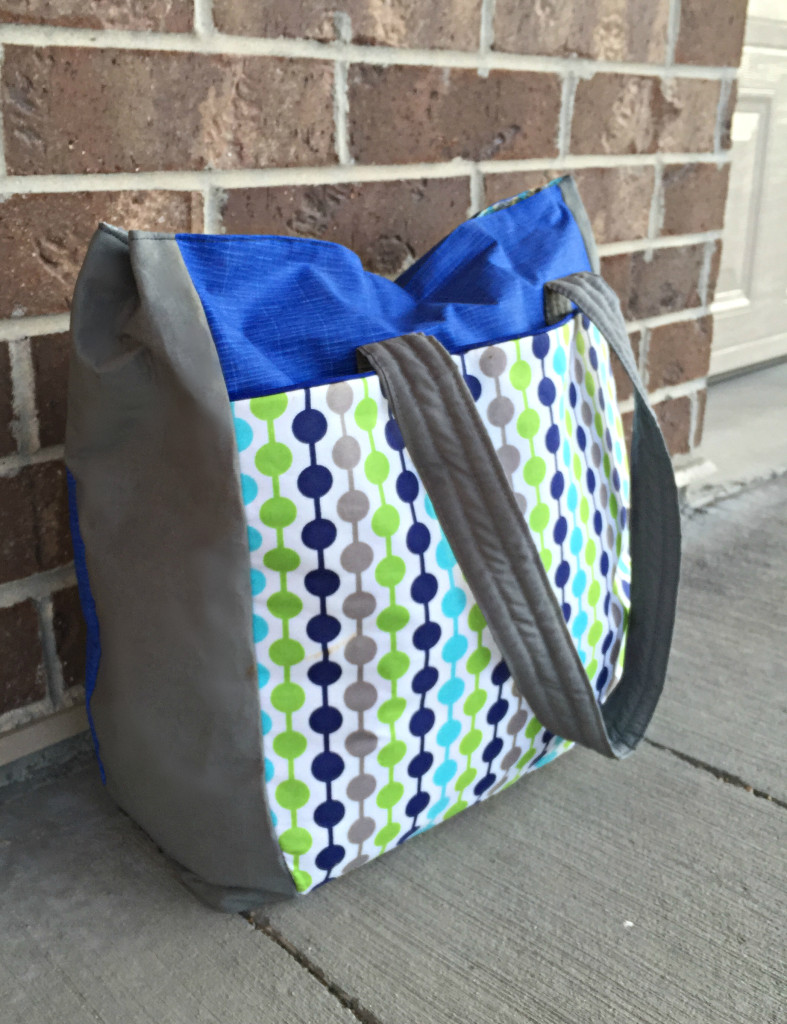
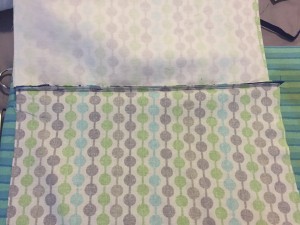
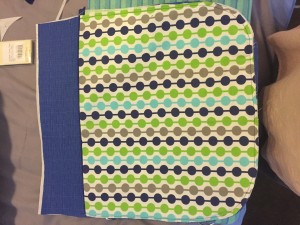
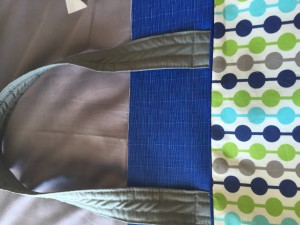
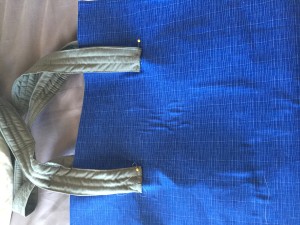
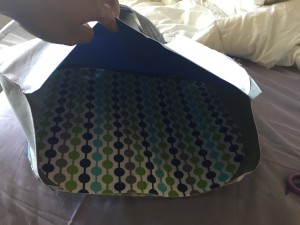
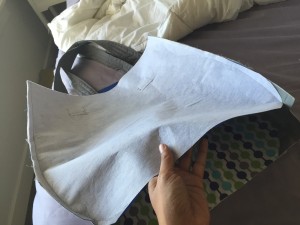
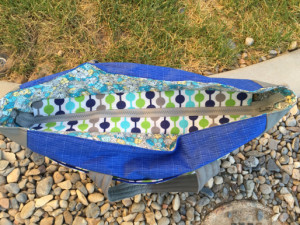
Hey All! I recently moved and in the process gave away most of my tote bags that I had. So, this weekend, I decided to whip this tote bag pattern that I think you guys will enjoy. It is an intermediate project and I learned a lot doing it. I decided to call the The Urban Traveler cause that’s what it reminds me off. You can really have fun playing around with the different fabrics and coordinating to suit your taste. The bag is huge! It’s about 16″ high and about 15″ wide. I am going to use this one when I go on weekend trips out of state. The pattern is versatile. You can add zippers, additional pockets on the side, go without the recess zipper etc.
I found this fabric at my local fabric store. Usually, when I am just testing out a pattern and have no idea how it will turn out, I like to go with super cheap fabric. Once, I can replicate the bag and have a better feel for the pieces, I can use more expensive brand name fabric. You may want to do the same with yours. That being said, the bag cost me about $15 to make and took about 2 hours. Hope you guys enjoy it!
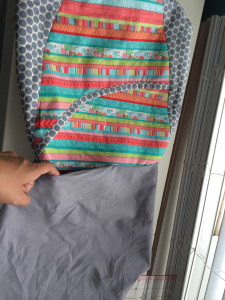
The front of this bag is very similar to the oh so popular Oval Messenger Bag. I actually just took that pattern and made it a big more square in the front and then made the back square instead of oval.
This is the first time I am doing recessed zipper and I thought it was pretty easy. I can’t take credit though as I followed some tutorials online on the technique.
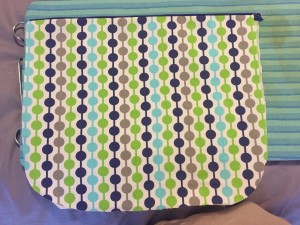
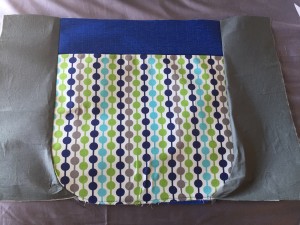
The back is pretty bland for this bag. I think the next one I make will have all around pockets in the back and front. You can follow the same steps with adding front pockets and add one to the back as well for your bag.
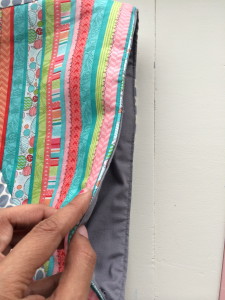
Here is the view of the side. I like the coordinating gray against the blue. It really makes the blue stand out.
Supplies:
1/2 yard cotton for front and back
1/2 yard cotton for pocket and recess zipper
1/2 yard cotton for sides and straps
1 yard cotton for lining
2 yard medium weight interfacing
18″ zipper
18″ piping (optional)
Download the pattern HERE. Make sure you scale to 100%. The pattern will load from Google Docs in PDF format. There are 18 pages that you have to print and piece together.
Disclaimer: I did this project at around midnight and didn’t take as many detailed pictures as I normally do. Sorry.
Cut:
1 main front fabric, 1 main front interfacing, 1 lining
1 main back fabric, 1 main back interfacing, 1 lining
2 side pieces, 2 side pieces interfacing, 2 lining
2 pocket pieces, 1 pocket piece interfacing,
2 recess zipper pieces, 2 recess zipper pieces interfacing
1 bottom fabric, 1 bottom interfacing, 1 lining
2 strap pieces (4″ x 30″), 2 strap pieces interfacing or batting
Prepare your fabric:
Iron on interfacing to the wrong sides of the front main, back main, two side pieces, bottom piece, 1 pocket piece, 2 recess zipper pieces. 2 strap pieces.
Sew:
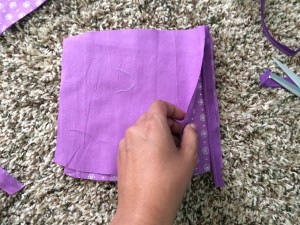
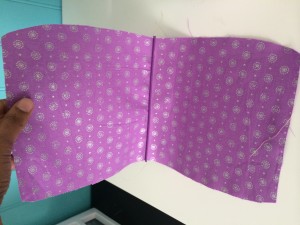
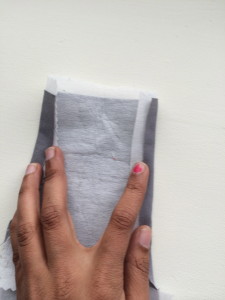
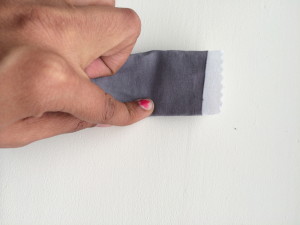
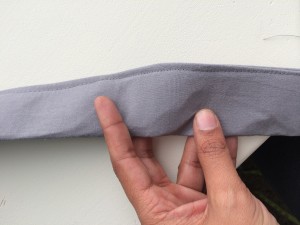
Start with the pocket. If you are doing piping, insert piping in between your two pocket pieces and sew. Fold over and iron neatly. Here are pictures from a bag I did a while bag with piping. I think these are clearer than the one I took for this project.
Next, baste stitch you pocket to the front piece, all the way around.
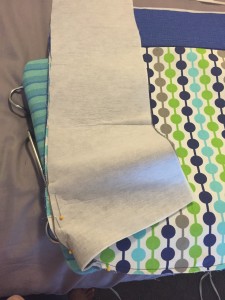
Next, sew your side pieces to the front piece, right sides together.
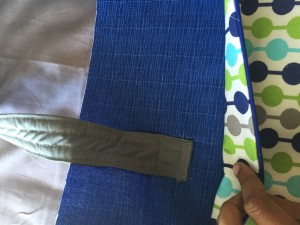
Attach the straps to your front and hiding the ends under the pocket. Remember to fold the ends in a bit so that there are no raw edges left exposed. I did mine about 4″ from the sides to get the strap in the center of the bag.
Repeat for your back piece.
Now, sew your side pieces to you back piece right side together.
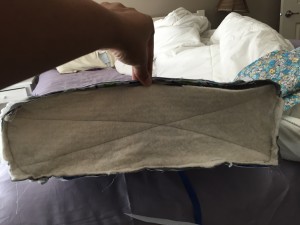
Next, pin and sew your bottom piece to the bag, right sides together. I ran out of interfacing so I used batting for my bottom. Yes, I know I did a horrible job but it looked good at the end:-)
Let’s do the zipper. I am not an expert in zippers so I followed this tutorial on how to do recessed zippers. There are tons of tutes on YouTube as well that you can refer to.
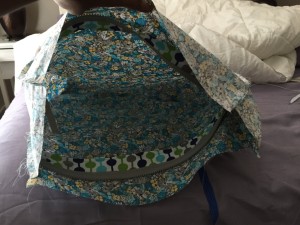
After you have done the recessed zipper, you want to put your lining pieces together: Open your zipper, sew the side pieces to the front lining, then the back the side pieces and then the bottom. These are the same steps as above.
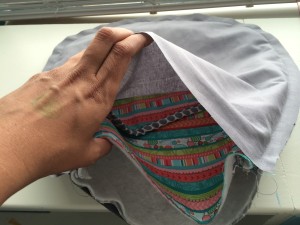
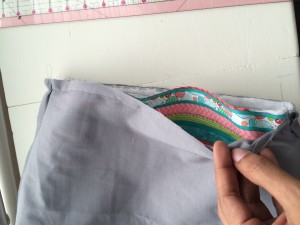
Next, fit your lining into your bag, right sides together. Remember to open your zipper. Sew all around the top leaving about 5″ to turn inside out. Once your turn inside out, top-stitch the top neatly. Here is a post from a bag I did a while ago that has better pictures than the ones I took for this one.
Thanks for visiting and Happy Sewing!


