Happy Valentine’s Day guys! I finally finished my Paper Hearts Quilt from the Jolly Bar Book using mixologie jolly bar precuts and I wanted to share a simple tutorial with you all. Making a quilt top is pretty easy on your home sewing machine. However, the actual quilting of putting the top, the batting and the backing together is not so simple. In this tutorial, I will show you how to quilt on your home sewing machine using an easy technique that I learned this weekend. I have to say, this is my first quilt I have done like this and I love how it turned out. I did have to seam rip a few times (well, a lot of of times) but I was so happy when I was done. I am going to keep this one for my daughter and give to her tonight when she gets home. She loves hearts and I know she will want to keep this treasure for a very long time. Here we go!
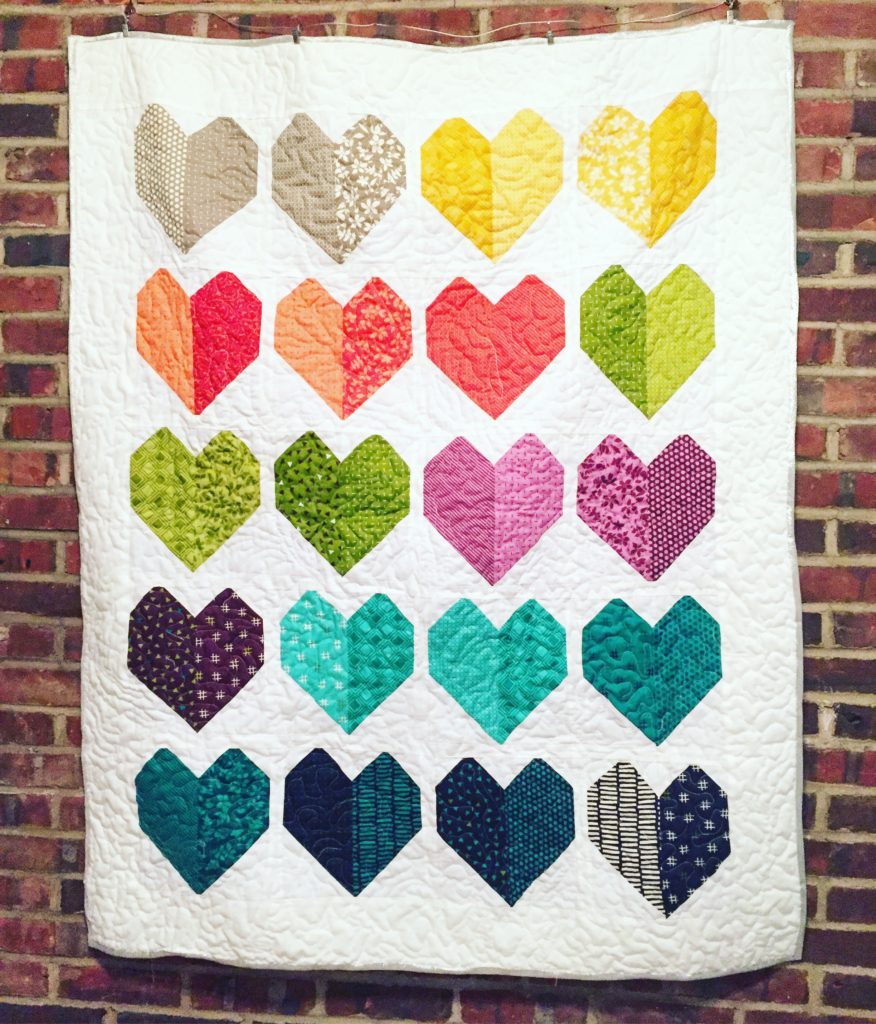
This quilt ended up being 50″ x 60 ” which may be too much of a challenge if you are doing this for the first time. I would recommend starting with a smaller size quilt until you get the hang of it.
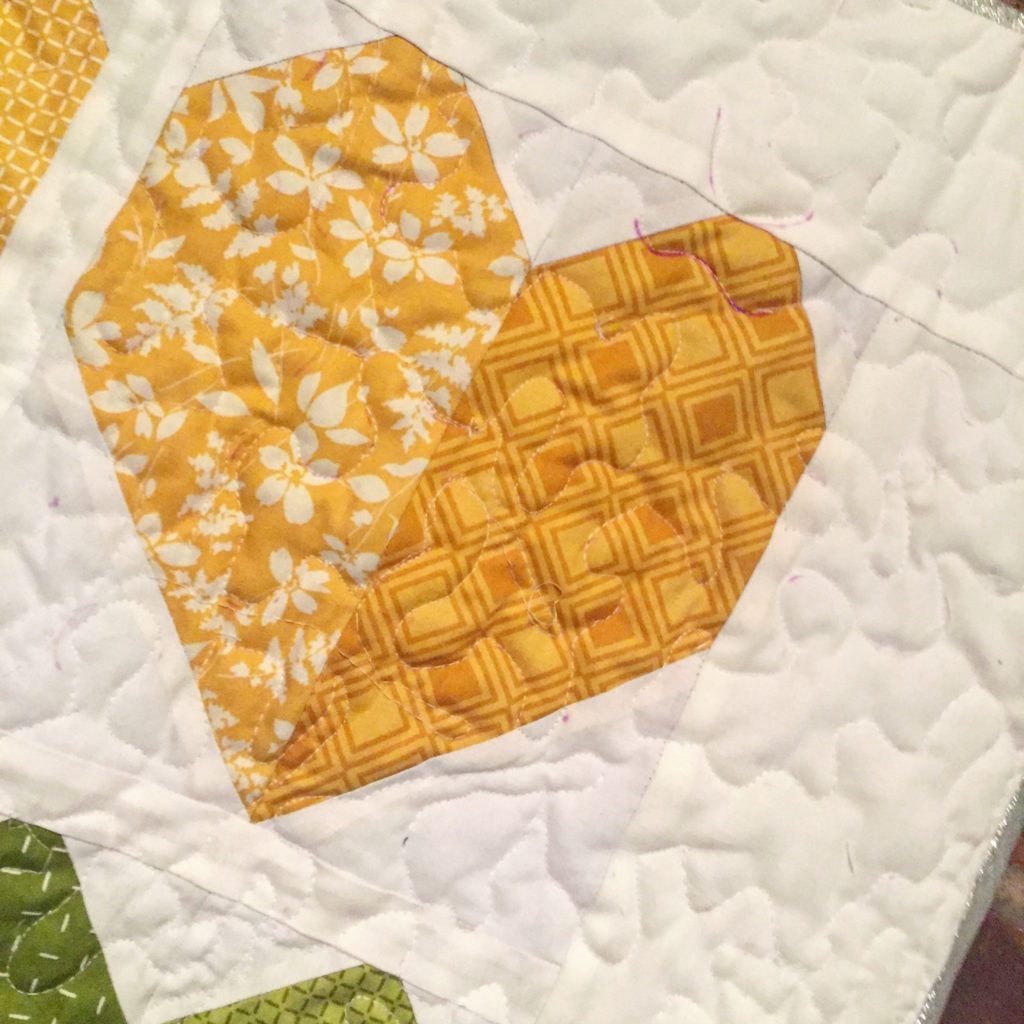
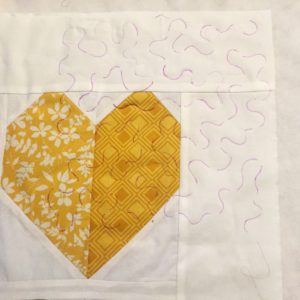
That is a detailed image of the actual quilting pattern done on my sewing machine. Yes, it is not perfect but it cost a ton less and you would never know of its imperfections unless you look really close (lol).
Let’s get started:
Your Supplies:
- A Free Motion Quilting Foot
- A Free Motion Quilting Stencil
- Disappearing Ink Marking Pen
- Basting Spray
- Batting
- Fabric for your Backing
- Your already made Quilt Top
Tips:
- Have filled bobbins ready to go. I did about 5 so that I can swap them in and out without much time.
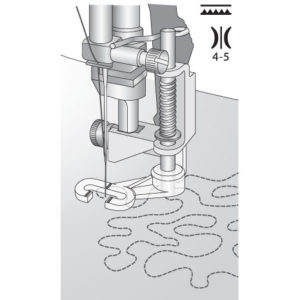
- Mess around with your tension. You may see that the bobbin thread is pulling through on top or on the bottom or vice versa. Do several trials changing your tension until you get it right. Each batting thickness and speed at which you move your fabric will influence your tension settings. For my quilt, I had mine at 4.
- Quilt on a large table so that you have tons of space to move around your quilt.
- Use lots of paper clips (the big black ones) to slip your quilt as you go along so that you don’t have a lot of fabric hanging.
- Have a seam ripper nearby.
- Practice a few times before moving on to your actual project.
- Have at least 5″ more of extra batting and backing fabric.
Let’s Start to Quilt
Basting (my personal method preference)
- First lay your batting down on the floor (hardwood preferred)
- Then, lay your backing fabric right side UP on the backing. Smooth it out with your hands.
- Next, starting from the top, lift up the backing fabric and spray the batting with the basting spray. Lay the backing back down and smooth out. Repeat until the entire backing in neatly and smoothly on the batting.
- For the top, turn the quilt over so that the batting is on top.
- Lay the quilt top on the batting, smoothing out with your hands.
- Spray batting with basting spray and smooth out as your go.
Stencil Stencil Stencil
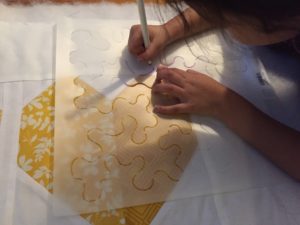
If you are beginner like me, I would highly recommend using stencils to mark your quilt before quilting. It will take out the frustration of creating the design. Place your stencil on the fabric and mark using the disappearing marker. The color of the marker goes away overnight or can be wiped off easily. That’s my 5 year old marking the fabric for me.
Prepare your sewing machine
Installing the Foot
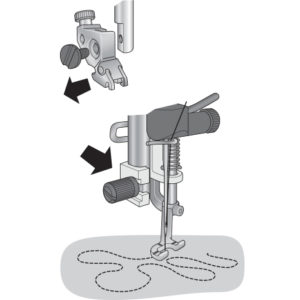
This is actually simpler than I initially thought. You just remove your current foot AND its holder. Then, screw in the quilting foot, making sure the top wire is sitting on top of the sewing needle holder.
www.pfaff.com
www.pfaff.com
Setting Feed Dogs
I notice some people disabling the feed dogs. You can do this by pushing the dog feeds down using a button on the back of the sewing machine. However, I found that if you leave the feed dogs engaged and just bring the stitch length to ZERO or as low as your machine would let you, the quilting process works much more efficiently.
Let’s Quilt
- If you are doing a large quilt, I recommend folding the quilt and doing it in sections. I know some people start in the center but I started on the top right and it worked out better in terms of controlling the movement of the fabric.
- Remember the faster you move the fabric, the longer the stitch length. The slower you go, the shorter the stitch length. You want to practice first to get the hang of what speed levels for you. This is where my seam ripper came in handy.
- I found that moving the fabric down works better than moving the fabric side to side. So I would go, down then up, down then up.
- Try not to stop when you are making a curve or on the colored parts. Mistakes are easier to disguise on white and on a straight line.
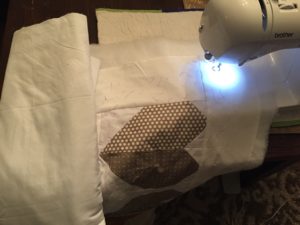
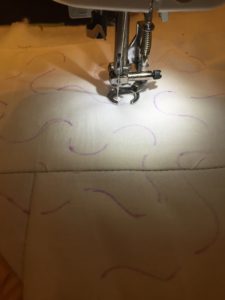
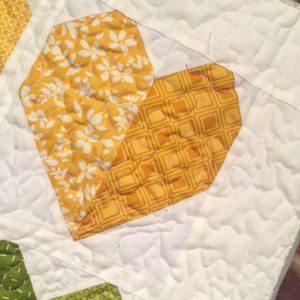
That’s it. Add your binding and start showing off your new skills!
Thank for visiting and Happy Sewing!
