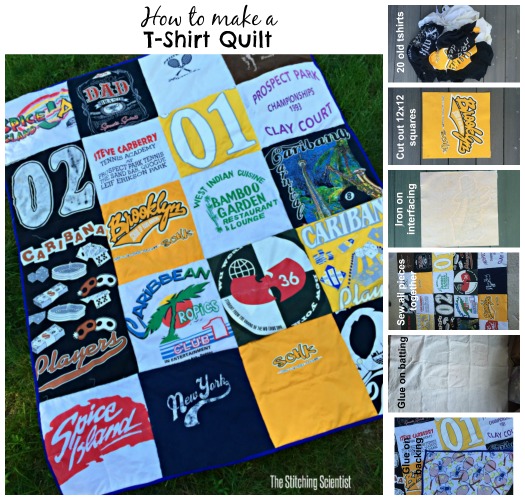
Its been a while since I made my last t-shirt quilt. I know there are a ton of tutorials online on how to do this but this is my take on it. You can learn how to make a t-shirt quilt with this easy to follow tutorial that any beginner can follow. This is a nice weekend project to do together with your child of all the old t-shirts in the closet that you don’t want to throw away. This quilt measures 48″ x 60″ which is small enough to finish in a short period of time and big enough to use a throw on the couch. It uses 20 t-shirts and about 2.5 yards of backing. You definitely need to try this project at least once in your life to capture all the memories from all your old t-shirts.
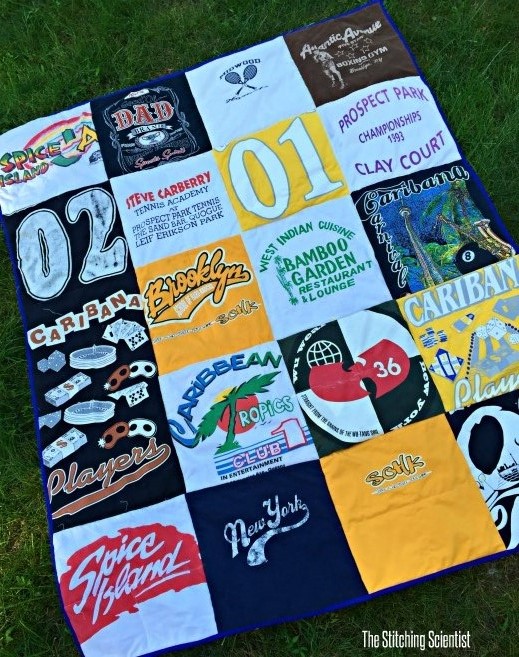
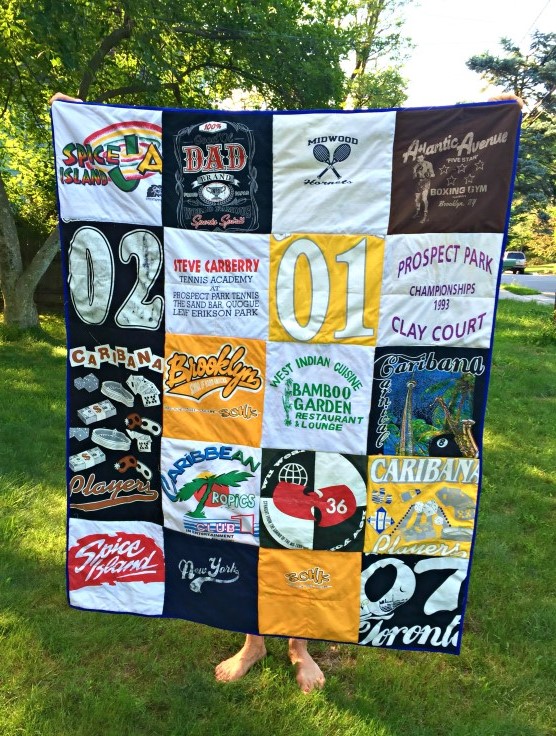
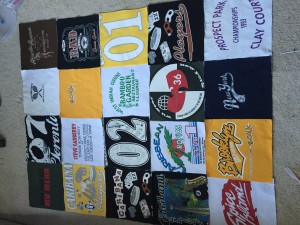
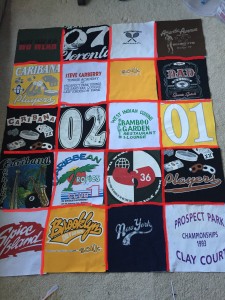
This is a t-shirt I did for my boyfriend. These are his old t-shirts from the last 10 years; made up of tennis and Caribbean clubs. I had to really talk him into giving up some of these but he loved how it turned out. A lot of the shirts are replicates because I needed 20 images and some had the same image on the back and front. Either way, it turned out pretty neat!
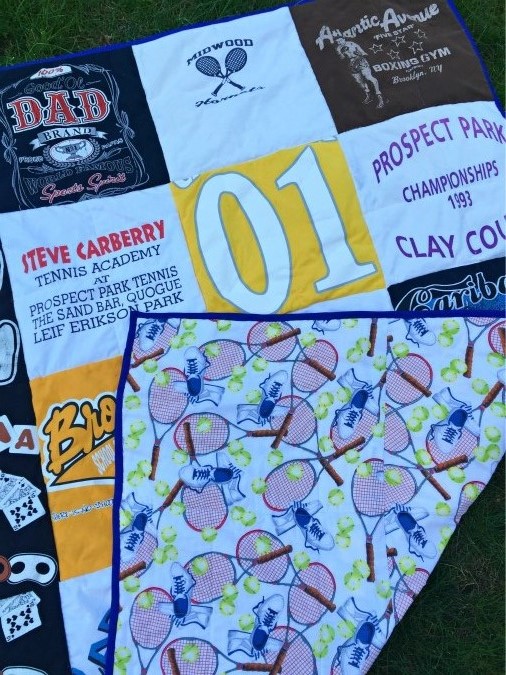
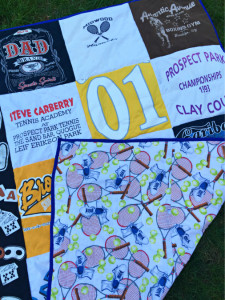
For the backing, I used this Match Point Tennis Fabric I found on Etsy. This fabric was a hit for the backing since he loves everything tennis. The binding is a standard blue I got from my local craft store.
T-shirt quilts are an awesome present to do for someone going away to college to capture all the memories from high school or to do for yourself of all the concerts and games you attended. It’s a memorable piece that you can always hold on to.
Your Supplies
- 20 t-shirts
- 2.5 yards batting
- 2.5 yards backing fabric
- 8 yards of lightweight interfacing
- 6 yards binding
Measure and Cut
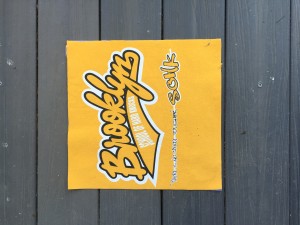
- Cut out 20 12″x 12″ squares of all the images on the t-shirts
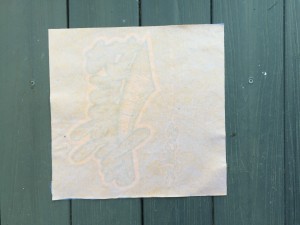
- Cut 20 12 x 12″ of light weight interfacing
- Cut out 50″ x 65″ of batting and backing fabric (you may have to sew two pieces together of backing fabric to get this dimension)
Sew
Take 20 t-shirts and cut out 20 images in 12″12″ squares. Iron on the interfacing on each piece.
Next, sew all your pieces together, all right sides together starting from the top row.
Now, place you batting on the ground and spray on some fabric adhesive glue. Then lay your quilt top on top of it. Take you time and do this slowly so that you don’t get any bulges. It needs to be glued on neatly.
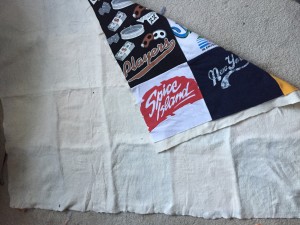
Now spray the fabric glue again on the other side of the batting and lay the backing fabric over it. Sorry, I did not take a picture of the backing being placed on the back of batting here. My backing is the tennis fabric I used.
Next, you will sew into the seams of each of your rows on top of the quilt. It’s okay if you cannot get right into the seams. Just sew as close as you can. Cut out all the remaining fabric and batting on the edges neatly so you are ready to bind.
To bind the quilt, I used this video.
That’s it! You are done. Enjoy
Thanks for visiting and Happy Sewing!