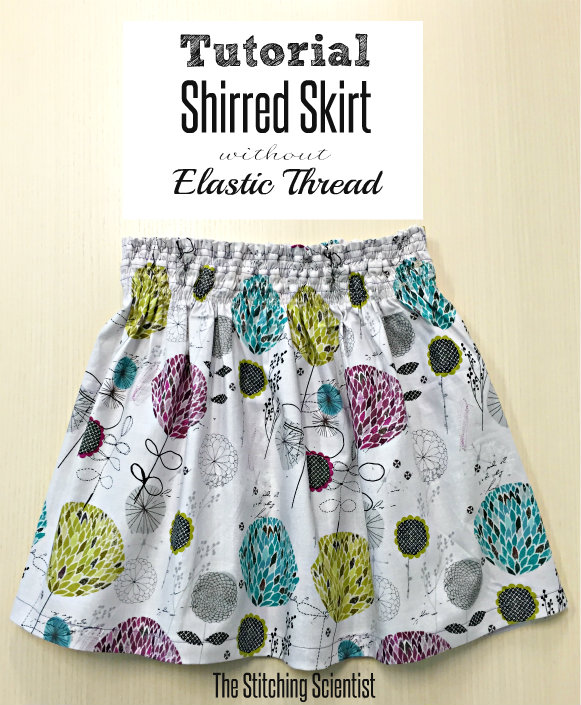
Hello Everyone! Last night I found some pretty scrap fabric in my stash and decided to make my daughter a skirt for the summer. I wanted to do something different than a regular elastic waist band. While looking online, I found a few cute skirts with shirred waistbands that I liked. However, in planning out my design, I realized that in order for me to do a skirt, I would have to use a ton of elastic thread to make the waistband scrunch up enough to fit the waist while being full on the bottom. That seemed like way too much work for the 30 minutes that I had.
This fabric is from Joanns and it is what I had left over from my Oval Duffel Bag that I made a few weeks ago. I think it looks really pretty for the spring.
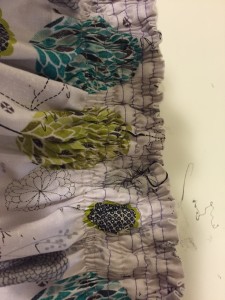
I ran out of purple thread so you can’t really see the light beige thread I used on the last few rows of elastic. I wanted to do about 3″ but ran out of elastic. Still thinks it looks cute though.
Can’t wait for my little girl to pair this with a cute purple top! BTW, saw a pattern like this at Gymboree and it was a whooping $26! Definitely was not going to spend that much on this tiny skirt.
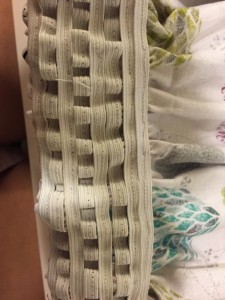
I decided to use 1/4″ elastic to create a shirred look without having to use elastic thread and having to redo my bobbin a million times. With about 8 rows of pulled elastic, the top scrunched up really well. This was so much faster than having to use thread. It looks the same as others and fits perfectly! I am definitely going to get going on a few more of these for the summer. Enjoy the tutorial!
Your Supplies:
- 1/2 yard of cotton fabric (4T)
- ~6 yards of 1/4″ elastic
Measurements: (for my 4T, my fabric was 40″ wide X 12″ long)
- To get the width- measure the waist of your child and multiple that by 1.5.
- To get the length-measure from the waist of your child to the knees and add 2.5″.
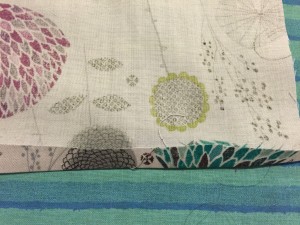
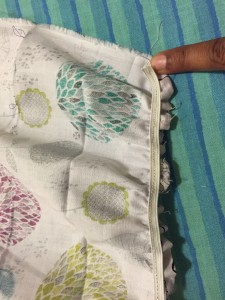
Take your piece of fabric and hem the bottom by folding up 1/2″ and then another 1″. Iron and sew.
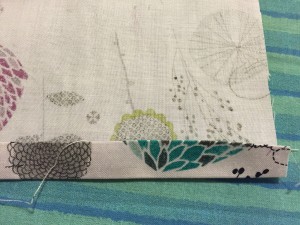
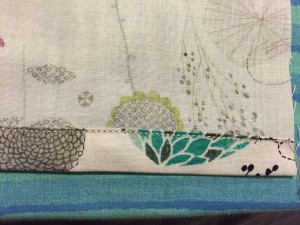
Next, fold the top about 1/2″ down and another 1/2″. Iron and sew down.
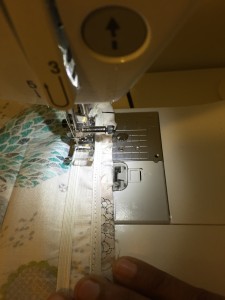
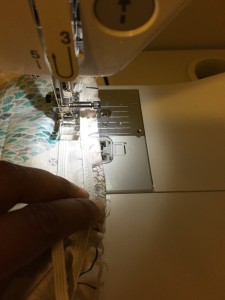
Now take a decent length of elastic that’s just about 5″ shorter than the width of your fabric and sew it down on one end. Do a couple of back stitches so that it is nice and tight. Pull your elastic with one hand while holding your fabric with the other hand and sew down. Make sure you are pulling your elastic so that it is taut while you are sewing. I also found that having a stitch length of about 3-4 works best.
Now the second row is a bit tricky. You need to now sew on the ruffles created by the first elastic. Again, sew down the elastic nice at the tight at the top, hold the elastic with one hand and the fabric with one hand and sew while pulling the elastic. Keep the fabric taut so that you are not sewing the ruffles.
You can repeat this until you have elastic for about 2.5″. I ended up doing about 8 rows. Some of them I pulled tighter than others so that’s why you see the inconsistency in crunchiness. It still looks great in the front.
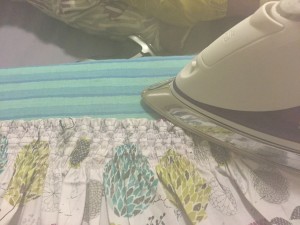
Next, iron your waist band with a steam iron. It will enhance the look of the waistband.
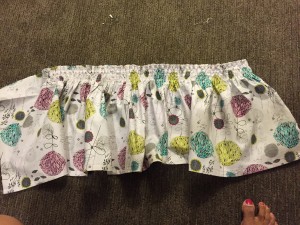
You should now have a long piece of fabric with the top shirred. Measure the waist of your child and subtract 2″. Cut off the remaining. For example, my waist-2″ is 18″ and my fabric was about 25″. I cut off 5″ from the side.
Lastly, sew your two short ends right sides together using 1/2″ seam allowance. Serge or zig-zag the edges.
Thanks for visiting and Happy Sewing!
