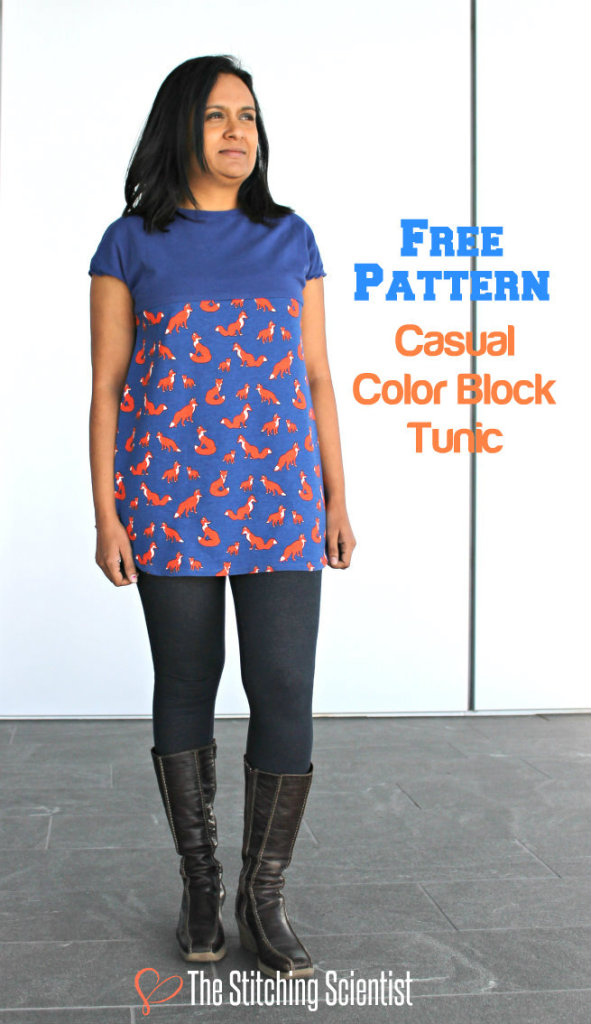
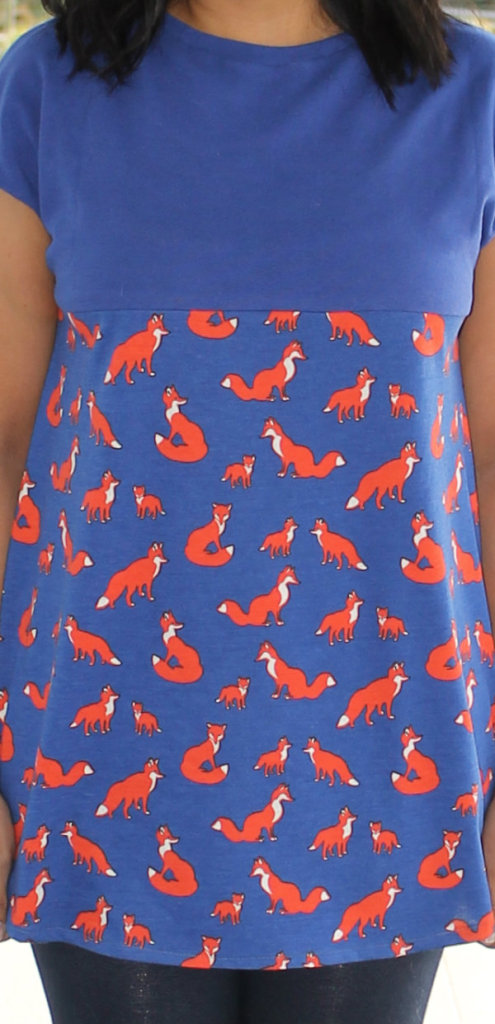
I have been meeting to do this post for a while now and was hoping to lose some weight before I took some photos. Well, my weight loss journey is taking a while so I decided to suck it up or suck it in rather and share this project:-). I love tunics. They are great to wear over tights and hides my body imperfections. When I saw this Foxy print from Girl Charlee, I knew I had to make something out of it. For the top block, I used a Navy Rib Knit fabric from Girl Charlee. The pattern is meant to be slightly loose and free flowing. It comes in 3 sizes (S, M and L). I love the orange contrast on the royal blue top. It is perfect for the fall season. I hope you guys enjoy the free pattern and tutorial.
Since the pattern is a bit loose the bust width for the small is about 36-38″, medium is 38-40″ and large is 40-42″. You can scale the pattern up or down 10% if you want it larger or bigger. The length is about 28″. Again, if you want it longer or shorter, you can adjust accordingly.
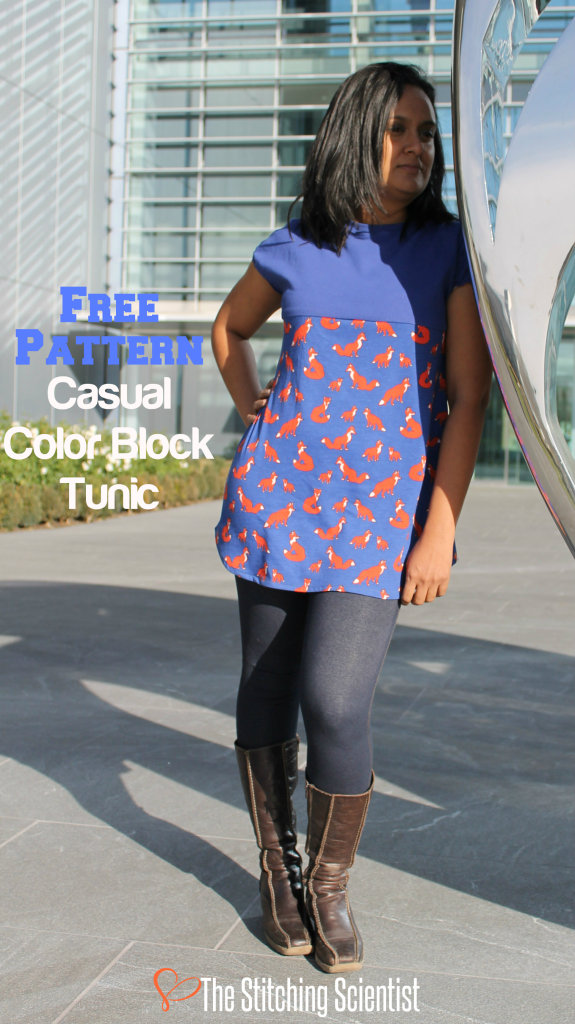
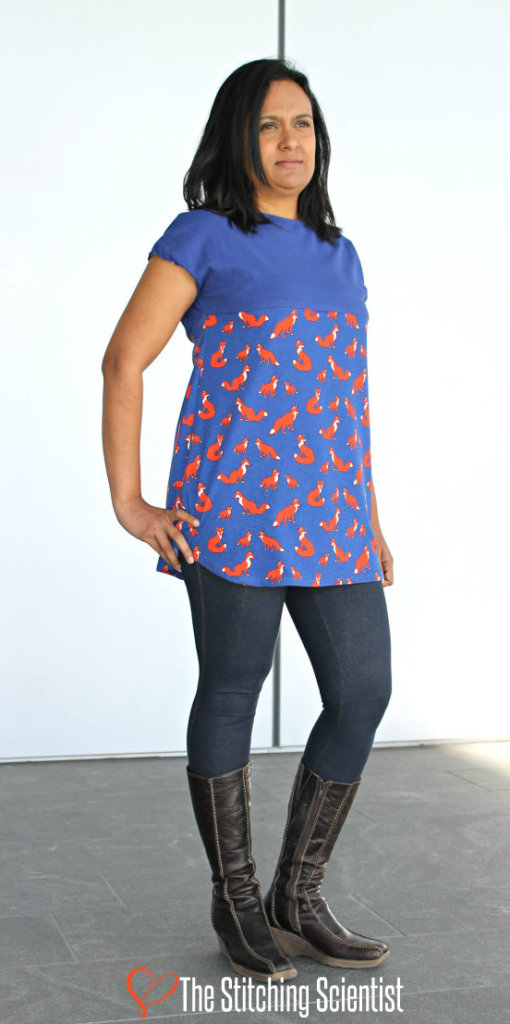
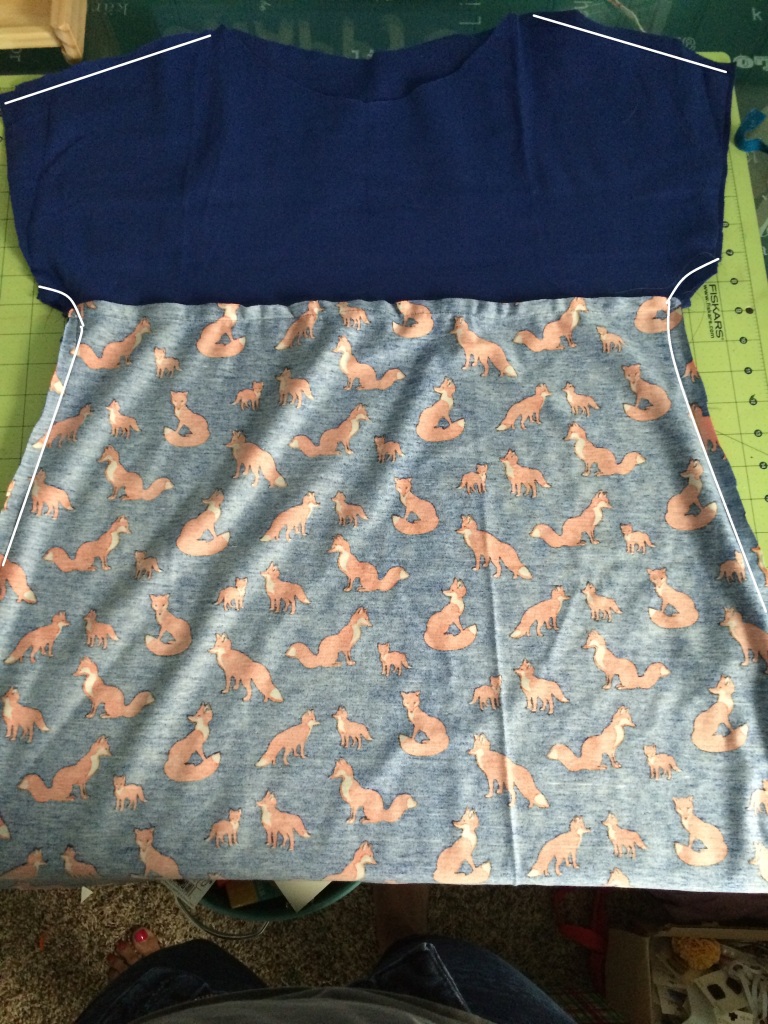
This was not the very best timing to take pictures outside due to the shadowing but it was the only available time I had. The sides of the tunic has a curve which gives it a nice feminine touch. Also, if you don’t want the tunic to actually be a different color on top, you can use use one fabric through out. It will look pretty either way.
Your Supplies
Download the free pattern HERE. Ensure that when you print it is at 100%. Piece the pattern together and cut on fabric. Again the length is about 28-30″. The small has a bust of 36-38″, medium 38-40″ and large 40-42″. The pattern is meant to fit loose.
1/2 yard knit fabric for the top
1 yard knit or woven fabric for the bottom.
Let’s get started!
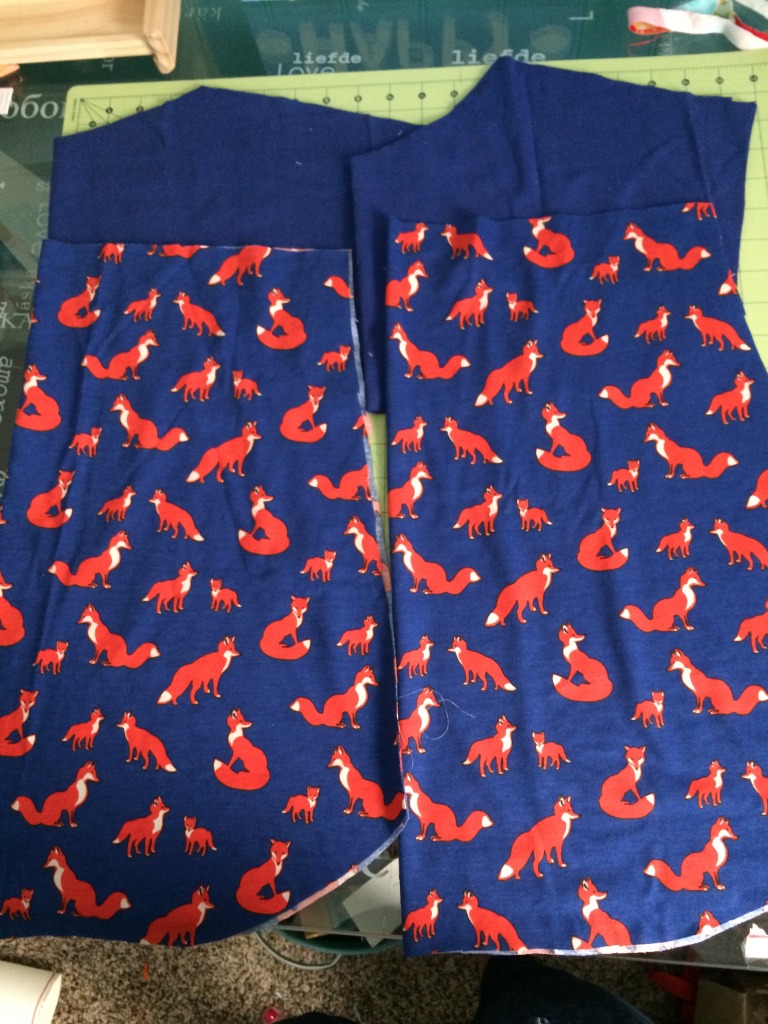
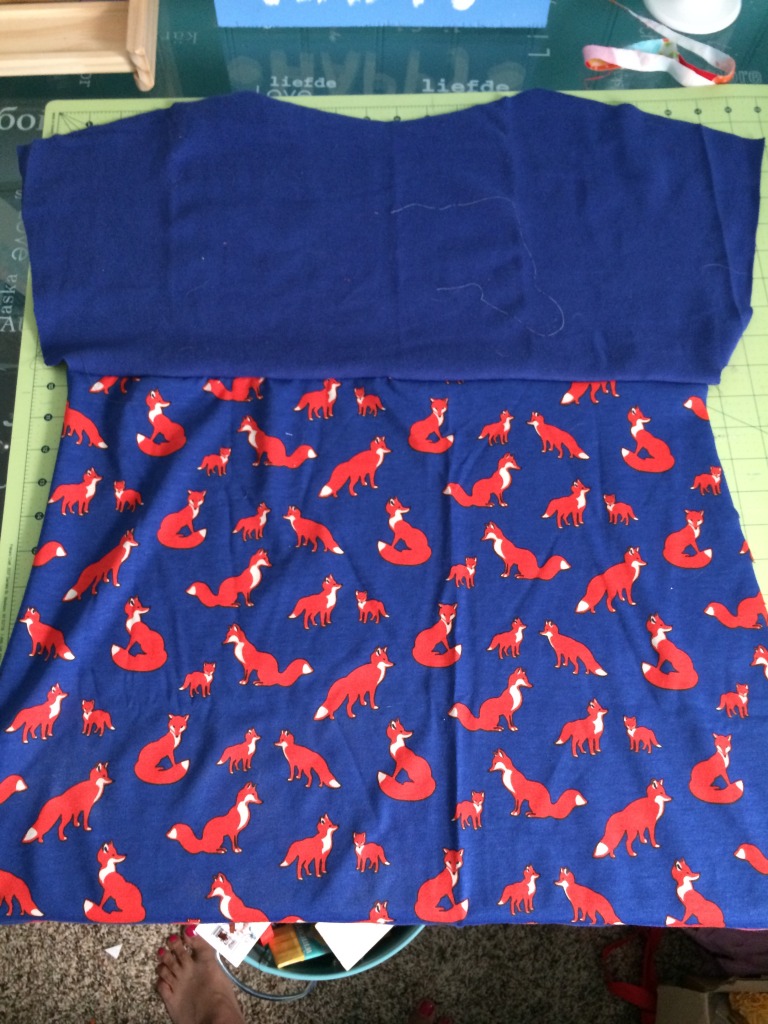
When you cut out your pieces, you will have 2 top pieces (one for the front and one for the back) and two bottom pieces.
Sew your front top top to your front bottom piece right sides together. Repeat for the back pieces.
Next, lay your front and back pieces right sides together and sew the shoulders together and the sides together, leaving the sleeve opening open.
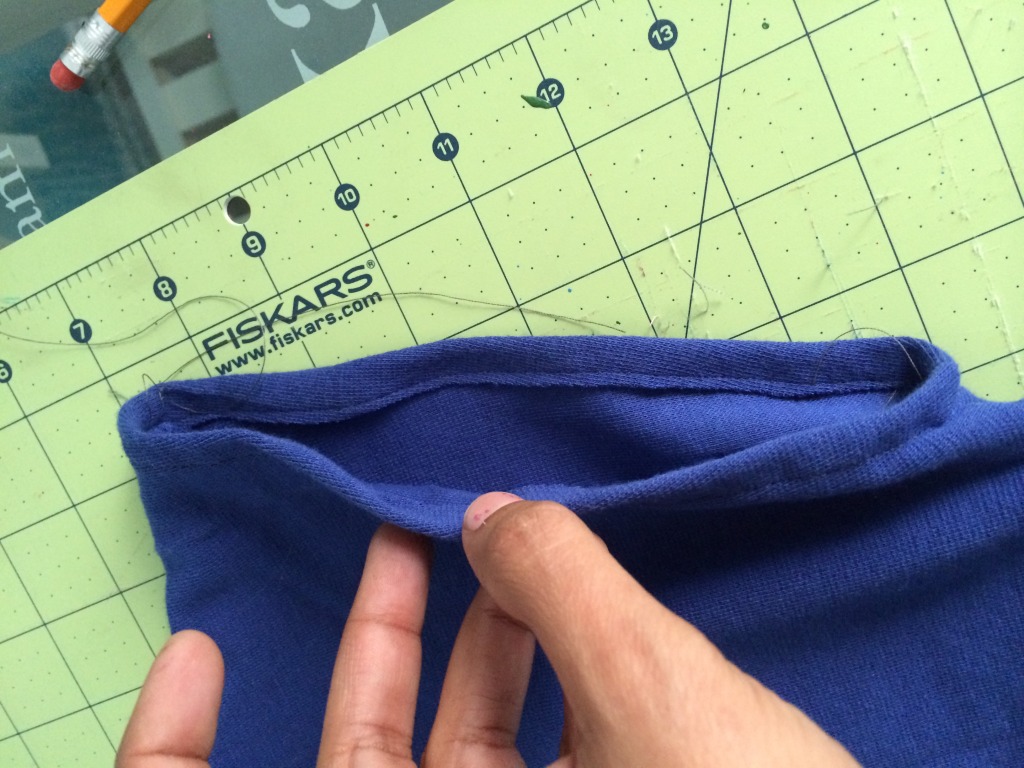
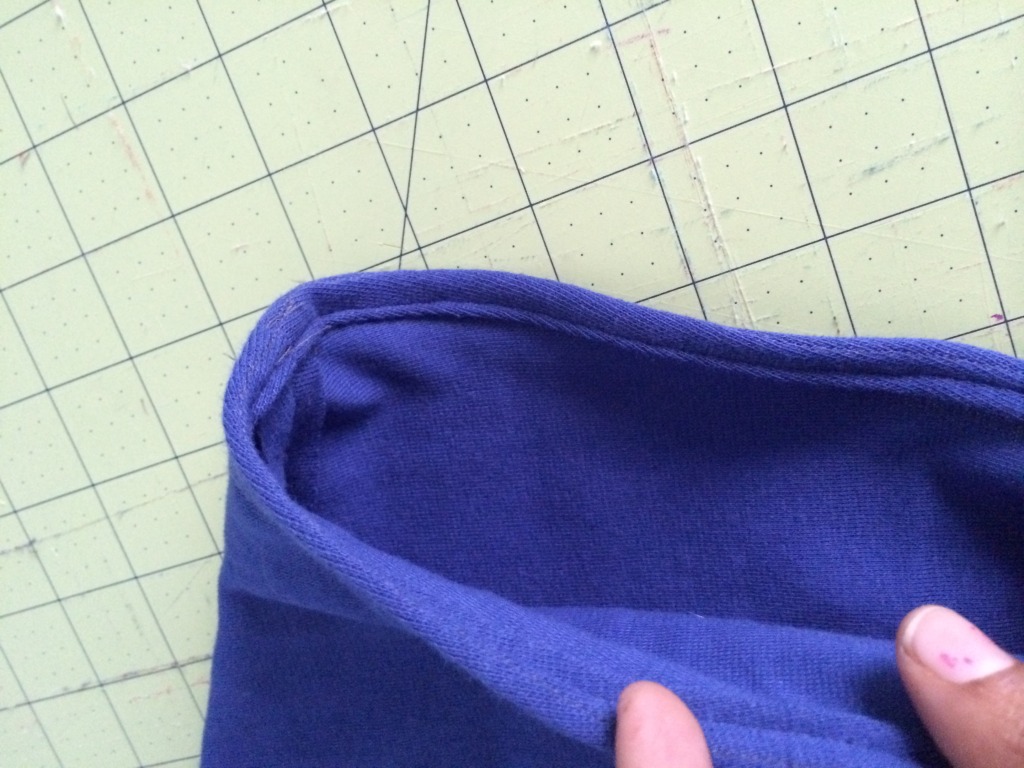
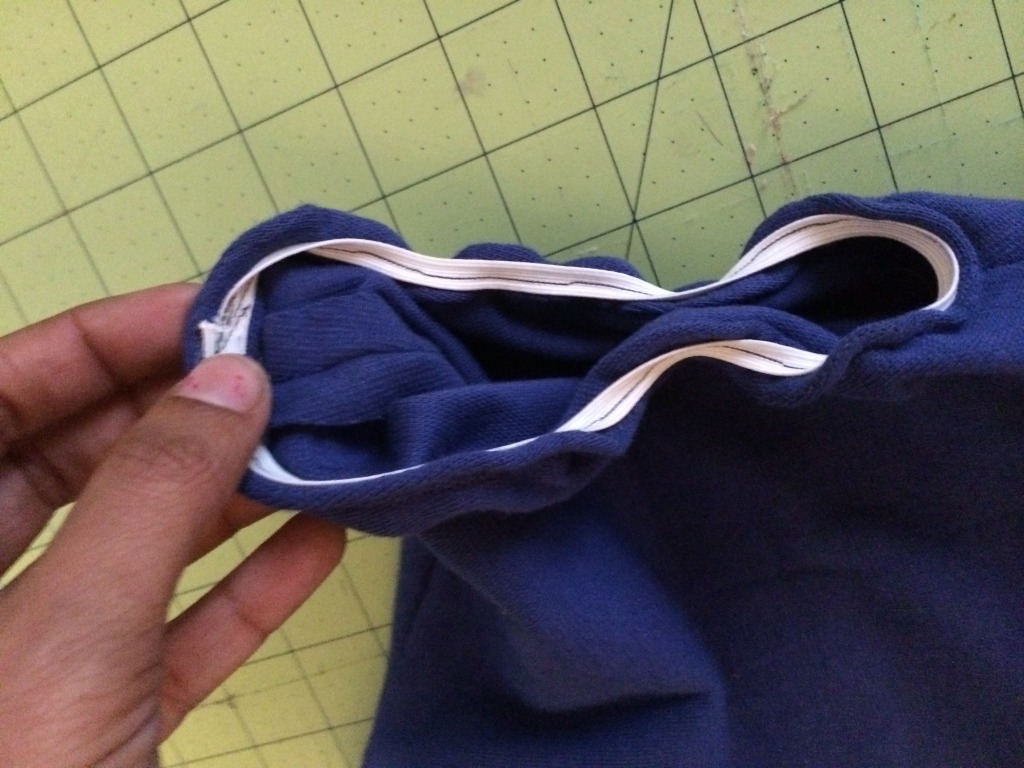
Next, hem the sleeves. You can do 1/4″ in and then another 1/4″. My sleeve stuck out a bit too much because my rib knit fabric was a bit too thick. I added elastic to the insides of my hem to have it be snug on my arms. I adjusted the pattern slightly so this shouldn’t happen on yours. I will do another one and update the post.
***Optional elastic on the bottom of hem by pulling while sewing, 1/4″ elastic all the way around the hem. See this tutorial. Your sleeves will not be puffy but it will come down snugged to your arms.
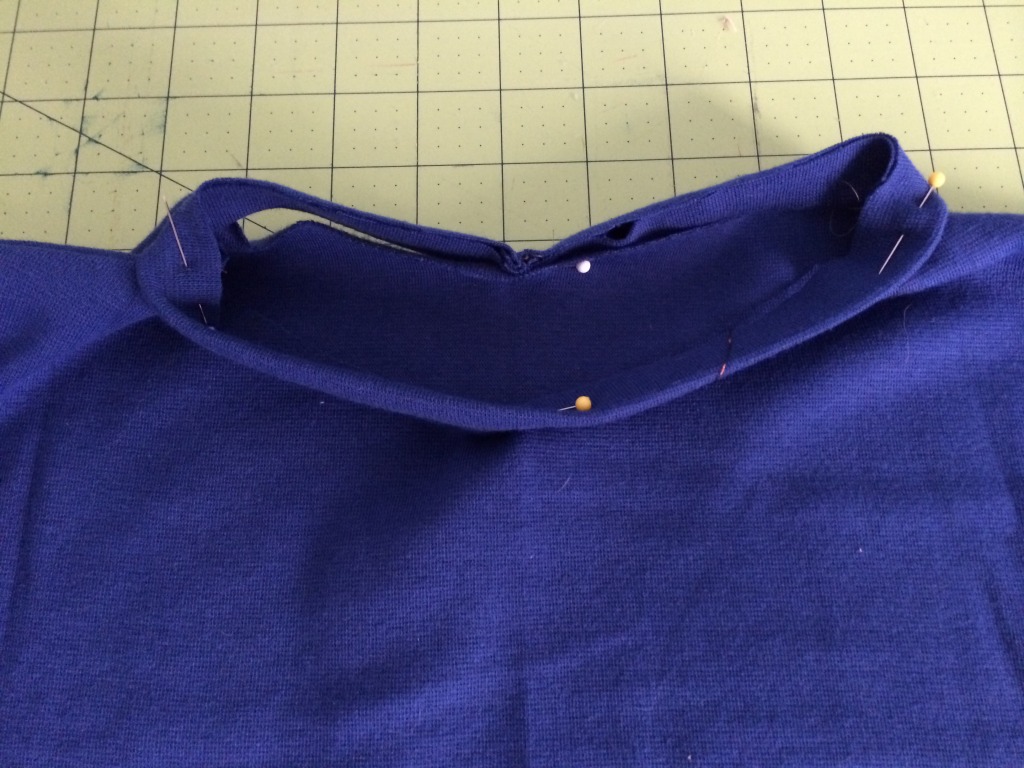
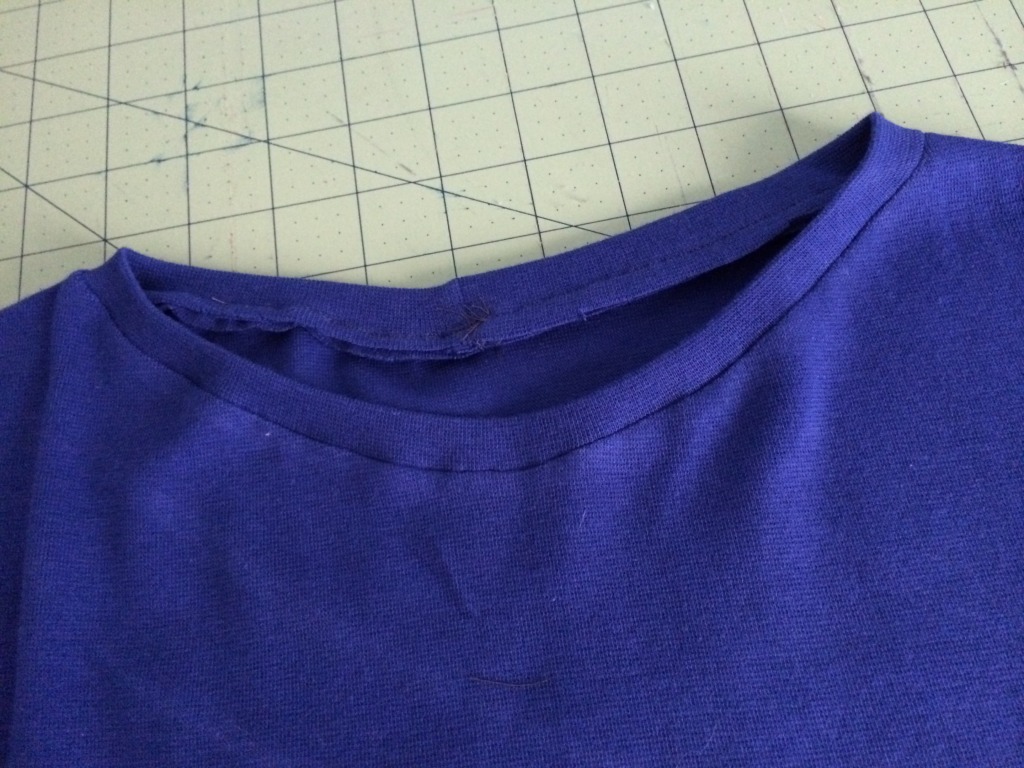
Next, we will do the neckline. I honestly followed this VIDEO to do necklines. It is the best tutorial I have ever seen for this method.
You can then hem the bottom if you want a finished look or leave it alone. It won’t fray if you are using knit. That’s it! Enjoy.
Thanks for visiting and Happy Sewing!
