Once in a while I come across fabrics that just stops me in my tracks. That’s how I feel about Riley Blake’s Mod Studio line. Holli Zollinger really did a splendid job in creating this group of fabric patterns. I love the reds and blacks against the light gray background. It’s a bit out of the box and different from the standard colorful floral fabric designs. The abstracts used are so unique and unlike anything I have seen recently. Riley Blake Designs is not paying me nor did they ask me to do this post. I simply enjoy working with these fabrics and decided to share it with you.
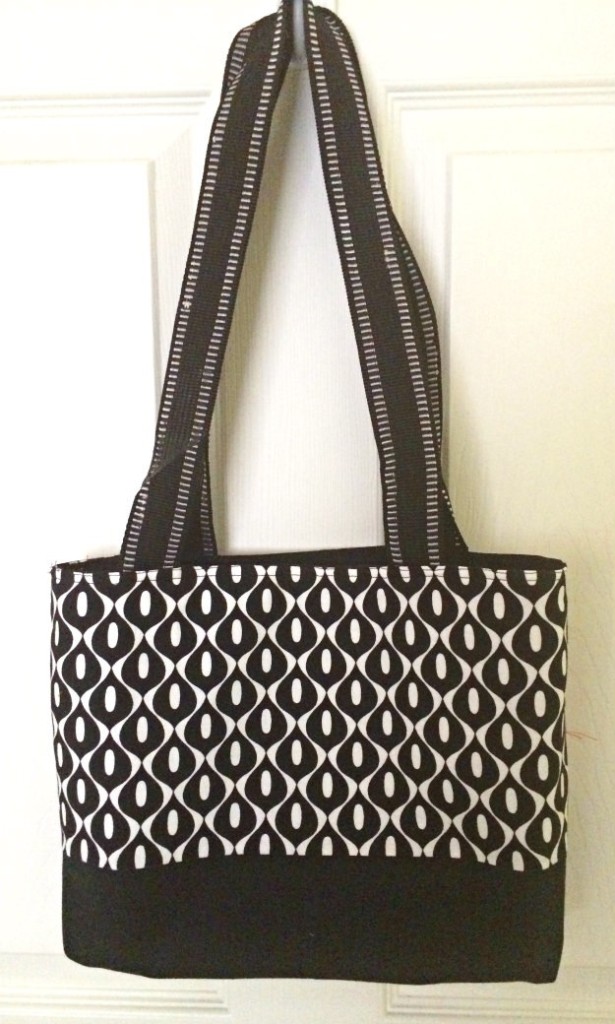
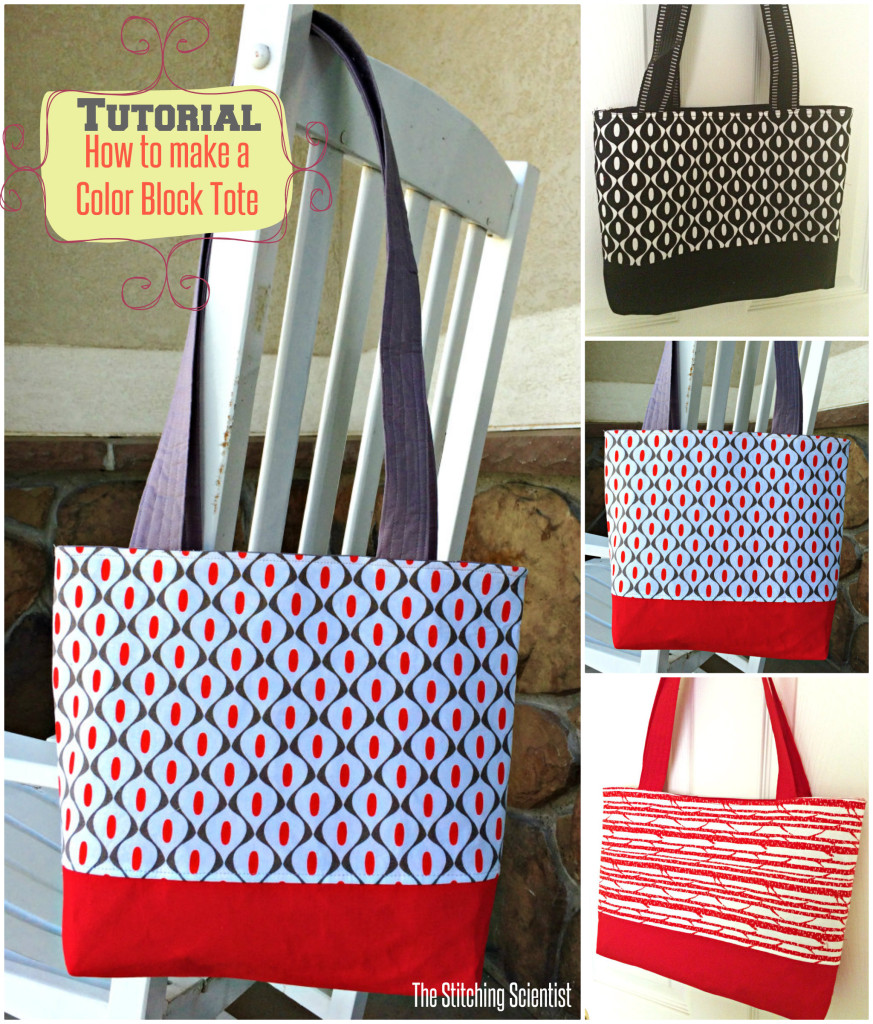
This weekend, I decided to make some quick color block totes to showcase the beauty of two of my fabric patterns from the Mod Studio line; Mod Wallpaper Red, Mod Wallpaper Black, Mod Red Branches. I think these look so gorgeous against the red block at the bottom of the totes. You can purchase these fabrics at Fabrics.com.
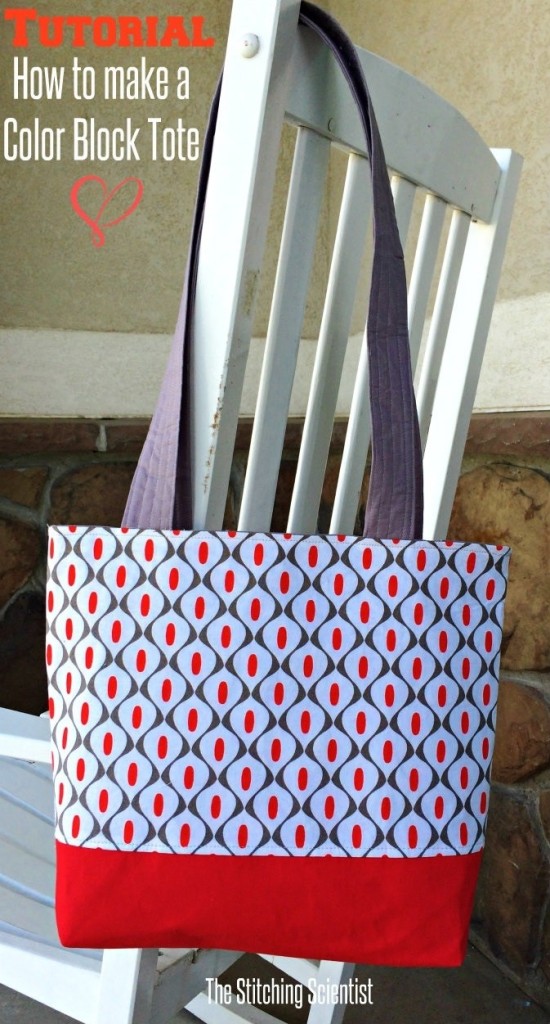
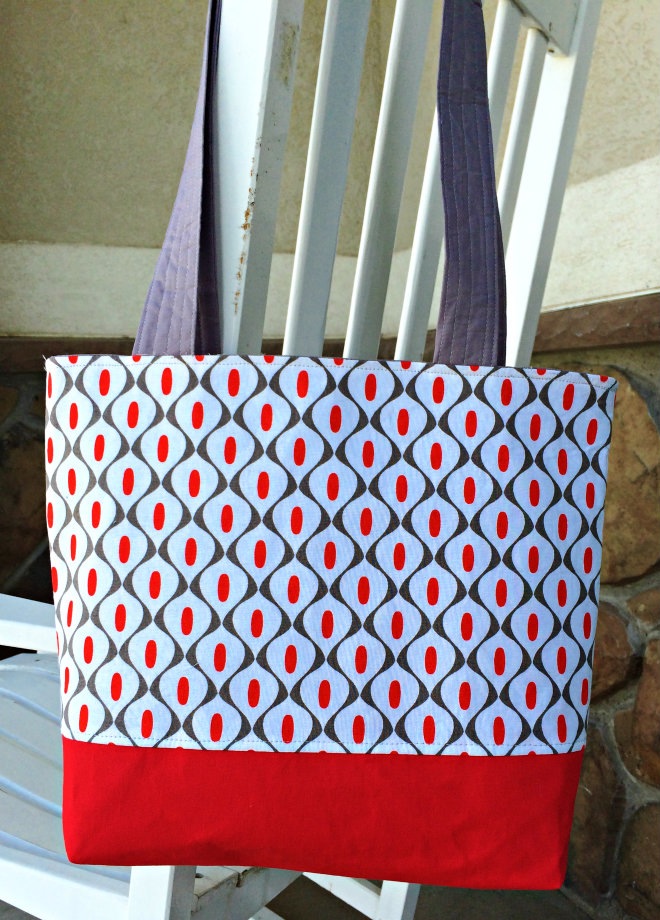
This fabric is the Mod Wallpaper Red. The bottom red block is Rhino canvas red. The lining a is Kona cotton in medium grey which I also used to make the straps. The straps on this tote is a bit longer than usual. This was not intentional but I ended up liking how it turned out since it fits nicely under the shoulders with the bag positioned perfectly on the upper hips.
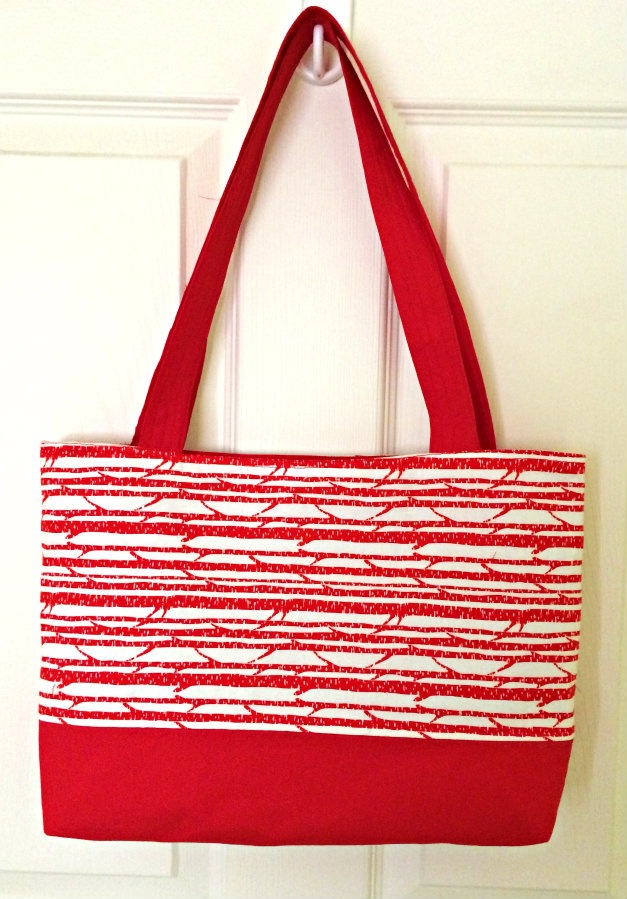
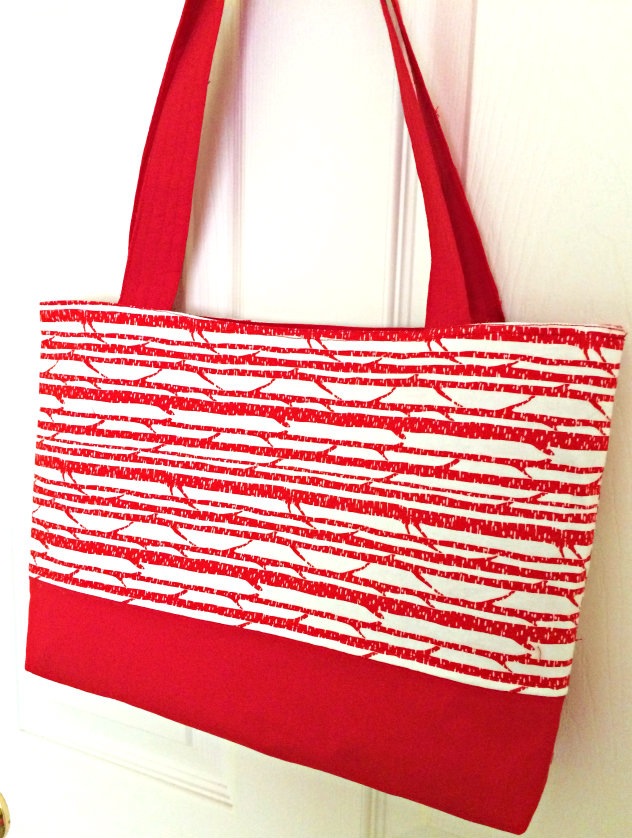
The fabric used for this tote is Mod Red Branches. The bottom is also Rhino canvas red. The lining is Kona cotton cardinal which is the same as the straps. I love the pop of bright red on this tote. The fabric stands out and shouts for a compliment:-)
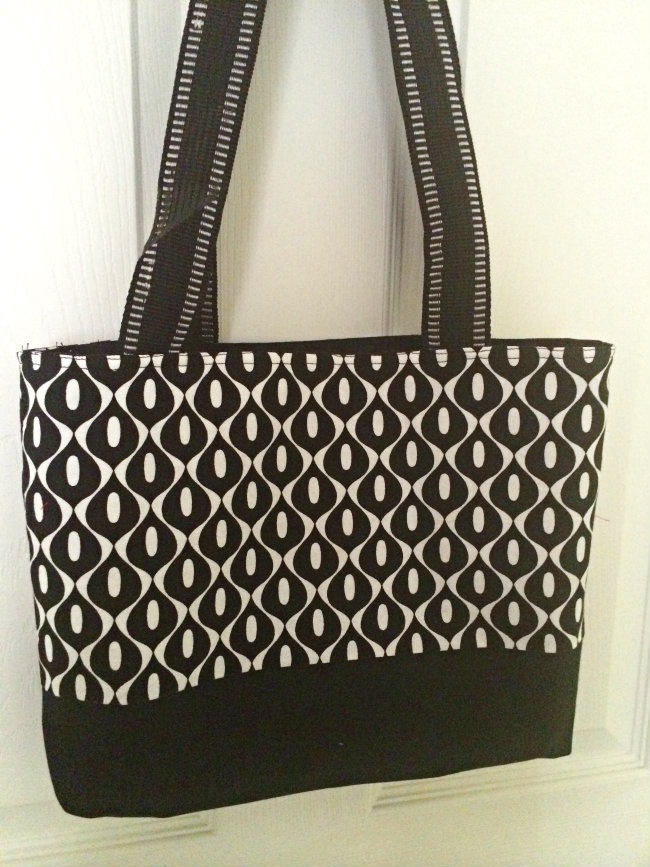
I used Mod Wallpaper Black for this tote. I am absolutely in love with this pattern! The bottom is Rhino canvas black. I decided to use Kona cotton black for the lining. I got lazy for the straps and just used some black with white contrast belting material that I found on a old back at the thrift shop.
Your Supplies
* These dimensions are for the Mod Red Branches Tote which is slightly bigger than the Mod Wallpaper Red Tote.
Outer Top- 2 pieces 8″ x 18″
Outer top interfacing- 2 pieces 9″ x 18″
Bottom block- 2 pieces 6″ x 18″
Bottom interfacing- 2 pieces 6″ x 18″
Lining- 2 pieces 14″ x 18″.
Straps- 2 pieces 4″ x 25″
Straps interfacing-2 pieces 4″ x 25″
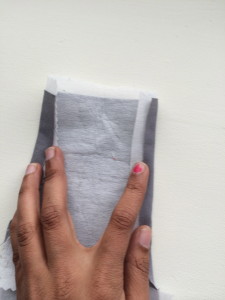
The first thing to do is to iron all your interfacing on your top, bottom and strap pieces. Remember your interfacing goes on your main fabric not the lining.
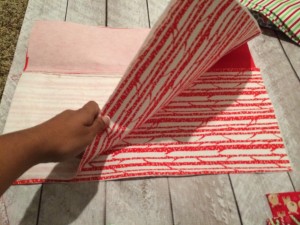
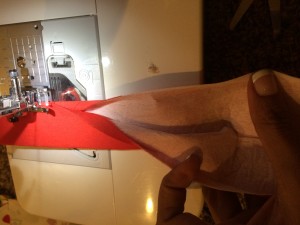
Next, sew your bottom blocks to your top pieces. Top stitch the seam.
Sew your two main pieces right sides together leaving the top open. Repeat for the lining.
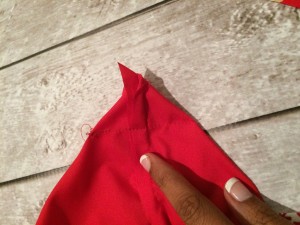
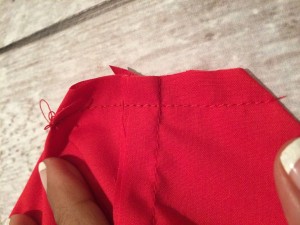
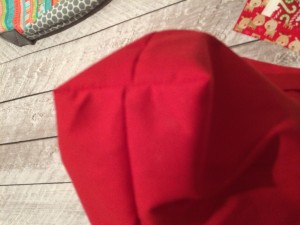
Next, you will box off the bottoms of both your lining and your outer pieces. Fold in the corners of the sides, creating a triangle. Sew a straight line about 1.5″ away from the ends. Cut out the remaining pieces. Do this for all your corners.
Next, fit your lining into the main bag right sides together. Put on hold and let’s work on the straps.
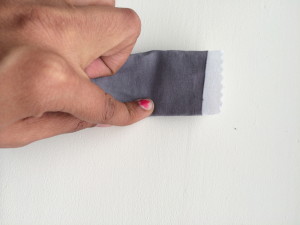
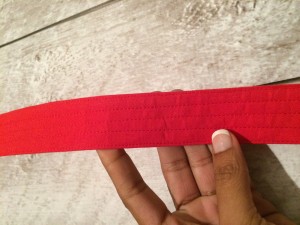
To do your straps, fold in your edges about 1/2″ on both sides. Fold in the middle and sew down. I decided to do a few stitches on mine to give it a quilted look. Repeat for both straps.
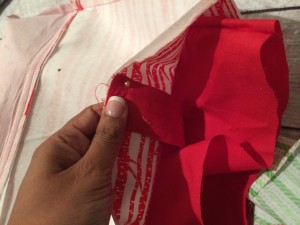
Take your straps and fit it in the middle of your lining and main bag piece where you are going to pin the straps on the right side of the main bag about 3″ away from the sides. So this for all 4 of your strap pieces.
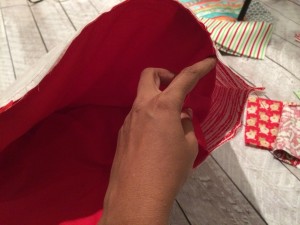
Sew all the way around the stop of the bag and leave an opening about 4″ to turn the bag inside out. While you are sew all the way around, I think it’s best if you back stitch a few times over the straps to give them some extra hold.
Turn your bag inside out. Iron down the top and top stitch all the way around about 1/4″ from the top ensuring your top stitch your 4″ opening close.
Iron neatly and go show off your creation!
Thanks for visiting and Happy Sewing!
