Hey Guys! Sorry I haven’t been posting much recently. With work, a 2 year old, dogs and life in general, I haven’t had much time to sew. This past week I think I was experiencing too many sewing withdrawal symptoms so I neglected a few chores to make this dress:-).
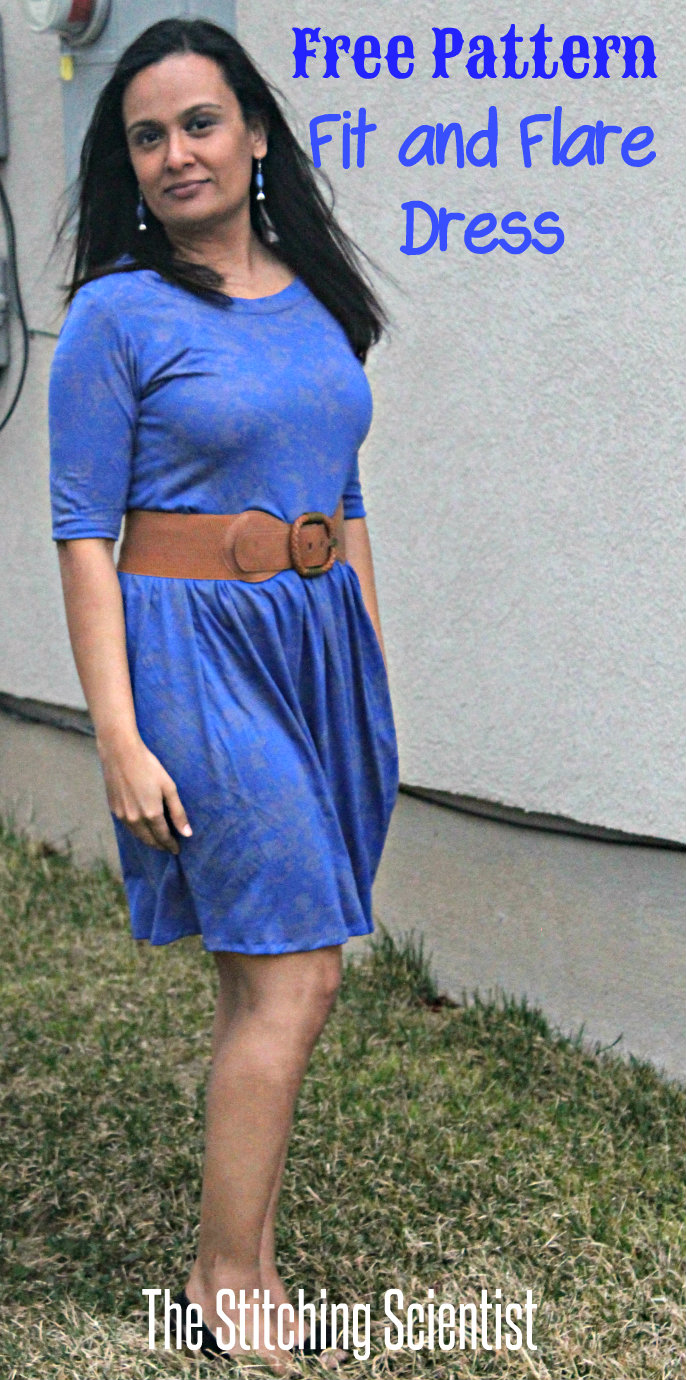
I have been seeing these fit and flare dresses all over the internet and in stores recently. Is this a new trend? They come in all sorts of variations; from drop waist to circle bottoms to pleats etc. I think the pattern is versatile because the style is so classic. The top can be worn with or without sleeves and you can pretty much make the bottom to fit your body shape. It can also be worn with or without a belt and can be accessorized with a complimentary necklace or scarf. I think I am going to make quite a few of these for the spring and summer. This pattern uses knit fabric which is very forgiving when sewing. It hides little mistakes very well. Trust me I have tons of experience with sewing mistakes:-). I purchased this particular blue jersey knit from Girl Charlee. The pattern comes in 3 sizes (S, M, L). The small fits bust size 32-34, medium fits 34-36 and large should fit 36-38 bust. Again, because the pattern is knit, it will fit a bit snug around the chest area. If you want it to be a tad looser, you can scale the pattern accordingly. I hope you guys enjoy the free pattern!
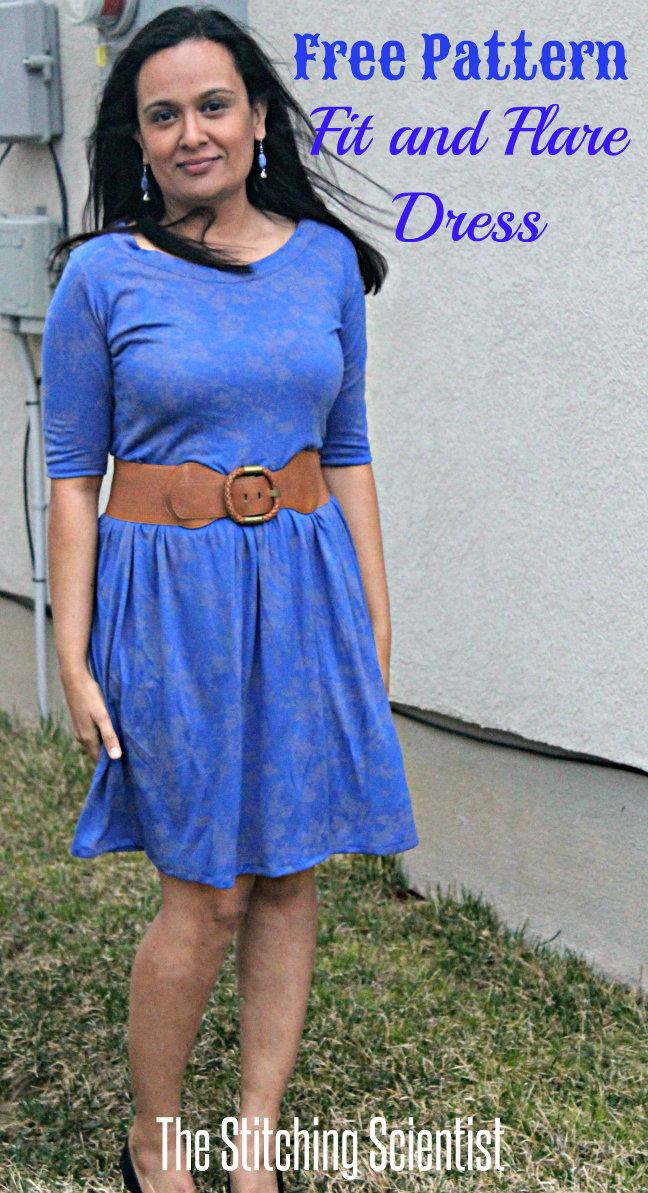
It was a super windy and gloomy day when I took these pictures so forgive how amateur they look:-)
Supplies:
1.5-2 yards jersey knit fabric
Printed pattern (see below)
Printing Instructions:
You can print this at your local Kinkos or at home. If you print at home, you will need to have Adobe Acrobat installed to access the pdf file. You have to print the pattern in actual size (100%) in a “poster” or “tiled” format. Once you print out all your pages, you will need to cut and tape the pieces together to get the full pattern. If you have an older printer or computer that does not give you the “tiled” or “poster” format, you may need print at Kinkos.
Let’s start!
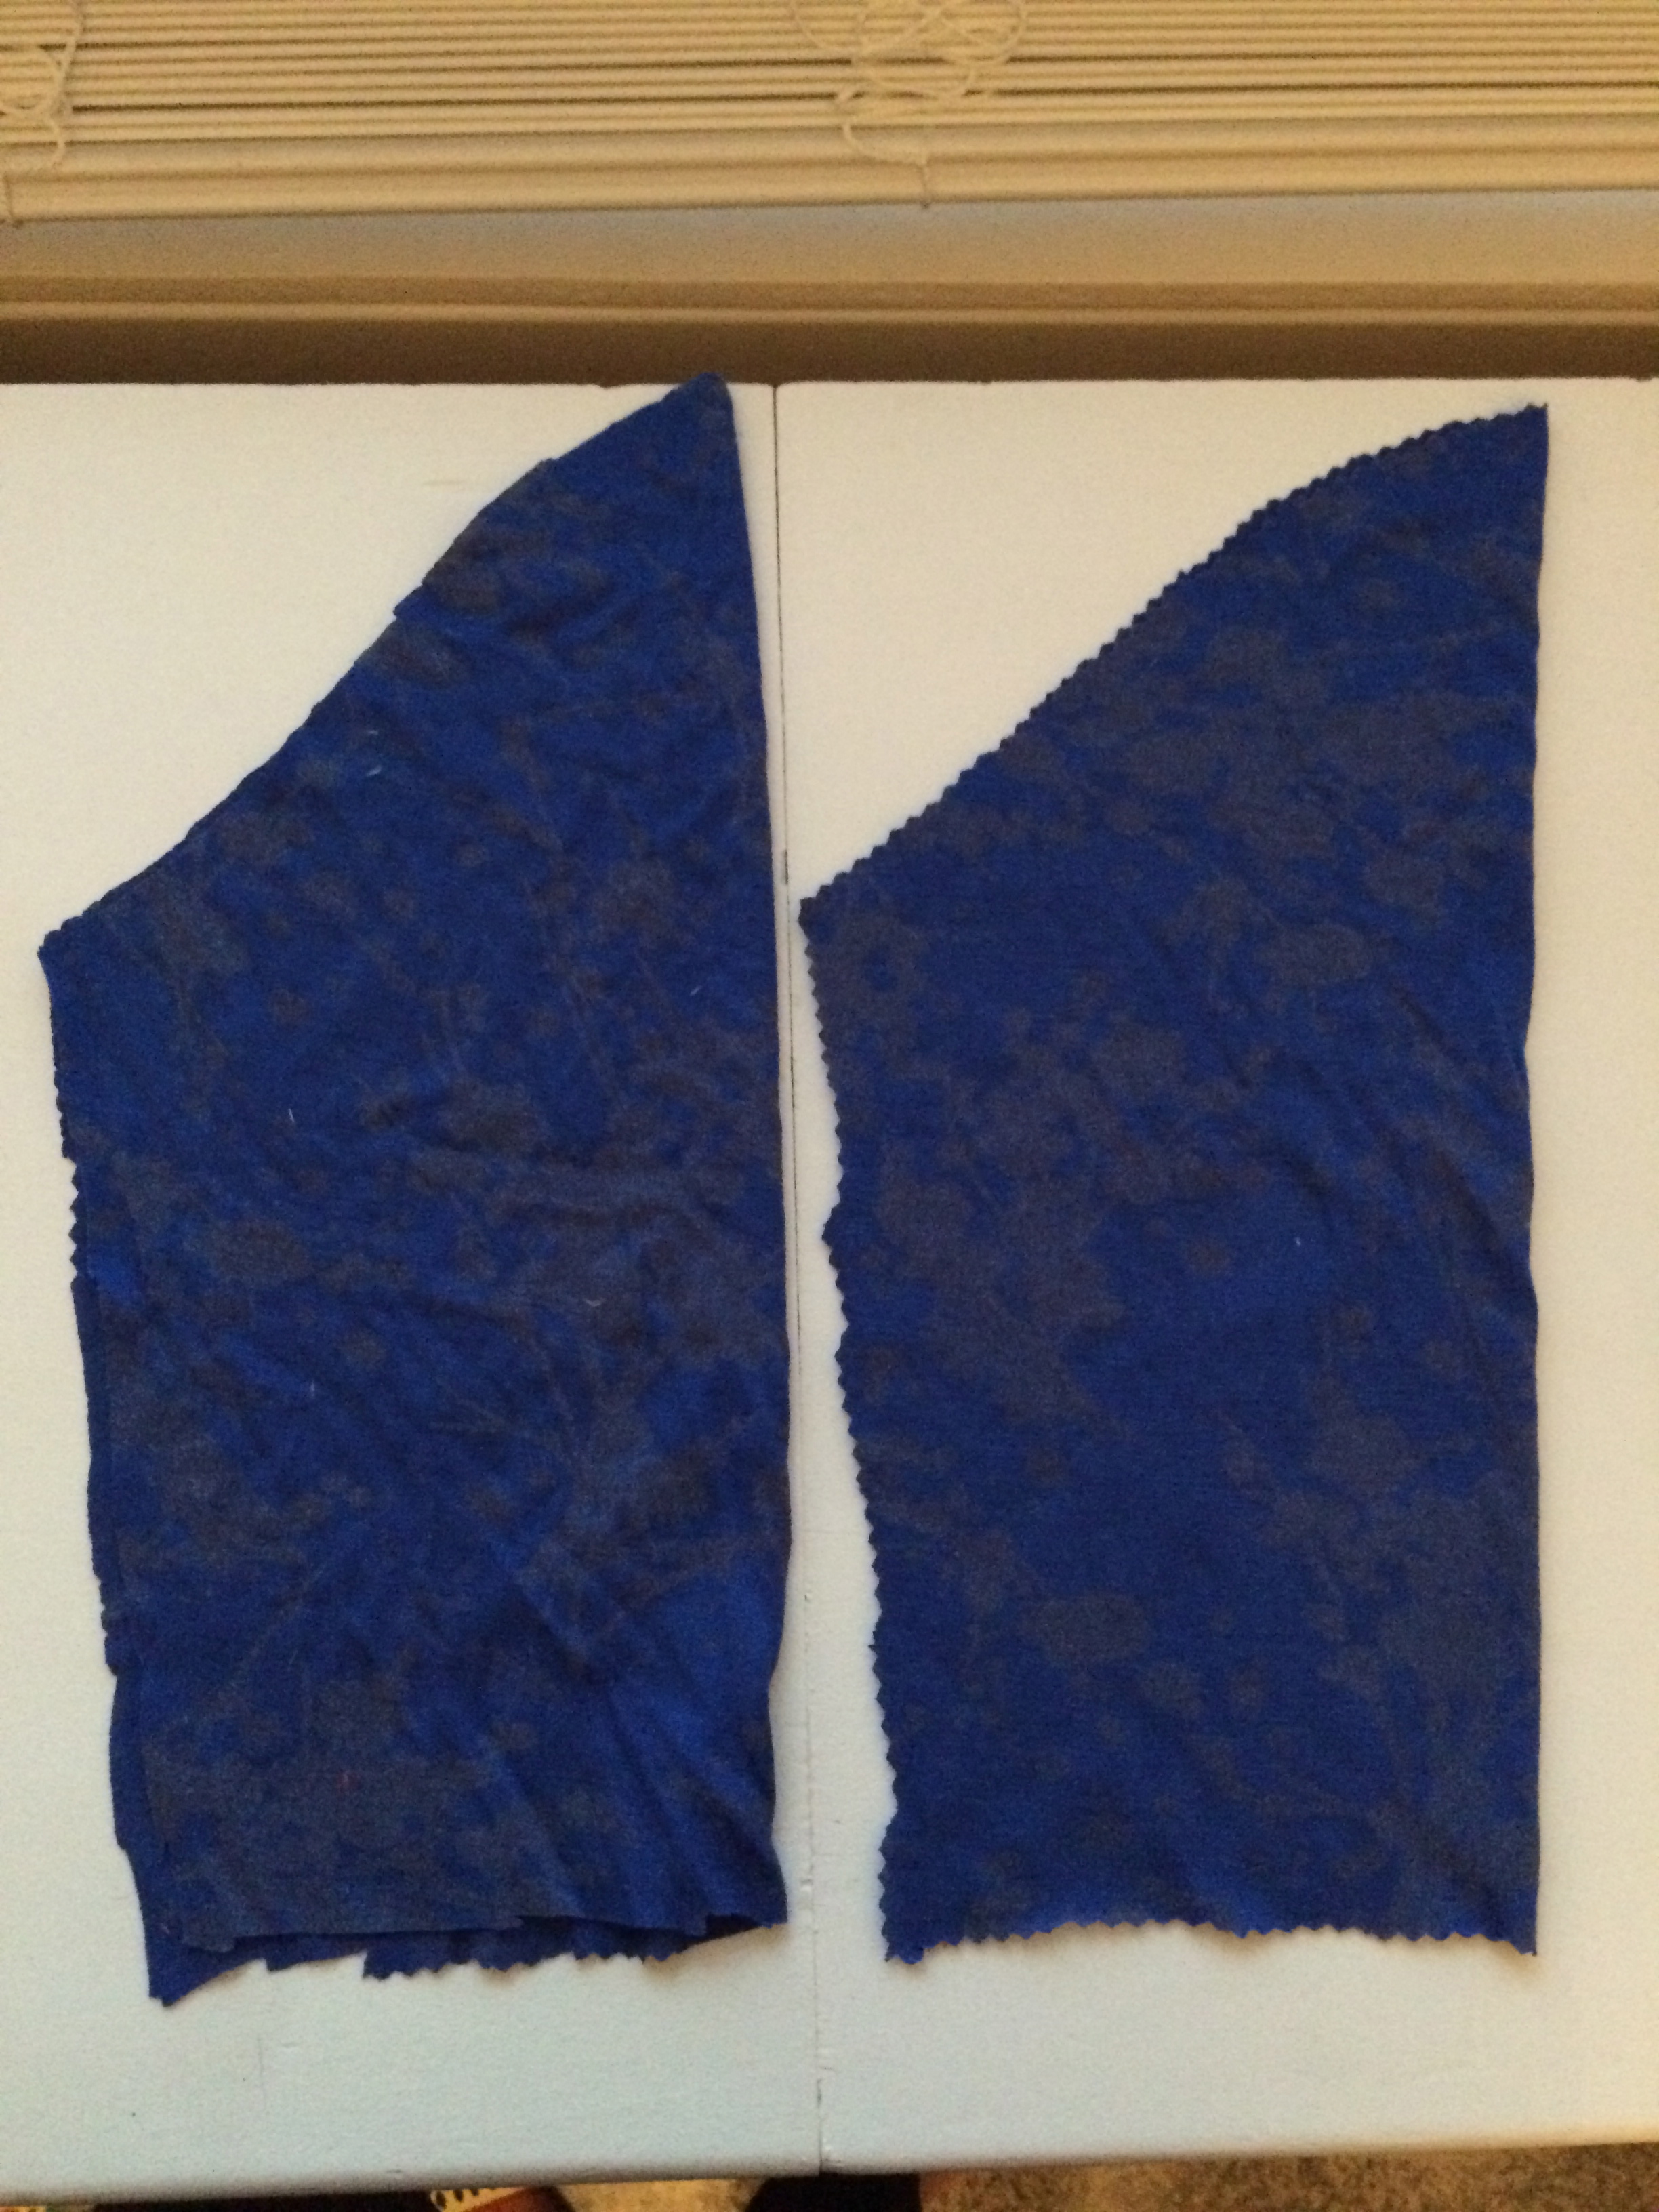
Download the top and sleeve pattern HERE. For the bottom, you need to measure what length you want the dress starting from your belly button. To get the width, measure around your belly button and add 15-20″. If you want it fuller than shown in the picture, add more than 15-20″.
Now lets start making this pretty dress!
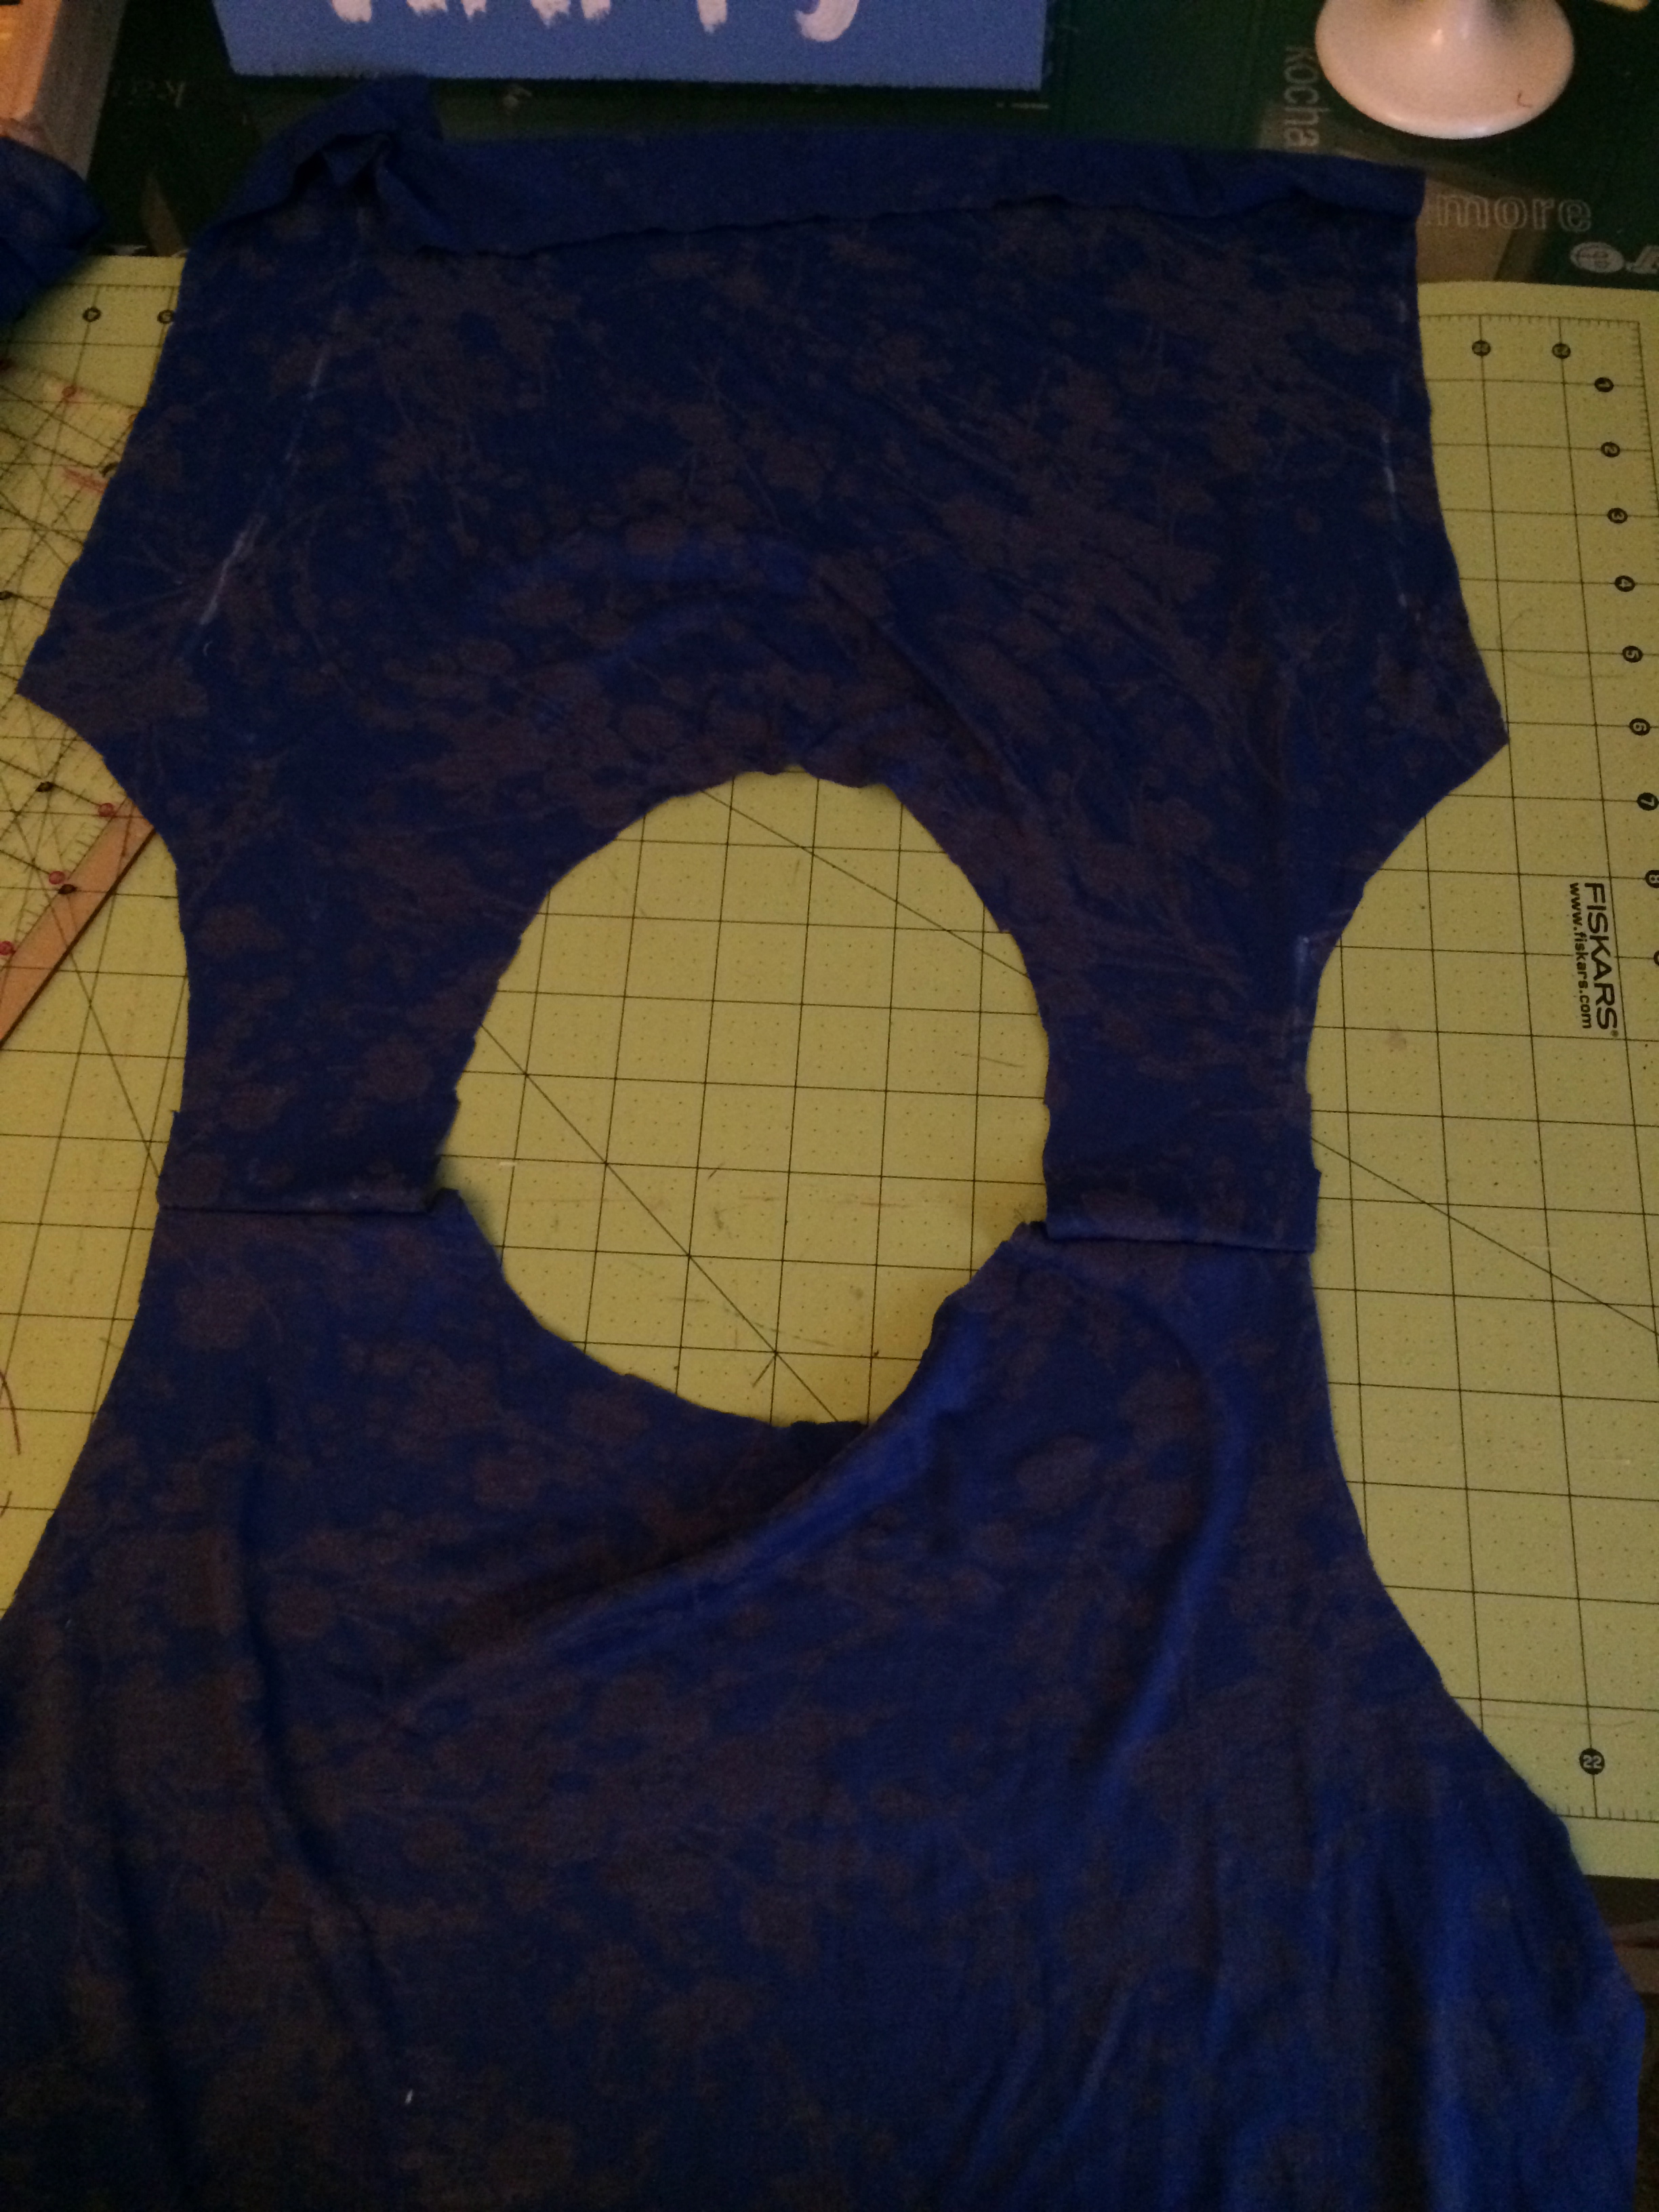
Sew together your front and back bodice at the shoulder.
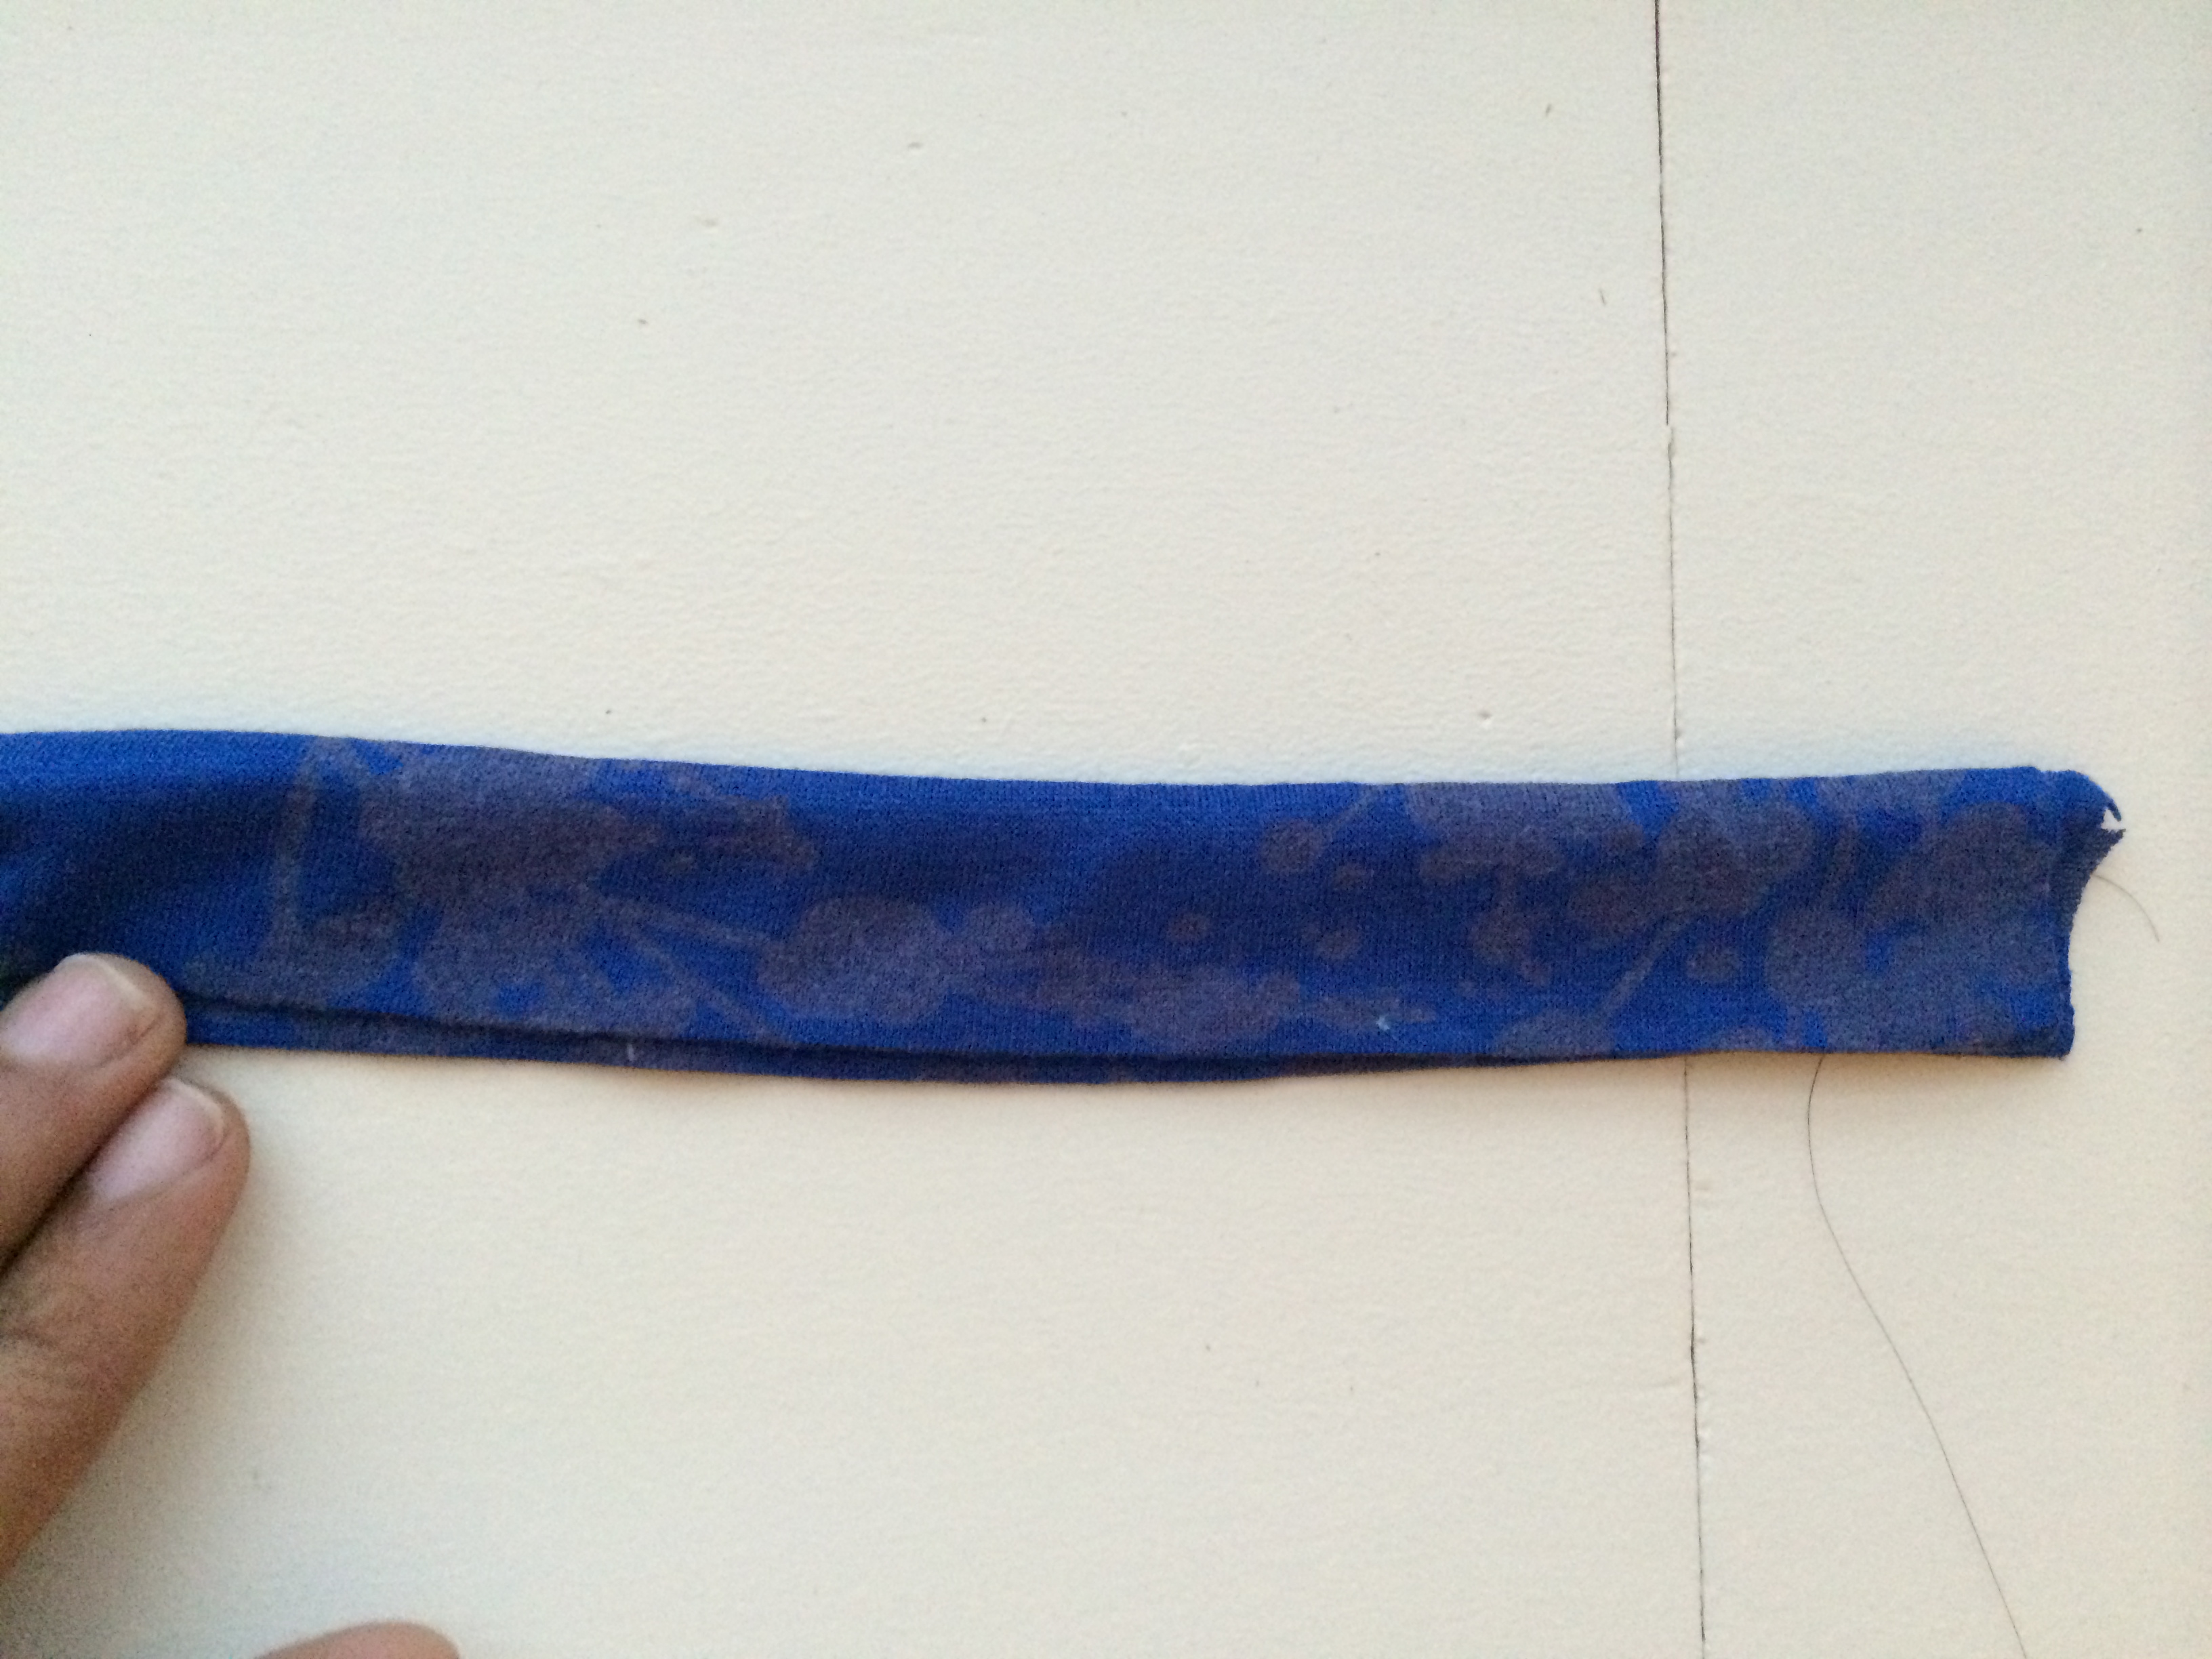
Next, we will make the binding. Cut a strip from your fabric measuring 4″ x 36″ (this will fit all sizes). You will have some left over which you can cut out. Its better to have extra binding than to run out as you are sewing. Happens to me all the time:-)Fold the binding in half and iron down the middle. Open the fold and fold each side and iron down.

Now, lets sew the binding on the neckline. Open the binding and sew it all the way around the neck about 1/4″ from the edge of the binding on the right side of the neckline.

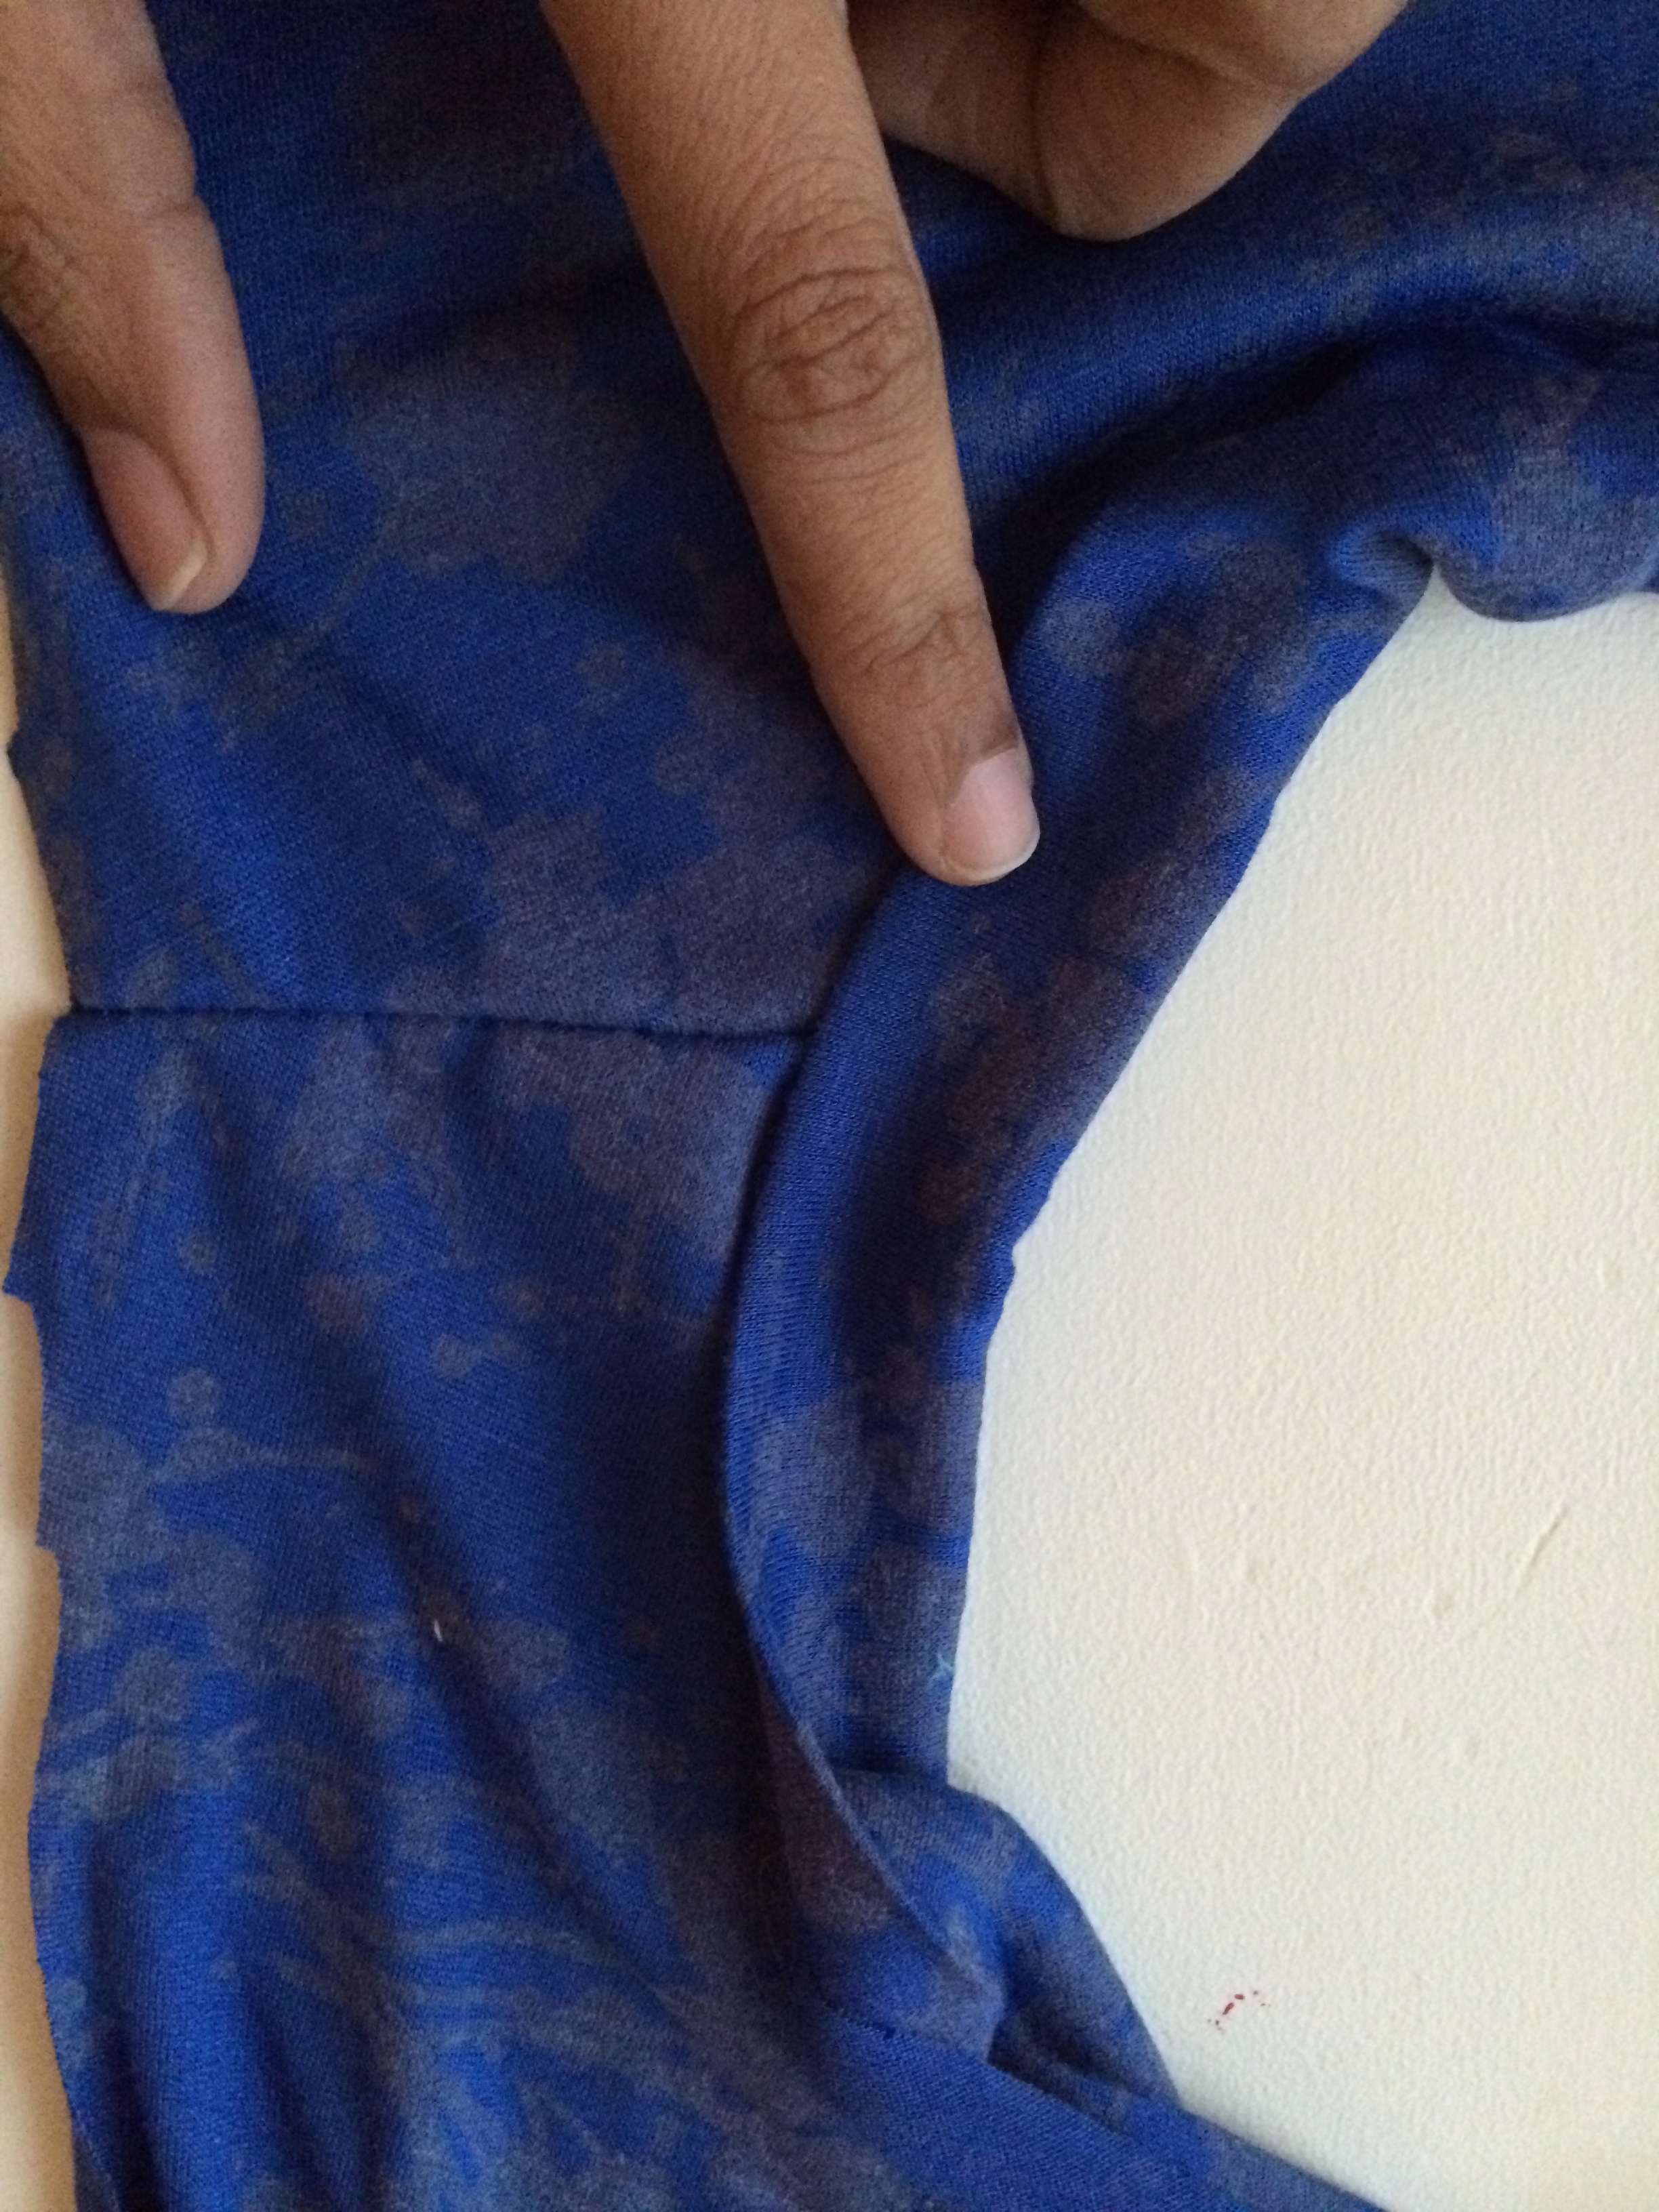
Fold it over the top, covering the exposed raw edges of the neckline and sew down all the way around the neckline on the right side of the fabric. Iron neatly.
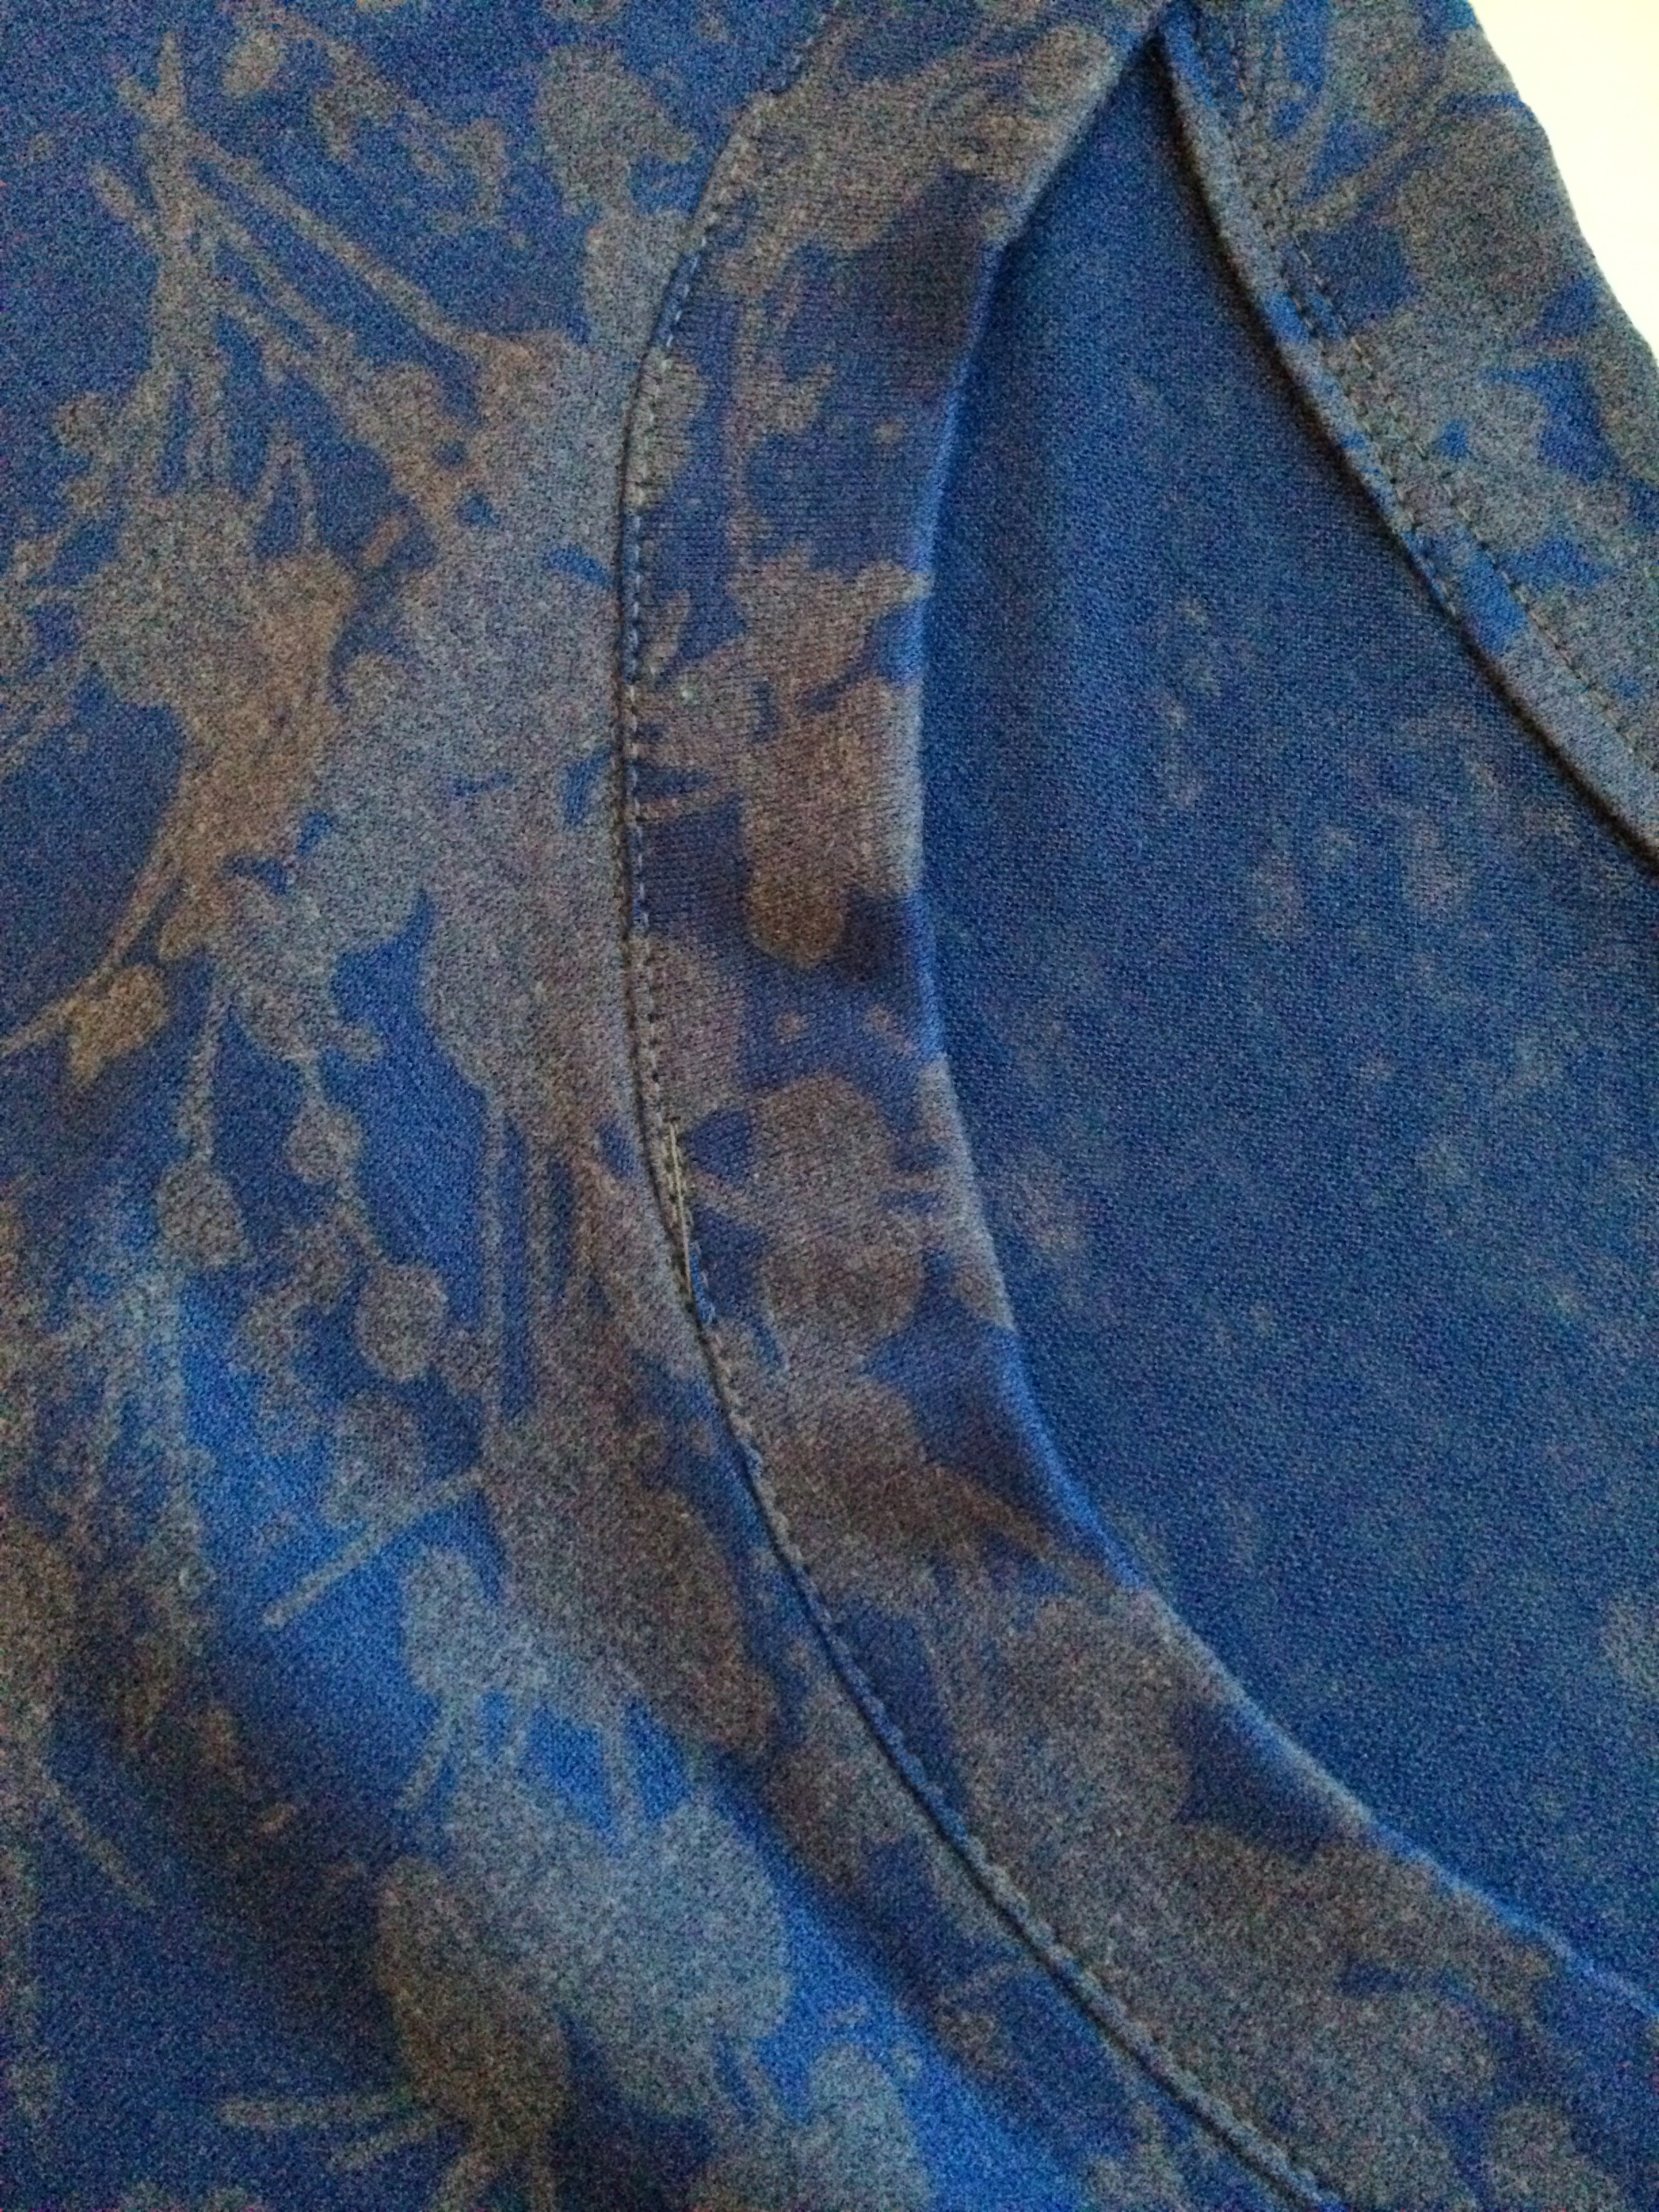
Next are the sleeves! Take your sleeve and pin and sew to the arms of the top right sides together with the long part of the sleeve facing toward the top not away from it.

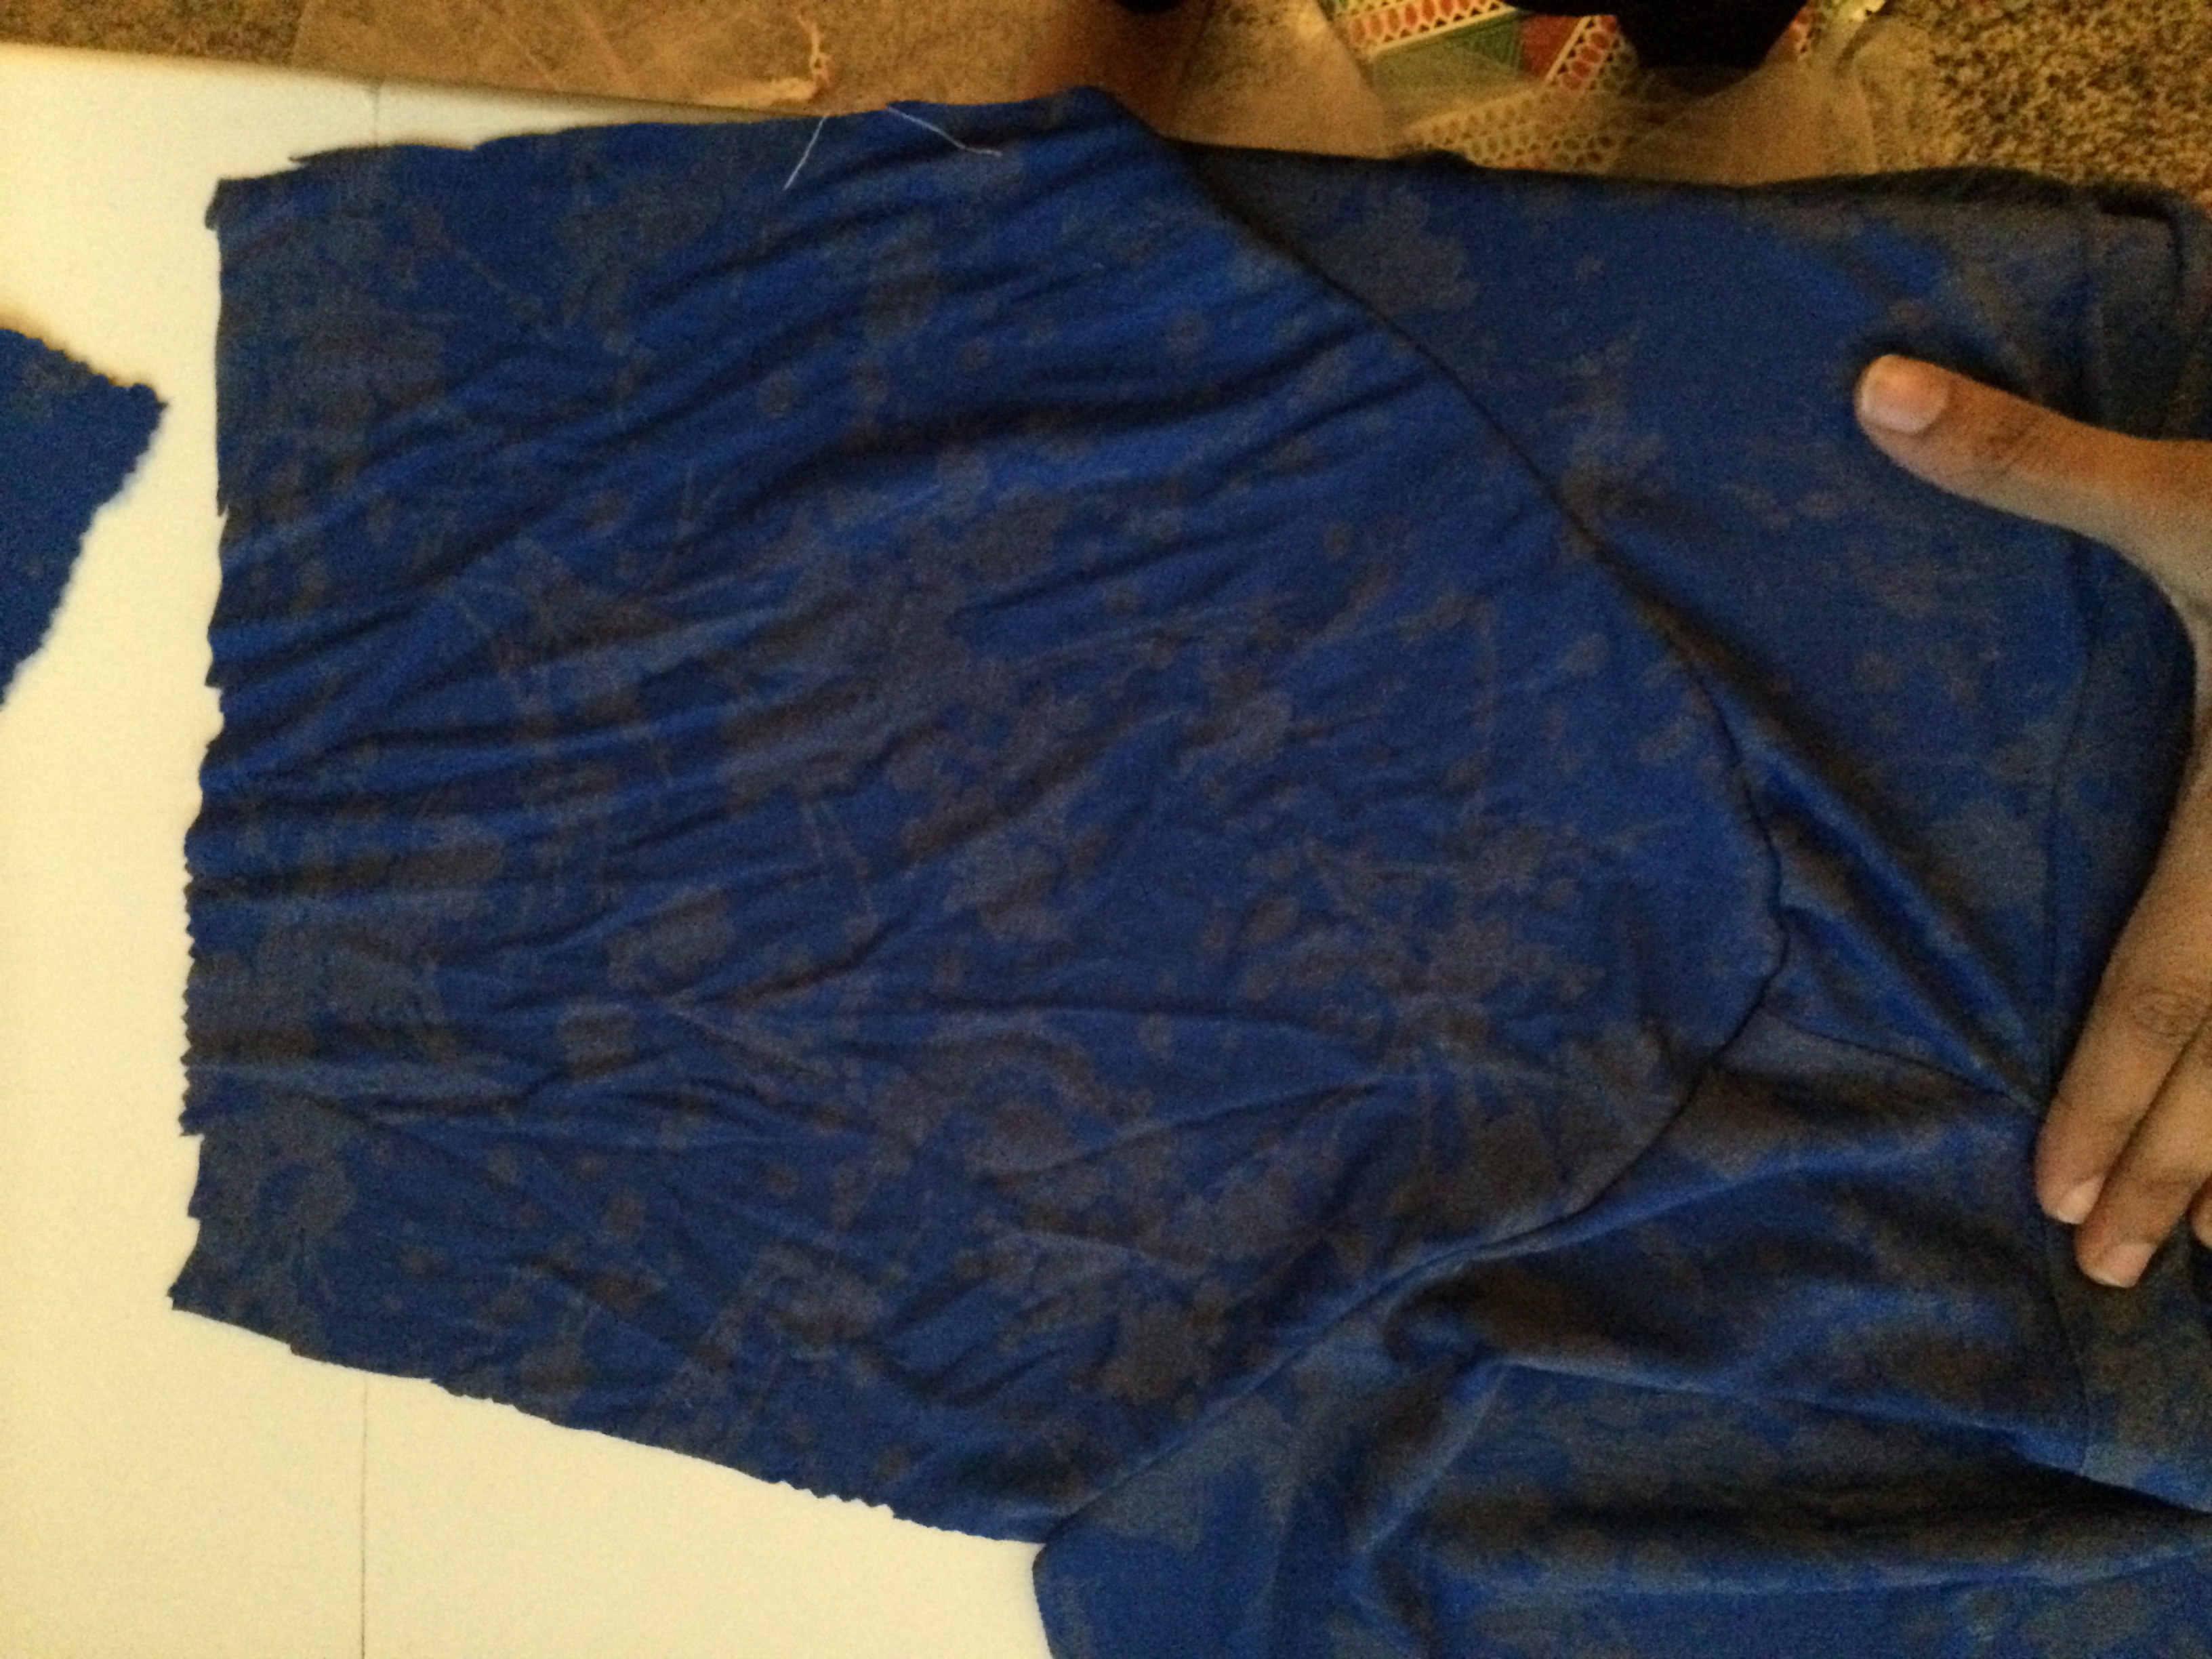
Now, with right sides together, sew down from the ends of the arms of the sleeves all the down the side of top.
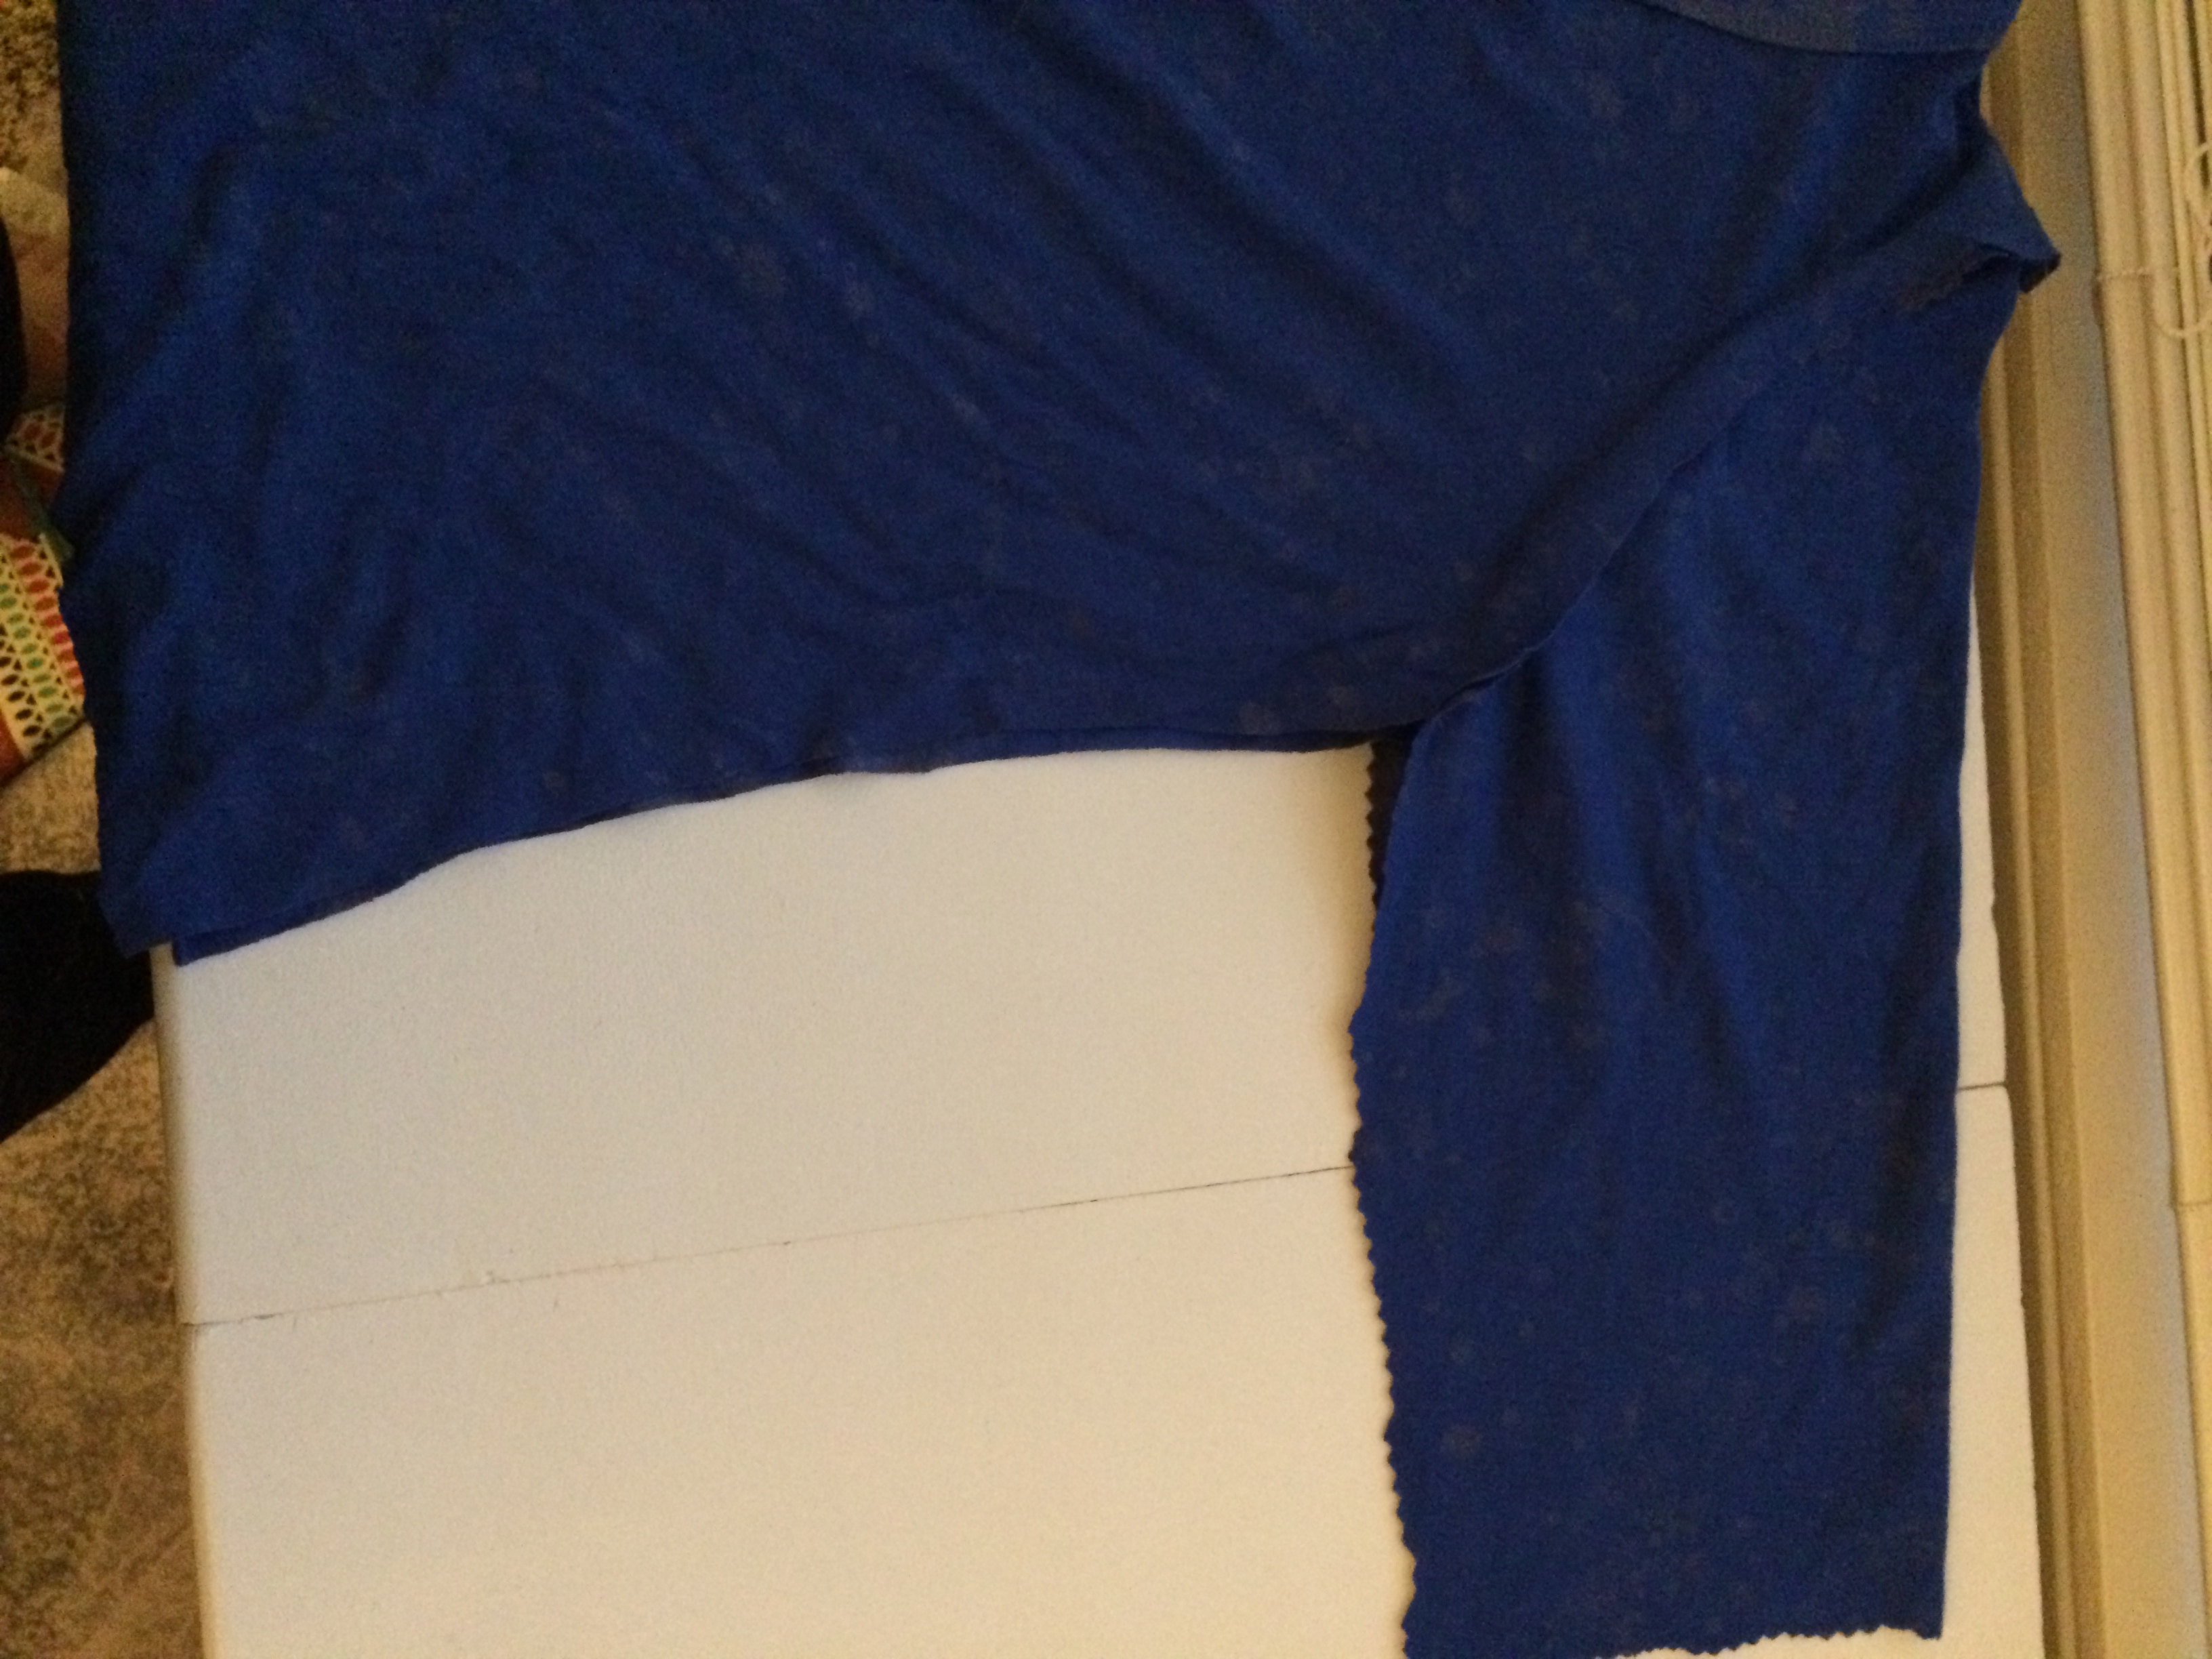
Hem your sleeve and your top is done!
Lets move on to the bottom!
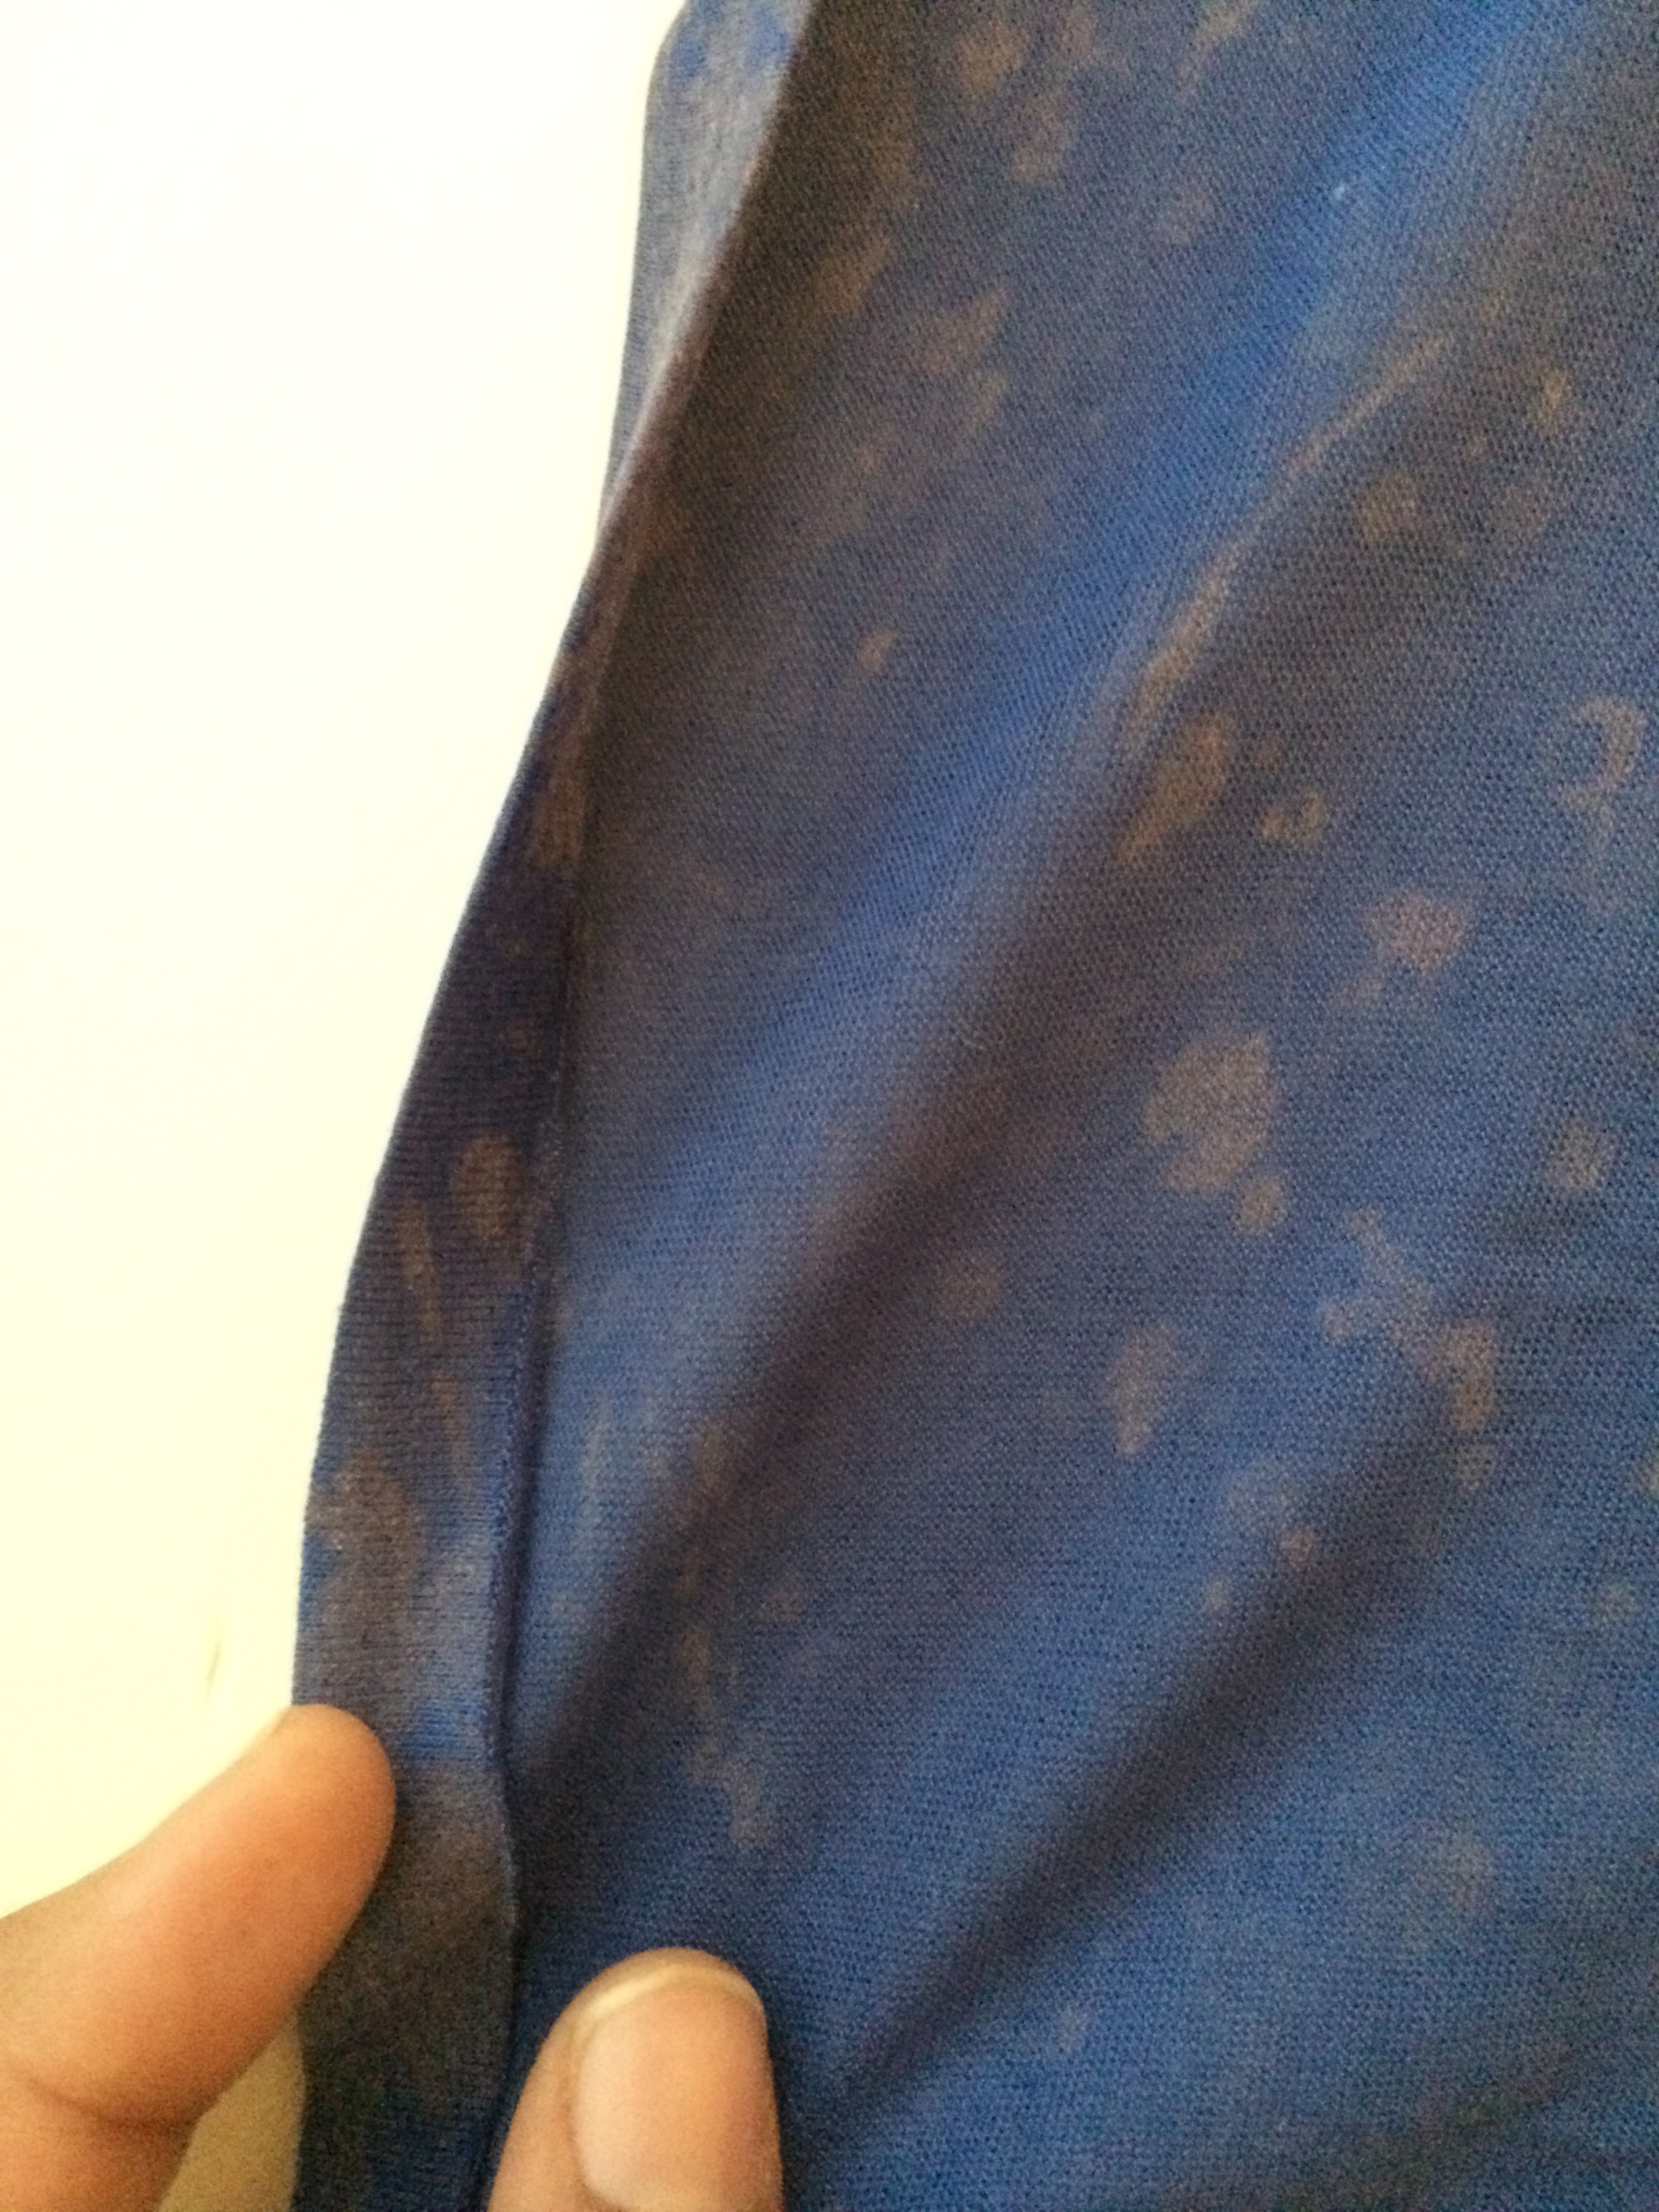
Hem the bottom folding 1/4″ in and then 1/2″. Iron neatly.
Sew gathering stitches (longest stitch on your machine) about 1/2″ from the top of the bottom piece. Pull the thread until it fits the bottom of the top part of the dress you just finished.
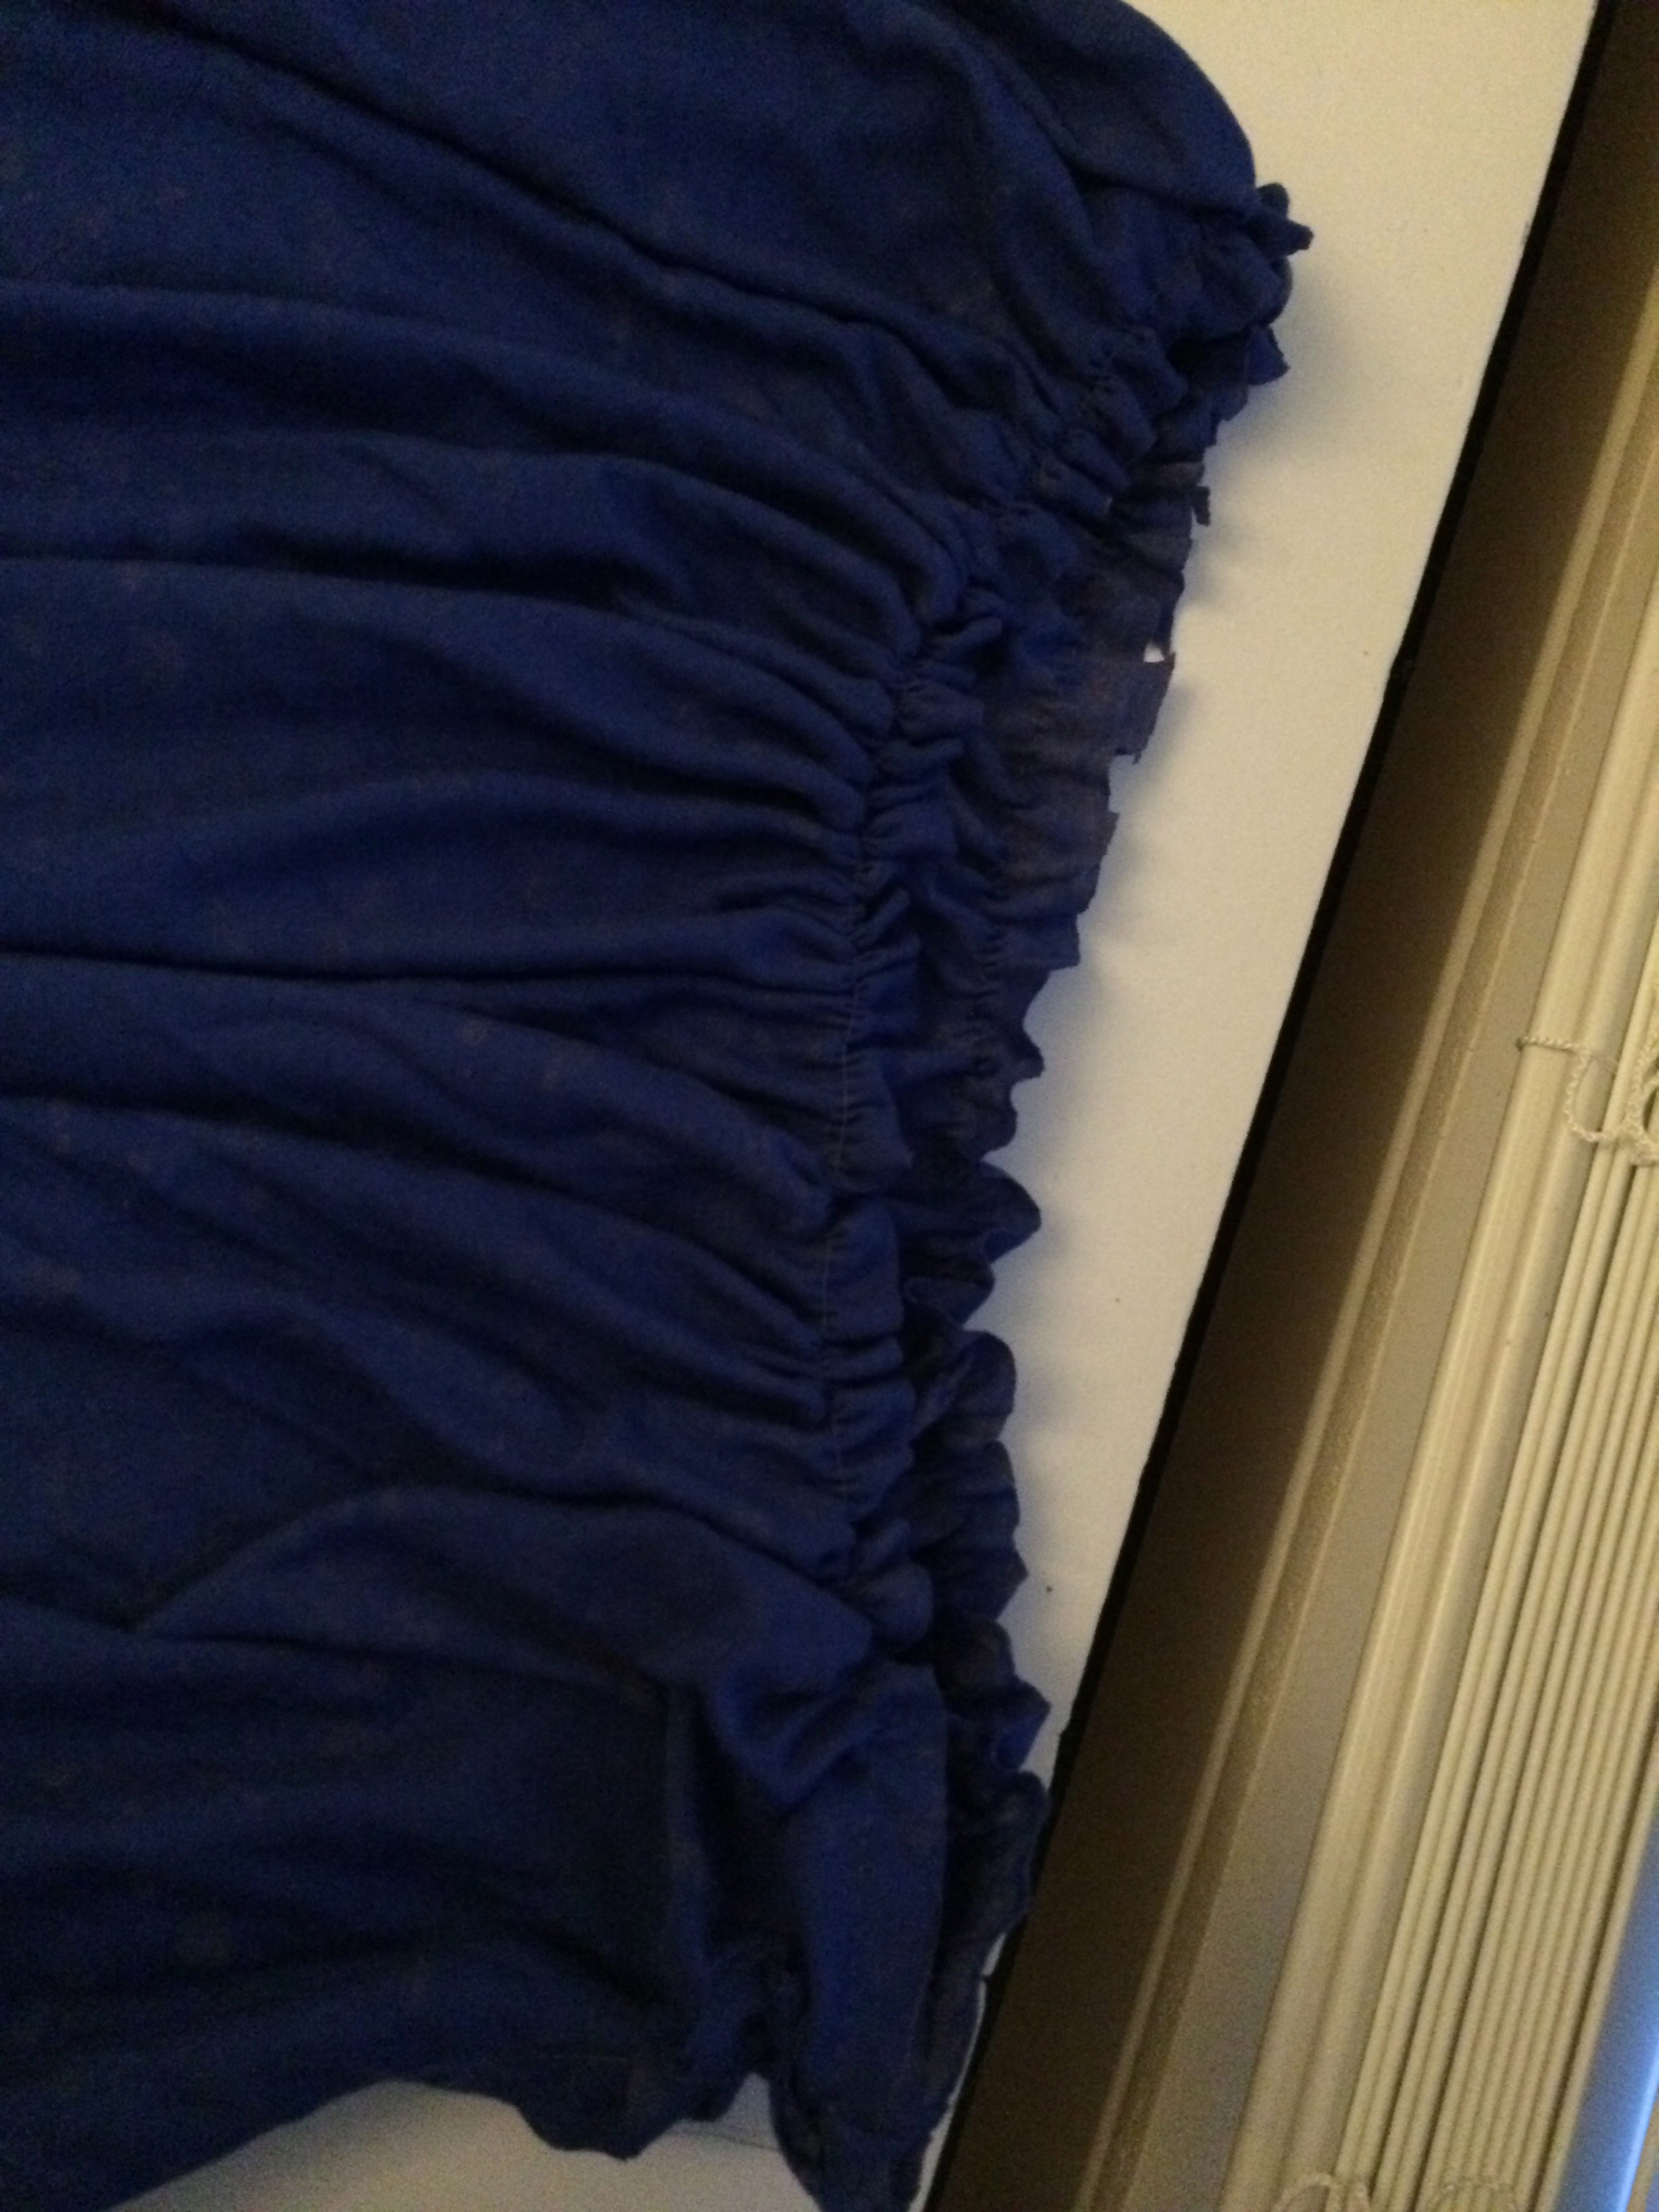

Pin and sew all the way around.
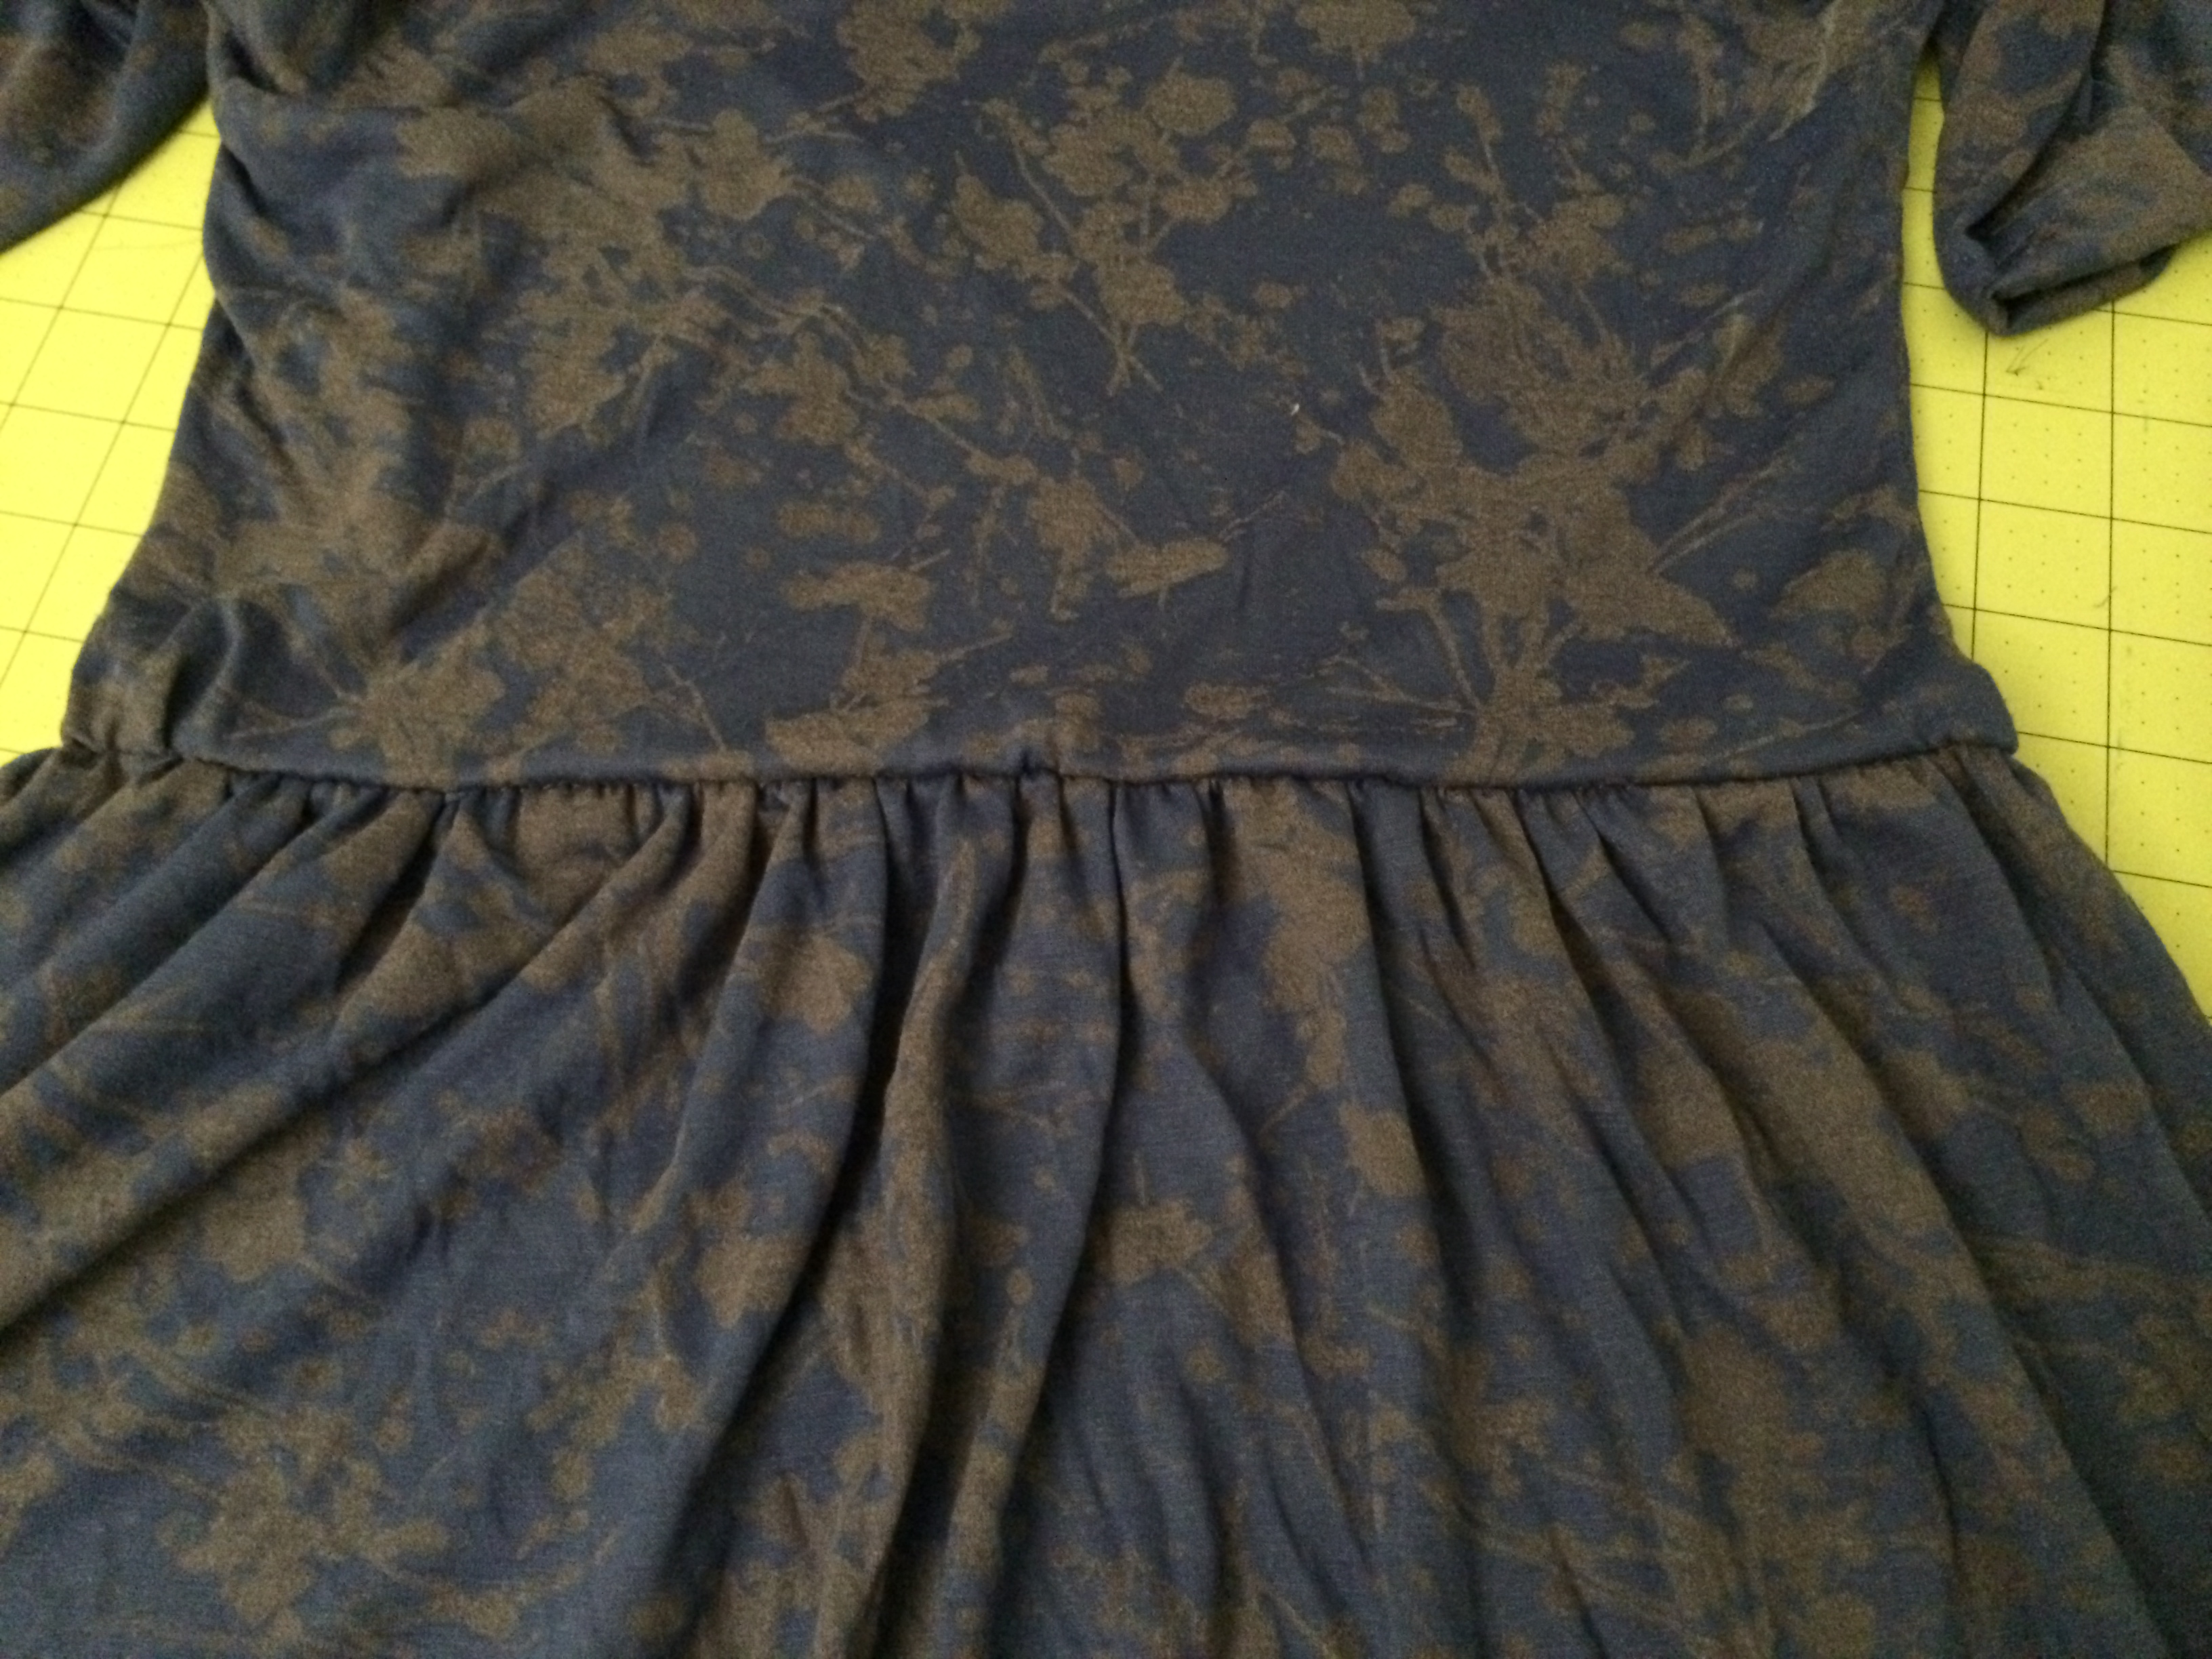
You are done! Enjoy your creation.
Thanks for visiting and Happy Sewing,
Remona