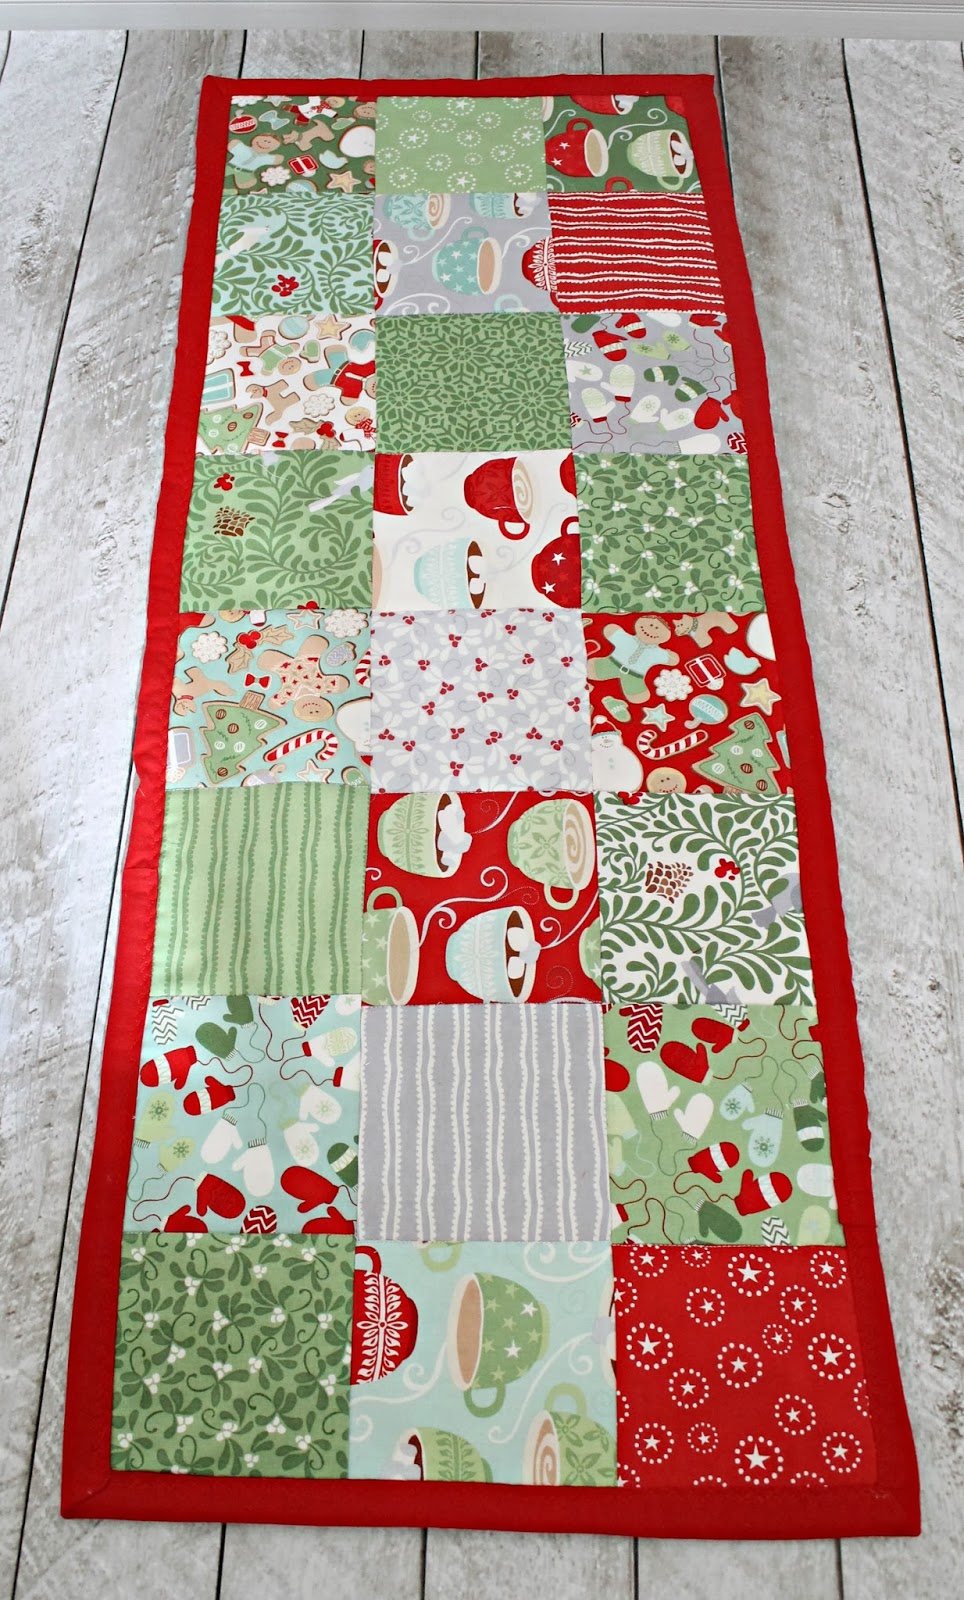
I am continuing my handmade Christmas gifts and this weekend, I decided to make a holiday table runner for Mila’s teacher at school. This is a super simple project to make and will really make a perfect gift this holiday season. For this runner I used Kate Spain’s in from the cold charm pack from Southern Fabrics. I love the Christmas colors and the designs on this collection. It will look stunning coordinated with any color utensils during holiday meals. On top of being gorgeous Southern Fabrics has it on sale now along with tons of other pretty designs and patterns for all your holiday handmade gifts. This table runner fits a 4ft long table perfectly and the pattern can be adjusted for larger tables. Its a great beginner sewing and quilting project which only took about an hour to make and since I bought my charm pack on sale at Southern Fabrics, the entire runner cost about $15. Learn how to make a simple table runner.


Here is what you need for this simple table runner (2.5ft x 1ft)
Step 1
Lay out 24 of your pieces in whatever pattern looks good to you, forming 3 rows with 8 pieces in each row.. If you want a larger runner, use more of your charm pieces.

Step 2
Next, sew your 3 rows together by sewing each piece right side together to the other one until you reach the end. Starch and iron your work.

Step 3
Next, sew your 3 rows together to form one big piece. Again, sew right side together. Starch and iron.


Step 4
Form a quilt sandwich with the batting in the middle and the design and solid cotton pieces on the outside.


Step 5
Pin through your layers every 5″. You may be able to get away without pinning if you hold your pieces together. The batting will hold it in place.

Step 6
Take your runner to the machine and sew in between each column so that you sew down 6 times. You will want to start in the middle and work your way outwards. I sew in between each column so that my stitches are hidden. The technique is called “stitch in the ditch”. Once you sew all your columns, cut out your extra batting and back pieces.

Step 7
Take your 3″ strip and fold in two and iron down. Here is a great video on how to put binding on. I machine quilt which means I don’t hand sew the binding on. In that case, I sew my binding on the back first and then fold it over and machine sew it on the front with a nice stitch. Its that simple! Enjoy your masterpiece.