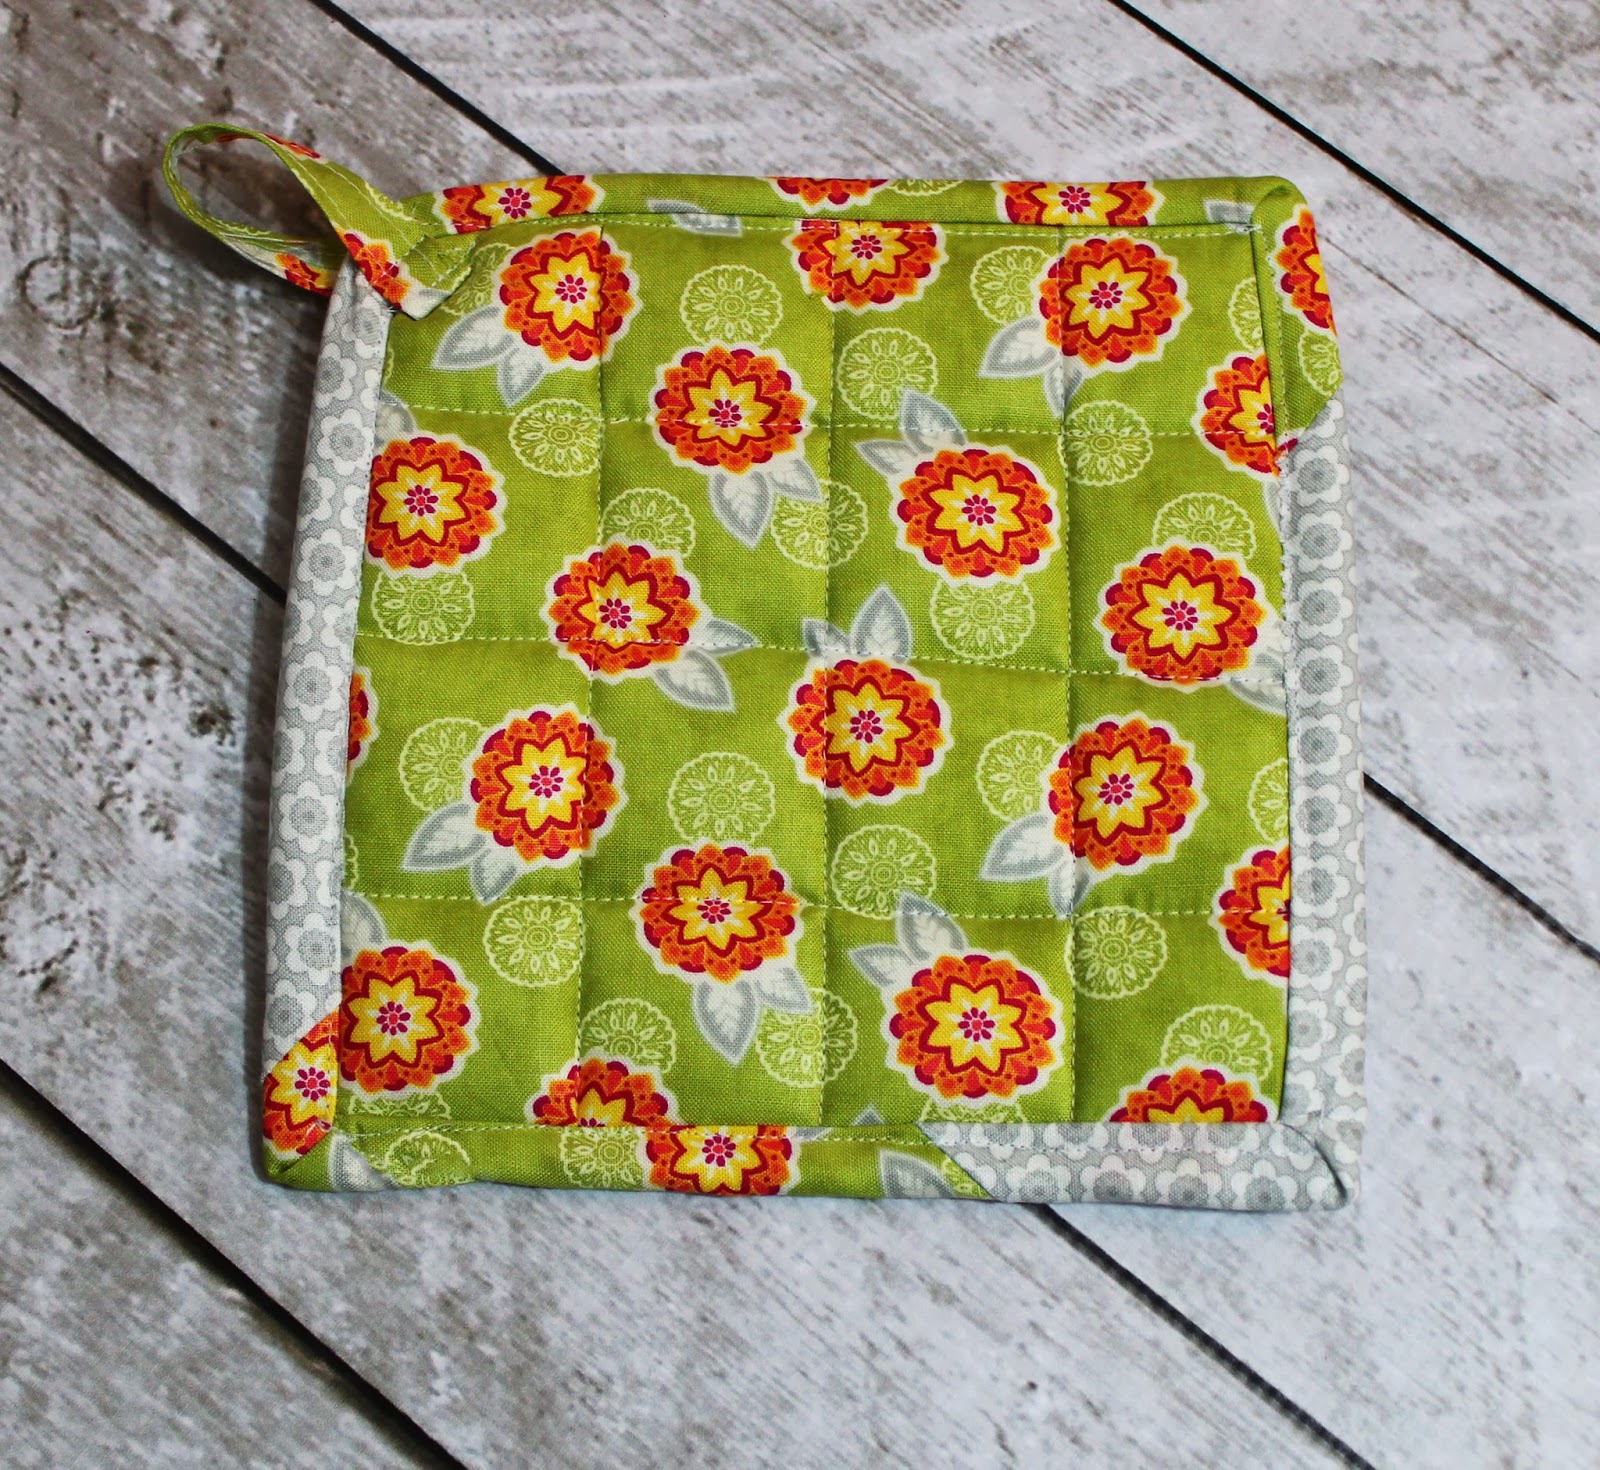
These may just be the absolute easiest handmade sewing gift to make this holiday season. They take under 30 minutes to make and can be personalized for the perfect little gift. I am planning on doing a ton of these to give to my work collegues this year. They can be made with 2 cake layers 10″squares squares and batting. You can also make them bigger for hot pads or as small table mats. Each pot holder ended up measuring 6″x 6″ which is a nice medium size that will work for most people. Learn How to make Pot Holders!
For these pot holders I used two cake layers from High Street by Lily Ashbury as featured in a post I did a few weeks back. The colors are stunning!


Here is what you need to make these pot holders
Step 1
Take your two 10″ squares and cut it into a 6″ square for which ever one you want to be in the front. Cut an 7″ square for the back. Cut 7″ square of thick batting

Step 2
Layer you outer, batting and inner pieces in a sandwich.
 |
| Using thick batting |
 |
| Using thin batting |
Step 3
Starting from the middle, sew parallel lines down your sandwich. I did ~1″ spacing in between each line.


Step 4
Cut out the extra pieces of batting and back piece.


Step 5
Take your remaining pieces from your original 10″ squares and cut them in 2″ strips. Sew your strips right sides together to form one long 20″ strip. Fold in one top end of the strip about 1/2″ in and iron. This will be your starting point when you sew it on your pot holder. Take your strip and fold in in the middle, ironing with starch.


Step 6
Take your strip and fold in in the middle, ironing with starch. Starting from the back side of your pot holder, align the edge of your binding to the edge of the pot holder. Leave about 2″ unsewn. Sew down all the way down using about 1/4″ seam allowance.


Step 7
When you reach the end, you will form a triangle and then fold down to form a square. Continue sewing down until you reach the other end. See pictures below:


Step 8


Step 9
Fold over your binding towards the right side and sew down using one of your decorative stitches. Once you reach the ends, you will form triangles as seen below.


Step 10
You can add a simple loop if you want for hanging or leave it without. That’s it! Easy Peasy!