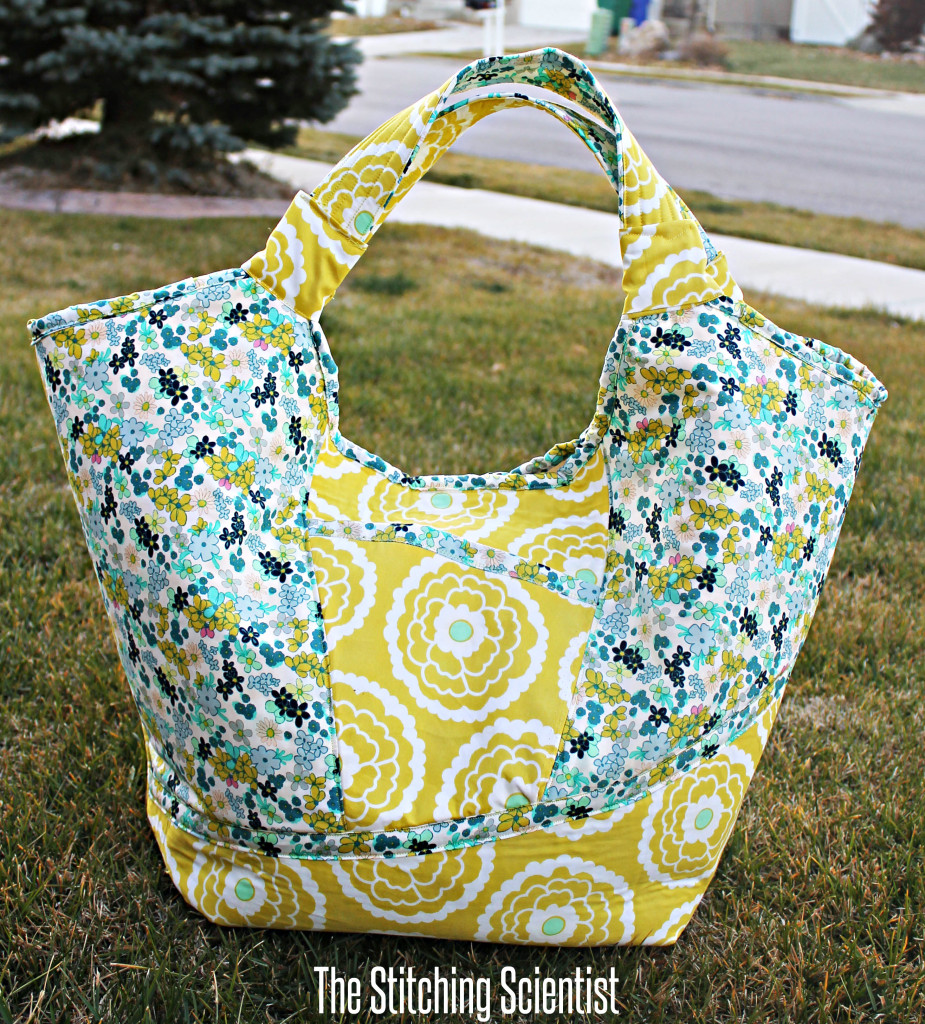
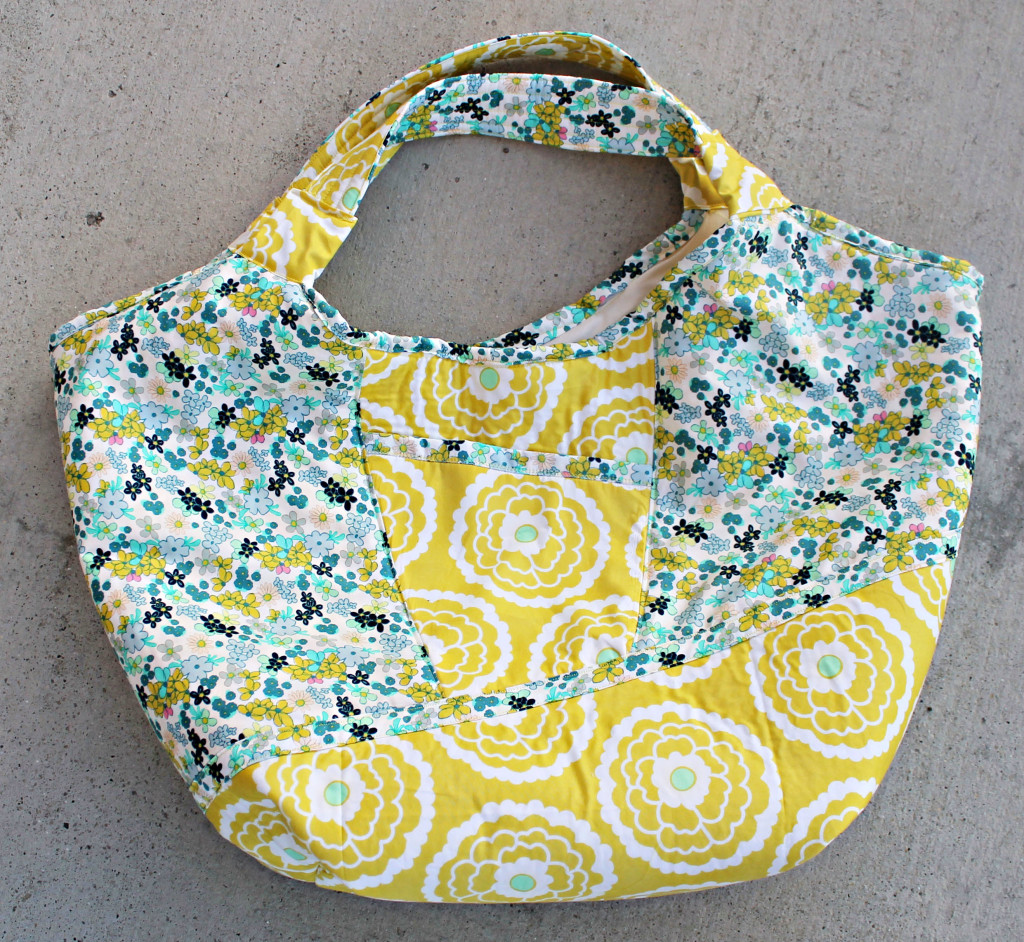
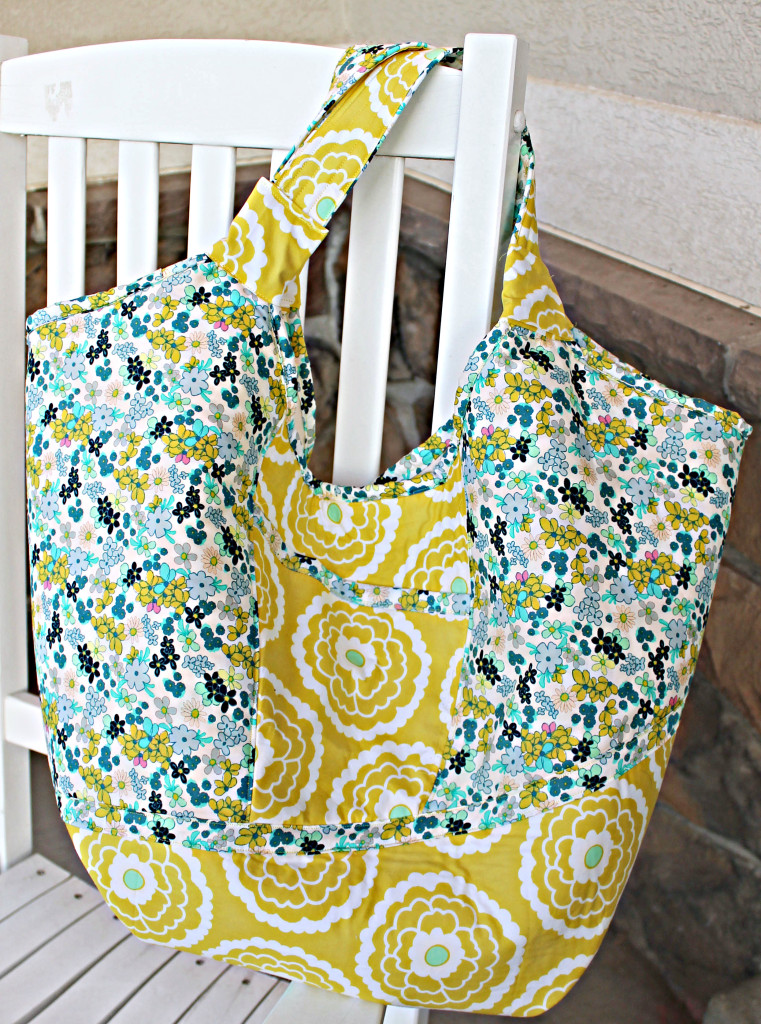
As you all know by now, if you have been following my posts…I am a bag addict. A girl can never have too many bags, right? When I received these gorgeous fabrics from Designer Pat Bravo, I knew I had to create something that will bring out the beauty in each of the floral patterns on the fabrics as well as highlight how well they compliment each other. The main outer fabric which is on the bottom is called “Girl about town lime” and the complimentary fabric is called “Ladylike green tea”. They are from Pat Bravo’s Carnaby Street line. I absolutely love the designs from Carnaby St. Pat did an amazing job designing this line. It features subtle, cool and soft colors with a perfect blend of abstract, florals and shapes. Like the two designs featured in this tutorial, all of the designs in the entire line coordinate really well with each other. You really can just pick up any two or more designs and not have to worry on how well they will pair with each other. This bag is like the name says; a carry all bag. Measuring ~20″ long X 14″ high, its a lot bigger than I am used to, but will definitely come in handy on overnight trips or trips to the beach. It uses 1 yard of each of the fabrics plus lining and interfacing. Its a pretty simple pattern using a standard u-shaped template with two overlays. I originally wanted to do a u-shaped bag with a floral overlay but couldn’t settle on a design I love, so I went with this double overlay pattern. I really love how it turned out. I have to say, I am loving Carnaby and plan on buying some more yardage for some of my other upcoming projects. Here is my pretty Carnaby Carry All Bag. Enjoy the free bag patterns.
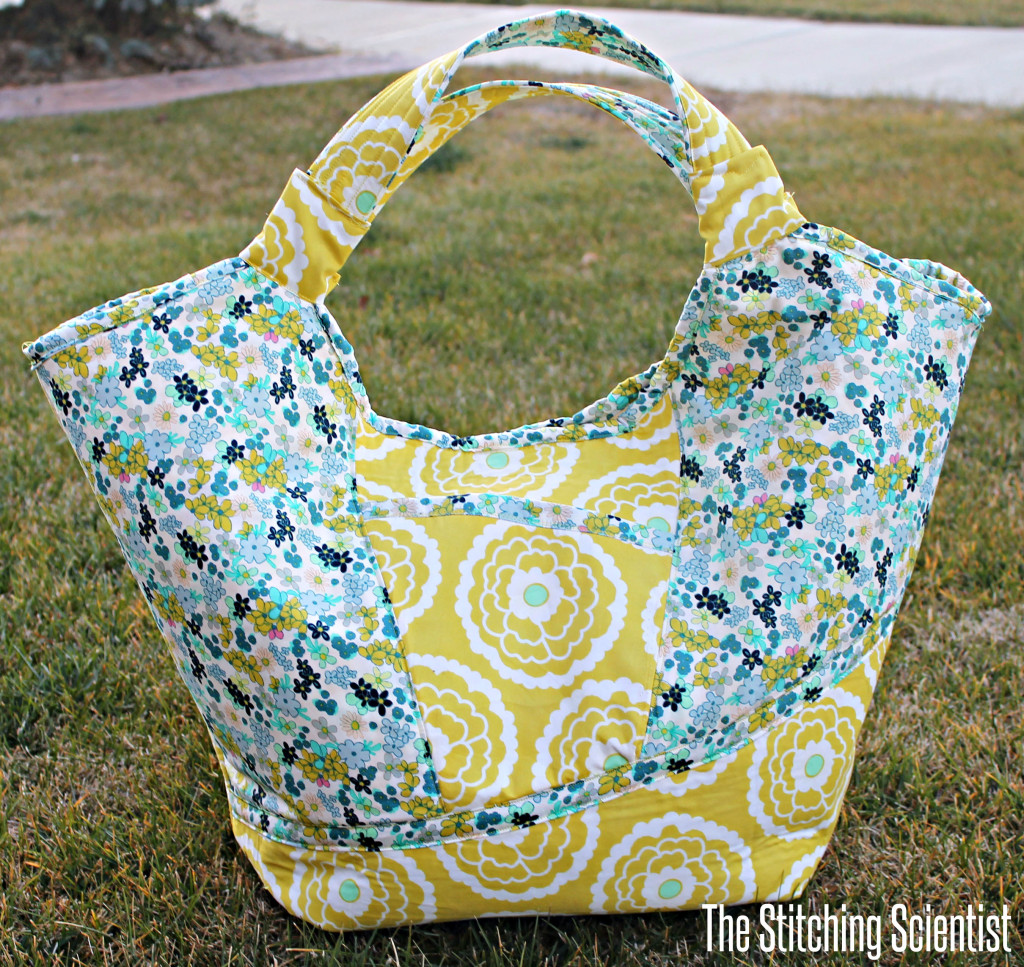
It is freezing in the Mid-west so I ran outside, set the bag on the lawn and took as may pics as I could before shivering:-), so sorry for the street background. I couldn’t decide on which ones to use, so I am showing you all the pictures I took:-)
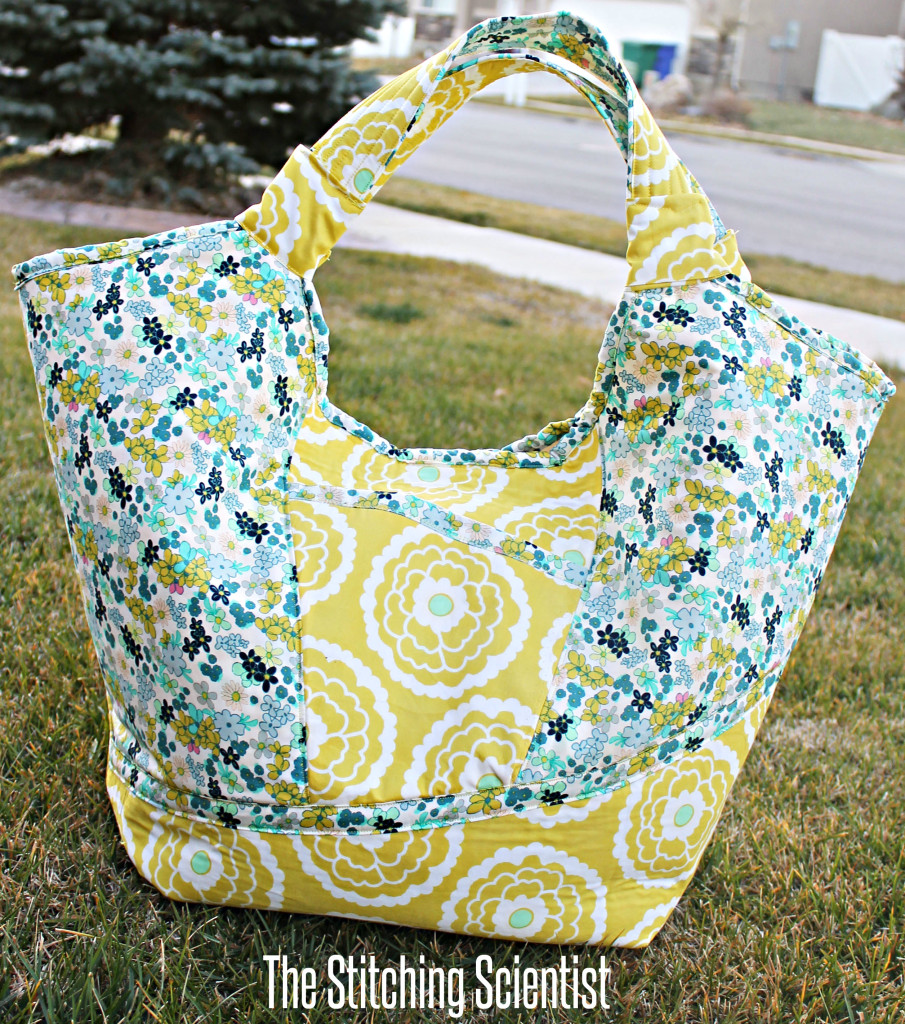
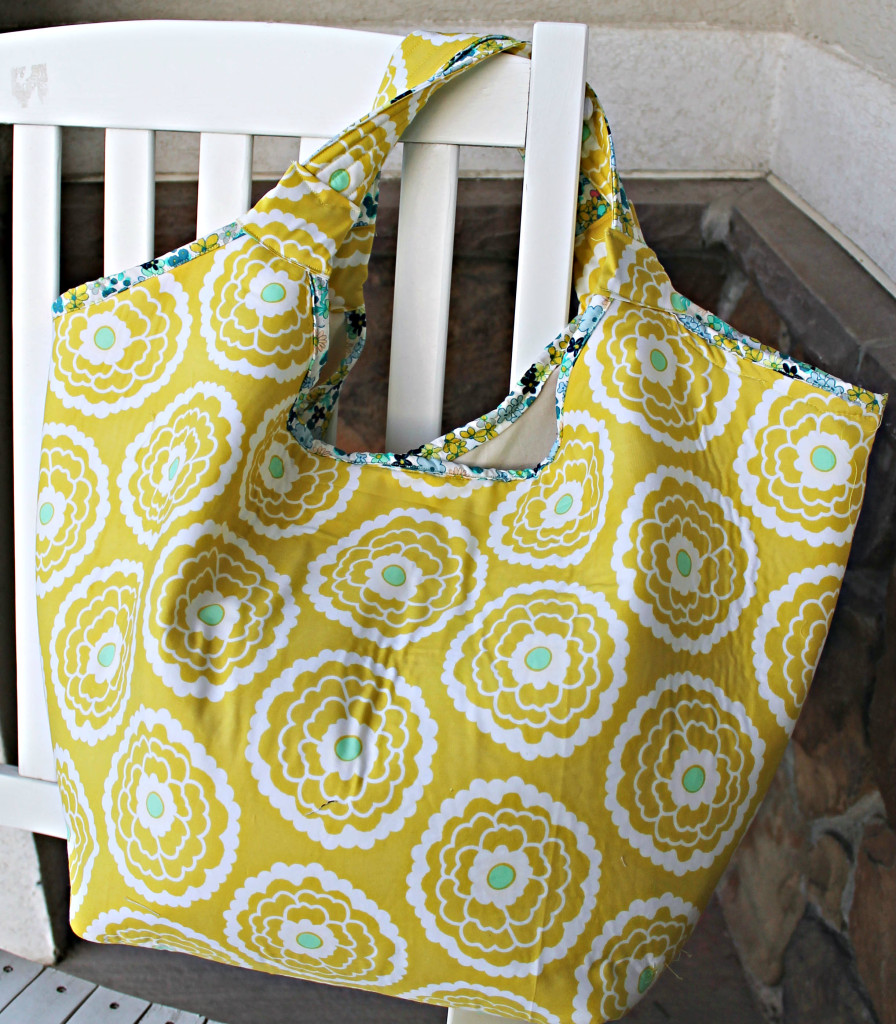
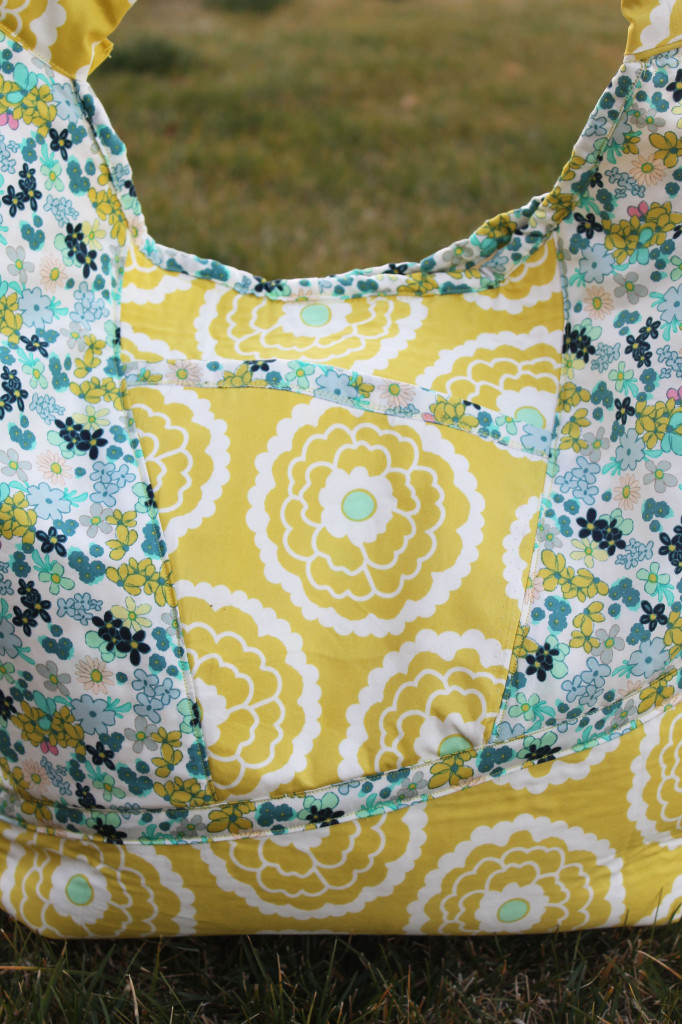
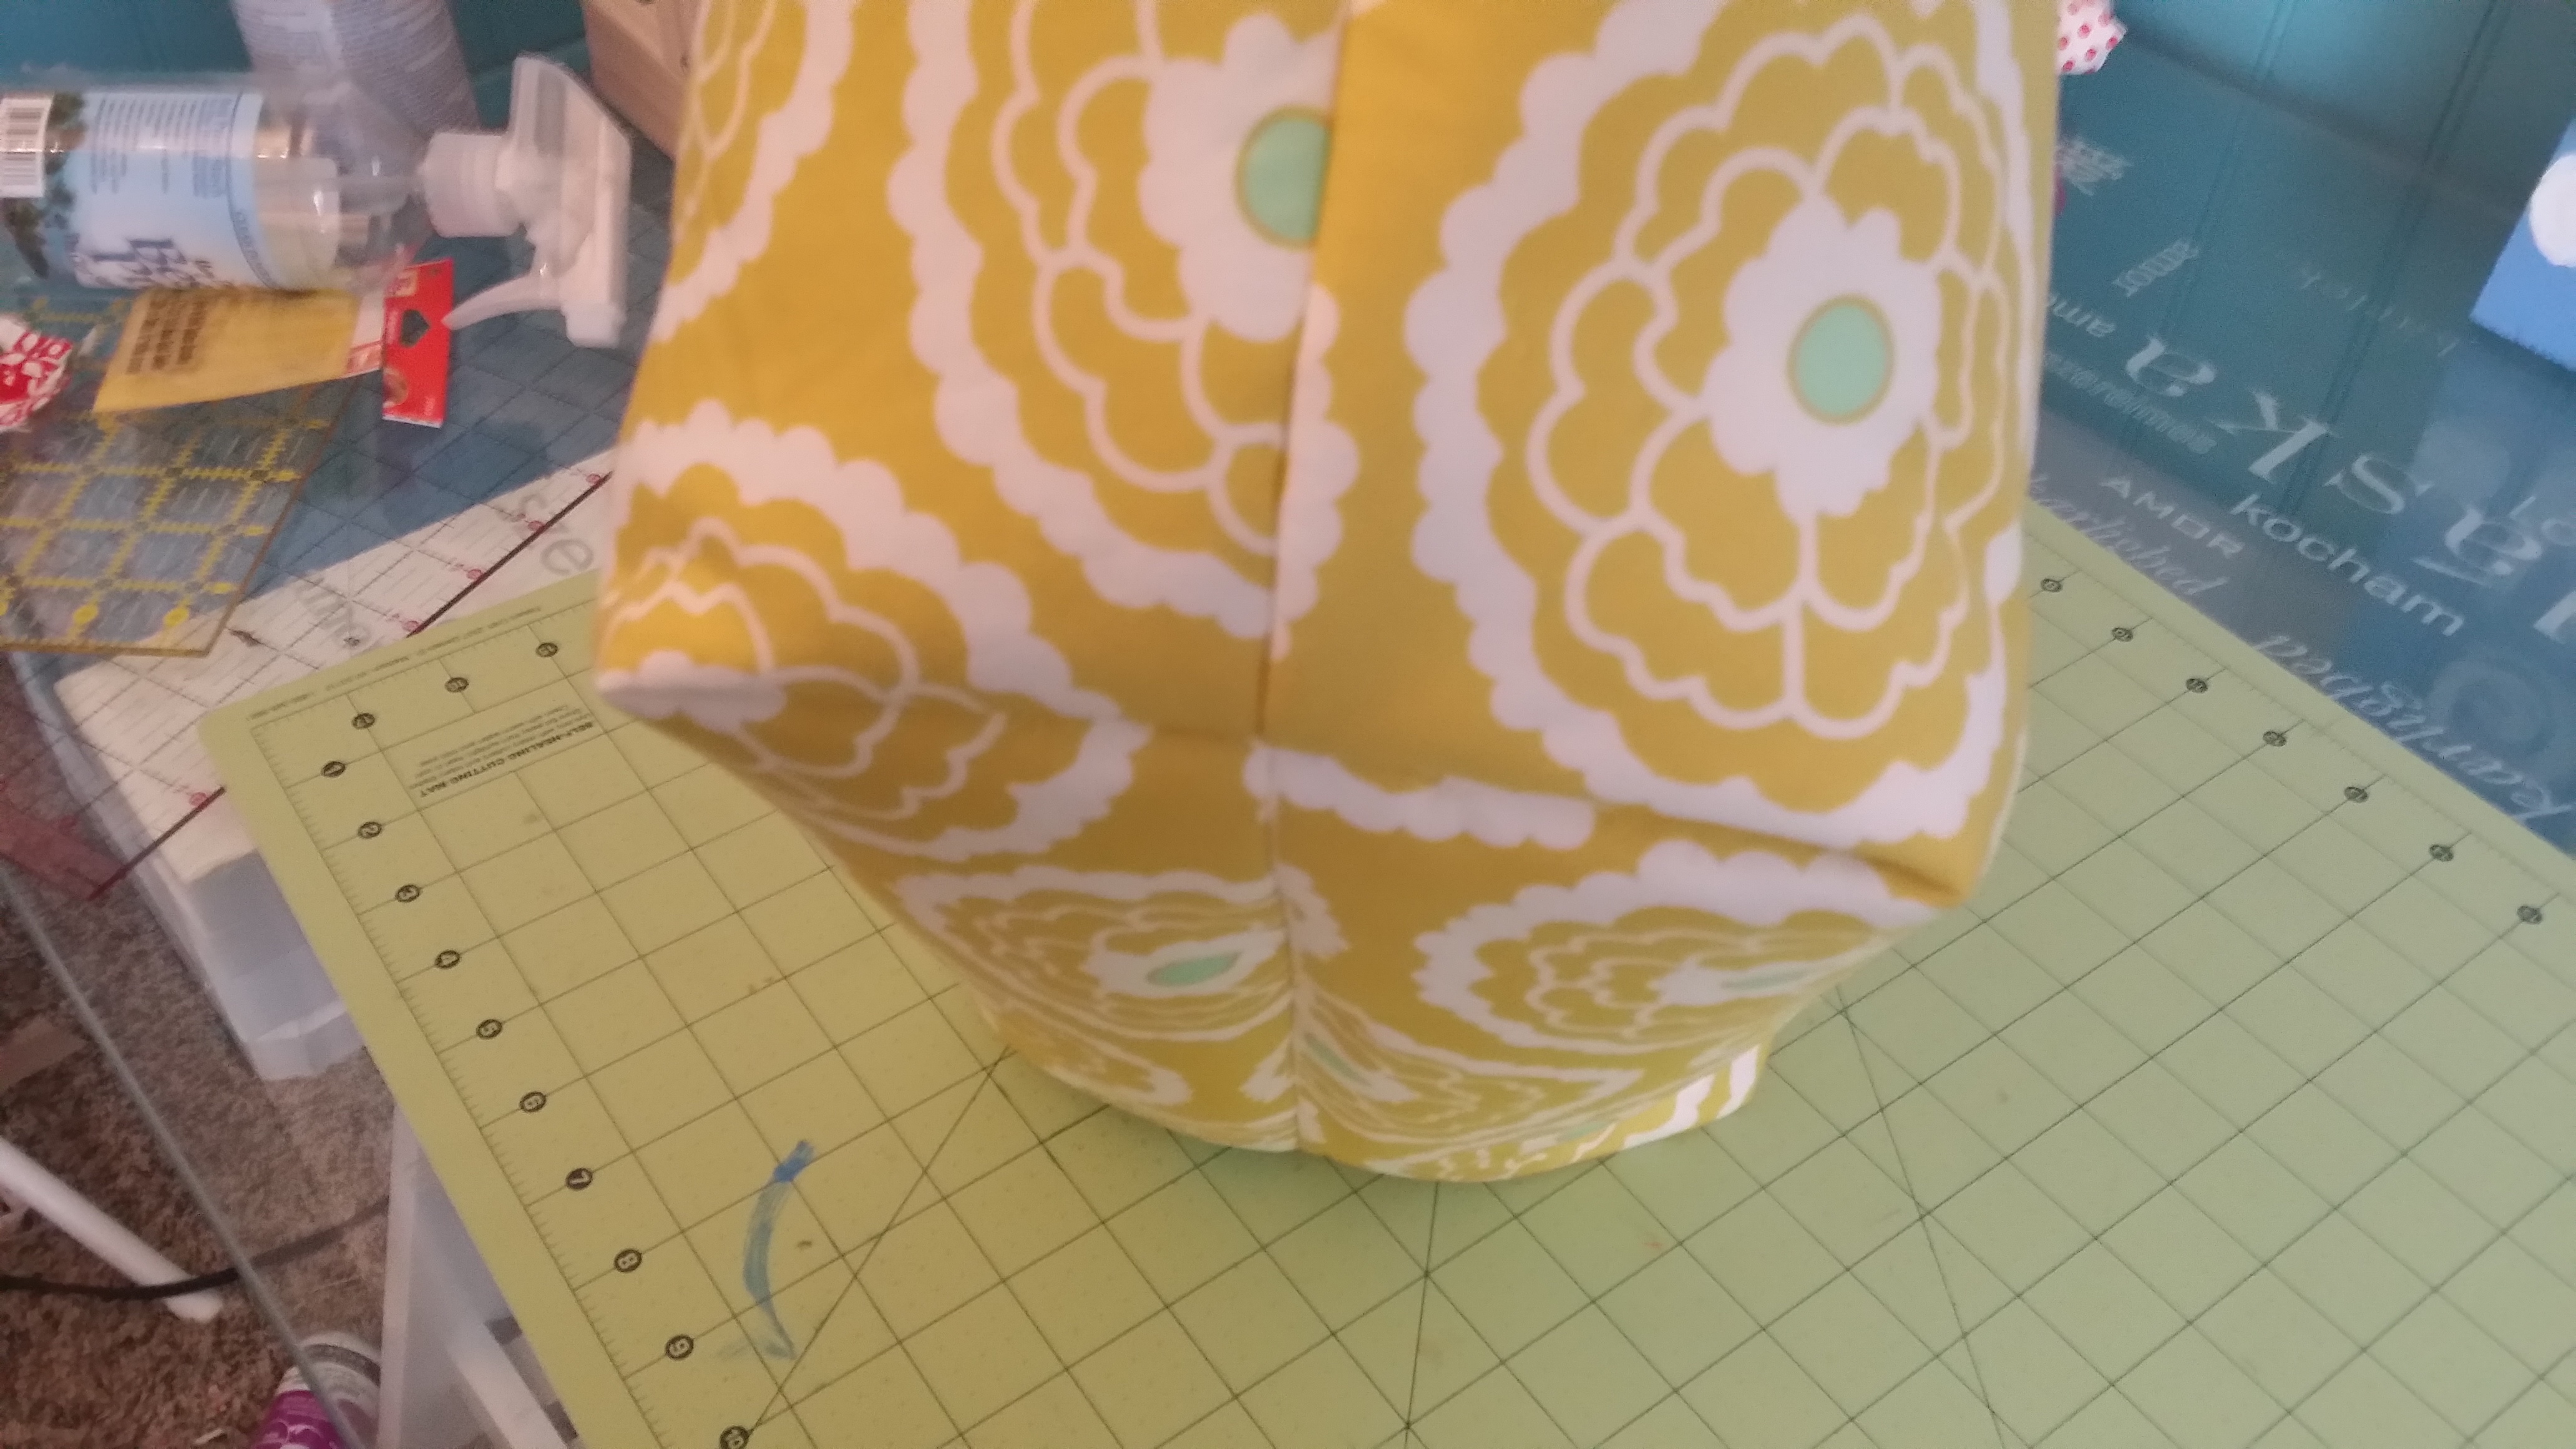
I decided not to put a closure on the bag since it seamed to hold up pretty well when filled. I may add a flap or Velcro later but for now, I think its functional as is. Here is what the back looks like with just the Girl about town lime fabric design. I think the big floral pattern worked well as the main fabric for the bag.
I initially thought about doing one large pocket in the front and then overlaying the pocket but changed my mind last minute. I think the little pocket in the middle brings out the beauty in the Ladylike green tea fabric pattern.
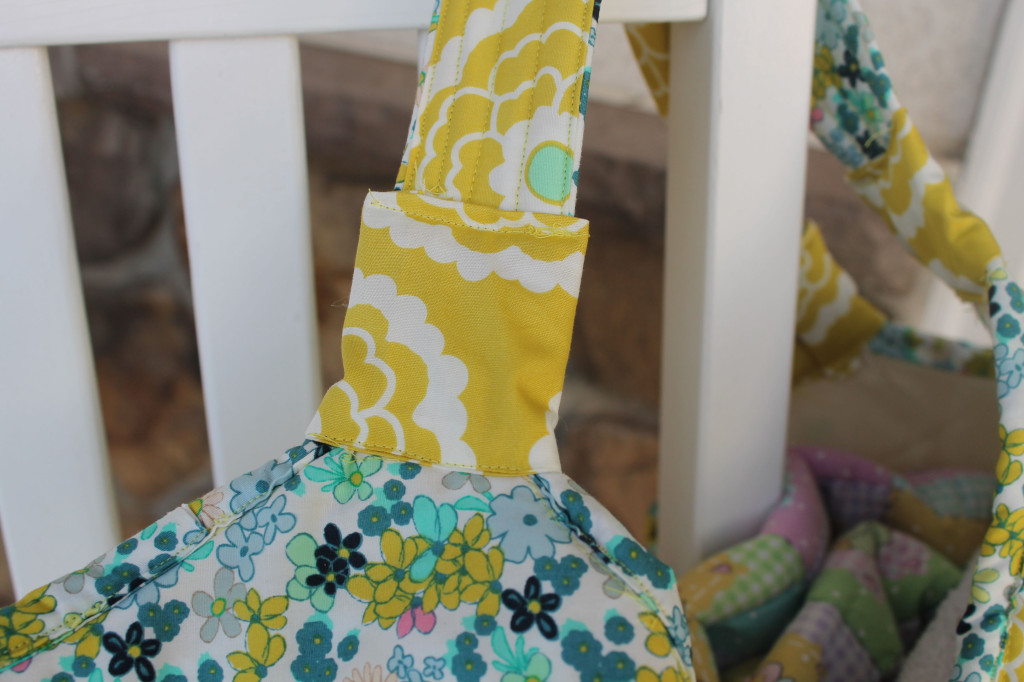
For the straps, I covered them in tubes. I would have liked them to be neater but overall I don’t think they look that bad.
So, there you have it…The Carnaby Carry All Bag. Please post pics of the ones you create so I can see and share.
To make this bag you need:
1 yard main fabric
1 yard coordinating fabric
1 yard lining
1 yard fleece interfacing
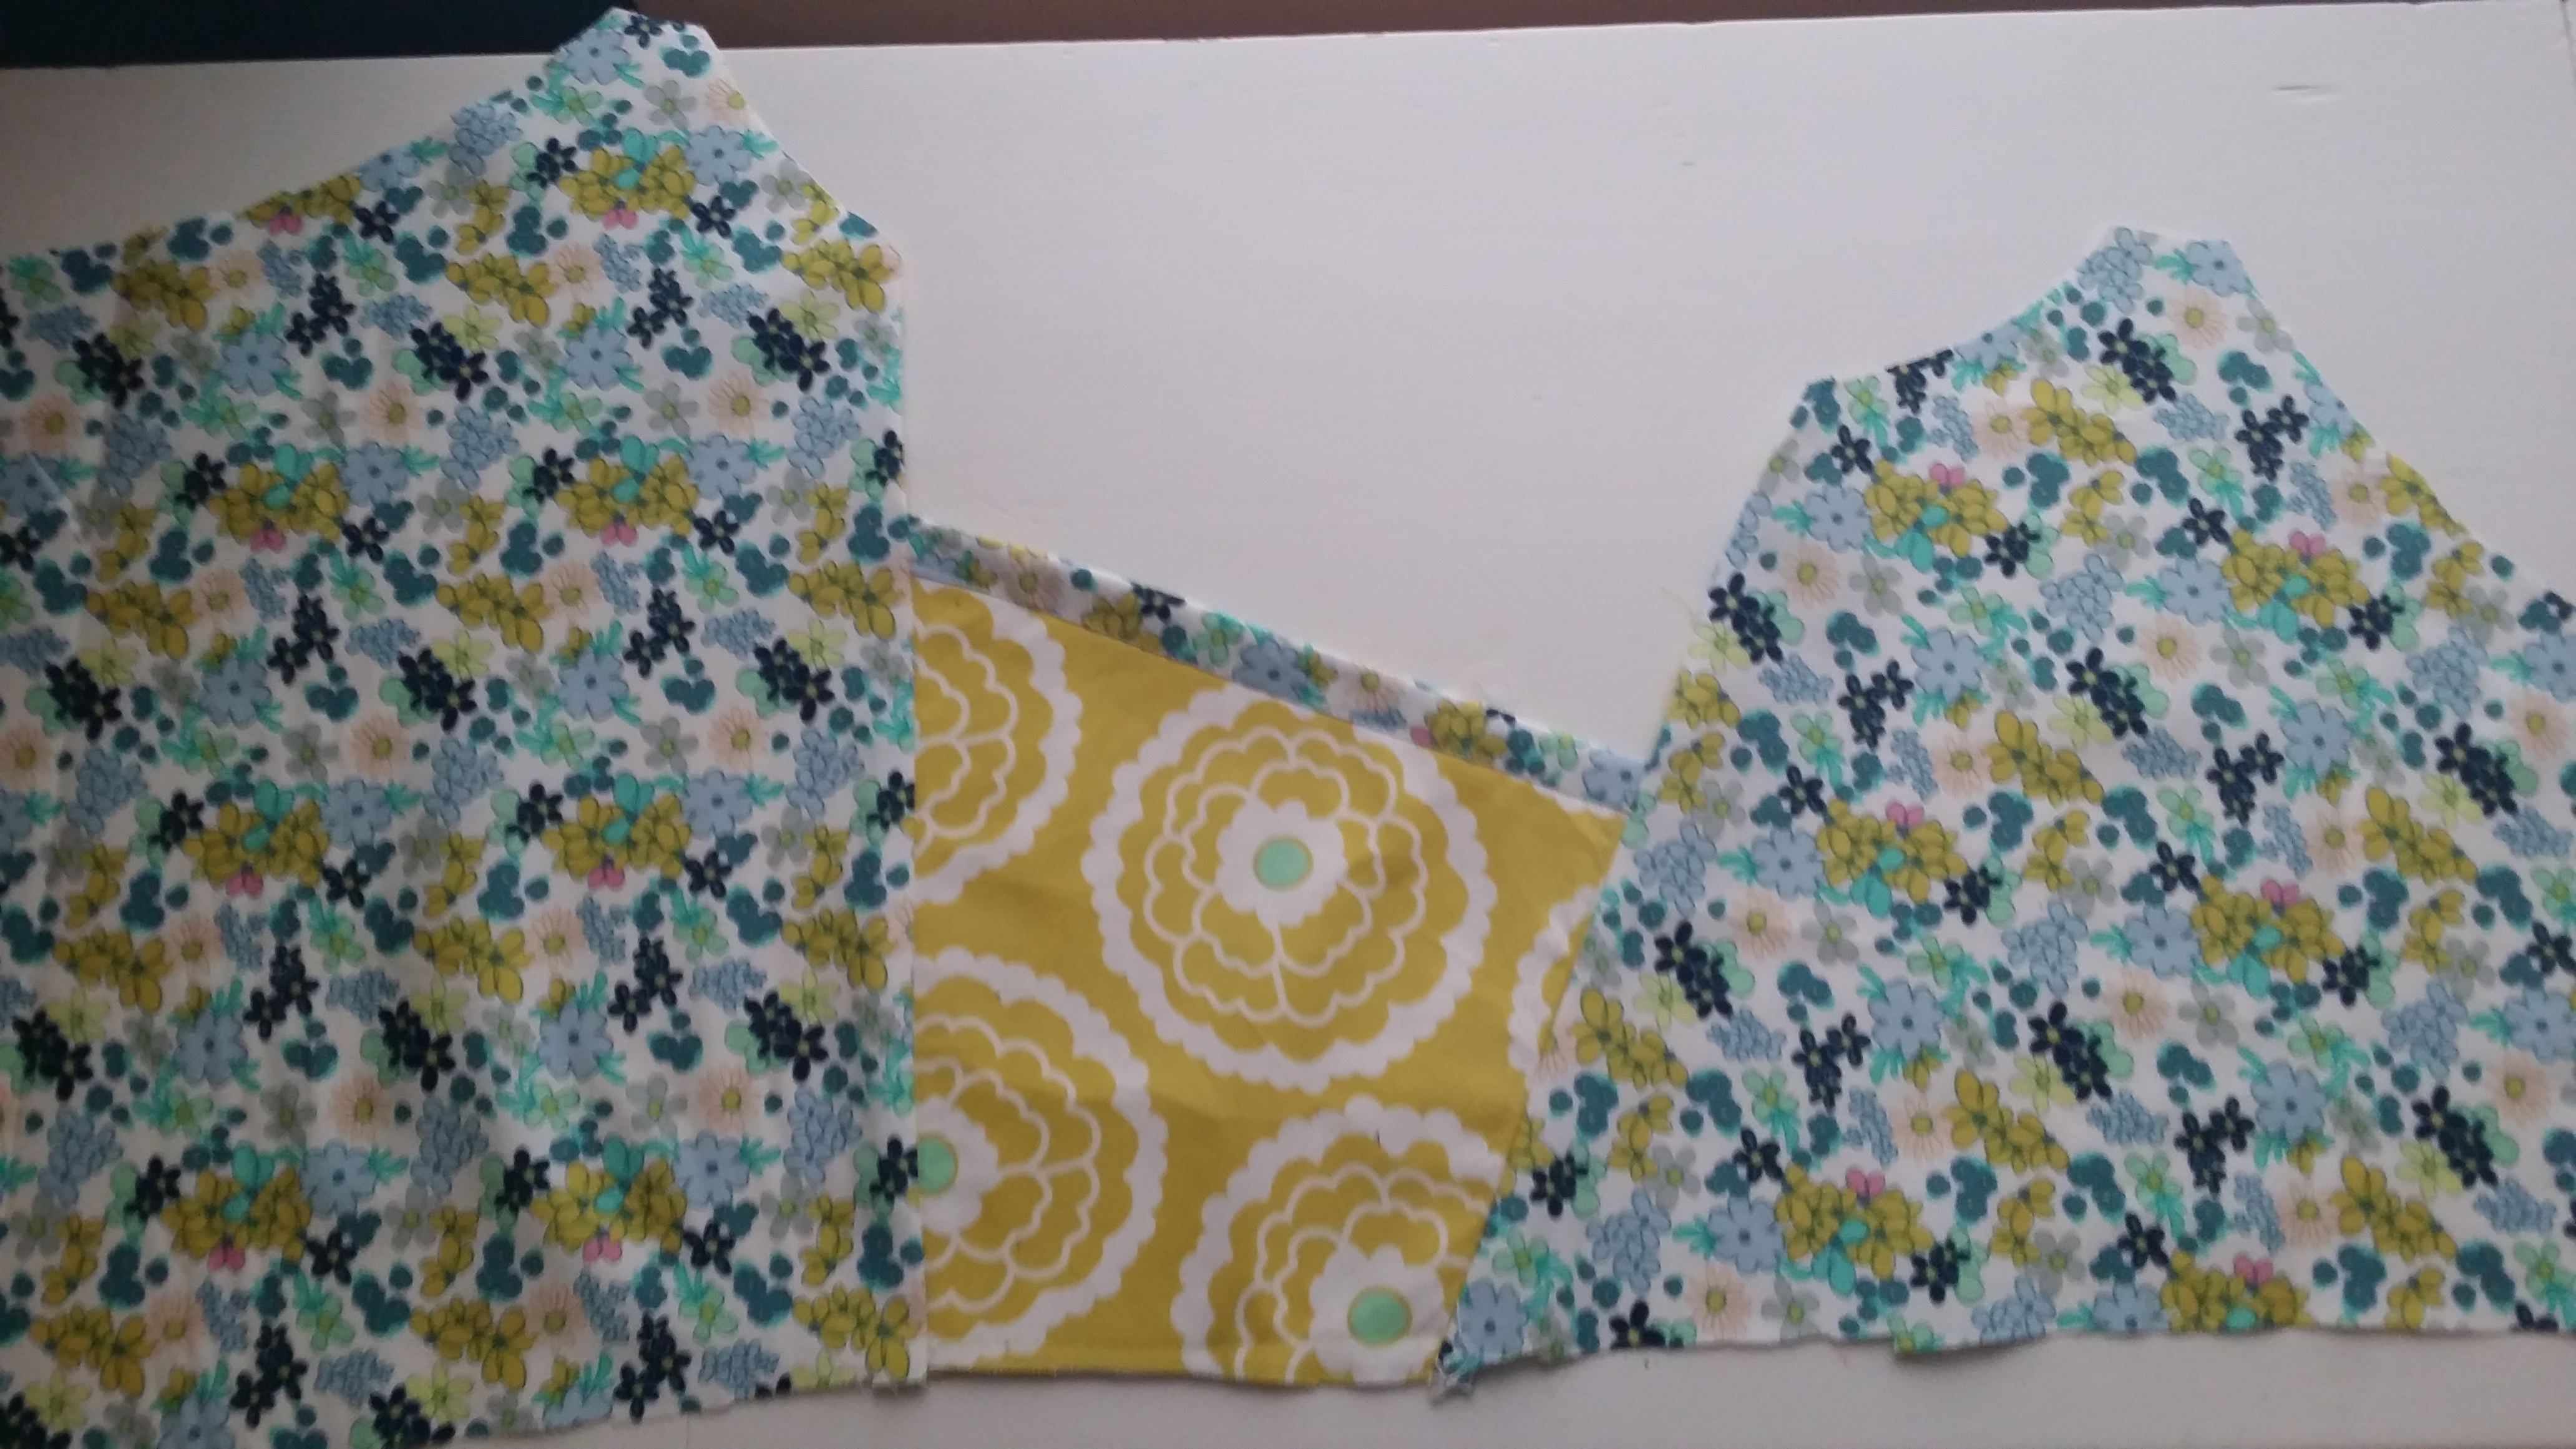
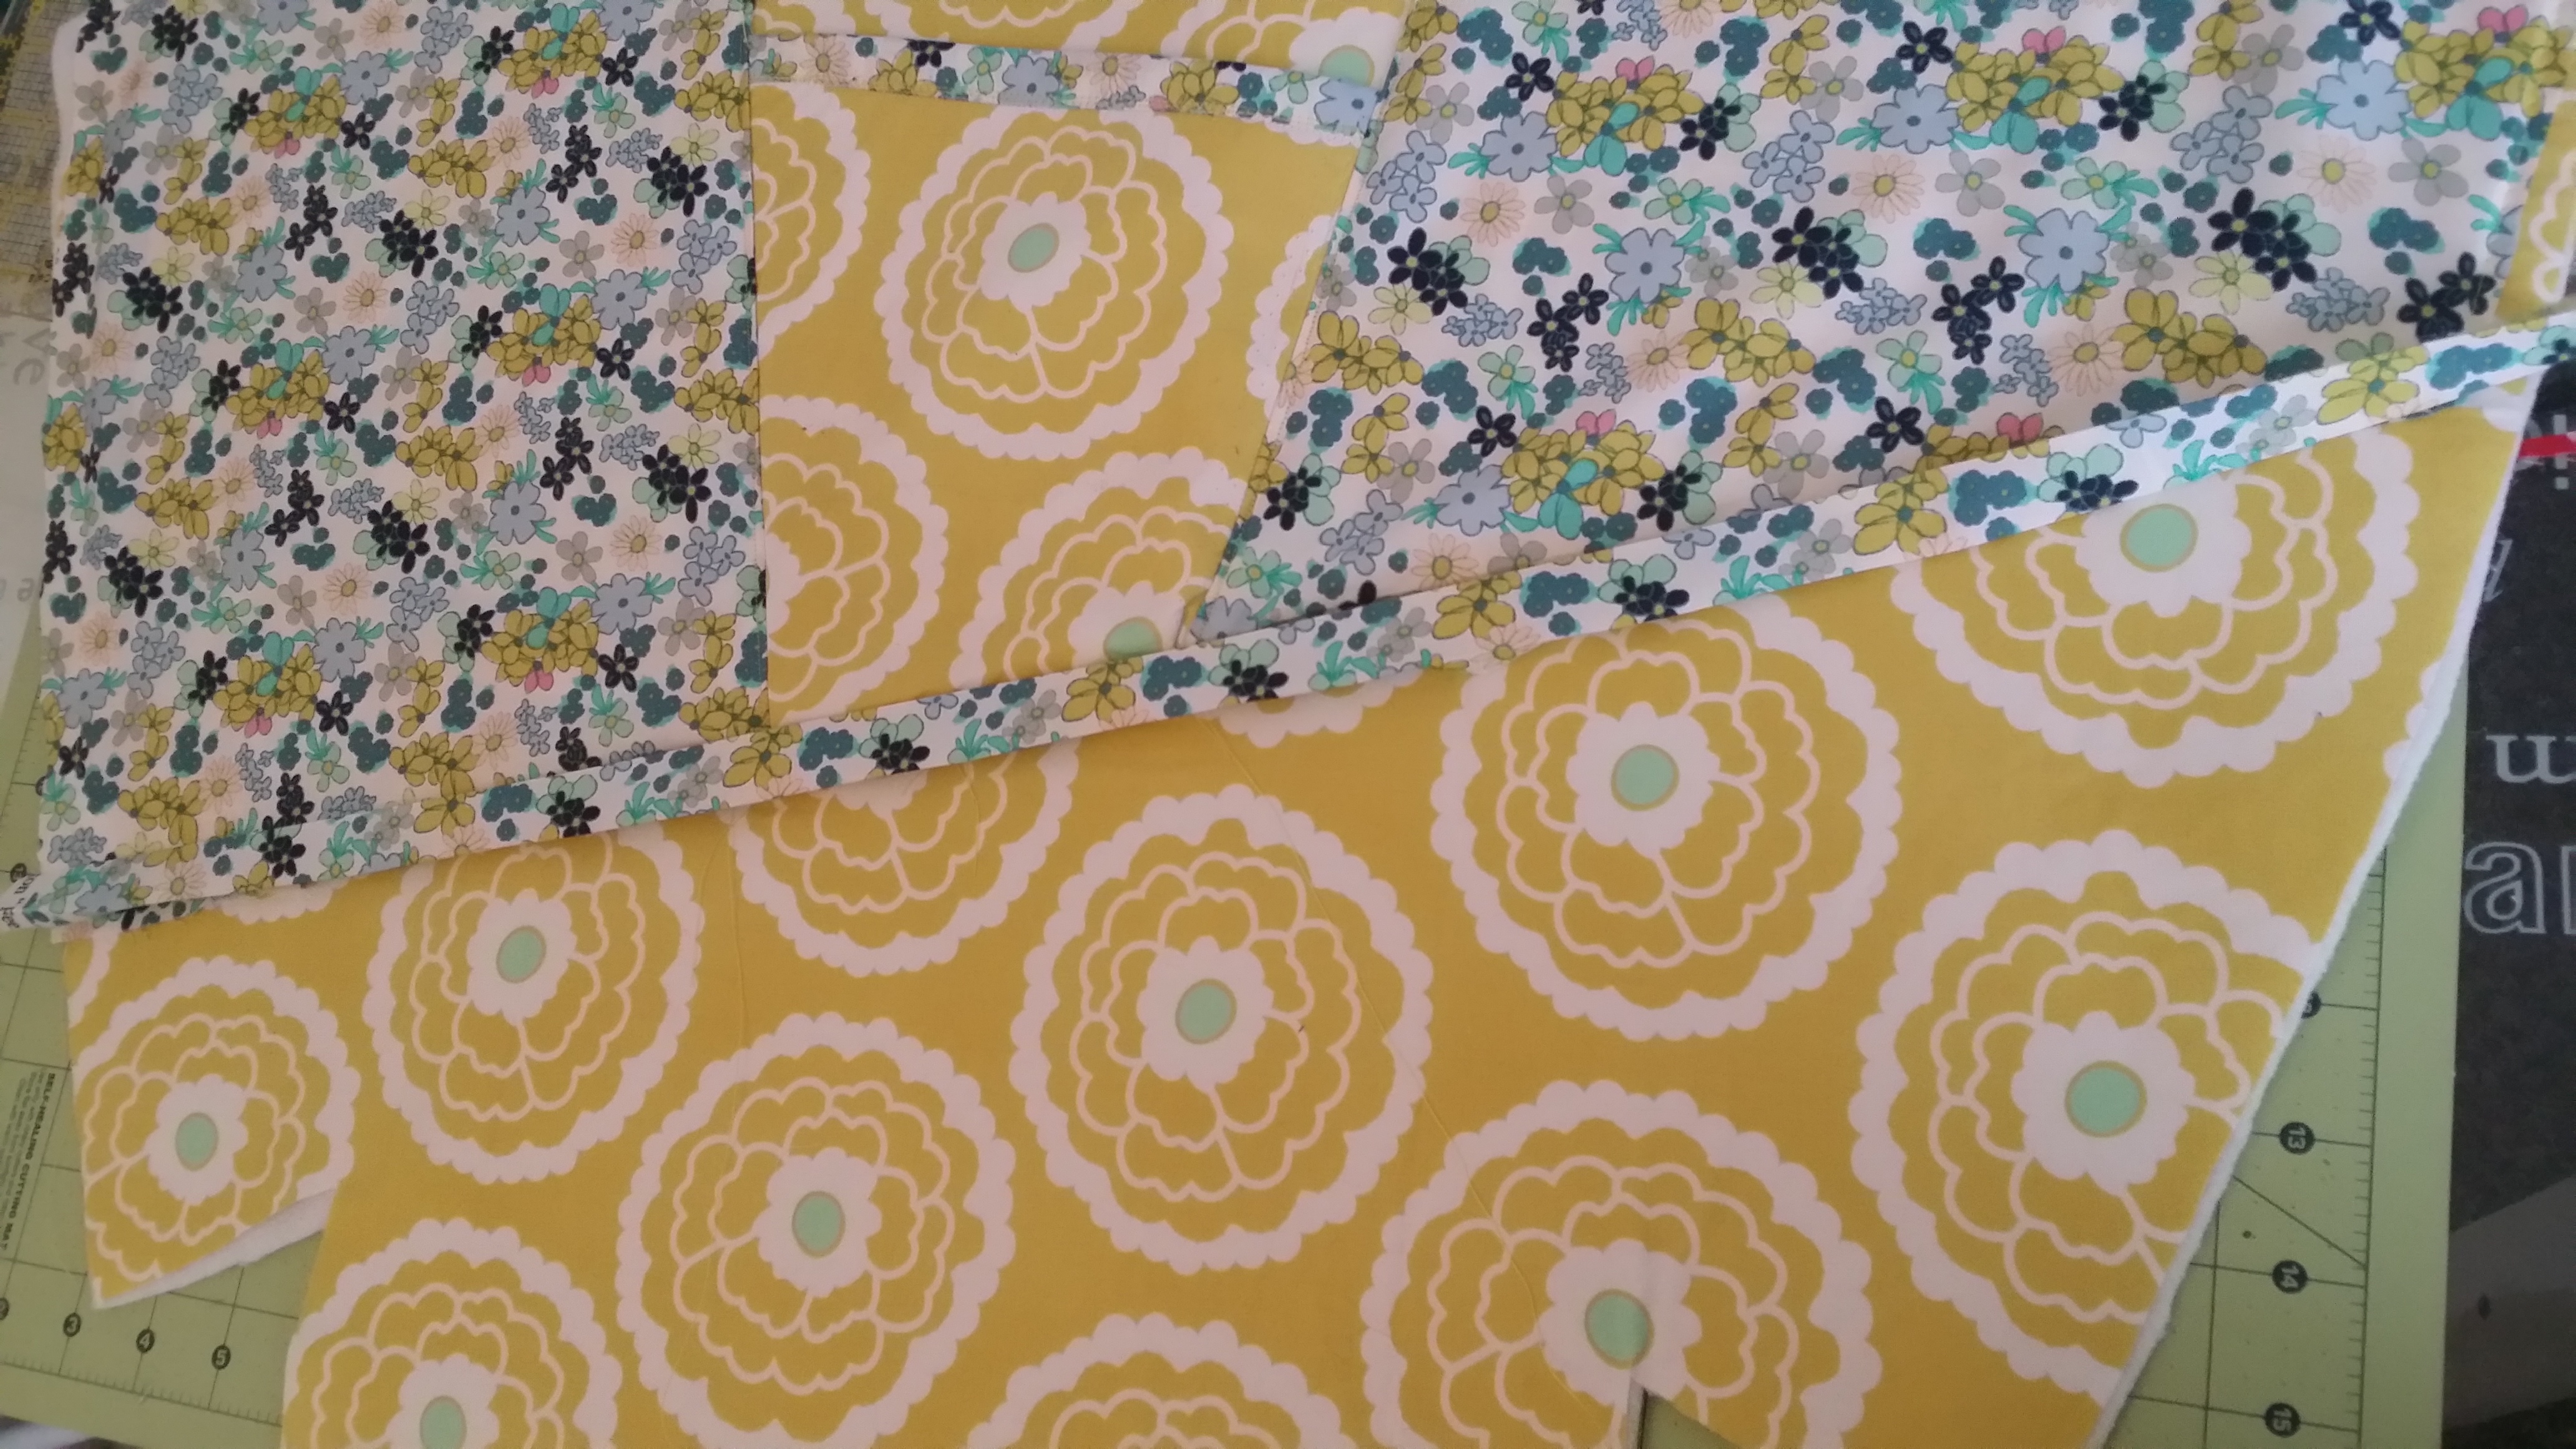
Step 1- Cut your pieces
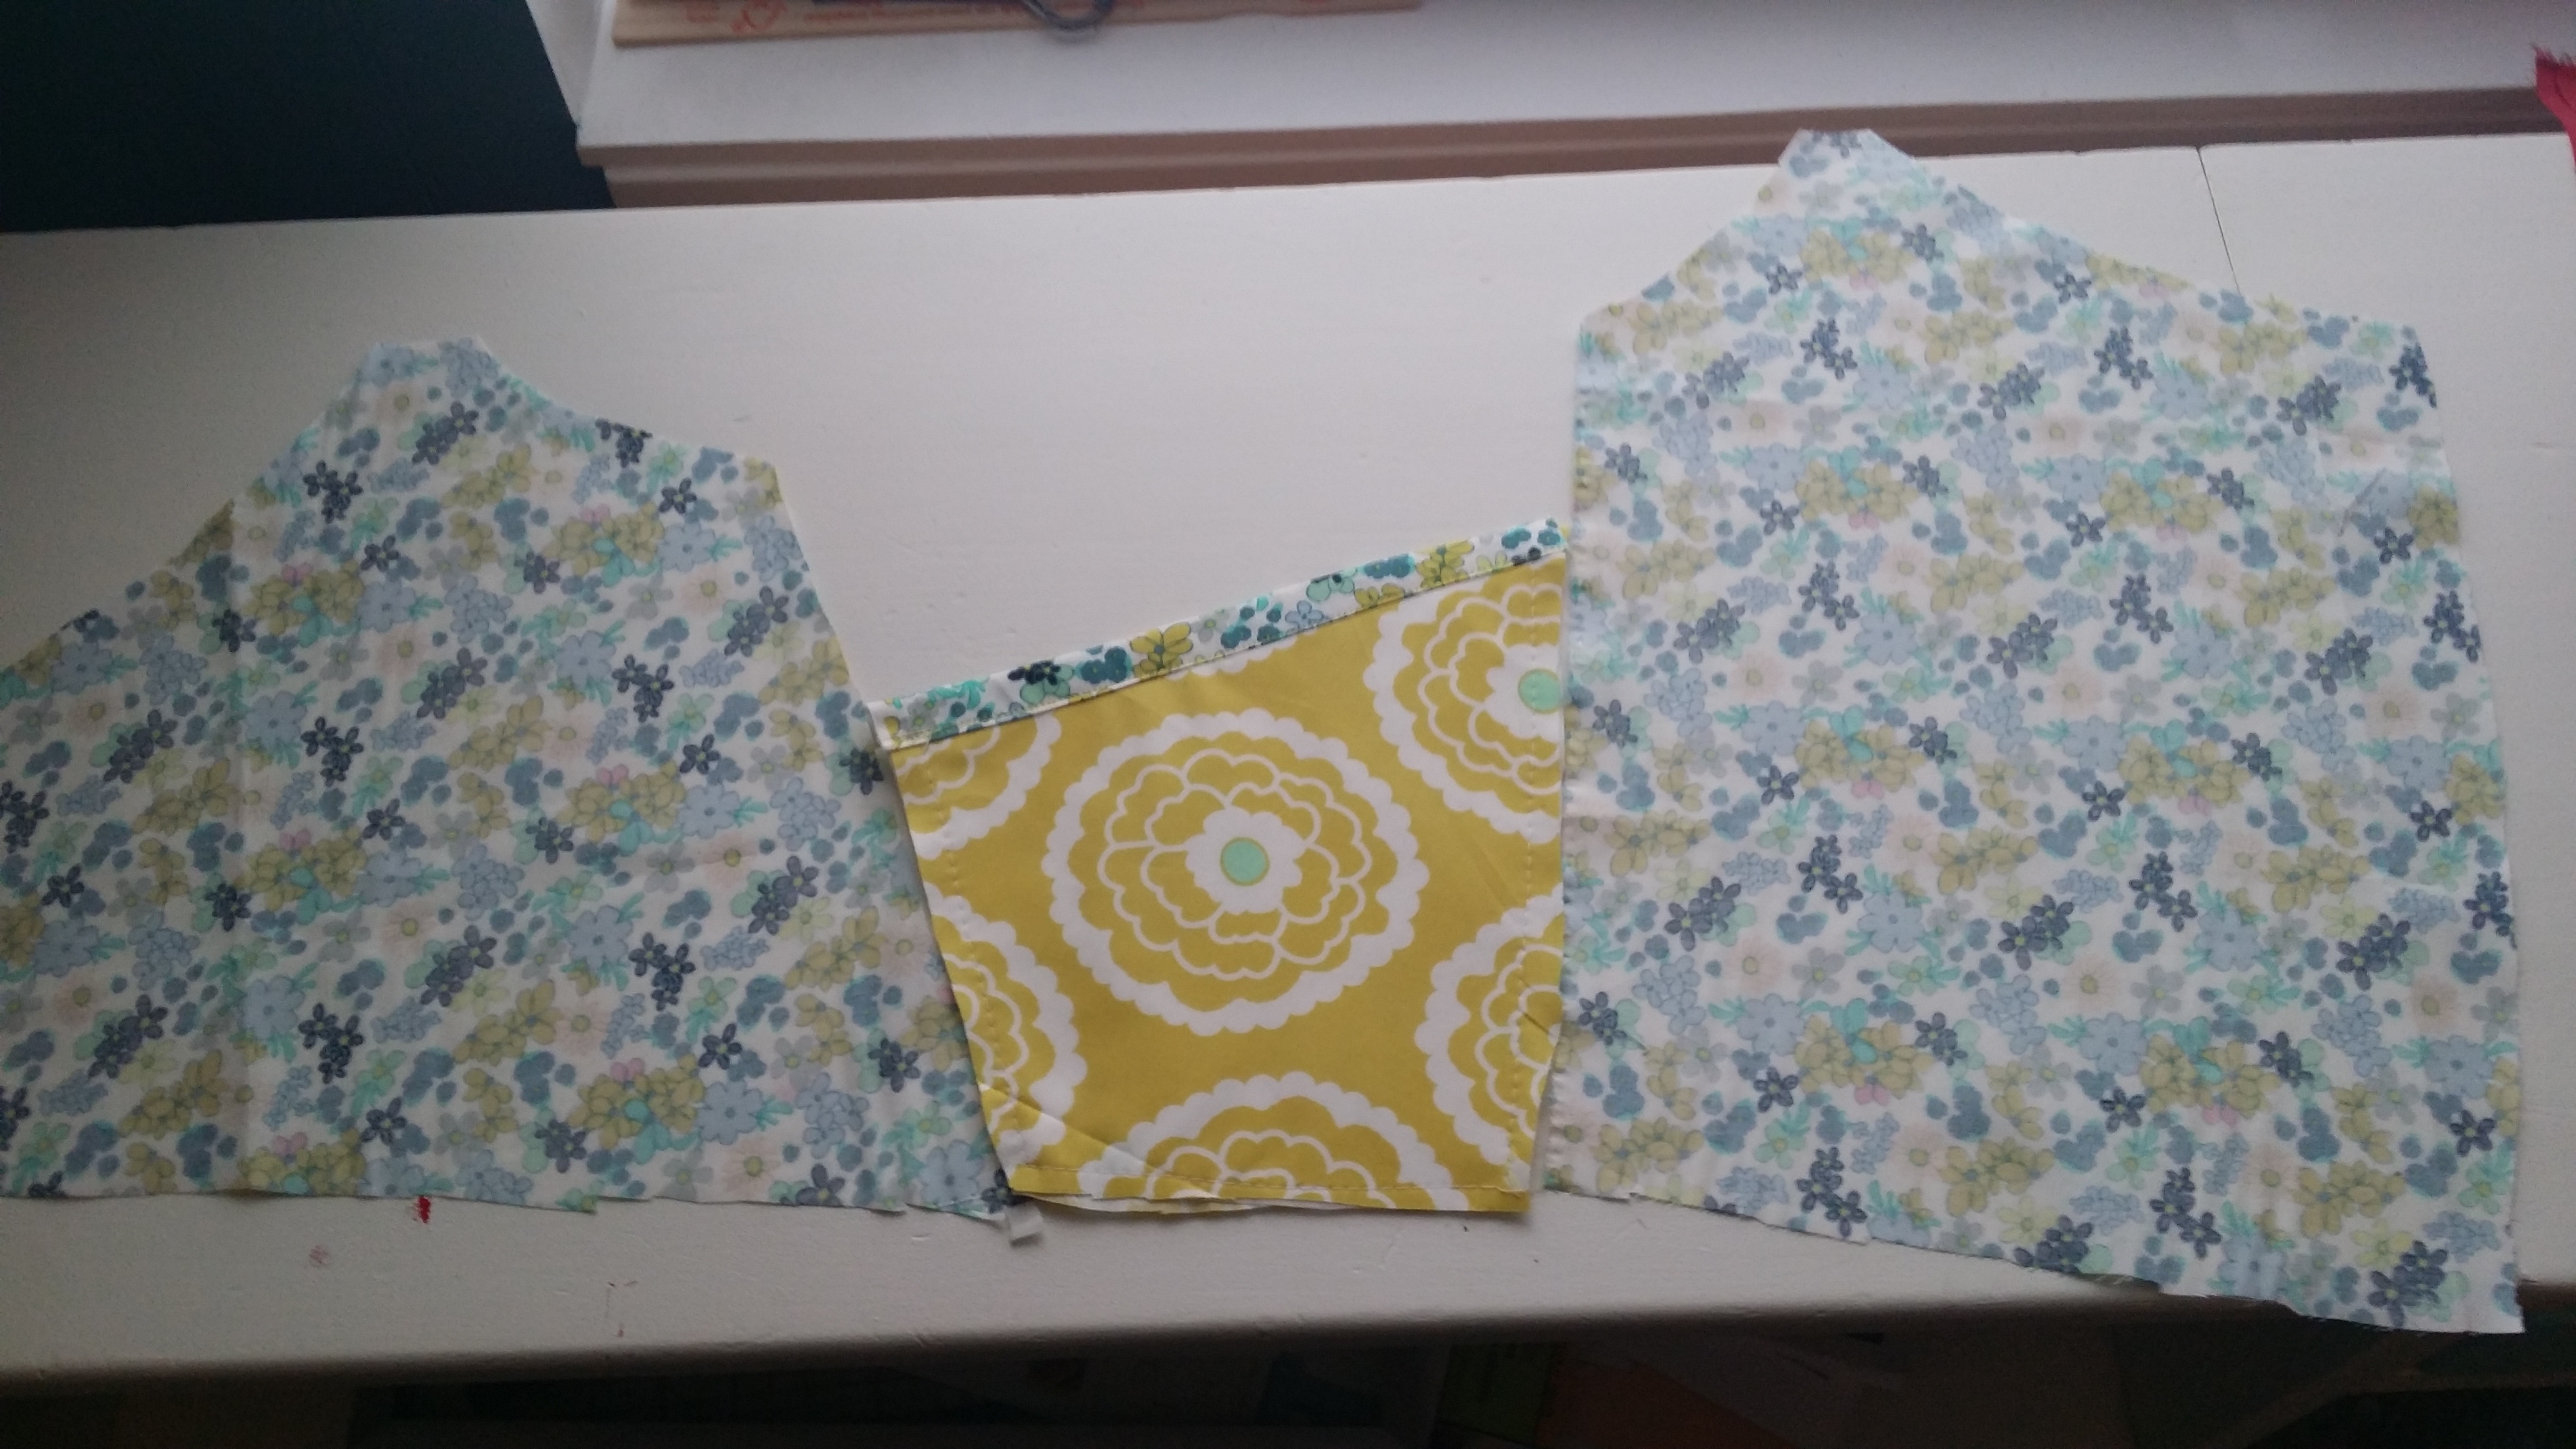
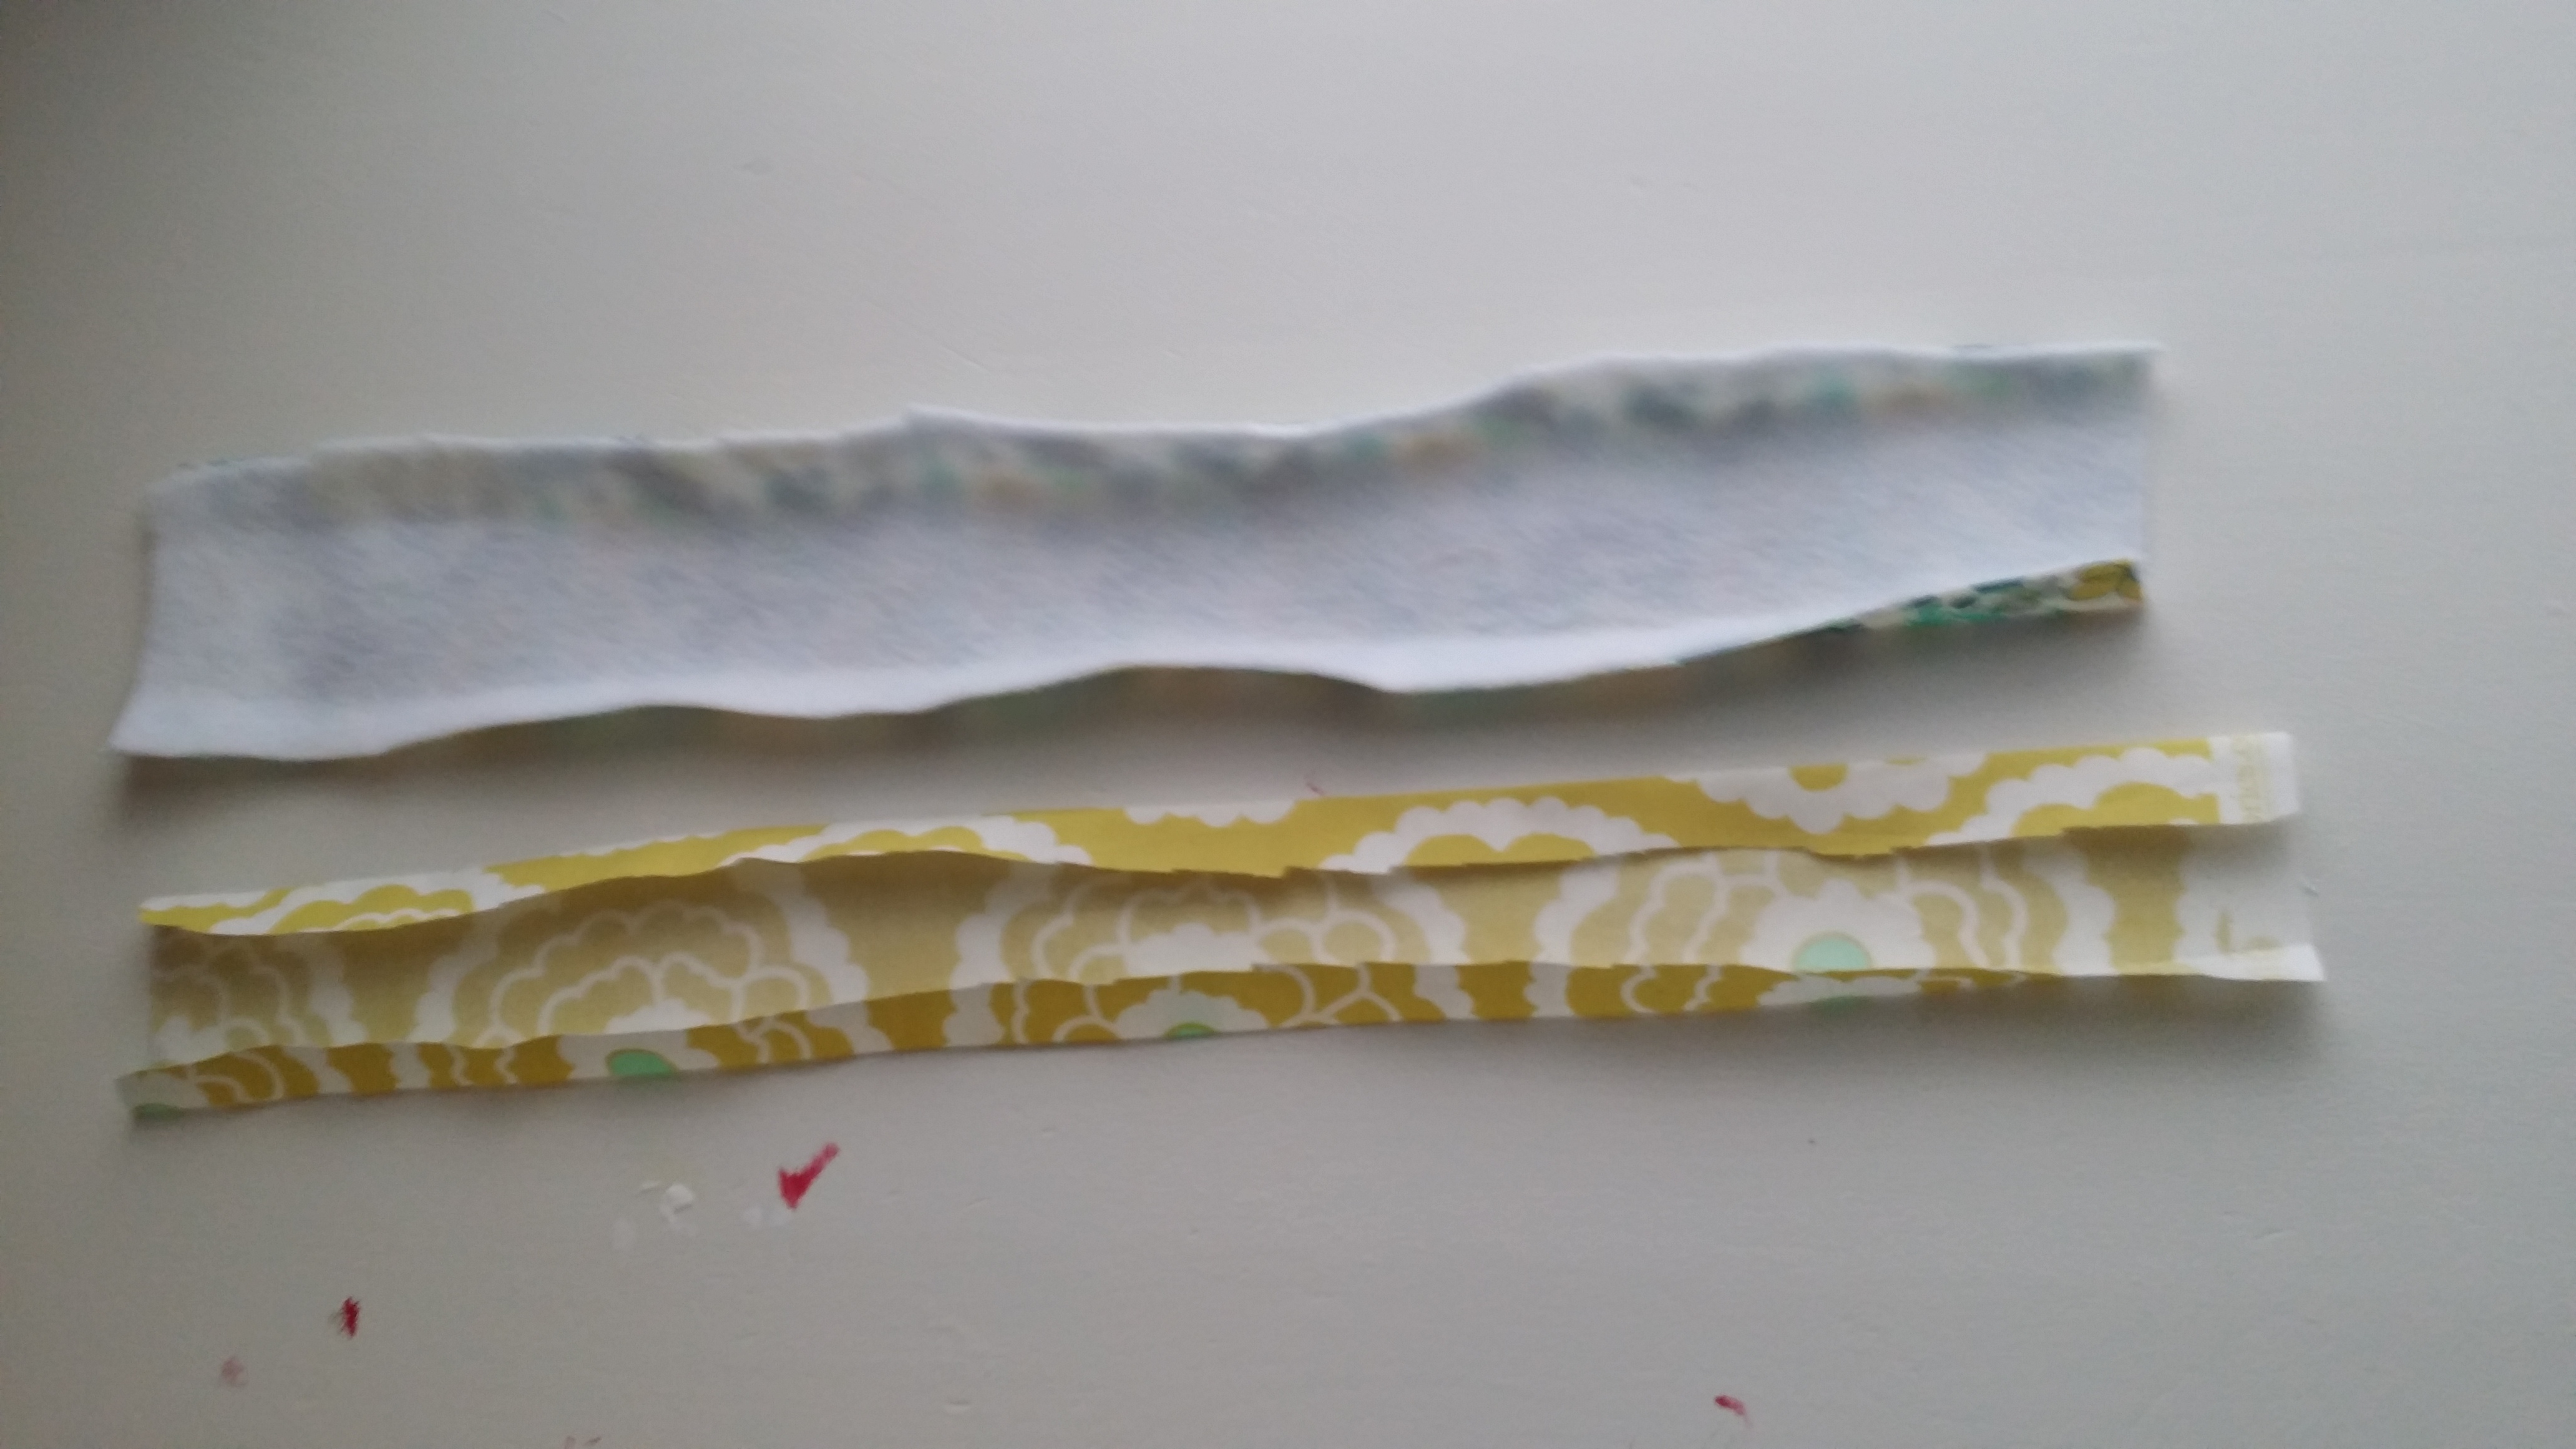
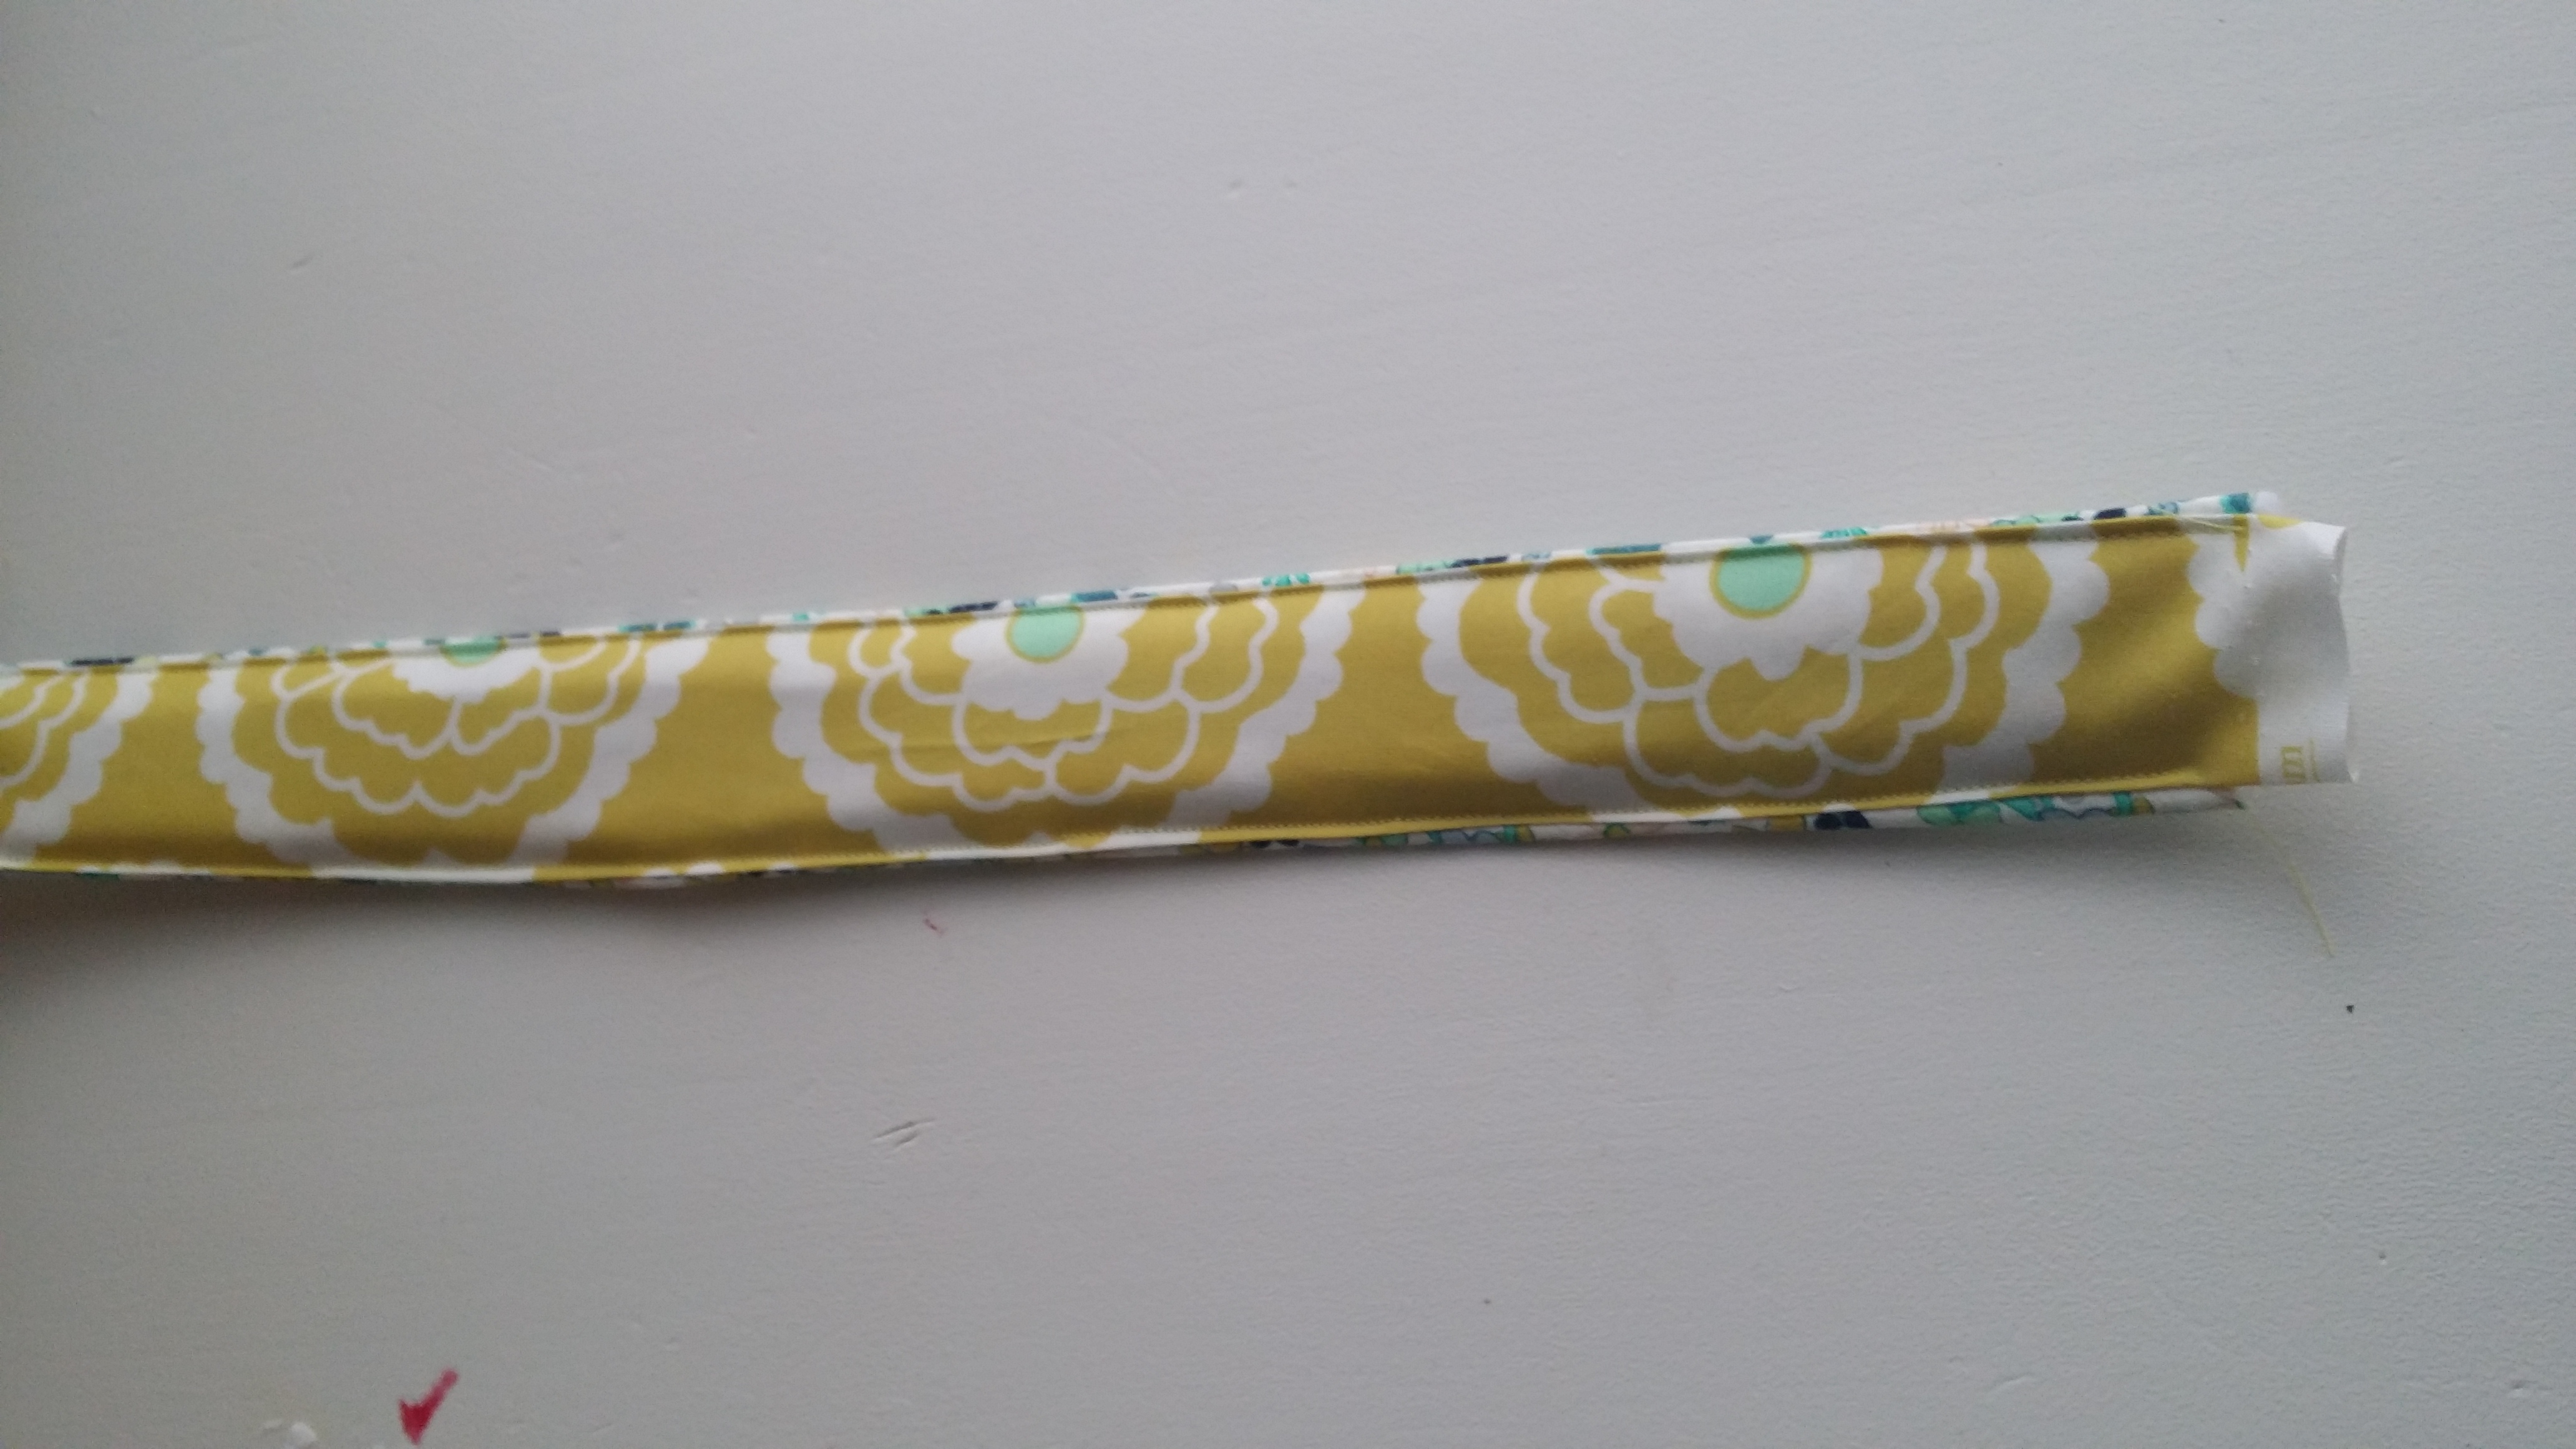
Cut all your pieces from the pattern HERE. I did not write how many pieces to cut out on the pattern so follow instructions here>>>: 3 front pieces (main, lining, fleece interfacing), 3 back pieces (main, lining, fleece interfacing), 1 left overlay coordinate fabric, 1 right overlay coordinate fabric, 3 pocket (2 main, 1 interfacing), 1 front bottom strip coordinating fabric, 1 pocket binding coordinating fabric, 1 front top binding coordinating fabric, 1 back top binding coordinating fabric, 8 loops/tube pieces main, 6 strap pieces (fleece interfacing, main, coordinate fabric)
Step 2- Iron on your interfacing
Add the fleece interfacing to your main front piece and your main back piece. All fleece interfacing to back of your two main strap pieces. Iron on your interfacing to you pocket piece.
Step 3- The front overlay
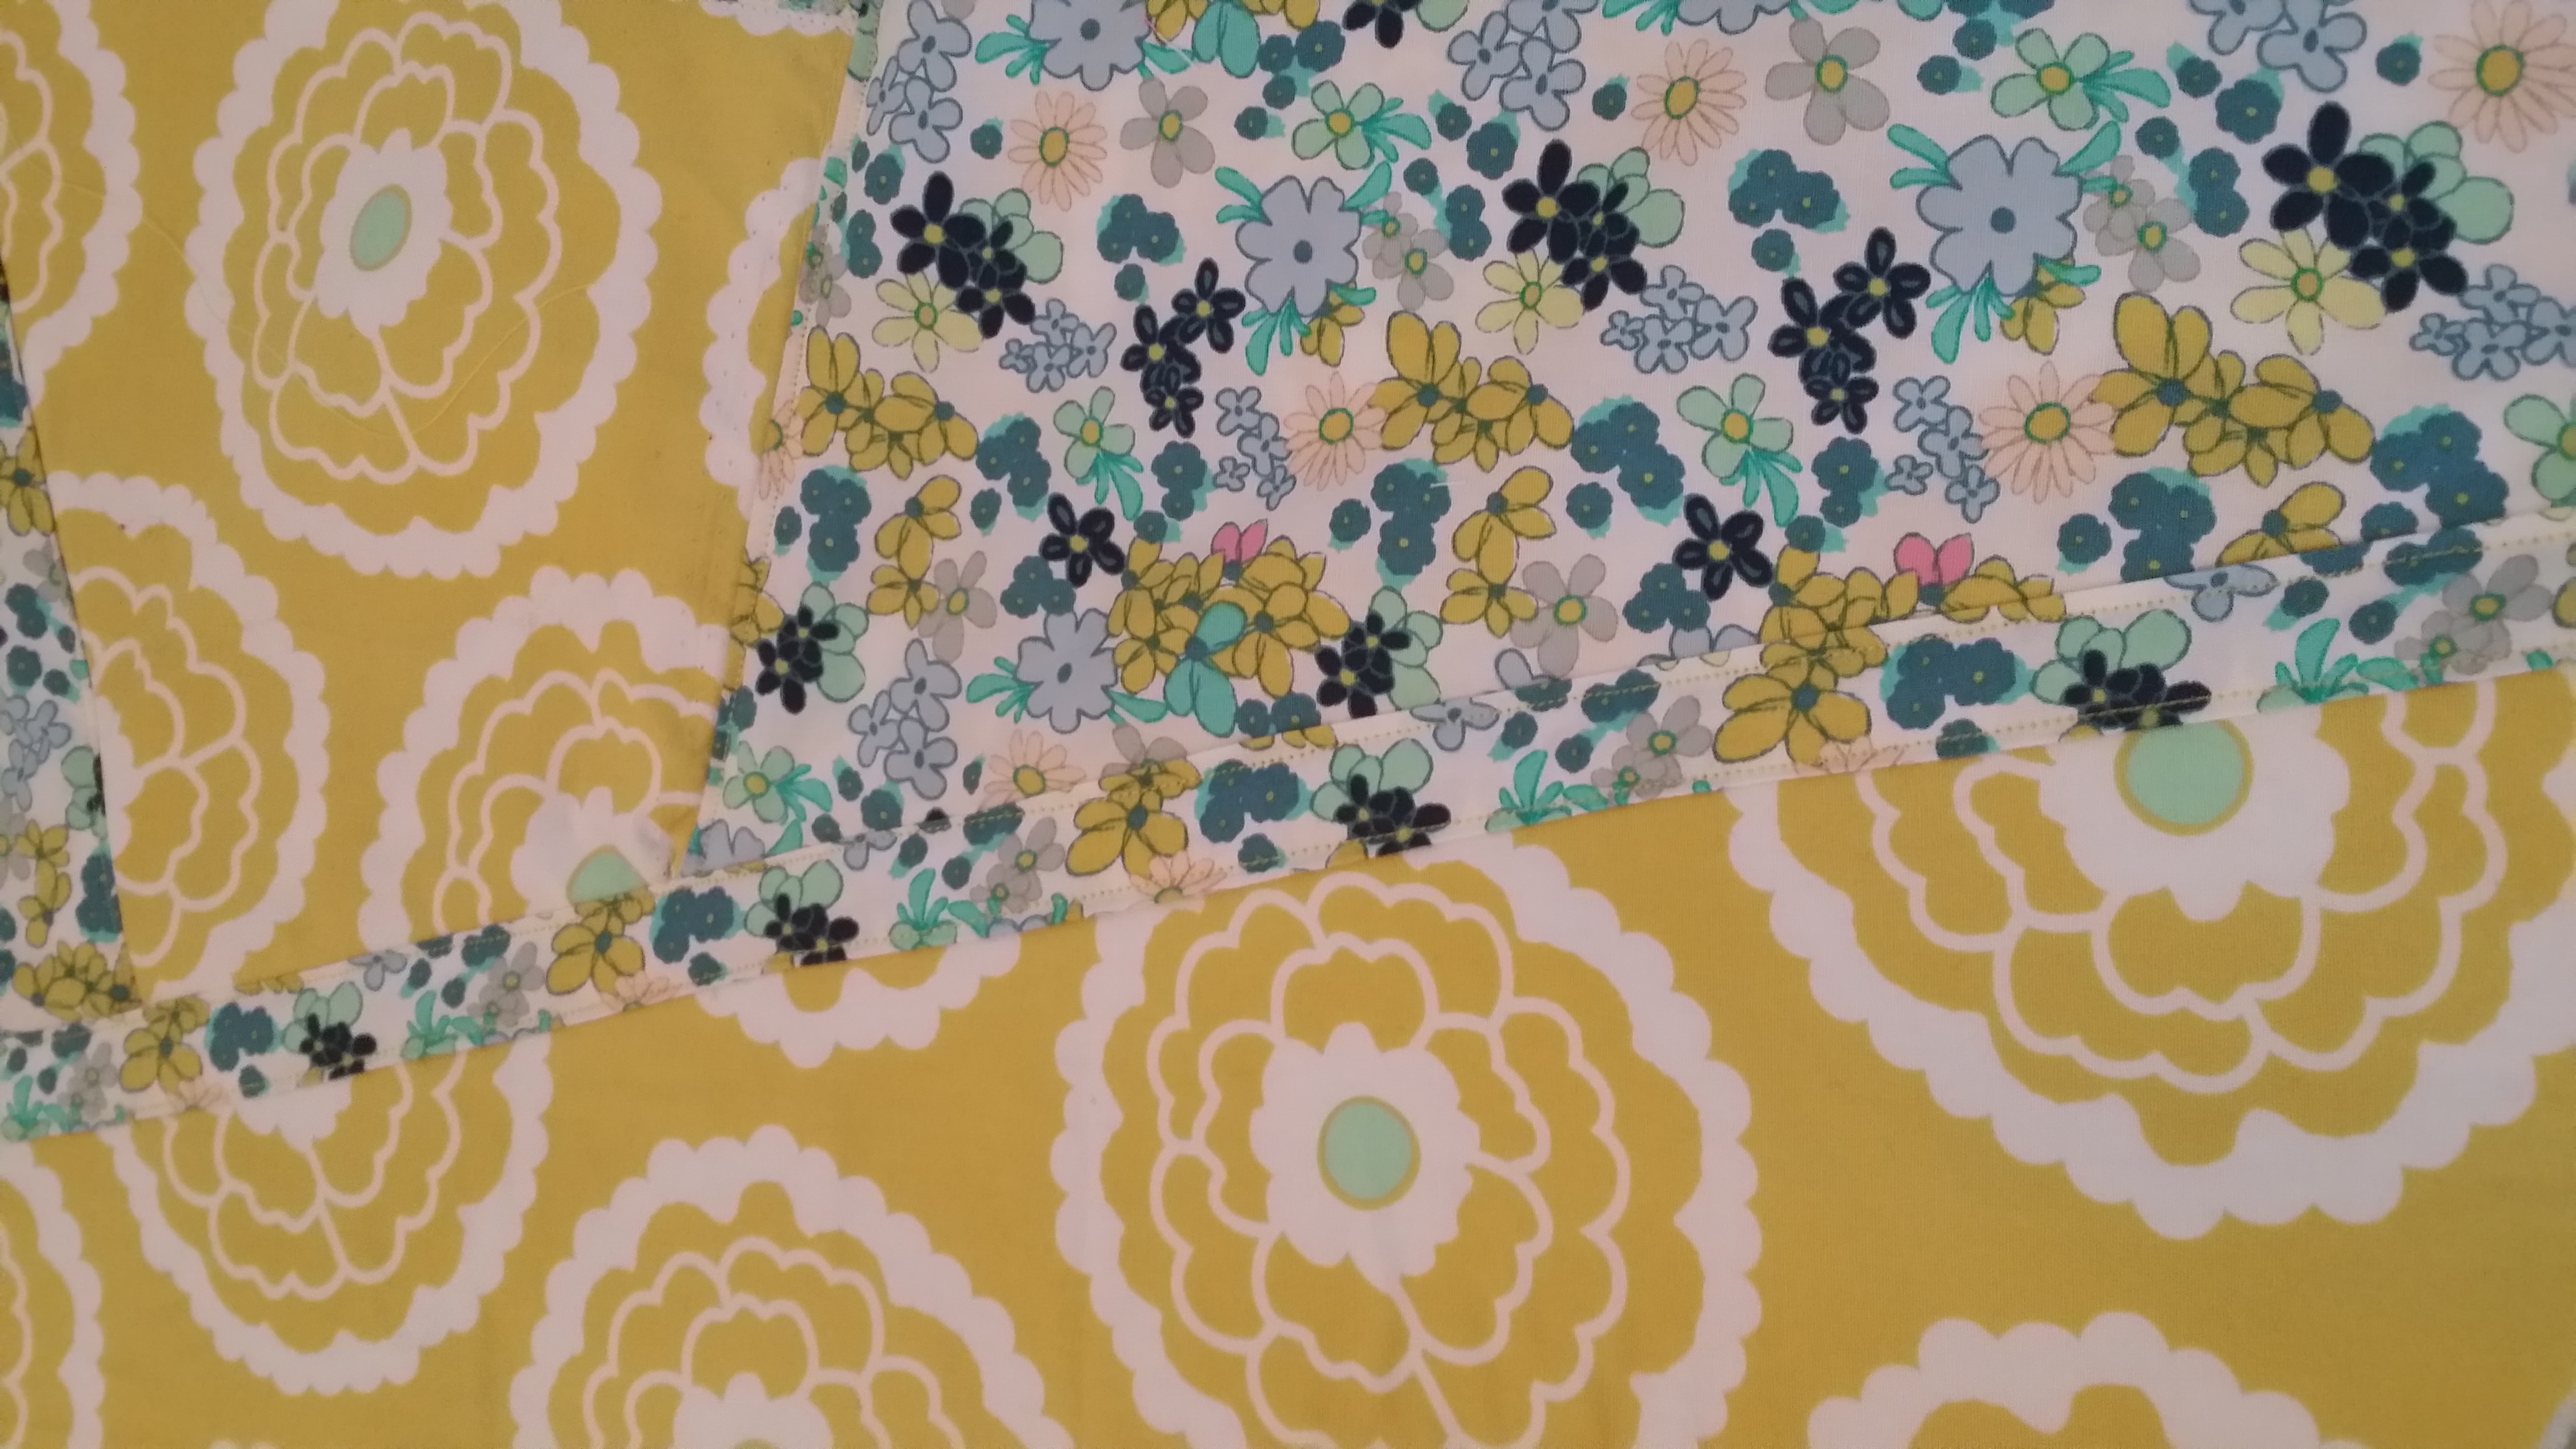
Form a sandwich with your 3 pocket pieces. Sew a loose stitch (highest stitch length) all the way around your pocket. Add the binding to the top of the pocket piece. With right sides together, sew the pocket piece in the middle of your overlay pieces. Iron down the left over to seams on the overlays.
Form the sandwich with the interfacing in the middle.

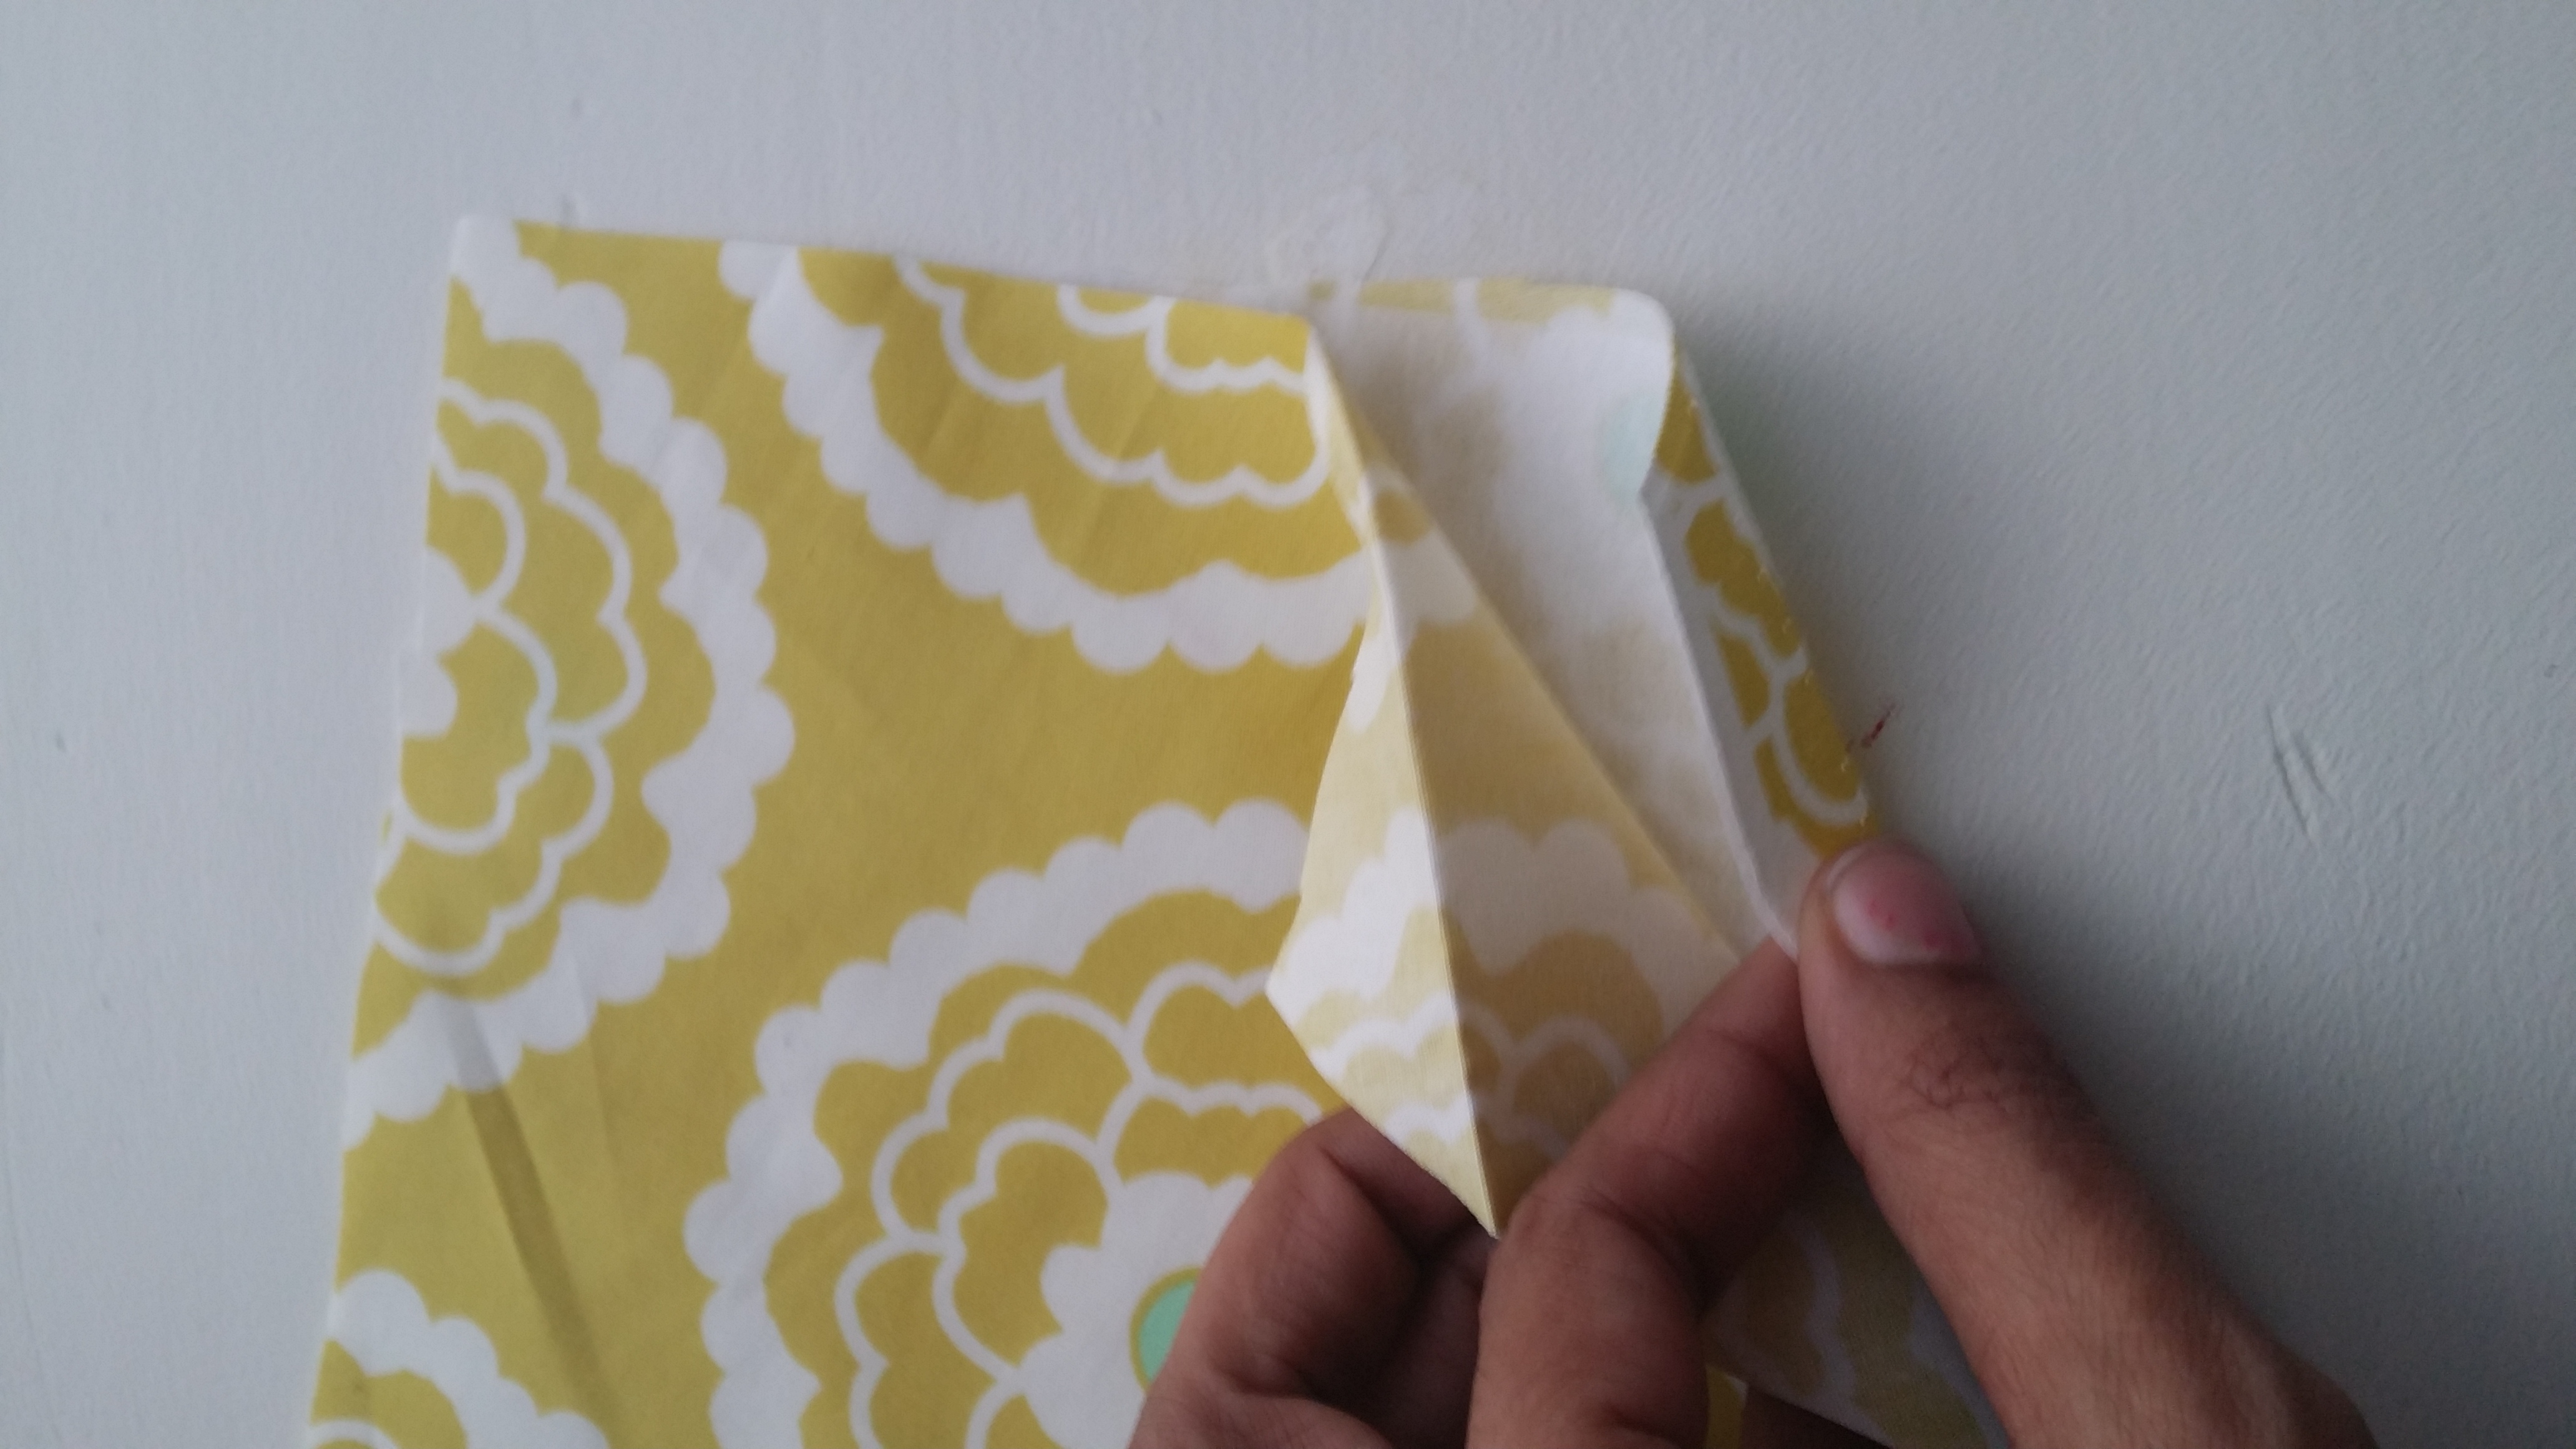
Make your binding by folding down the two ends towards the middle
Add your binding to the top of the pocket piece
Sew all around your pocket piece
With right sides together, sew the pocket to overlays
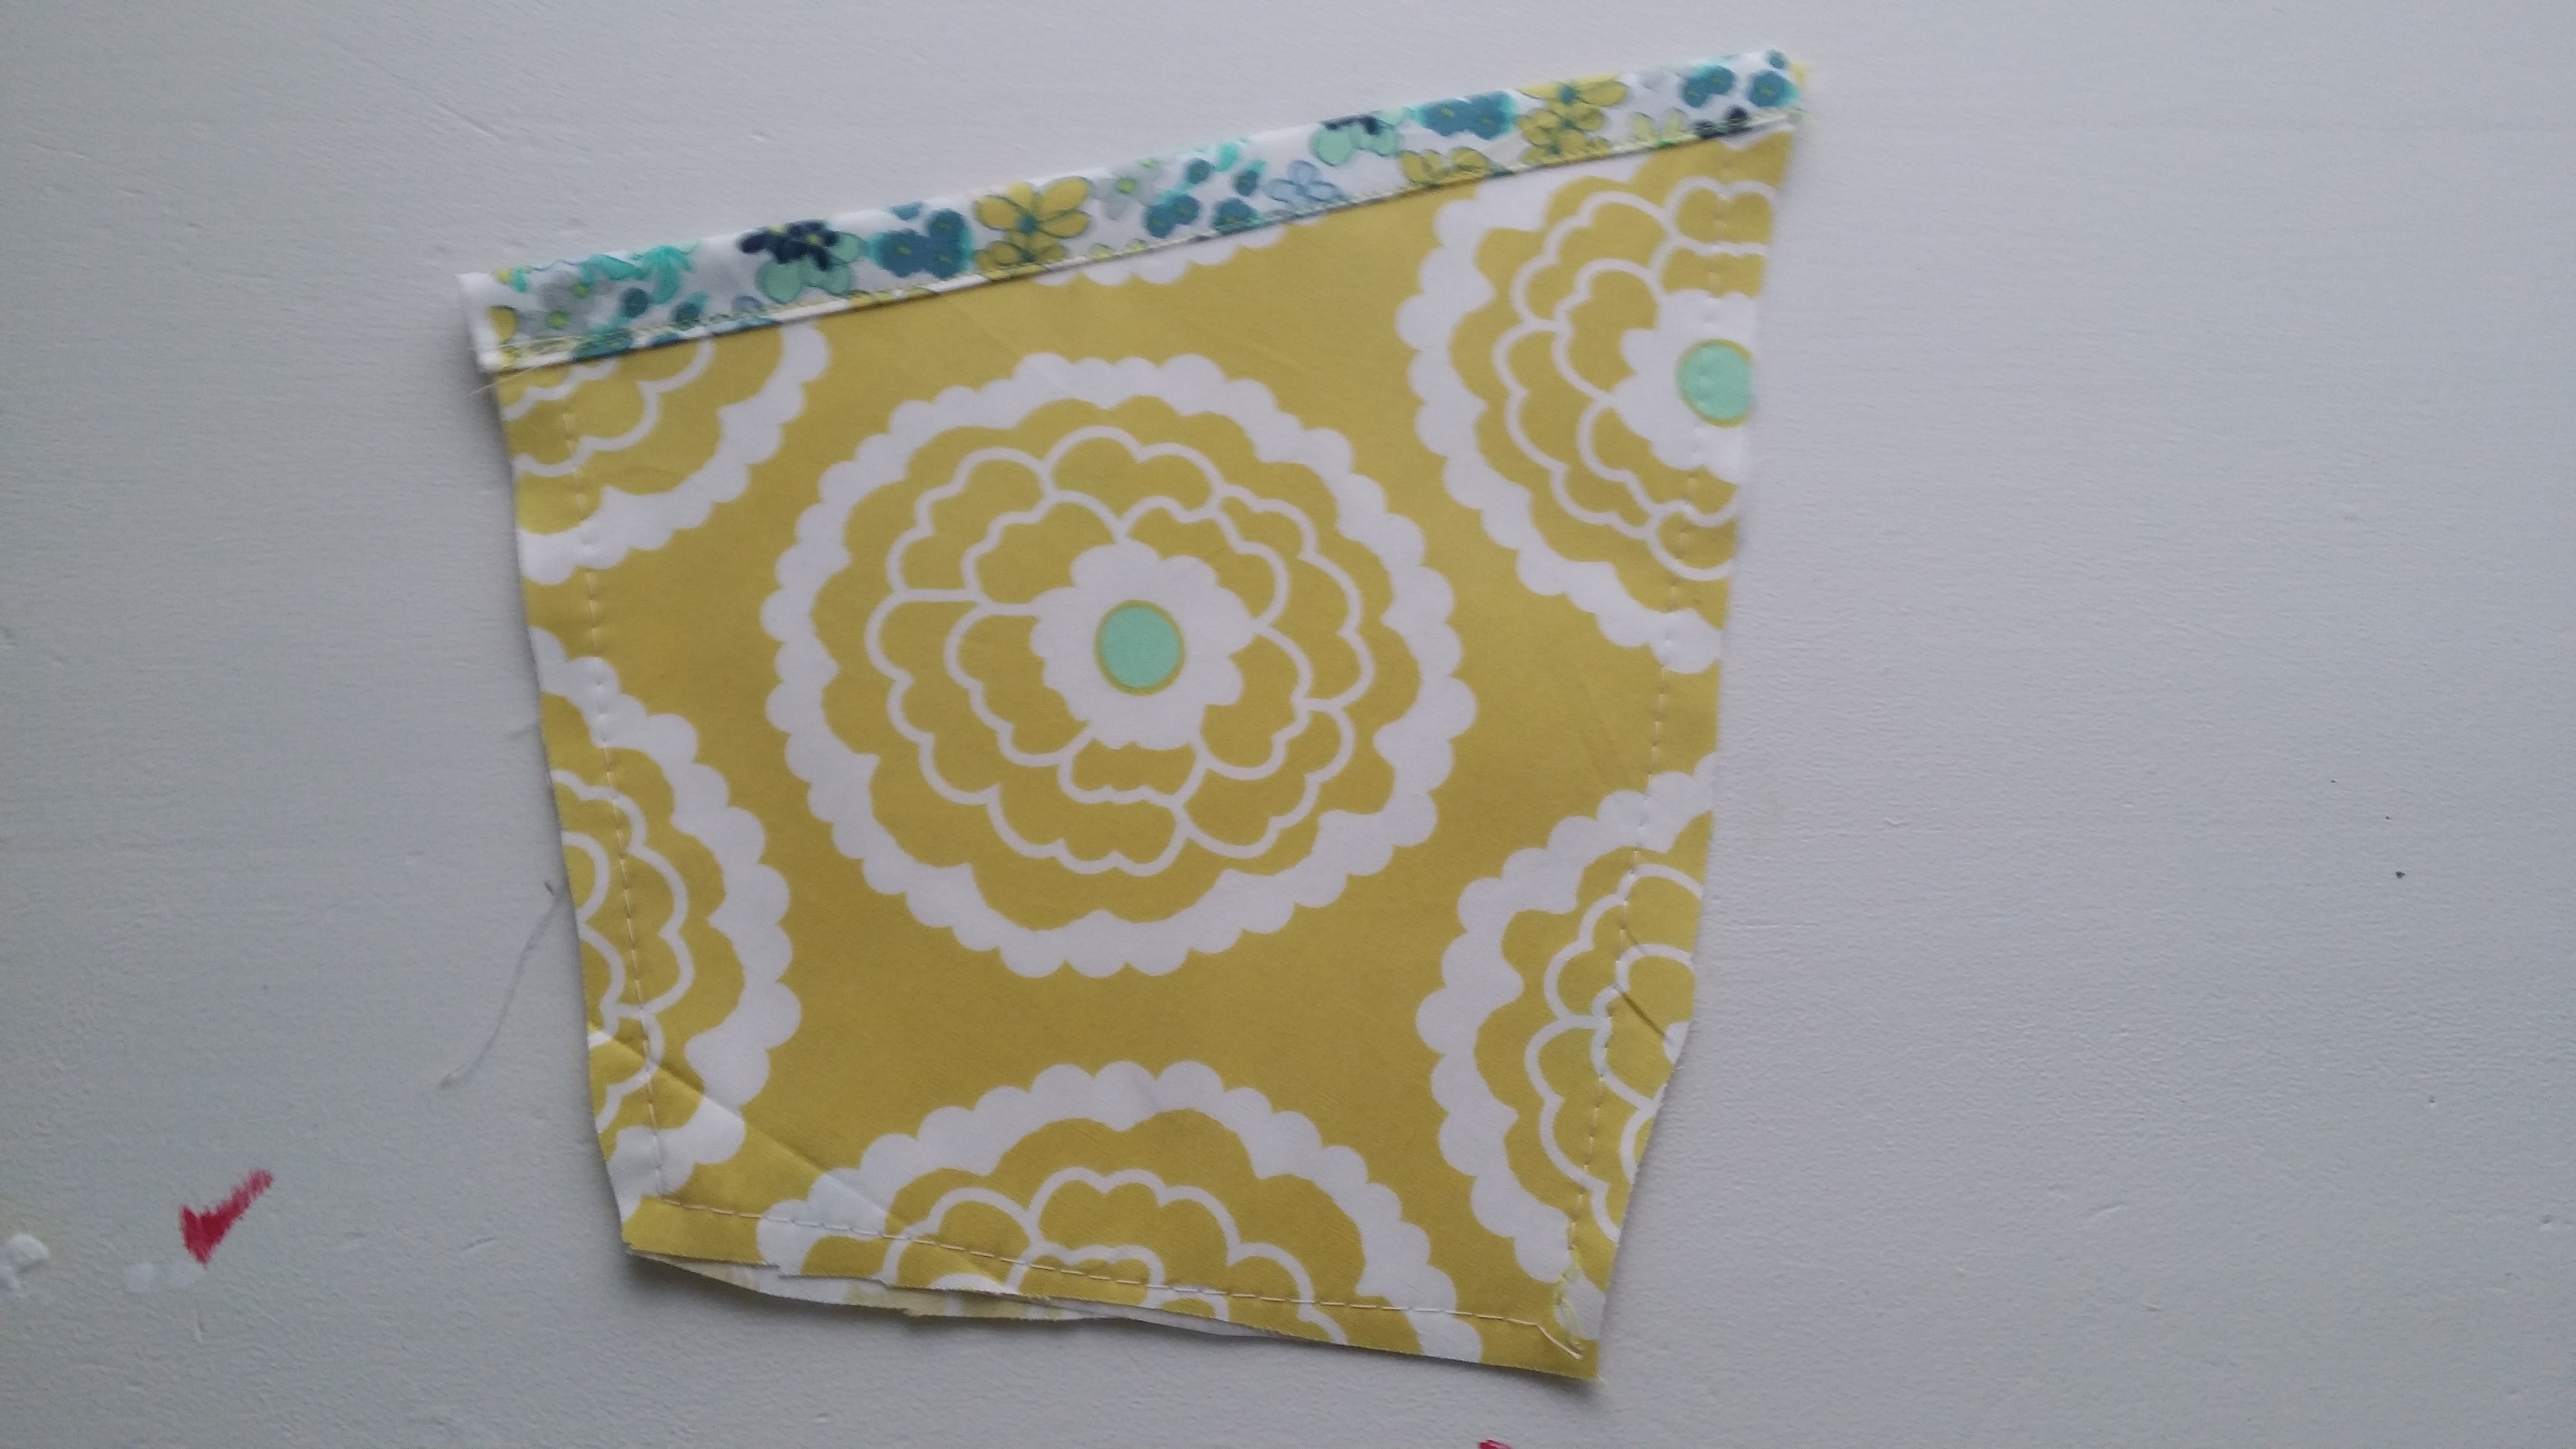
Here is your finished front overlay
Step 4- Complete your front
Align your overlay to the top of the front main piece and sew down using the red line as your guide on where to sew. Sew on the overlay binding all the way down the bottom of the overlay cover all your stitches.
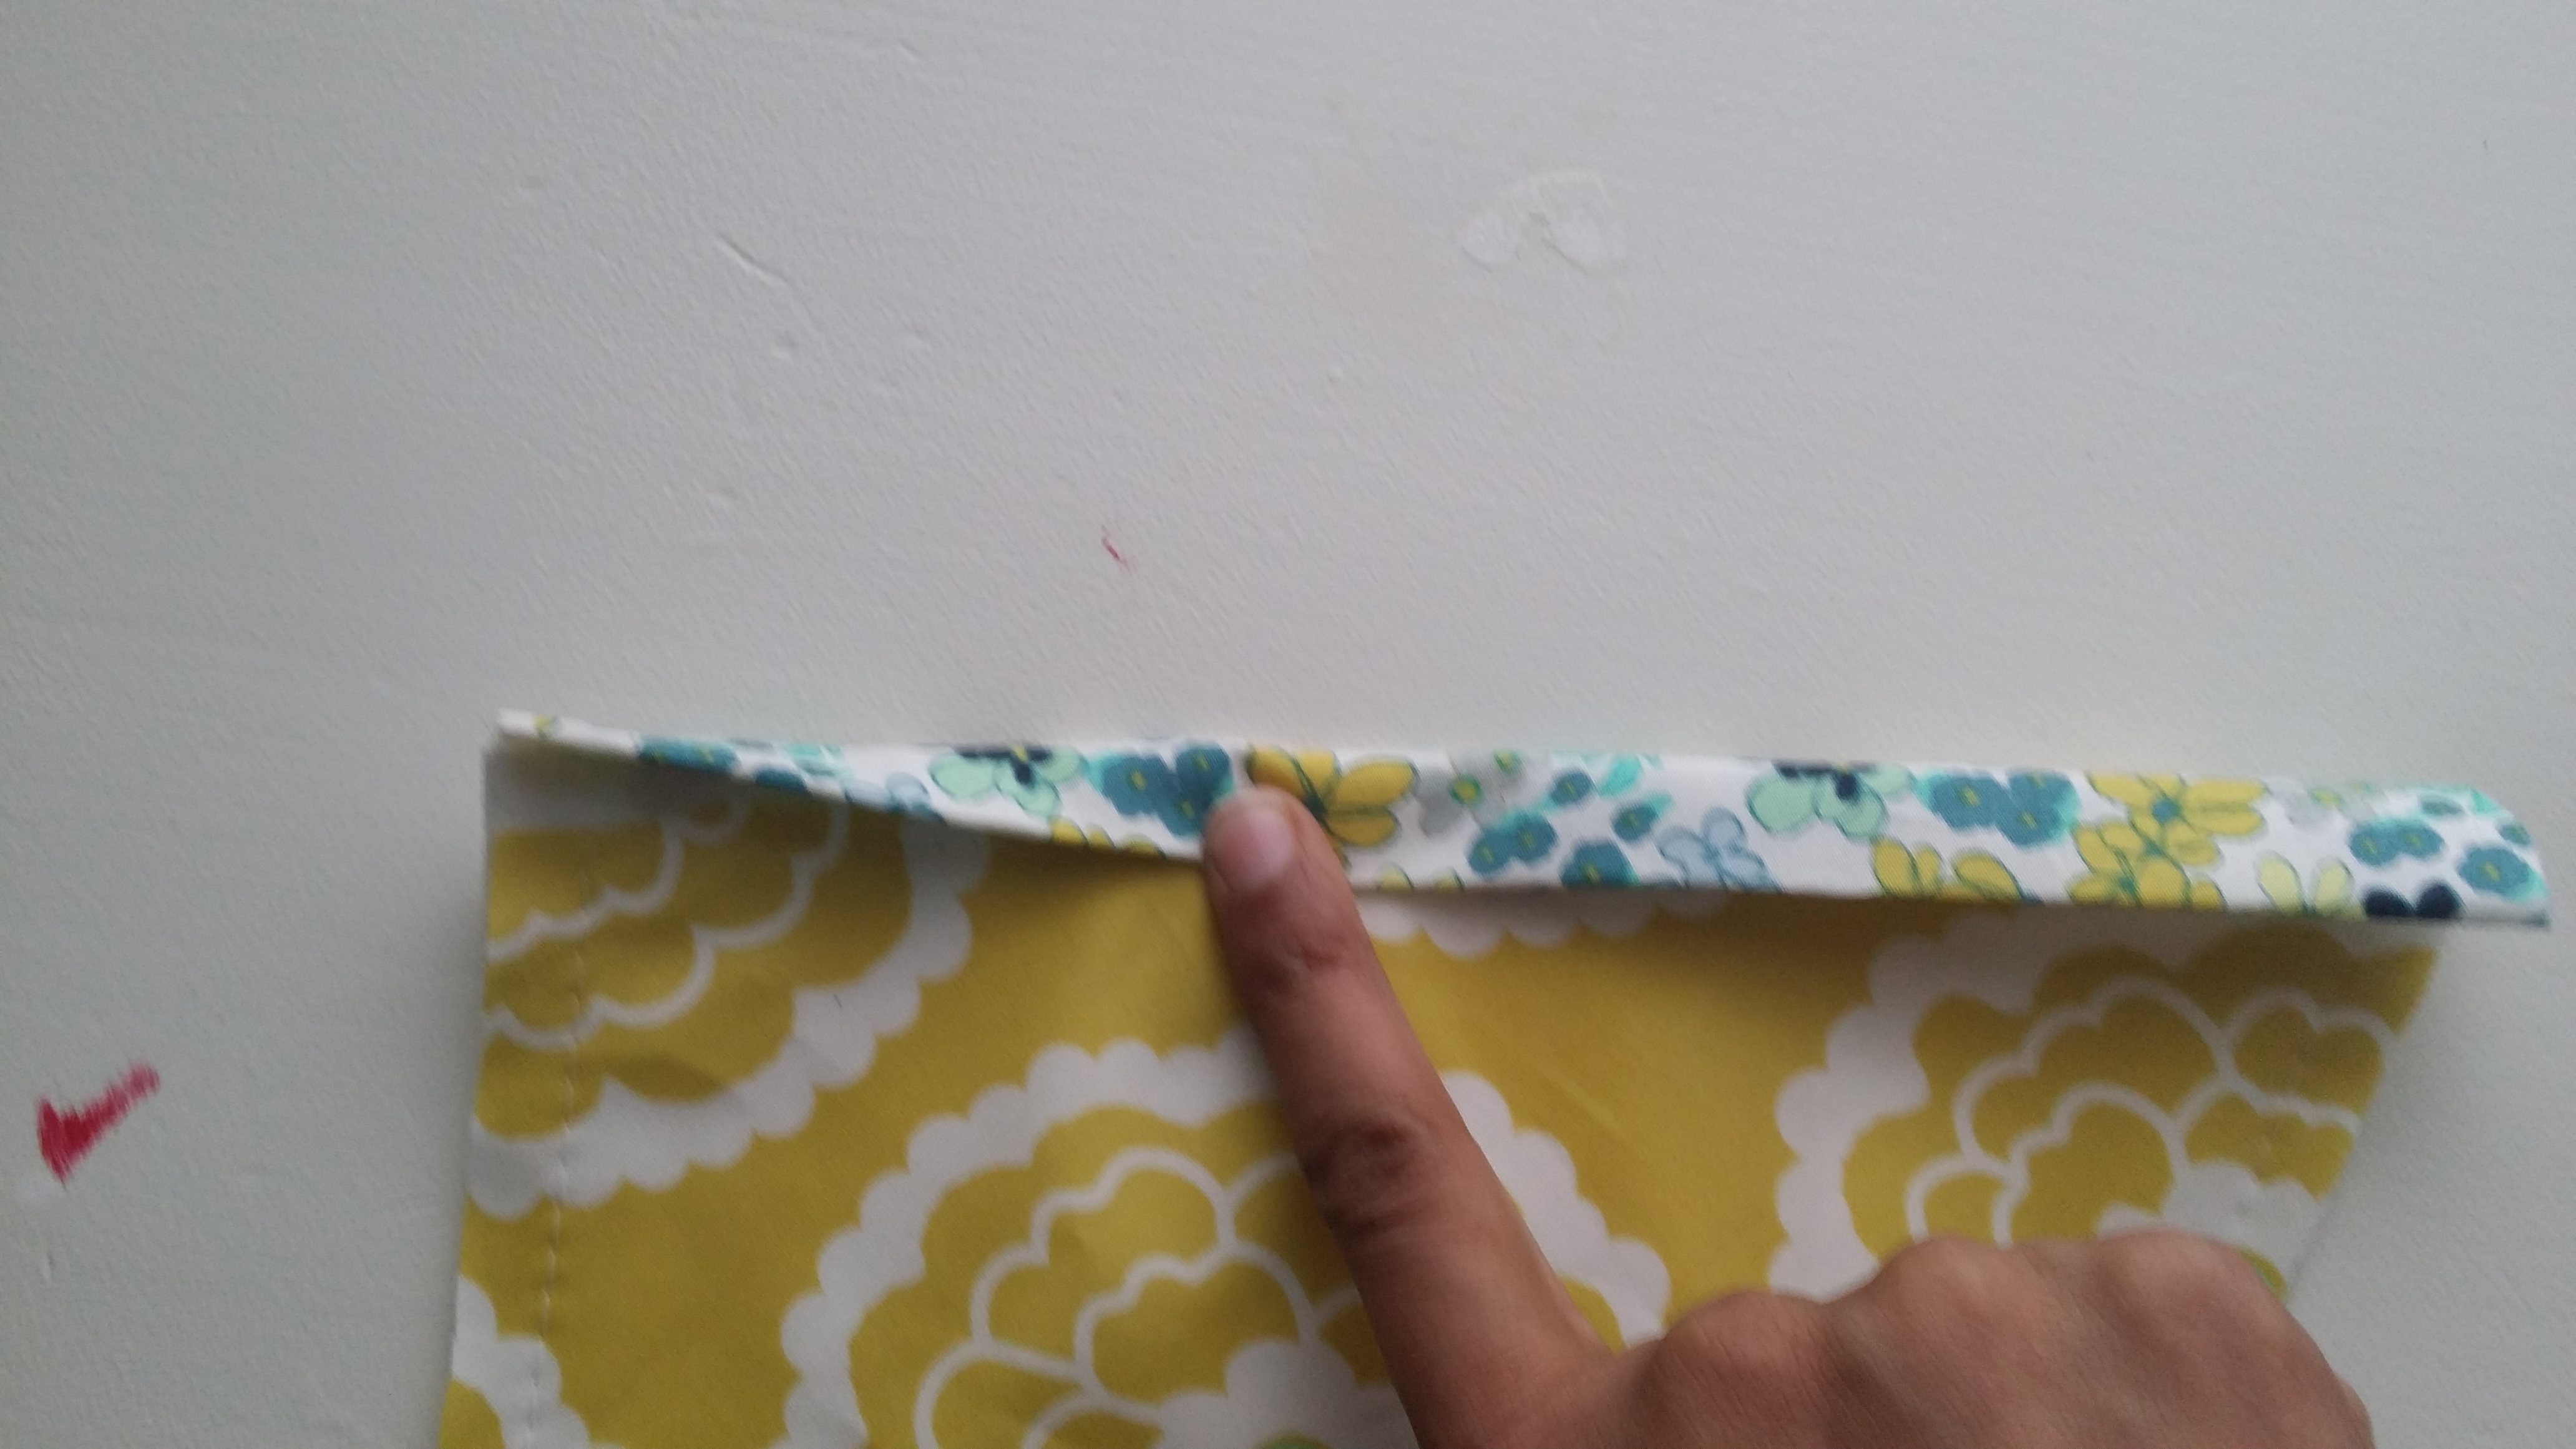
Sew on the overlay binding
Sew down the binding with two stitches
Step 5- Connect the front and back
Sew the front pieces and the back pieces together using the guide below. Bring forward your two unsewn bottom side pieces to form a triangle. Sew a straight line across the triangle as shown. Repeat step 5 for the lining.

Sew the front to the back using the red line as a guide
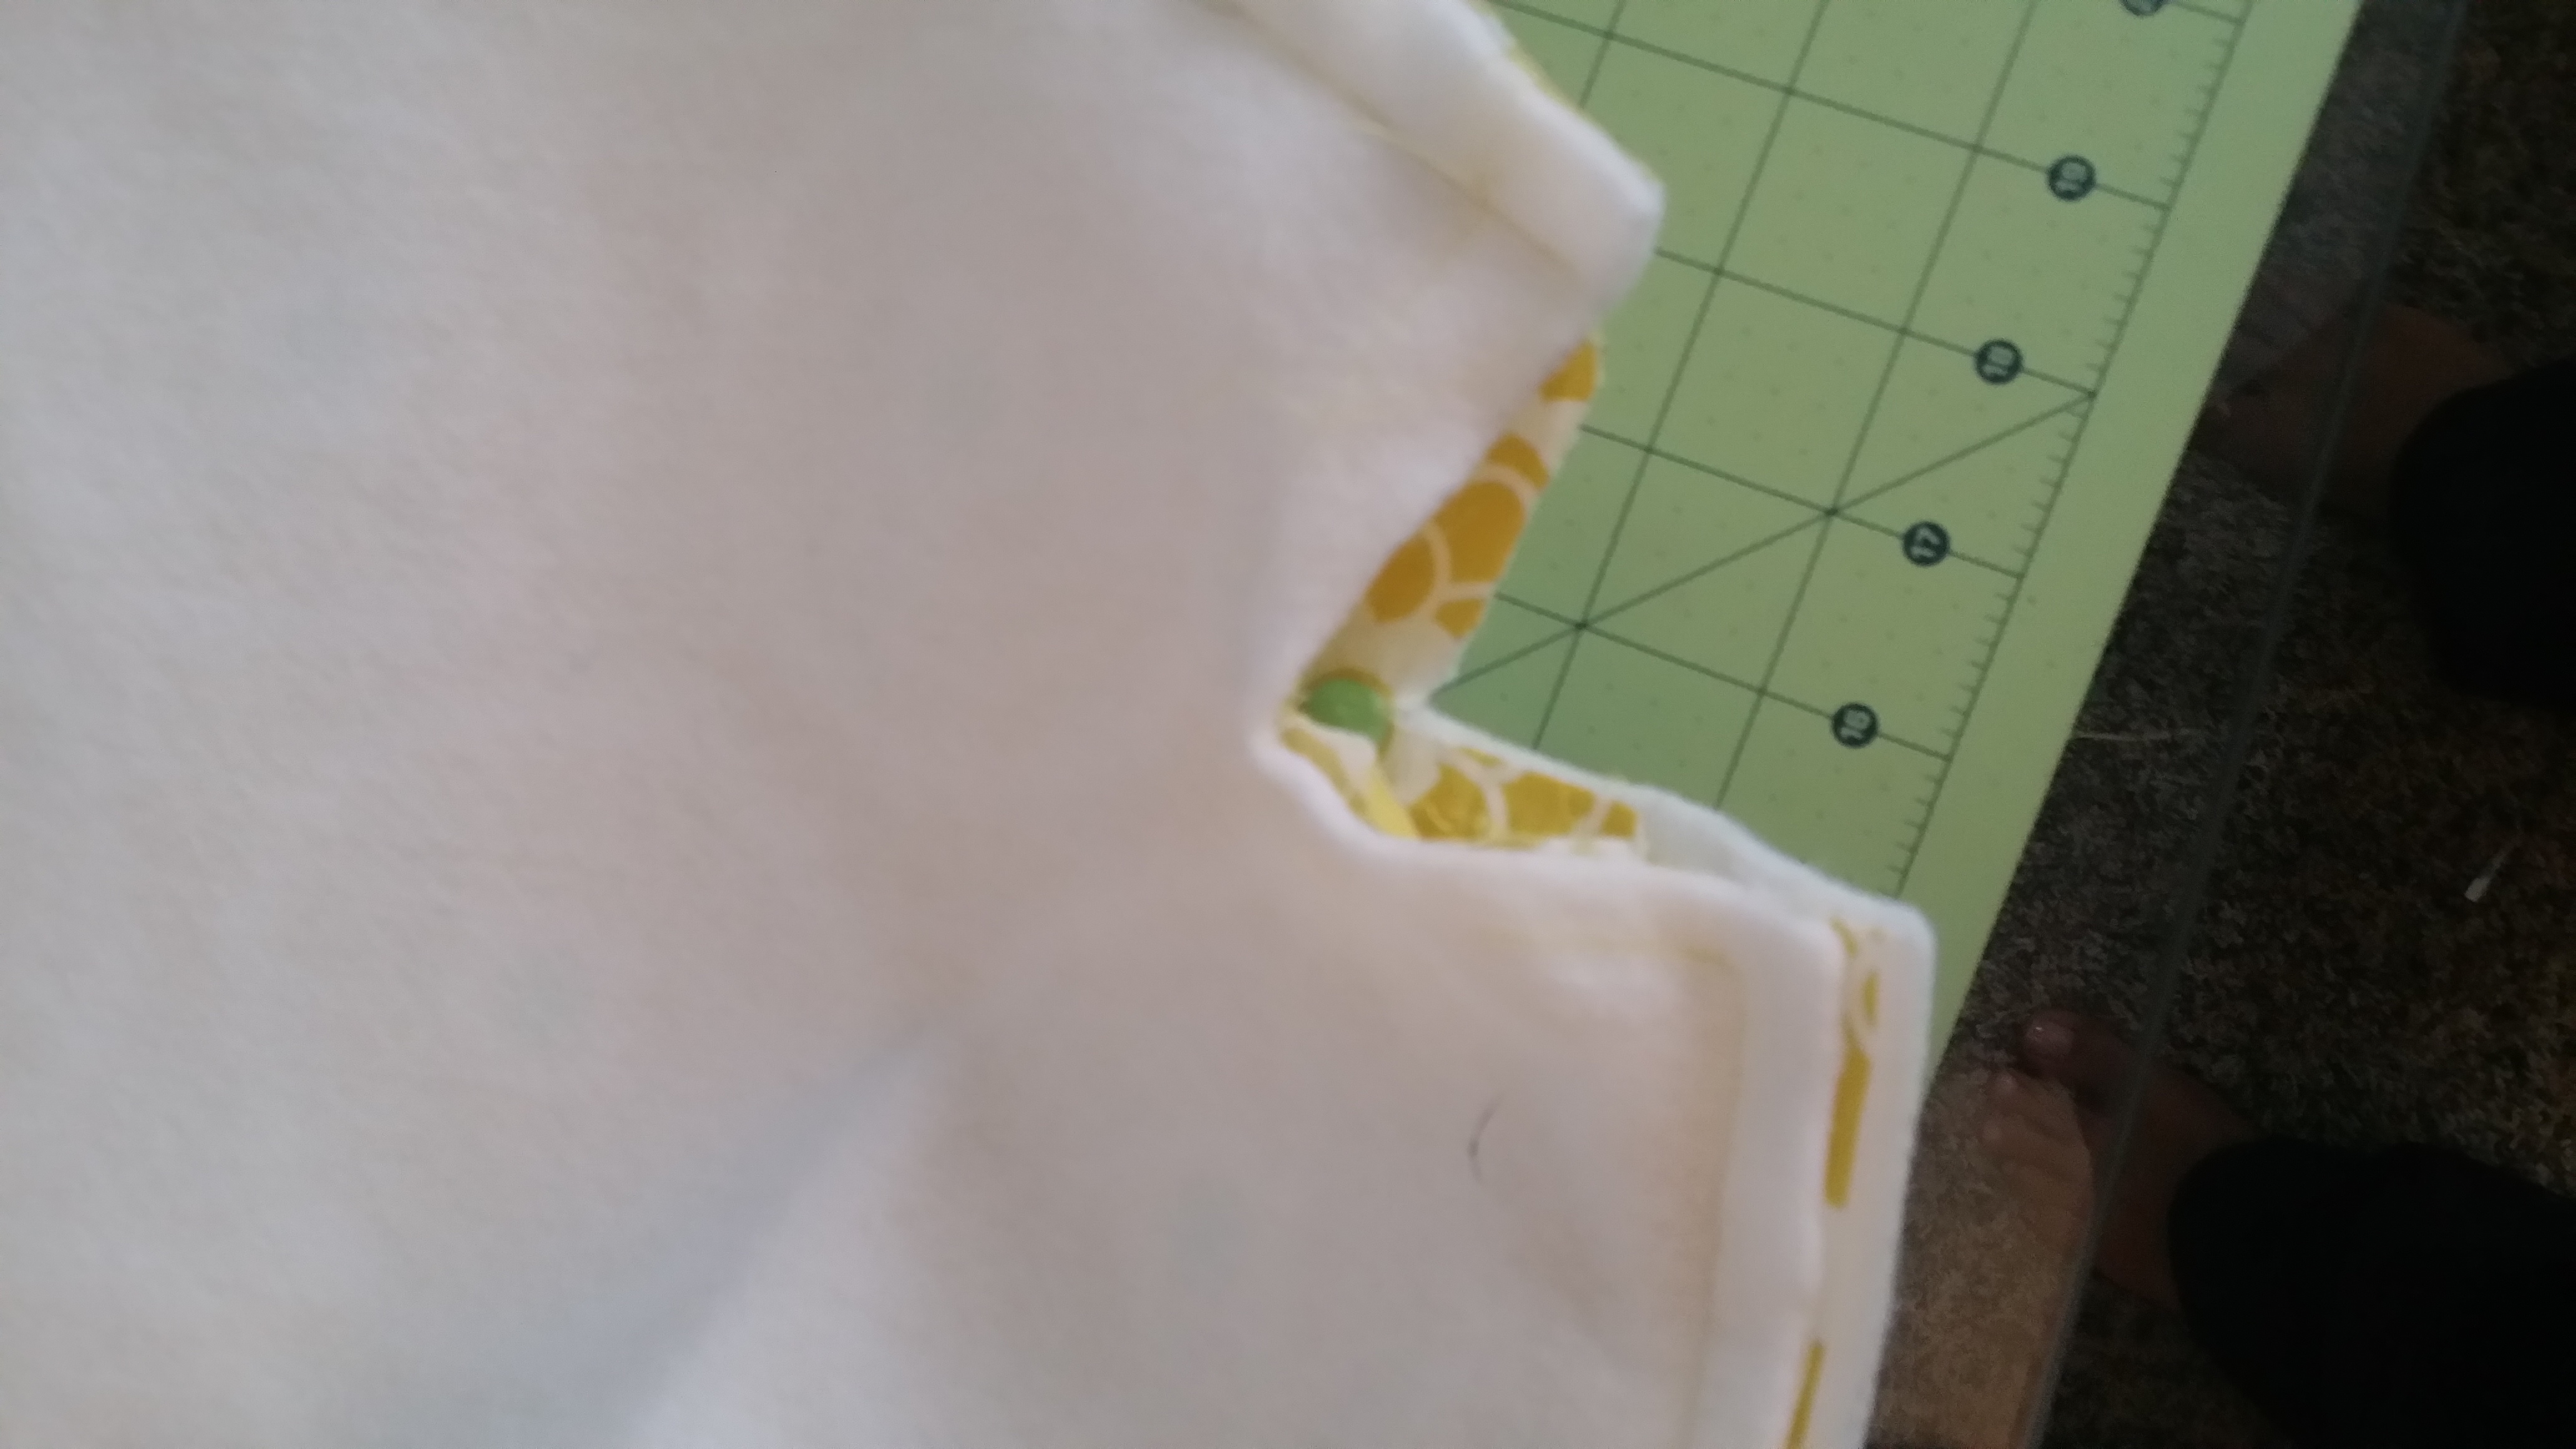
Here is your opened side bottom piece
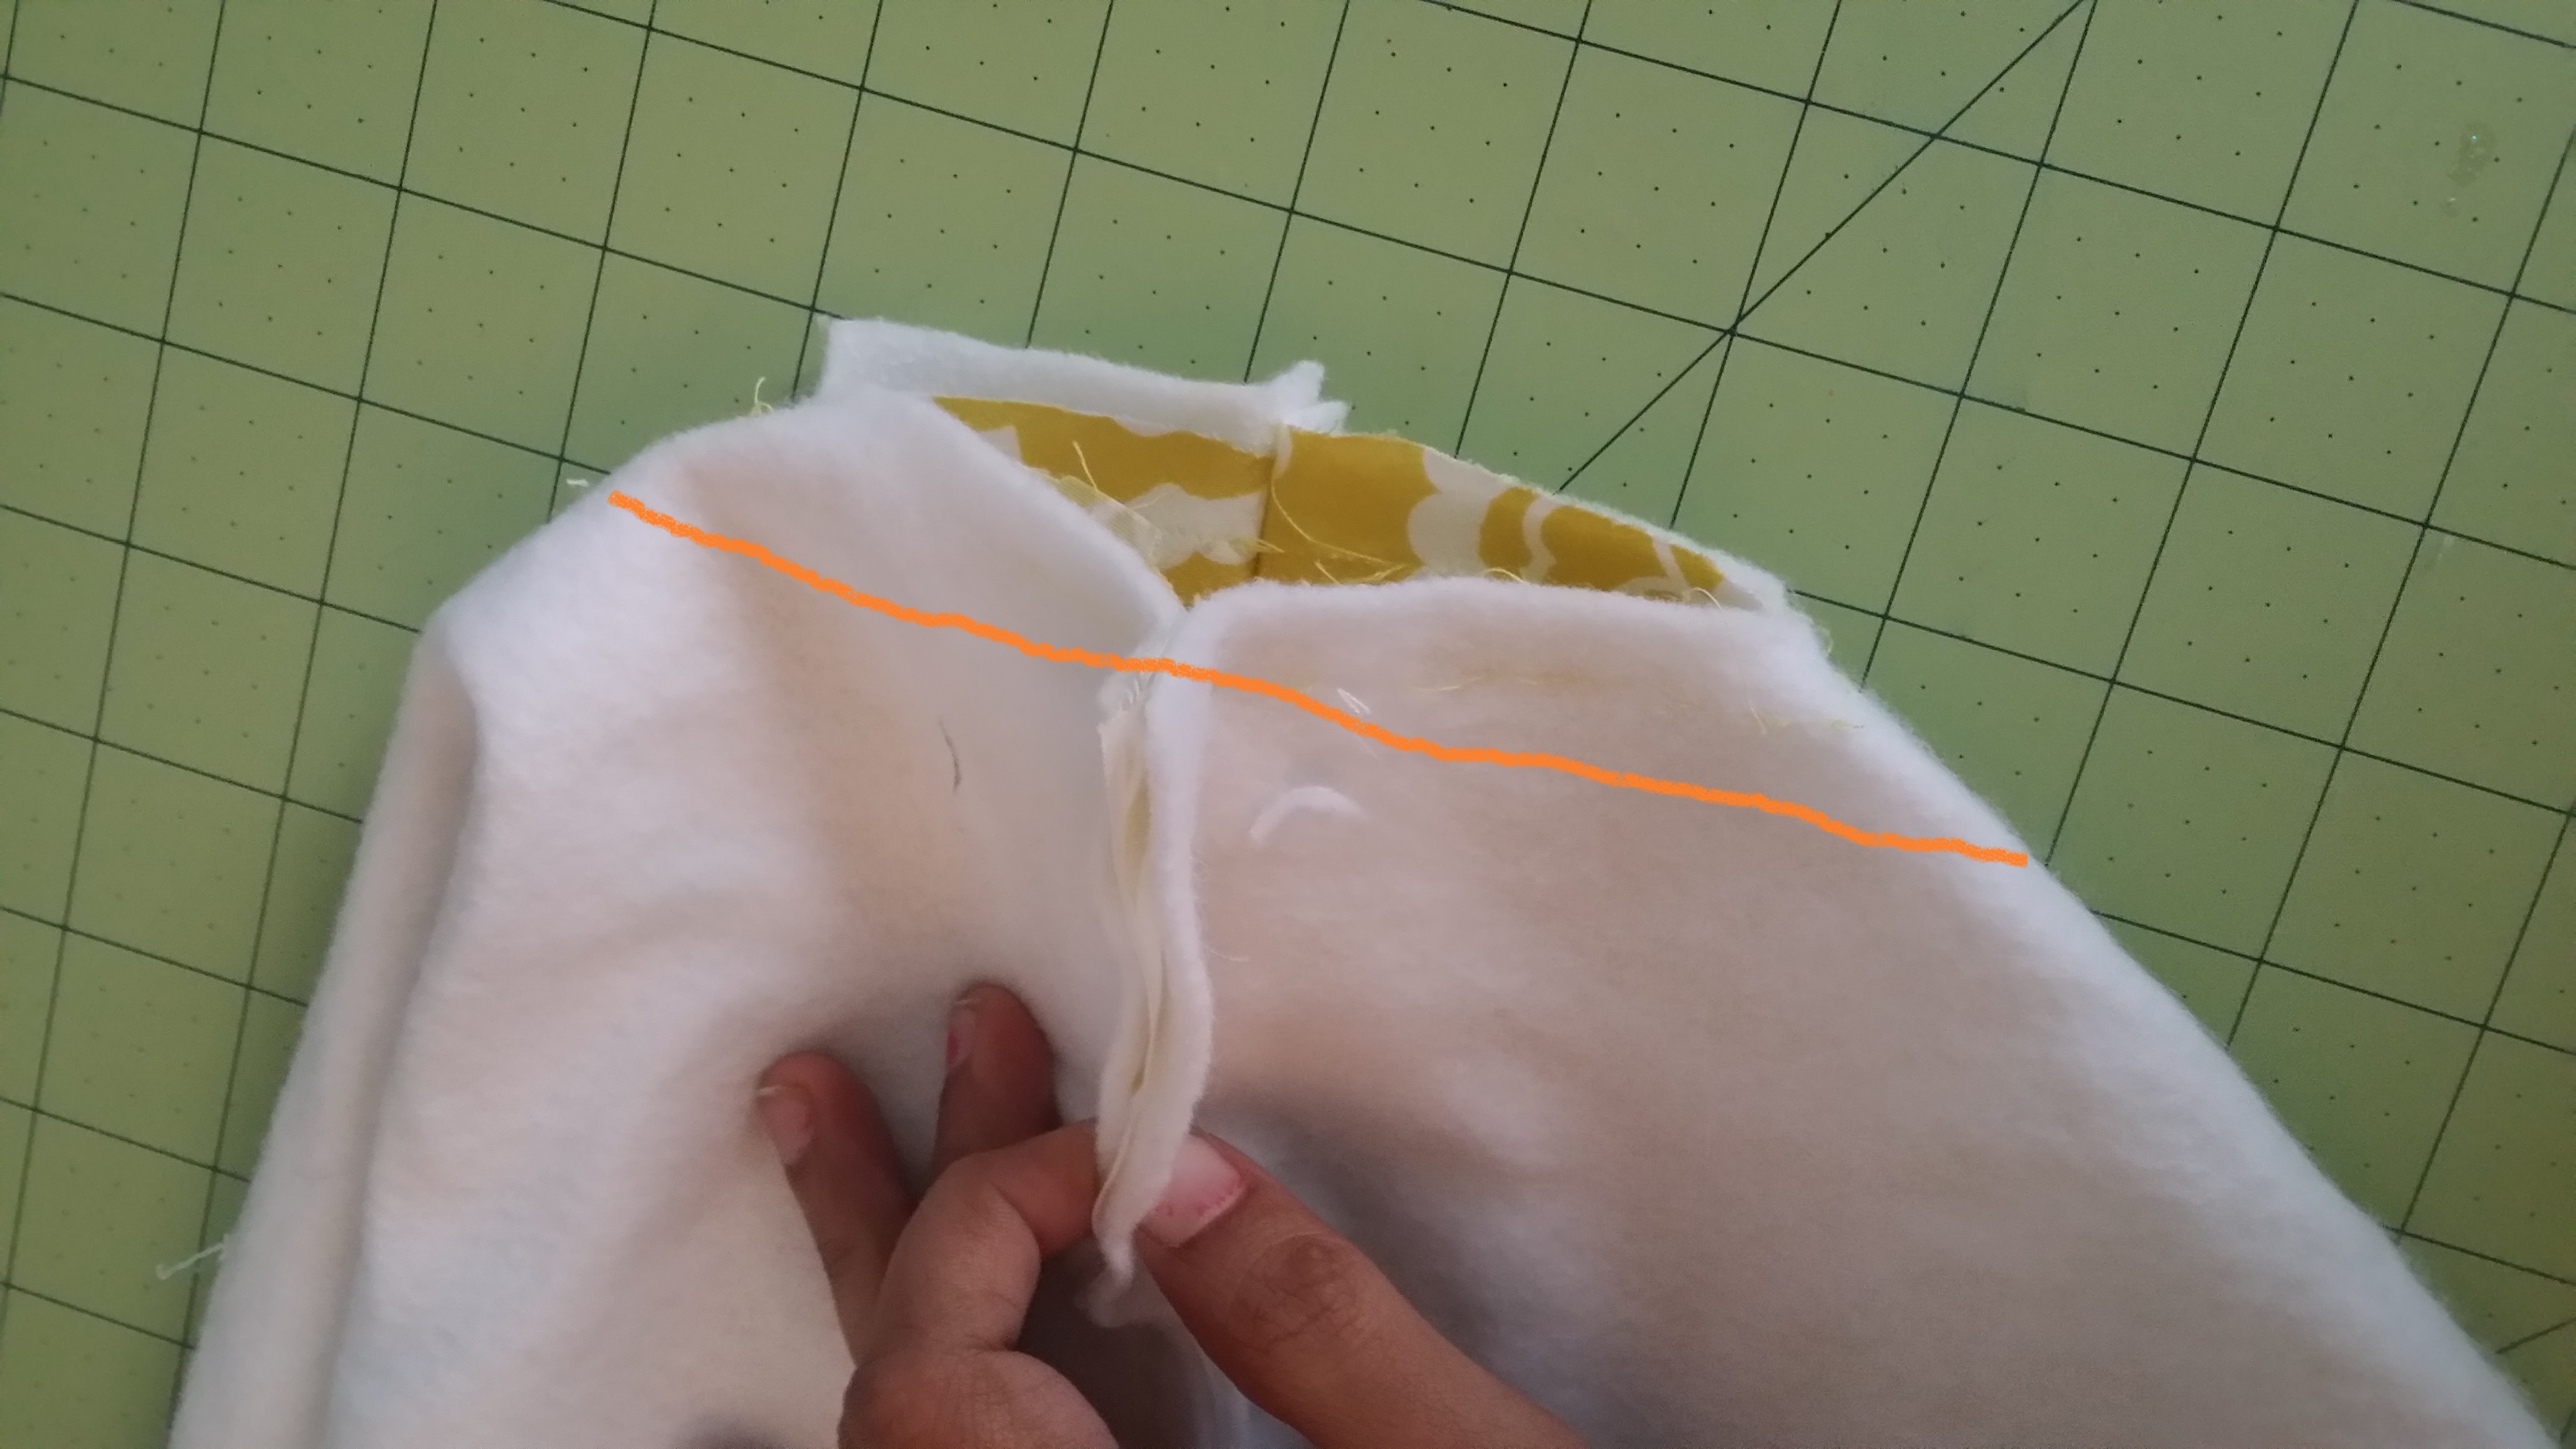
Sew a line straight across
It will look like this inside out
Repeat for lining
Step 5- Complete main bag
Take the lining and fit it into the main bag. Using a long stitch sew the lining to the main bag. Make the binding for the top edges. From the pattern, you would need to cut 4 pieces and join two together to get the front binding and 2 together to get the back binding. Sew on the binding over the top of the lining and the main bag.
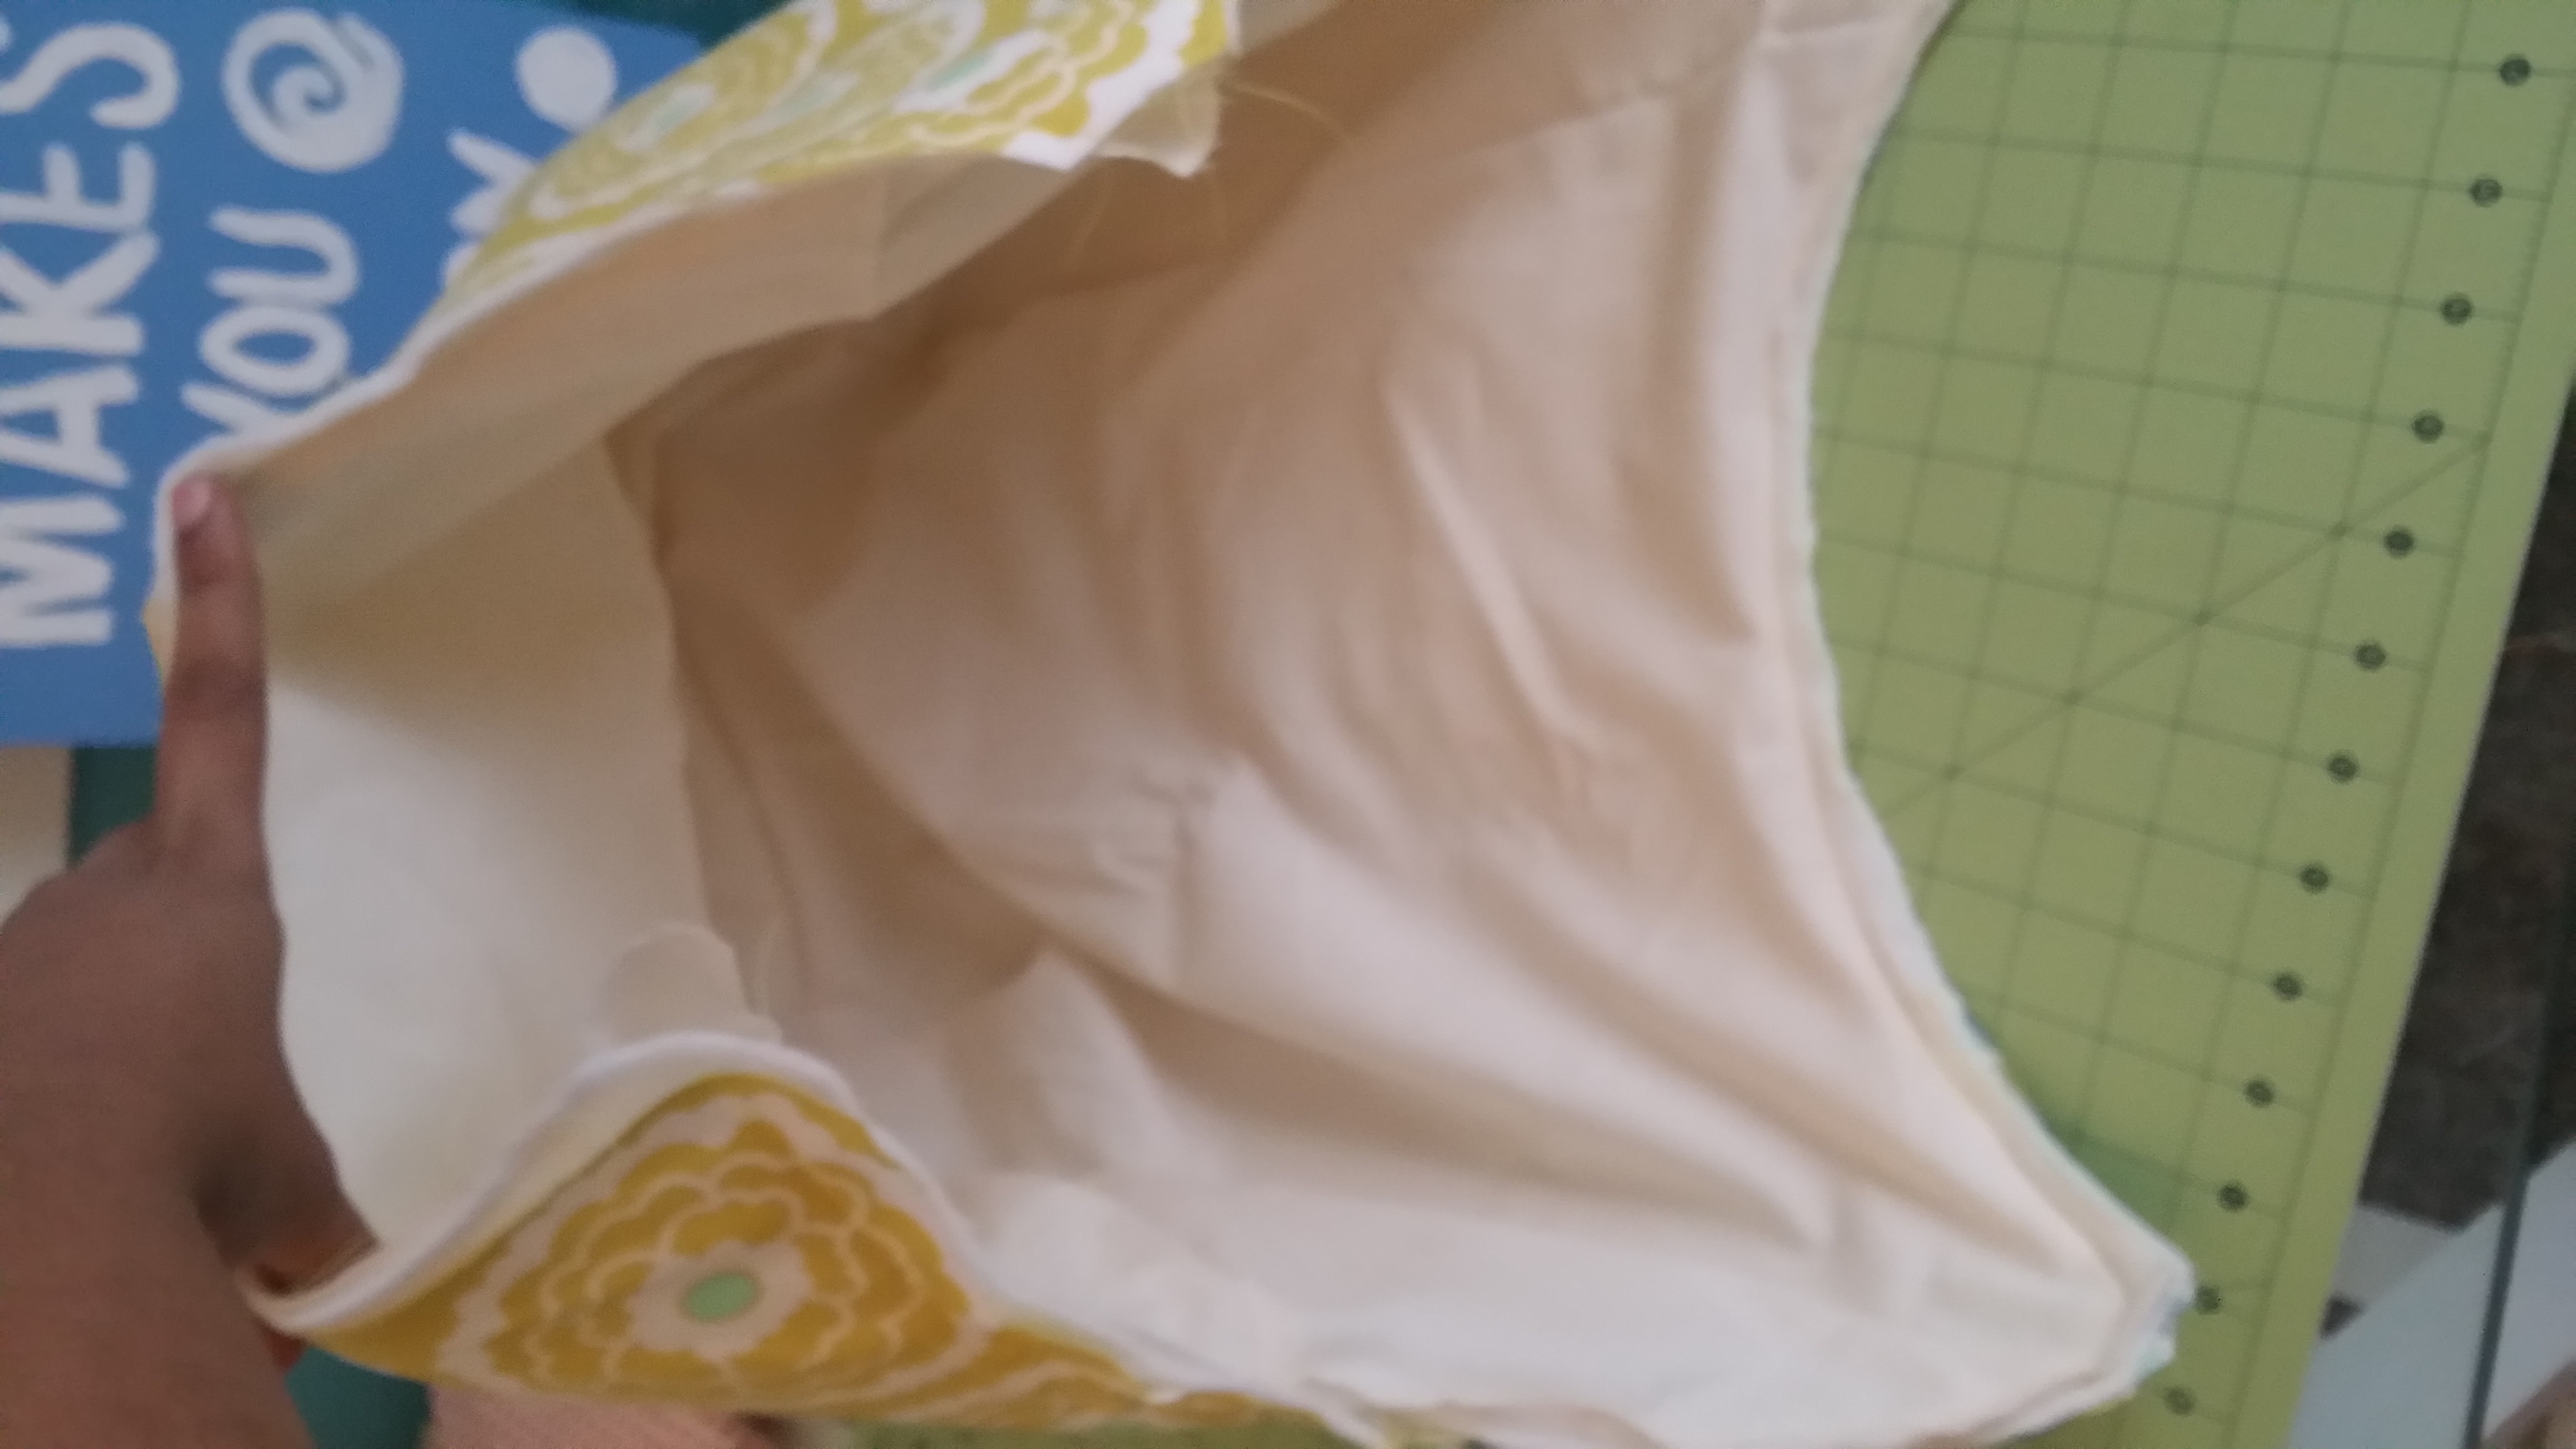
Fit lining into bag and sew around top
Sew binding on top of front and back
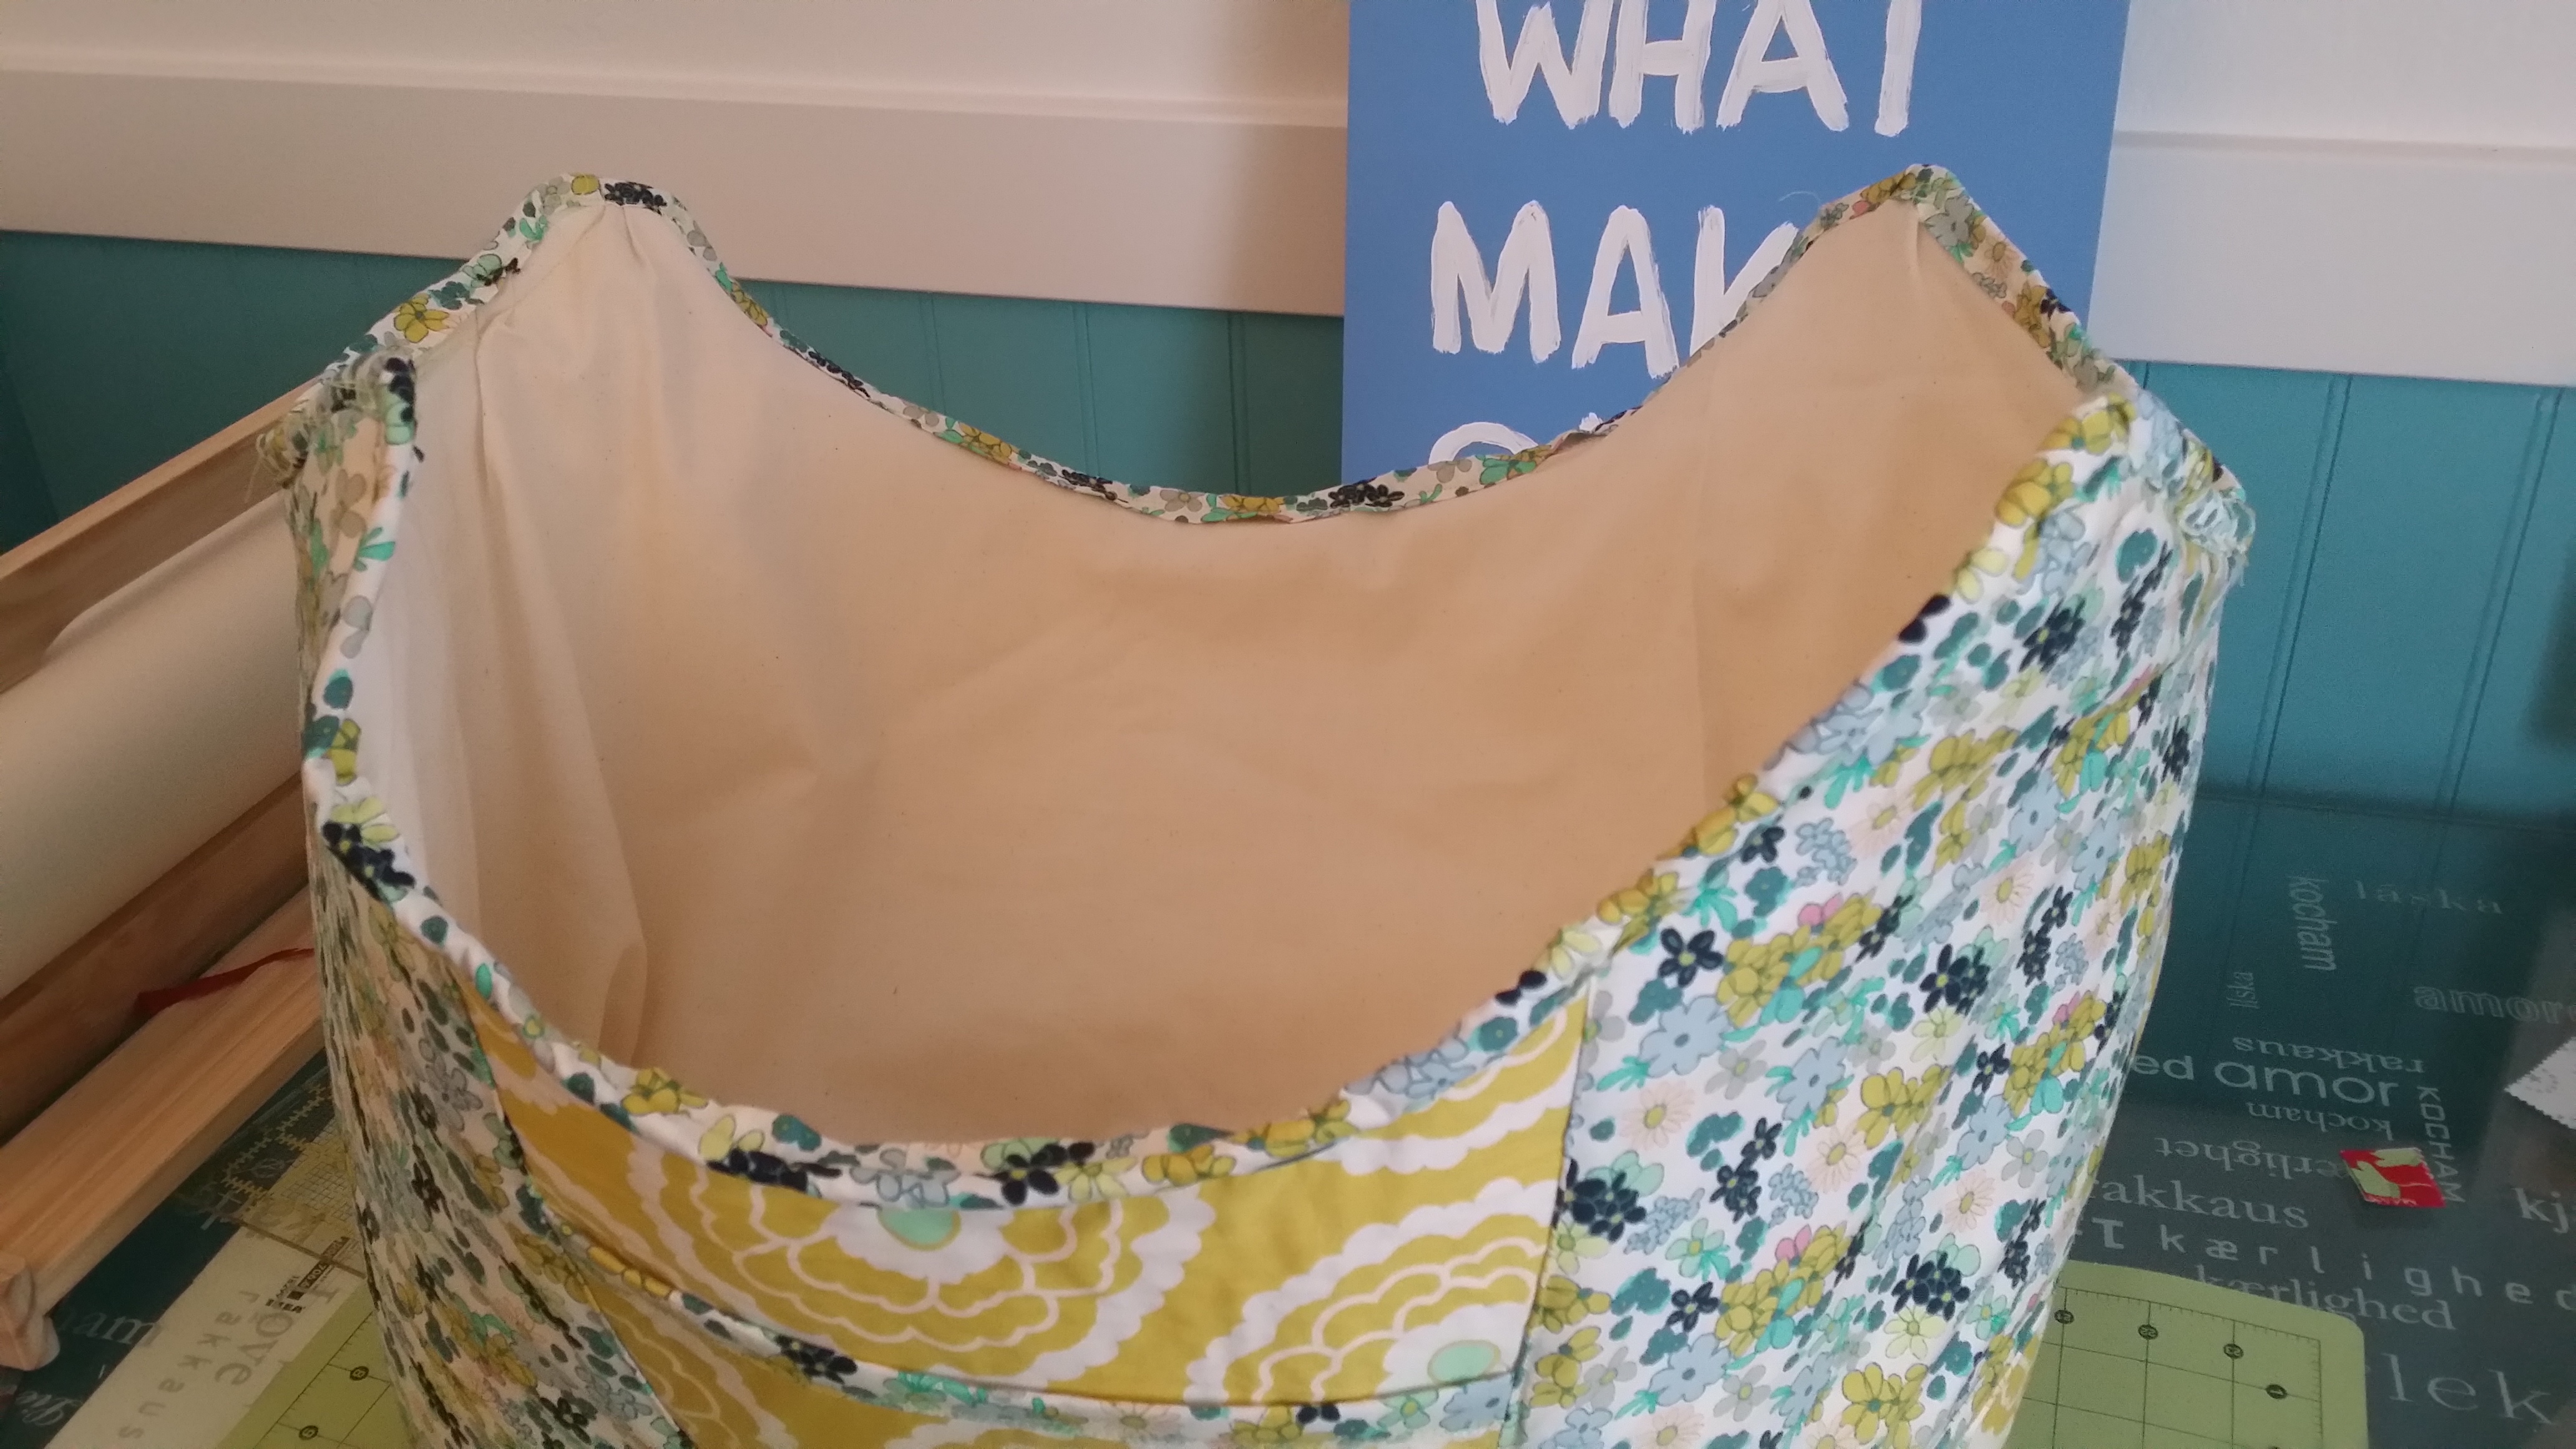
This is what it will look like when its all sewn on.
Step 6-Make the straps
Take the strip that you ironed on the interfacing on and fold in the edges about 1/2″ in. Iron down. Take the other coordinating piece and do the same thing to the edges. Lay the coordinating piece over the main piece and sew down. I did 4 long stitches on mine to make it look quilted.
Fold the edges of your straps

Lay coordinating strap over the main strap
Top stitch the two down on the sides
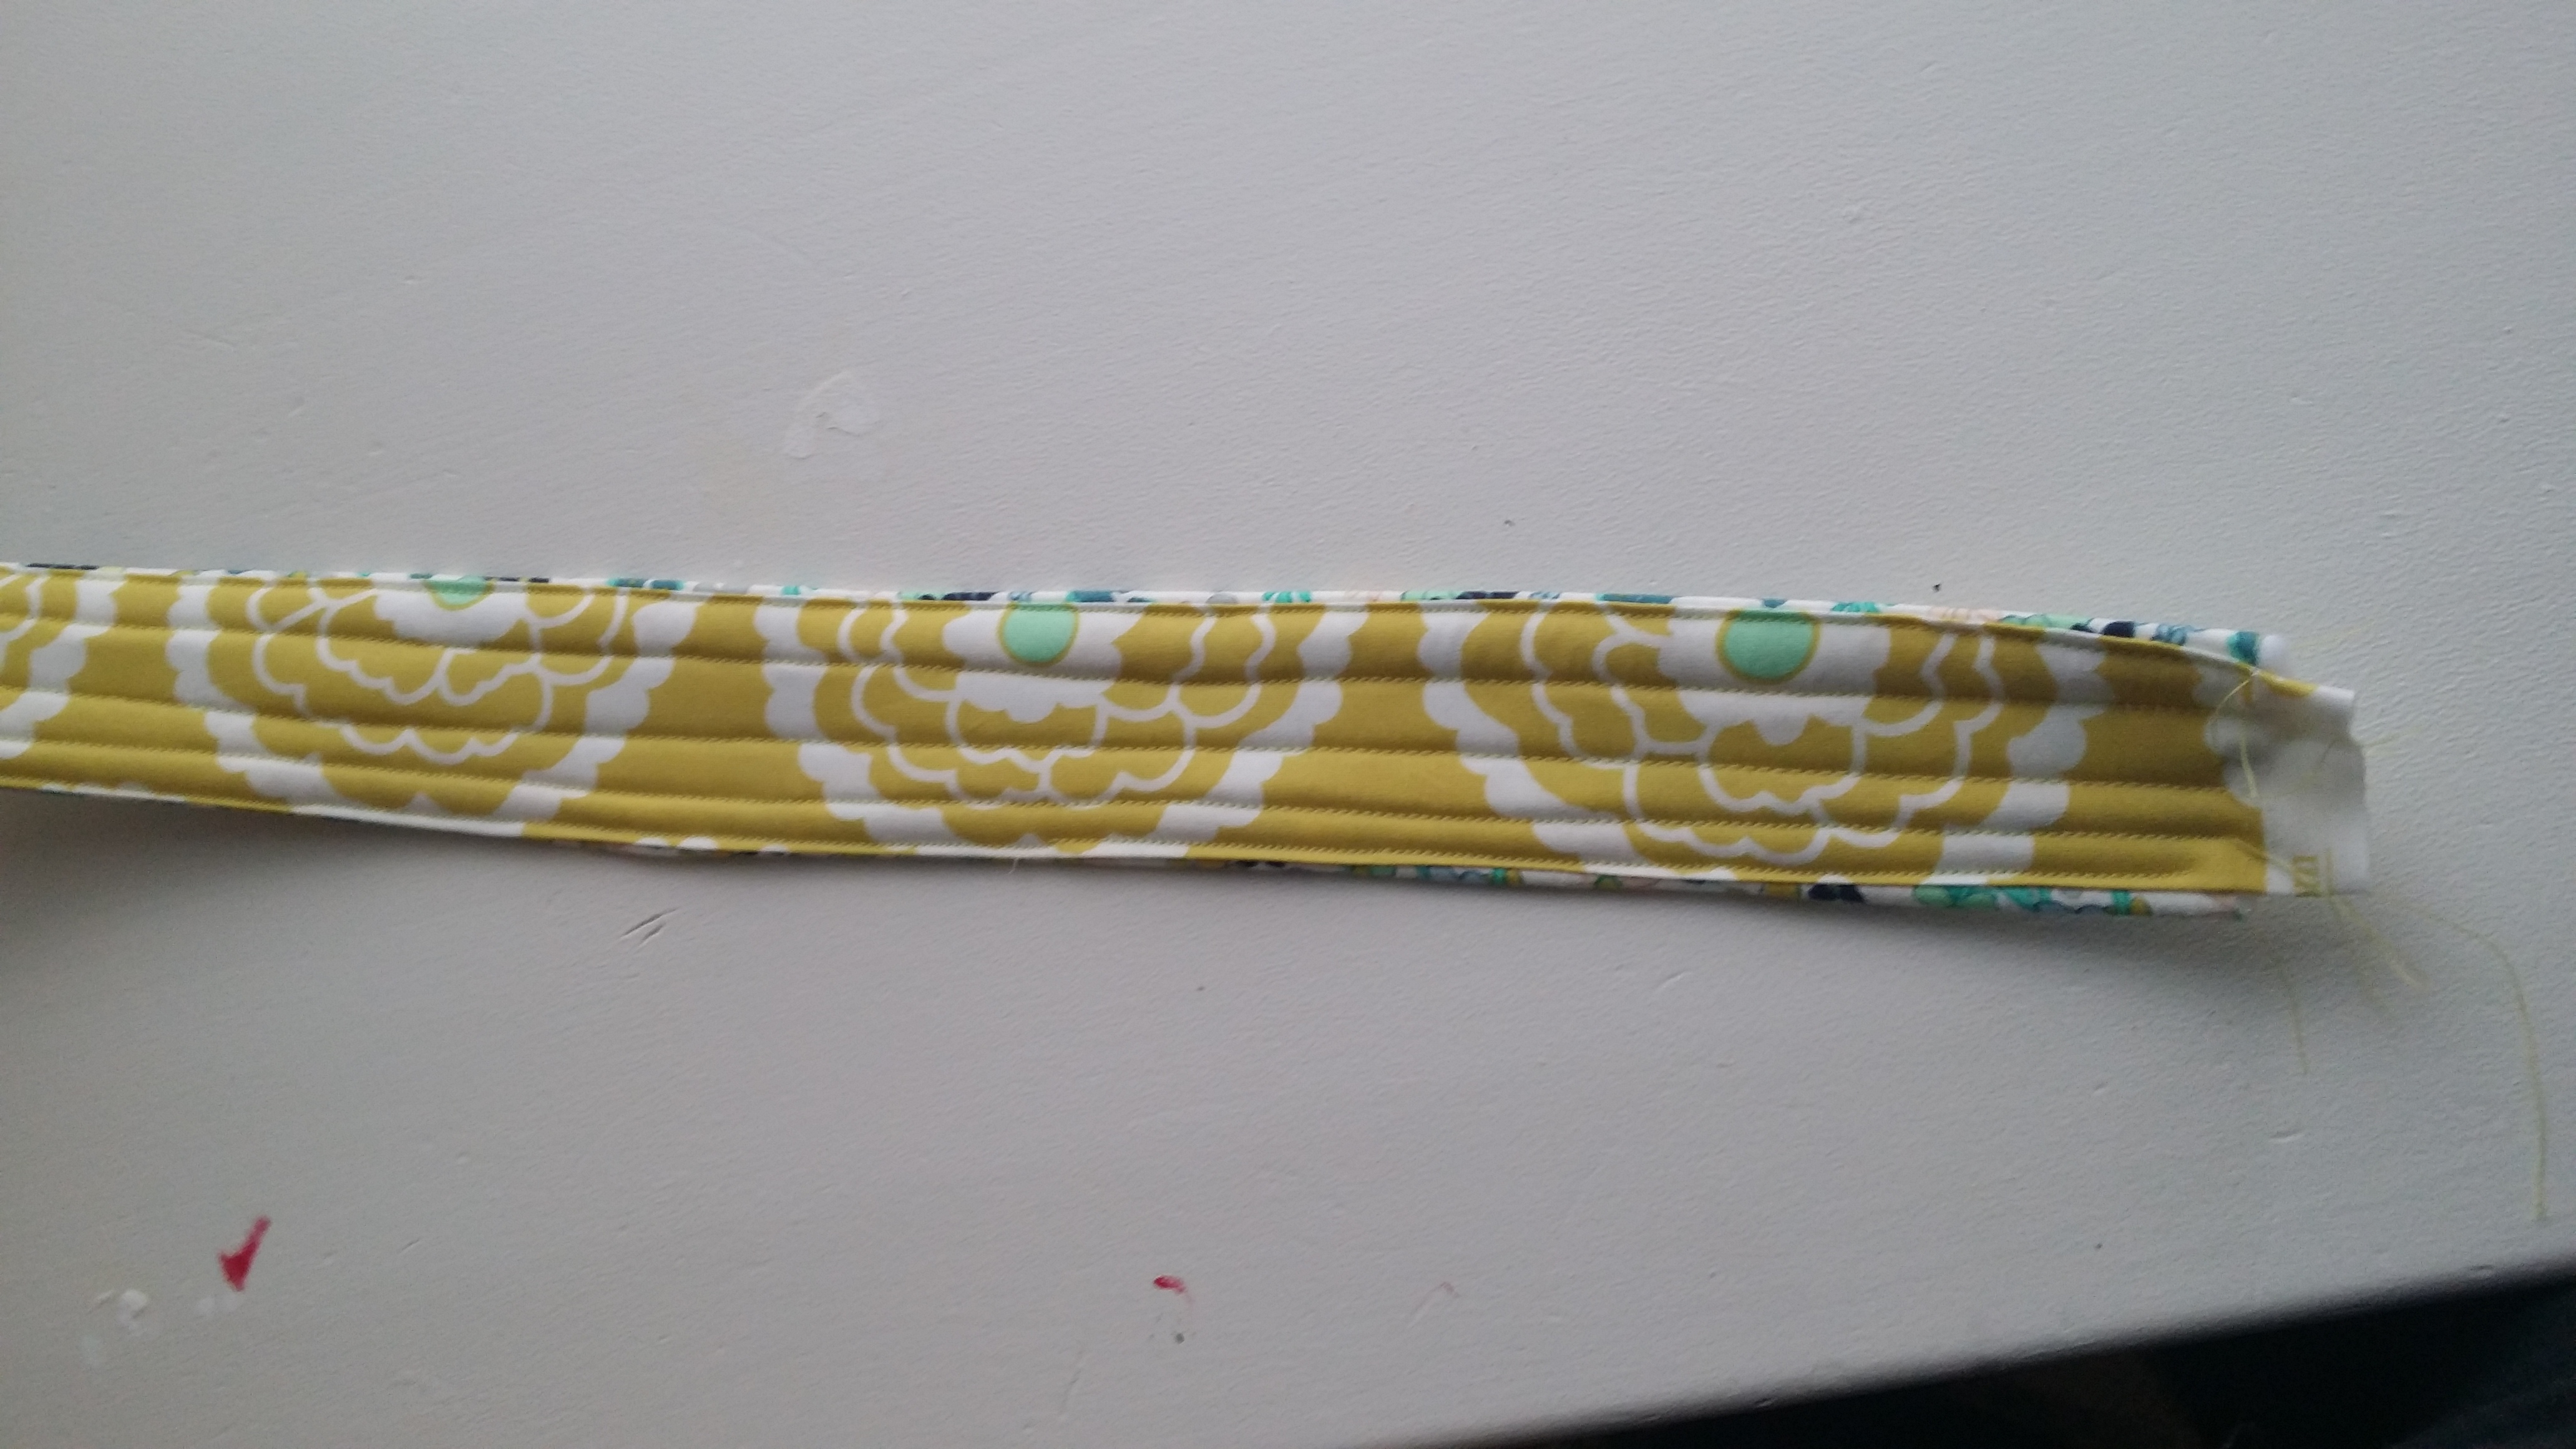
Do horizontal stitches to make it look quilted.
Step 7- Attach straps and complete
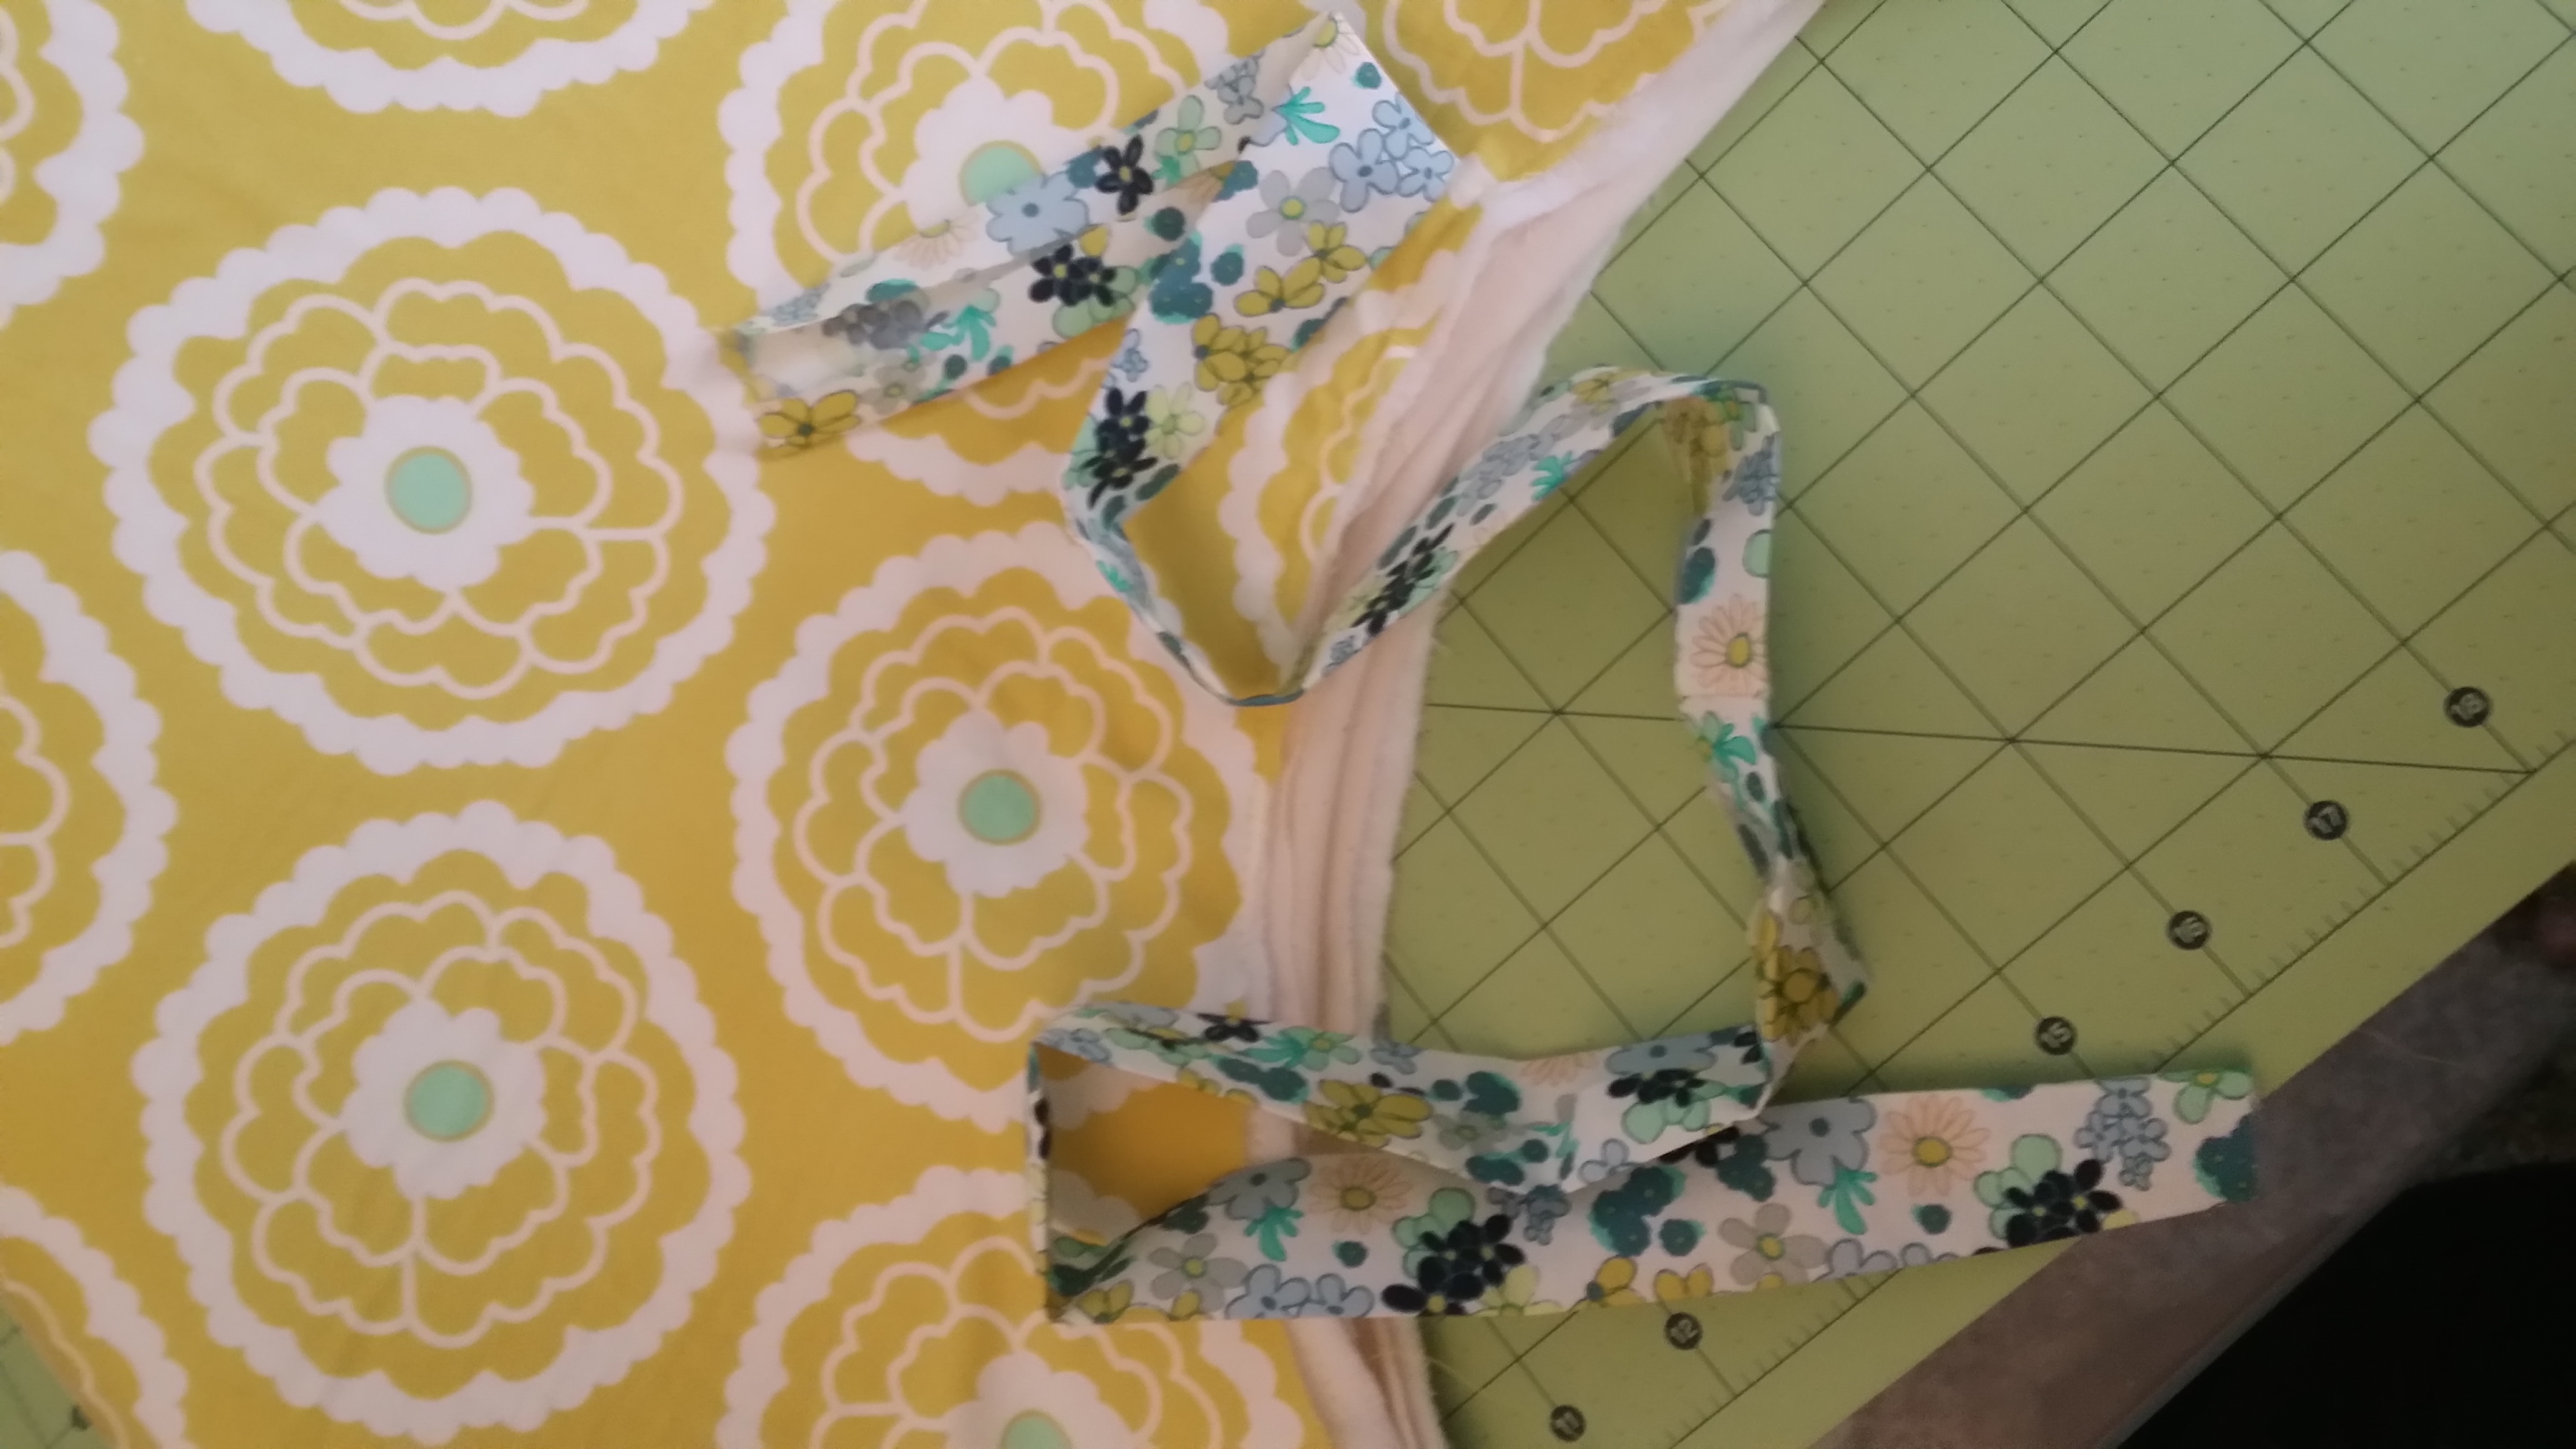
Sew straps to inner top edges of 4 top pieces of the bag. Make the loops/tubes by sewing two pieces right sides together and turning them inside out. Wrap the tubes on each of the strap pieces to cover the opened seam.
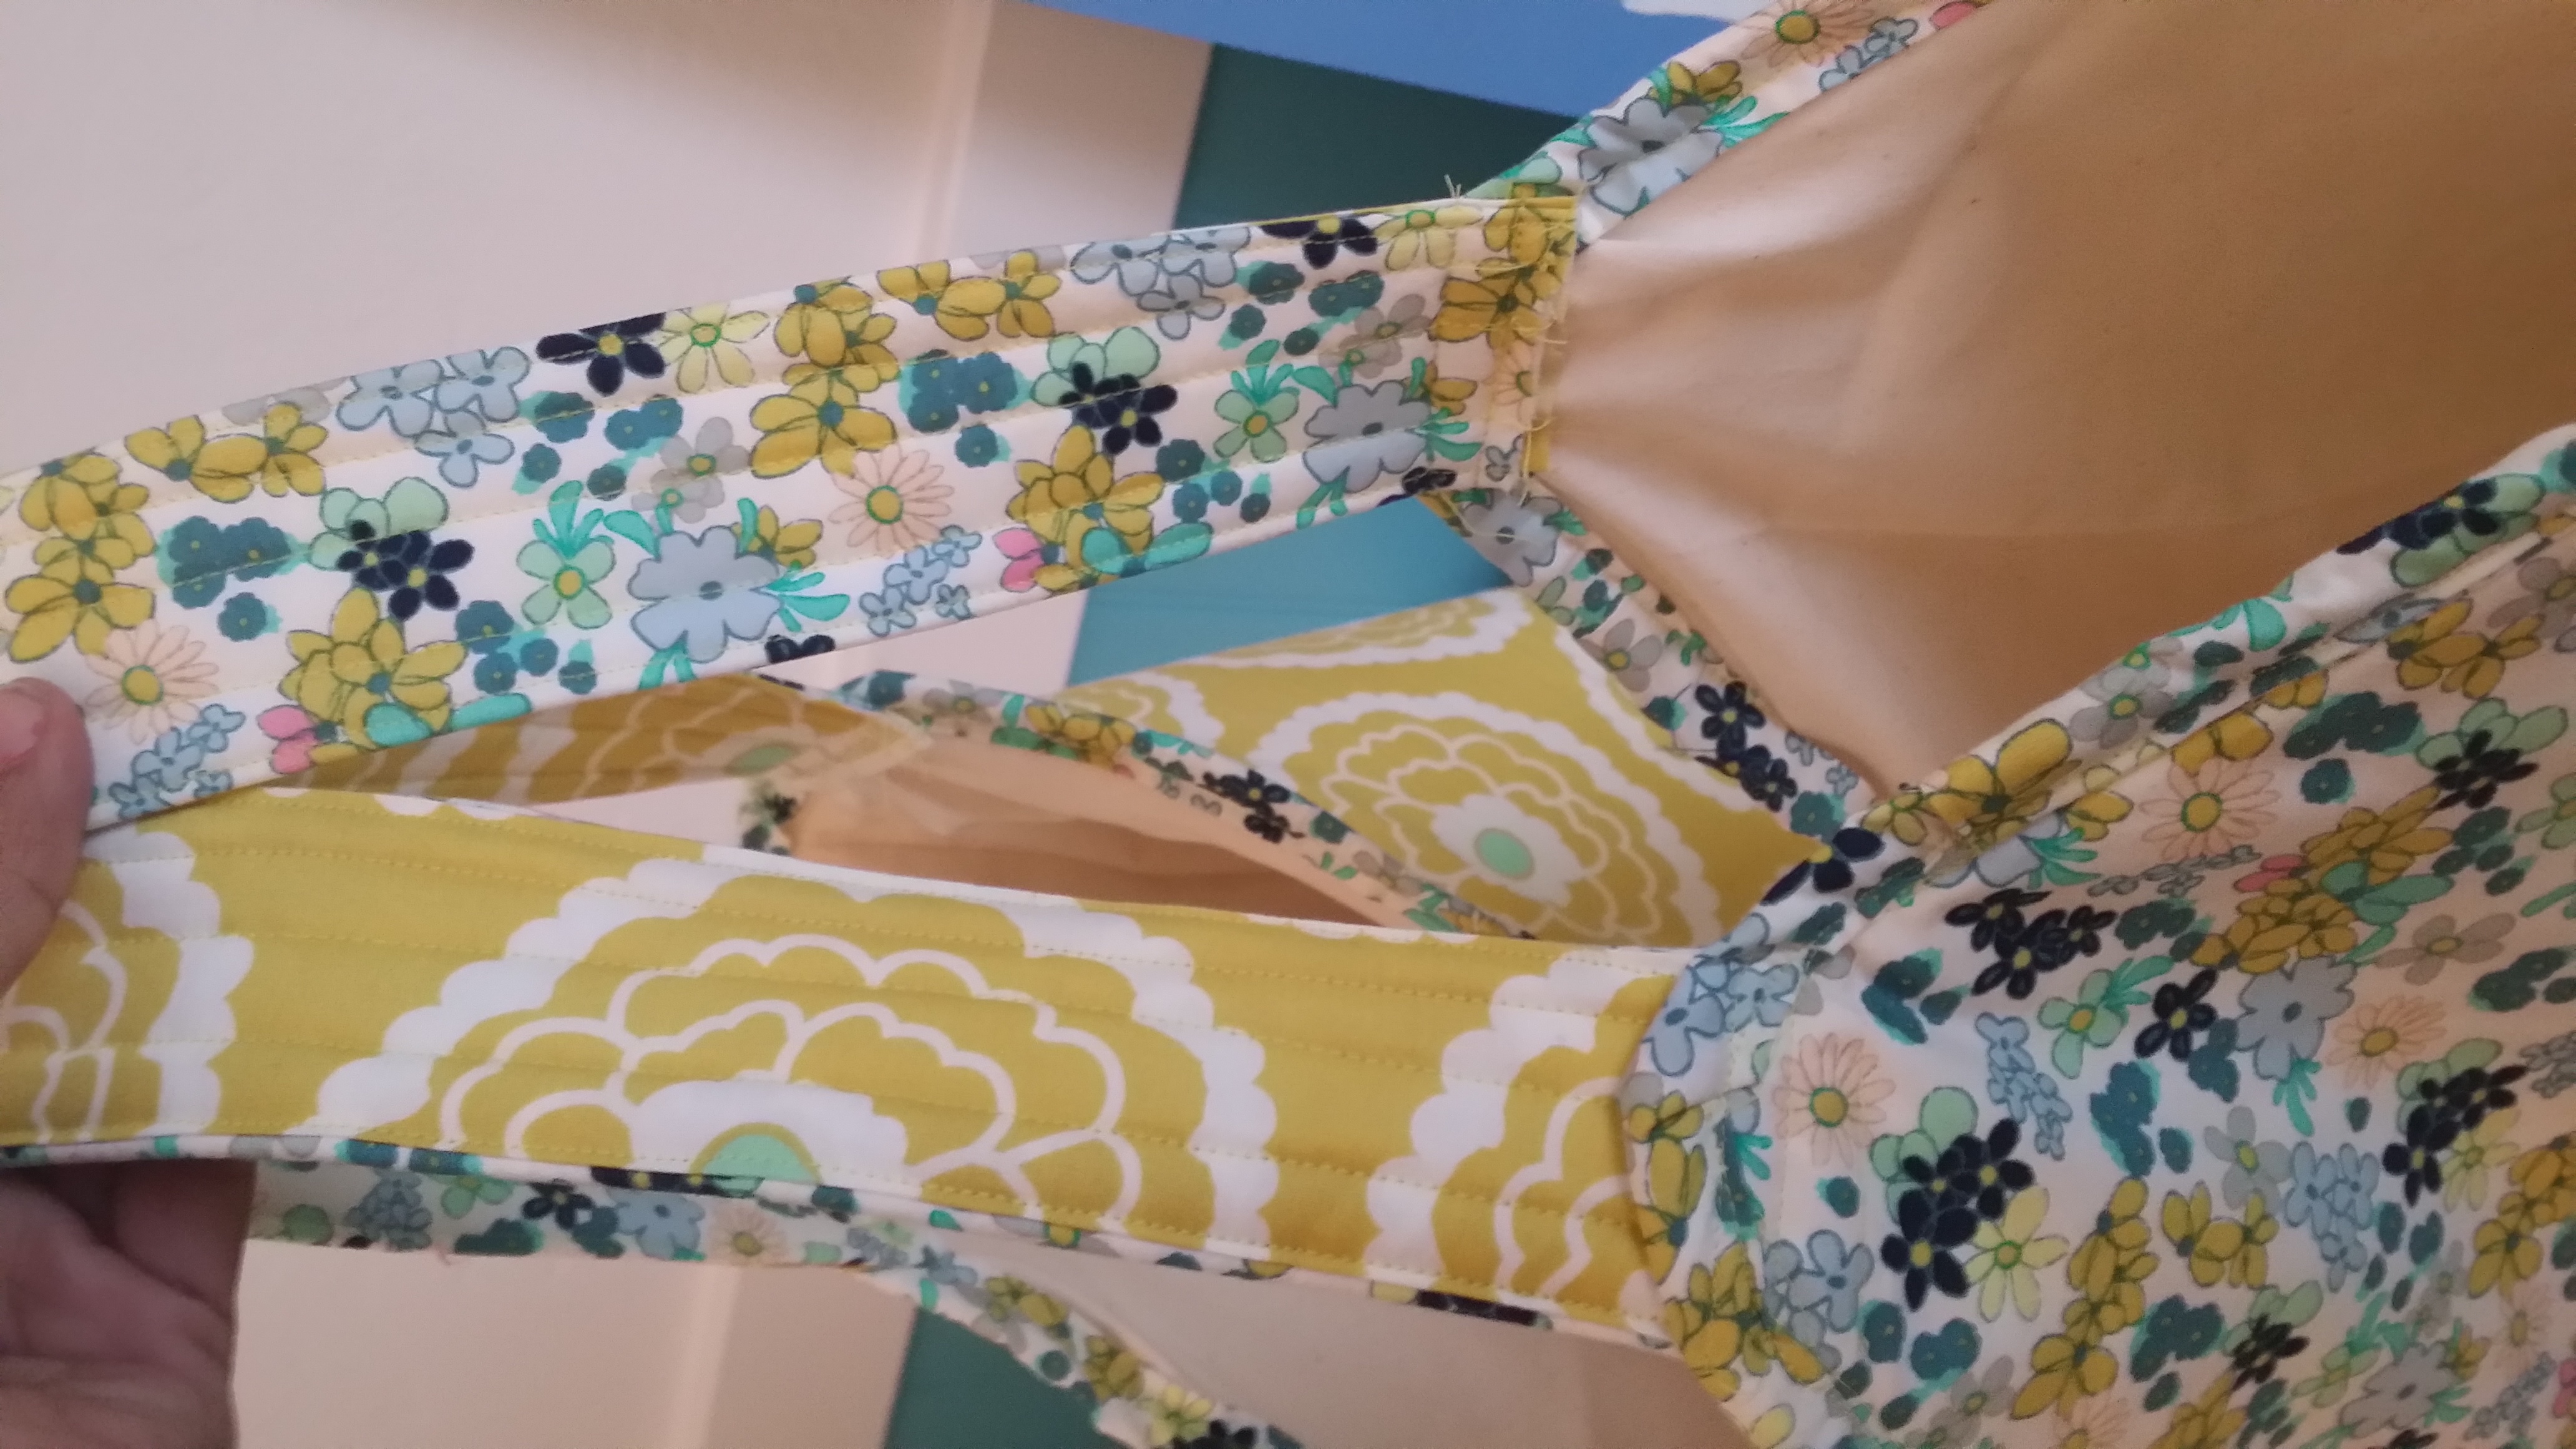
Sew straps to inner tops front to front, back to back
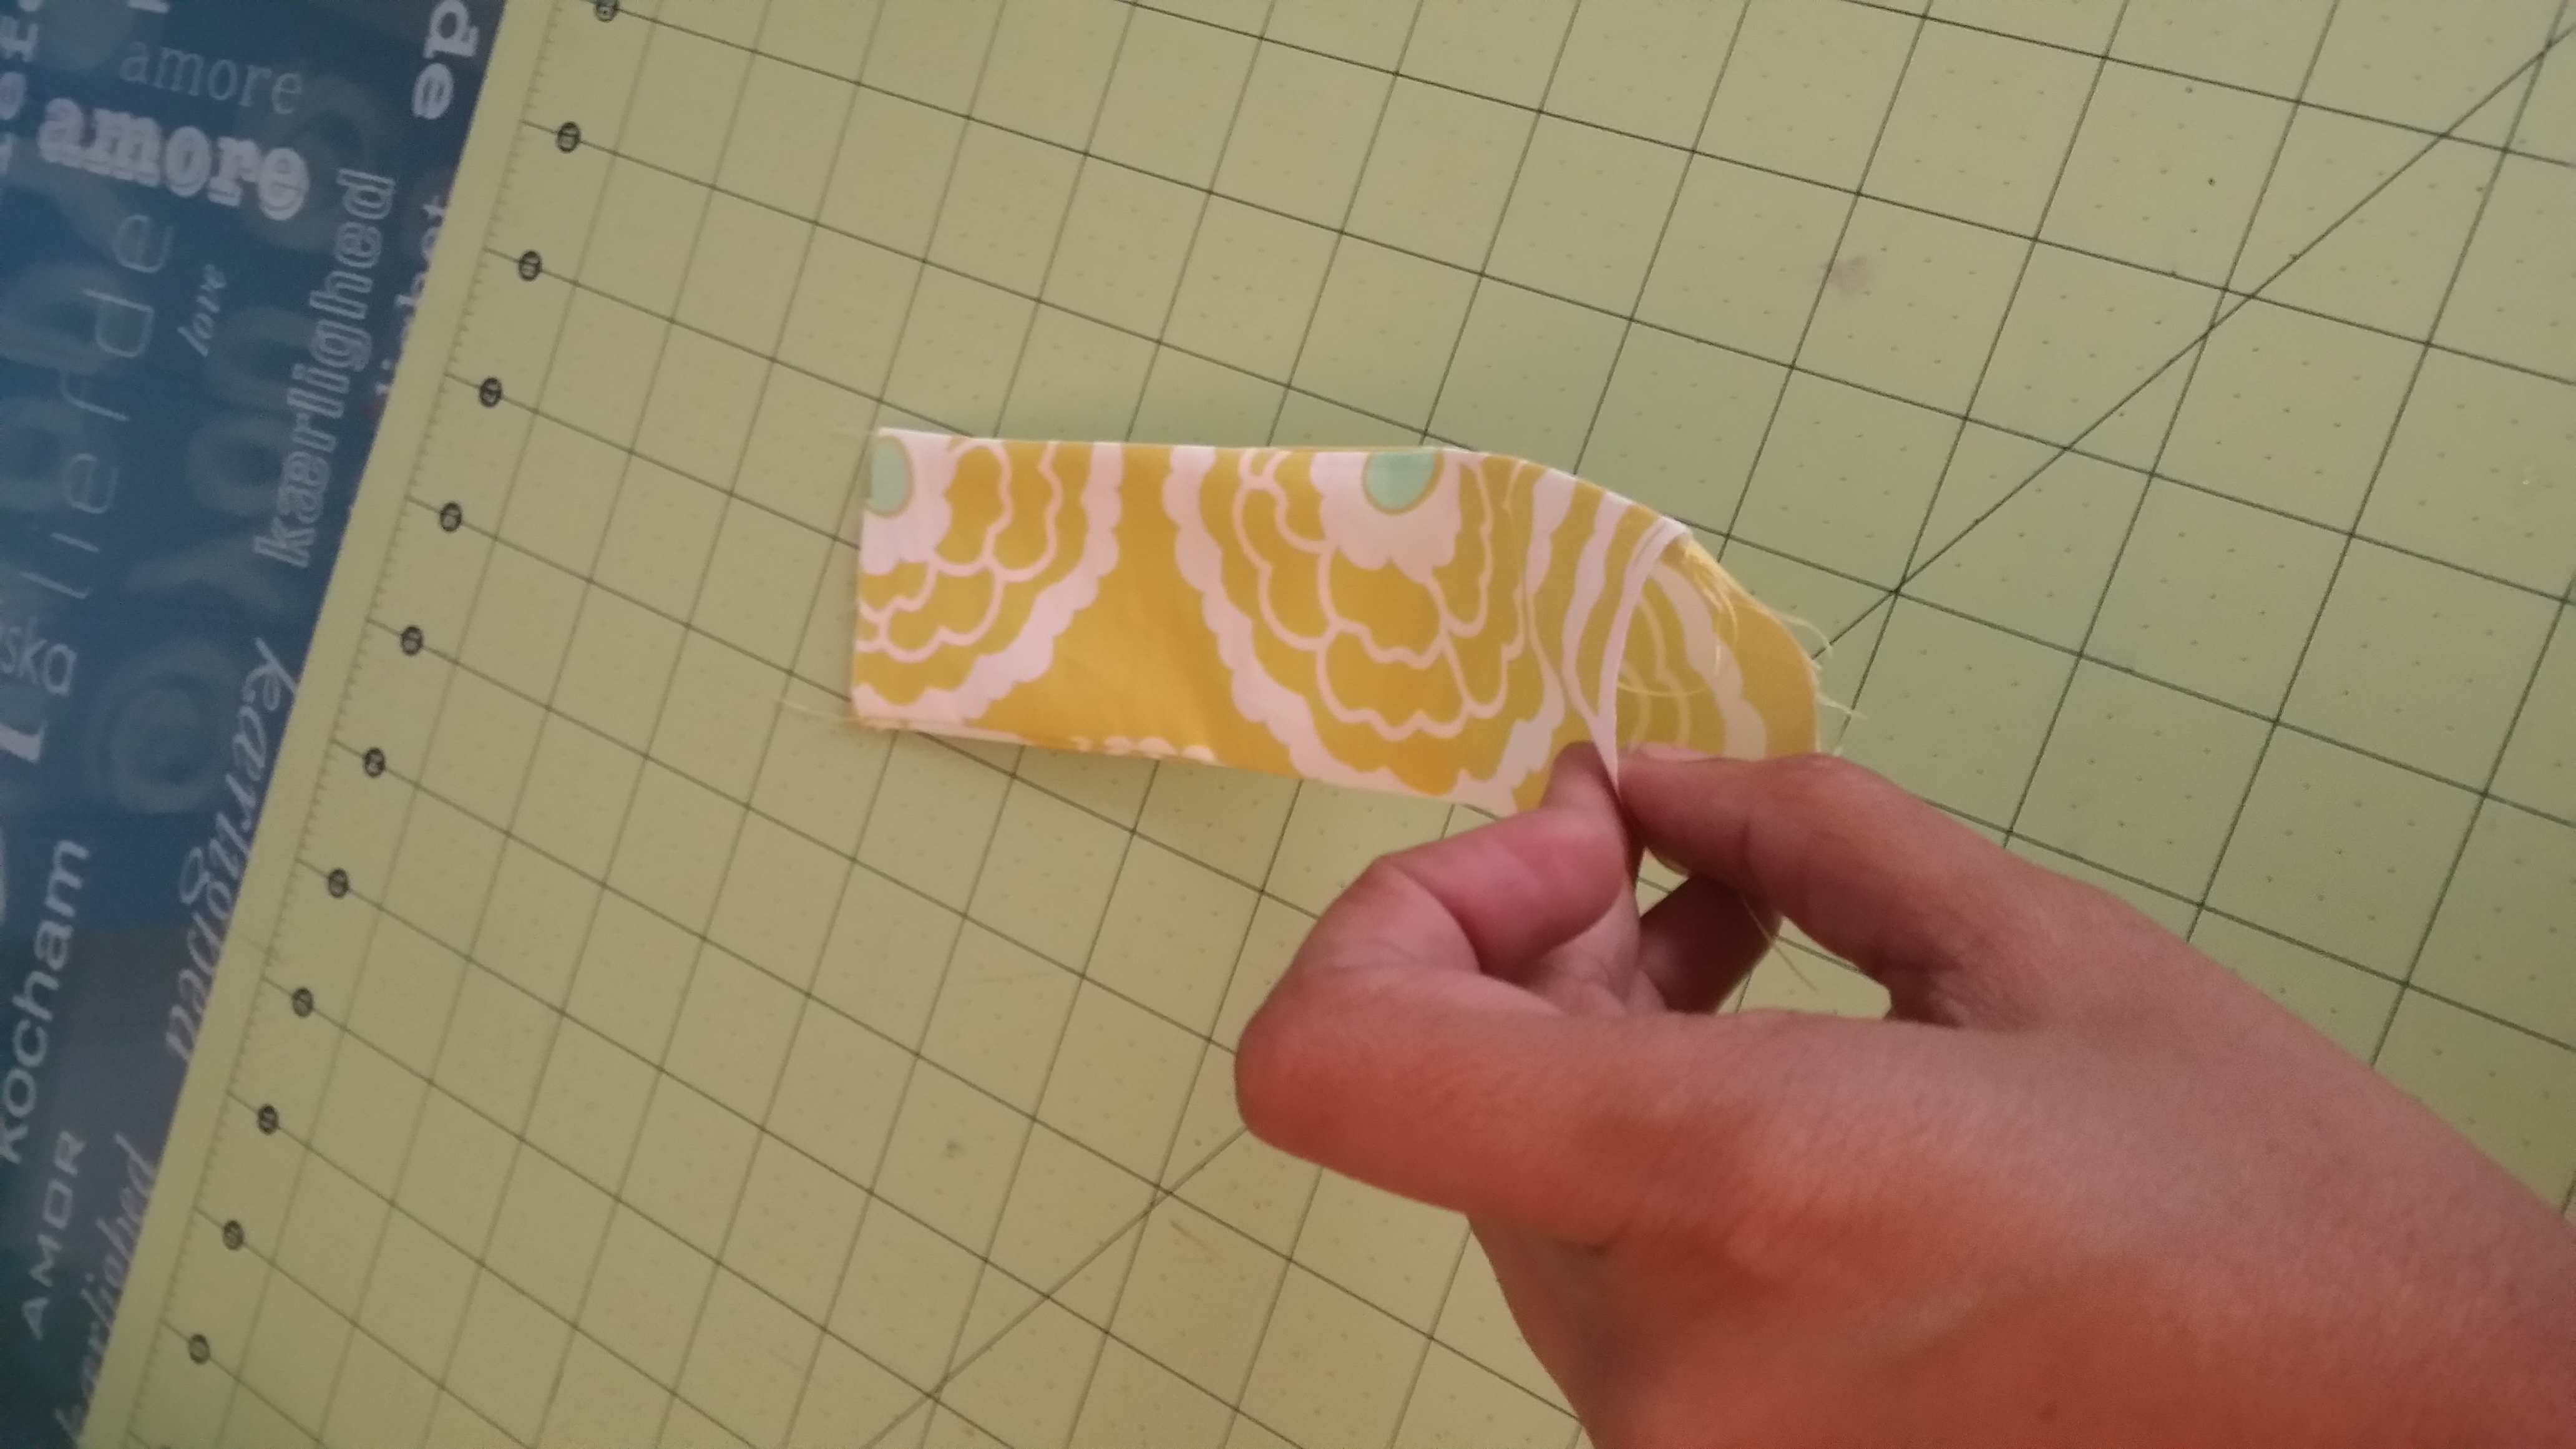
Here is your loop/tube
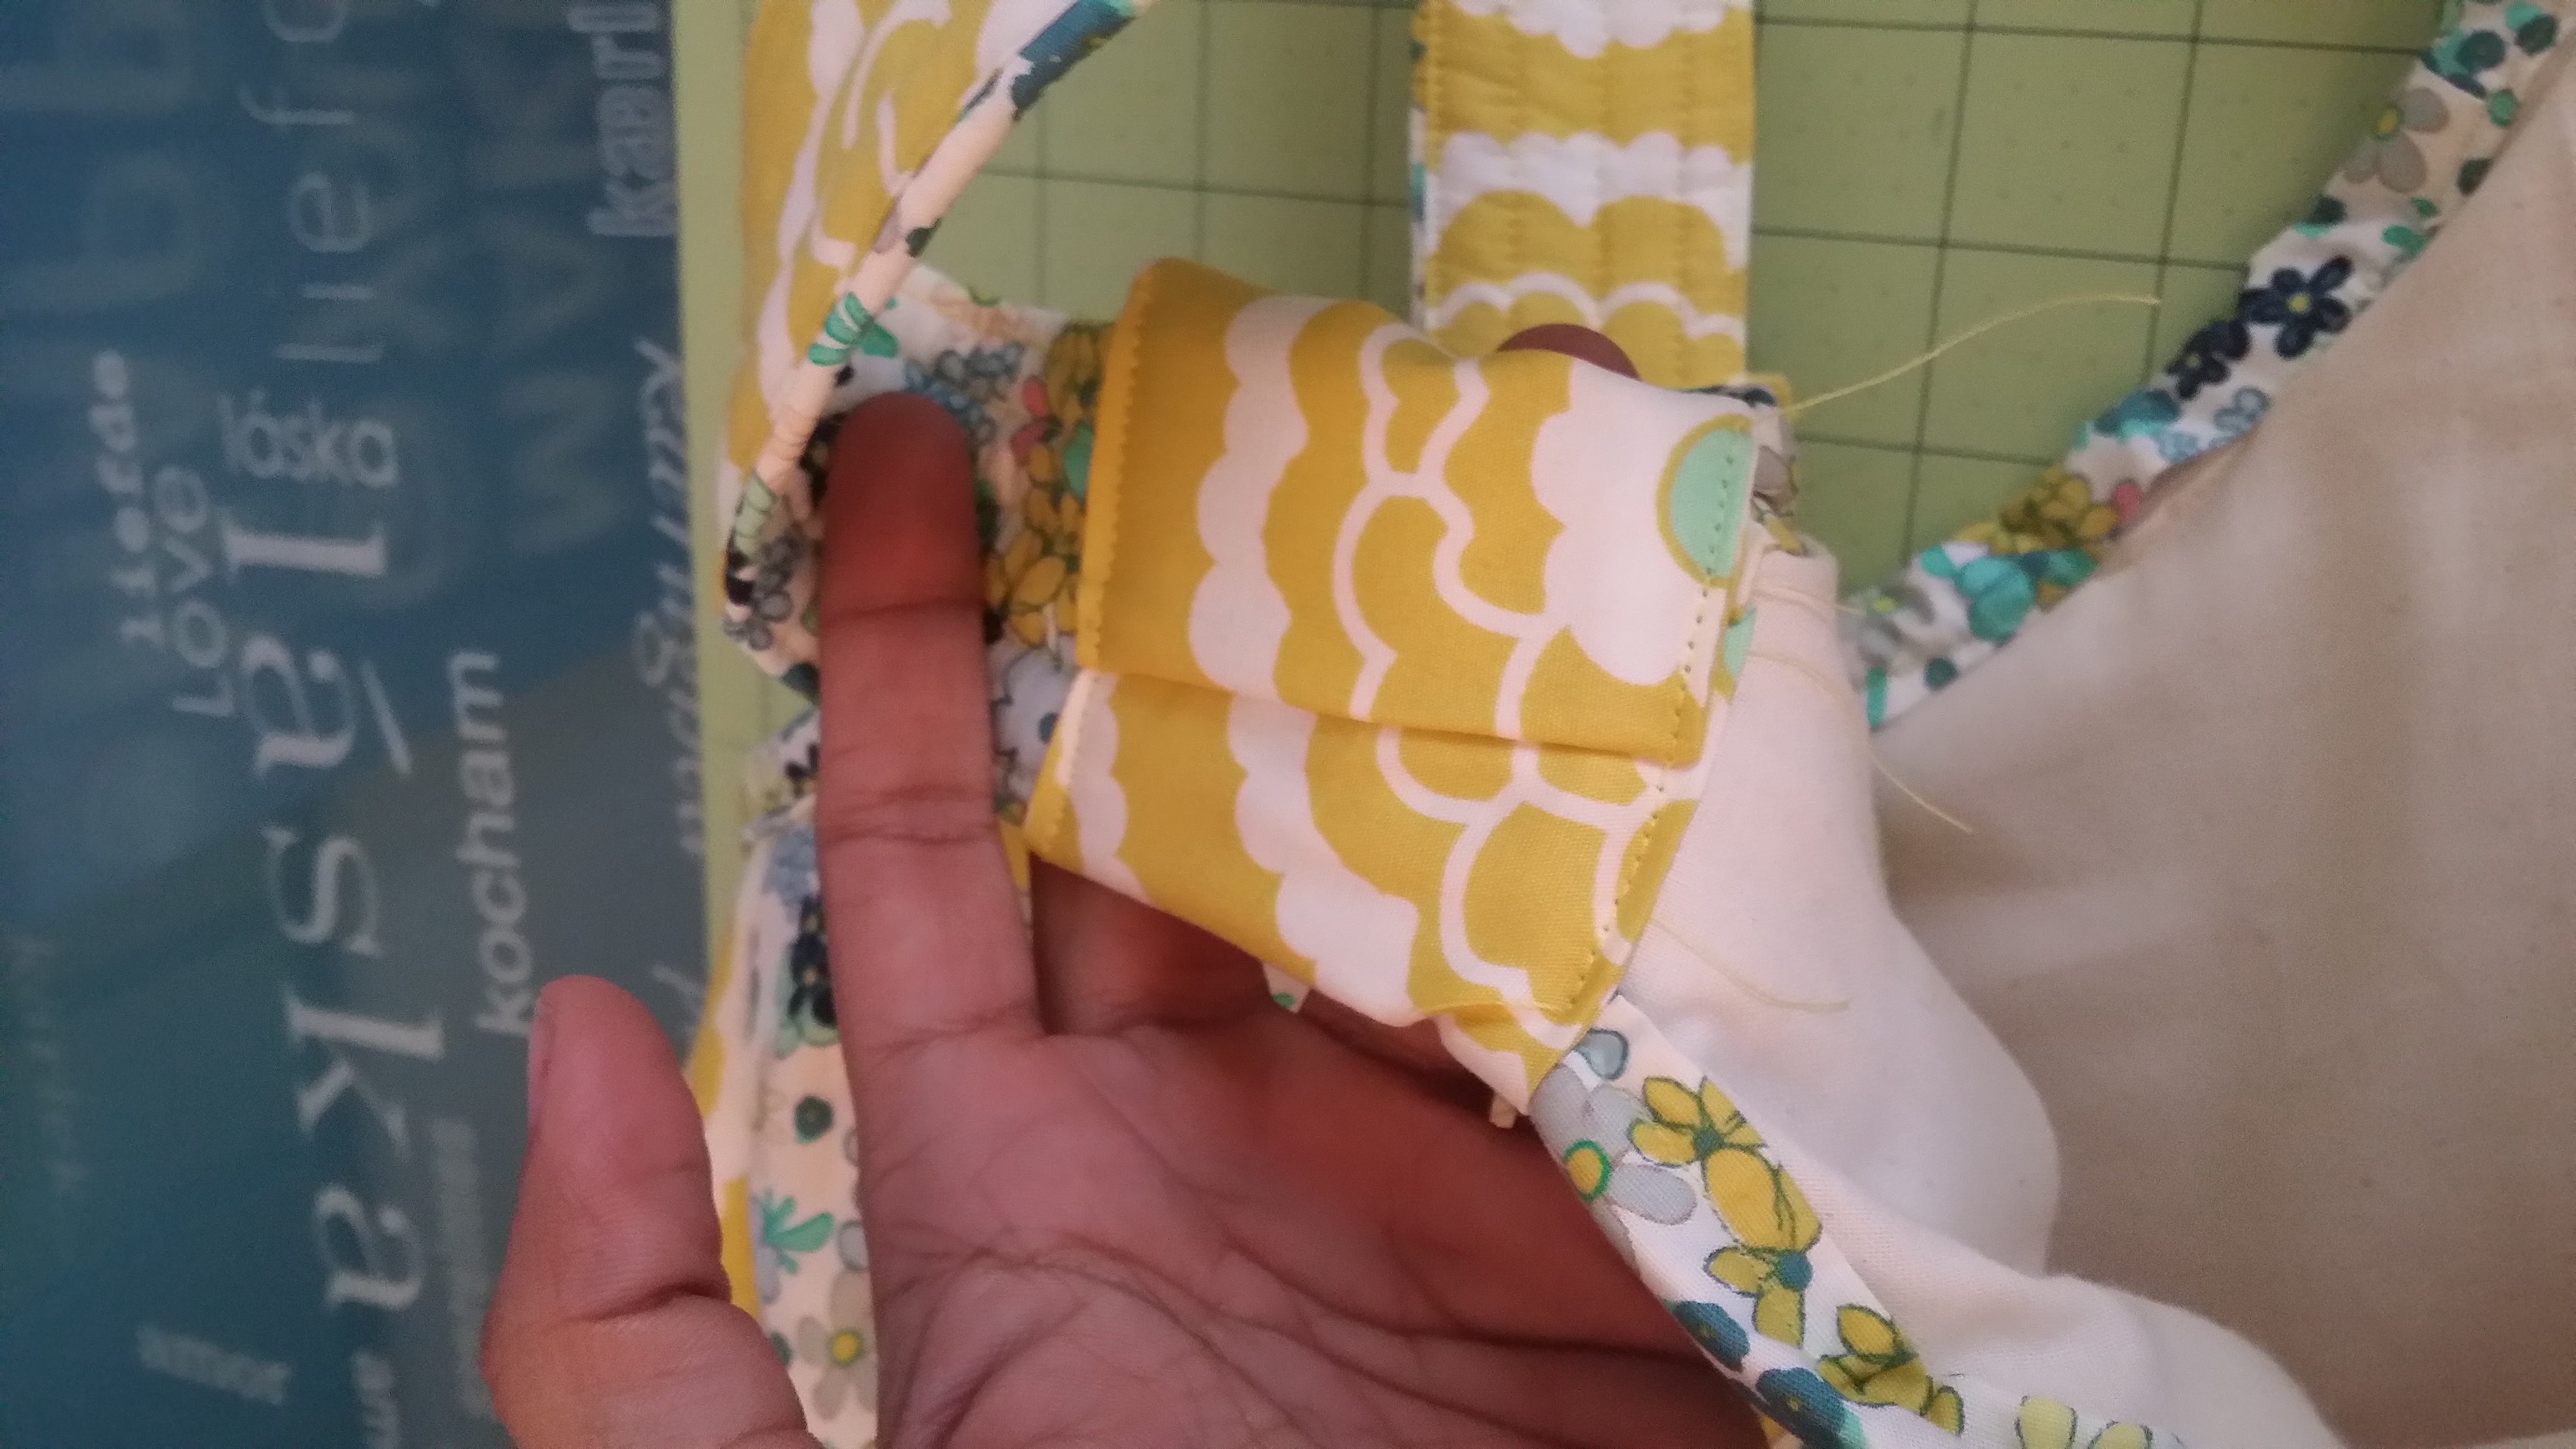
Wrap around and fold in your ends. Sew close.
And there you have it! You have made your Carnaby Carry All! You can follow Pat Bravo through her blog, her facebook page, twitter, instagram, pinterest or flickr.