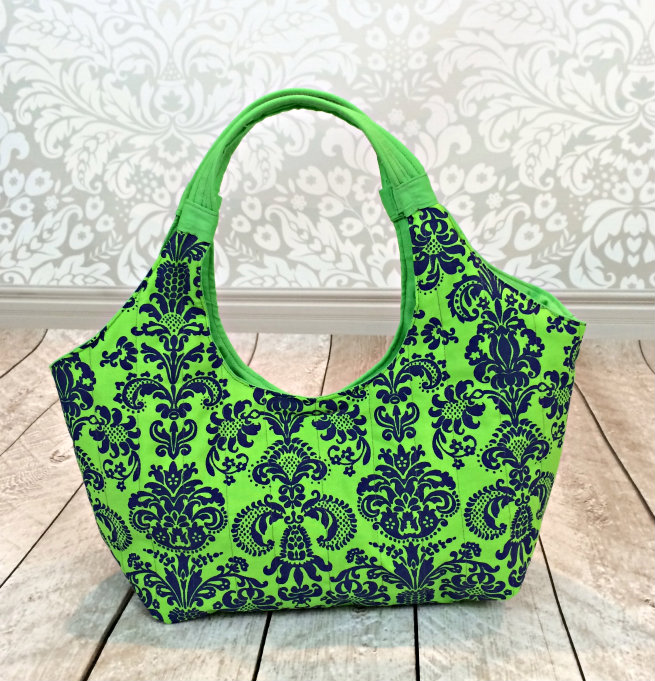
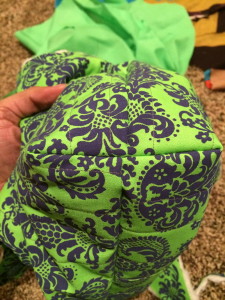
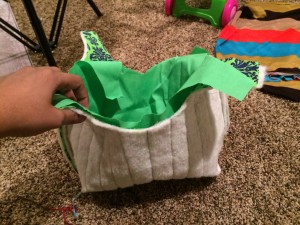
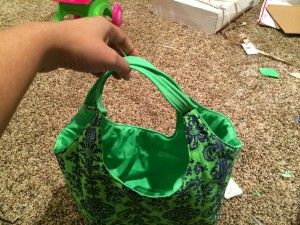
I decided to start taking lunch to work everyday. I think I spend way too much eating out. Off course with this new plan comes a new project. I made myself a little lunch tote and decided to share it with you. Its a mini version of the Carnaby Bag I did a few months ago without the pocket and overlays. This tote measures about 11×8″. Its the perfect size for lunch and a snack. This lunch tote is a super simple project that any beginner can do. Enjoy the pattern.
I was thinking about adding a flap as a closure but I was in a rush and my toddler was not happy I was doing this instead of playing with her so I did velcro closures. I think it will look cute with flap in the middle as a closure accented with a big button. I also intended to use insulated vinyl for the lining but didnt have enough so I used warm batting on the main fabric and then just regular cotton as the lining. Either will work fine.
Here is what you need to make this tote
2 Fat quarters each for outer fabric, lining and fleece interfacing
2 strips measuring 2″x8″ for the straps
2 strips of interfacing for the straps
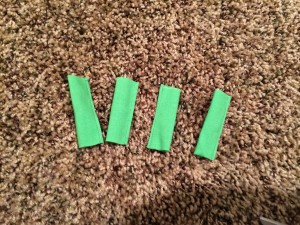
1 strip measuring 2″x 10″ for the bands
Download the pattern HERE. You can scale it to however big you want. Use the pattern to cut out 2 pieces for the main, 2 pieces for the lining and 2 pieces of interfacing or batting.
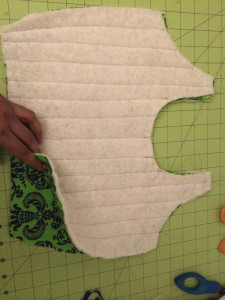
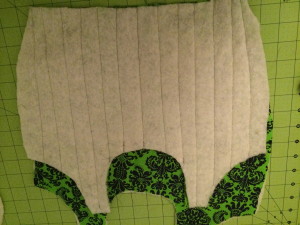
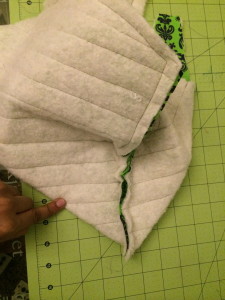
First, lets start by ironing on the fleece interfacing to the backs of the main pieces. I used batting for mine and quilted it to the main pieces with ~2″ wide long stitches. Either one works.
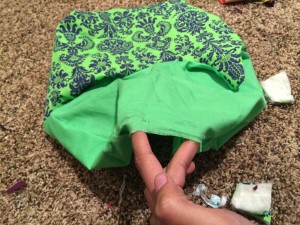
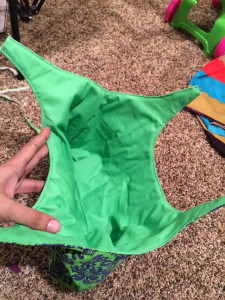
Now, sew the two pieces rights sides together all the way around leaving the top open. Repeat for the lining except for the lining, you will leave about 4″ open at the bottom to help you turn it when you are done.
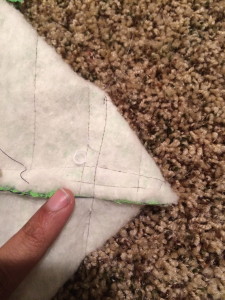
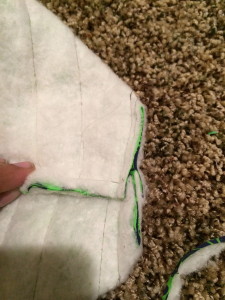
Make a triangle with the bottom end and sew down about 1.5″ away from the tip. Cut when done. This will give you the boxy look. Repeat for the lining. Do you sew close your lining 4″ opening as yet.
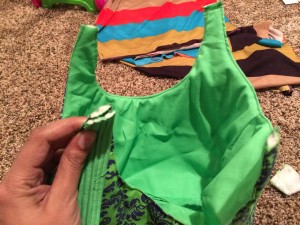
Now, put the right side of the lining into the right side of the main bag so that the wrong side of the bag is facing out.
Sew all they way around the top of both pieces. Turn the bag inside out using your 4″ opening. Top stitch the opening close.
Top stitch the top of the bag all the way around.
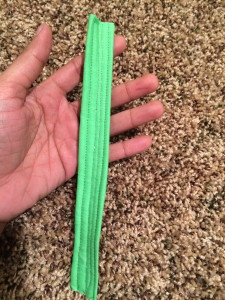
Lets make the straps! Take your interfacing and iron it down to the wrong side of the strap. Fold in and sew down. Turn inside out. Do some long stitches so that it looks quilted. Repeat for the other strap.
Sew the strap the top of the tote lining up adjacent pieces.
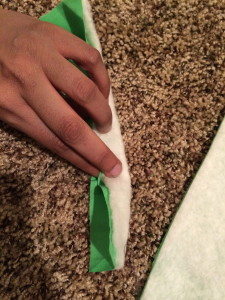
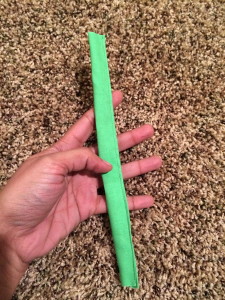
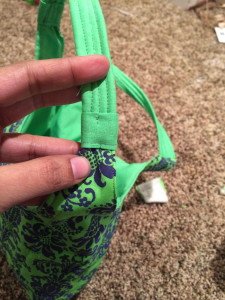
Now for the tube…take your tube strip and fold in half wrong side together. Sew down and turn inside out. Cut it in 4 equal parts. Take each tube and fold around the strap and tote raw edge and sew down, folding in the tube ends when you sew so that there is no raw edge. Thats it! You are done.
Thanks for visiting and happy sewing!

