Yes, its time to start working on my Valentine’s Day gifts. I have been seeing these heart trees all over Pinterest and decided to make one for my little girl. This will really go well with her heart themed bedroom, which I have been working on for the last year:-) This free pattern fits a standard 16″ square pillow but it can be scaled up or down to fit any square size pillow. It makes for the perfect little Valentine’s Day gift. Enjoy the free pattern.
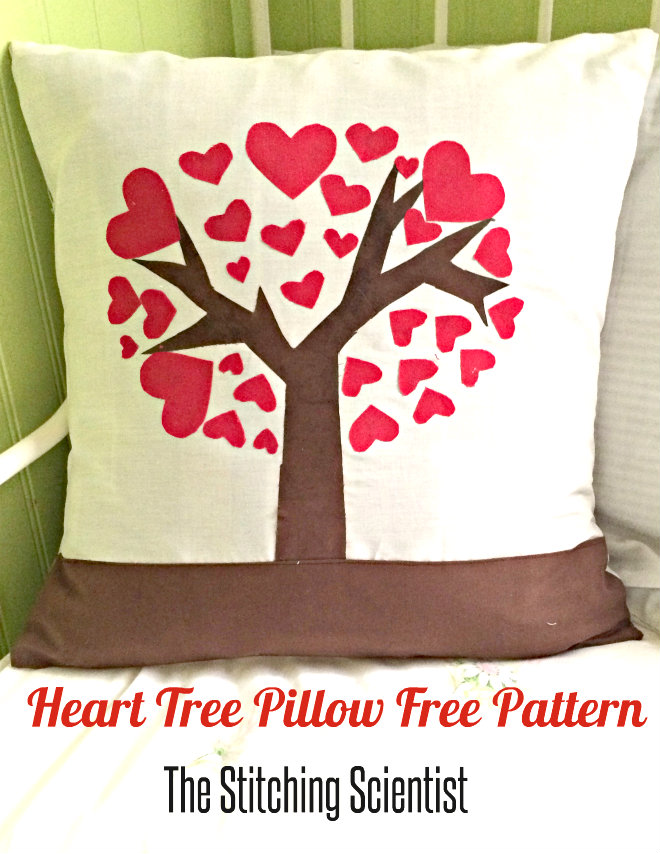
I think I may end up doing another one with pink hearts or a multi colored one so that Mila has a set for her bed.
Here is what you need for a 16″ square pillow
Front muslin (17″ square)
Two back muslin pieces each measuring 17″ x 10″
Black cotton bottom front overlay 3″ x 17″
Brown and red cotton pieces for the tree
Heat’n Bond Iron on Adhesive (link)
- Note: Here are measurements for other pillow sizes:
- 12″ pillow (13″ square for the front, 13″ x 8″ for each back piece). Scale down tree pattern to 80%
- 18″ pillow (19 “square for the front, 19″ x 12” for each back piece). Scale up tree pattern to 120%
Print and cut out the free pattern HERE. Take note on how many hearts you need as described on the pattern.
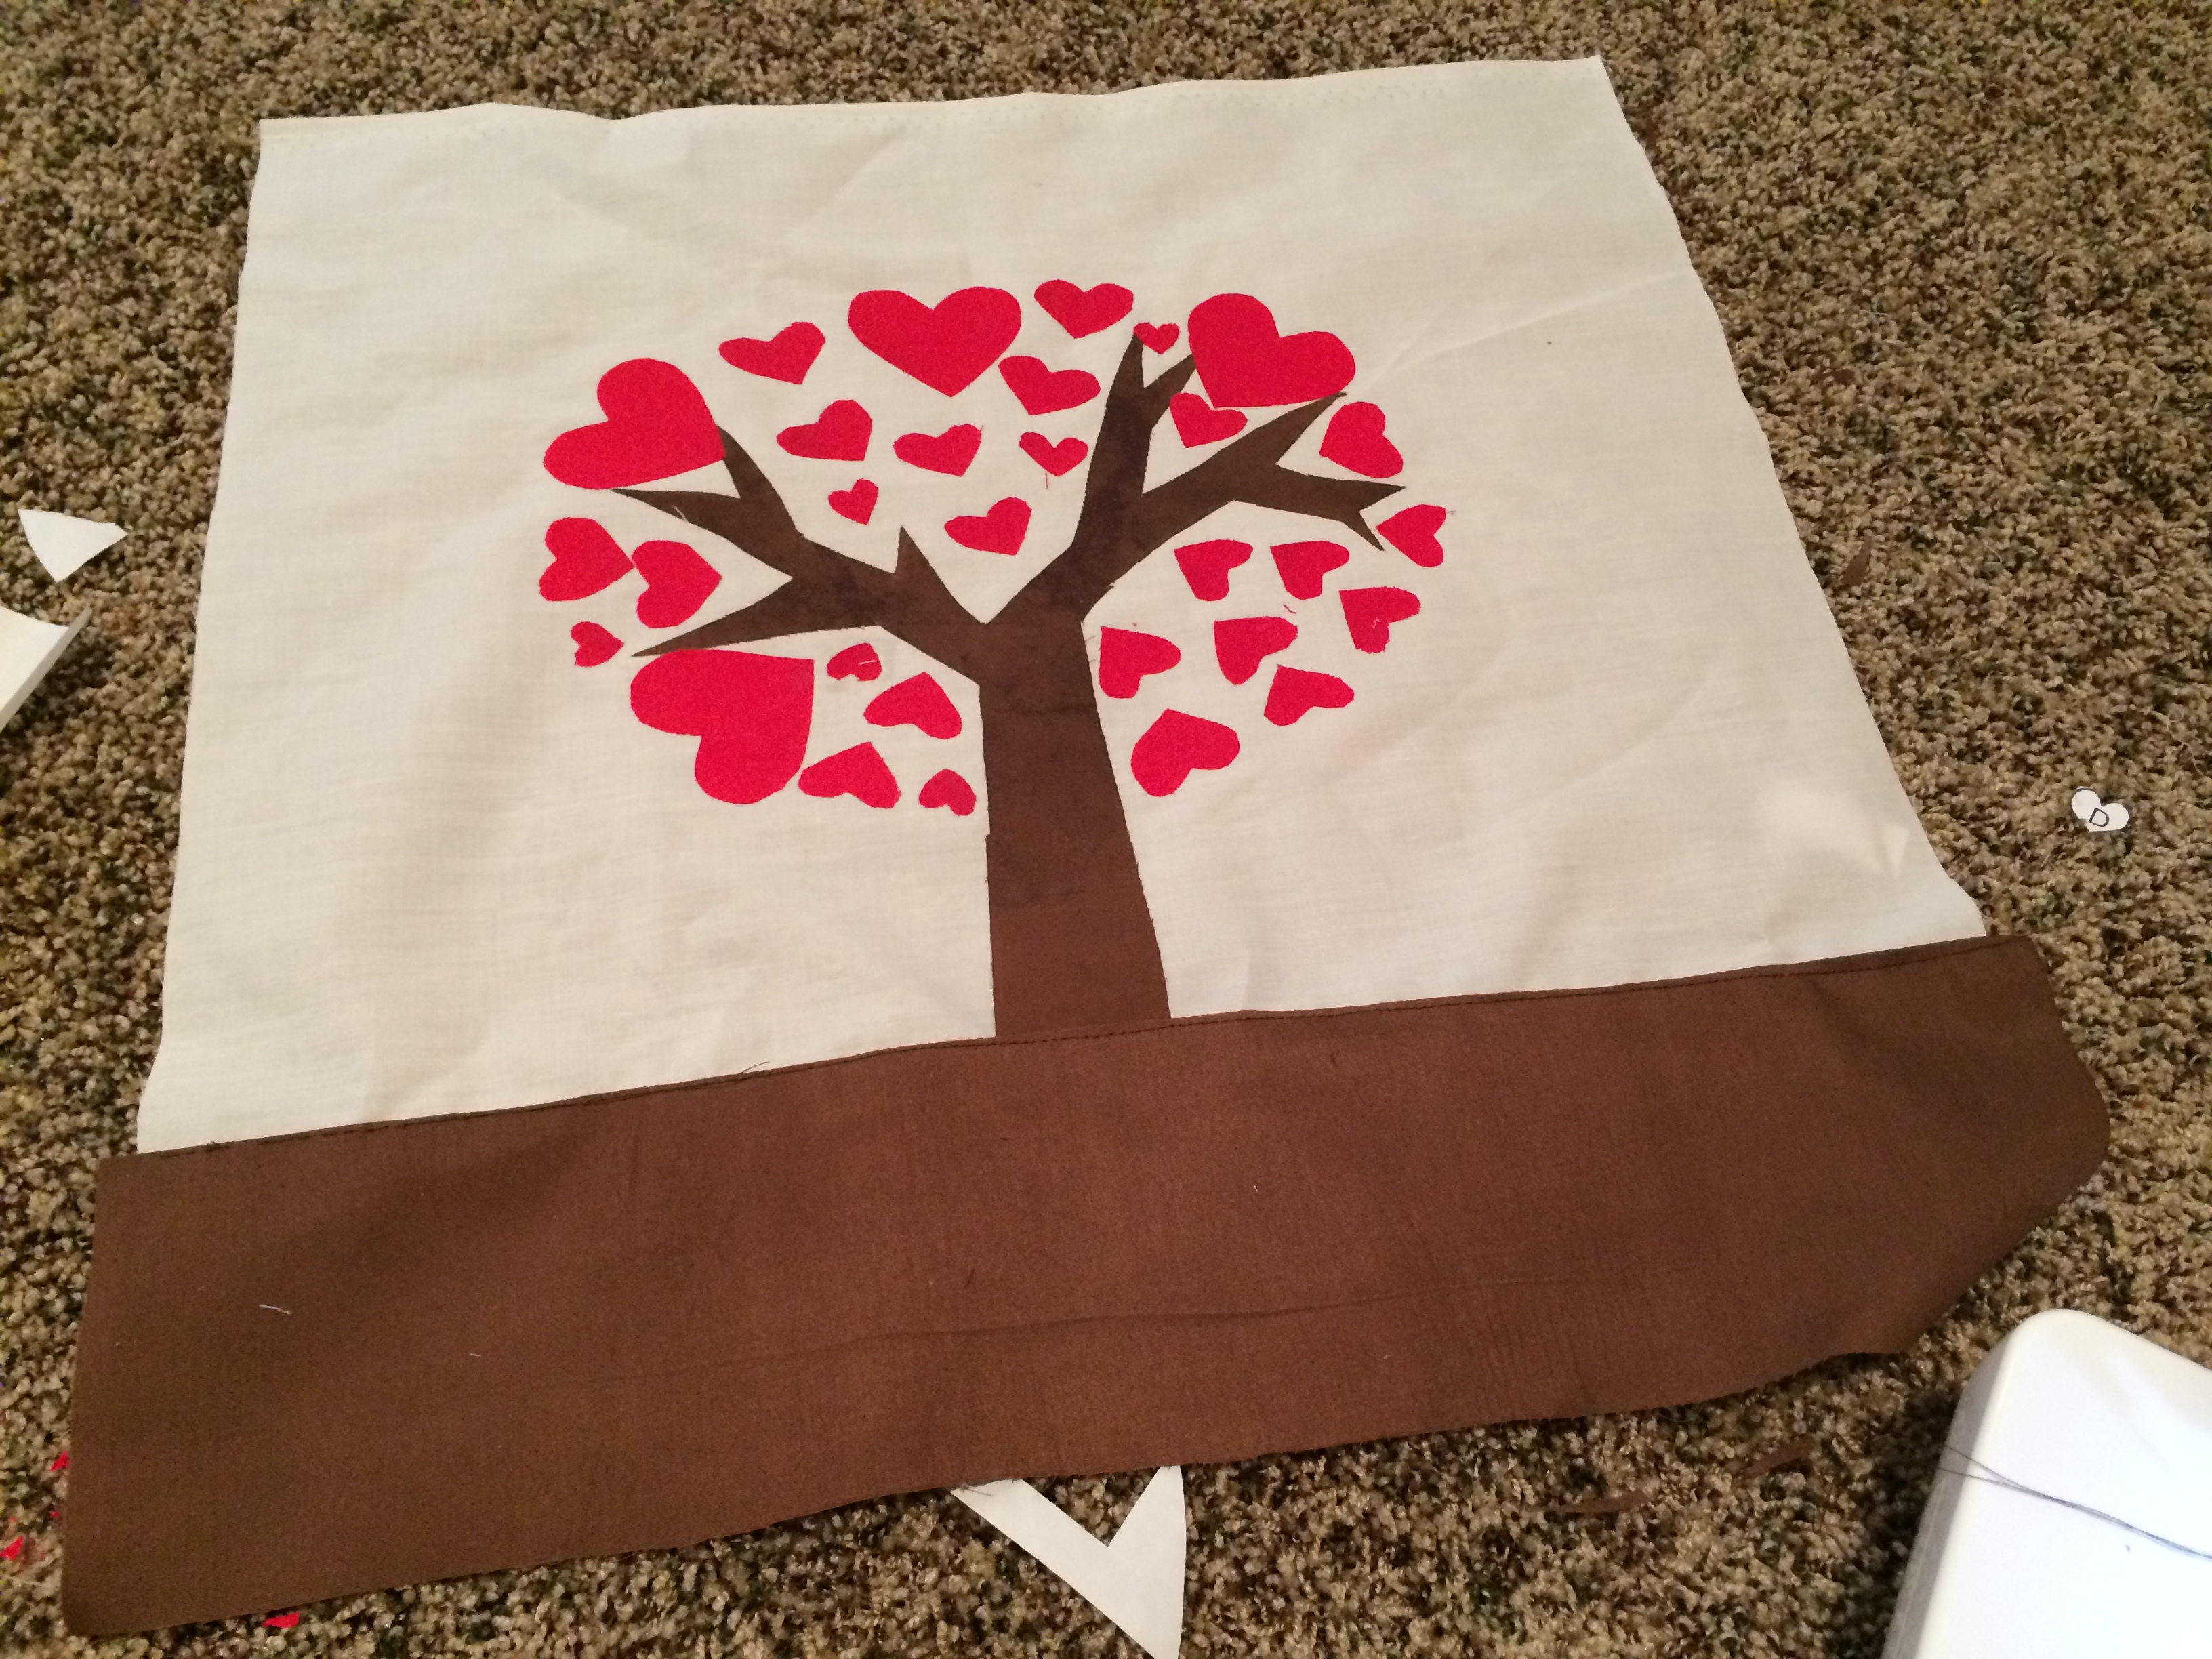
Cut out all your hearts and your tree and iron onto the heat’n bond adhesive.
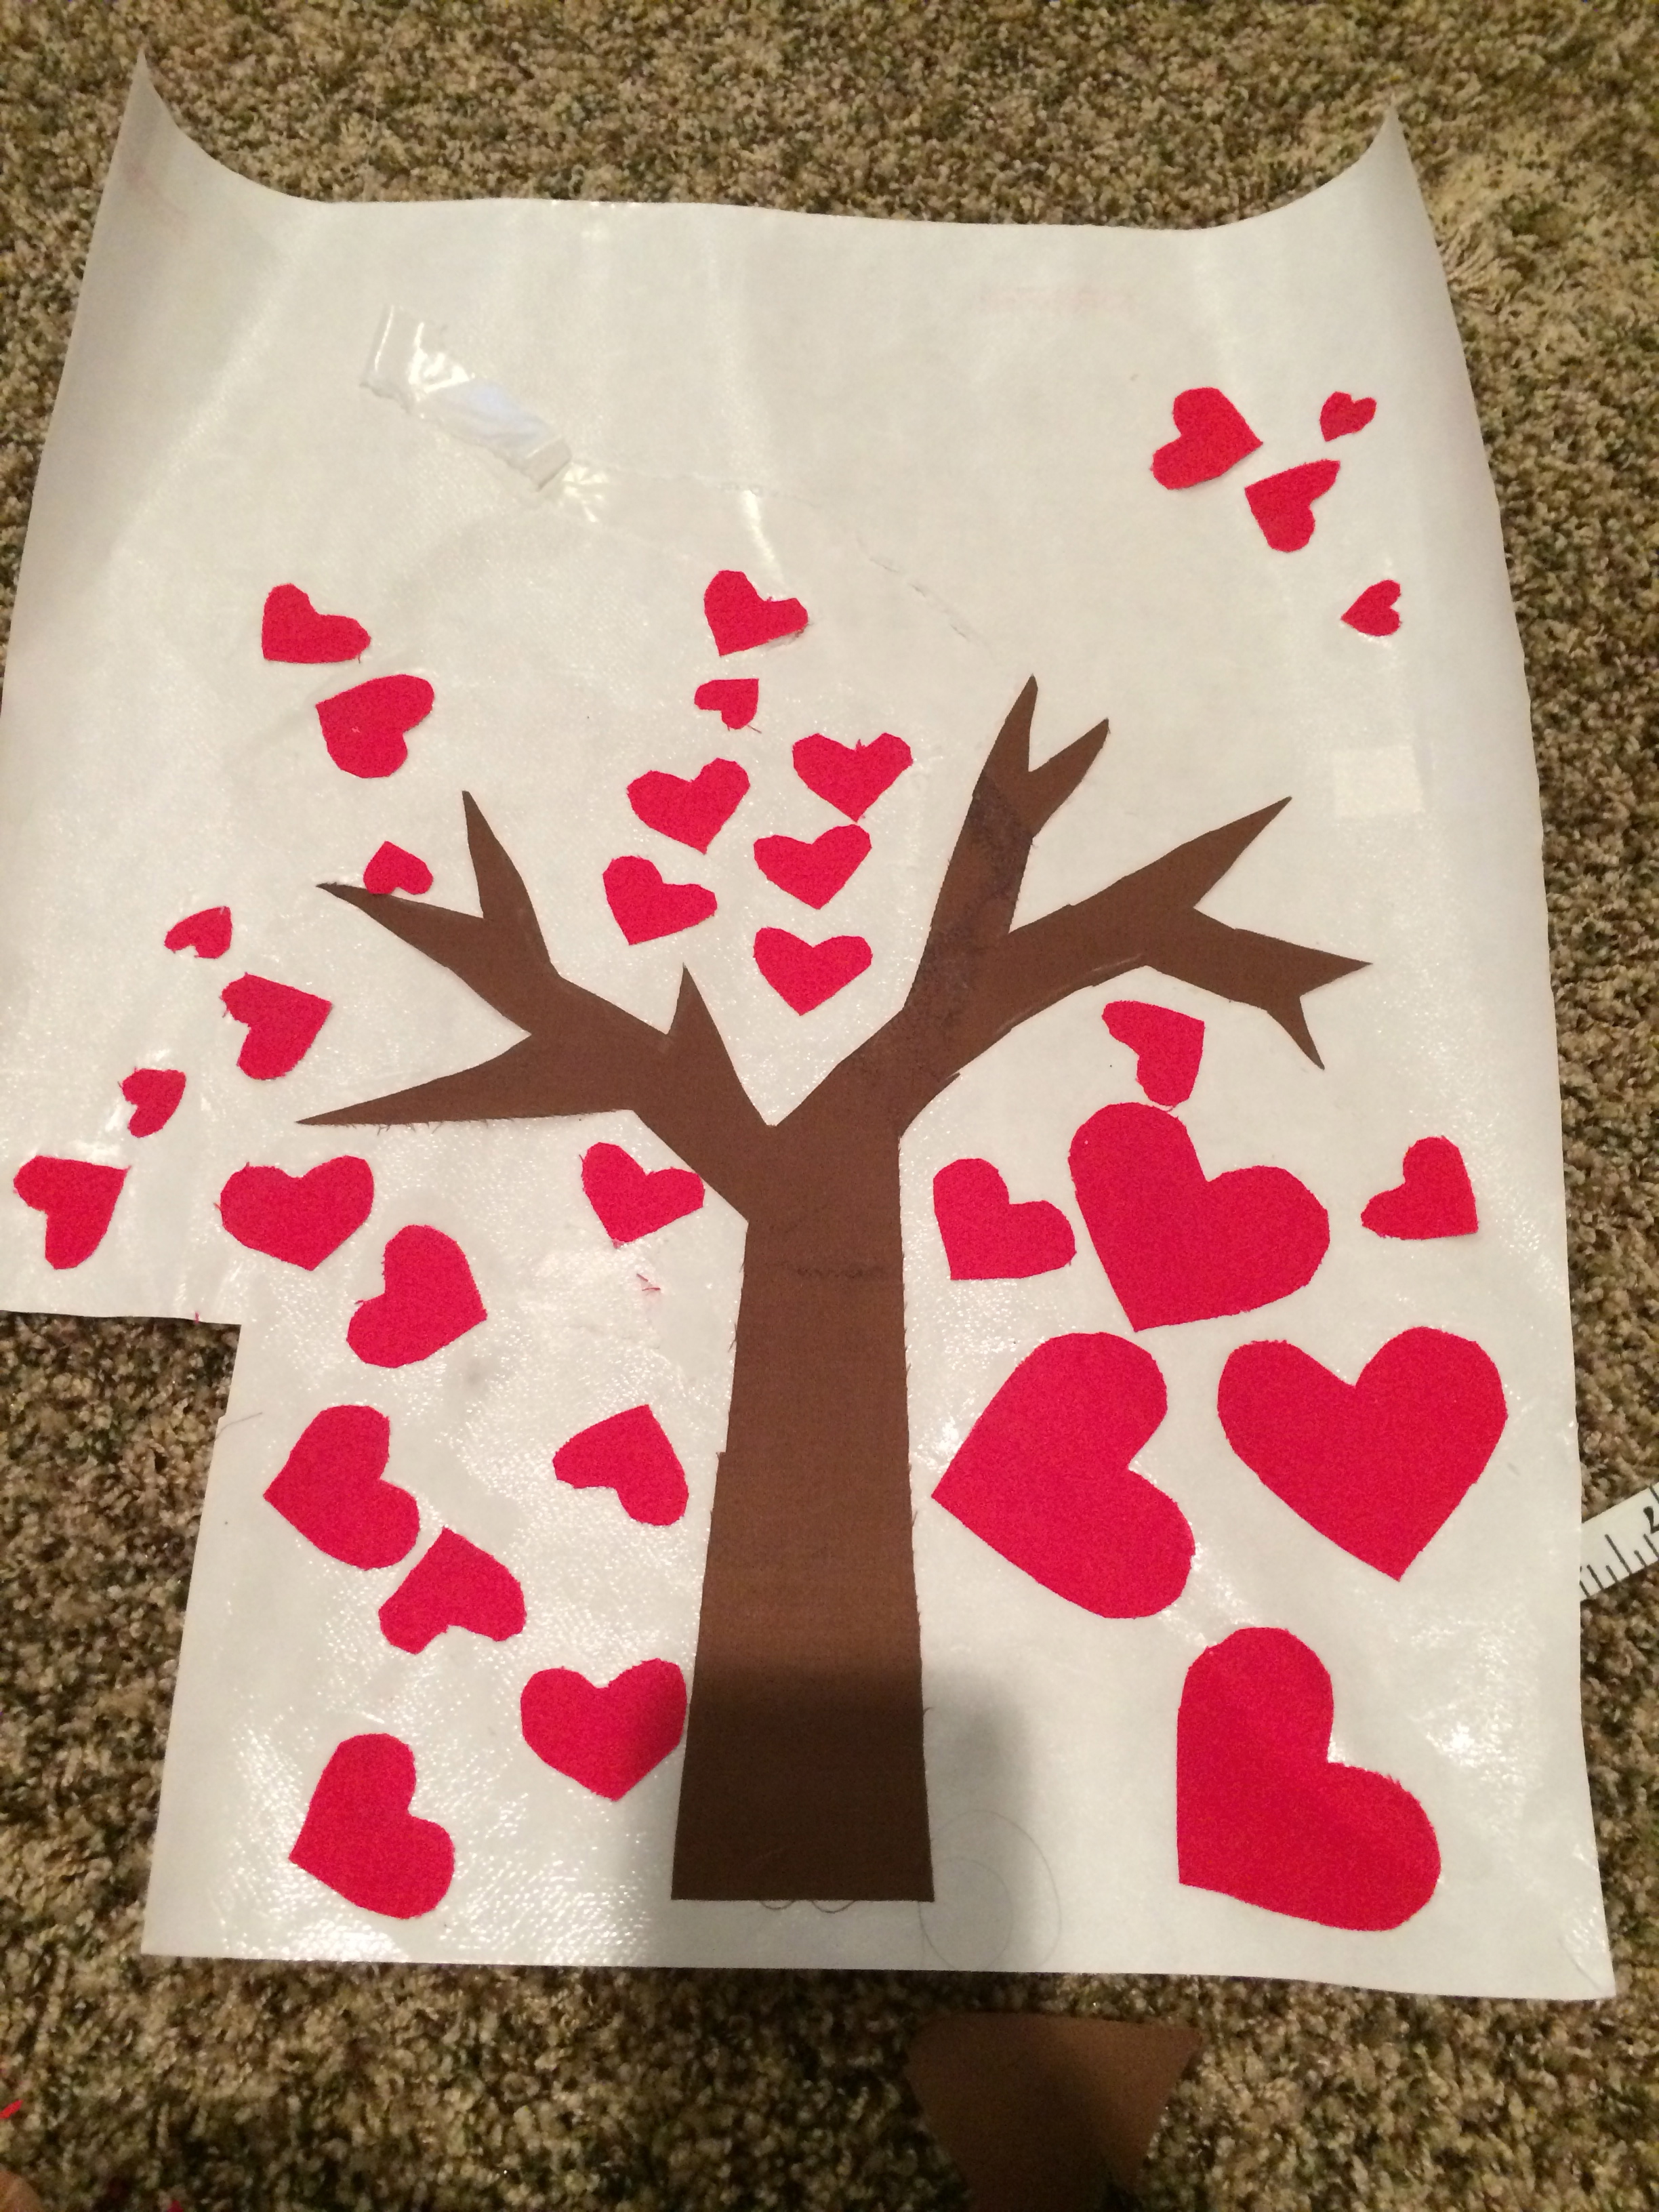
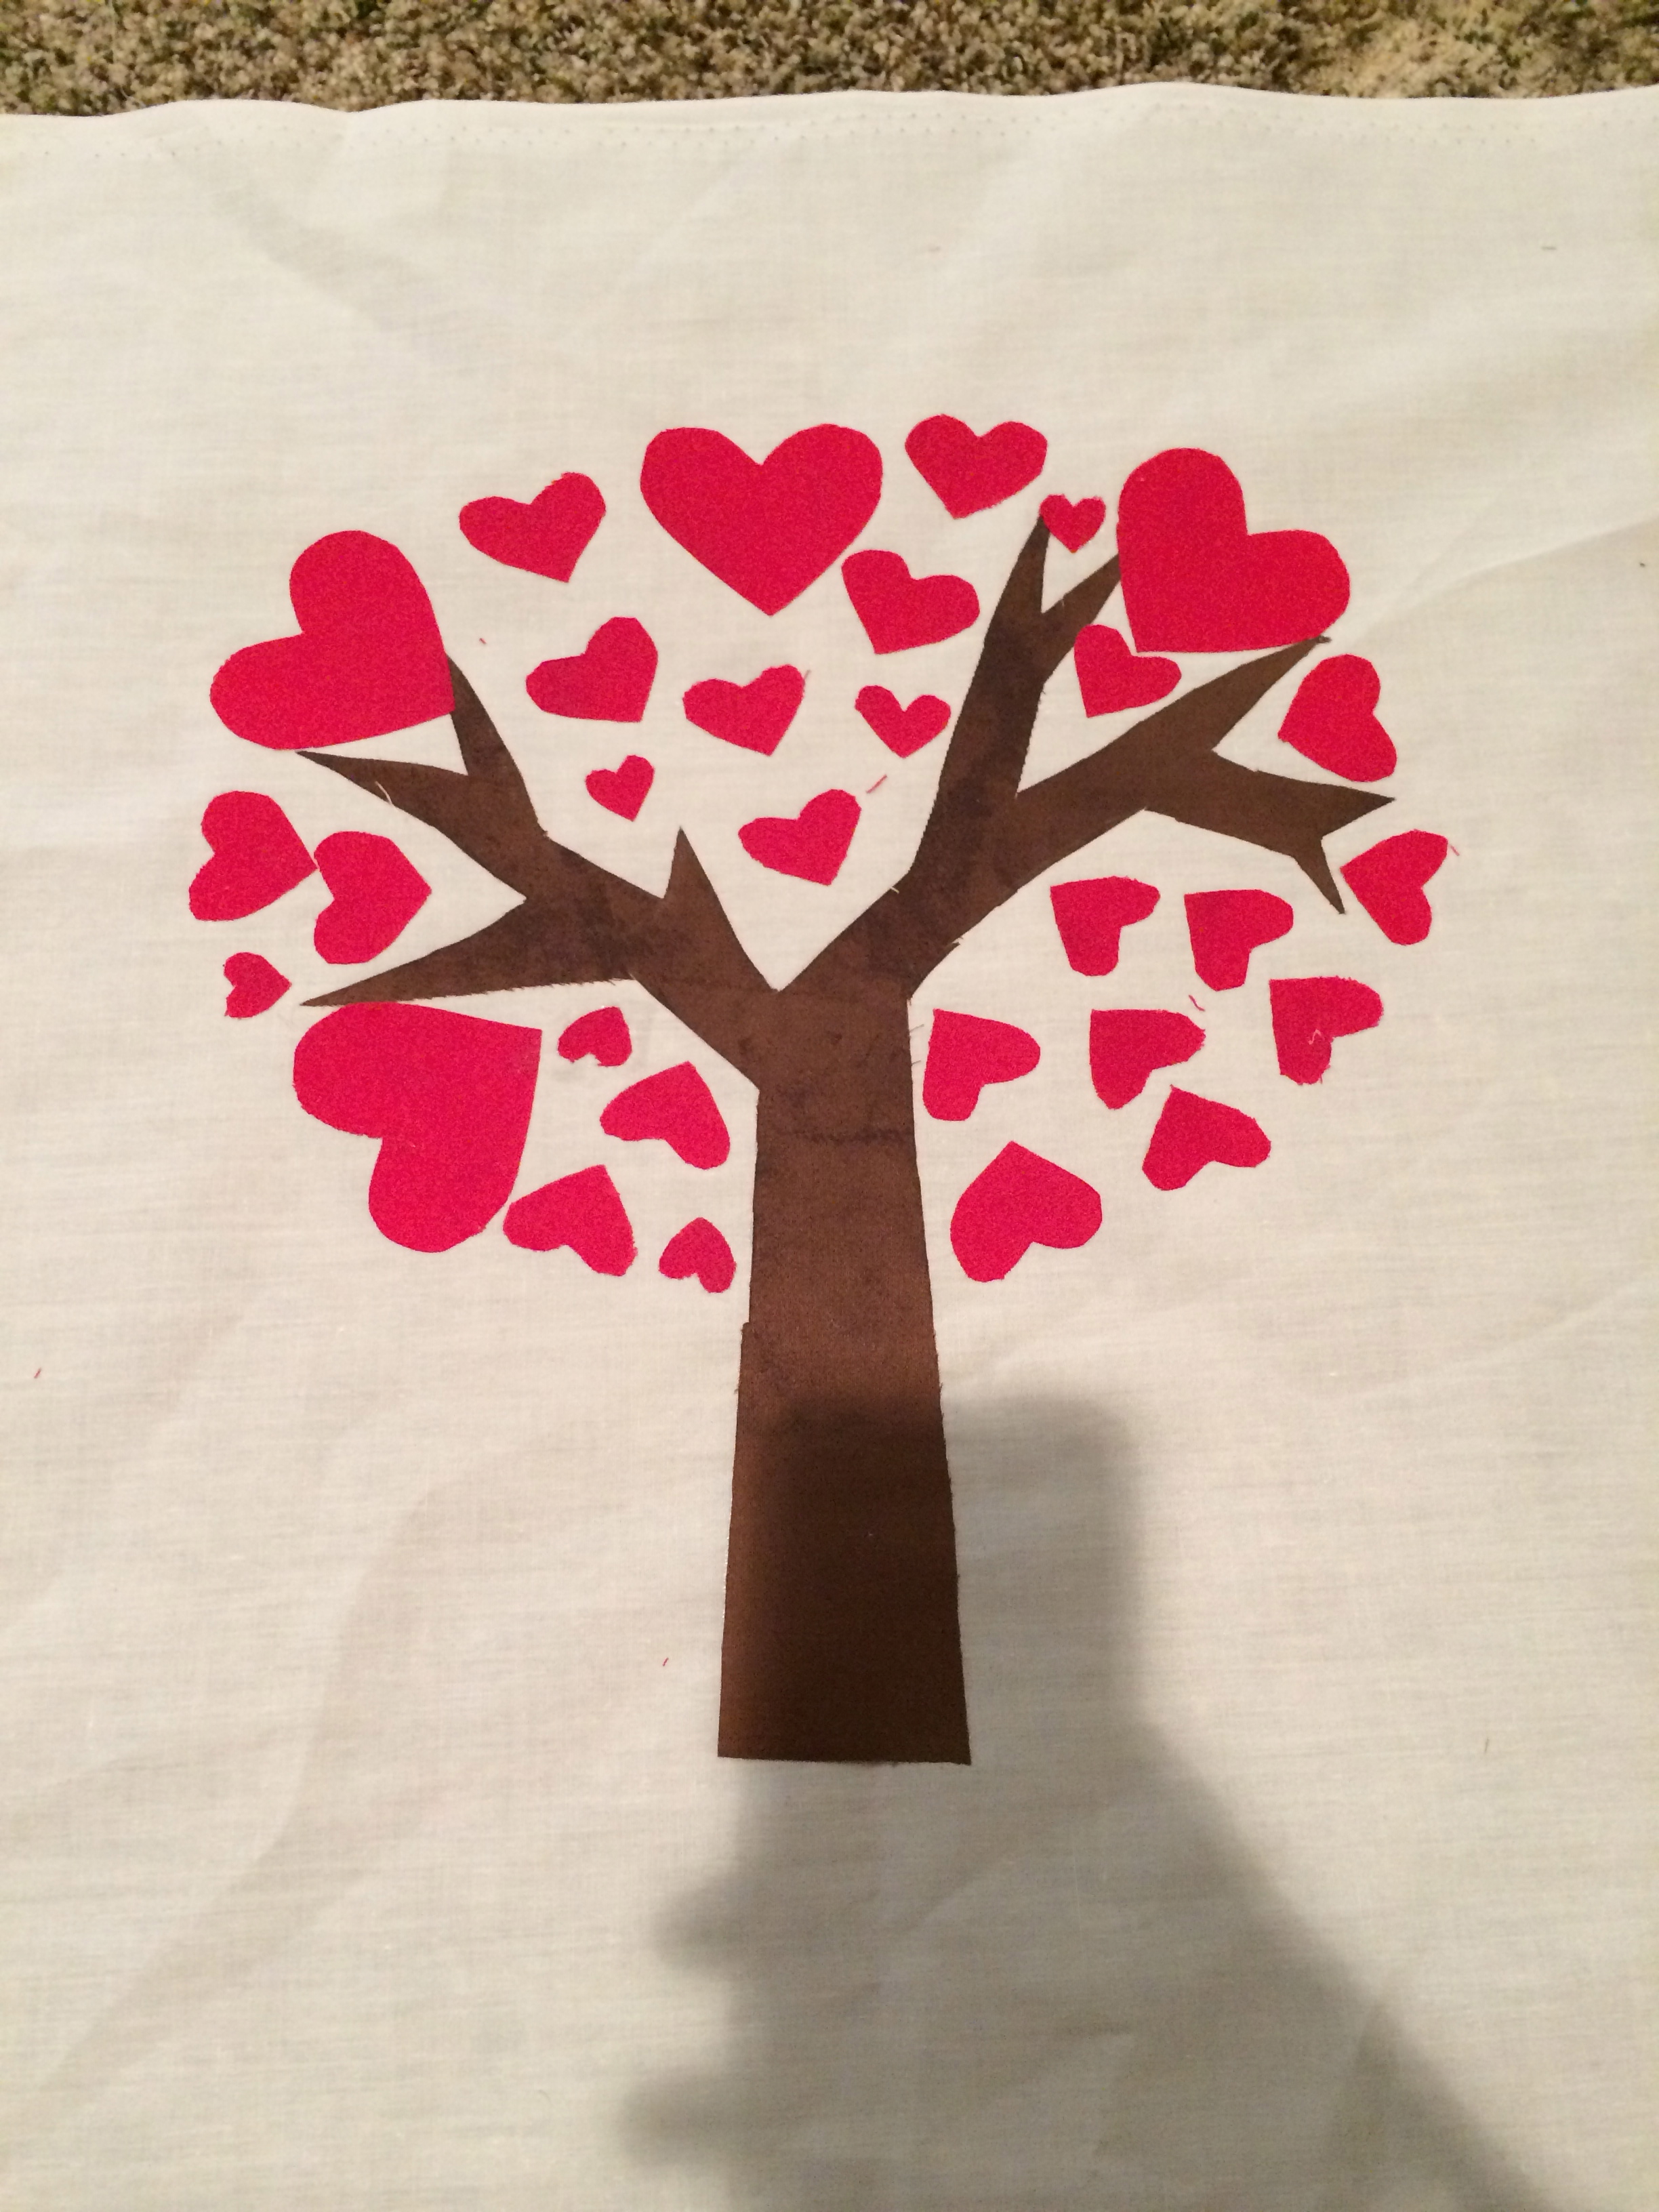
Cut out each heart and tree trunk, peel the backing off and iron on the front pillow piece following the pattern. You can arrange it free hand also if you want a more random pattern.

Now, take your brown bottom piece and fold down 1/4″ iron down and top stitch on the bottom.
Let’s work on the back now. Fold each of your two back pieces about 1/2″ down and sew down. Align both pieces right sides together to the front piece so that the folds on both back pieces are in the center.

Sew all the way around. When you turn it inside out, it will look like an envelope.

Fit in your pillow and you are done. 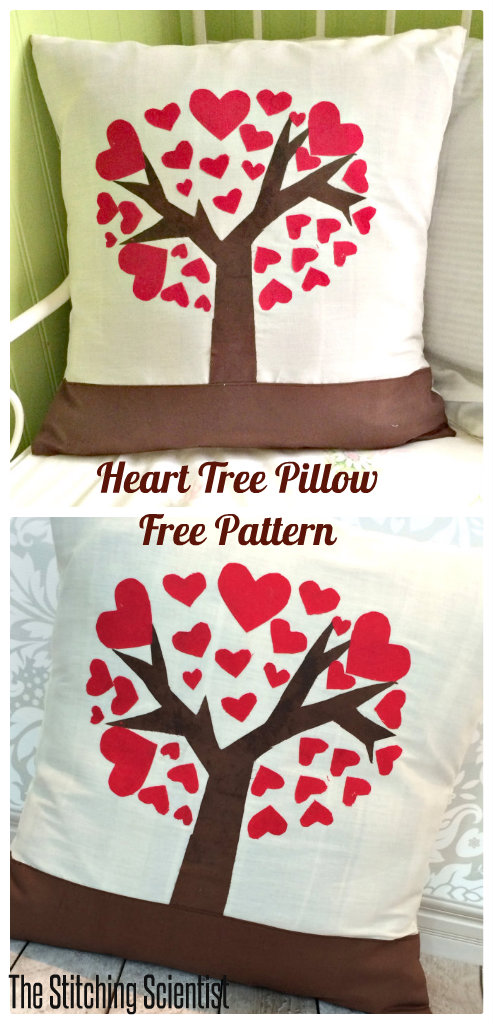
Thanks for visiting and happy sewing.
Remona.