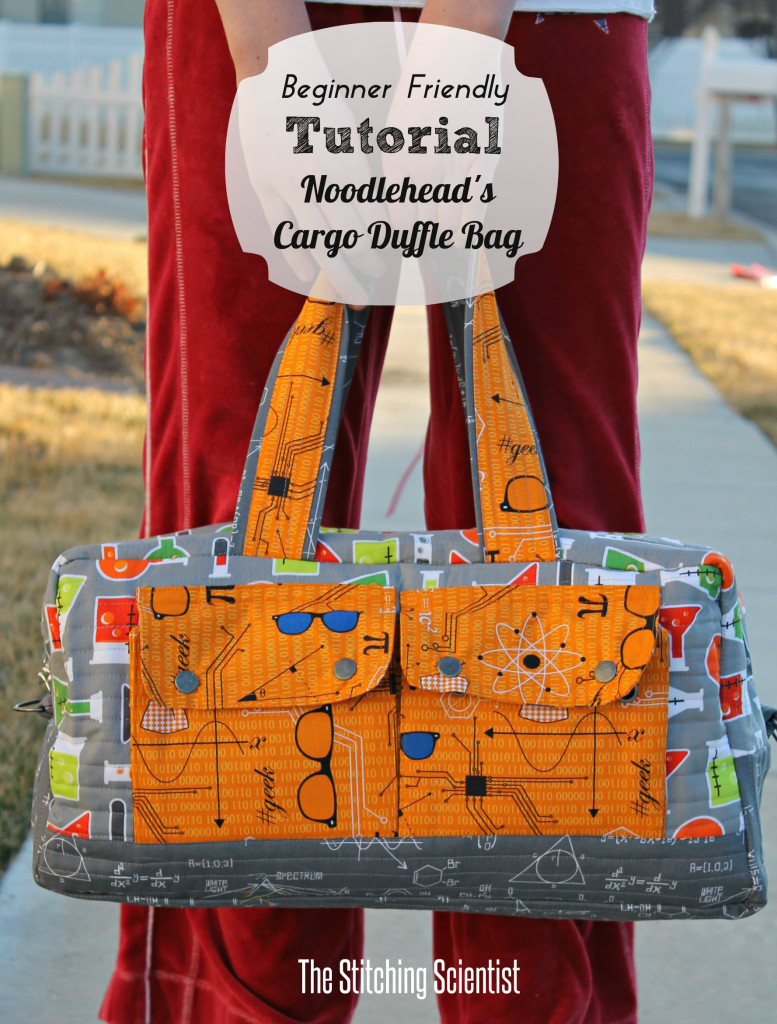
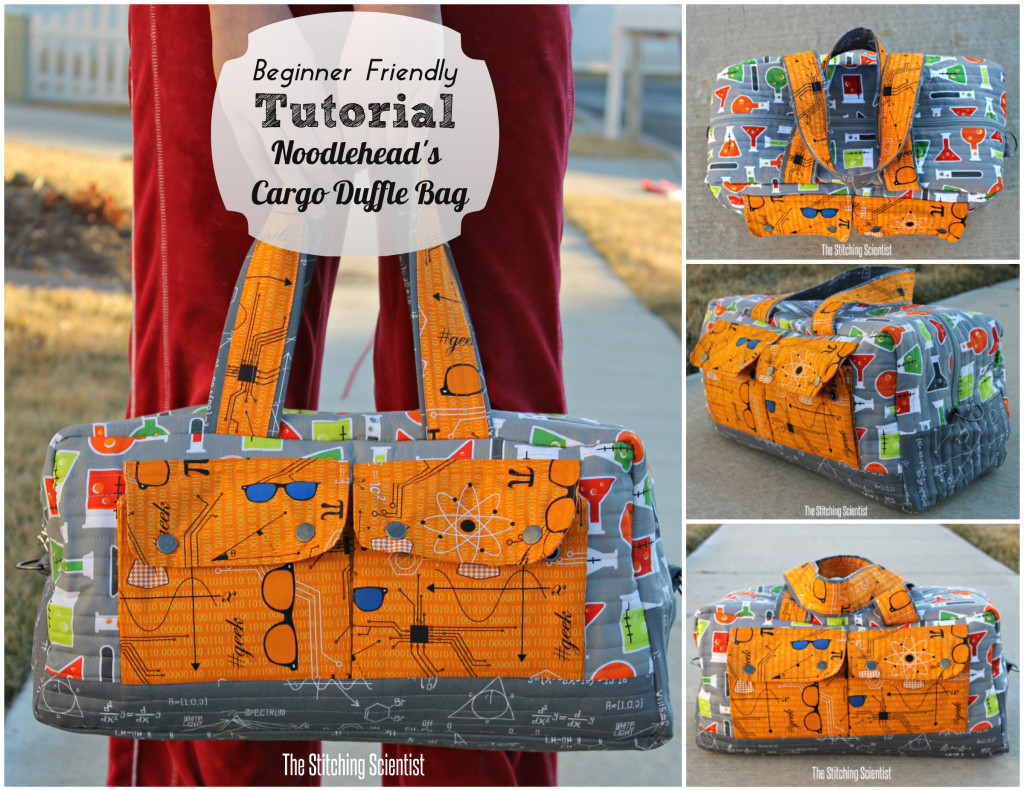
Hey Guys! I decided to tackle the ever so popular Cargo Duffle Bag that Anna from Noodlehead did for Robert Kaufman. I have to say, I was a bit intimidated to try this pattern. I still consider myself a beginner and from the reviewers I have read, it is definitely not a beginner’s project. I couldn’t resist how stunning the bag was and decided to try it. I must have read the pattern about 5 times before I started the project. With my pattern in hand, I ventured out to choose my fabrics. Trying to coordinate the fabrics was really fun. I decided to stick with Robert Kaufman and do a geeky science girl version of the bag. The pocket fabric is from Robert Kaufman’s ModGeek Line. The main piece and bottom accent is from his Science Fair Line. These fabrics fit me perfectly! They are all about science and creativity. Also, I would like to thank Anna from Noodlehead for doing this pattern! She is so creative! I wish I had half of her talents.
Cutting out the pieces was the most tedious part of creating the bag. There seemed to be a gazillion pieces! I followed this tutorial from C’est la vie on sorting out all my pieces and getting organized for the project. I also made my bag a bit bigger using the dimensions given by Coconut Robot.Once I started the sewing and assembly of the various pieces, I realized that I was a bit over my head on the project. I wasn’t familiar with some of the terms and techniques mentioned in the pattern. The pattern clearly states that the project is for those with an intermediate level of sewing experience so I am sure assumptions were made on skill sets. Well, after seam ripping, glasses of wine, re-cutting, and intermittent late night dancing, I came up with a few tips that may help my fellow beginners tackle this bag.
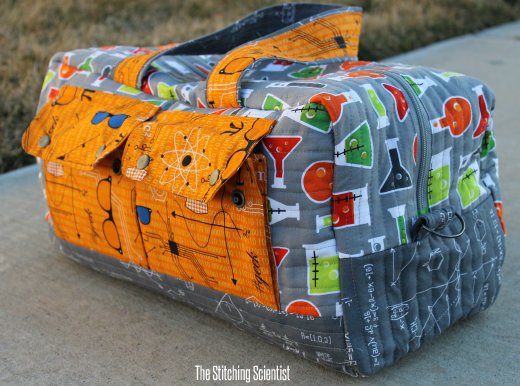
As you can see from my pockets, the bag is not perfect by any means! I decided to leave my “not so perfect” pocket flaps the way they were. I figured, no one would really see it anyway:-). My snaps were not accurately placed as well. I watched a video on snaps after I put mine on which was obviously not smart. I added the video down below for your reference.
I have to say, it would help if you knew how to add a zipper to two pieces of fabric. In my opinion, that is truly the only real intermediate skill you need to have to create this bag. Another tip is to measure twice and cut once! There are ton of pieces so correct measurements are crucial for the bag to go together nicely. I learned this the hard way by rushing through my cutting process. Needless to say, I did a ton of seam ripping when I tried to put it all together.
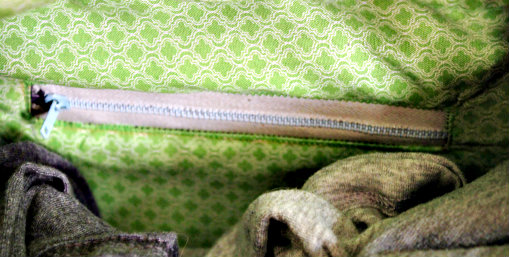
I used the tutorial from Small Town Thread to add a lining to the bag. This took longer than expected but it wasn’t as hard as I thought it would be. Just have patience and take one step at a time!
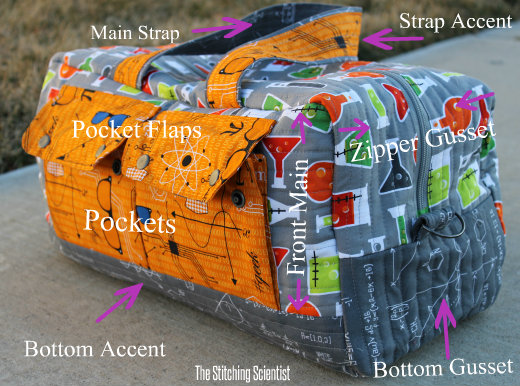
I learned a lot of new techniques doing this bag and I hope you do too. I hope my stab at the beginner-friendly tutorial helps you. Here is a labeled bag to help you during fabric shopping. Having it labelled really helped me coordinate my fabric more efficiently.
You can download the original pattern Anna did for Robert Kaufman, HERE. This will give you all the dimensions, pieces you need and detailed instructions. I followed this tutorial on doing my own bag but added some simpler pictures and explanations that may be of help.
Here are a few YouTube videos that helped a ton!
Attaching Snaps on the Pocket Flaps
Adding a Zipper Pocket on Lining
Thanks for visiting and Happy Sewing!
