• Home
  • About Me
  • Tutorials
    • Bags
    • Children
    • Women
    • Home
  • Free Sewing Patterns
    • Bags
    • Children
    • Women
    • Quilts
    • Home
  • Shop
    • Sale
    • Essentials
    • Flash Sale
    • Kits
    • Sewing Gifts
    • Pre-cut Fabric
    • Sewing Patterns
  • Roundup
  • Contact

The Stitching Scientist

    Mini Duffel Bag Pattern

    Bags· Children· Free Pattern

    23 Apr

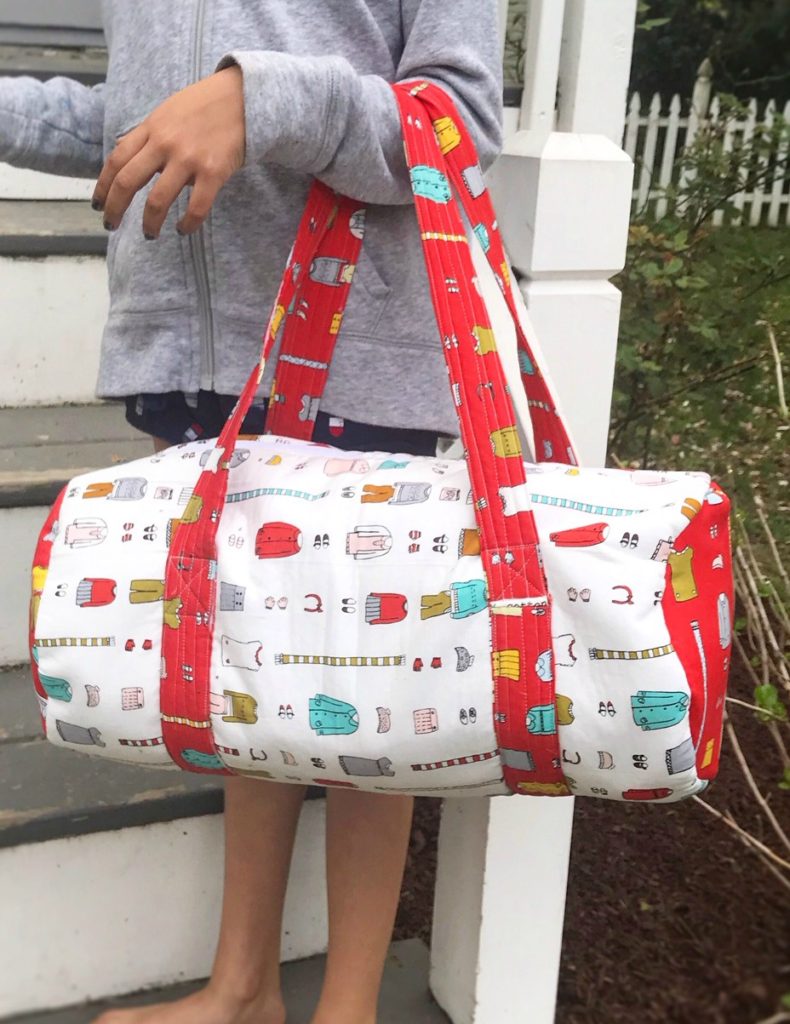
    Happy Spring Everyone! I don’t know about you but I love duffel bags. This past weekend, I decided to make a Free Mini Duffel Bag Pattern for my daughter. She can use it for quick sleepover trips or just as a grab and go so she can toss her essentials with ease. This bag pattern is simple and quick to make and mimics the Overnight Duffel Bag I did a few years ago. This Mini Duffel bag ended up measuring about 16″ long by 8″ high.

    Free Mini Duffel Bag Pattern

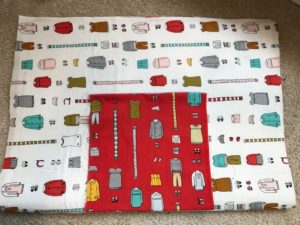
    The fabric I used is from Aneela Hoey Little Apples Outfits Lollipop fabric. I used the red as accent for the sides and pocket and the white for the main bag. I have been waiting for the perfect project to use these designs and so glad it worked out for the Free Mini Duffel Bag Pattern!

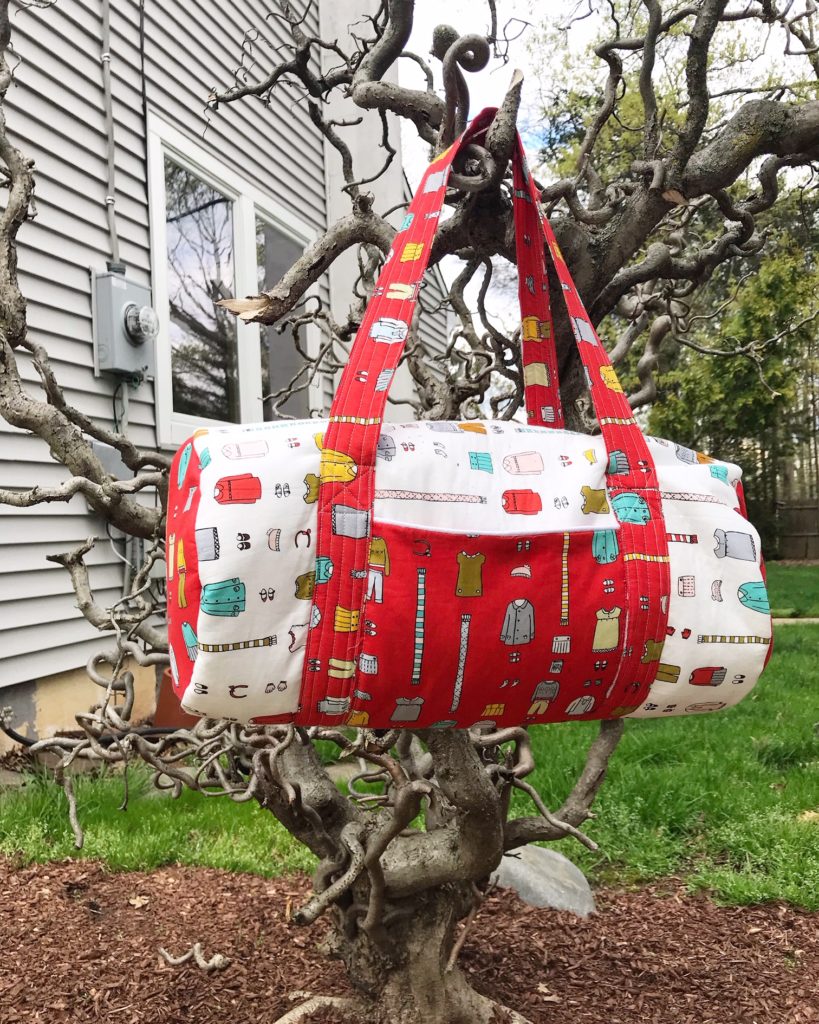
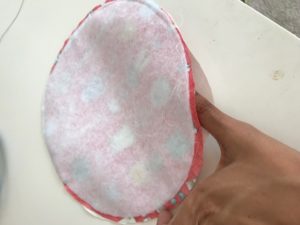
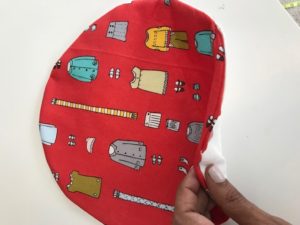
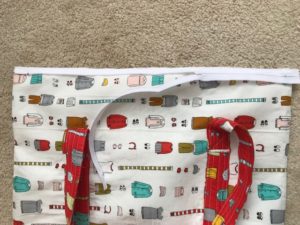
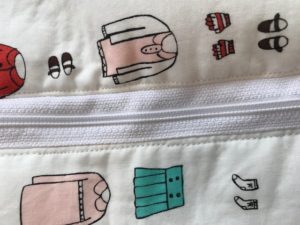
    Here is what it looks like if you don’t do the pockets of if you do, this is the back. My daughter loves it especially the kids clothes design.

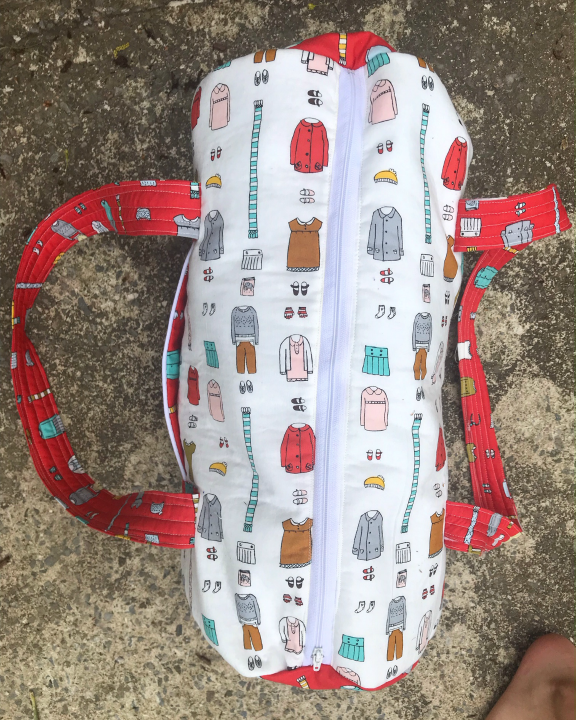
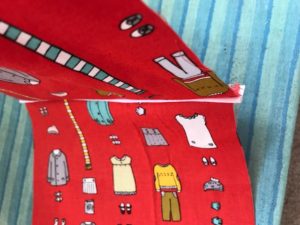
    Here is a view of the top. I would recommend a more heavy duty zipper if you are planning on making this pattern. Still can’t get enough of this fabric!

    Free Mini Duffel Bag Pattern Supplies

    • 1/2 yard main outer fabric
    • 1/2 yard lining
    • 1/2 yard fleece interfacing
    • 20″ zipper
    • Optional piping
    • Link to circle template for bag>HERE
    Step 1-Prepare Pieces

    Cut out 2 circles (8.75″ diameter) of main fabric, 2 of lining fabric and 2 of fleece interfacing. Note: cut the fleece interfacing 7.75″ in diameter.

    Iron on the interfacing on the wrong sides of the two main fabric circle pieces.

    Cut out 1 piece (18″ x 25″) of main fabric, 1 of lining and 1 of fleece interfacing. Note: cut the fleece interfacing 17″ x 24″

    Iron on the interfacing on the wrong side of the main fabric.

    Cut out 2 pieces 3.5″ x 44″ of the strap piece. Sew the 2 pieces right sides together to get one long piece measuring 3.5″ x 88″. Cut 1.5″ x 88″ of fleece interfacing. Don’t iron on interfacing to the straps as yet.

    Optional pocket pieces: Cut 2 pieces 7″ x 8″.

    Step 2-Sew all individual pieces

    This is a different way of putting together a bag; one that does not require you to sew a separate lining! Follow along. 

    For the main piece with the interfacing already ironed on, sew the lining piece to this piece right side together all the way around. Leaving a 5″ opening to turn inside out.

    Turn inside out and top-stitch the opening closed. Iron neatly.

    Repeat for the two circle pieces.

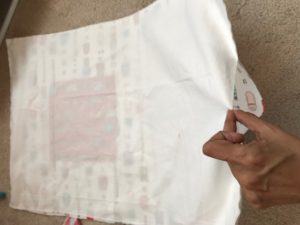
    Step 3- Attach Pockets

    Sew the two pocket pieces at the top on top and bottom (the small sides). If you want you can insert piping in the center. This is not necessary.

    Next, turn inside out and baste stitch on the center of the main piece.

    Center the pocket piece in the center of the bag (you can fold the bag in half to know the center). Baste stitch all the way around, leaving the top open.

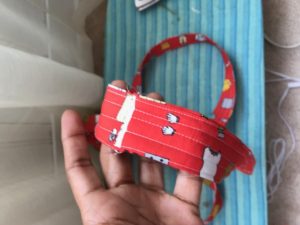
    Step 4- Attach Straps

    Fold and iron down the sides about 1/4″ on each side of the long strap piece.

    Now, fold in the center lengthwise. Iron down

    Insert the interfacing in the center of the straps.

    Sew the long edge closed. Sew vertical lines to make it look quilted.

    Take the two ends and sew closed. Now you have a very long quilted loop.

    Center the straps in the middle of the main piece on the edge of the pocket piece. Pin down

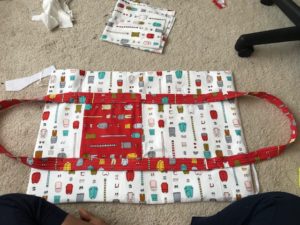
    Sew all the way around about 4″ from the top of each side. You can sew an X at the top of each side to make the straps more secure.

    Step 5- Attach Zipper

    With right sides together, pin and sew zipper to one end of the main piece, then to the other end .

    Top-stitch the zipper.

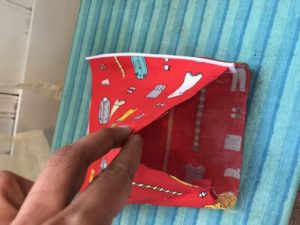
    Step 6- Attach sides

    Open the zipper half way.

    Pin and sew the circles on each side right side together. You can add piping in the center but this is optional.
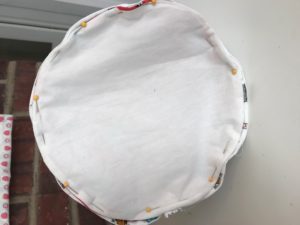
    Turn inside out.

    Tadaa!!! Hope you enjoy this Free Mini Duffel Bag Pattern.

    Free Mini Duffel Bag Pattern

    Thanks for visiting and Happy Sewing!

    « Simple Charm Pack Quilt Pattern
    20 New Sewing Projects »
    Close
    Forgot password?
    Send me my password!

    Close message

    Login
    • This blog post
    • All blog posts

    Subscribe to this blog post's comments through...

    • Add to netvibes
    • Add to My Yahoo!
    • Add to Google
    • Add to Microsoft Live

    RSS Icon RSS Feed

    Subscribe via email

    Subscribe

    Subscribe to this blog's comments through...

    • Add to netvibes
    • Add to My Yahoo!
    • Add to Google
    • Add to Microsoft Live

    RSS Icon RSS Feed

    Subscribe via email

    Subscribe
    Follow the discussion

    Comments (14)

    Loading... Logging you in...
    Close

    Login to IntenseDebate

    Or create an account

    Forgot login?

    Cancel Login
    Close WordPress.com

    Lost your password?

    Cancel Login
    Dashboard | Edit profile | Logout
    • Logged in as

    Admin Options

    Save Settings

    Sort by: Date Rating Last Activity

    Loading comments...
    +2 Vote up Vote down
    Christine Sherman's avatar

    Christine Sherman · 318 weeks ago

    This is awesome, thank you!
    Reply
    1 reply · active 317 weeks ago
    +2 Vote up Vote down
    stitchscientist's avatar

    stitchscientist · 317 weeks ago

    Thanks so much for all supporting me Christine!
    Reply
    +2 Vote up Vote down
    Trudy Mowell's avatar

    Trudy Mowell · 317 weeks ago

    Thank you!! Perfect size for a smallish bag or for a child!
    Reply
    0 replies · active 317 weeks ago
    +3 Vote up Vote down
    rose's avatar

    rose · 317 weeks ago

    thank you
    Reply
    0 replies · active 317 weeks ago
    +3 Vote up Vote down
    Gaill Beam's avatar

    Gaill Beam · 317 weeks ago

    Your bag is adorable and your instructions are so easy to follow.
    Reply
    0 replies · active 317 weeks ago
    +2 Vote up Vote down
    website's avatar - Go to profile

    website · 316 weeks ago

    What a cool work! The bag is very cute! Thank you for sharing the instructions.
    hotmail login account
    Reply
    0 replies · active 316 weeks ago
    +2 Vote up Vote down
    Karen Lowiss's avatar

    Karen Lowiss · 312 weeks ago

    Great bag, but is there a way i can print the instructions?
    Reply
    0 replies · active 312 weeks ago
    +2 Vote up Vote down
    camilla's avatar

    camilla · 312 weeks ago

    Love it! Thanks for sharing.
    Reply
    0 replies · active 312 weeks ago
    +4 Vote up Vote down
    Jane Farley's avatar

    Jane Farley · 303 weeks ago

    I found the 20" zipper too long and had to trim it. In tour picture it looks like it fits perfect but that can't be with the measurements of the main piece being 18x25.
    Reply
    0 replies · active 303 weeks ago
    +2 Vote up Vote down
    jane fark's avatar

    jane fark · 287 weeks ago

    I have made 8 of these for Christmas gifts, love how easy they are to make
    Reply
    0 replies · active 287 weeks ago
    +2 Vote up Vote down
    Valerie's avatar

    Valerie · 287 weeks ago

    Good morning, I am wanting to know the cost of post to Australia? Are you in USA?
    Cheers, Valerie
    Reply
    0 replies · active 287 weeks ago
    0 Vote up Vote down
    Kathy Young's avatar

    Kathy Young · 181 weeks ago

    This is ideal to sew for foster children. Those kids always have to haul their possessions around in black garbage bags. If you have time and can afford to, please consider making some to donate for foster children. BLessings!
    Reply
    0 replies · active 181 weeks ago
    0 Vote up Vote down
    Louise's avatar

    Louise · 168 weeks ago

    Hi. If the main fabric is the white patterned part and takes half metre how much do you need for the red parts? I can only see listed how much main fabric, lining and interfacing here? Thanks Louise
    Reply
    0 replies · active 168 weeks ago
    0 Vote up Vote down
    Jass's avatar

    Jass · 58 weeks ago

    So simple and easy for first timers, love the end results. Thank you so much, for sharing it for free. Cant wait to try more of your projects.
    Reply
    0 replies · active 58 weeks ago

    Post a new comment

      Comment as a Guest, or login:

      • Login to IntenseDebate
      • Login to WordPress.com
      Go back

      Displayed next to your comments.

      Not displayed publicly.

      If you have a website, link to it here.

      Posting anonymously.

      Submit Comment
      Thank you so much for taking the time to comment on this post! Please visit us again.

      Comments by IntenseDebate

        Reply as a Guest, or login:

        • Login to IntenseDebate
        • Login to WordPress.com
        Go back

        Displayed next to your comments.

        Not displayed publicly.

        If you have a website, link to it here.

        Posting anonymously.

        Cancel Submit Comment
        Loading Loading IntenseDebate Comments...


        Welcome

        Hi there! Thanks for visiting my creative corner. I am a DIY enthusiast and single mom to a little girl and a slobbering dog. I enjoy my full time job as a research scientist during the week but like to experiment on sewing and crafty projects on the weekends. Join me as we explore the beautiful world of fabrics together. Read More…

        Craftsy

        Fat Quarter Shop Quilting Fabrics and Supplies

        • Home
        • About Me
        • Tutorials
        • Free Sewing Patterns
        • Shop
        • Roundup
        • Contact

        Copyright © 2025 · Refined theme by Restored 316