Happy Friday Everyone. I am so excited to be part of Riley Blake’s Flannel Showcase Blog Tour! The tour features different projects using stunning flannels from Riley Blake Designs. I fell in love with this gorgeous Rainbow Hexi and thought it would look pretty as a nightgown for my little girl. The material is really soft, cuddly and warm, making it perfect for the upcoming winter months. The free pattern is for toddler size 3T-4T. You can make it as long or short as you want it. I think I may end up making a few of these for Mila with some other flannels from Riley Blake.
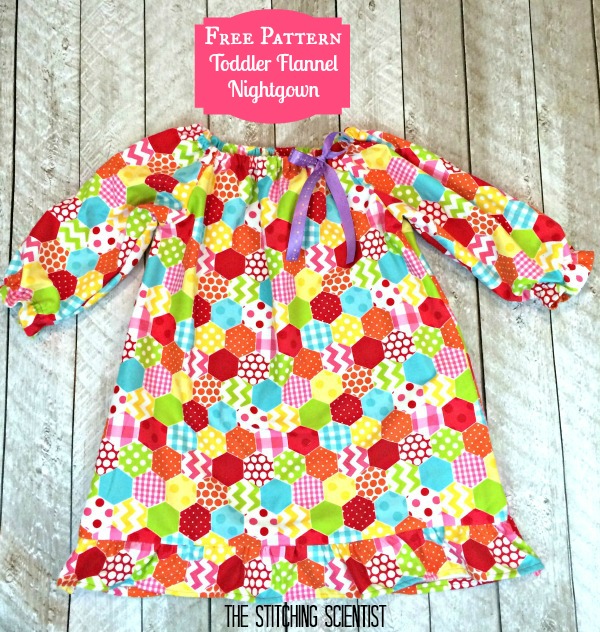
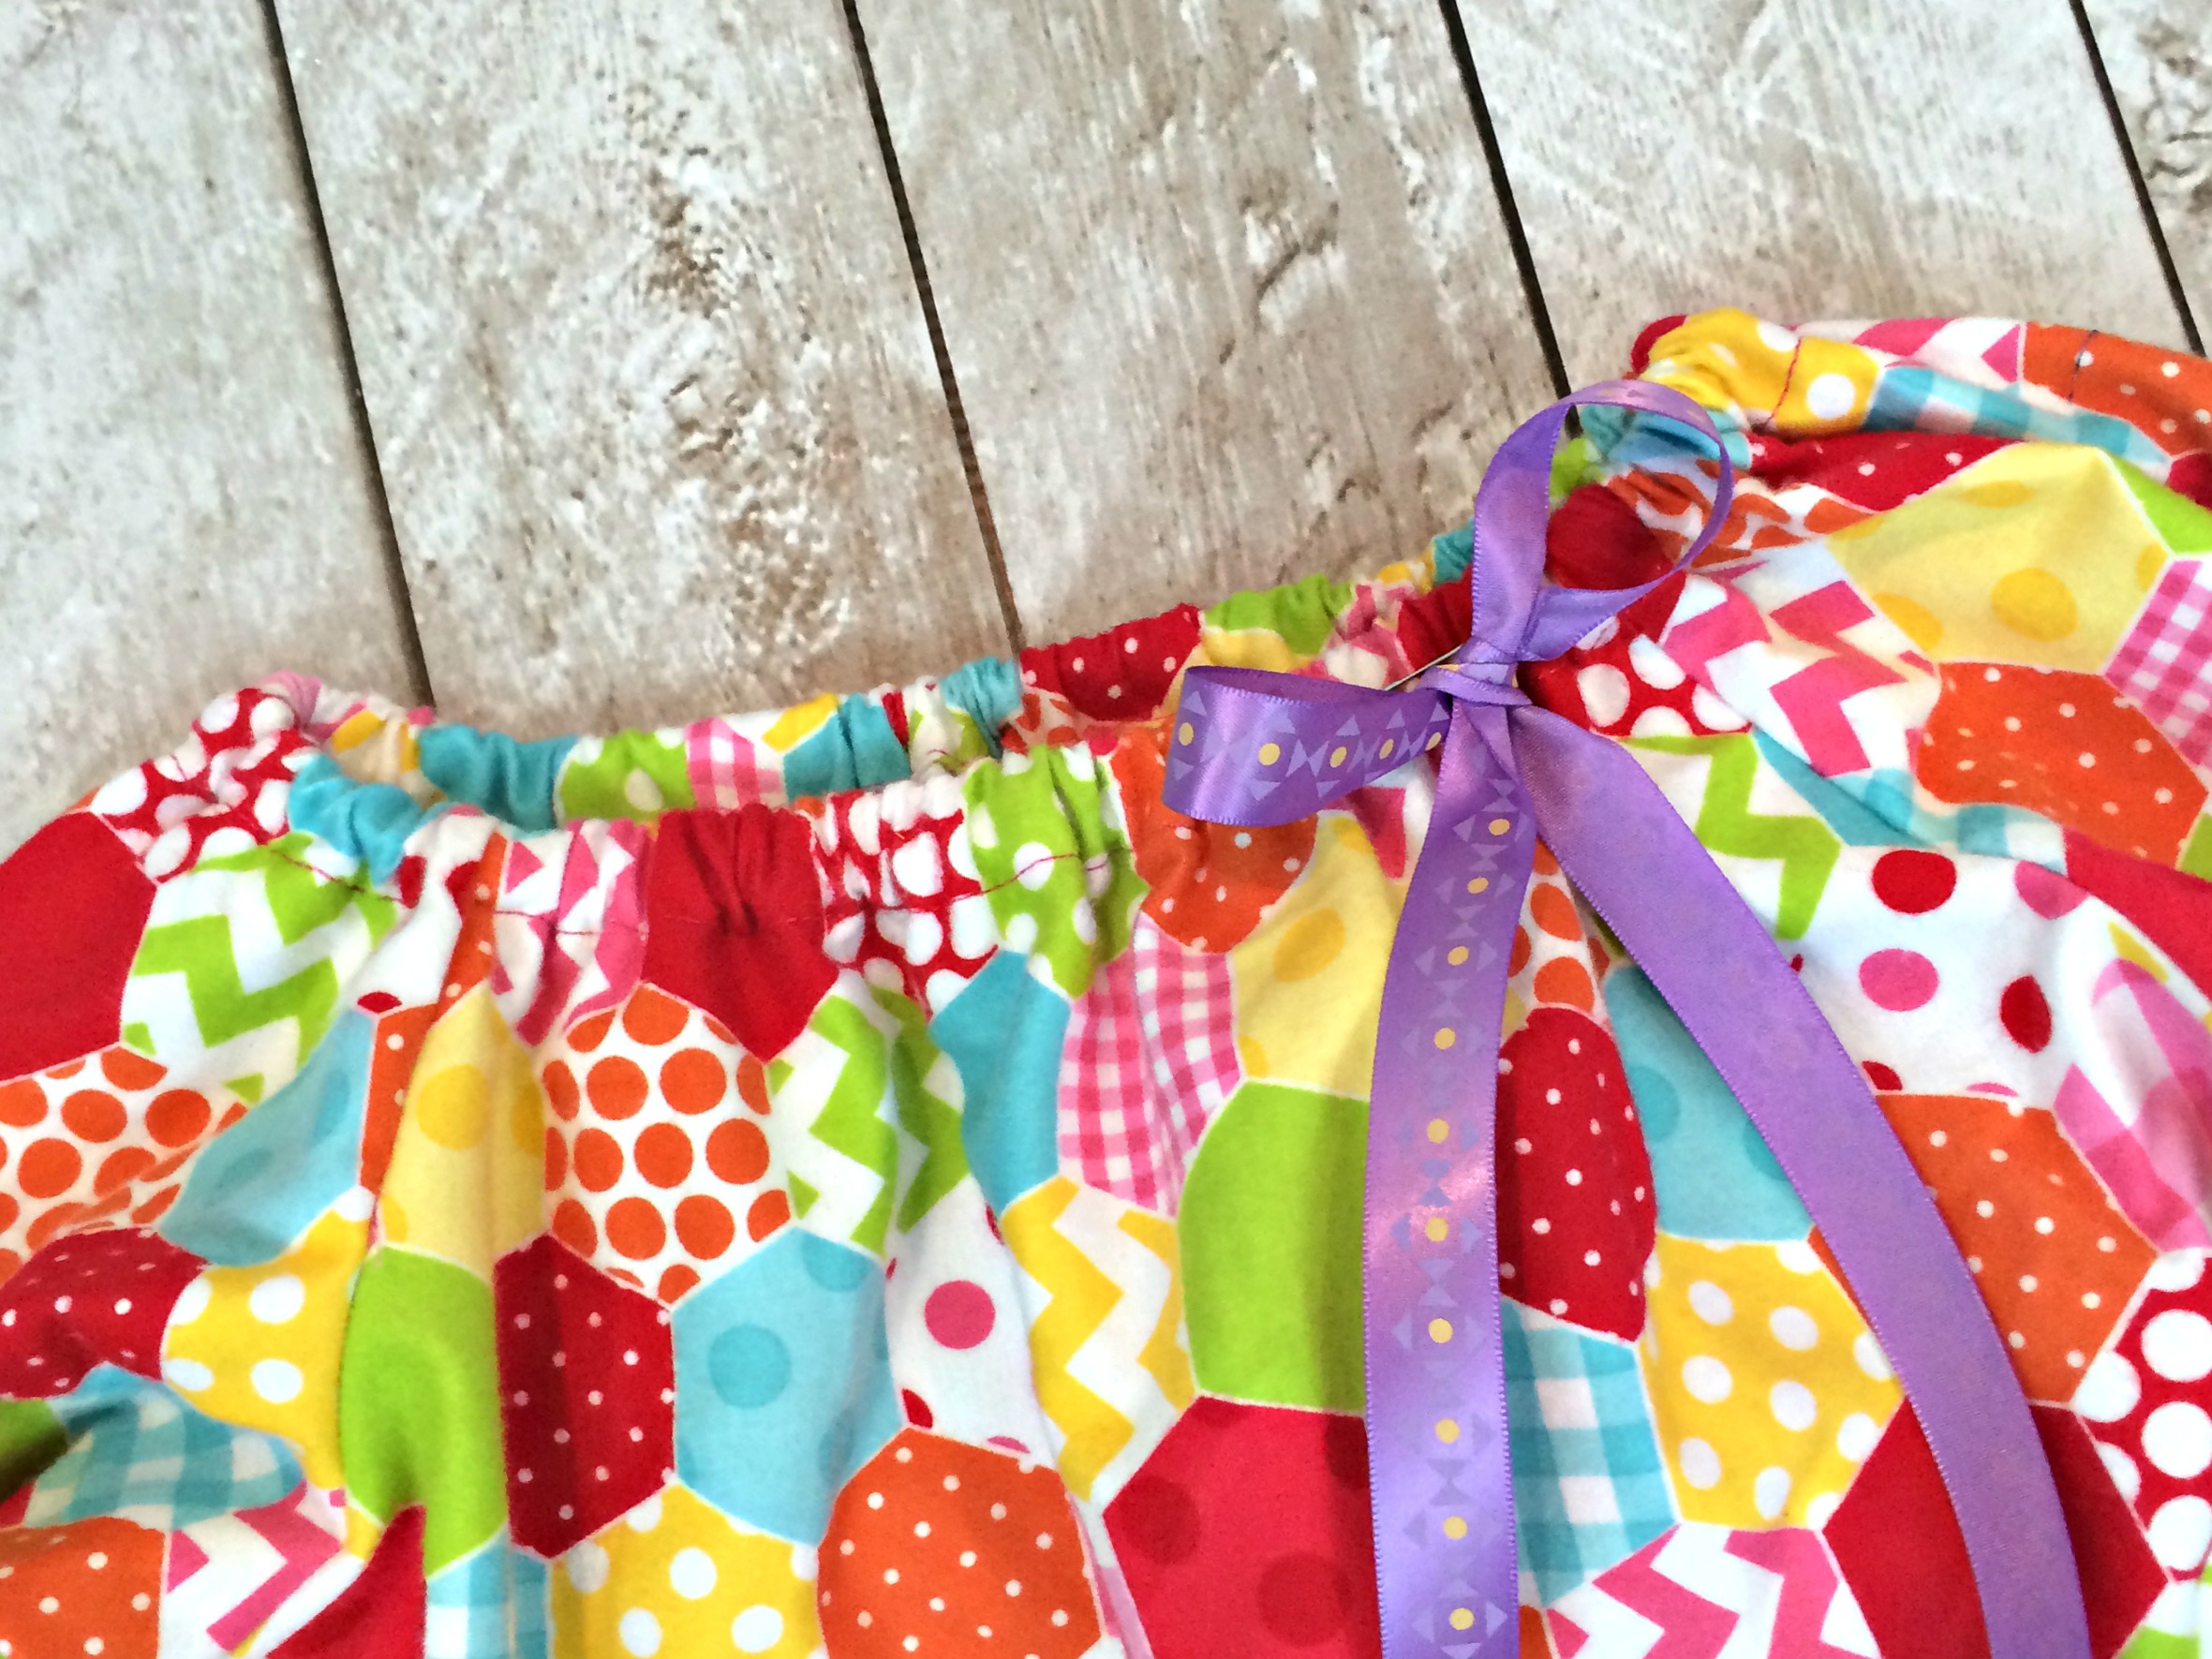
The neck is a simple elastic stretch fit so you don’t have to worry about doing a closure. It’s easy so that your little one can put it on and take it off all by her self. I decided to pin an accent ribbon on mine to make it extra girly.
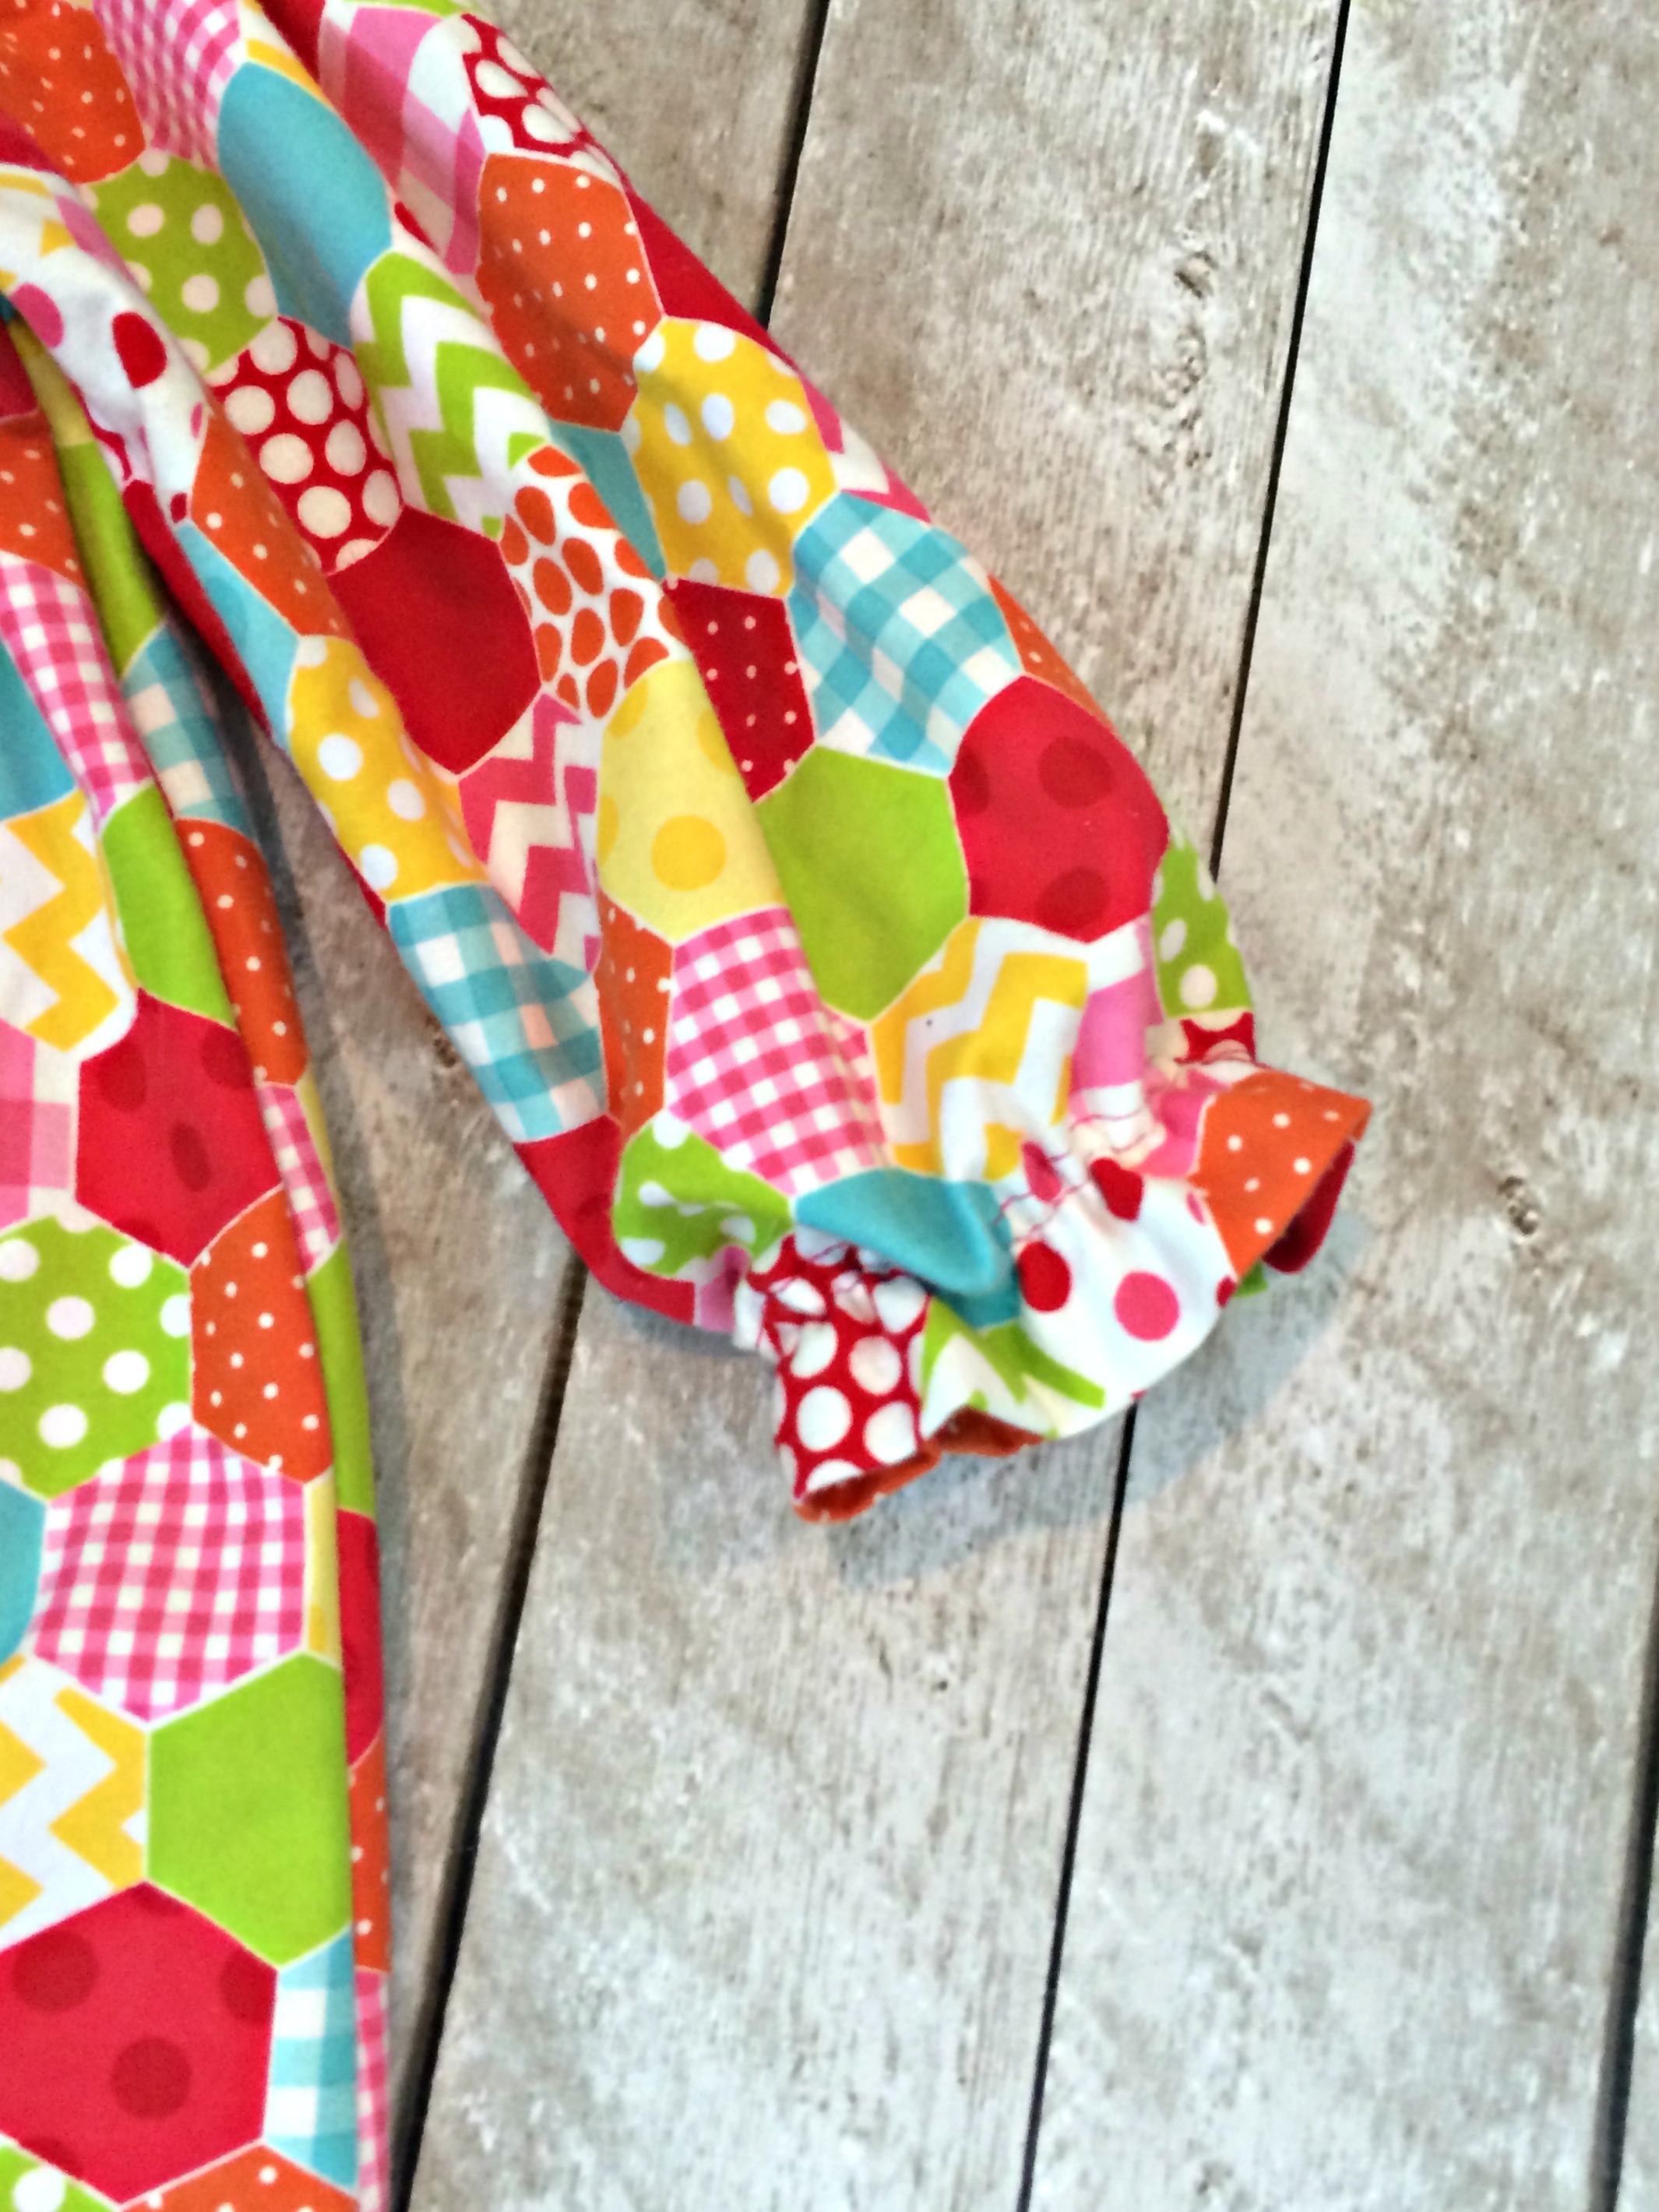
The sleeves are made into a gathered puff which gives it a cozy and comfortable feel.
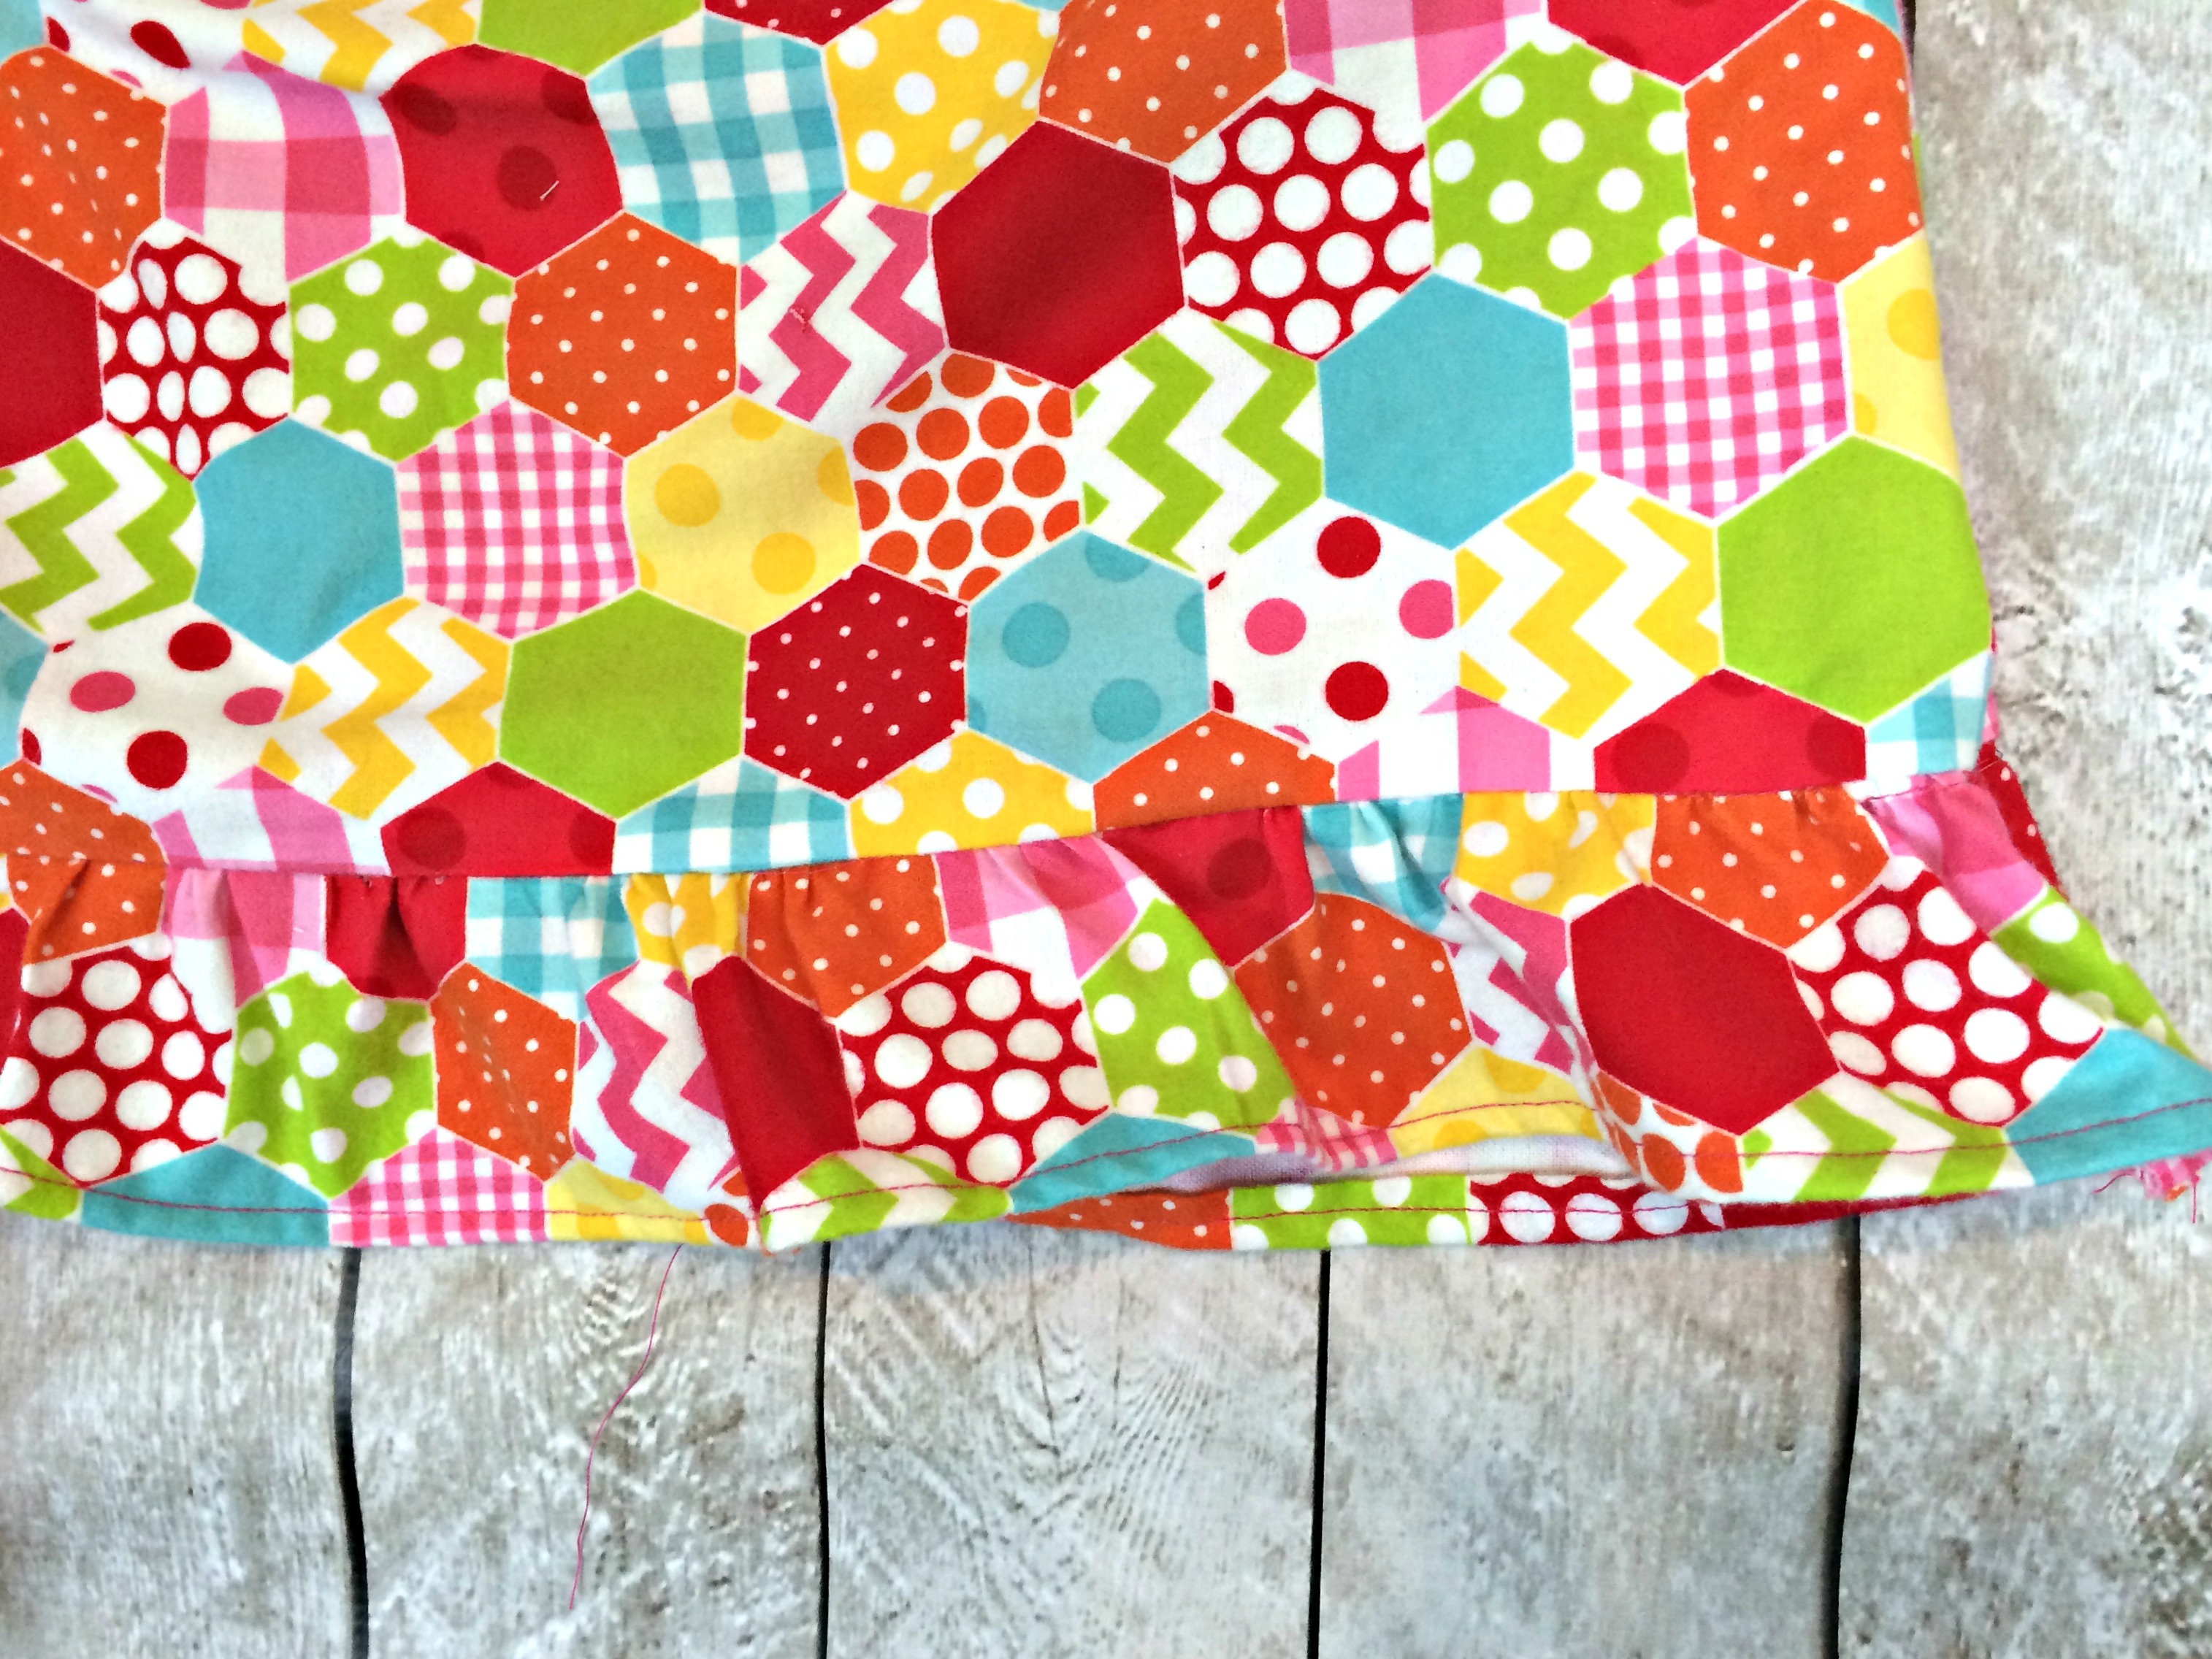
I decided to do a gathered ruffle on the bottom to make it twirl and match the gathered puff sleeve.
Your Supplies
1 yard flannel-(Rainbow Hexi used in this tutorial)
16″ 1/2″ elastic
12″ 1/4″ elastic
5″ ribbon for bow
You can download the free pattern HERE. The pattern is for a normal size 3T-4T. My daughter is 3 and this fits her a bit loose like nightgowns should be. You can scale the pattern up or down about 10-20% if you want it a bit more snug or looser. For this pattern, I used a 1/2″ seam allowance which is already built into the pattern.
Let’s start
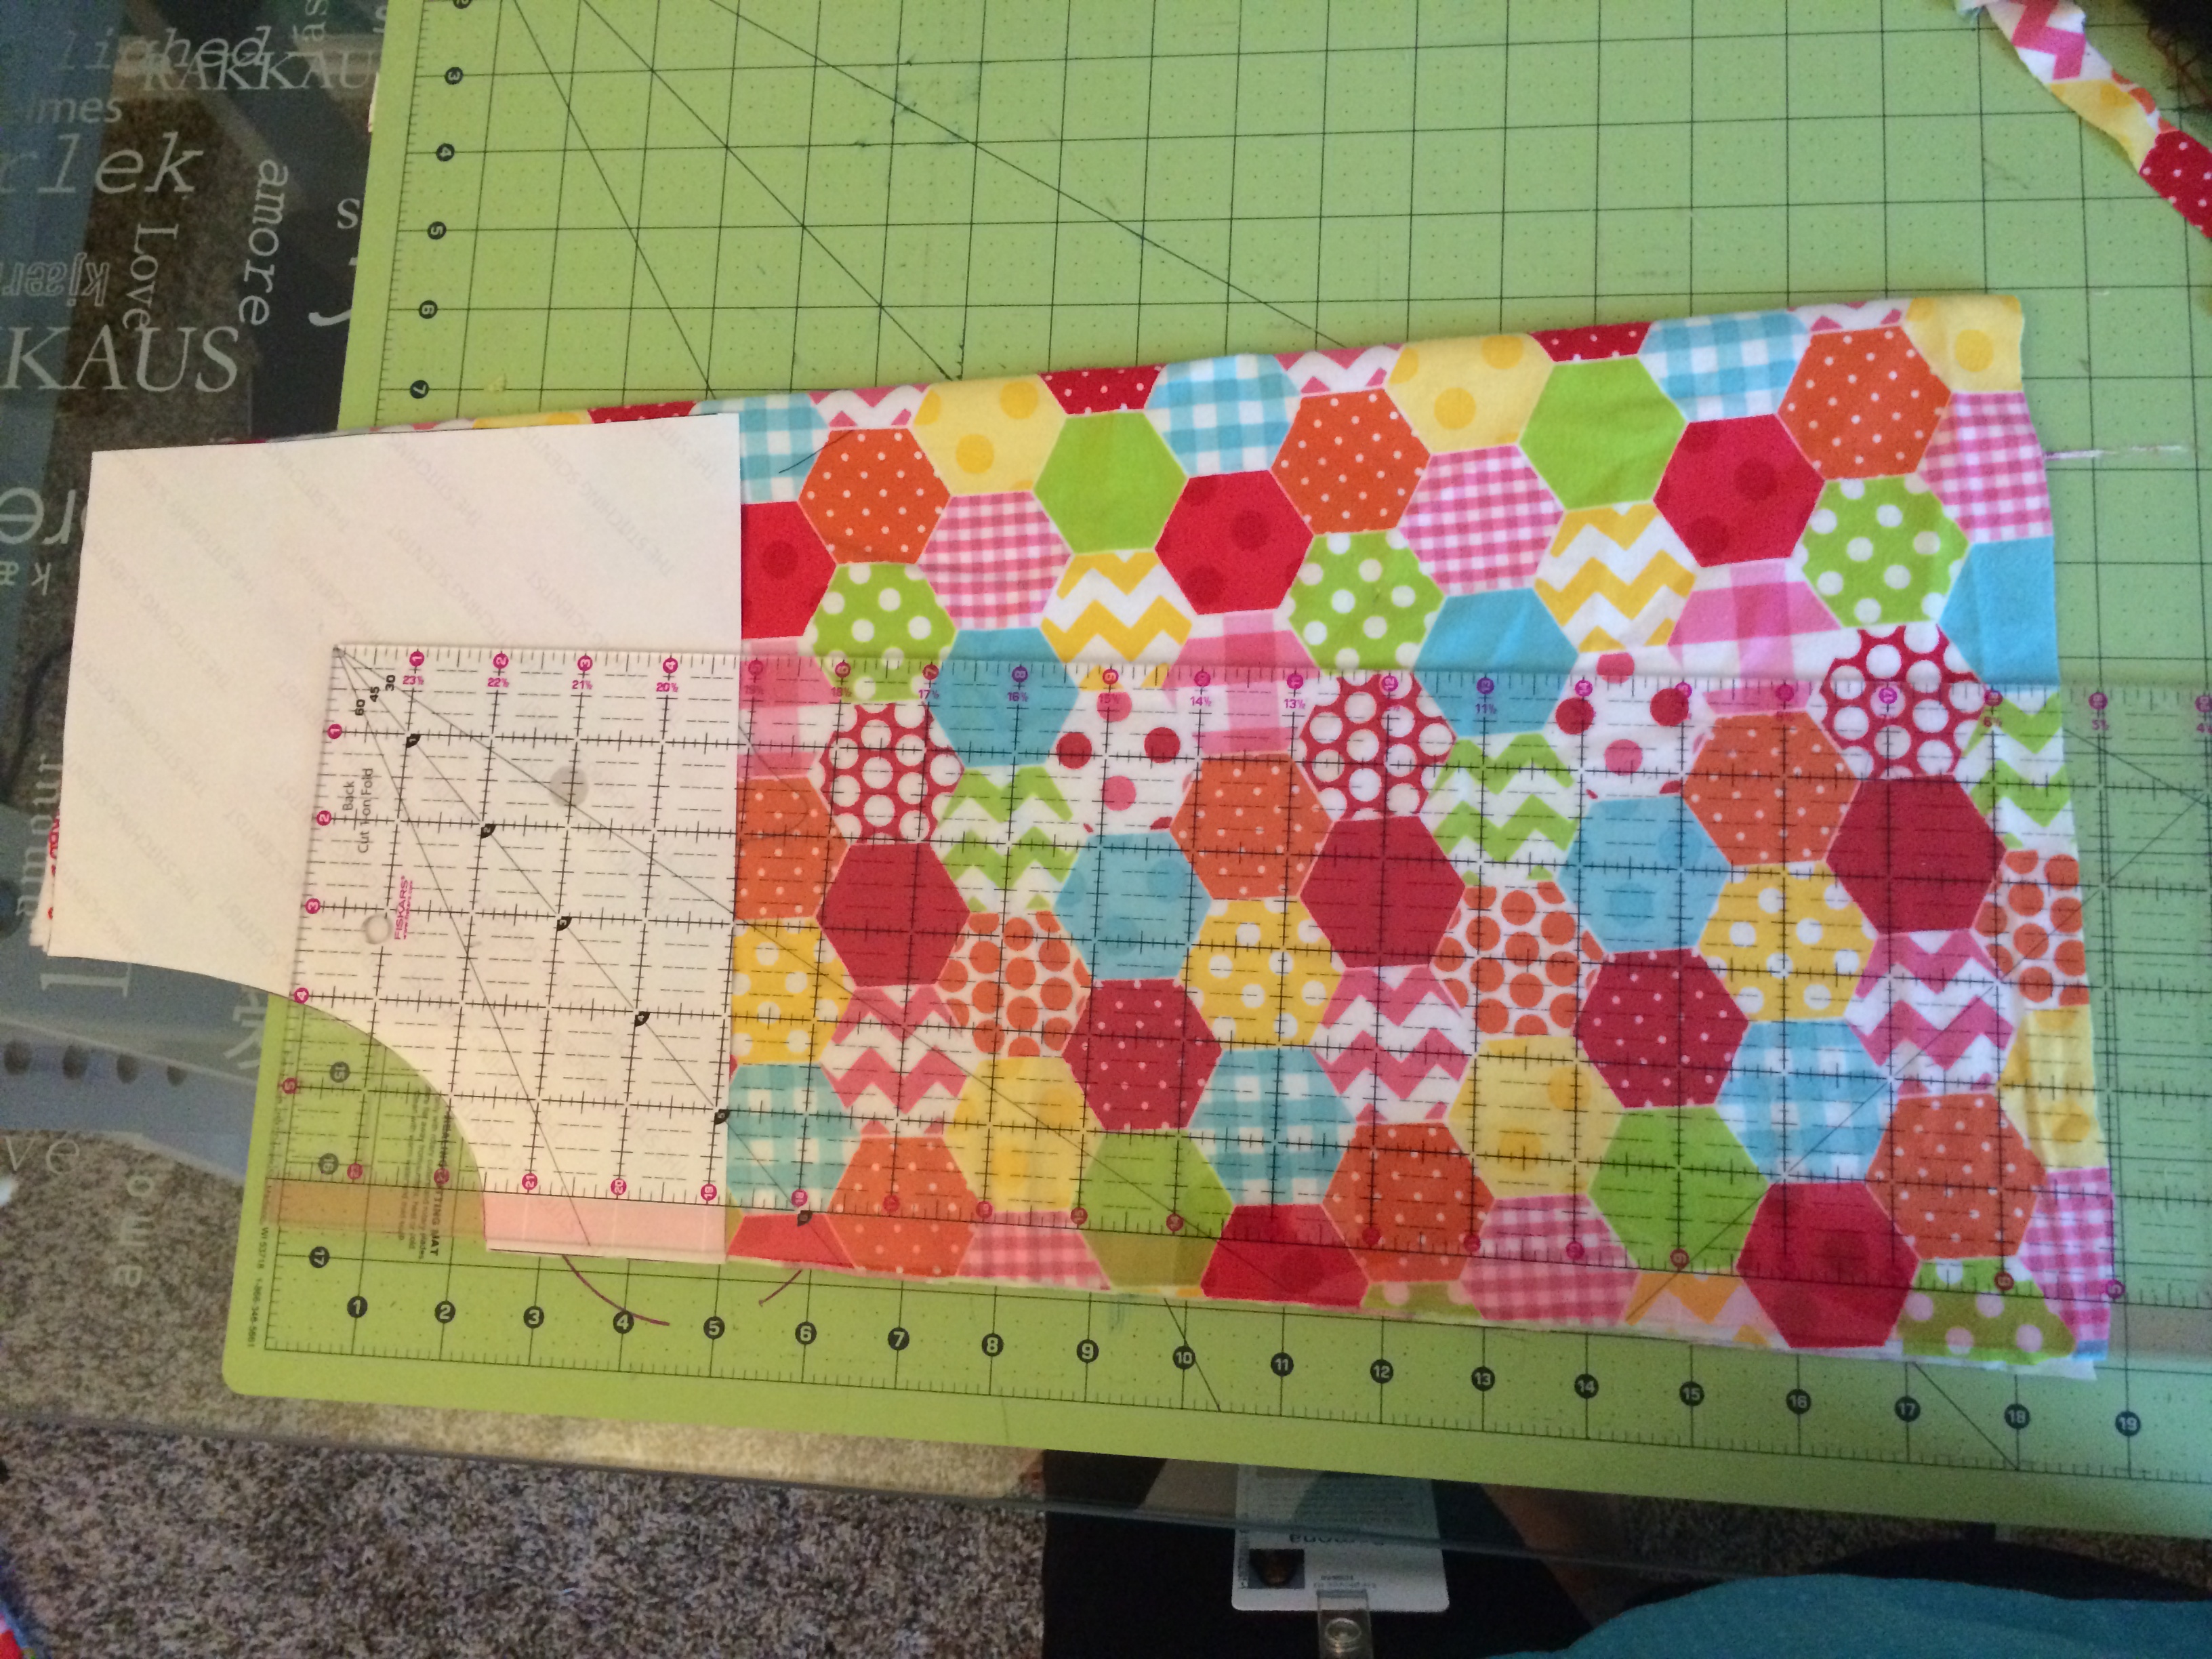
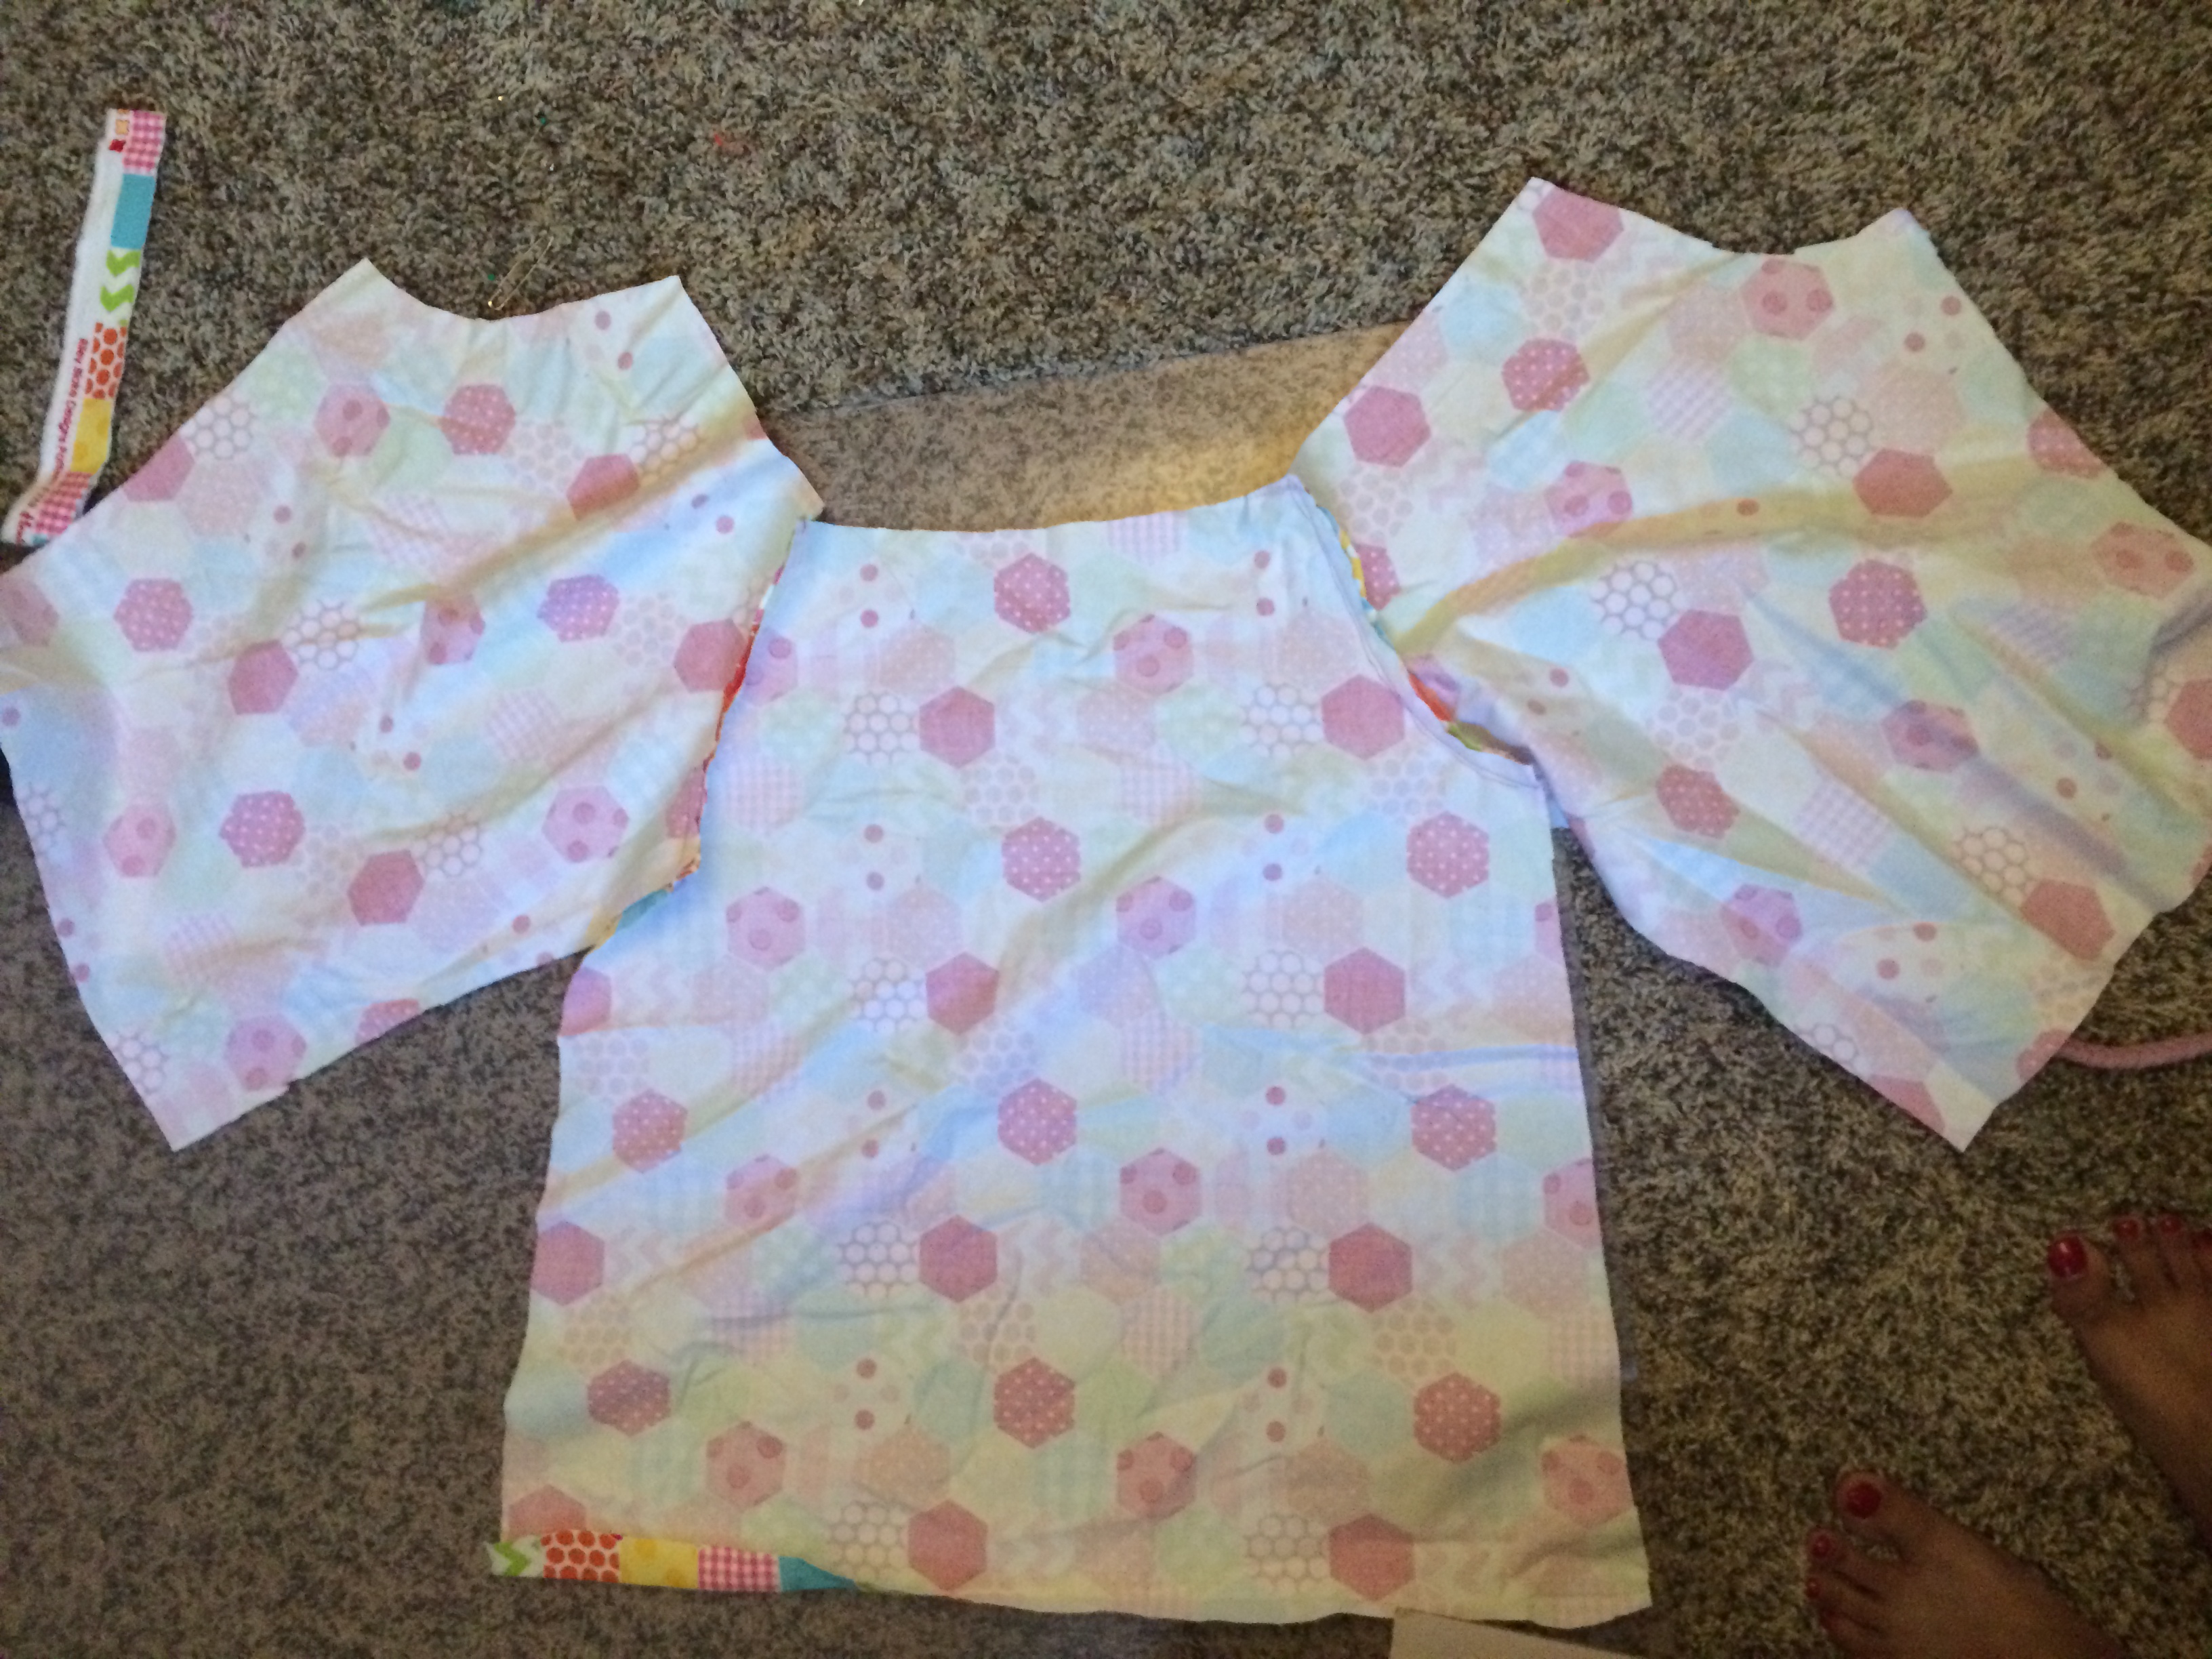
The pattern for the front and back are for the top pieces only. You will have to measure how long you want the dress to be to get the desired length.
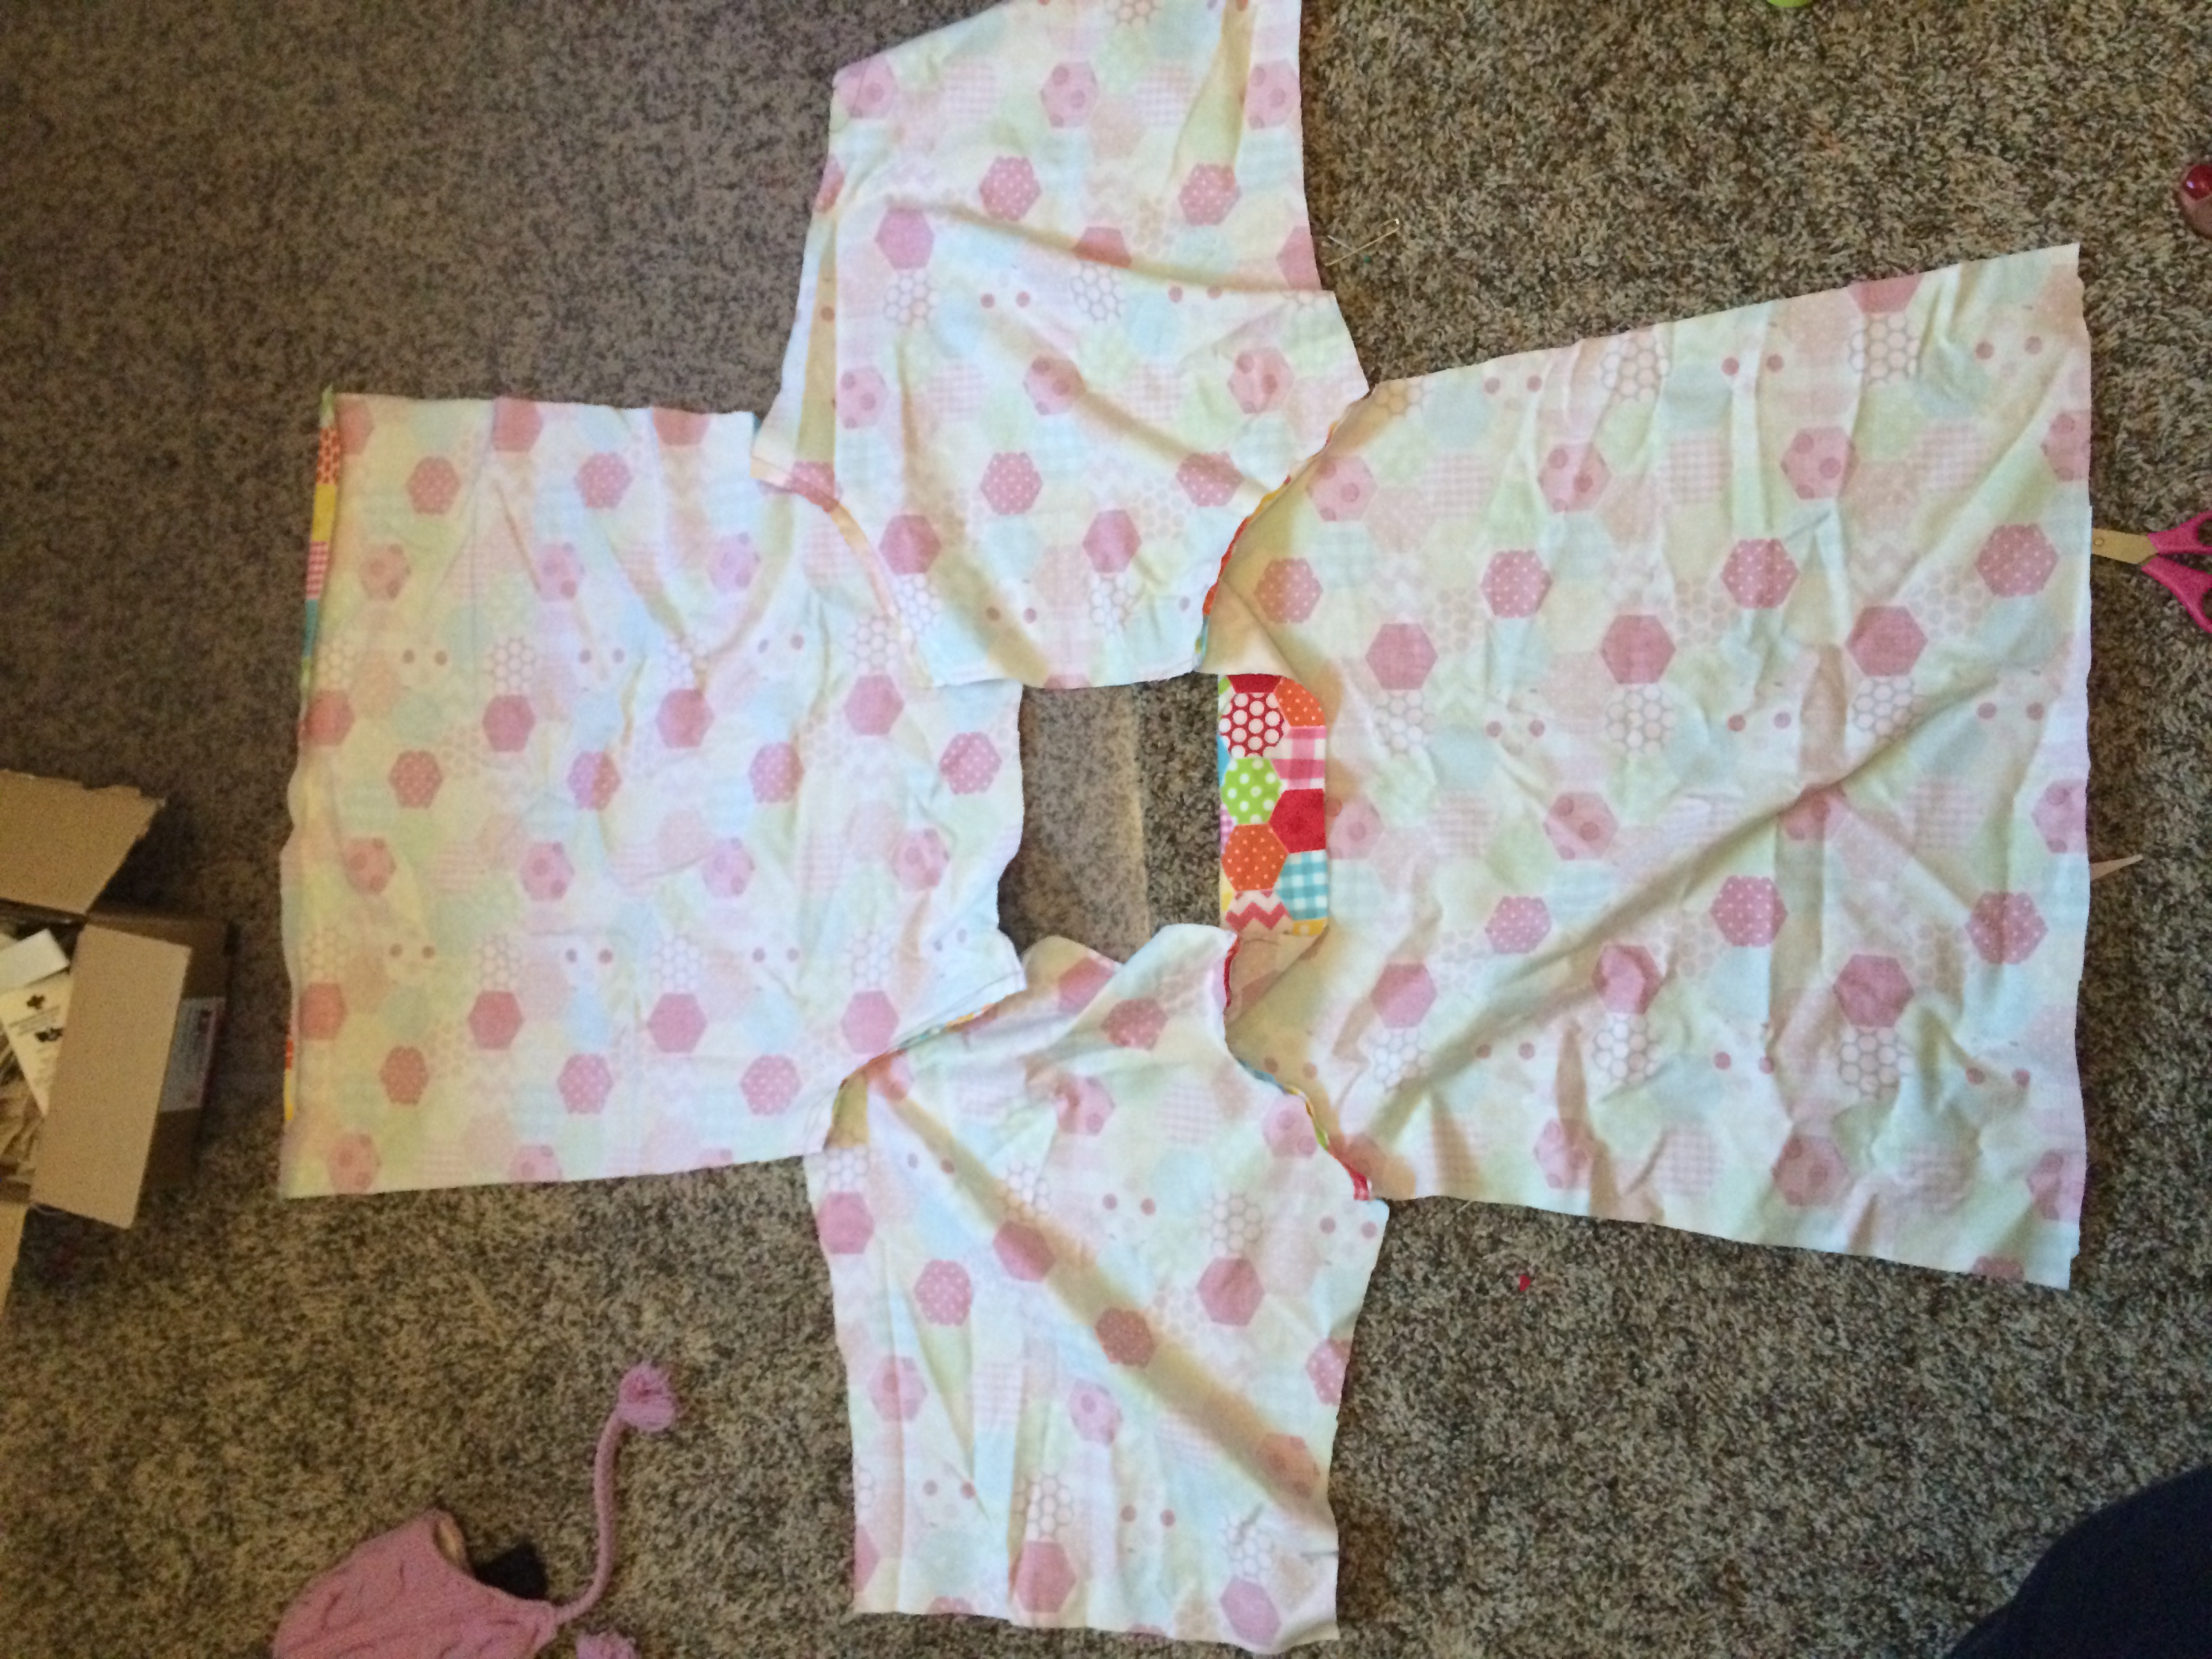
Once you have all your pieces. It’s time to put the sleeves on the front and back pieces. With right sides together, sew the sleeves on the front bodice.

Next, sew the sleeves to the back bodice.
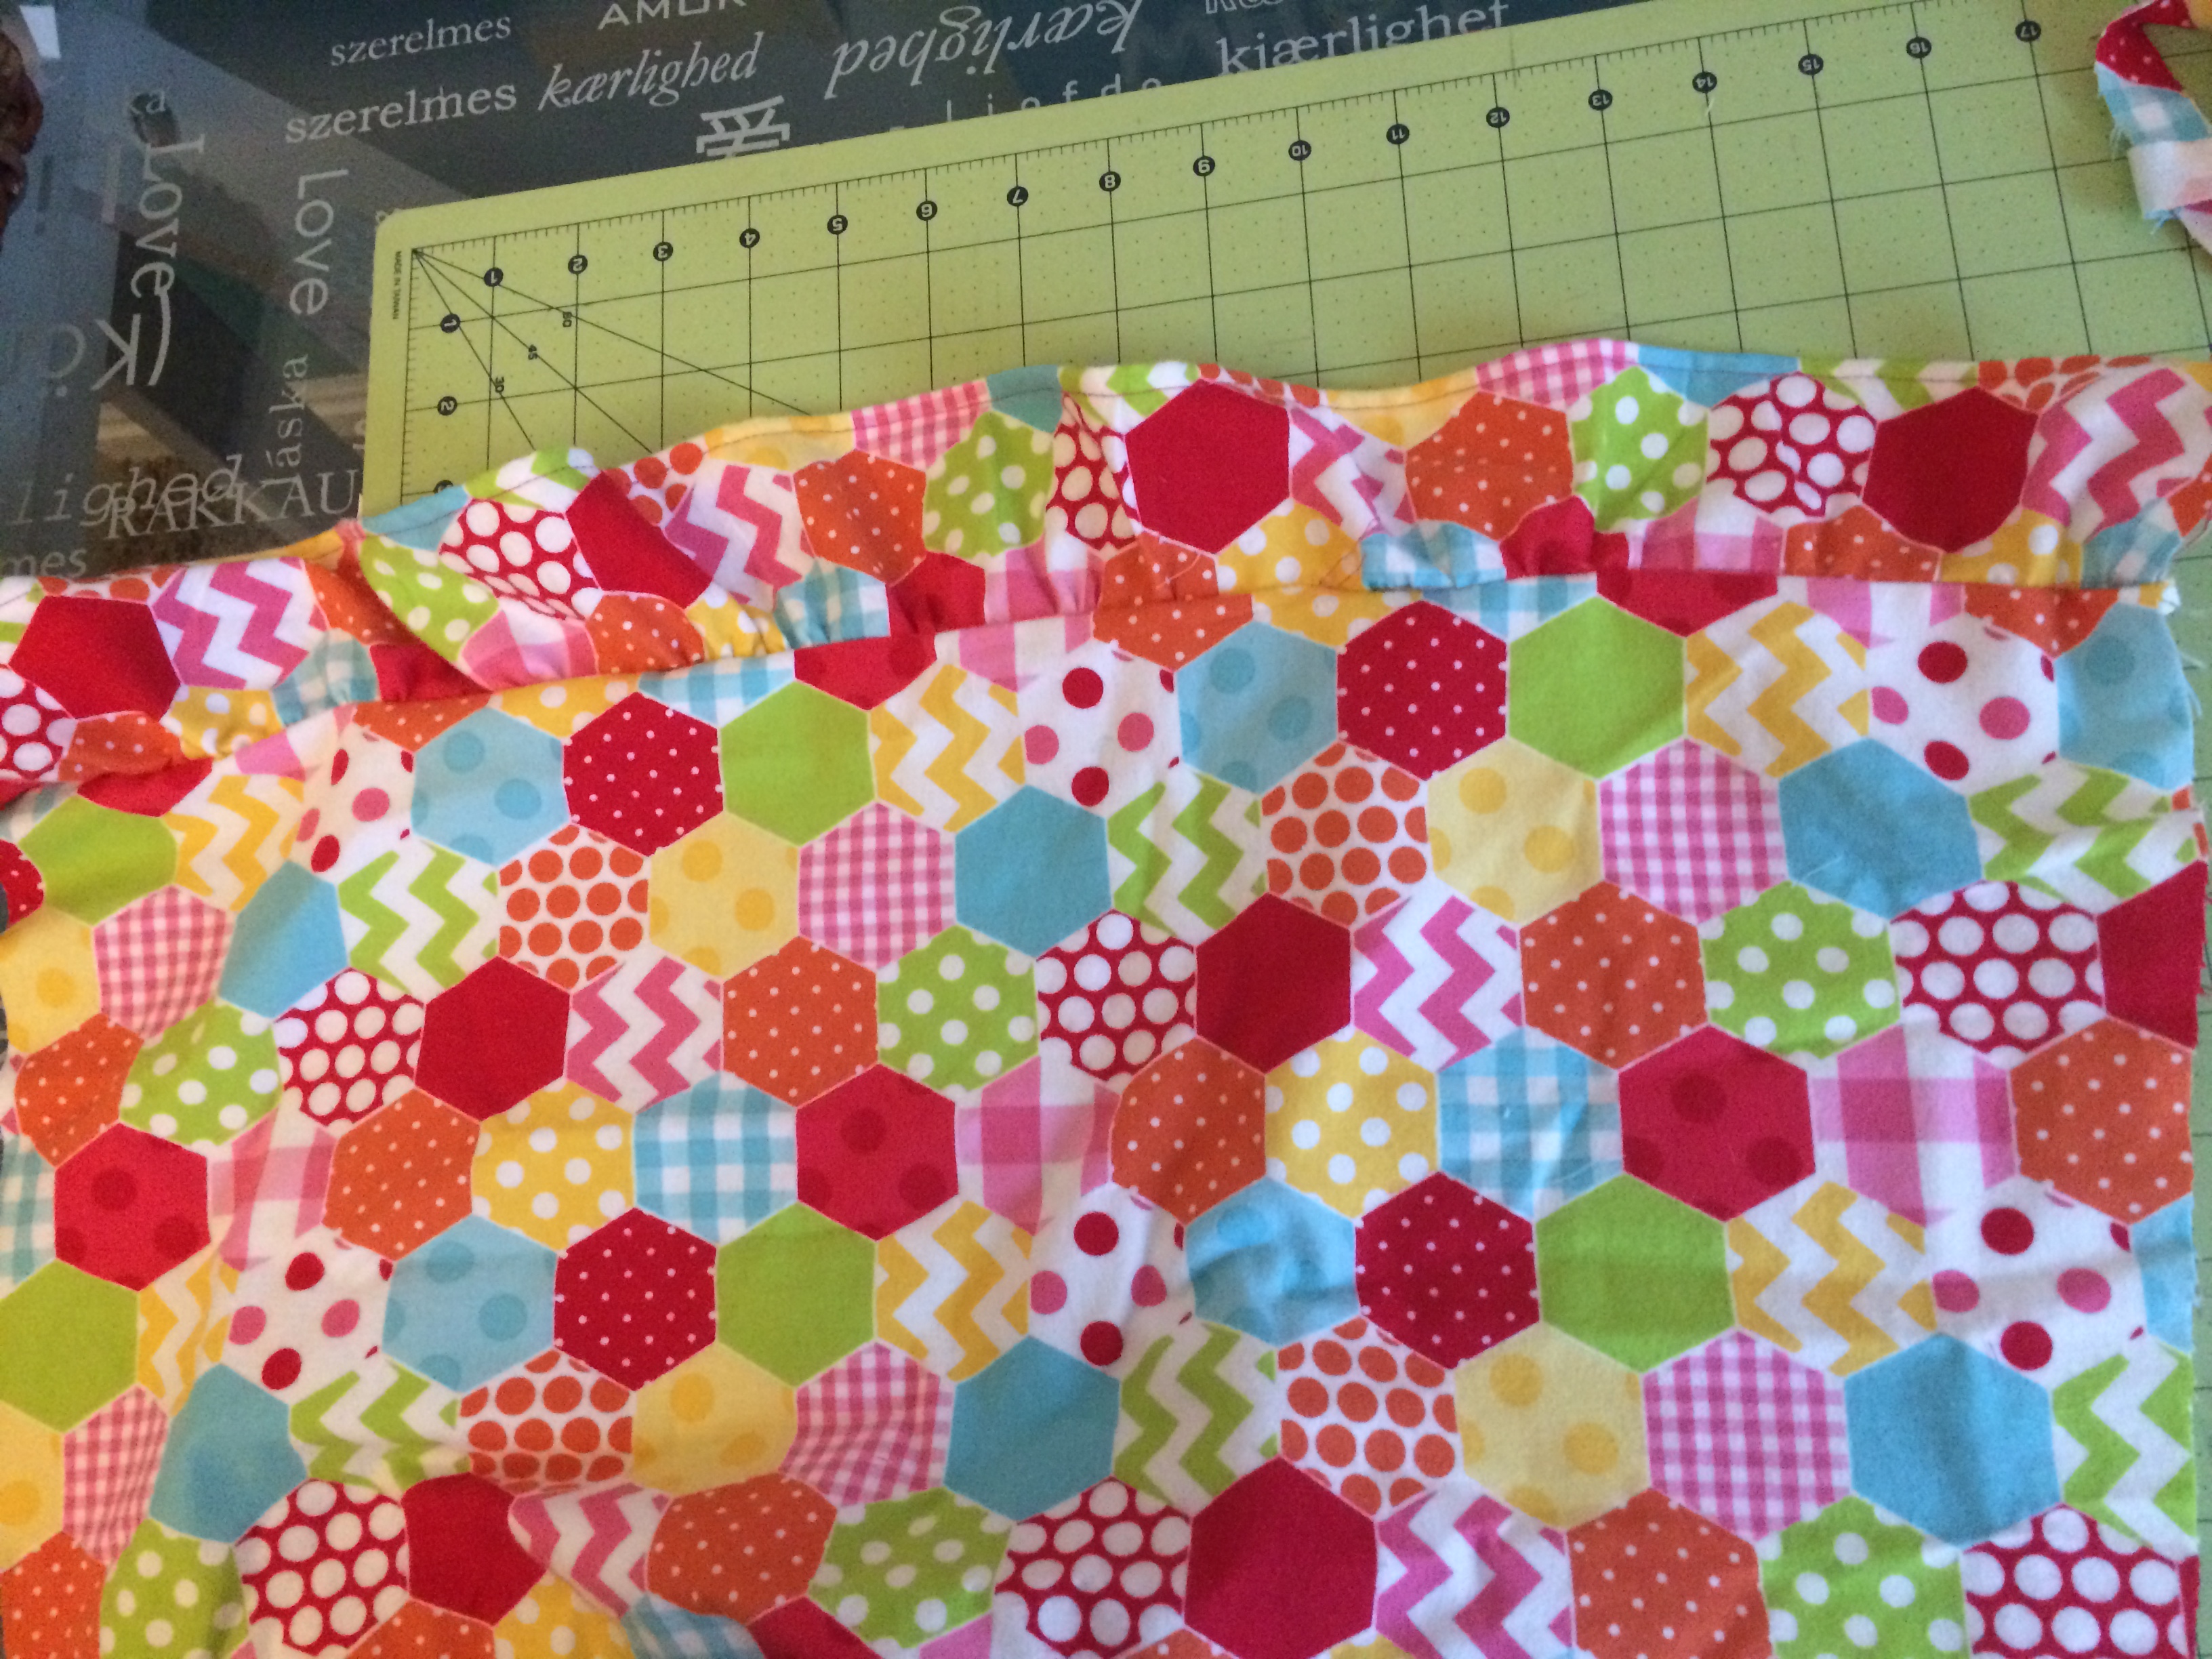
Next, let’s add the ruffle to the bottom. Cut about 30″ of 3″ wide flannel. Fold under 1/4″ and then another 1/4″ for the hem. Iron down. Gather the other top edge. Pull and fit on the front bottom bodice. Sew right sides together. Repeat for the back bodice.
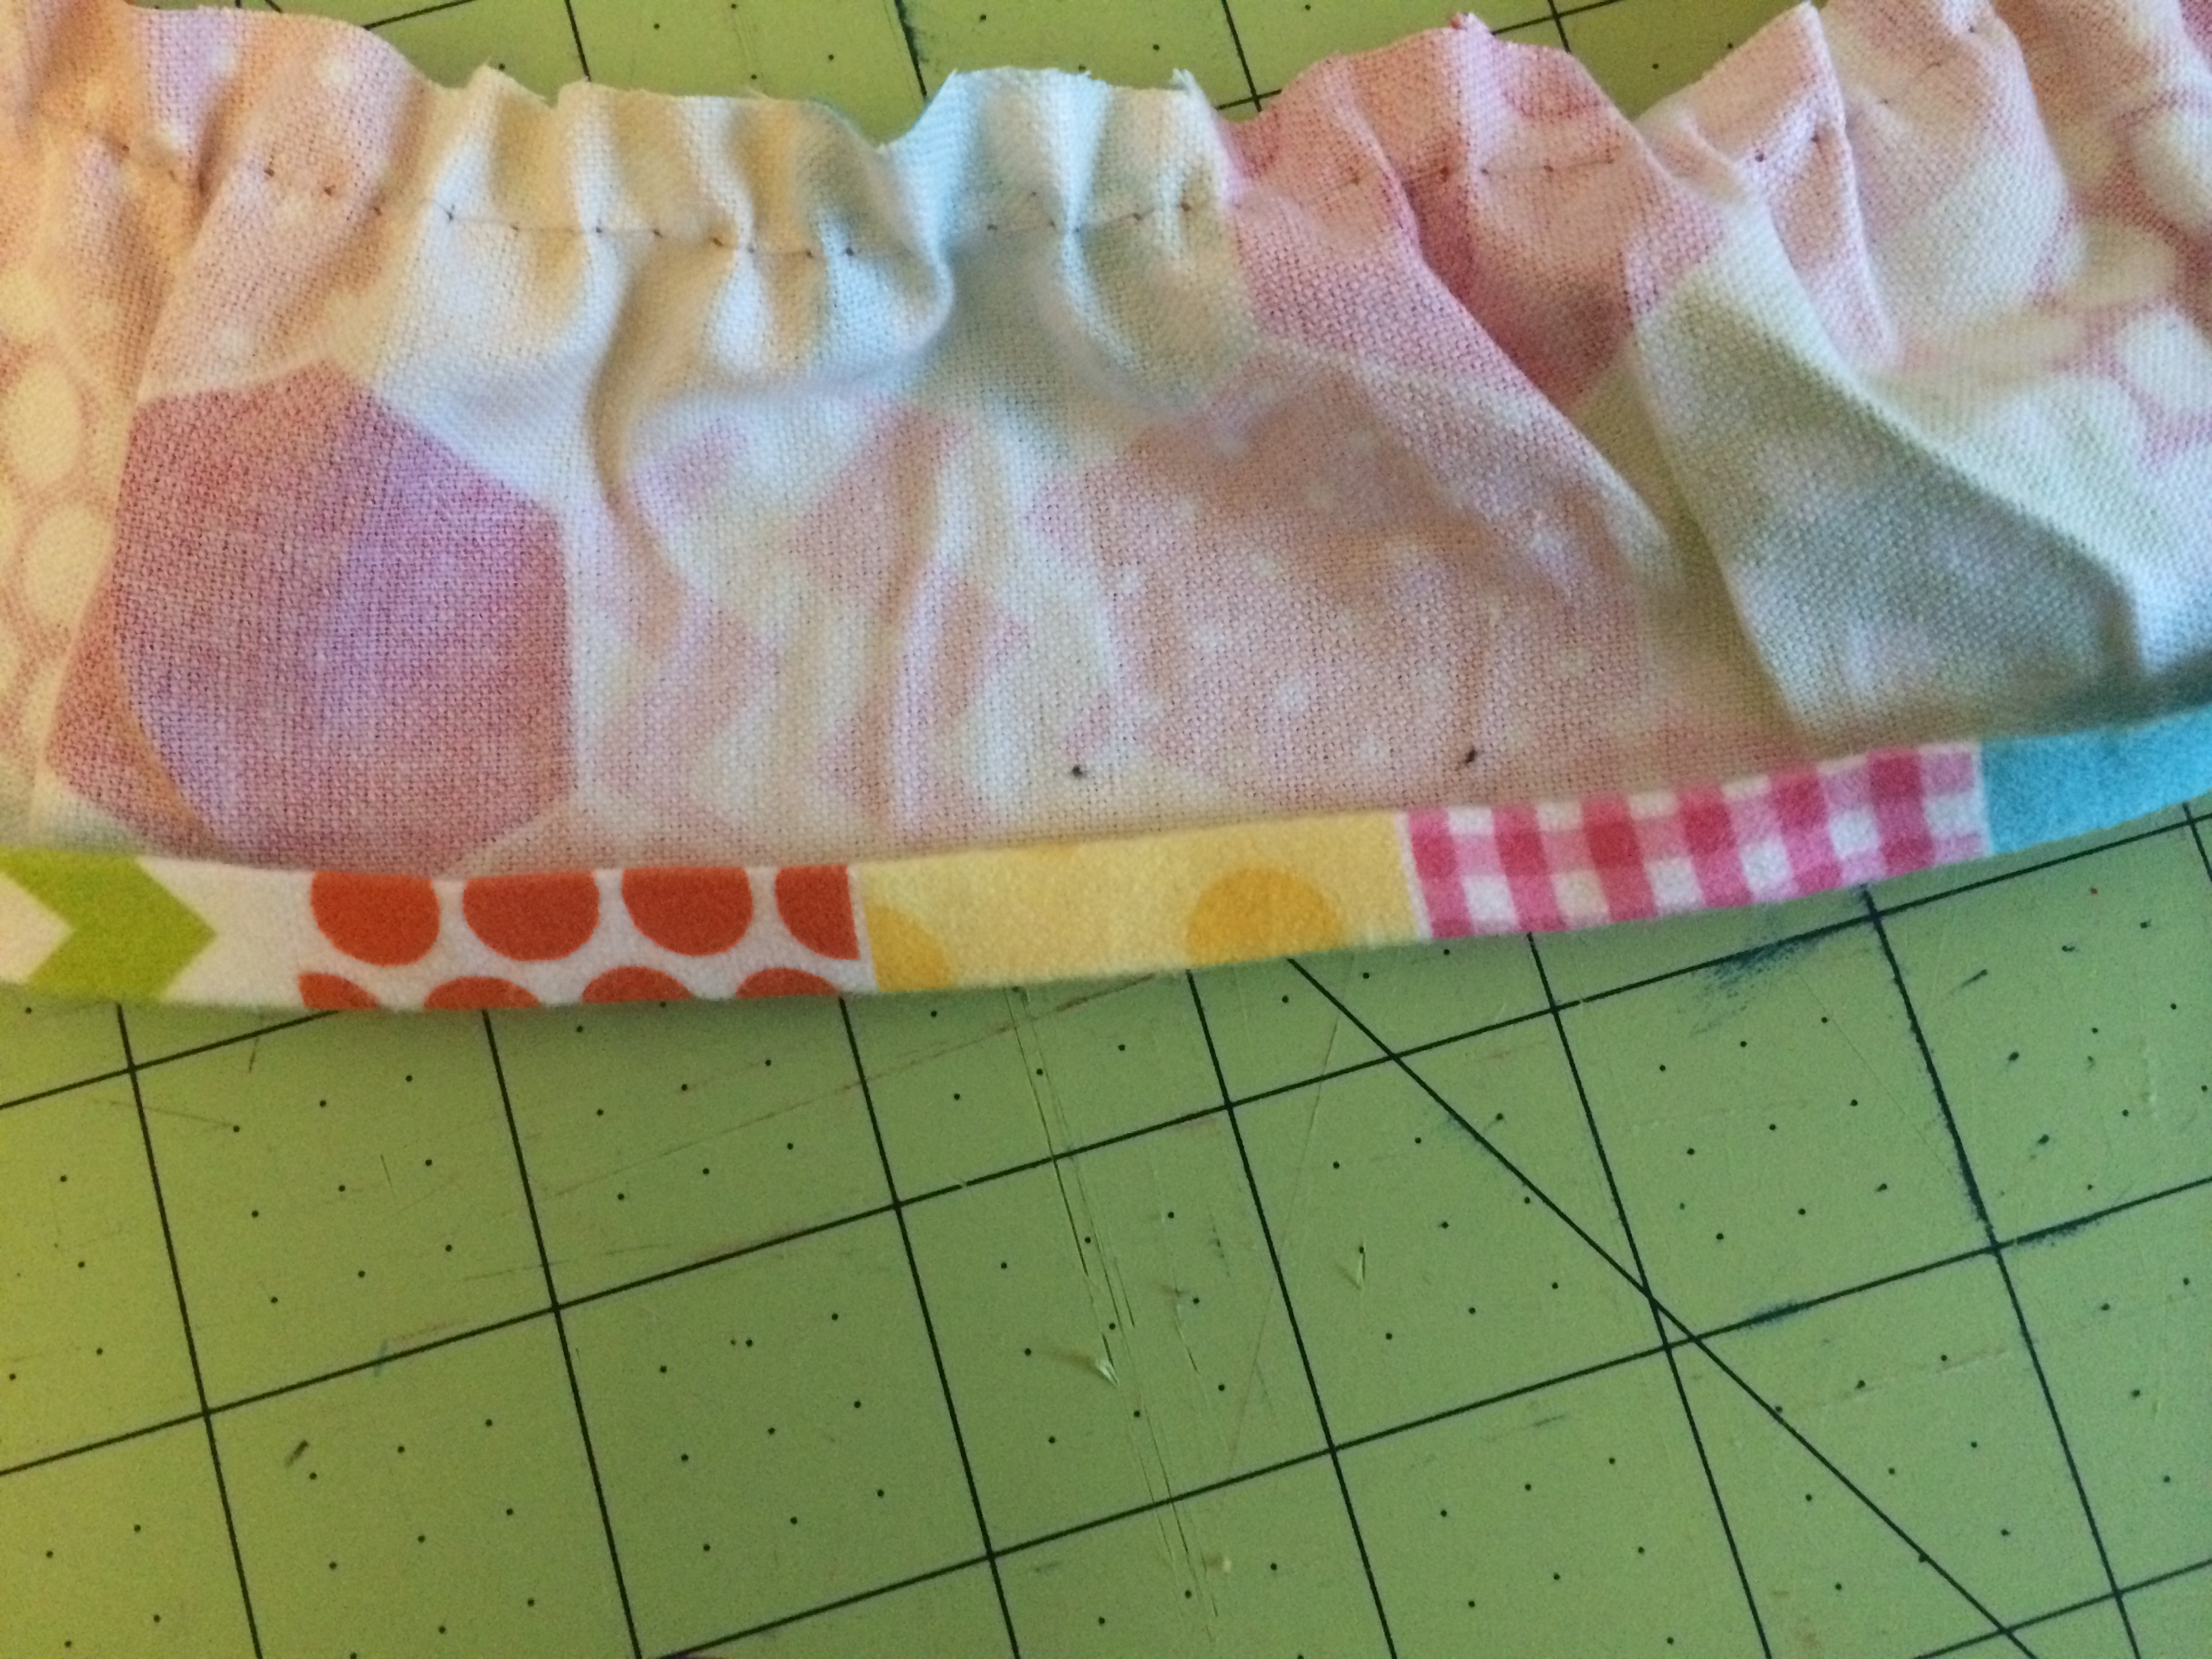
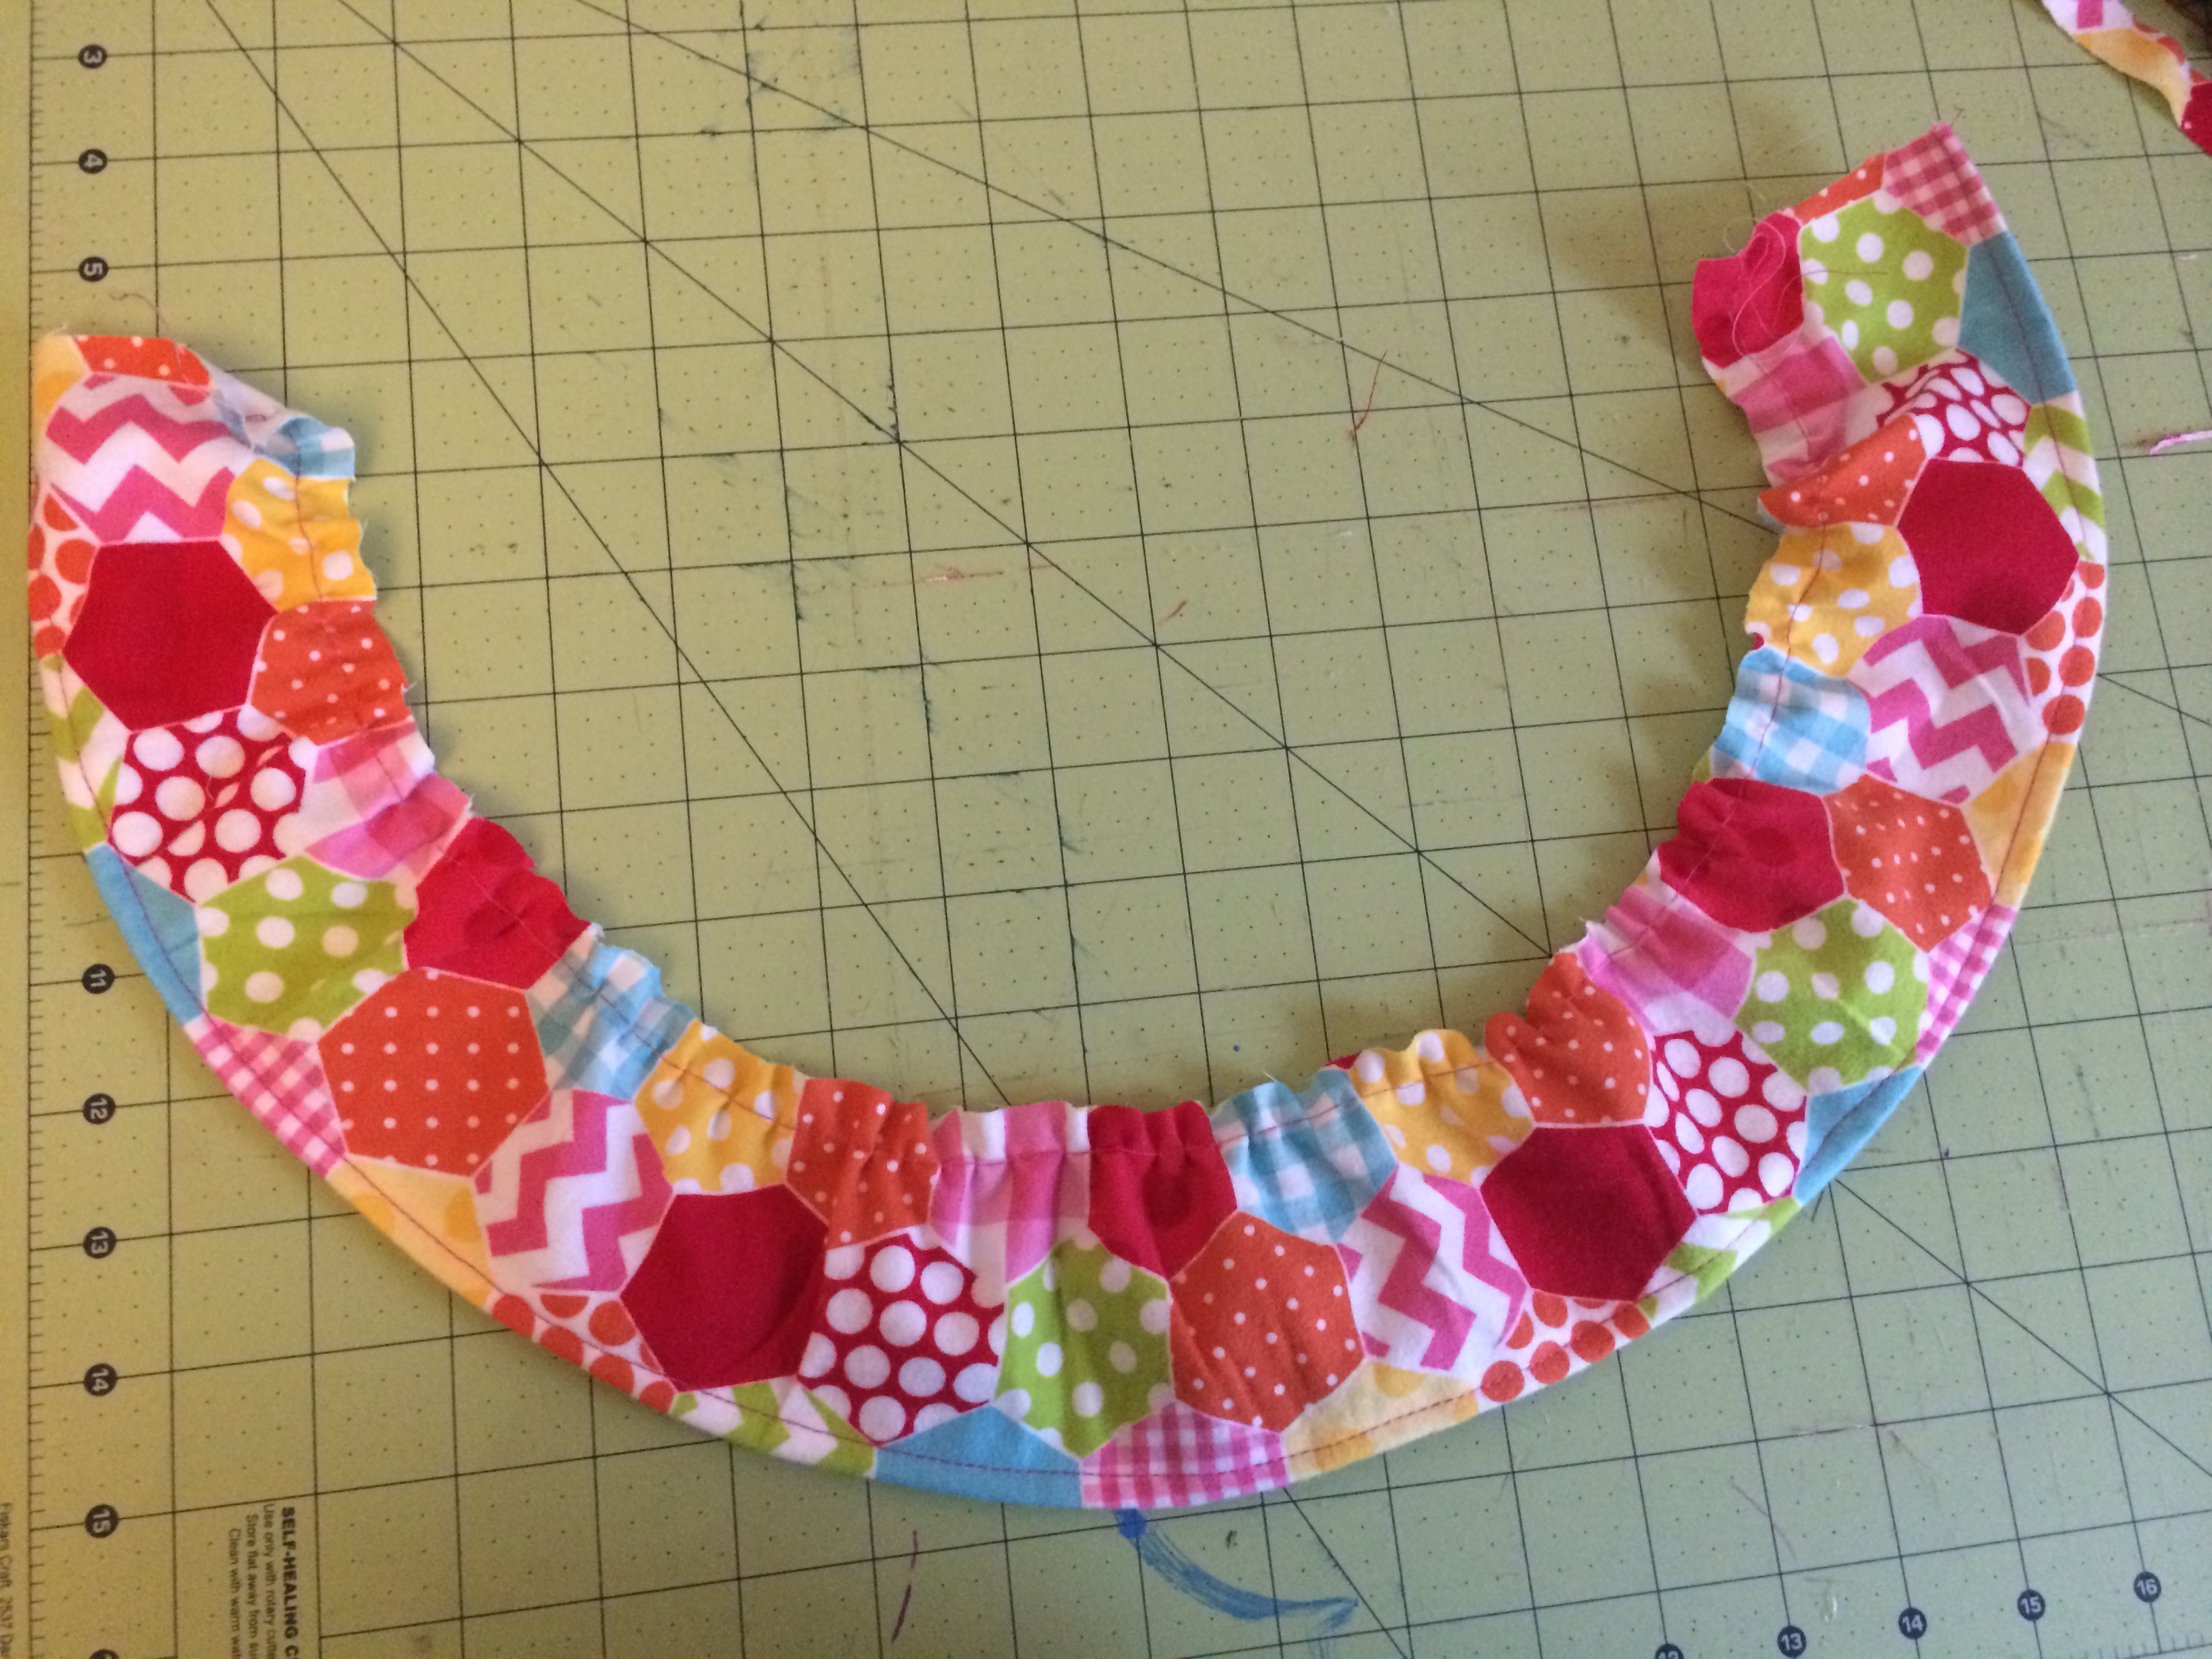

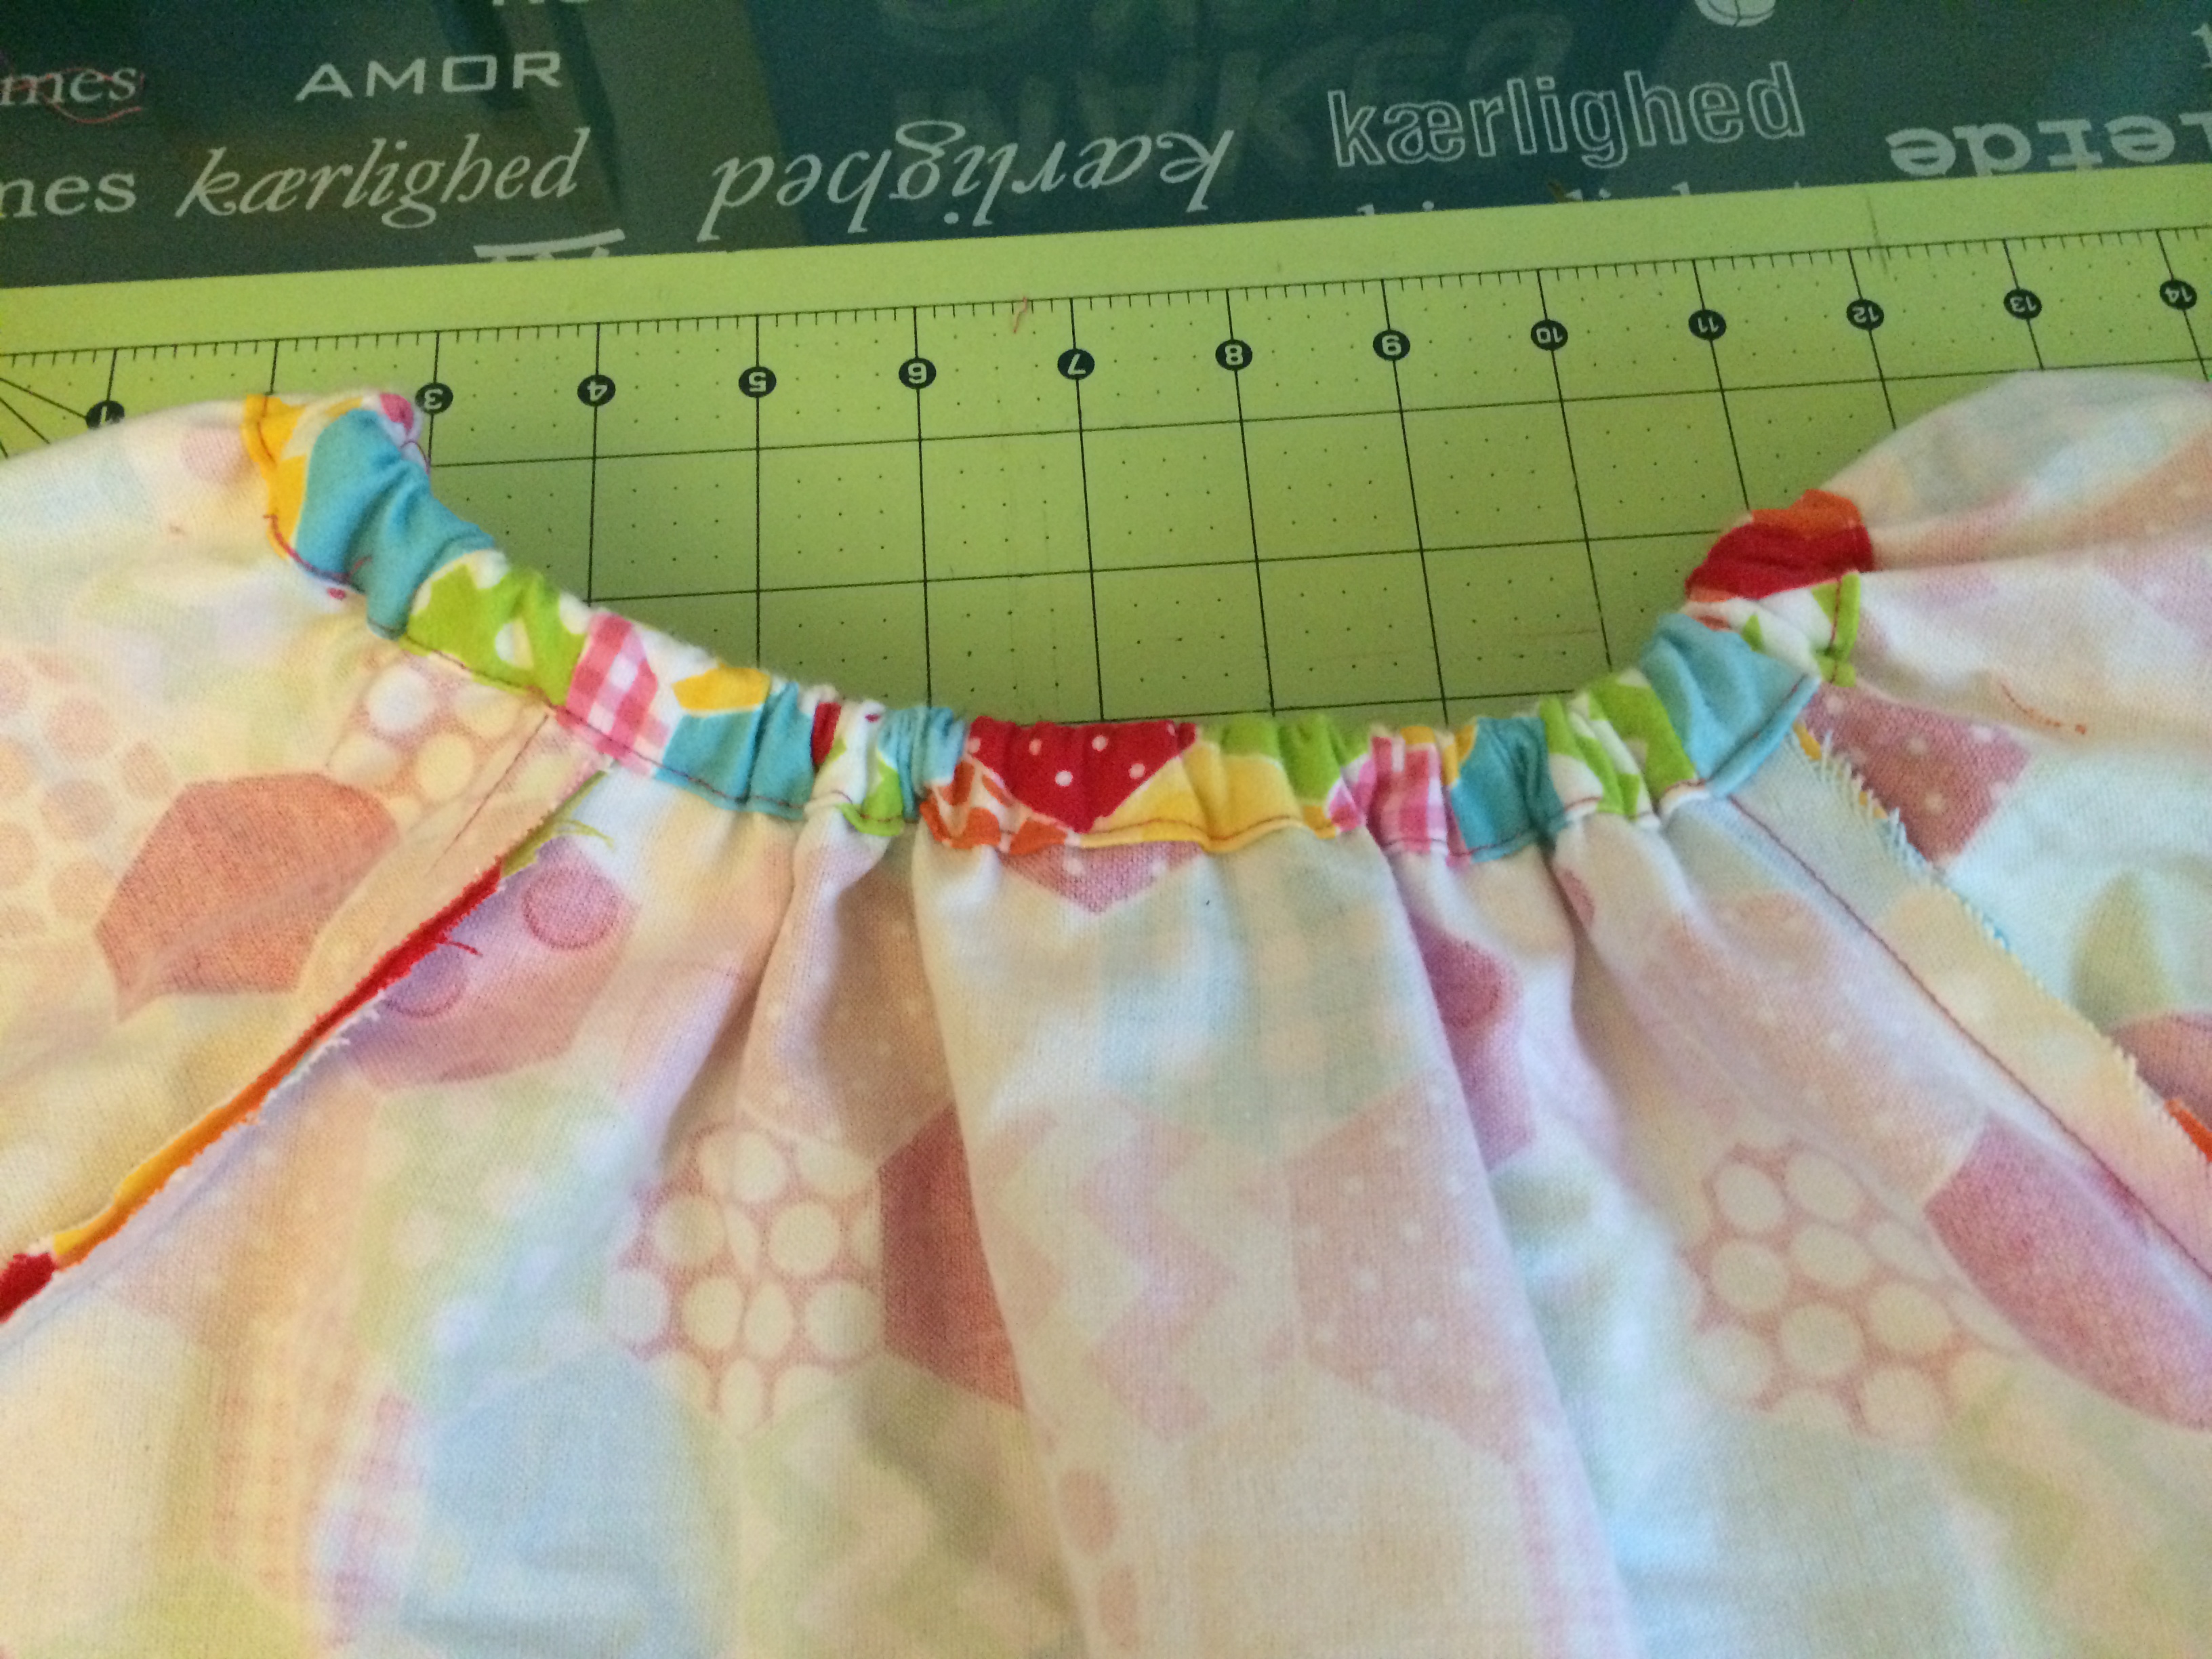
Let’s move onto the sleeves. Fold down 1/4″ and then about 2″. Iron and hem. Take about 6″ of 1/4″ elastic and stitch it on the top of your hem while pulling the elastic. The elastic should be pulled as you are sewing until you reach the end. Repeat for other side.
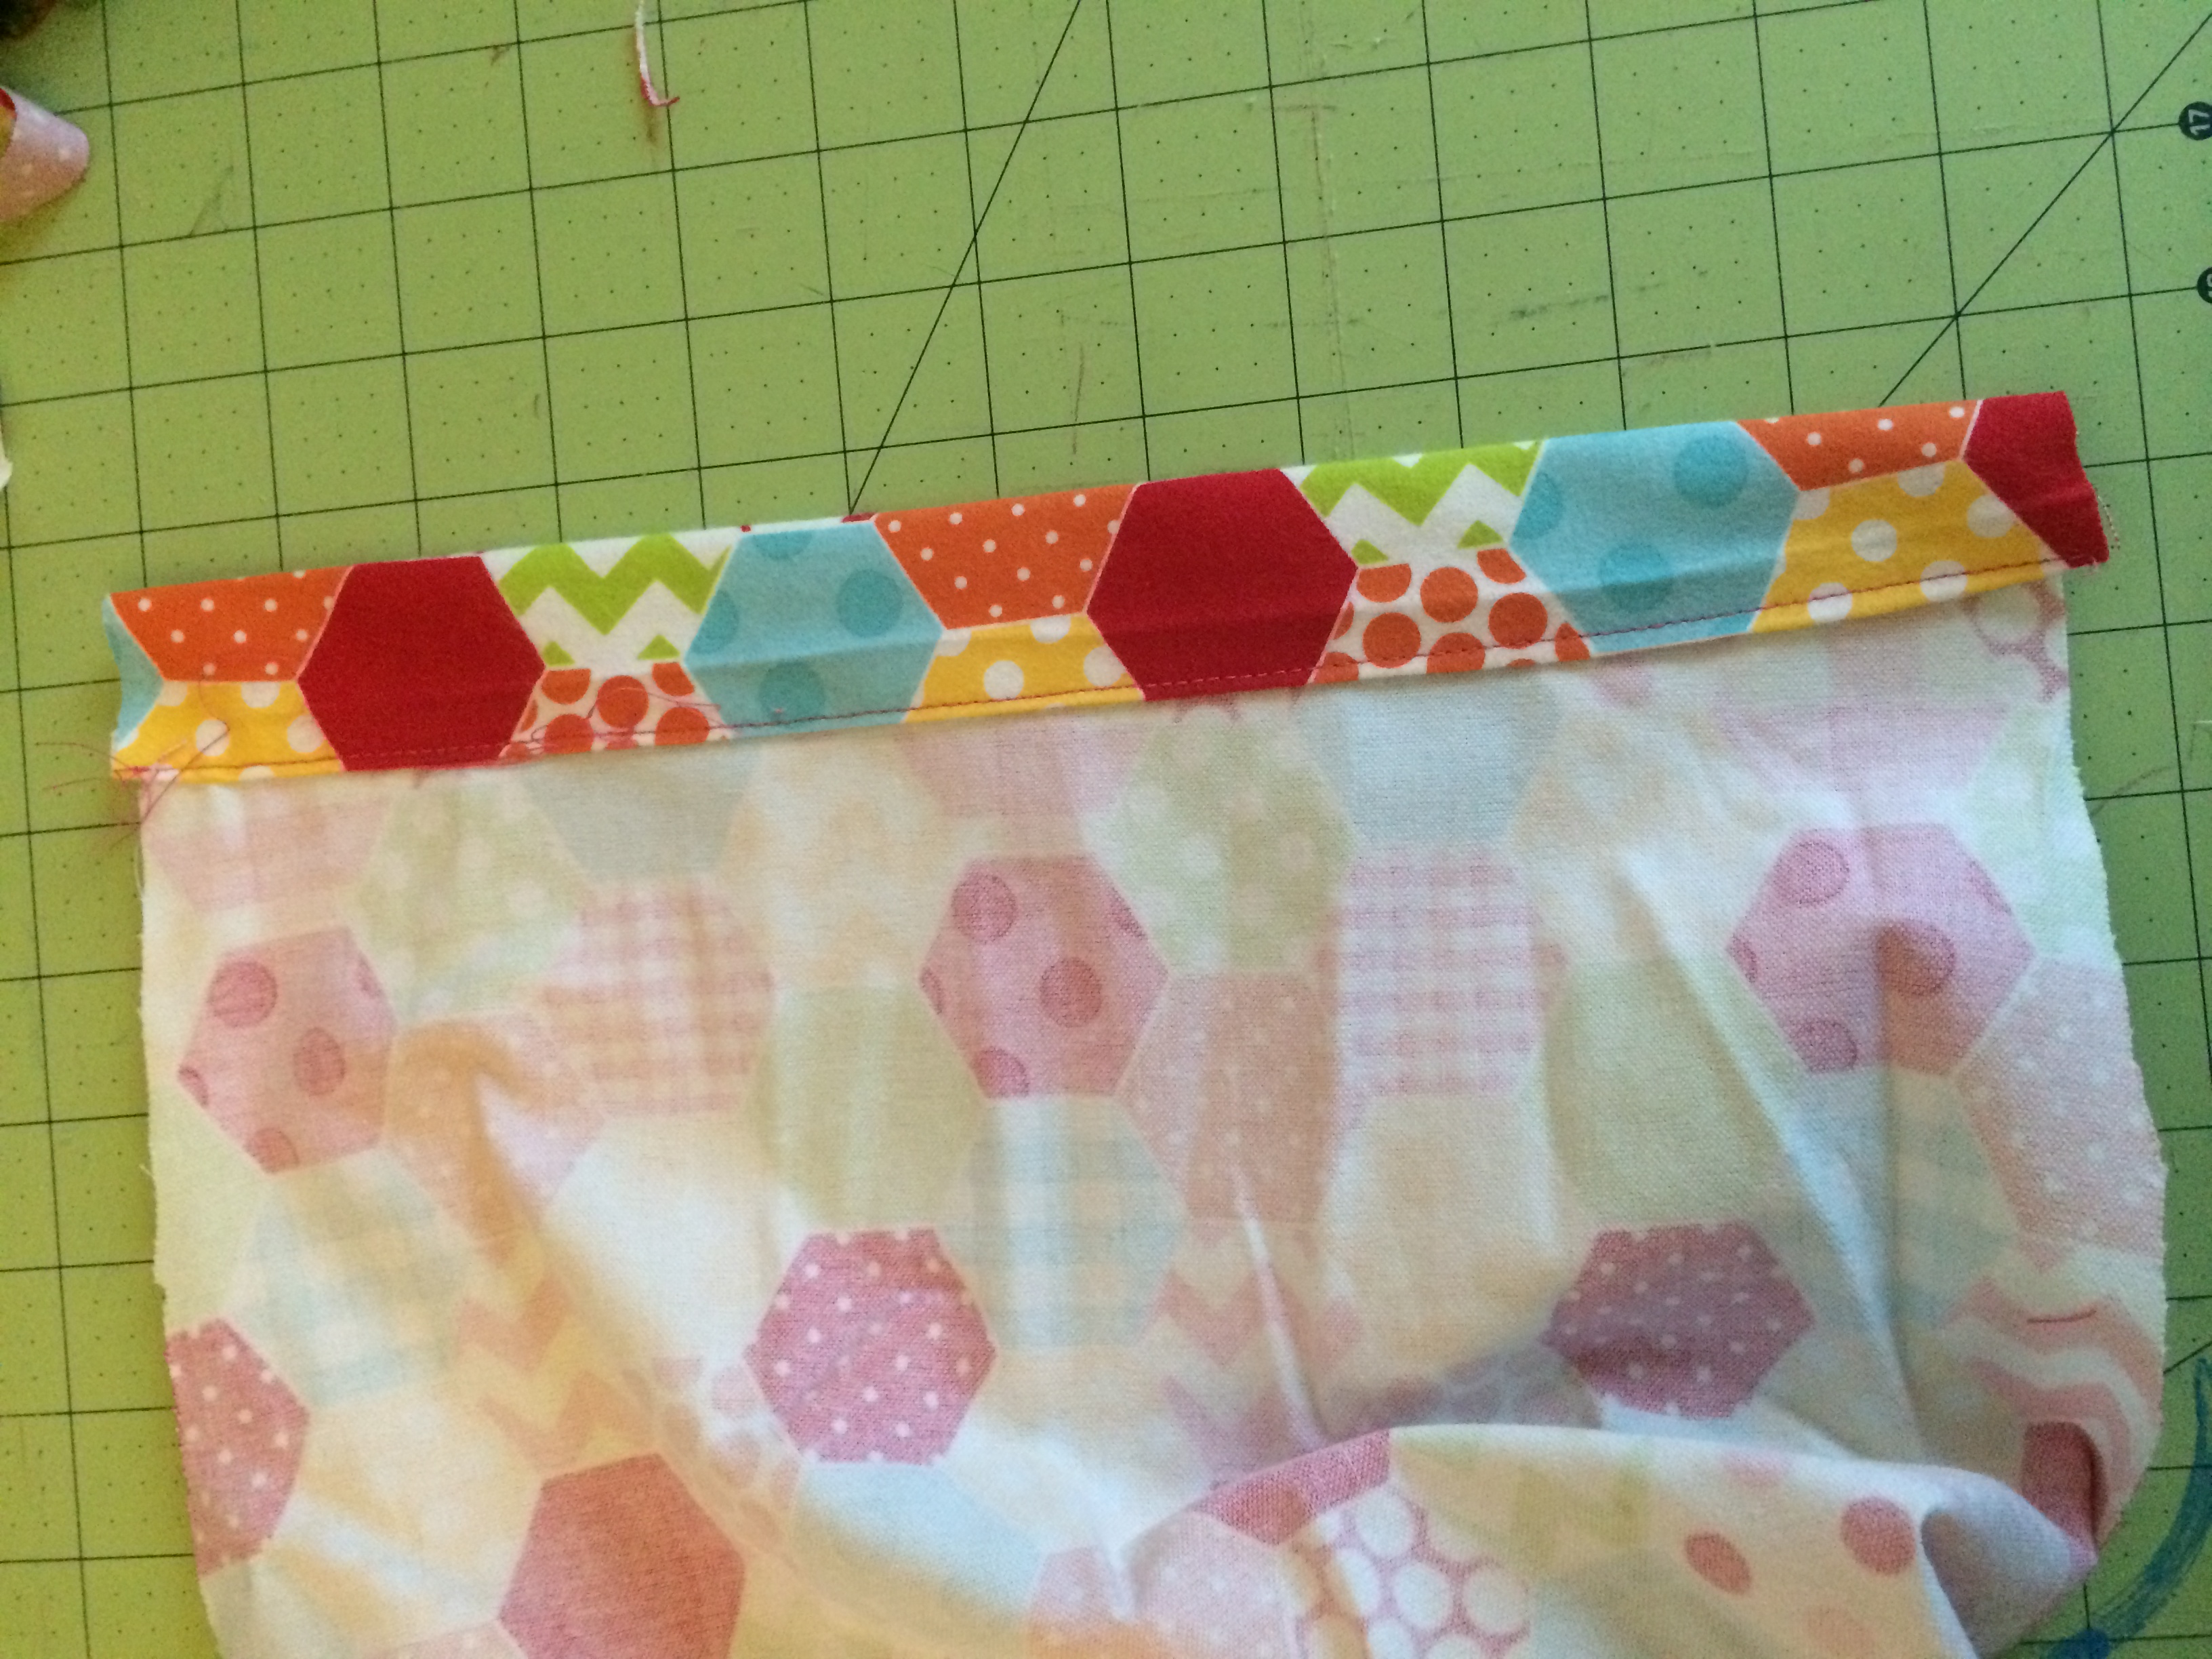
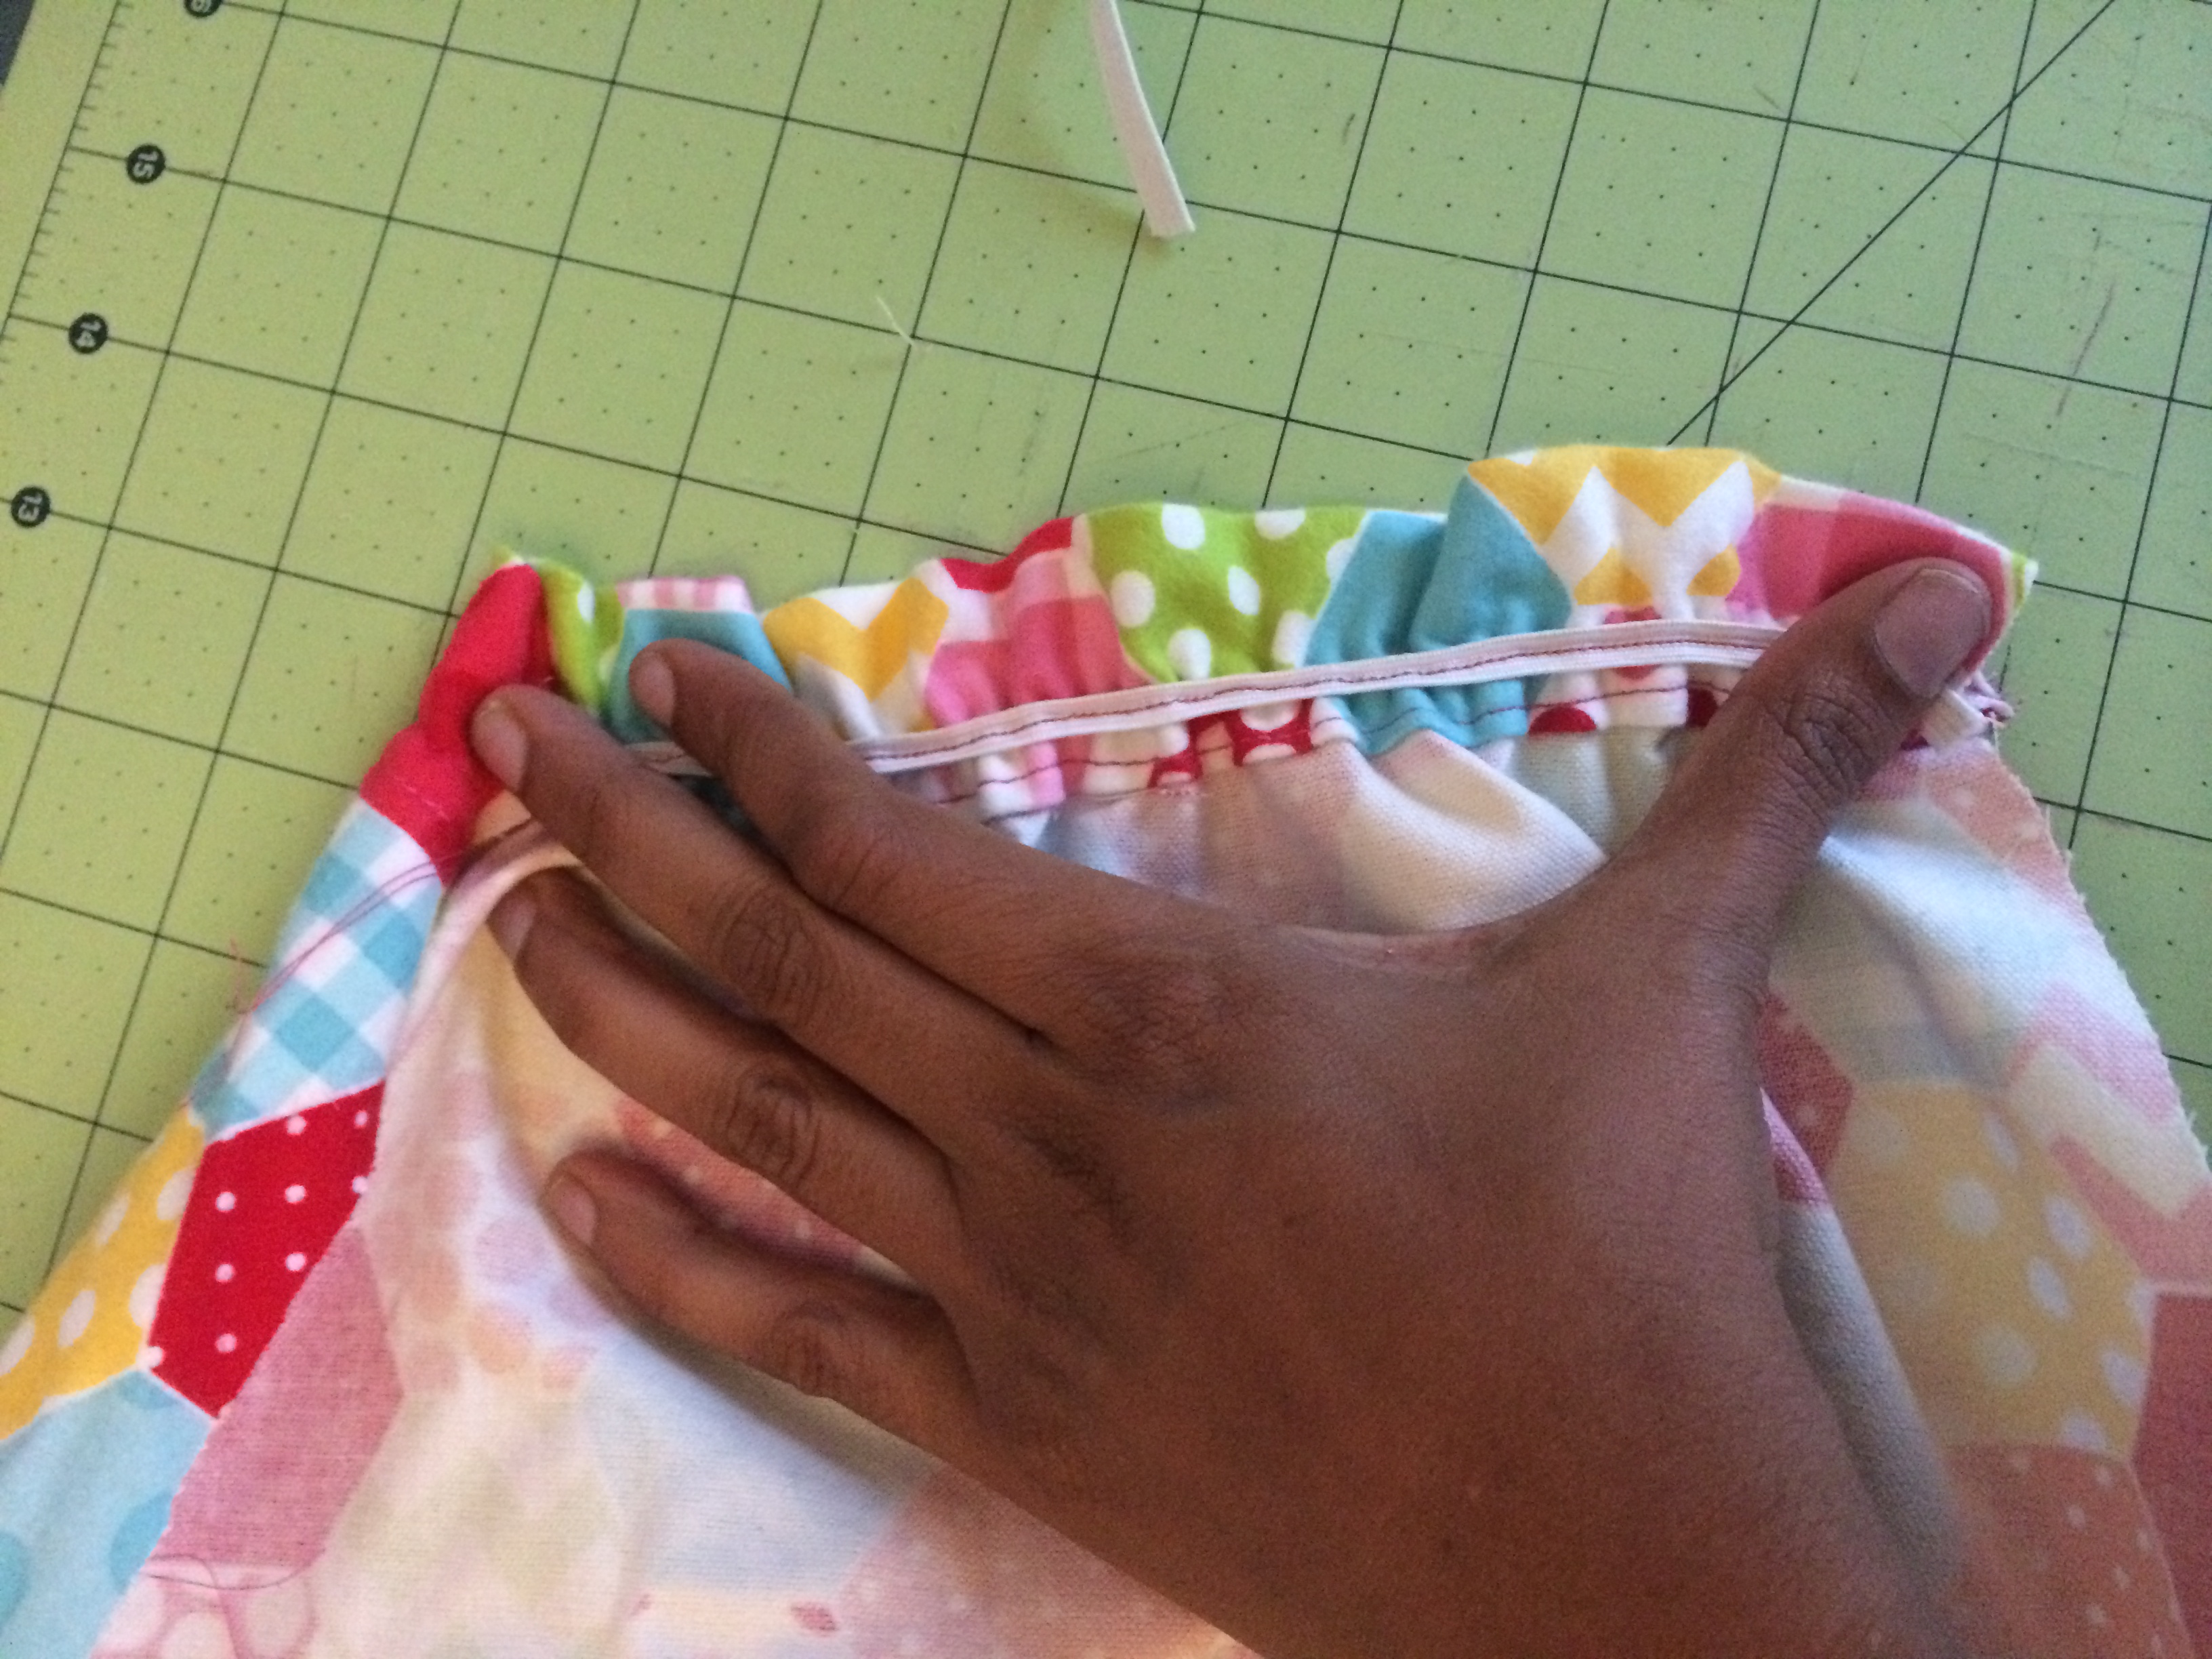
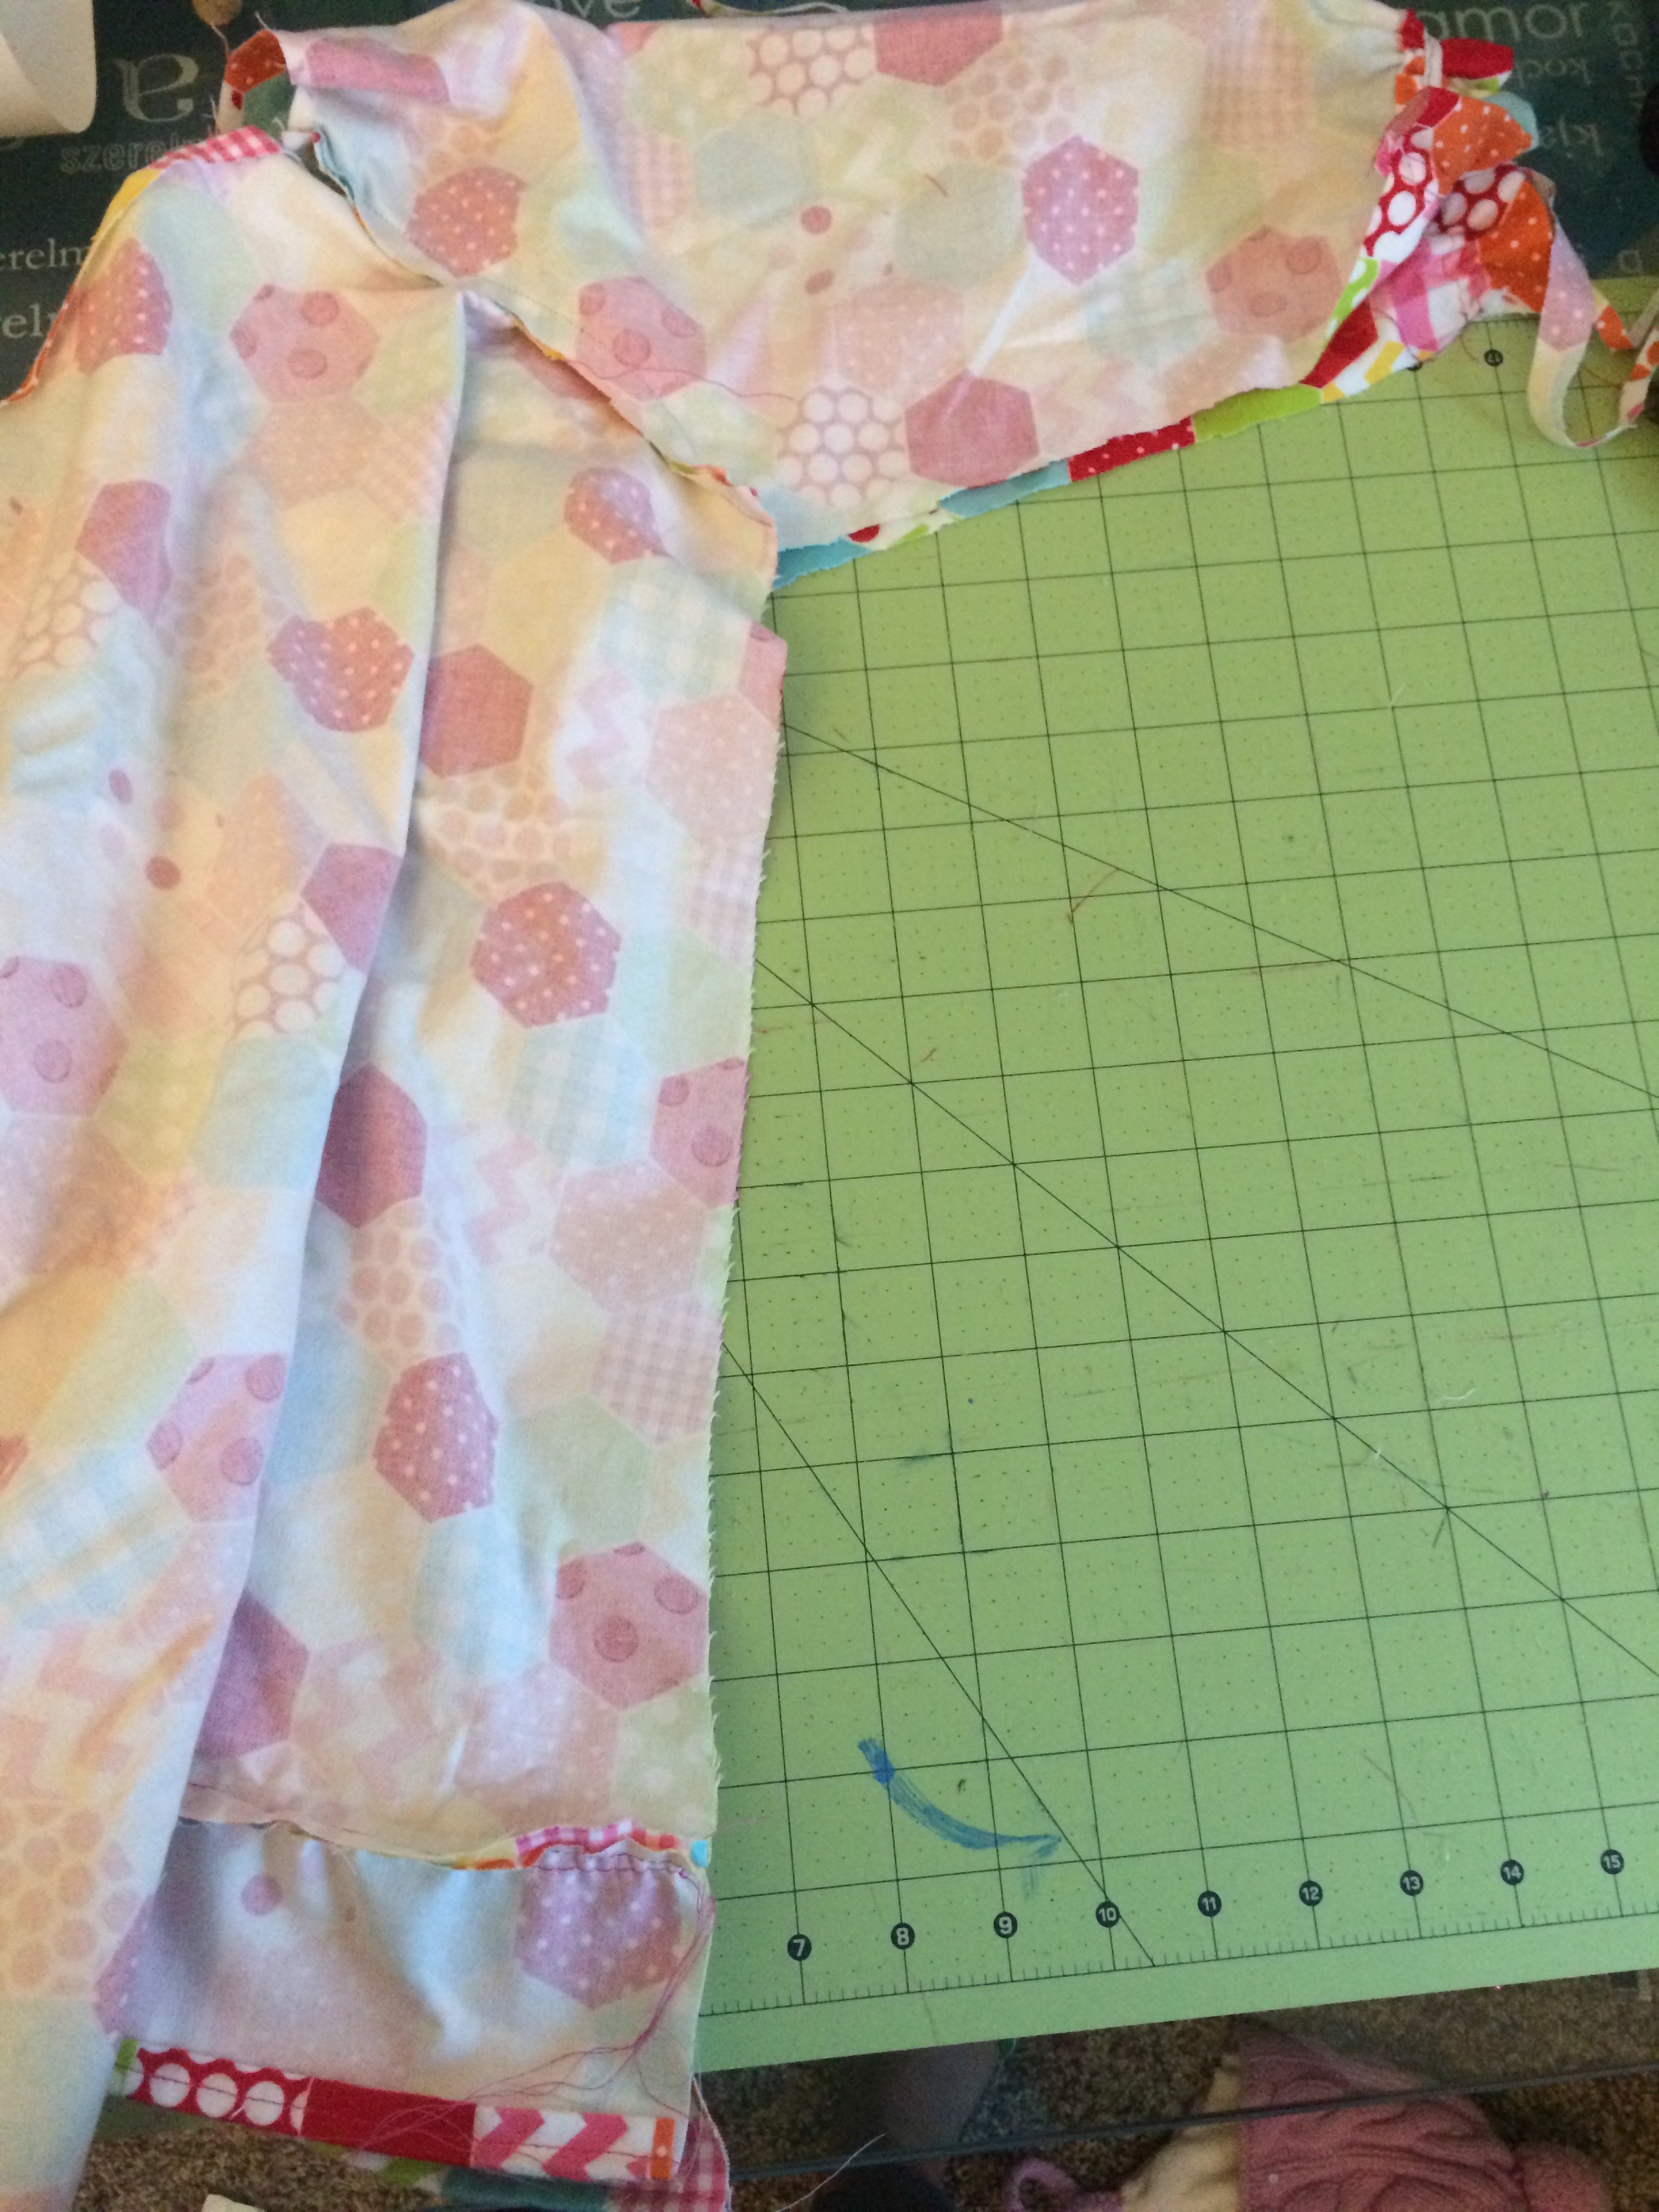
Next, sew from the end of the sleeves all the way down the side of the dress. Repeat for the other side.
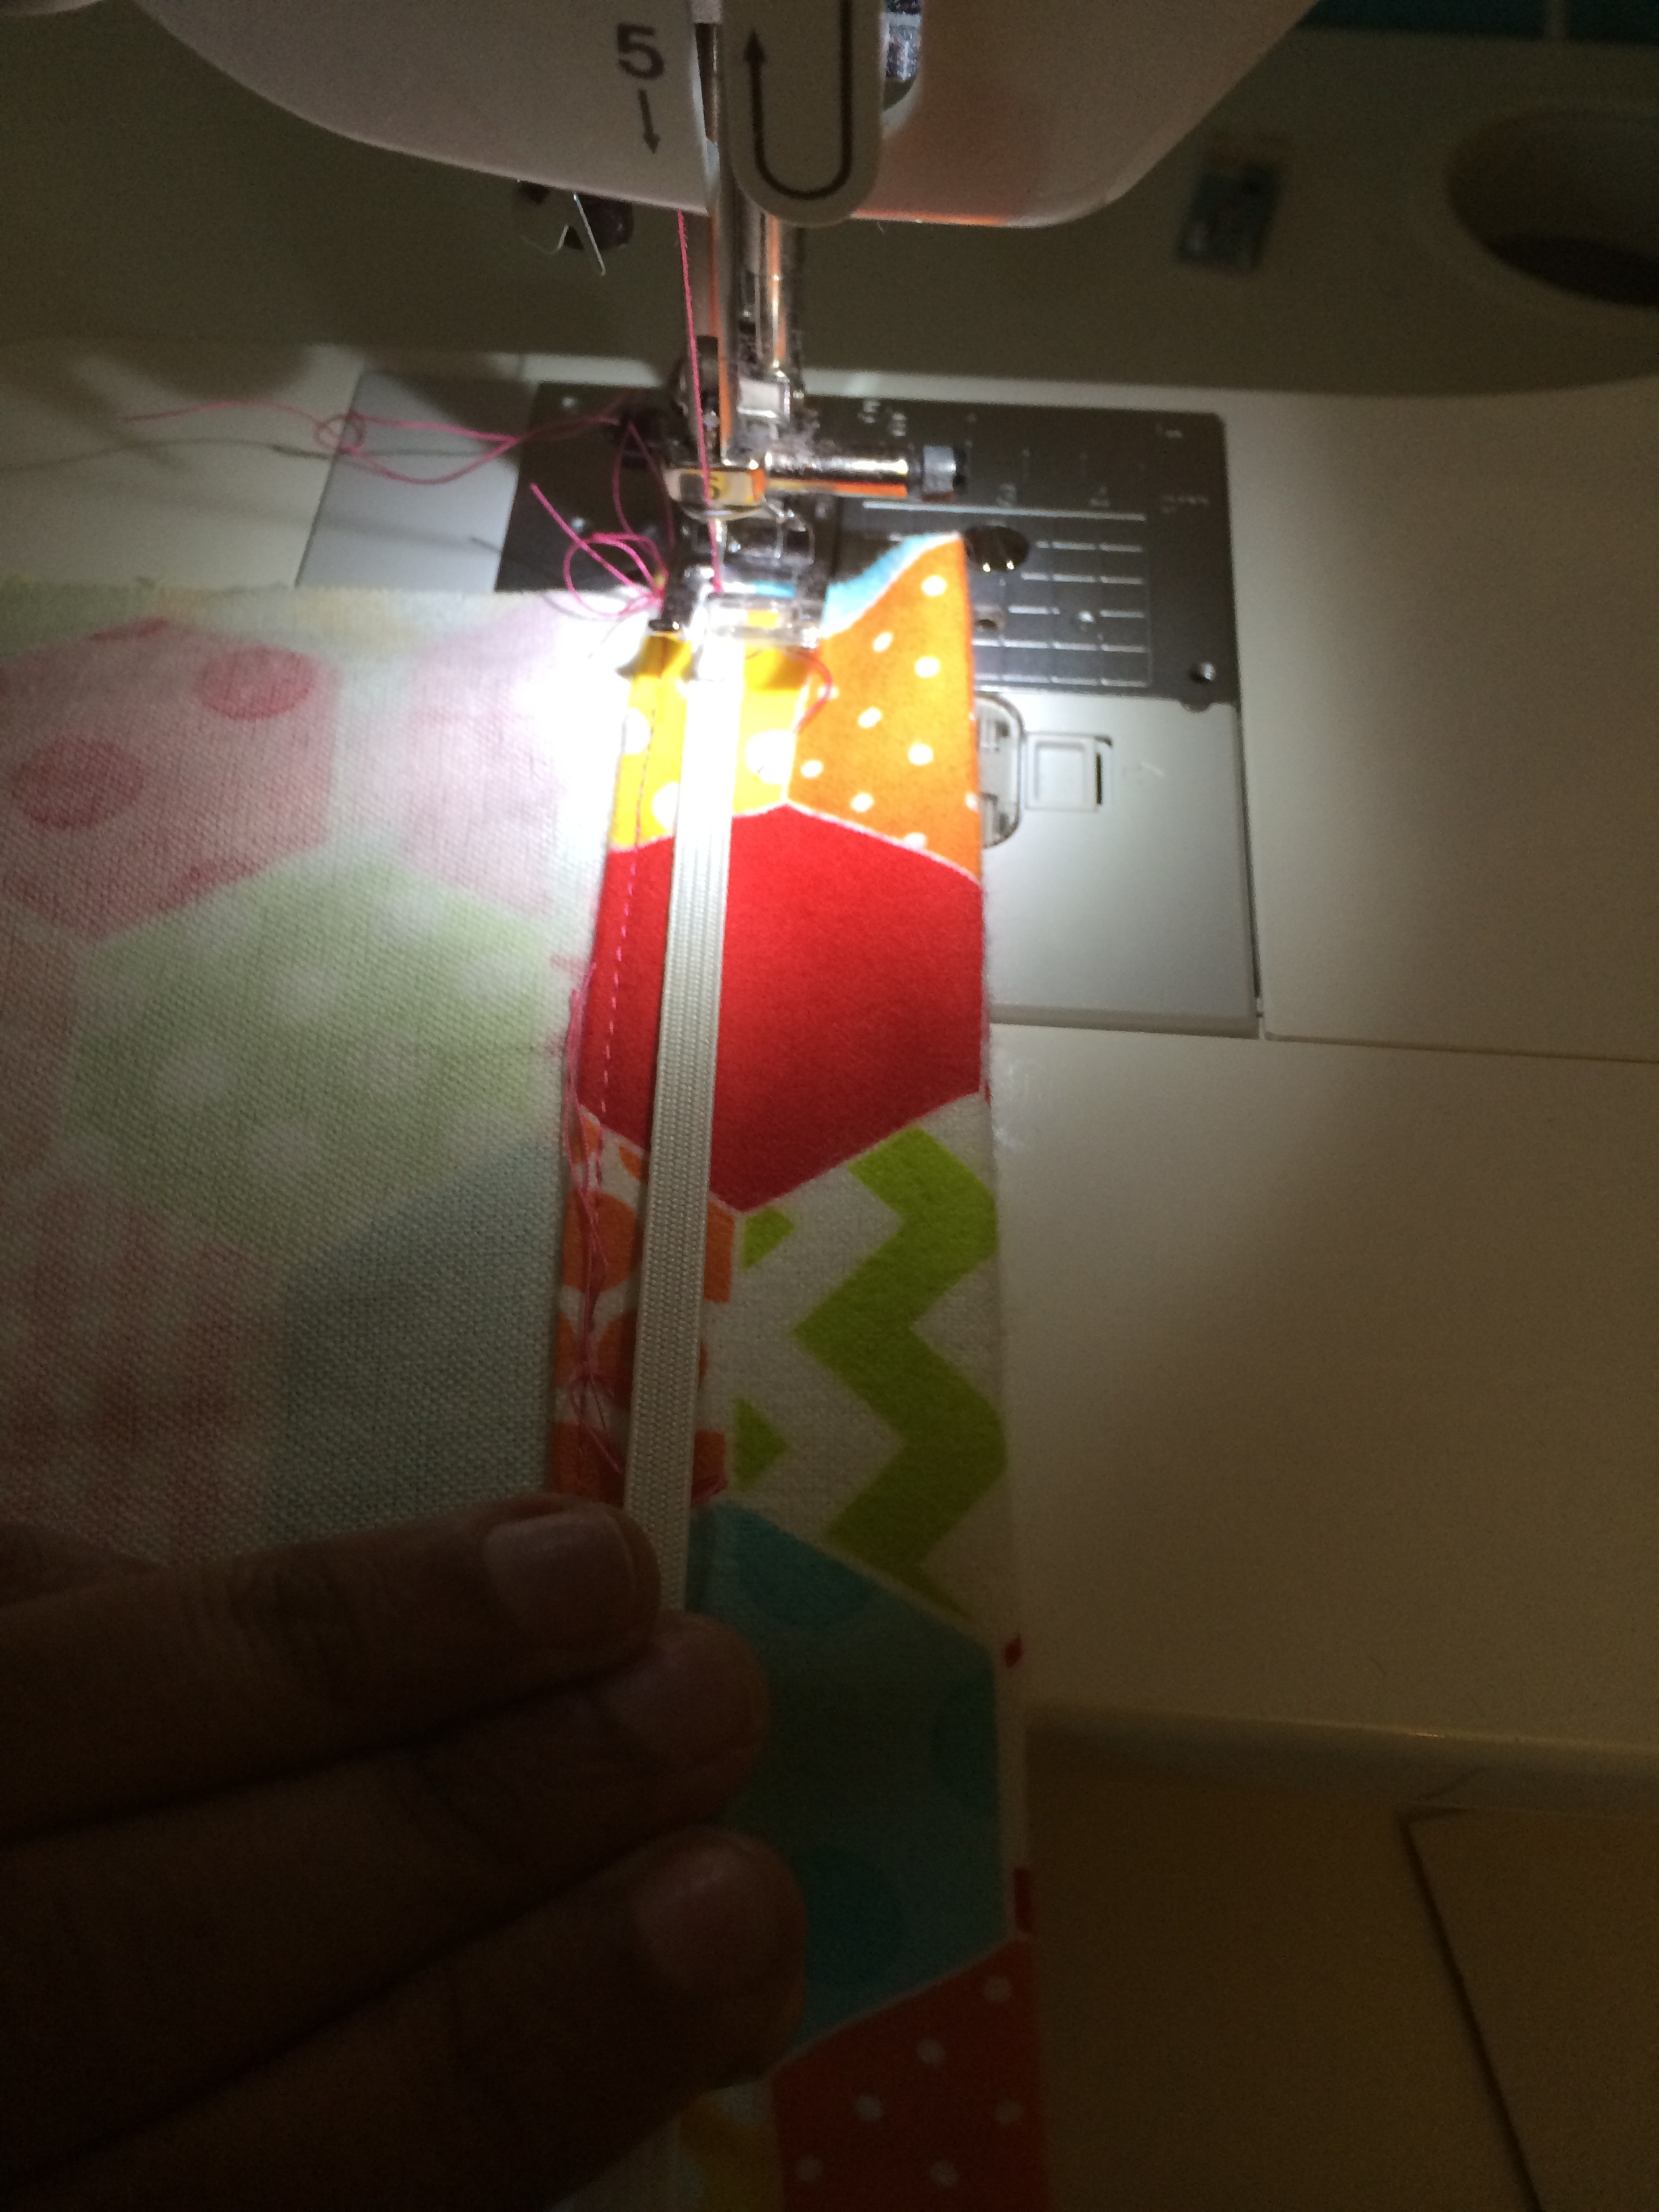
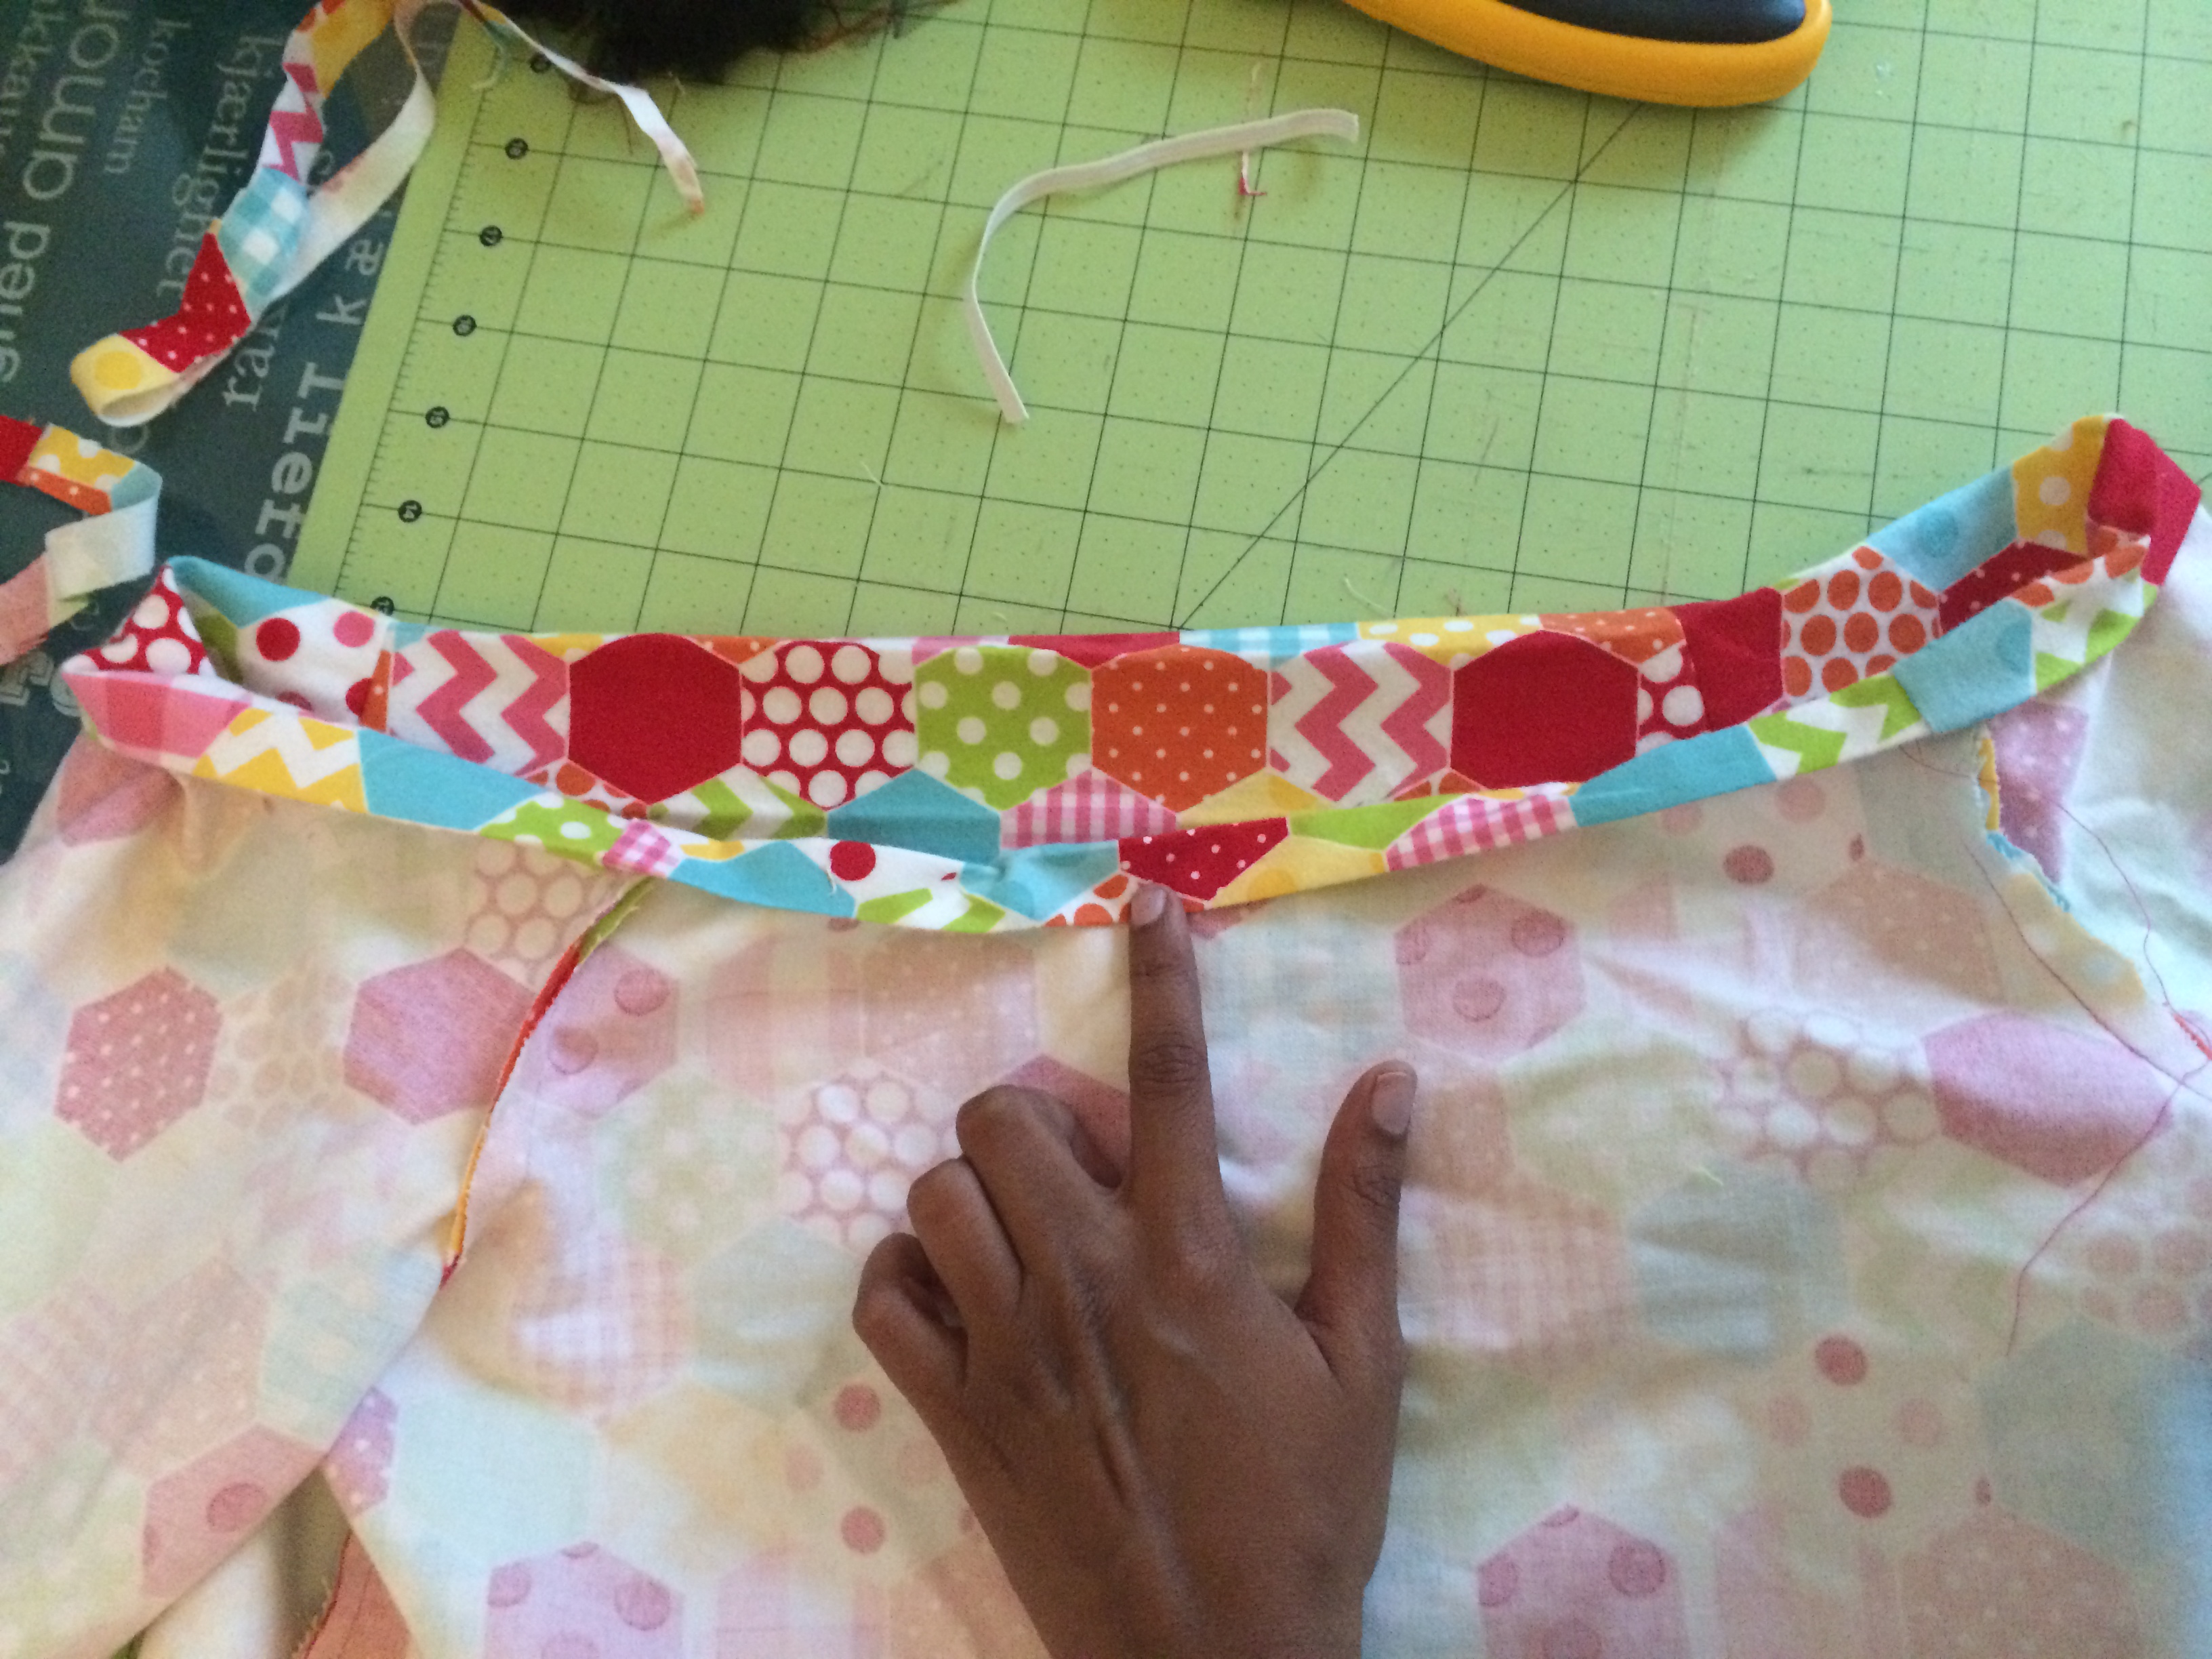
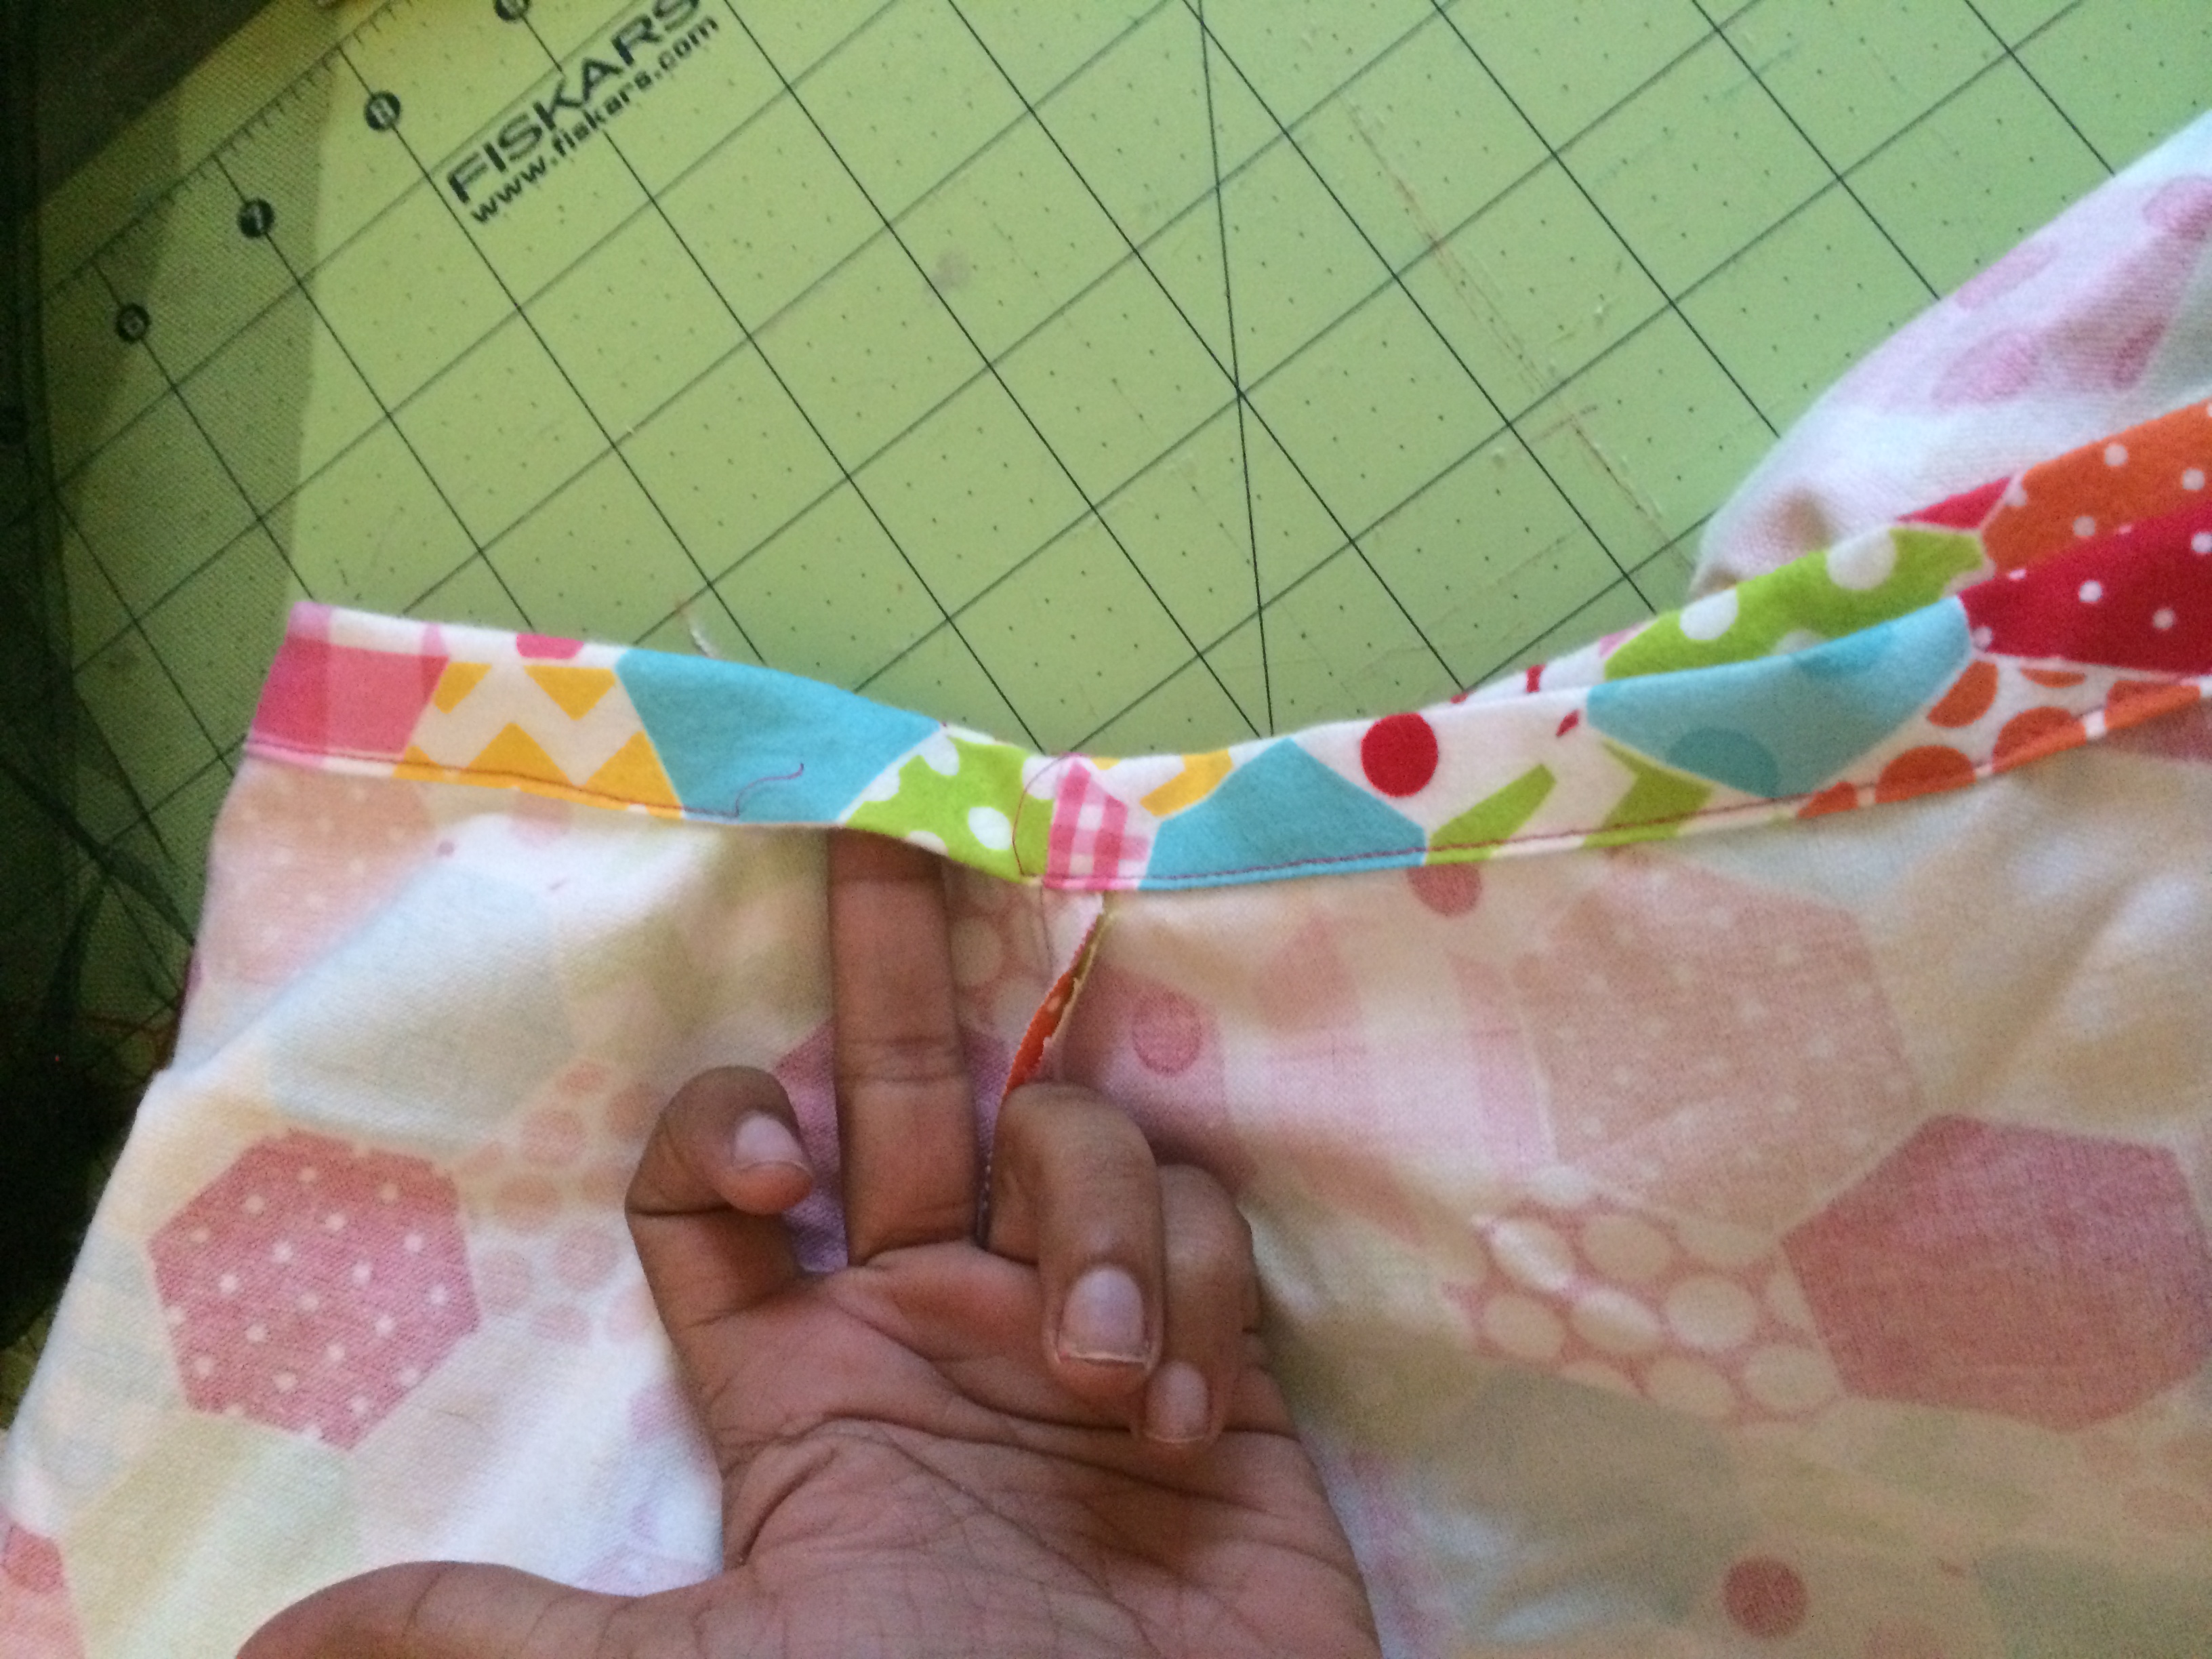
Create a casing on the neck line by folding in 1/4″ and then again about 3/4″. Sew all the way around leaving about 2″ to thread your elastic. Thread elastic and sew the opening close.
That’s it! You are done!

Please visit all the other flannel projects featured in the RBD Flannel Blog Tour! We hope you enjoy and share each project!
9/5 Julia @ Riley Blake Designs
Final Post + Giveaway
Thanks for visiting and Happy Sewing!