Hello Everyone! I have been out of my sewing room for a while due to the passing of my beloved dog, Zeus. This weekend, I decided it was time to do something fun to cheer myself up. What better place to do that than right next to my sewing machine! I have been keeping this old Halloween t-shirt that belongs to my toddler for a while now. It is just too cute to give away. The size is 18-24 months and although the arms and chest fit her 3 year old body just fine, the length is way too short. I found some purple spider cotton fabric in my stash and decided to make her a cute little overlay bubble dress.
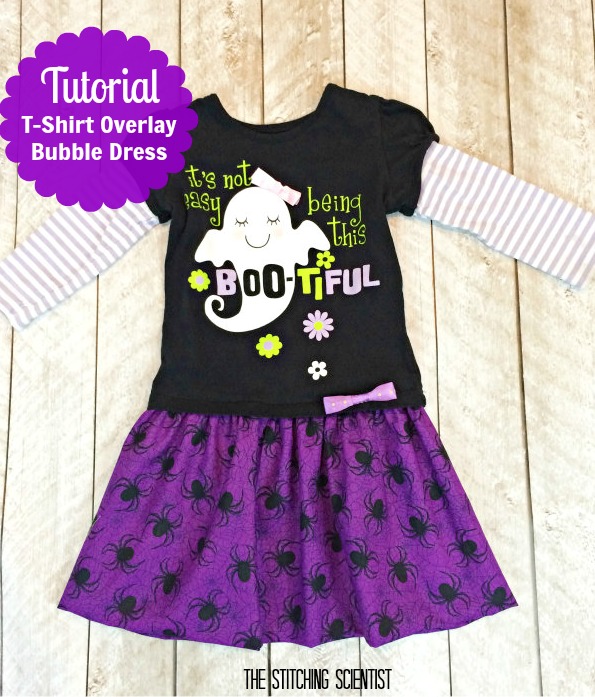
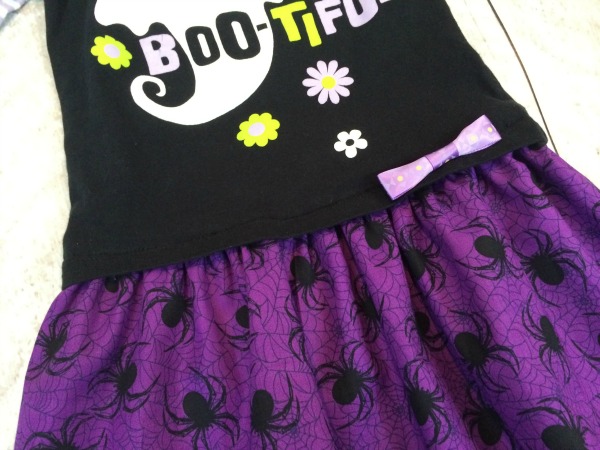
I was debating whether to do an actual tutorial for this dress but I thought, why not! There may be other beginners like myself that want to try this out. The reason why this is called an overlay is because the t-shirt fits over the bottom of the bottom skirt instead of a side by side seam. There is a 1″ overlap of the t-shirt over the skirt.
Your Supplies
An old-t-shirt
1/2 yard of fabric for toddler 2T-3T
Measurement: measure 1″ from the bottom of the t-shirt to about the knee. Take that measurement and multiply it by 2 plus 2″. That will be your length. To get the width, take the waist measurement of your child and multiply by 1.5. If you want it fuller, you can multiply the waist by 2 or 3. My toddler’s waist was 20″ and from the bottom of her shirt to the knees was 8″. My final measurement for the skirt was 18″ long x 30″ wide.
I decided to do a picture tutorial for this post since this is a simple 3 step project. The idea is to fold the bottom piece in two, gather the top after you have folded it, sew the sides together and fit/pin the final skirt under the t-shirt. The last step is to sew all away around about 1″ from the bottom of the t-shirt so that you have a 1″ overlay. Accessorize with a cute bow and your little one is ready to sport her new outfit.

I hope you guys enjoy this simple tutorial. Thanks for visiting and Happy Sewing.