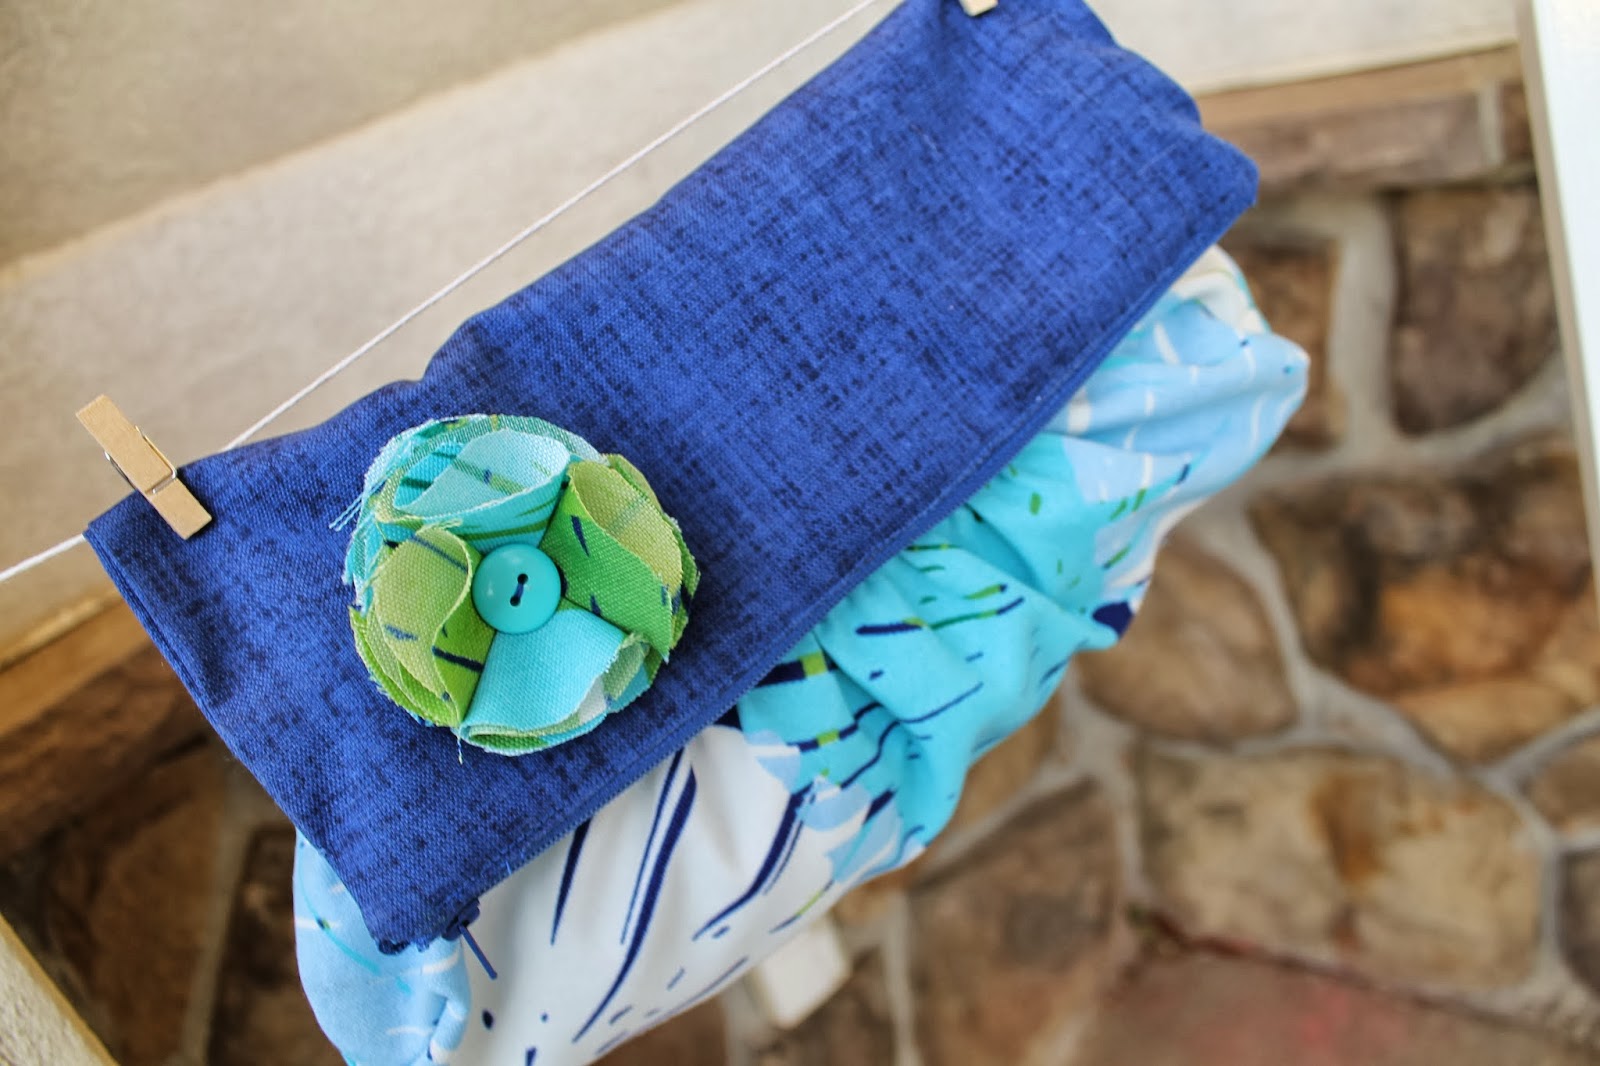
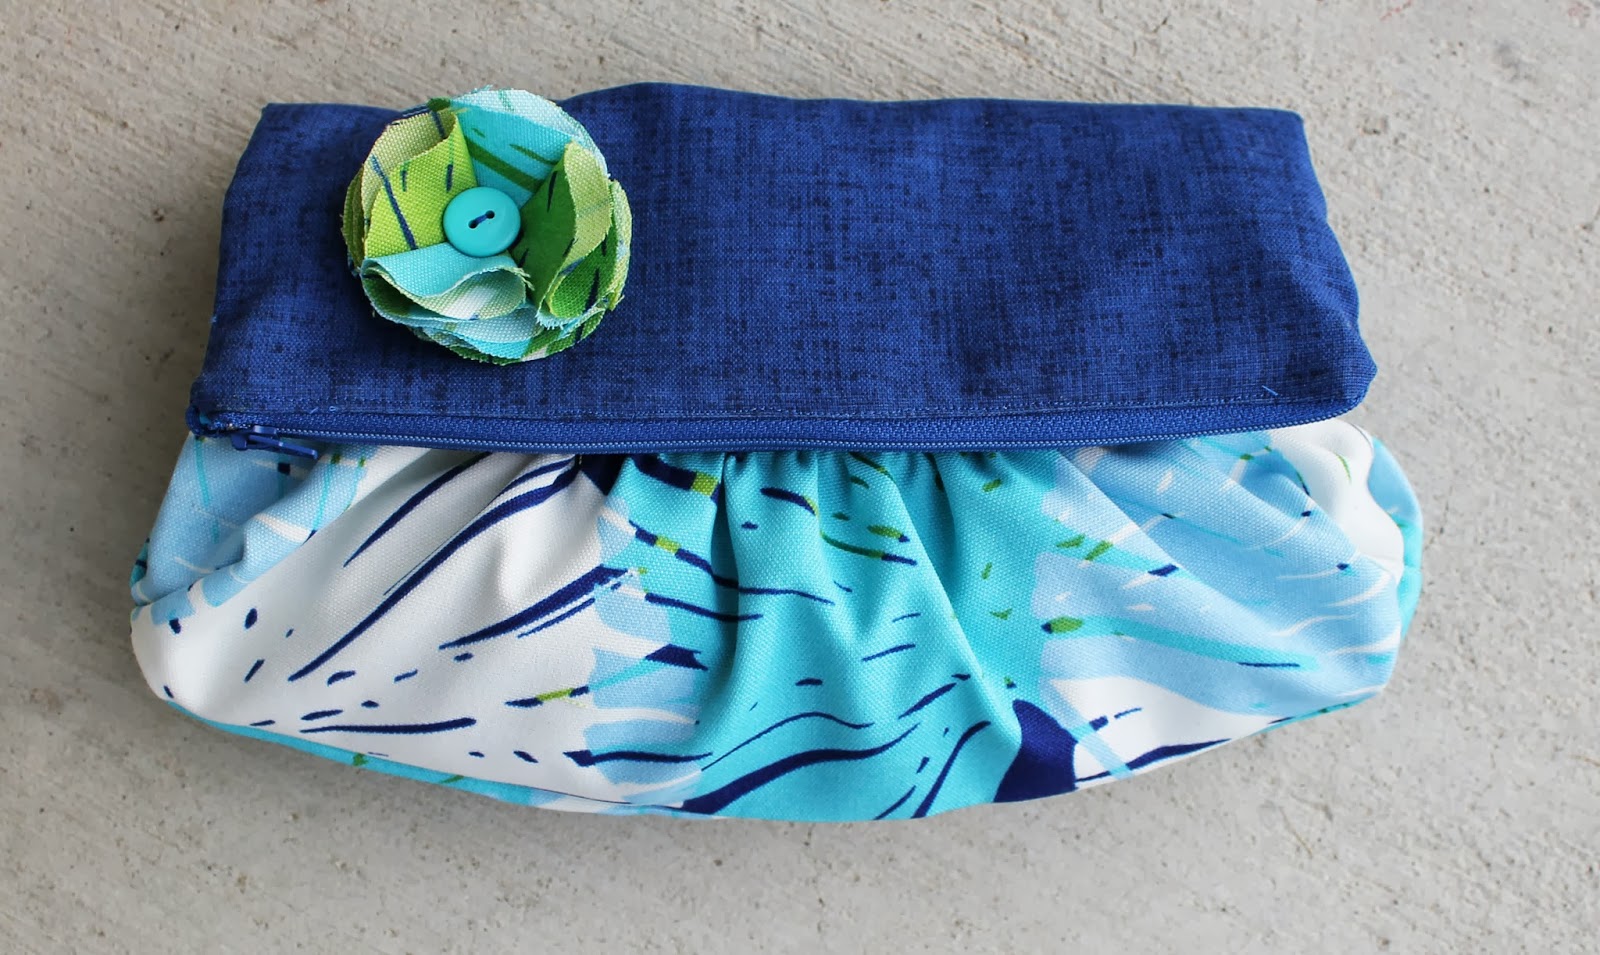
This was one of the projects taught at Sewing Summit this year. It was one of my favorite classes so I thought I would share it with you. The tutorial was given by Alessandra Gutierrez from Tribal Times. Check out her blog for sewing classes, project tutorials, finished product sales etc. She was such a good speaker at Sewing Summit. I can’t wait to one day be able to meet her again. Her fold over clutch comes from a simple rectangular clutch pattern with the bottom half being gathered. Here is what Alessandra’s clutch on her blog looks like. I wish I had better skills at coordinating fabric the way she does! For mine, I used a dark navy blue home decor fabric for the top with a light blue and white floral for the bottom. I ended up buying 1/4 yard of each which left me with enough to make one more bag that I can give as a gift. This tutorial is beginner friendly. Alessandra really made it look simple in her class. The project can be done in under an hour.


Step 1
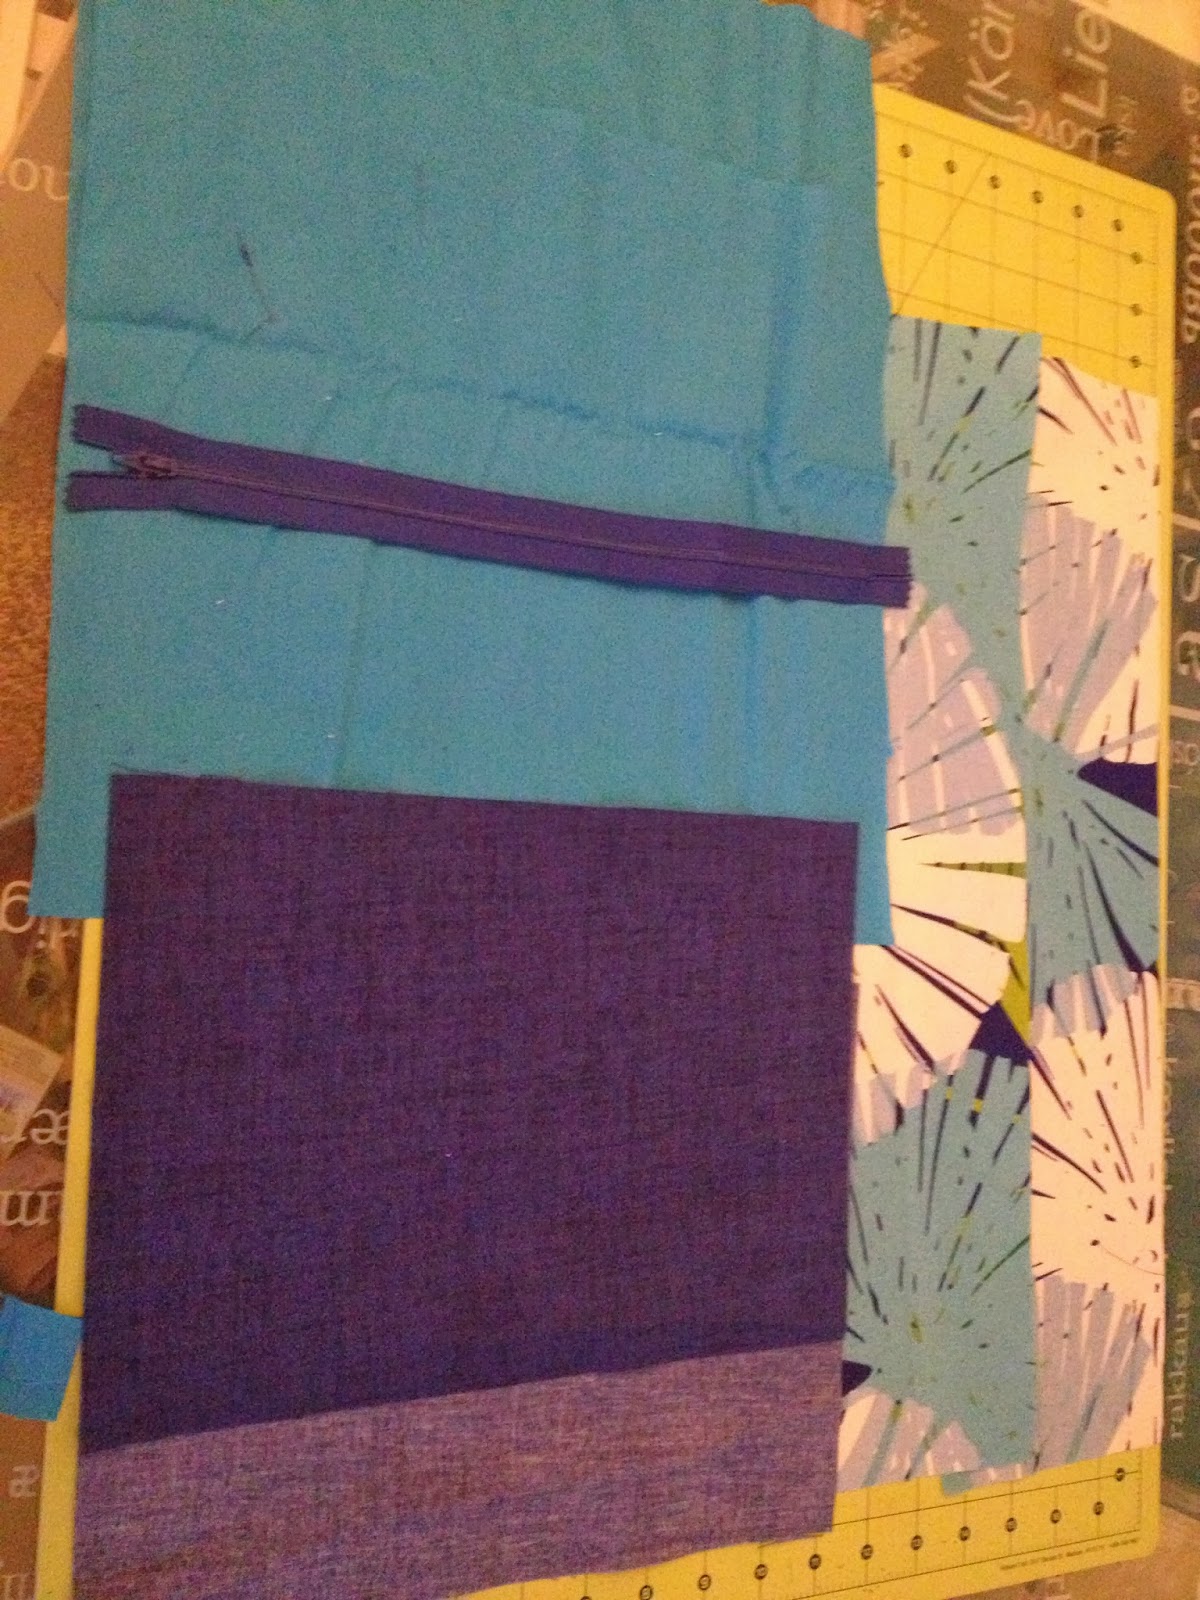
Cut out all your pieces as indicated in the layout above.
Step 2
Put your stitch length to the longest on your machine and sew to lines on the long side of your bottom pieces.

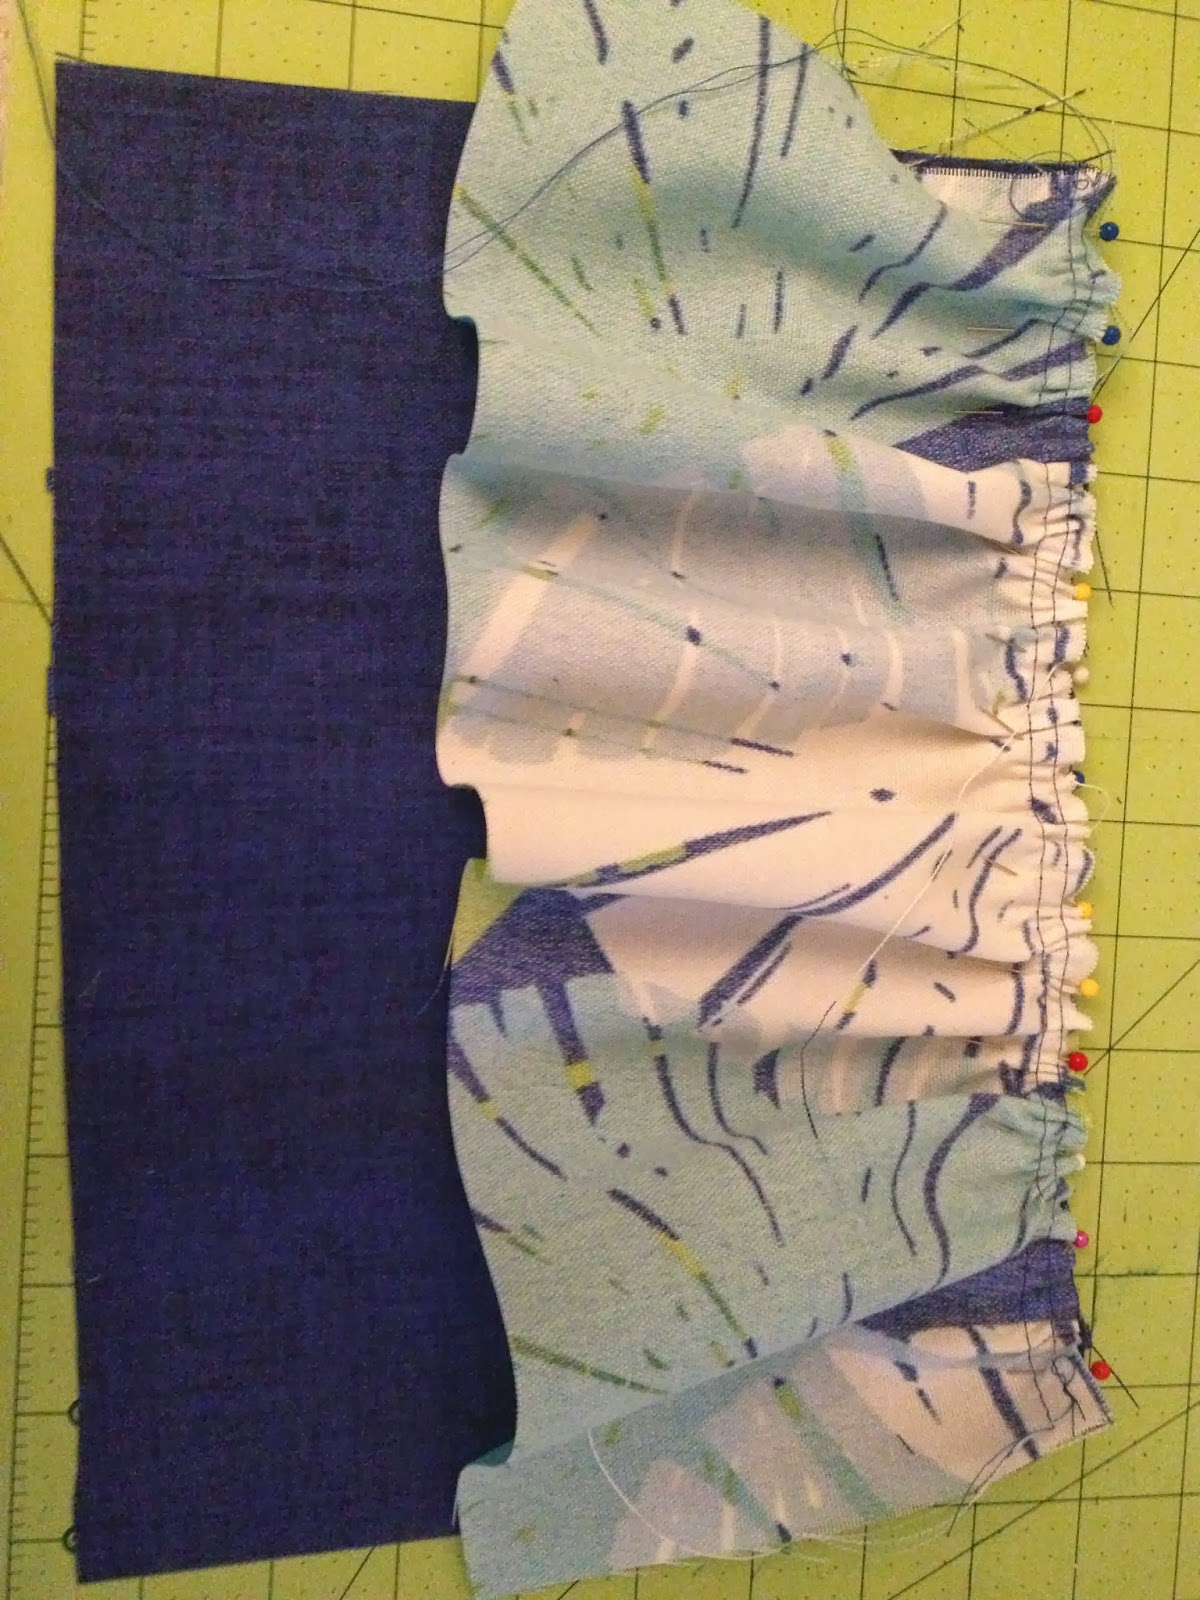
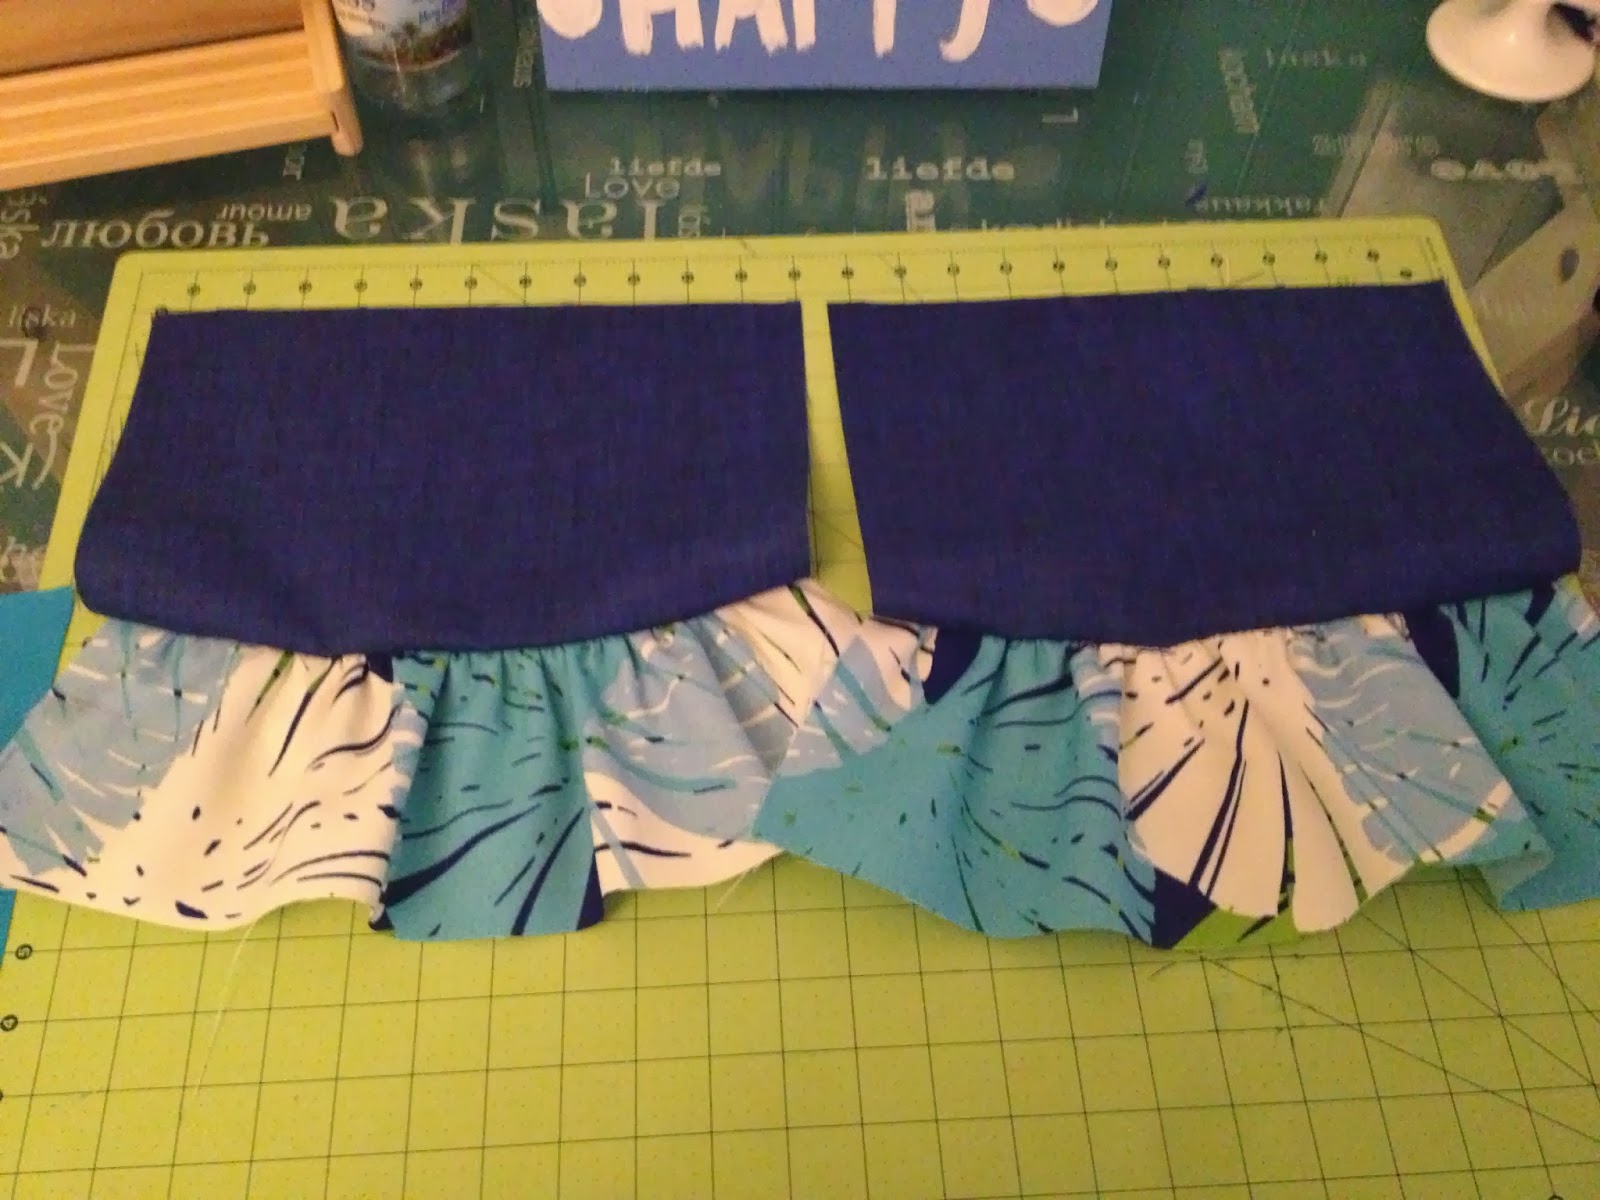
Step 3
Pull the bobbin threads on the two stitch lines until you gather the fabric enough to fit the shorter side of the top pieces. Pin the two pieces right sides together.
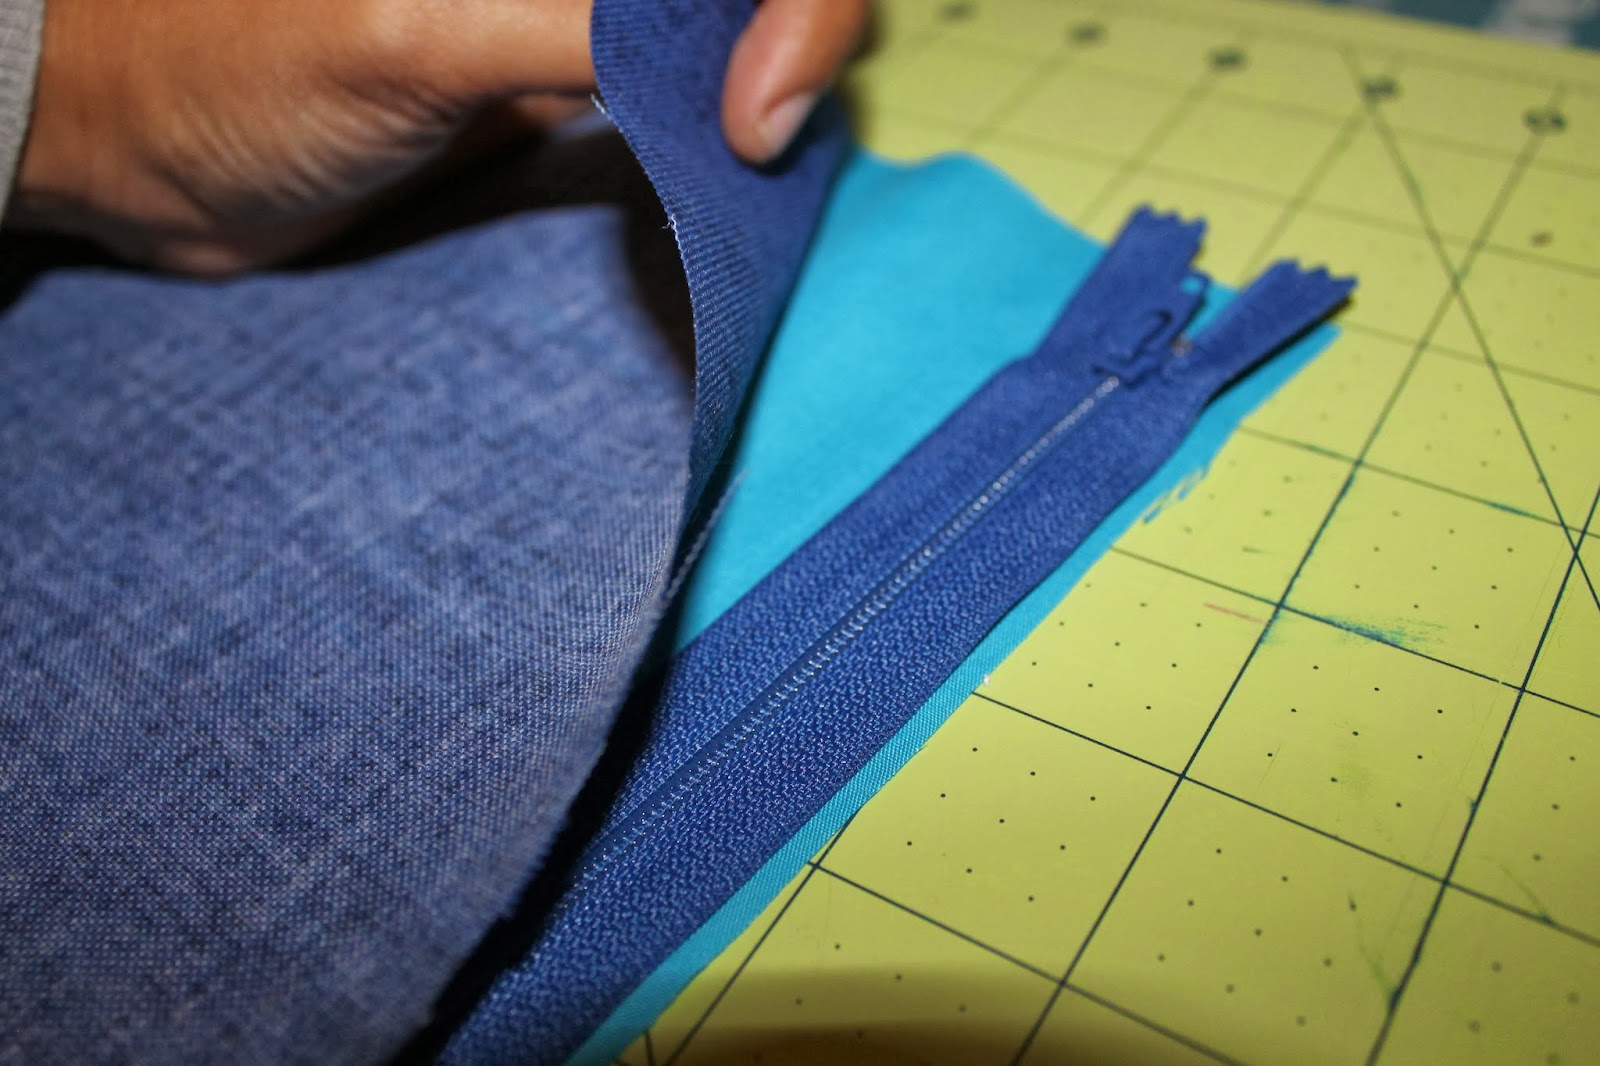
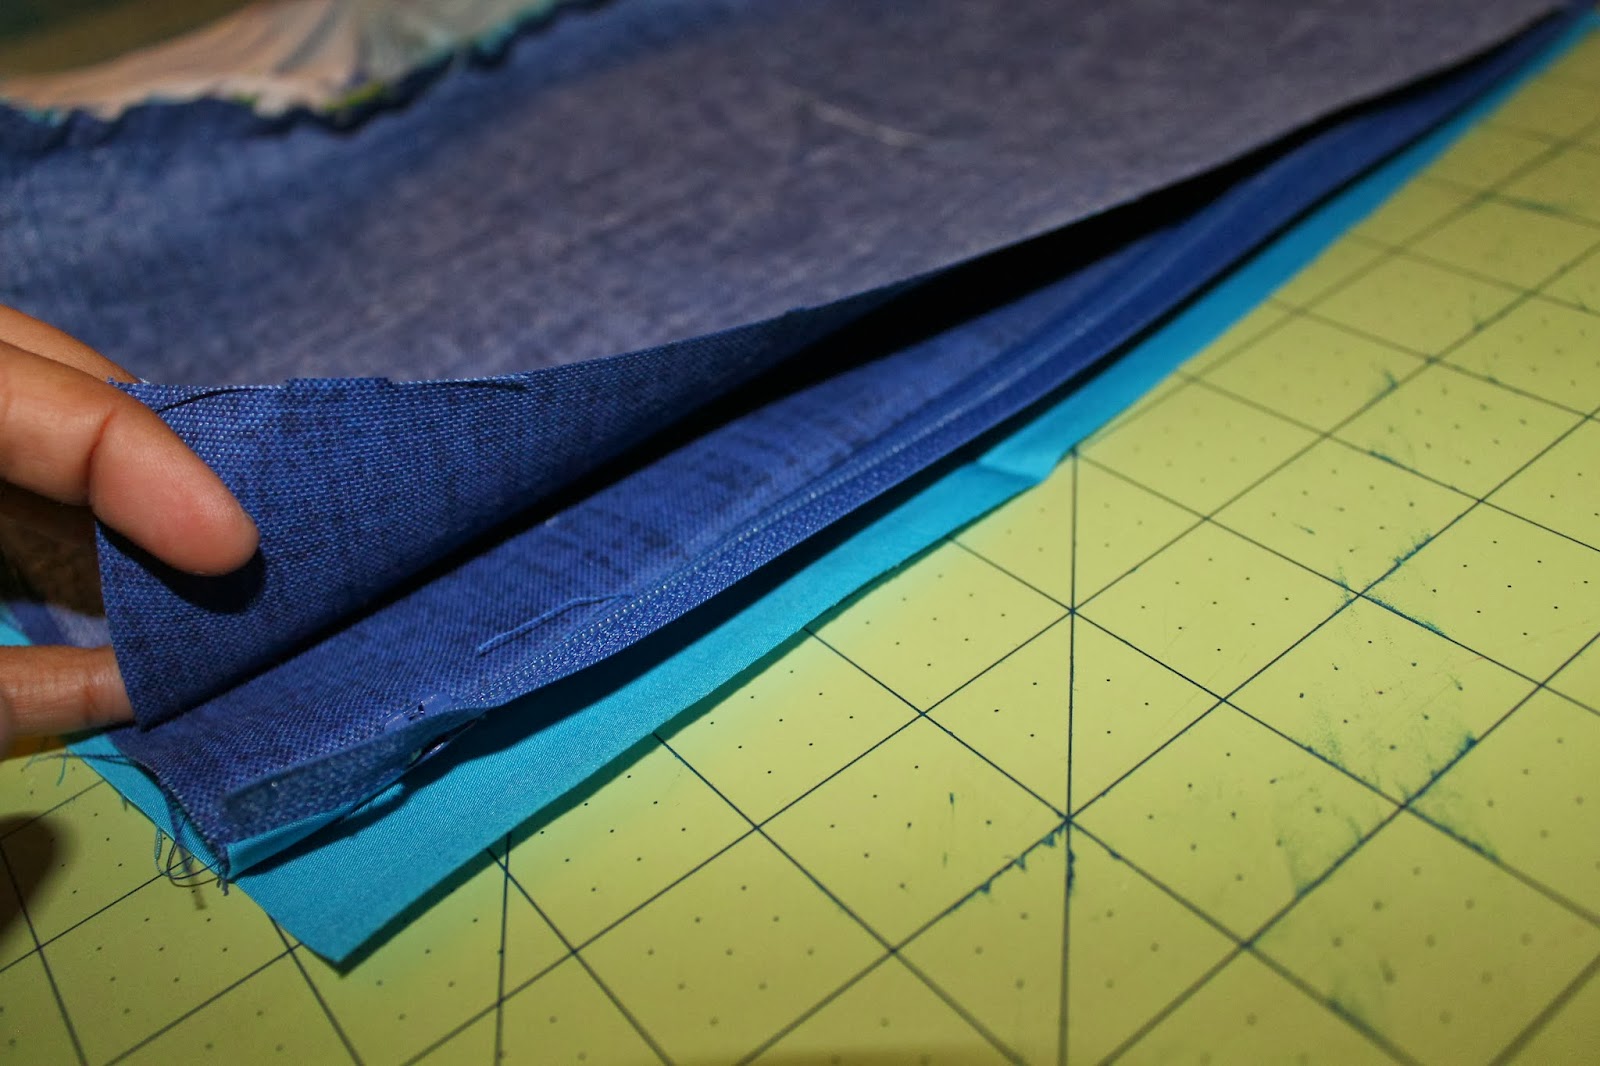
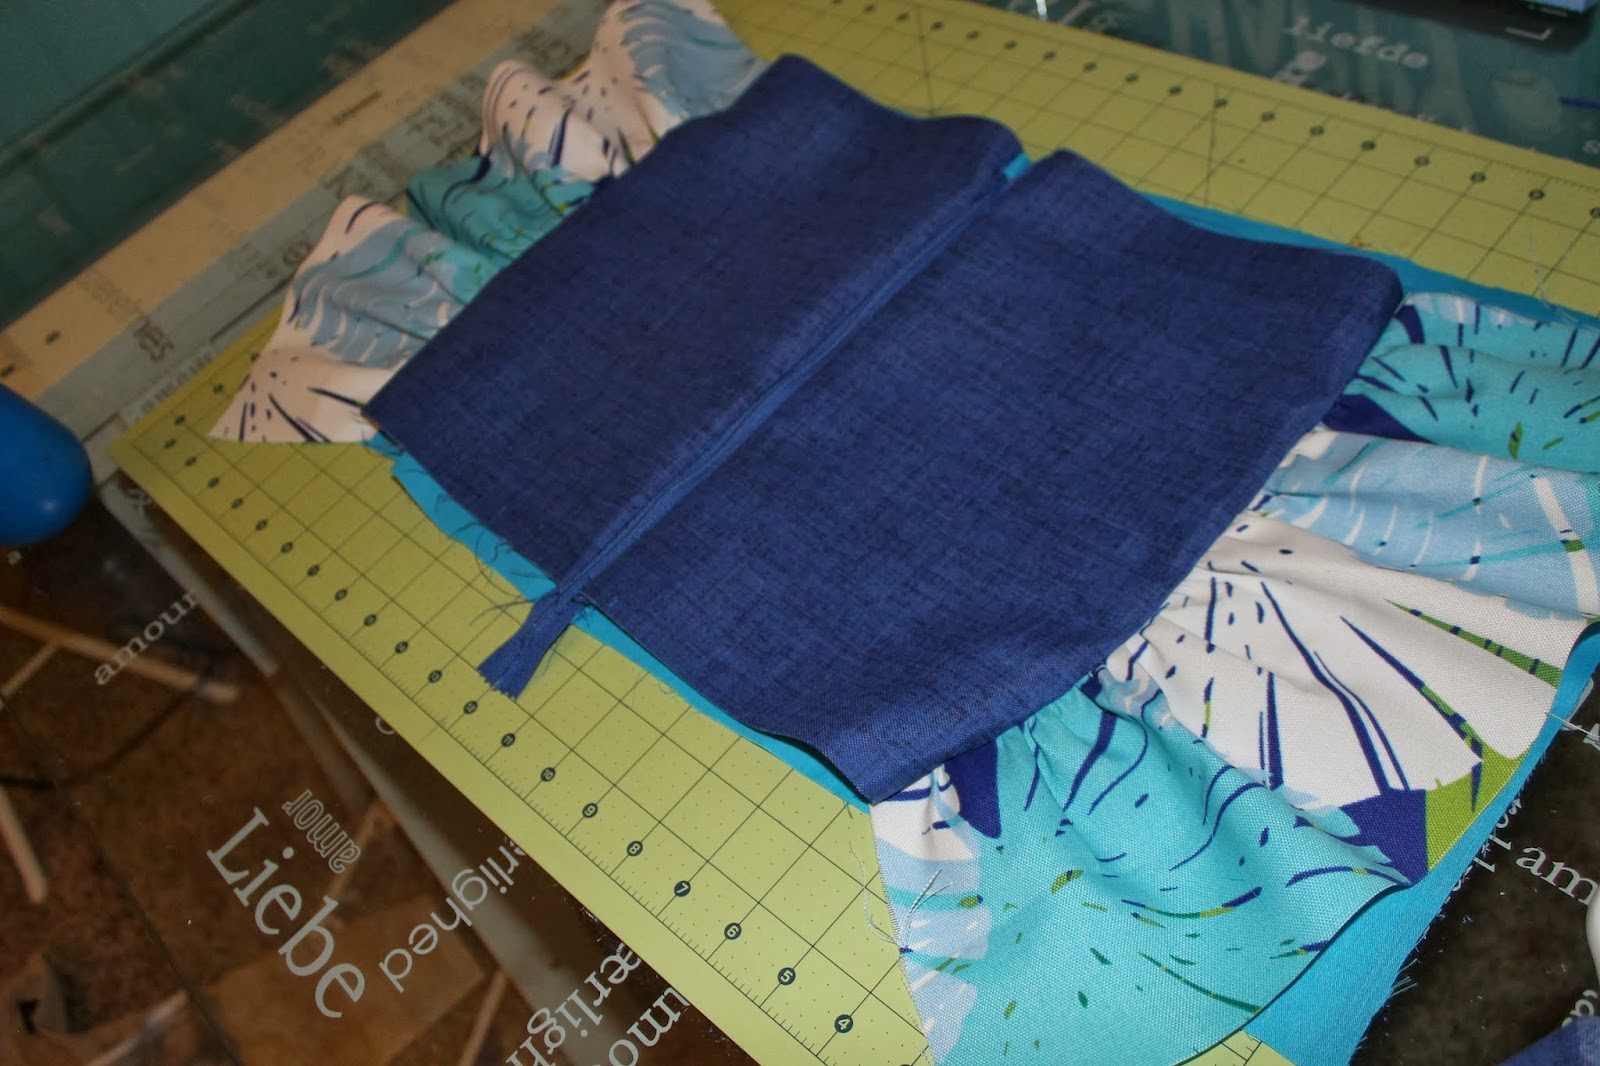
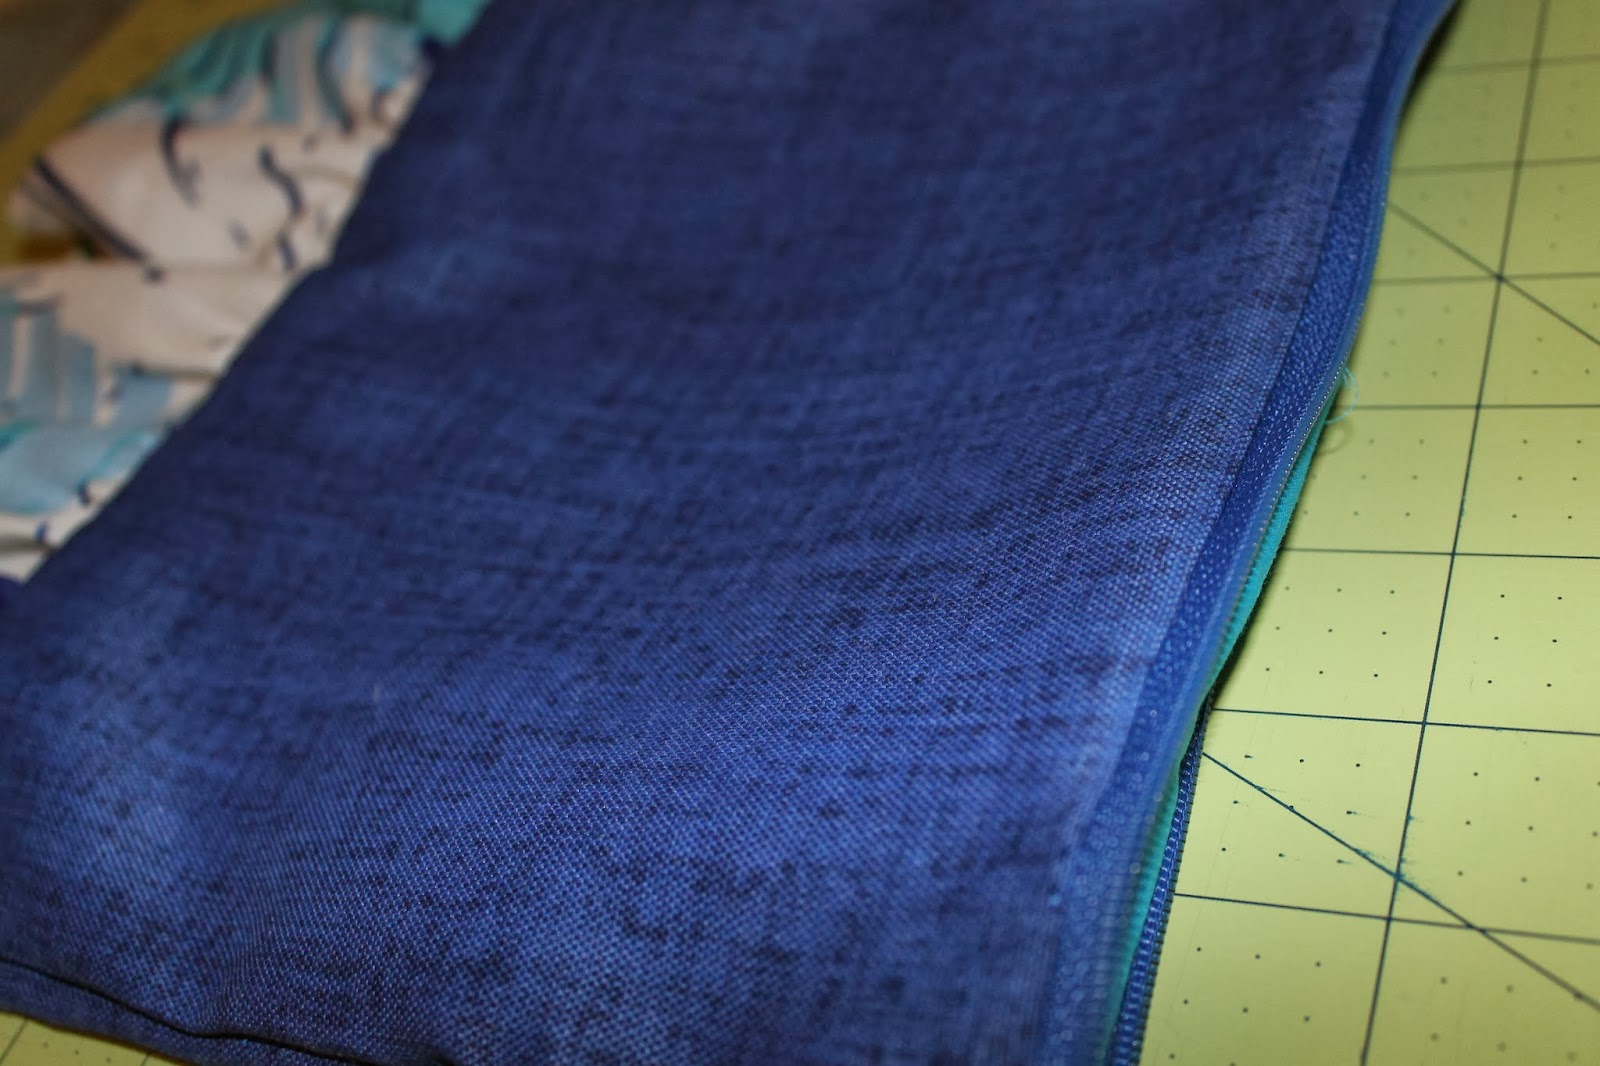
Step 4
Attach the zipper using the standard zipper sandwich formula: lining right side up, zipper right side up, outer fabric right side down. Repeat for the other side.

Step 5
Bring the lining pieces together and the outer fabric together and sew all the way around leaving the zipper open and 5″ opening at the bottom of the lining.


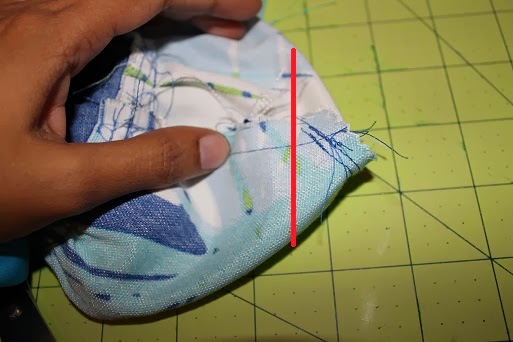
Step 6
Fold both sides of your bottom in a triangle and sew a straight line 2 inches across. Cut out the extra piece.
Step 7
Turn the clutch inside out through the opening in the lining. Once you turn it inside out, top stitch the lining close. You are almost done.
Step 8
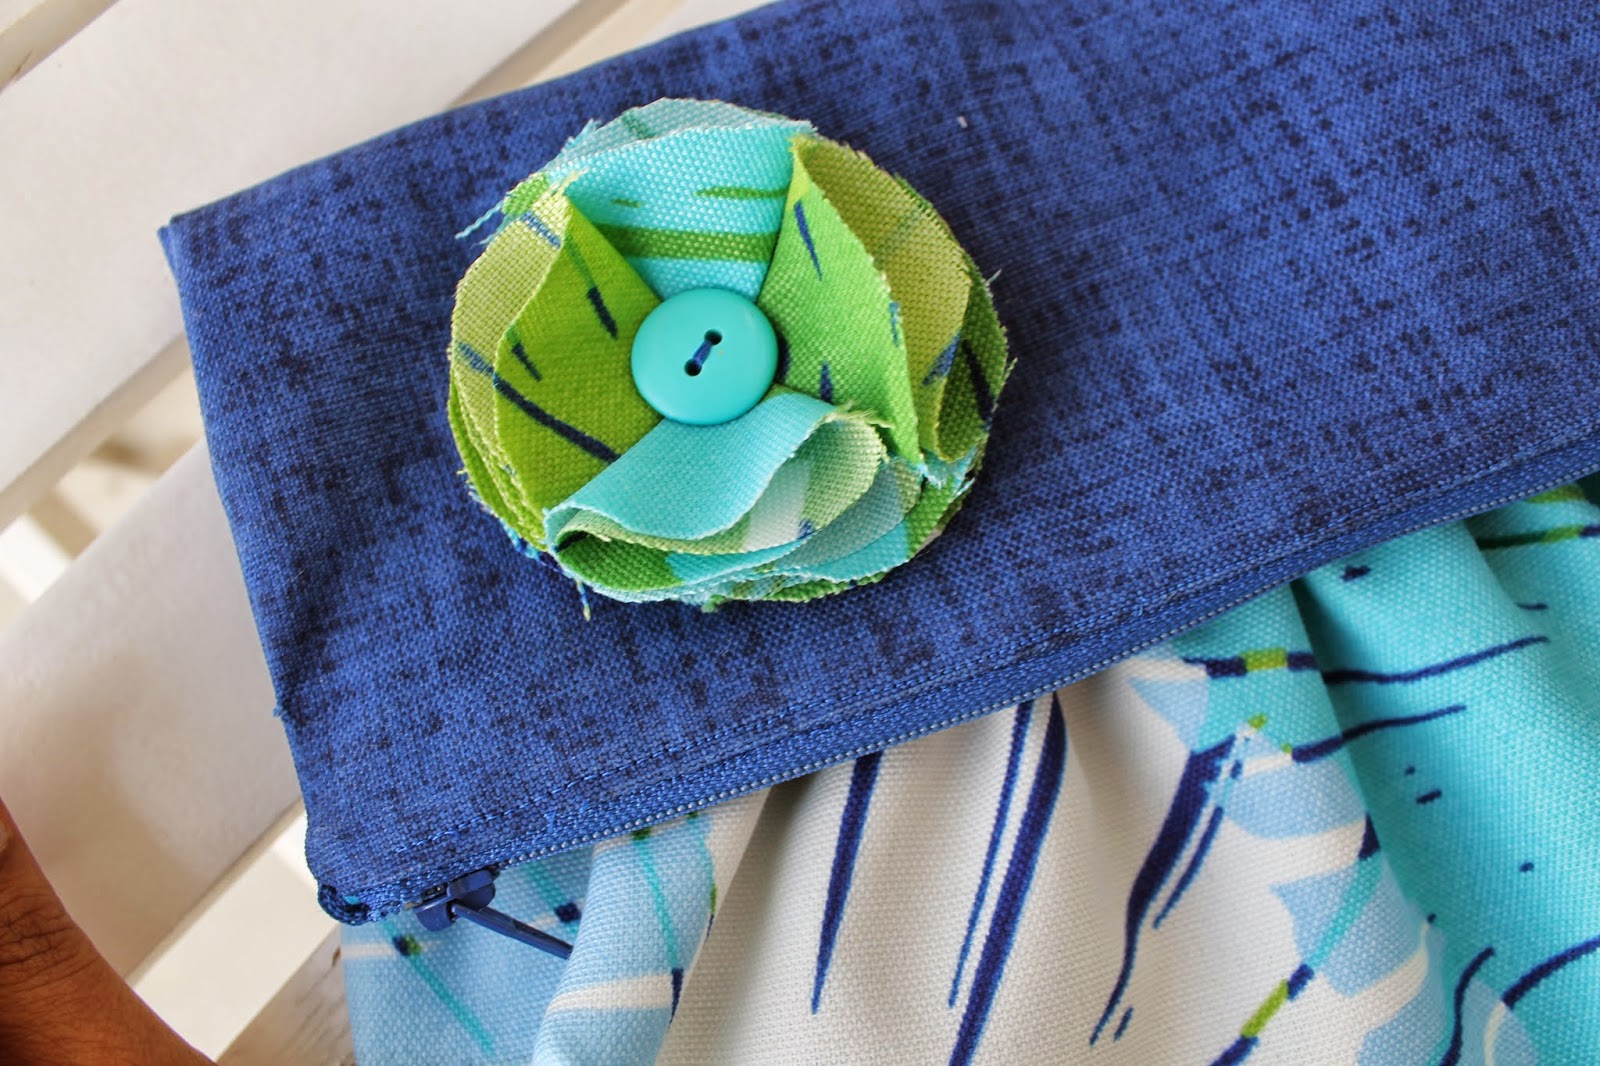
Add a flower using this tutorial to the side.