Here is the tutorial for making the simplest freehand fabric flower for the baby dress I made earlier. This literally took about 20 min and trust me, if I can do it, you can do it. There is a nicer cleaner way to do it with a circle template but sometimes I am just lazy. This one is without a template.

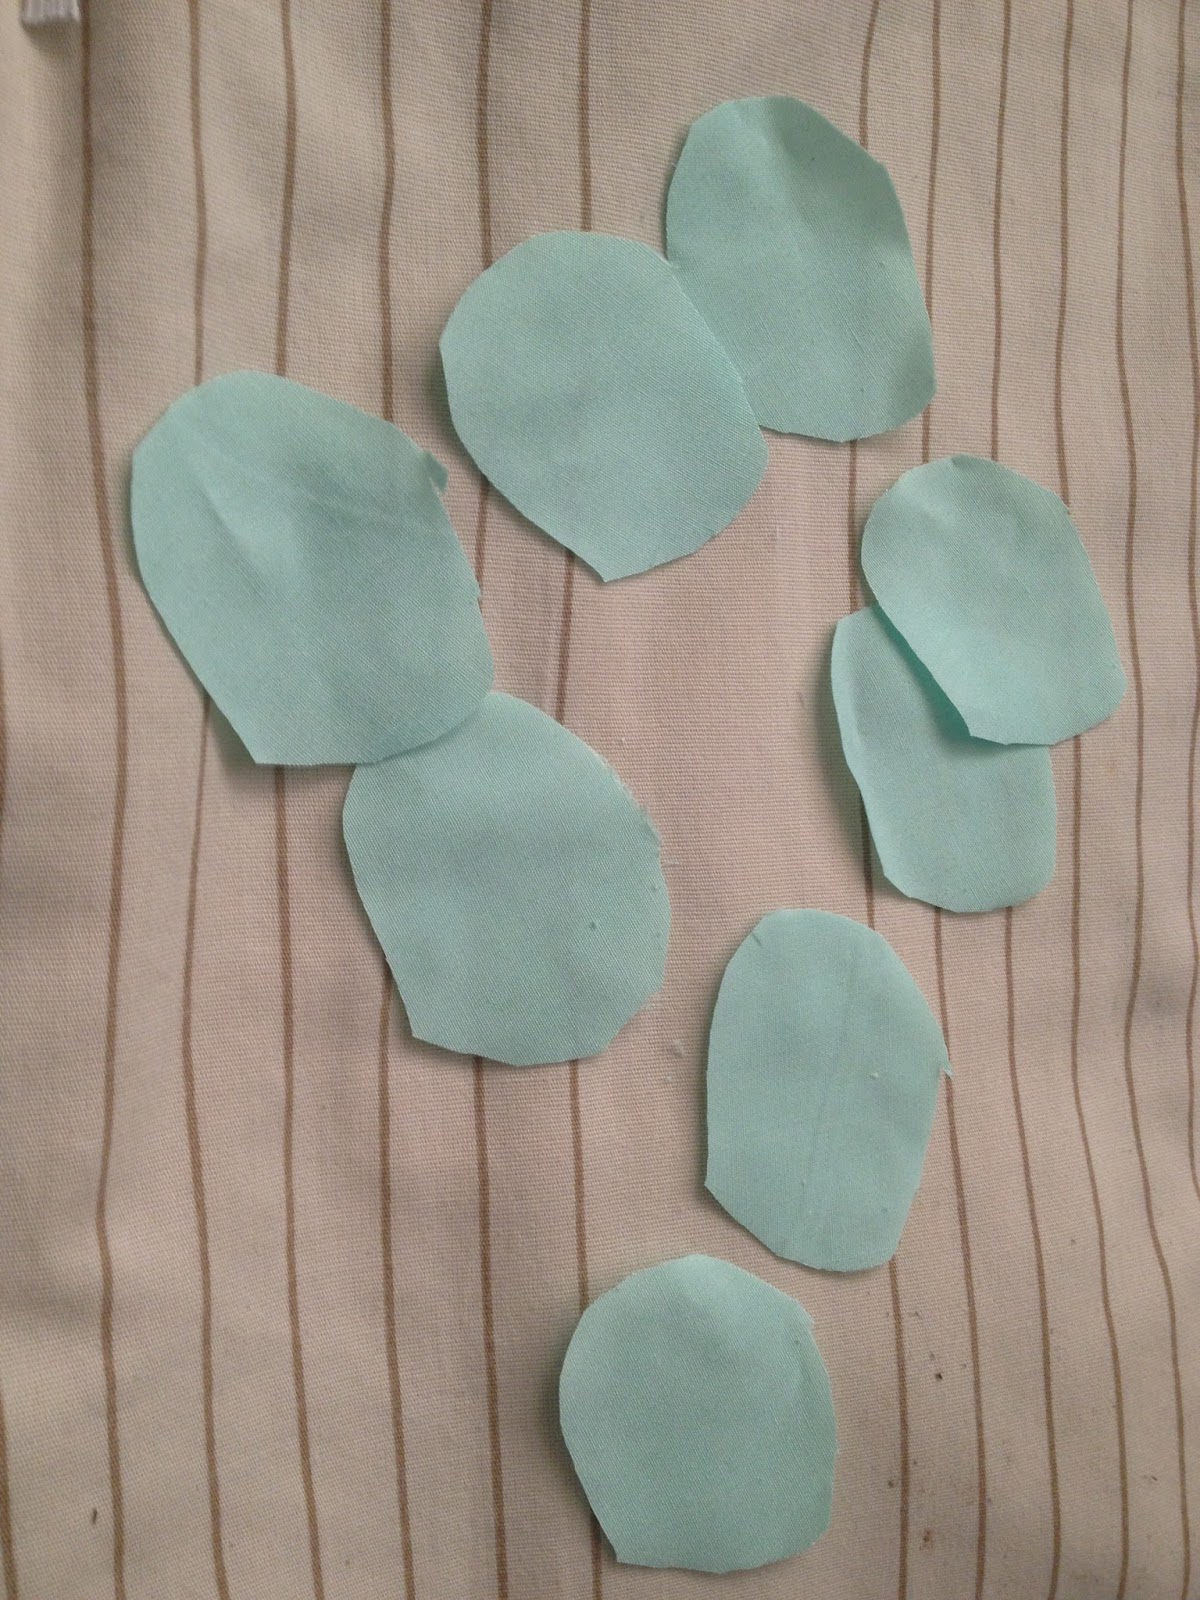
First just get a piece of fabric around 5×5 inches to make a flower with a radius (from center to end) of about 1 inch. This was a piece of scrap I had and didn’t bother to trip it. It will still look good at the end, trust me.


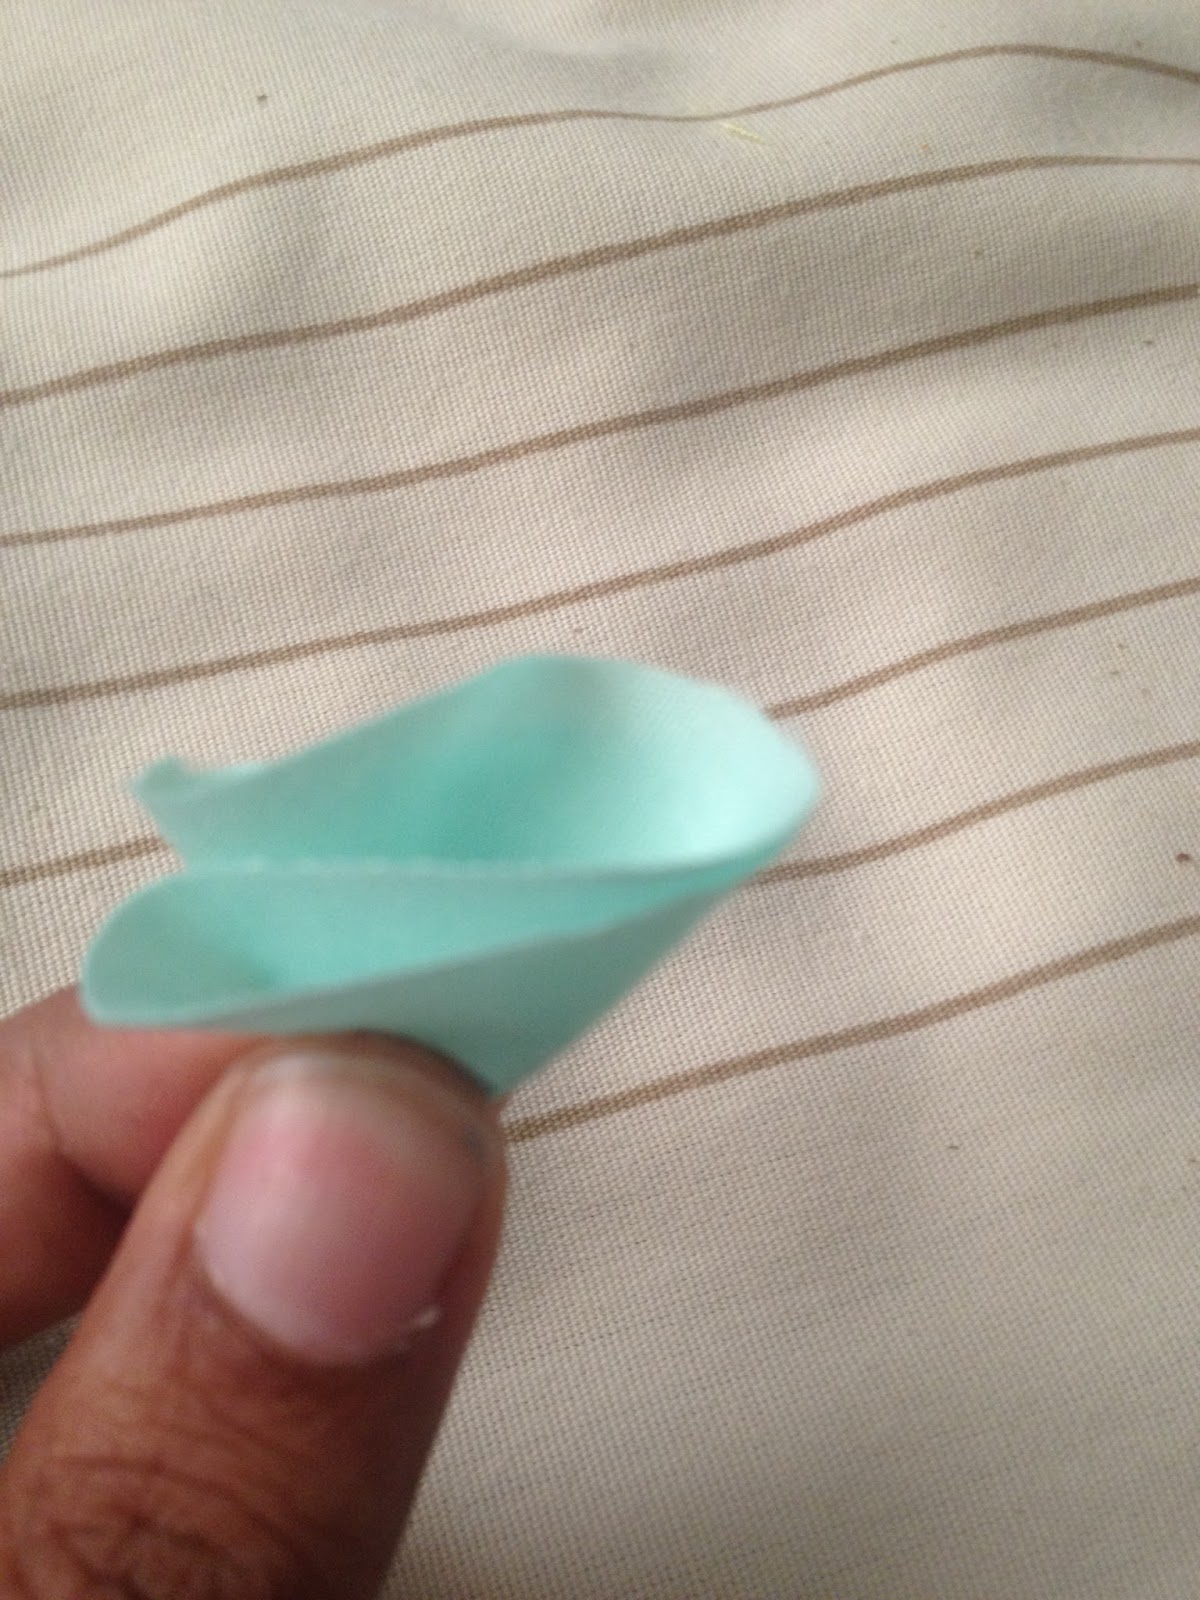
Now cut out a small piece of felt to sew the flower on. All you need is about an inch square. Sorry I did not take a picture of this. Now fold each petal in half and then in half again. It will look like this:
Sew the pointy end to the middle of the felt with a hand needle. Do this for four of them, lining them up all next to each other in the center so that it looks like the image below. I know it looks uneven but it will look great at the end.
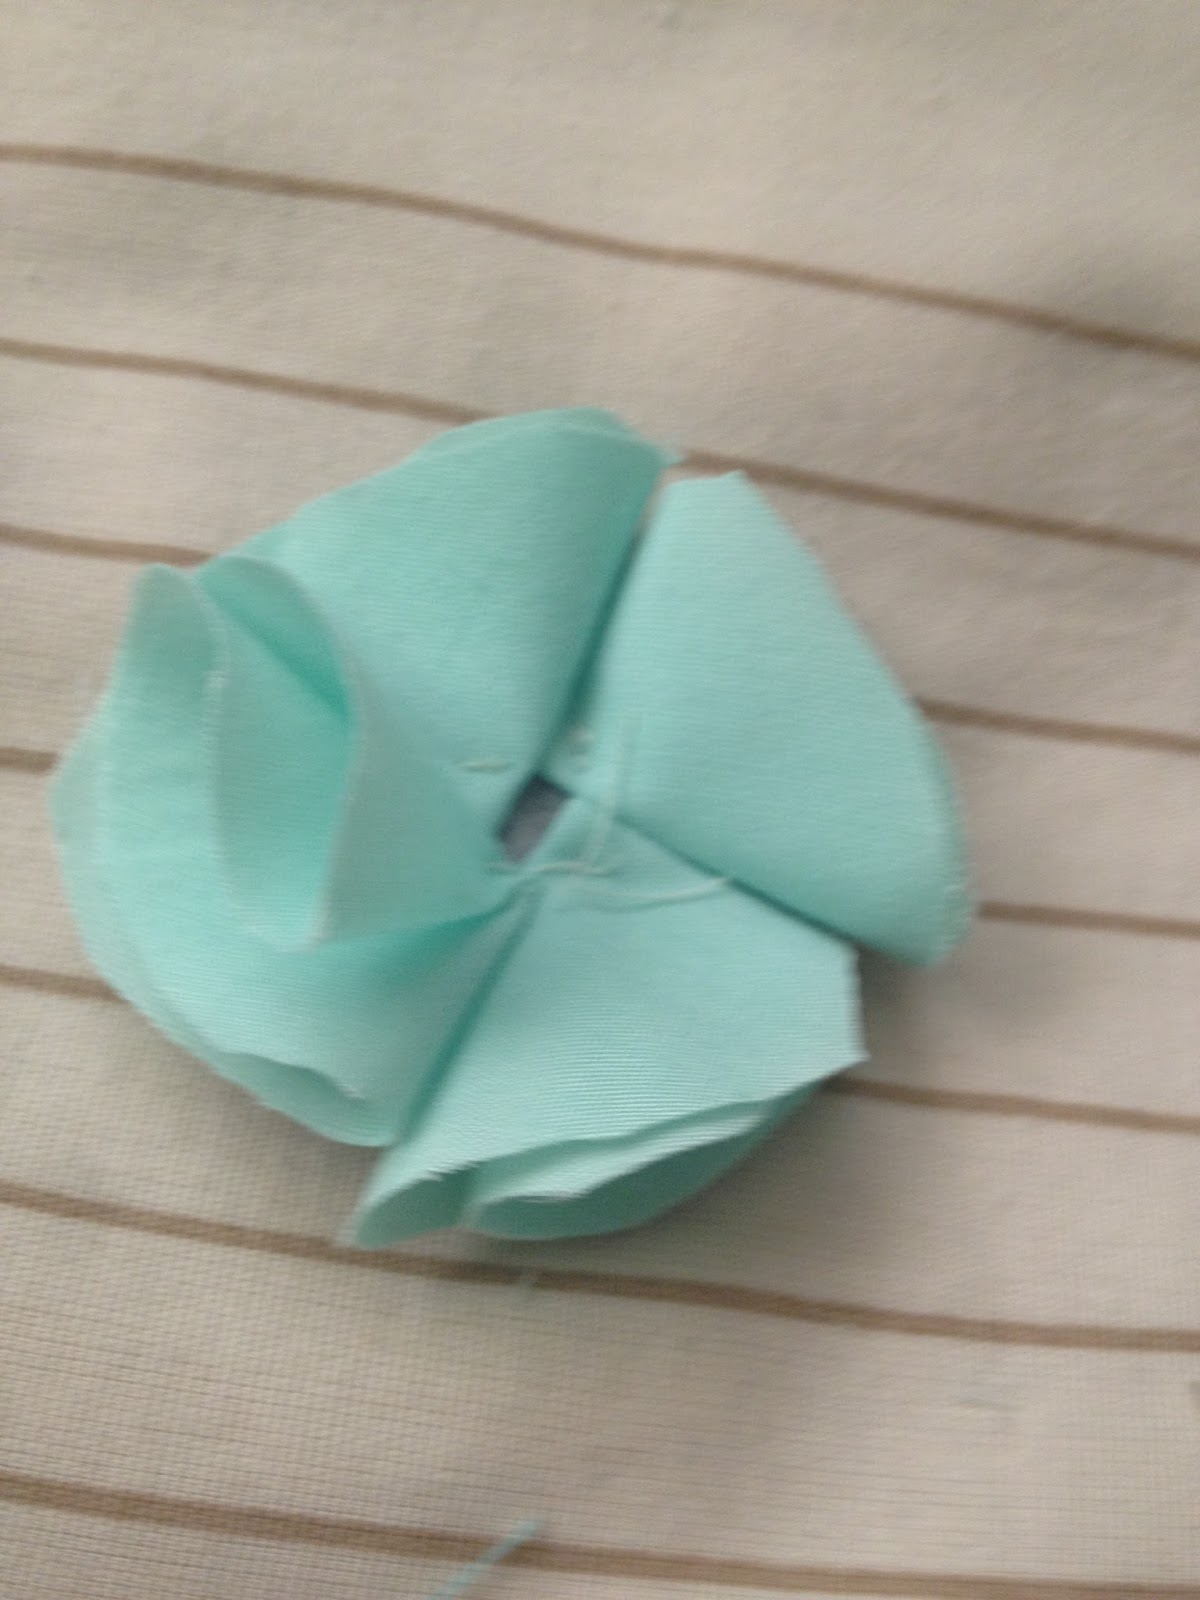
Now fold your 5th petal and stitch it in the middle of the felt, this time positioning your petal to cover up the spaces in between the ones you already did. When you finish the second set of 4 petals, it will look like this:

I know it doesn’t look pretty but it will. Now sew your coordinating button in the middle.

When you have your button sewn on, you can trim the edges into a neat circle or fix spots that’s poking out. If you cut the circles out with a template instead of freehand, there would be no need to trim because it would have started out perfectly shaped but this freehand version works too since you can trim at the end. Here it is!