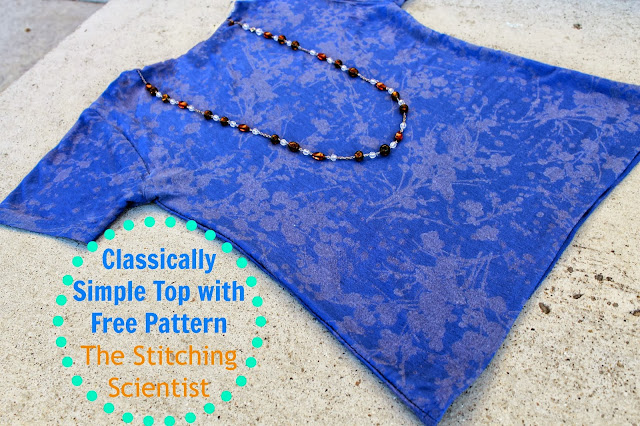
I don’t know why but, I have been bitten by the shirt bug! All I seem to gravitate towards are tops. Anyway, as I promised, here is a tutorial on how to create your own shirt pattern based on the vintage shirt I did a few days ago. This pattern was drafted from a knit shirt but the same principle applies to woven fabrics. Instead of using a knit shirt as your template, you would use a cotton shirt. As we go through this tutorial, I will show you how to adjust your pattern to fit specific styles. I also included the pattern I drafted for myself for those of you with 32″ bust. The pattern from the vintage shirt was a lot looser with a bust width of 34-36″. You can download that one and use it if you are larger on top. Or, you can learn how to create your own pattern with this tutorial. Here is my top of the week!
I love this blue print from Girl Charlee. It has a subtle grayish floral pattern in the background that really gives the fabric a different dimension. Accessorized with a nice beaded necklace, this makes for a perfect work top for me.
This top took about 1 hour to make. I made it during two episodes of Curious George and a toddler unreeling thread next to me:-). It is a simple beginner’s project!
 |
| Yep, my neighbors thought I was a bit insane taking pictures of myself in front of my house:-) |
Step 1
Layout your template top on your paper.
Step 2
Take a ruler and measure the middle of your shirt and mark a line on your paper where the middle is.
Step 3
Fold your shirt and trace all the way around it. When you reach the sleeves, fold it in as shown below. If you want your top longer, just extend it at the bottom. Connect your two middle points (see dashed lines). This is where your fold line will be when you are cutting. You can also draw your seam allowance (1/2″) all around your drawing (except your fold line) so you have it already built into the pattern. If you are trying to make a pattern for the vintage shirt, you need to extend your fold line 4″ outwards for the front pleats.
Step 4
Repeat the same steps for the back of the shirt.
Step 5– The Sleeves
Fold a piece of your pattern paper and lay the sleeve of your shirt on top of it. Then, take the front piece of your pattern and fit it on top of the sleeve of the shirt.
Step 6
Draw around your sleeves. You can fold the sleeve in to draw the curve. You can also make it longer by extending how far down you cut. I extended mine a little (see red line).
Step 6– Putting it all together!
Cut out the pieces using your personal pattern you just made. For the vintage shirt, you will NOT cut on the fold for the front, instead you will cut two pieces for the front so that your front can open and you can add buttons to the center.
Step 7
Connect your two top pieces right sides together at the shoulder. At this point, you can personalize your neck. I made mine with a slight boat pattern. You can do a classic V, square etc.
Step 8
Fold in the edges of your neck 1/4″ twice and sew all the way around. You can also serge once and then do one 1/4″ seam all the way around. You can also leave it raw if you are sewing with knits. For the vintage shirt, you can seal the edges of the top with binding.
| I messed up on the upper right a bit so I had to take out my seam ripper and redo part of the neck. |
Step 9
To attach your sleeves, take the right side of the sleeve and face it with the right side of the front of the top. The curved part of your sleeve will need to connect with the curved part of the top so that the entire sleeve is facing inwards towards the top. Pin and sew. Repeat for the other sleeve.
Step 10
Sew down from the ends of the sleeves all the way down the sides of the top. When you reach the arm intersection (circled in white), back stitch to give it some additional reinforcement.
Step 11
Fold in the sleeves and bottom of the top 1/4″ twice and sew all the way around. You can then embellish your top anyway you want by adding ruffles, buttons etc. I was a bit lazy and decided on leaving mine plain and just accessorize with a beaded necklace.


