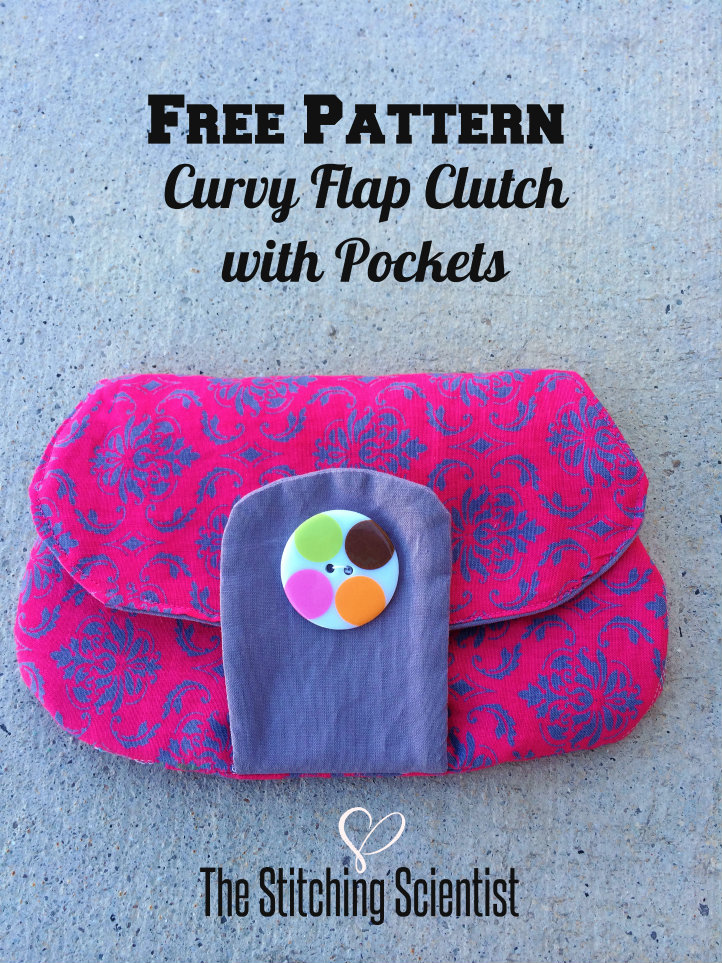
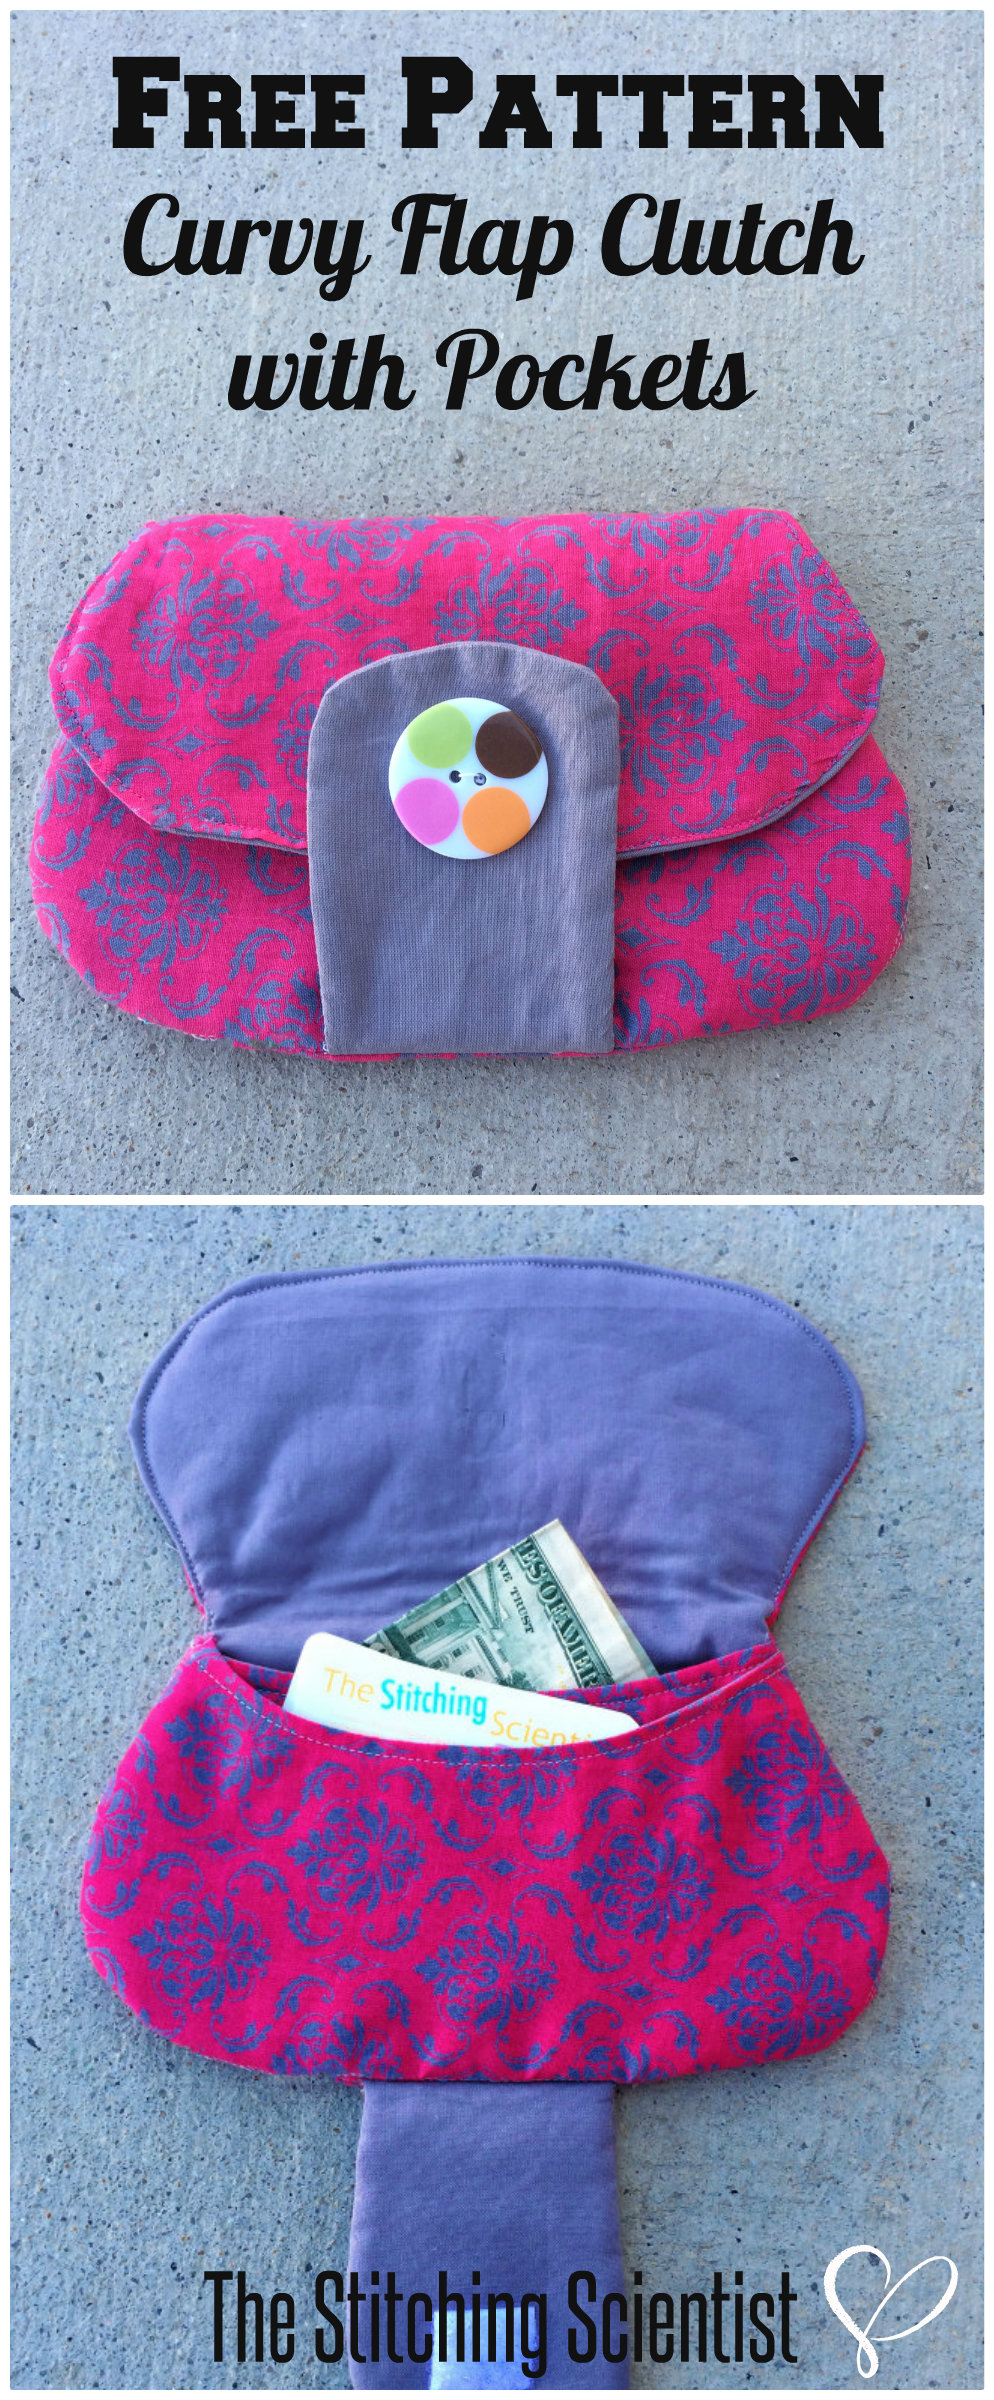
How adorable is the cute little clutch! I fell in love with this fabric I got from Joann’s and decided to create a small weekend project to share with you guys. This curvy clutch has a pocket in the front and has a bottom flap for closure. It is accented with a large decorative button and Velcro or magnetic snap closure. You can really go crazy mixing and matching fabrics. The final size is perfect as it fits my iPhone, keys, ID and cash for a night out of town. I think I will make a few of these as gifts this year. I hope you guys enjoy the pattern and tutorial!
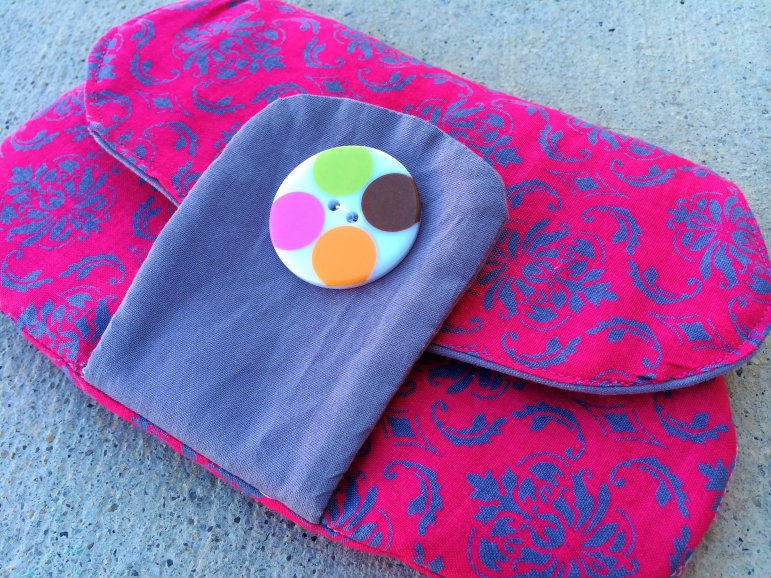
After I finished, I realized I should have top stitched the flap with pink thread to highlight it. Either way, I think it came out pretty cute. I got lazy and just glued on my large button. I really think it goes well with the gray and pink.
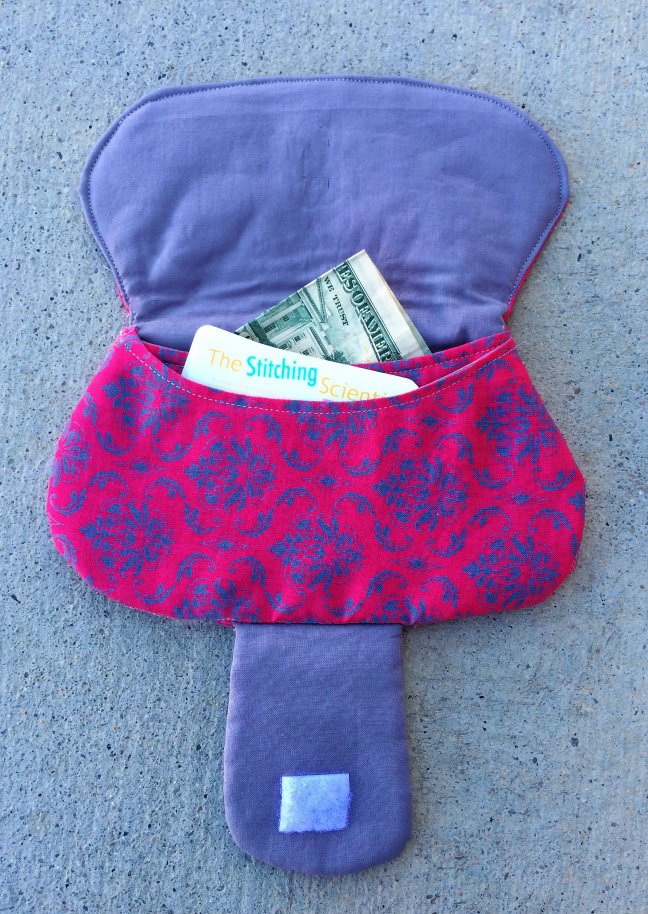
The inside has one outer pocket and a larger interior opening. It fits all your bare essentials for a date. Next time, I think I may add some side straps which makes it easier to carry. I added Velcro closure to mine but magnetic snaps will also work well.
Your Supplies
1 Fat Quarter outer fabric
1 fat Quarter lining
fleece interfacing
large decorative button
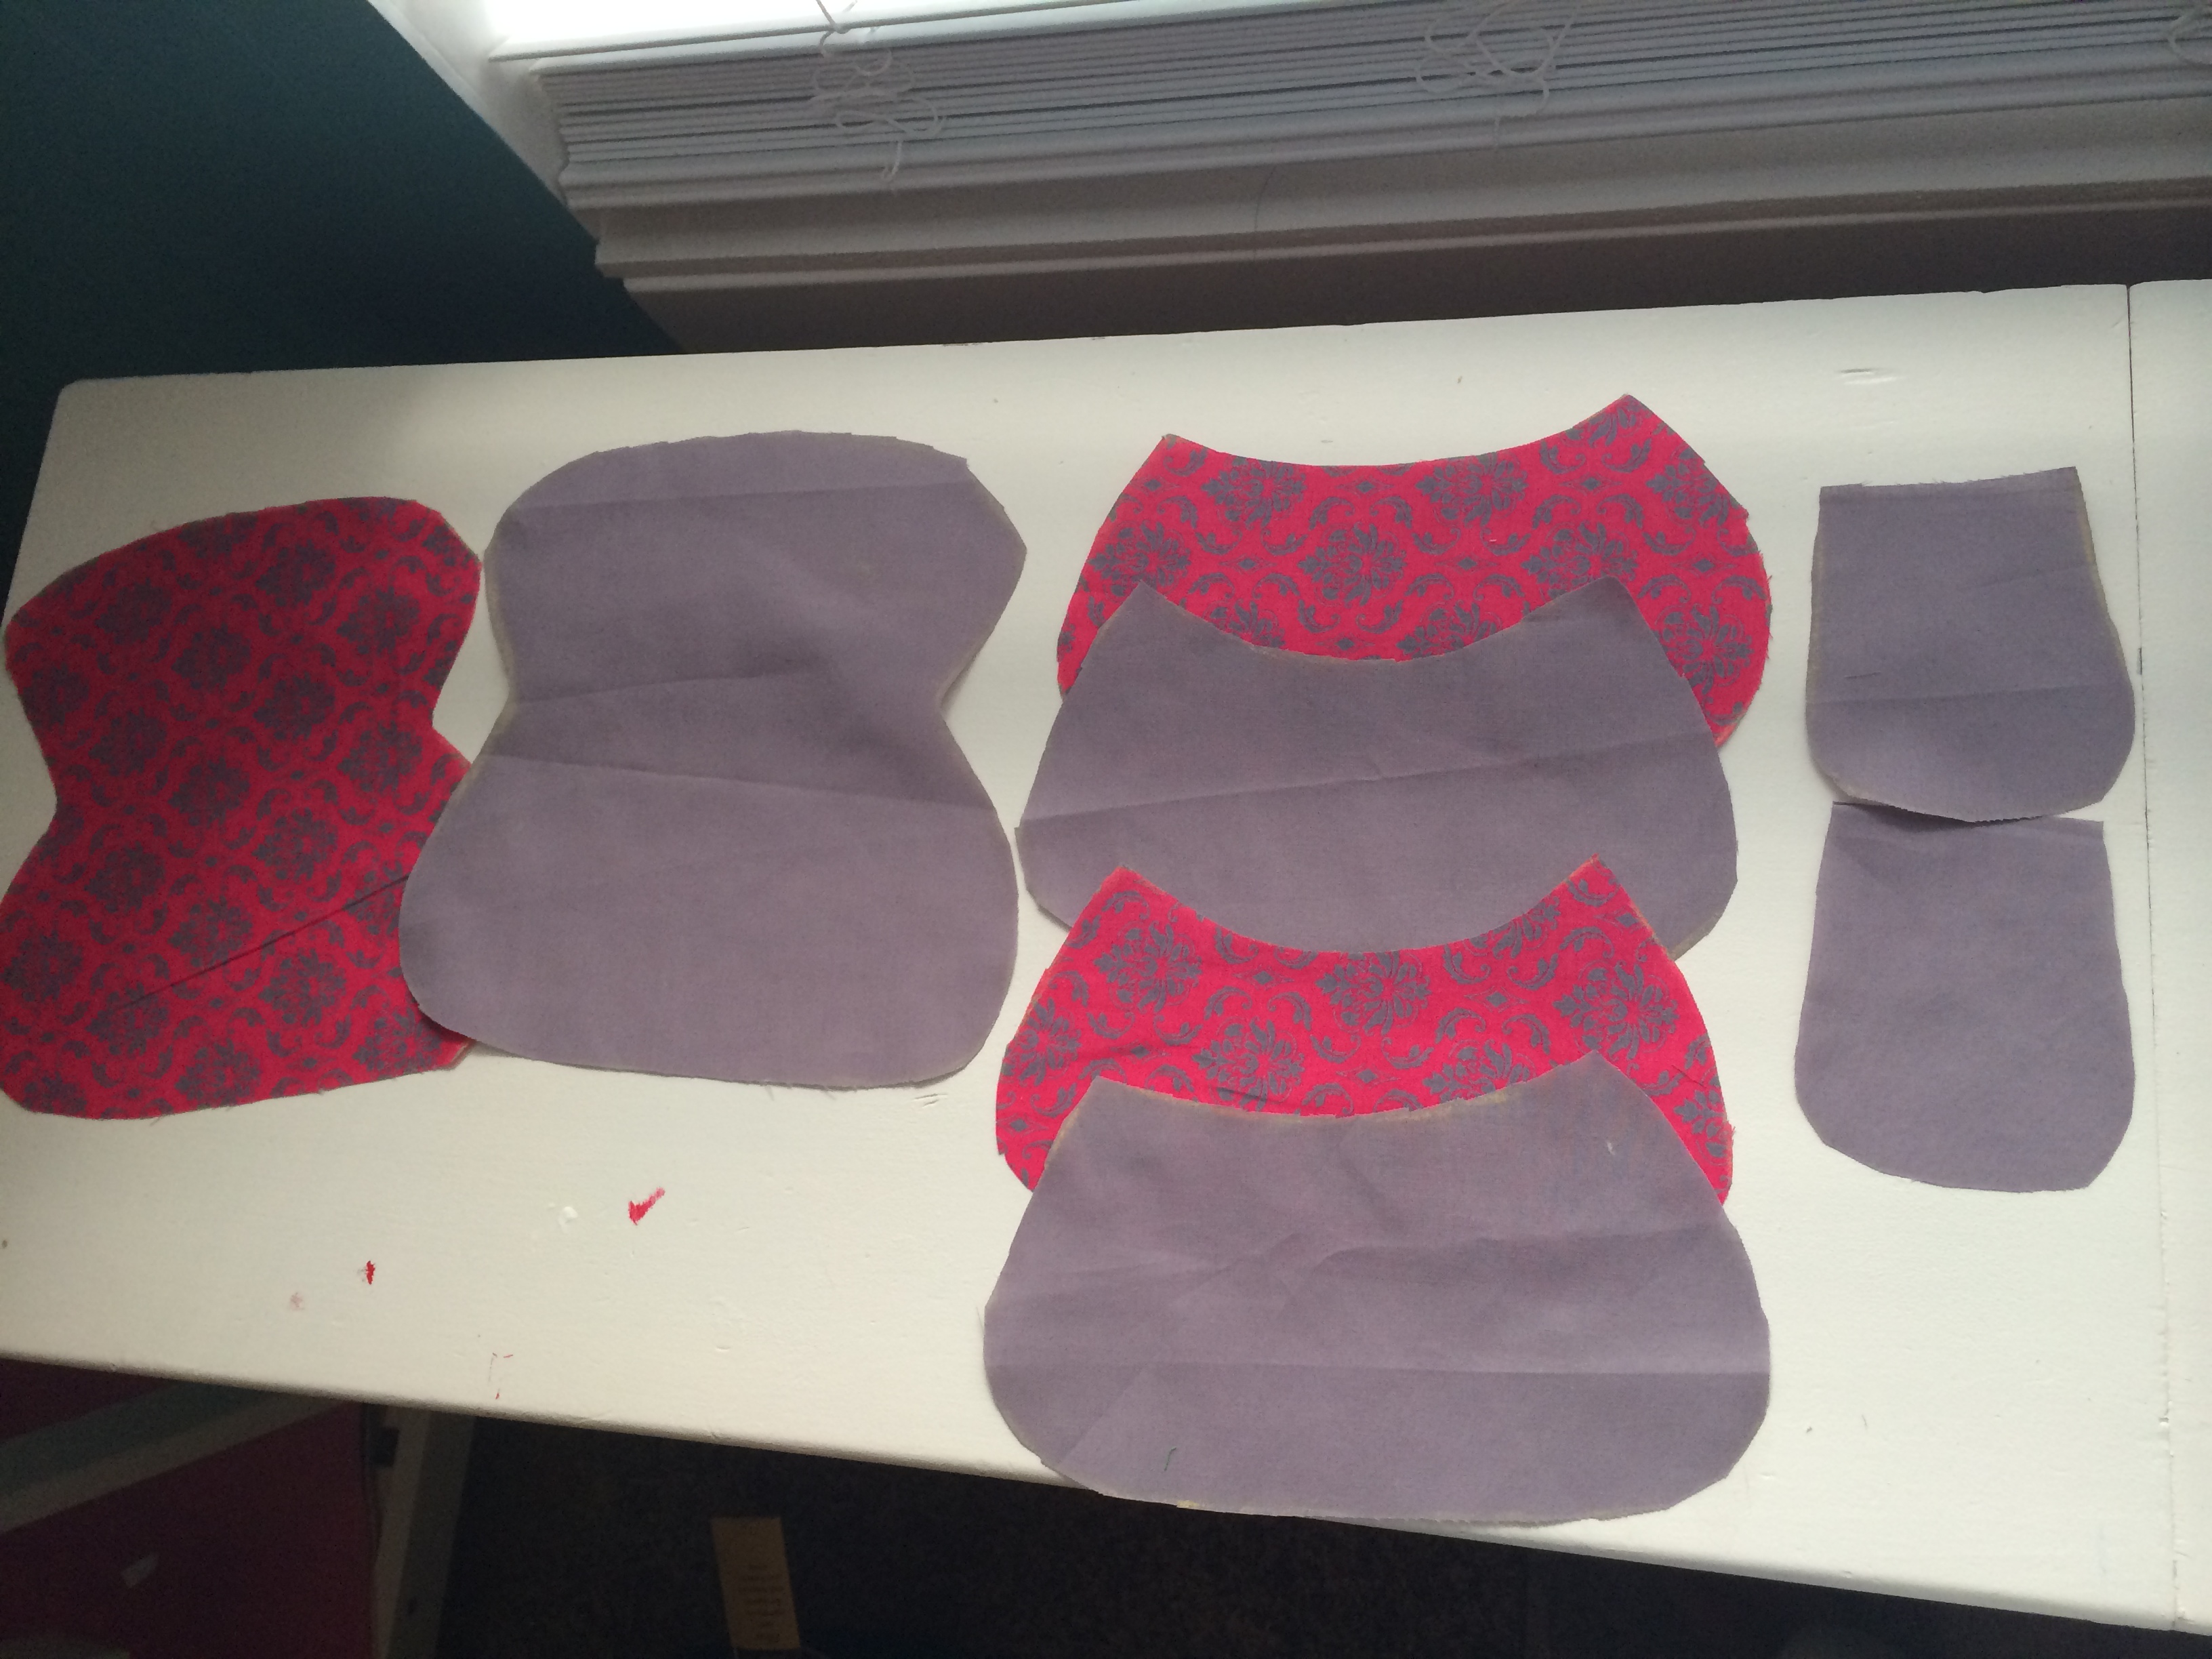
Print out the pattern HERE. The pattern doesnt include seam allowance. Add 1/2″ when you cut out the pattern. Cut out 1 back piece of outer fabric, lining and interfacing, 1 front panel fabric, lining and interfacing, 1 front pocket fabric and lining, 2 strap pieces and interfacing.
Let’s start!
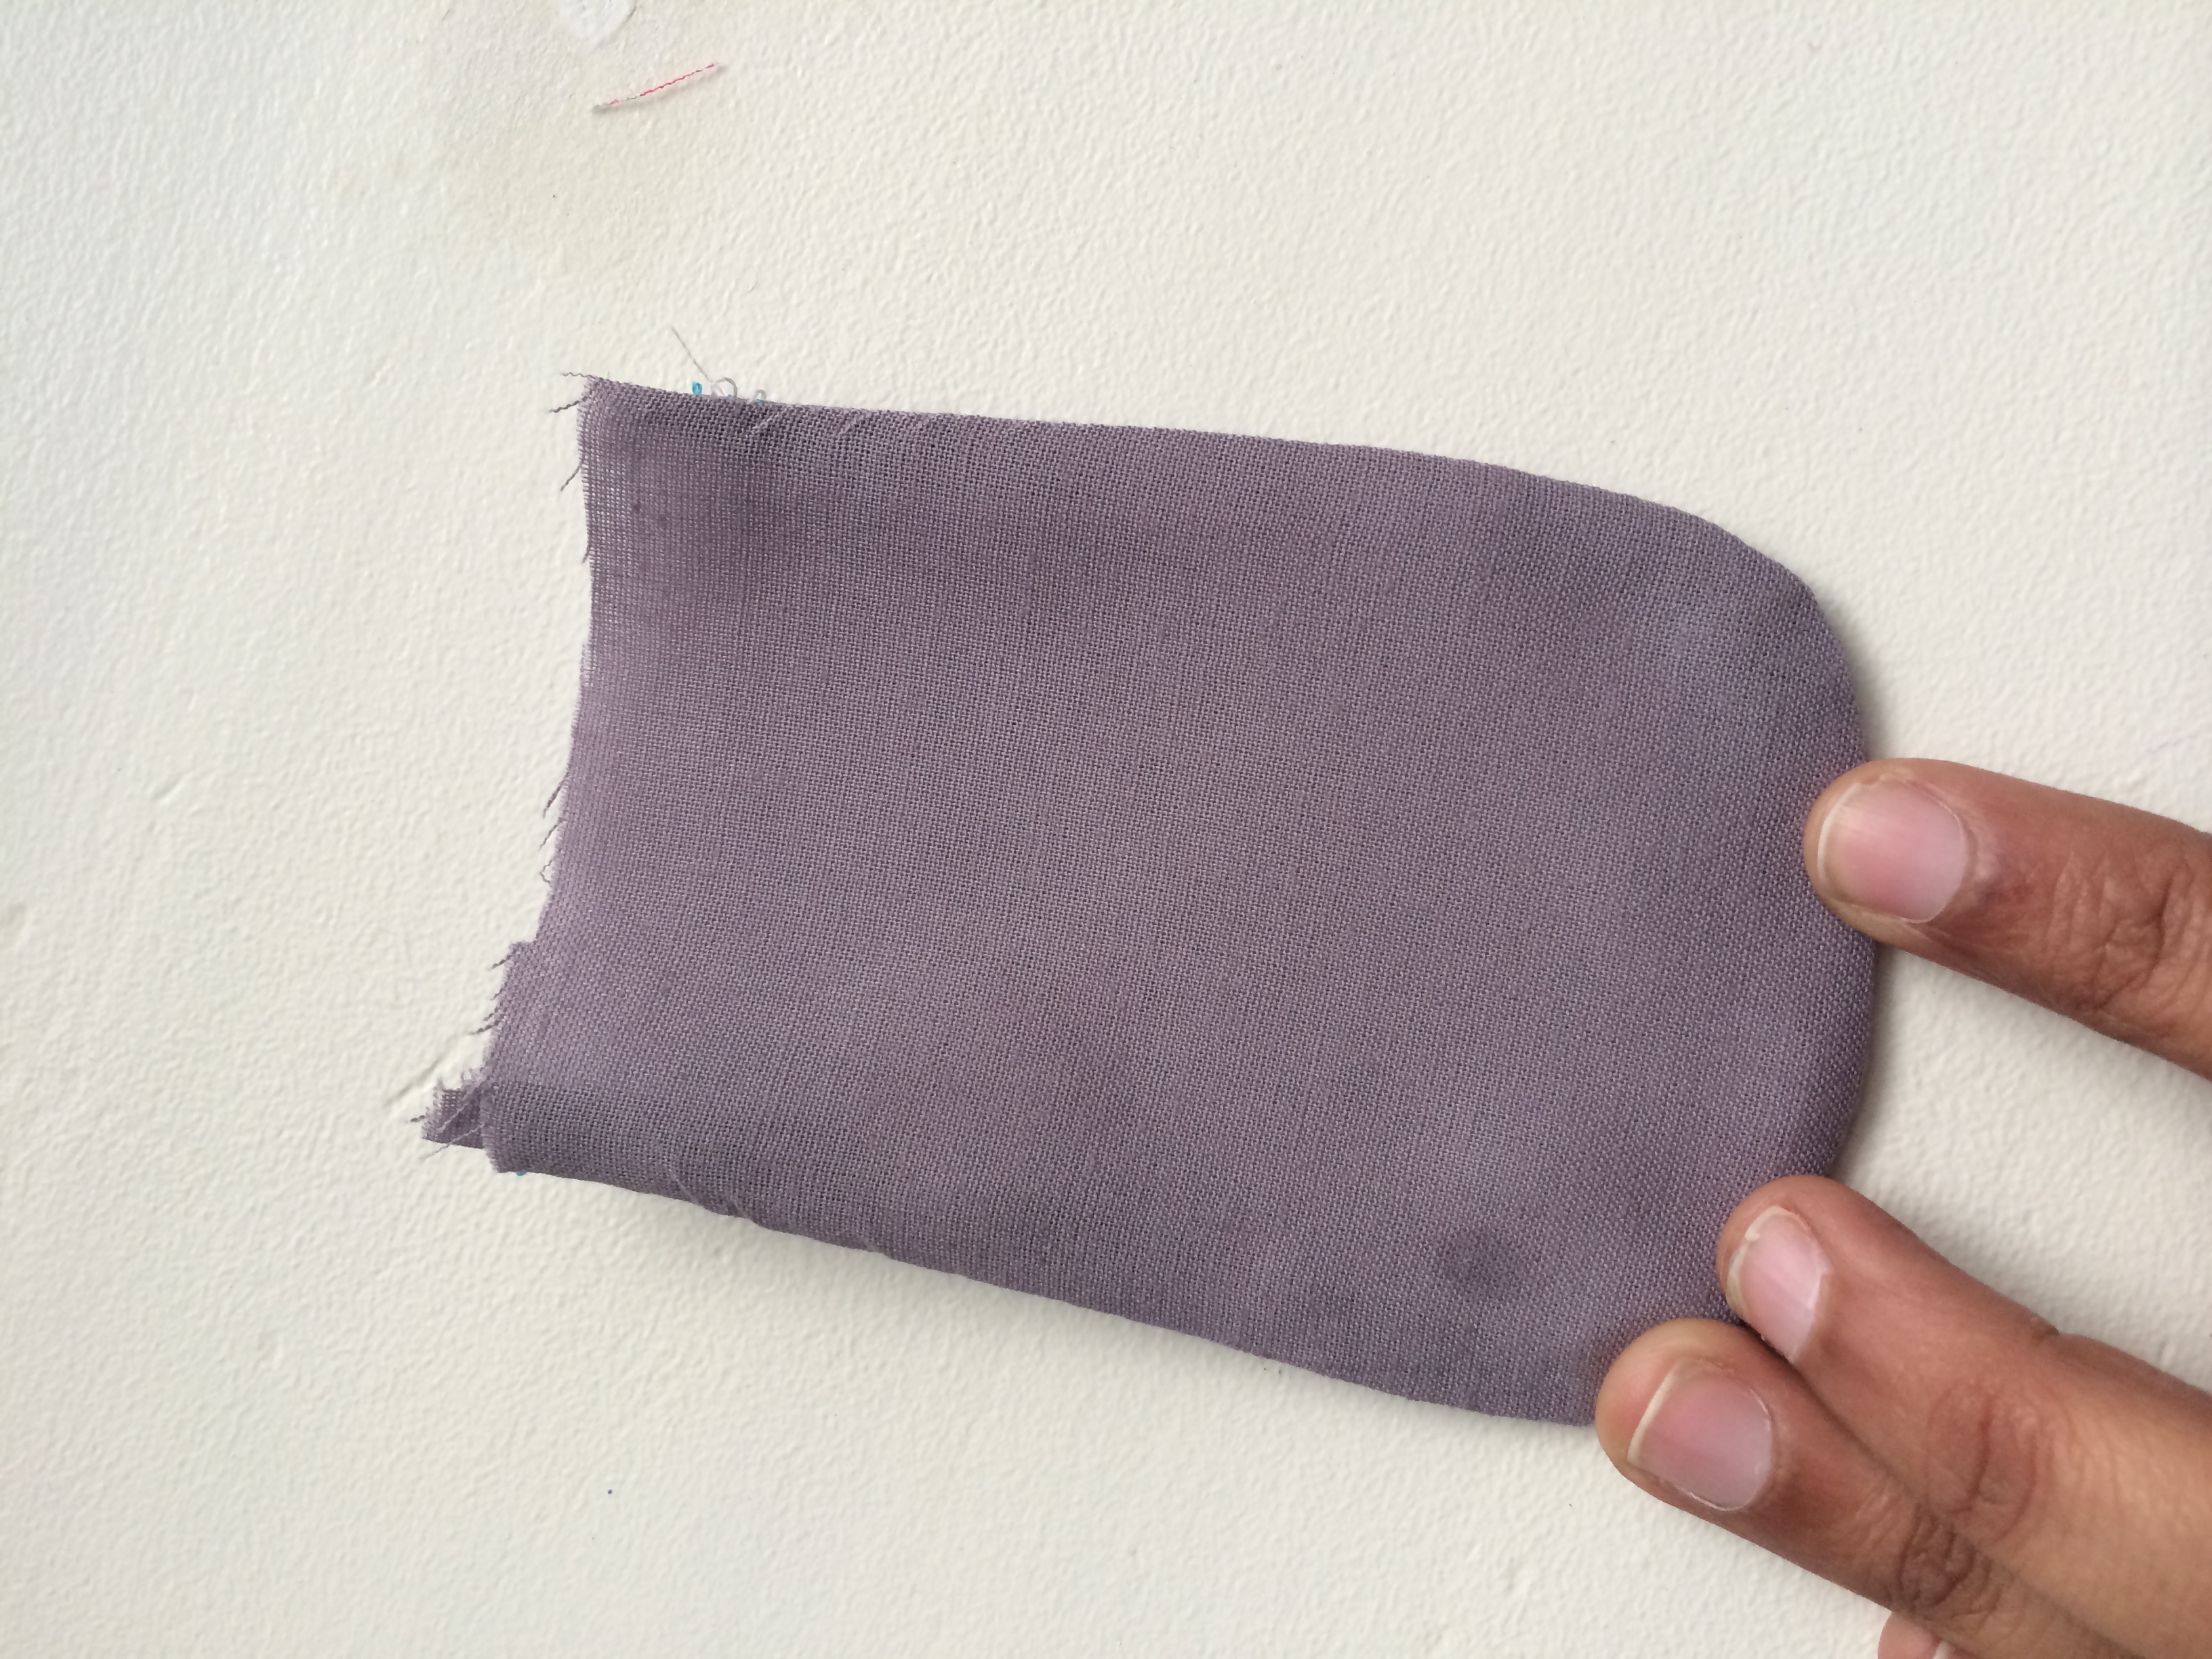
Here are your pieces (interfacing not included in picture)
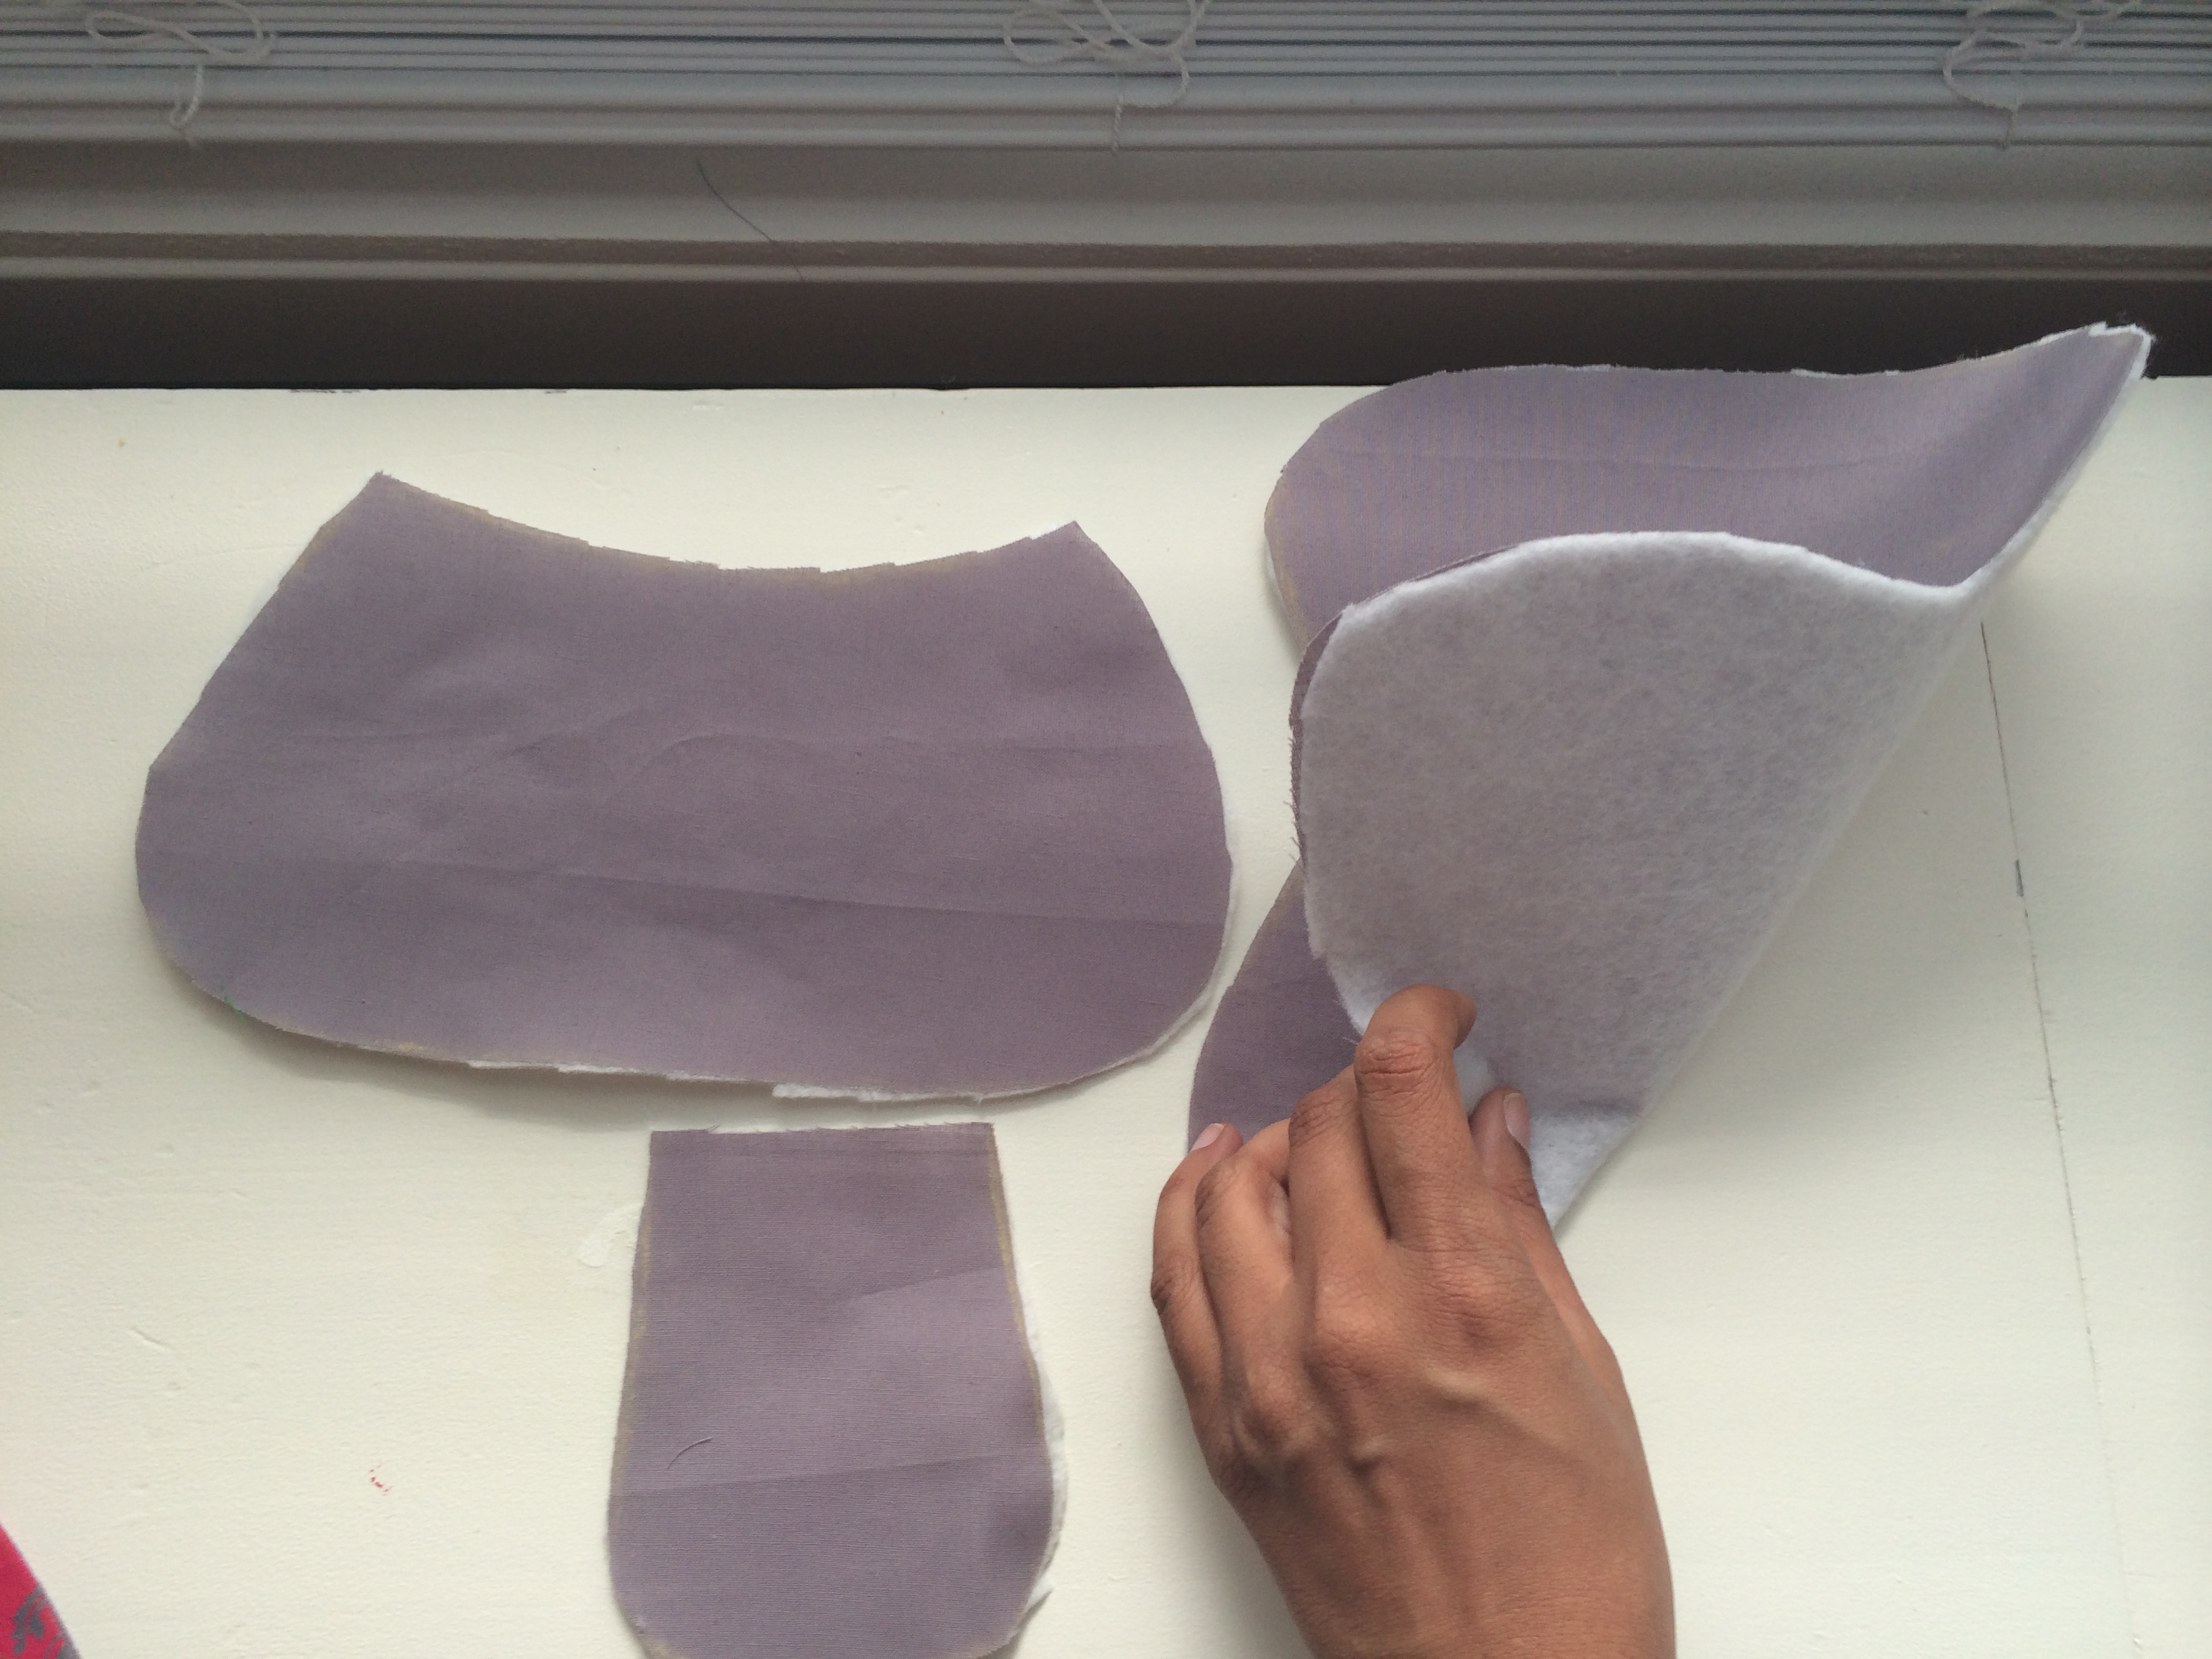
Next, lets do the preparation work and iron on the interfacing to the wrong side of the back lining, the front panel lining and strap piece.
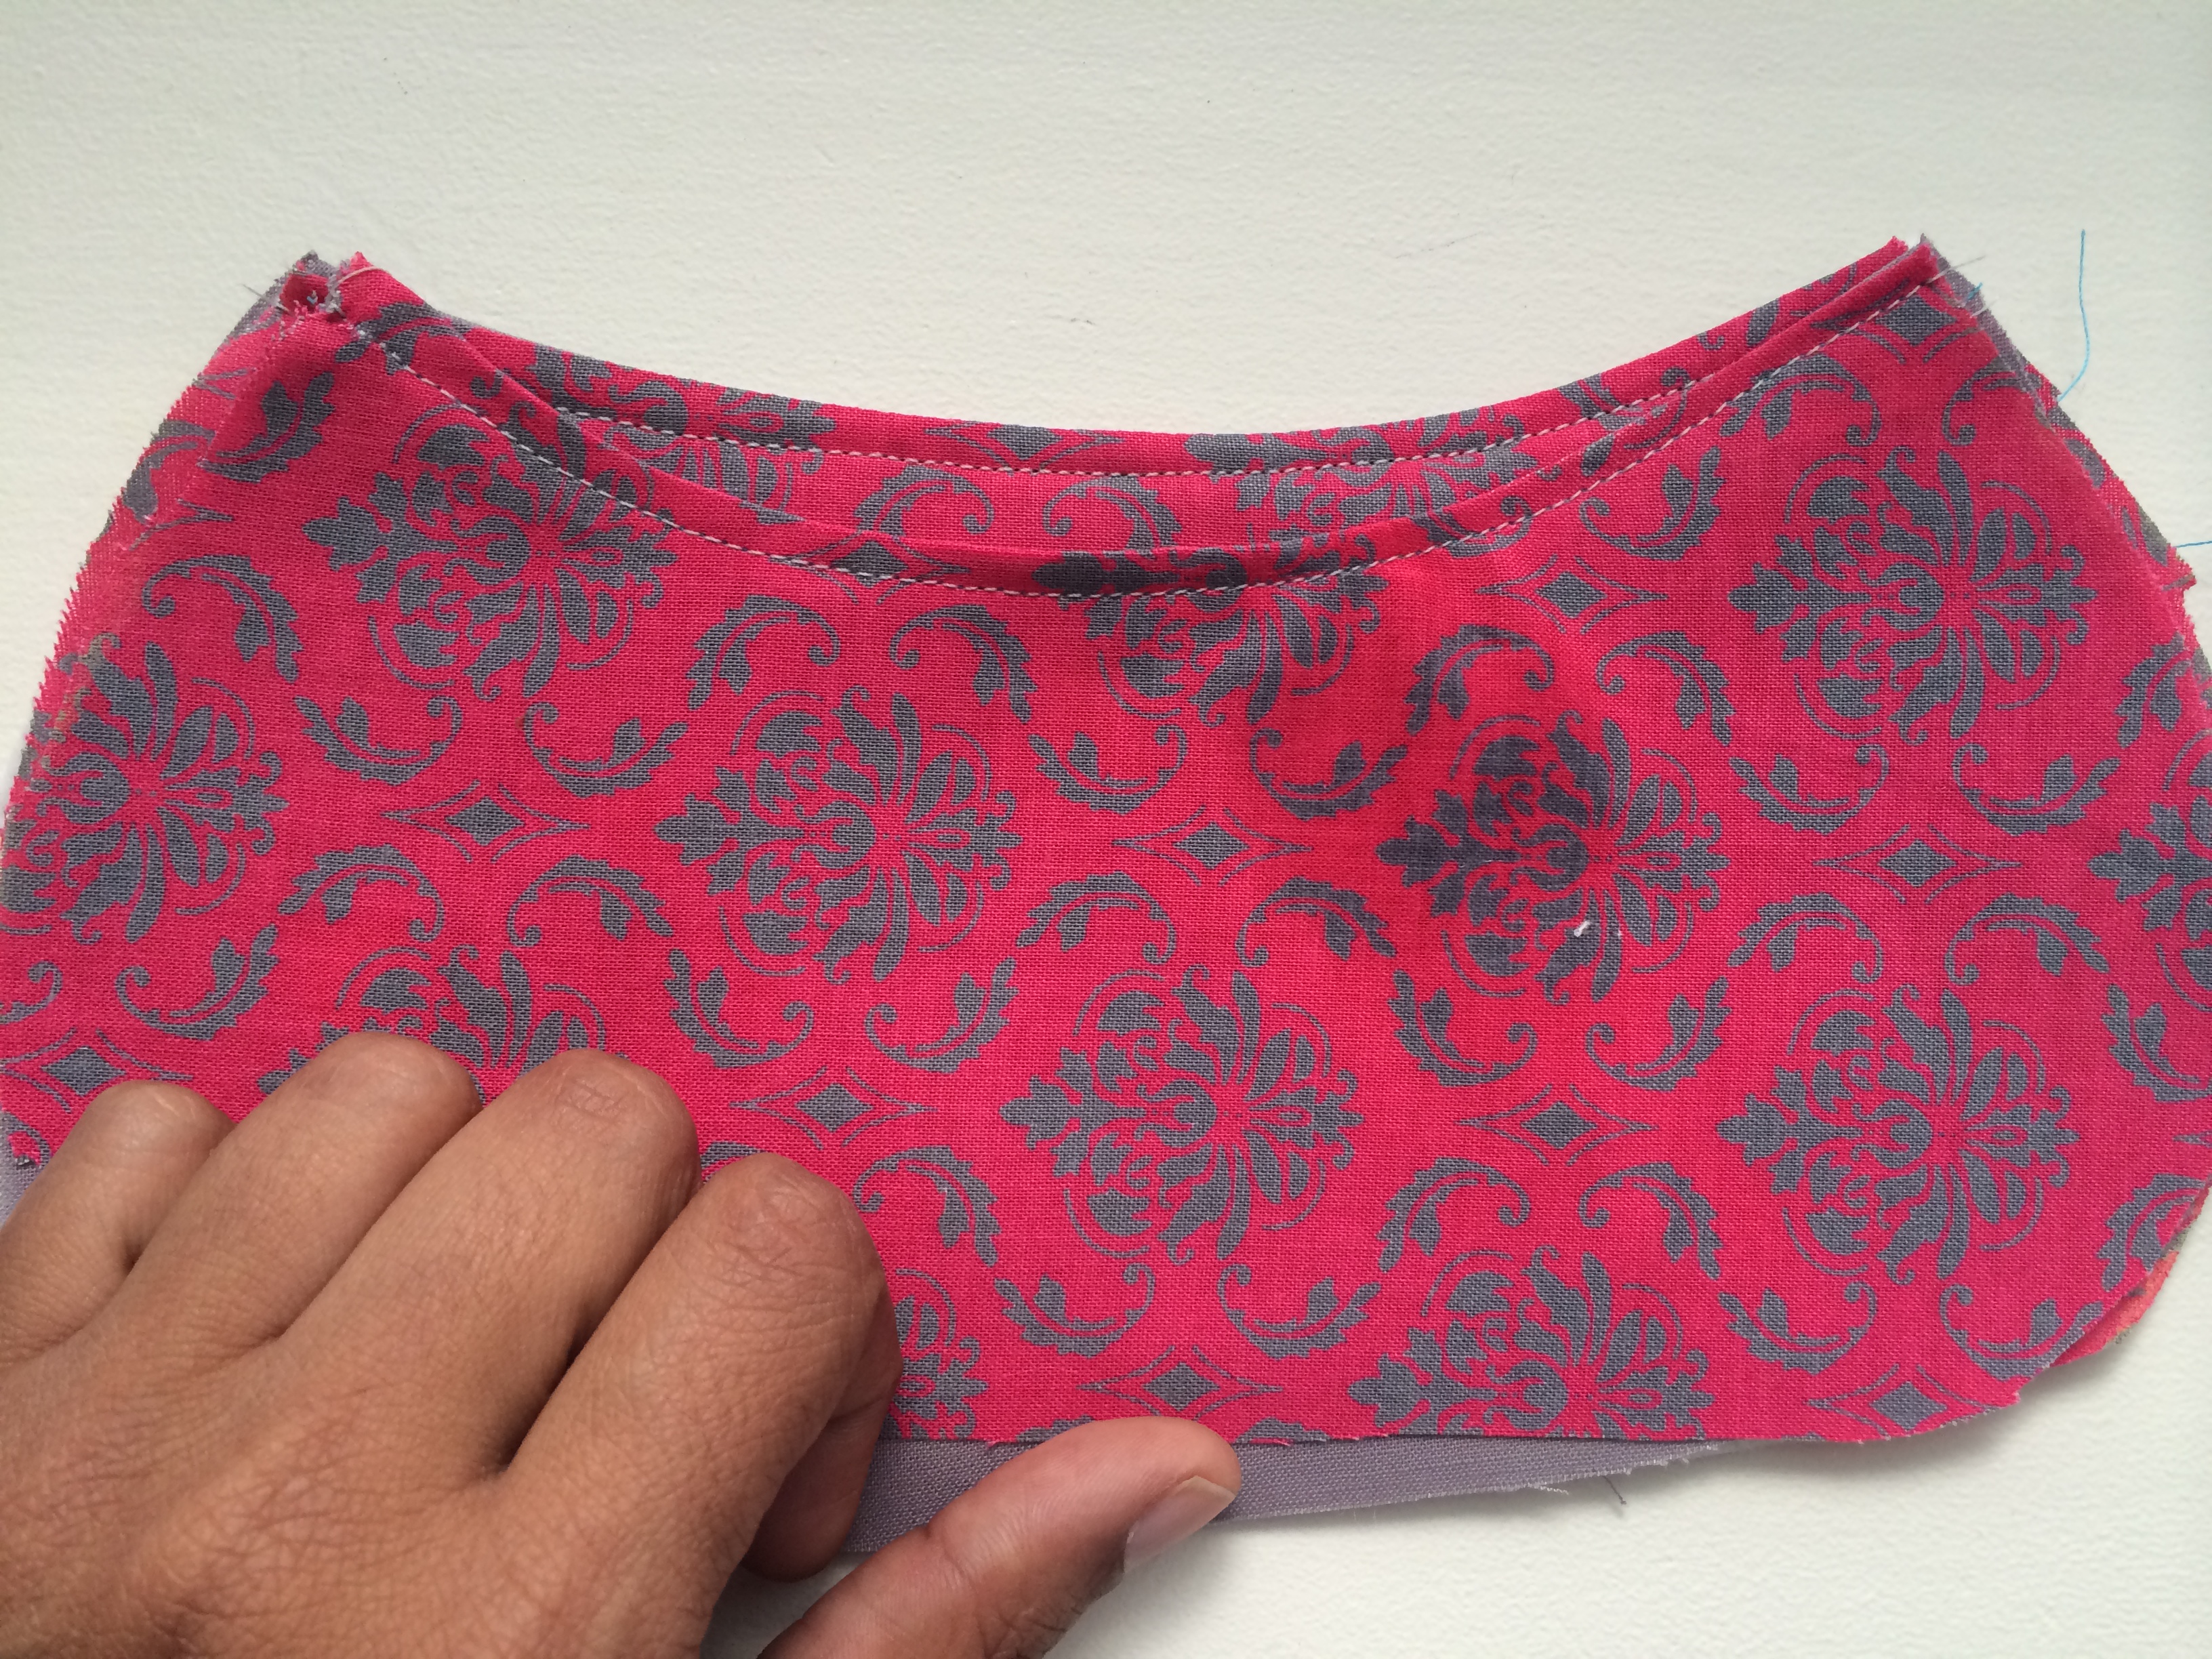
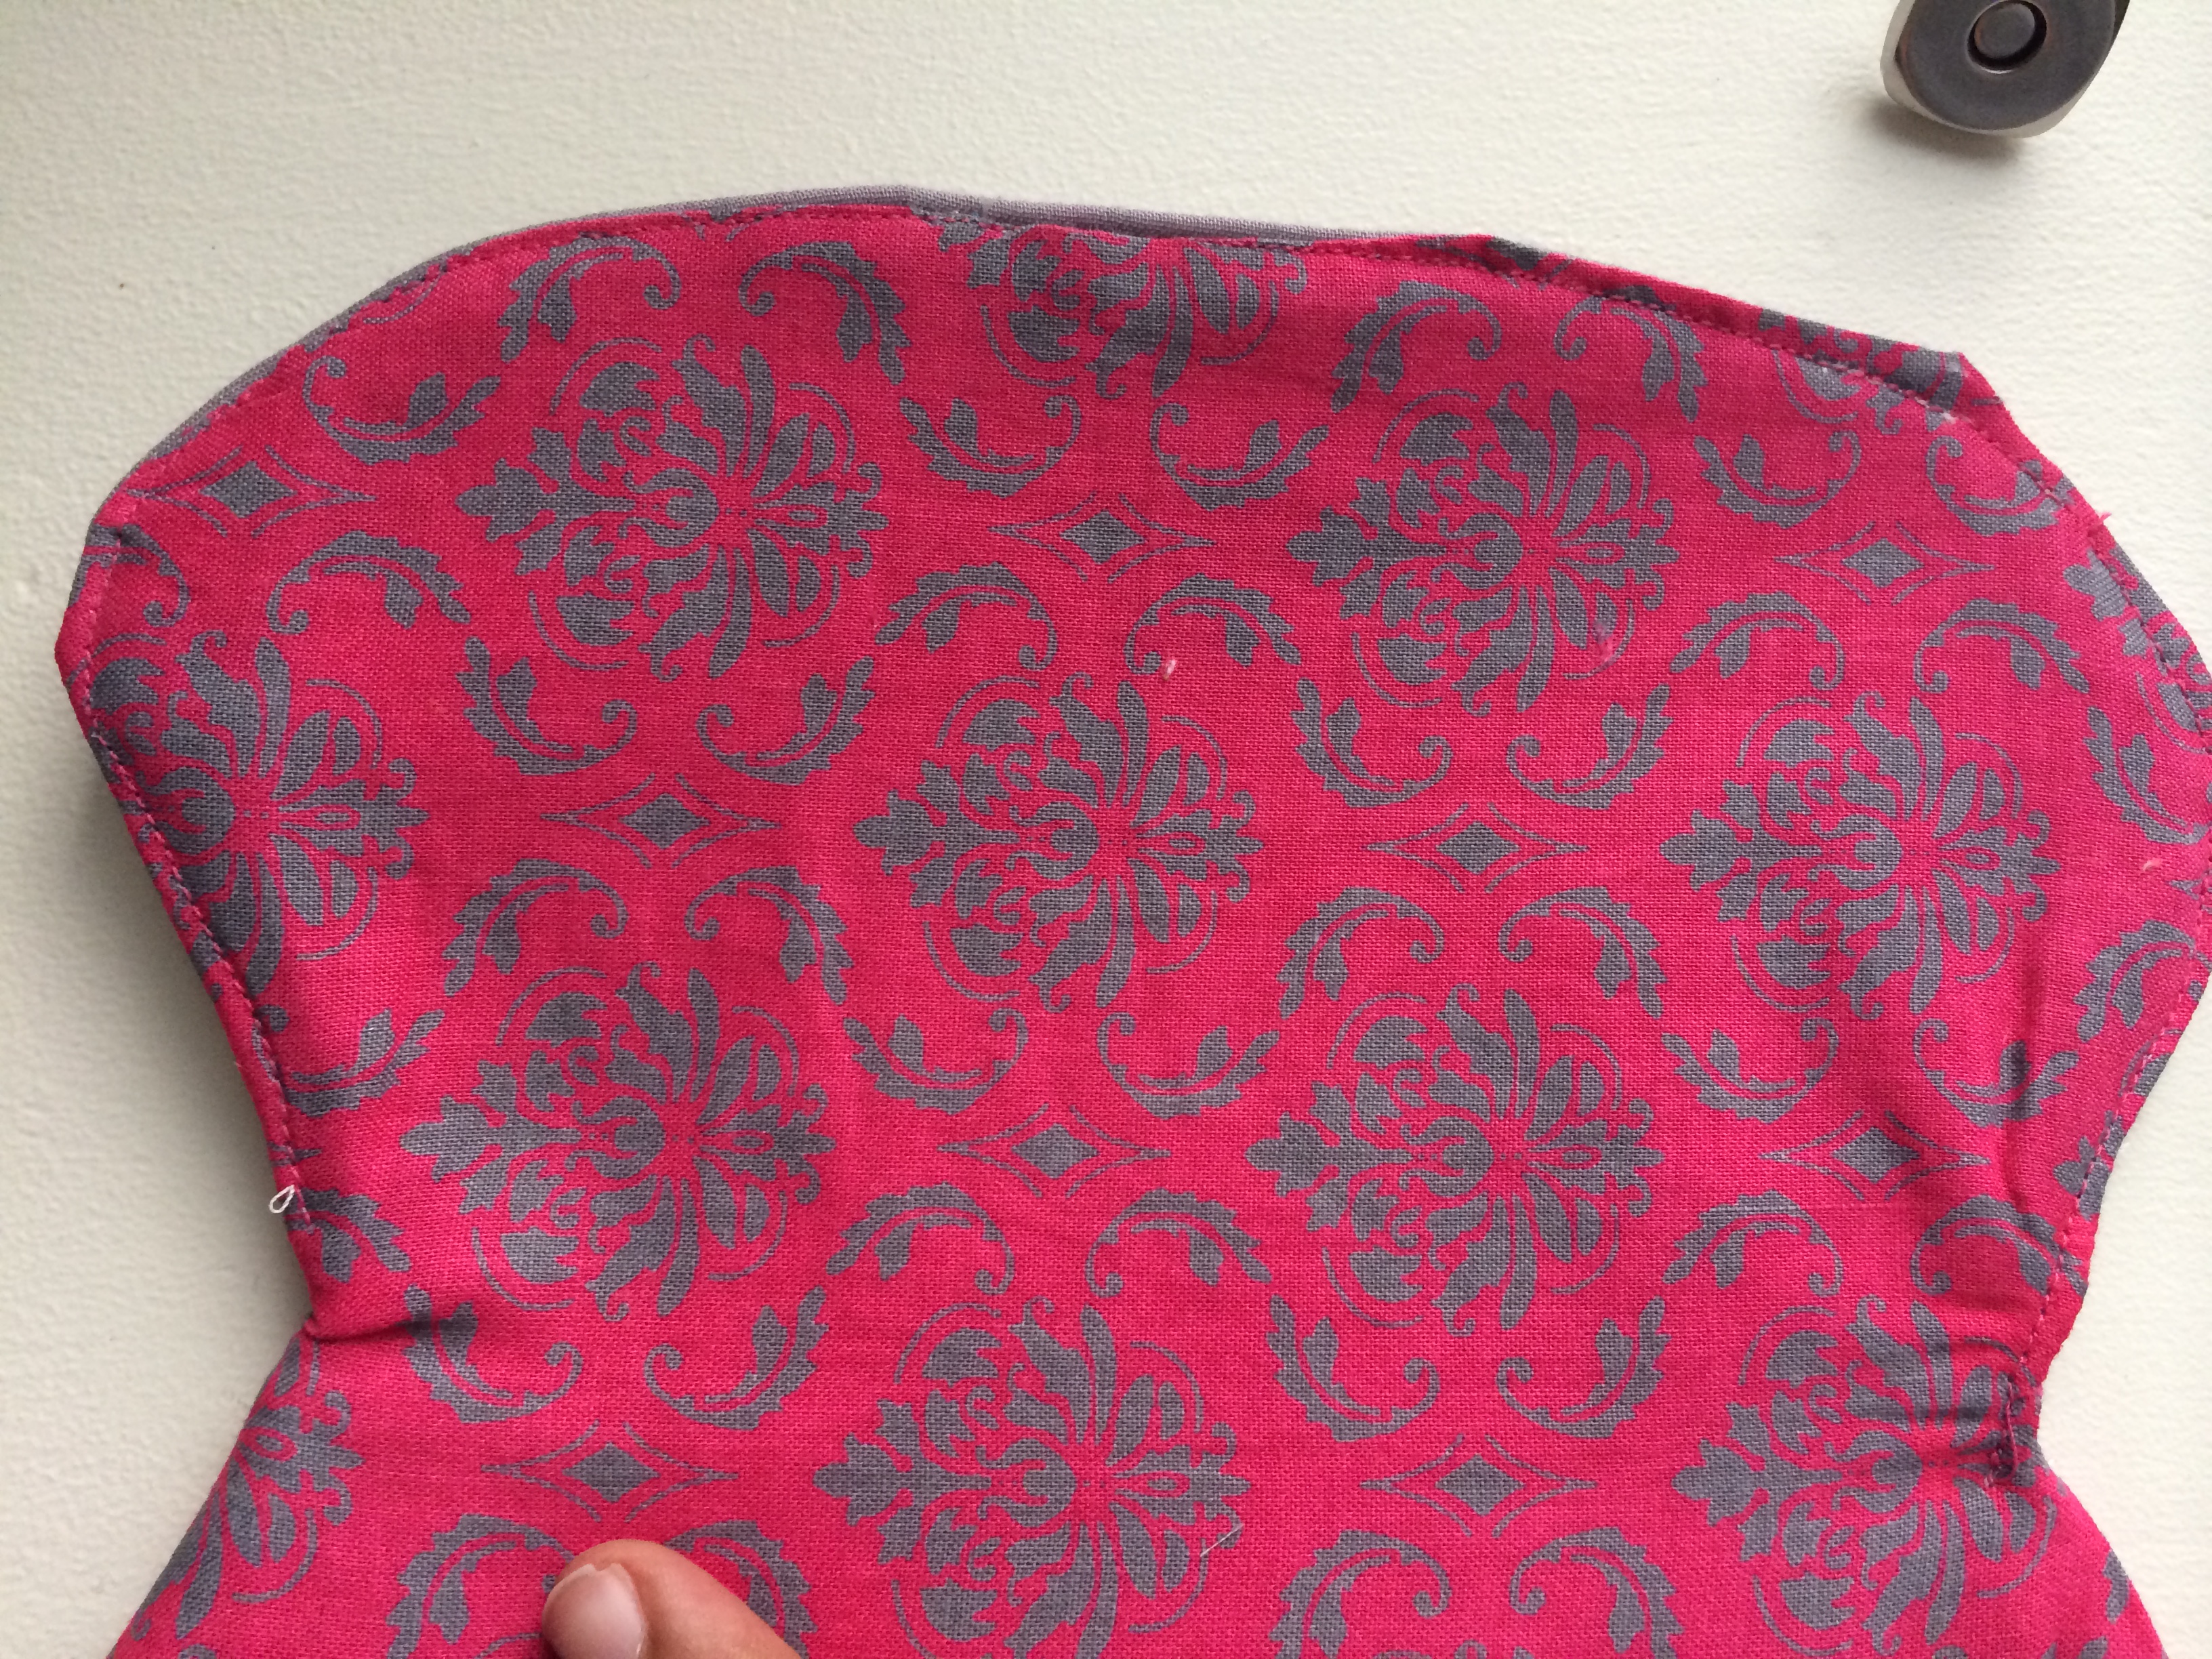
Next, sew the lining and outer fabric to the front pieces right sides together on the TOP ONLY. Remember to do it for the front panel and the front pocket.
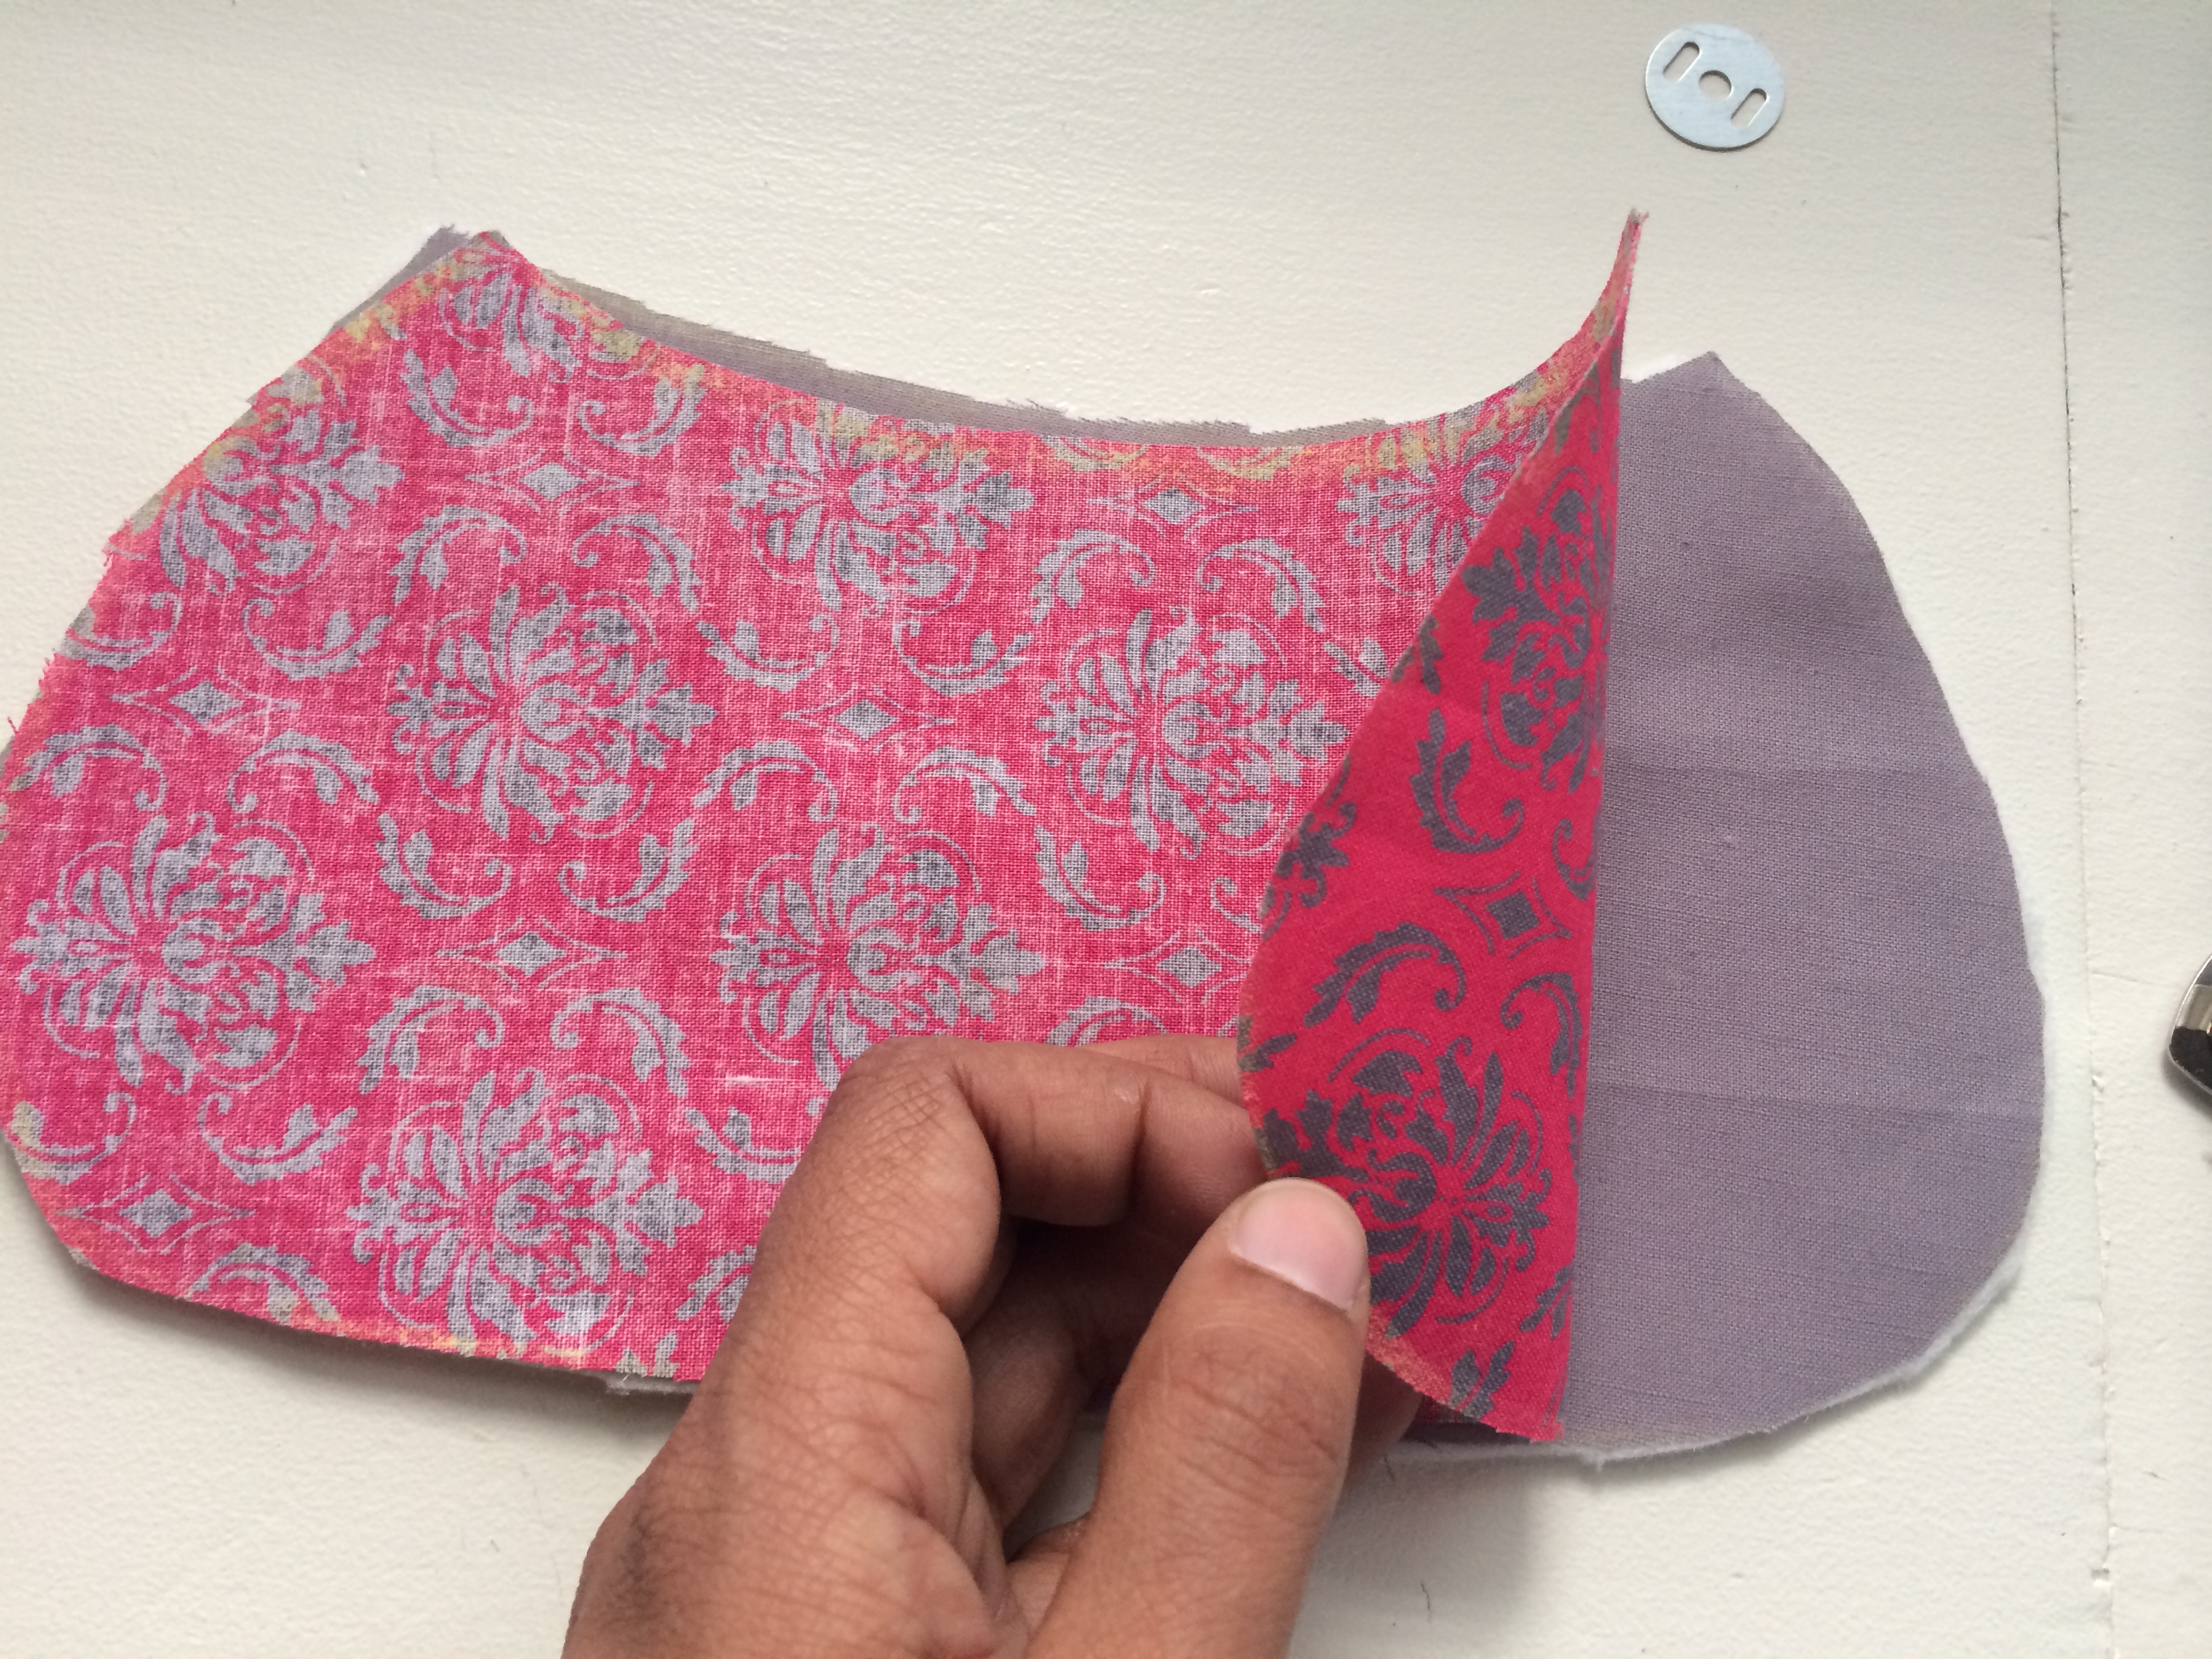
Turn the lining over, iron and top stitch the top. Do this for both of the front pieces.

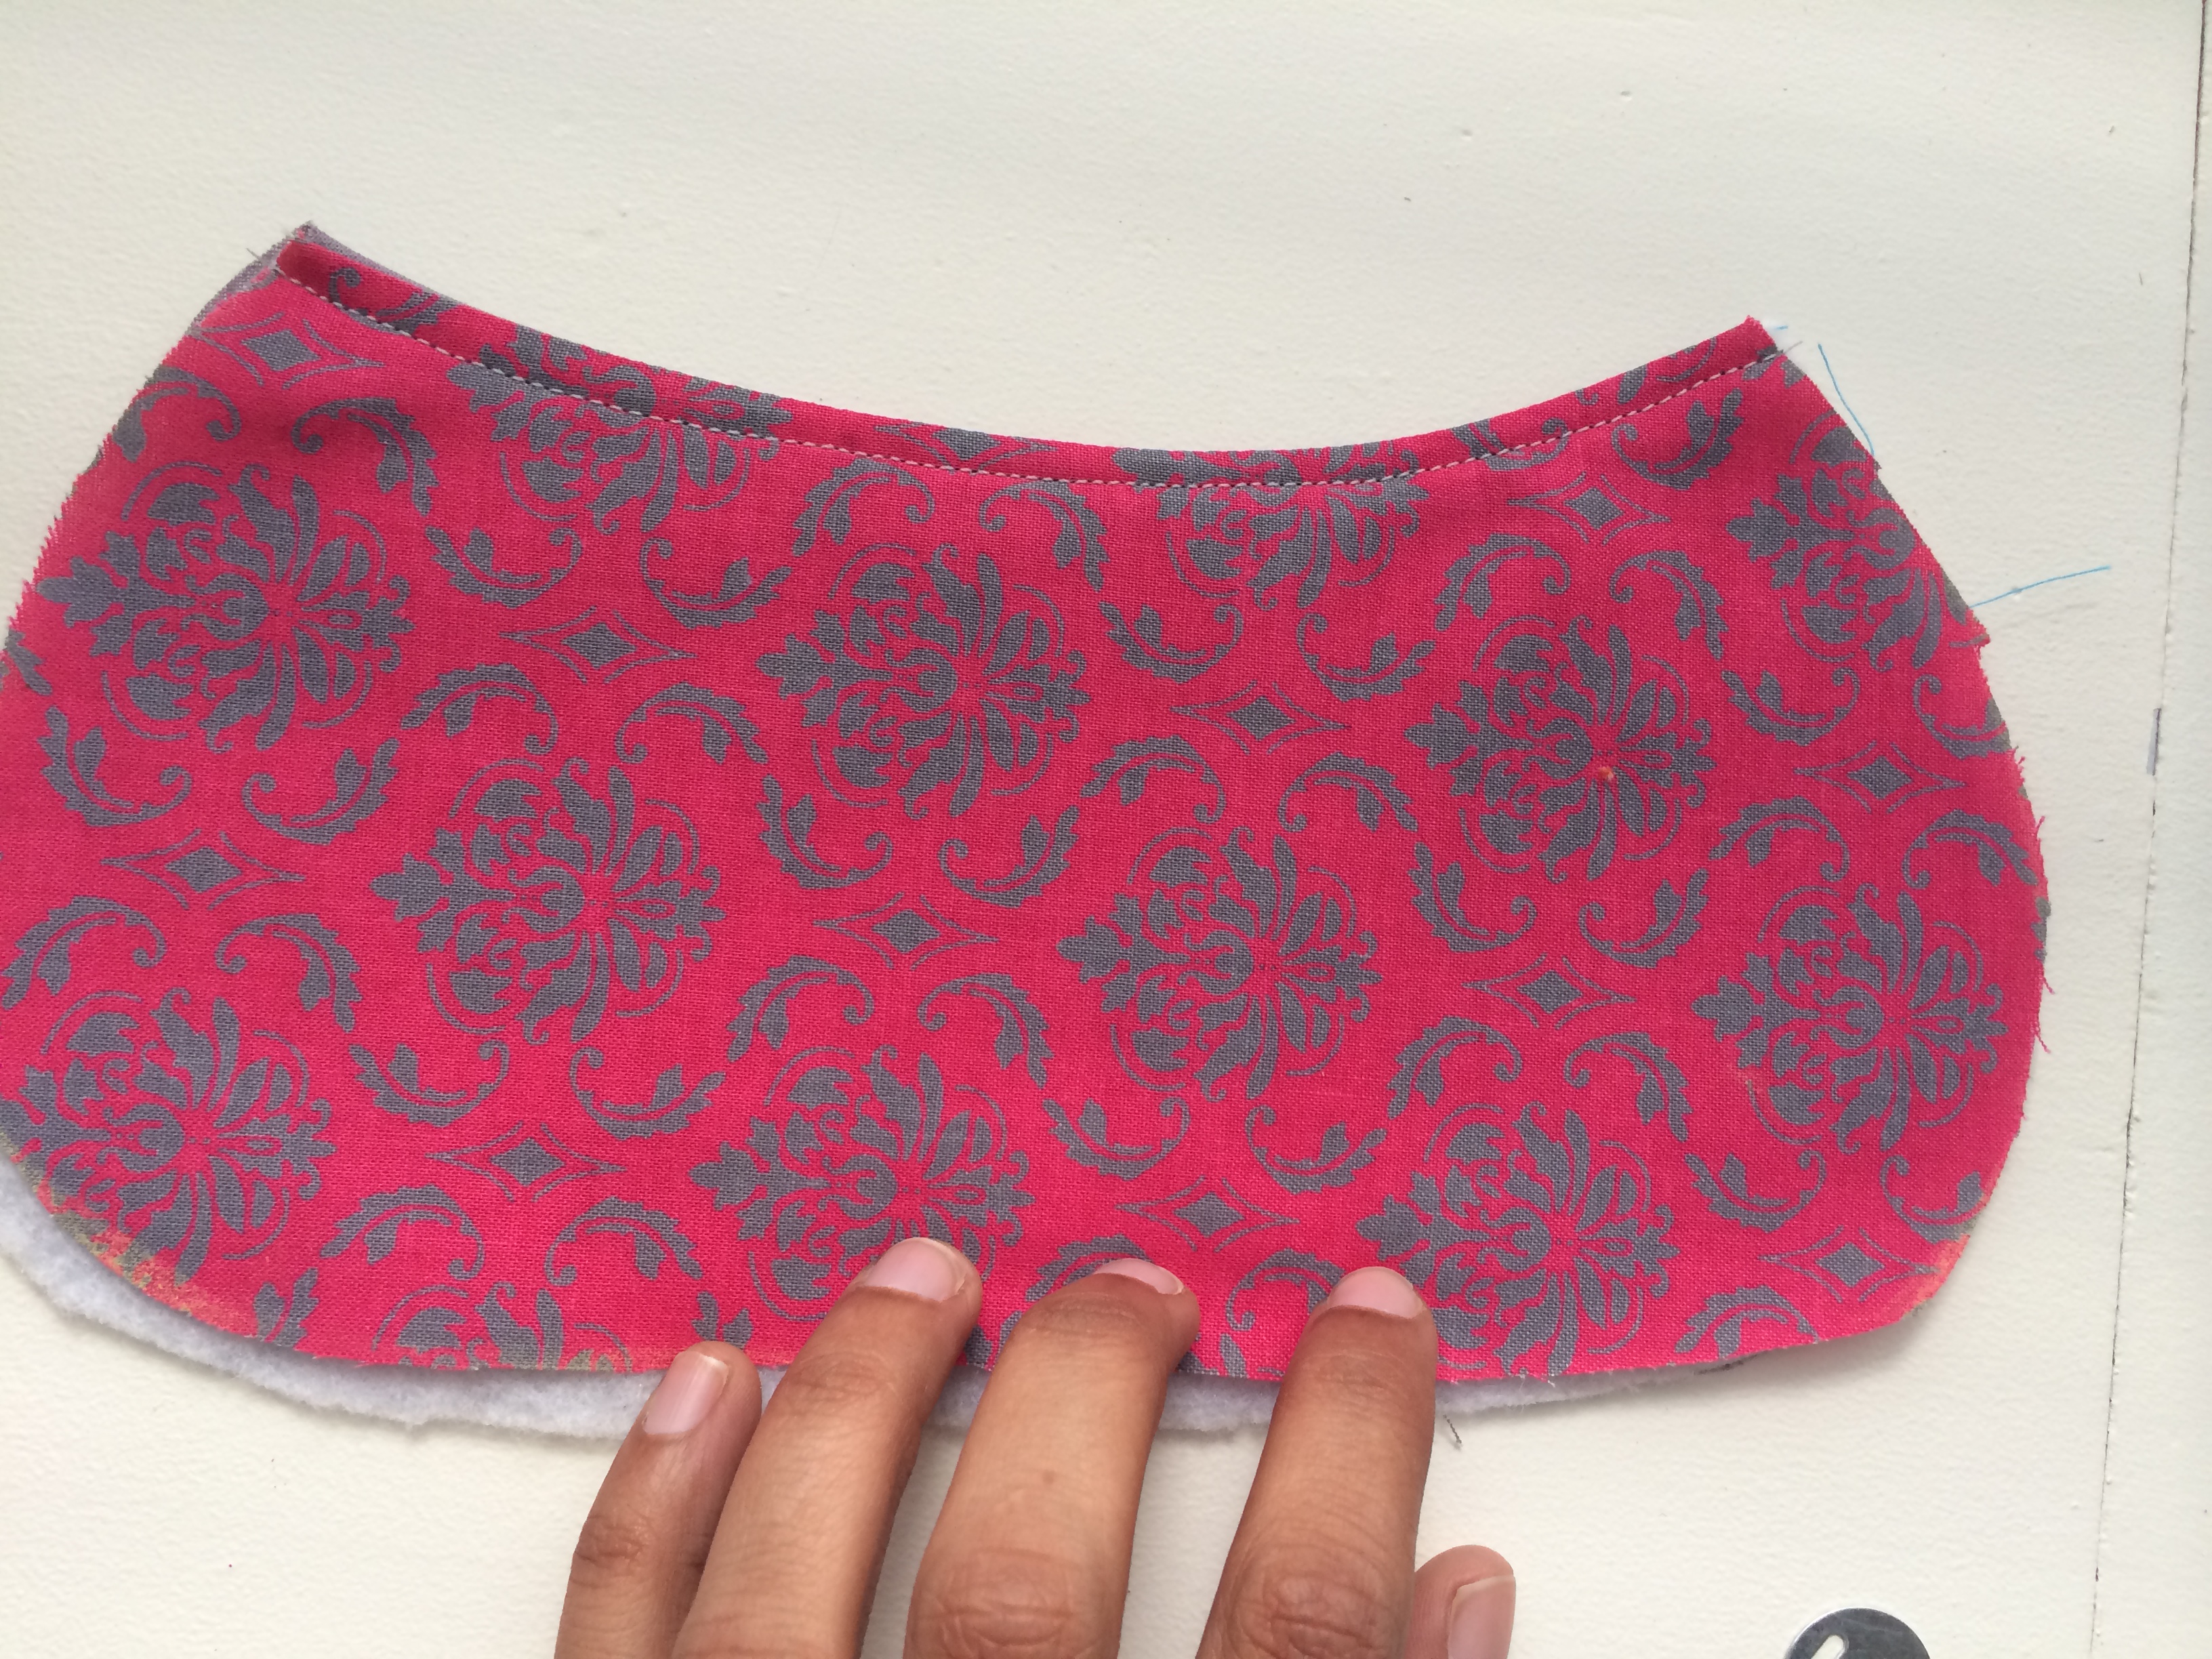
Next, baste stitch (longest stitch length) the two front pieces (panel and pocket) together, one on top of each other with the right sides facing up.

Let’s do the straps! Sew your two pieces right sides together, leaving the short top side open. Turn inside out and iron.
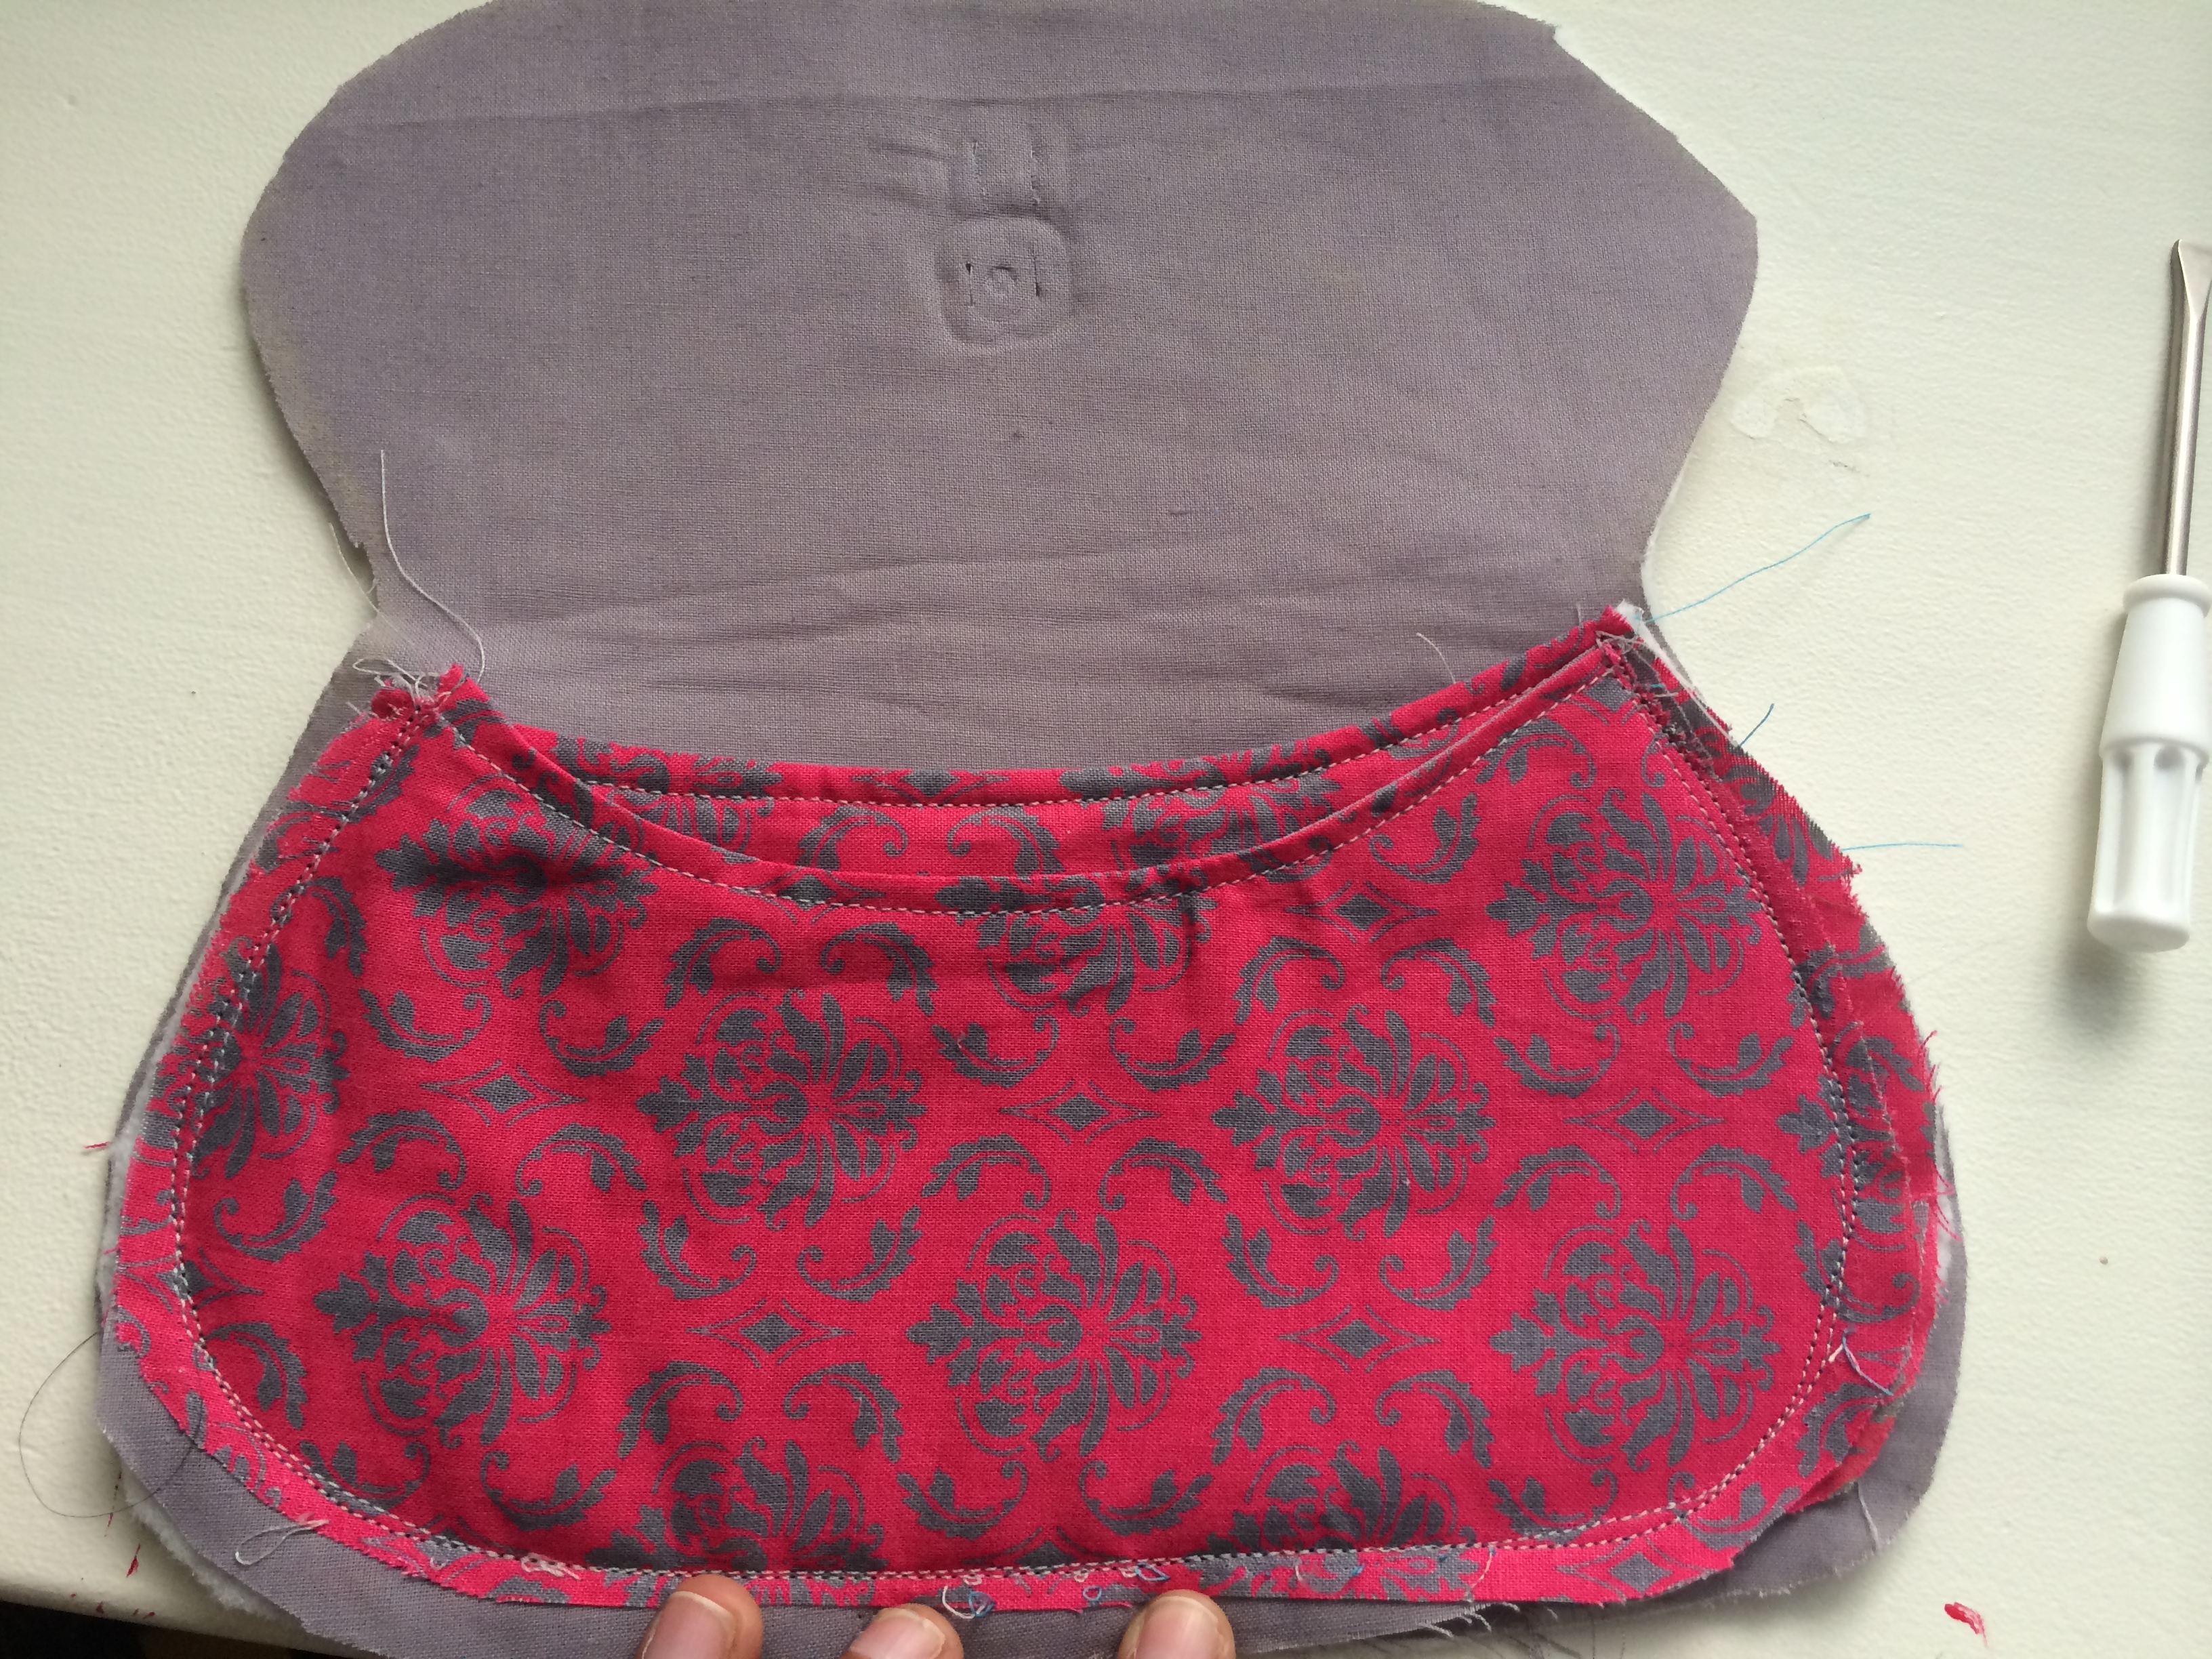
Now, take your combined front piece and sew it to the front (right side) of your back lining.
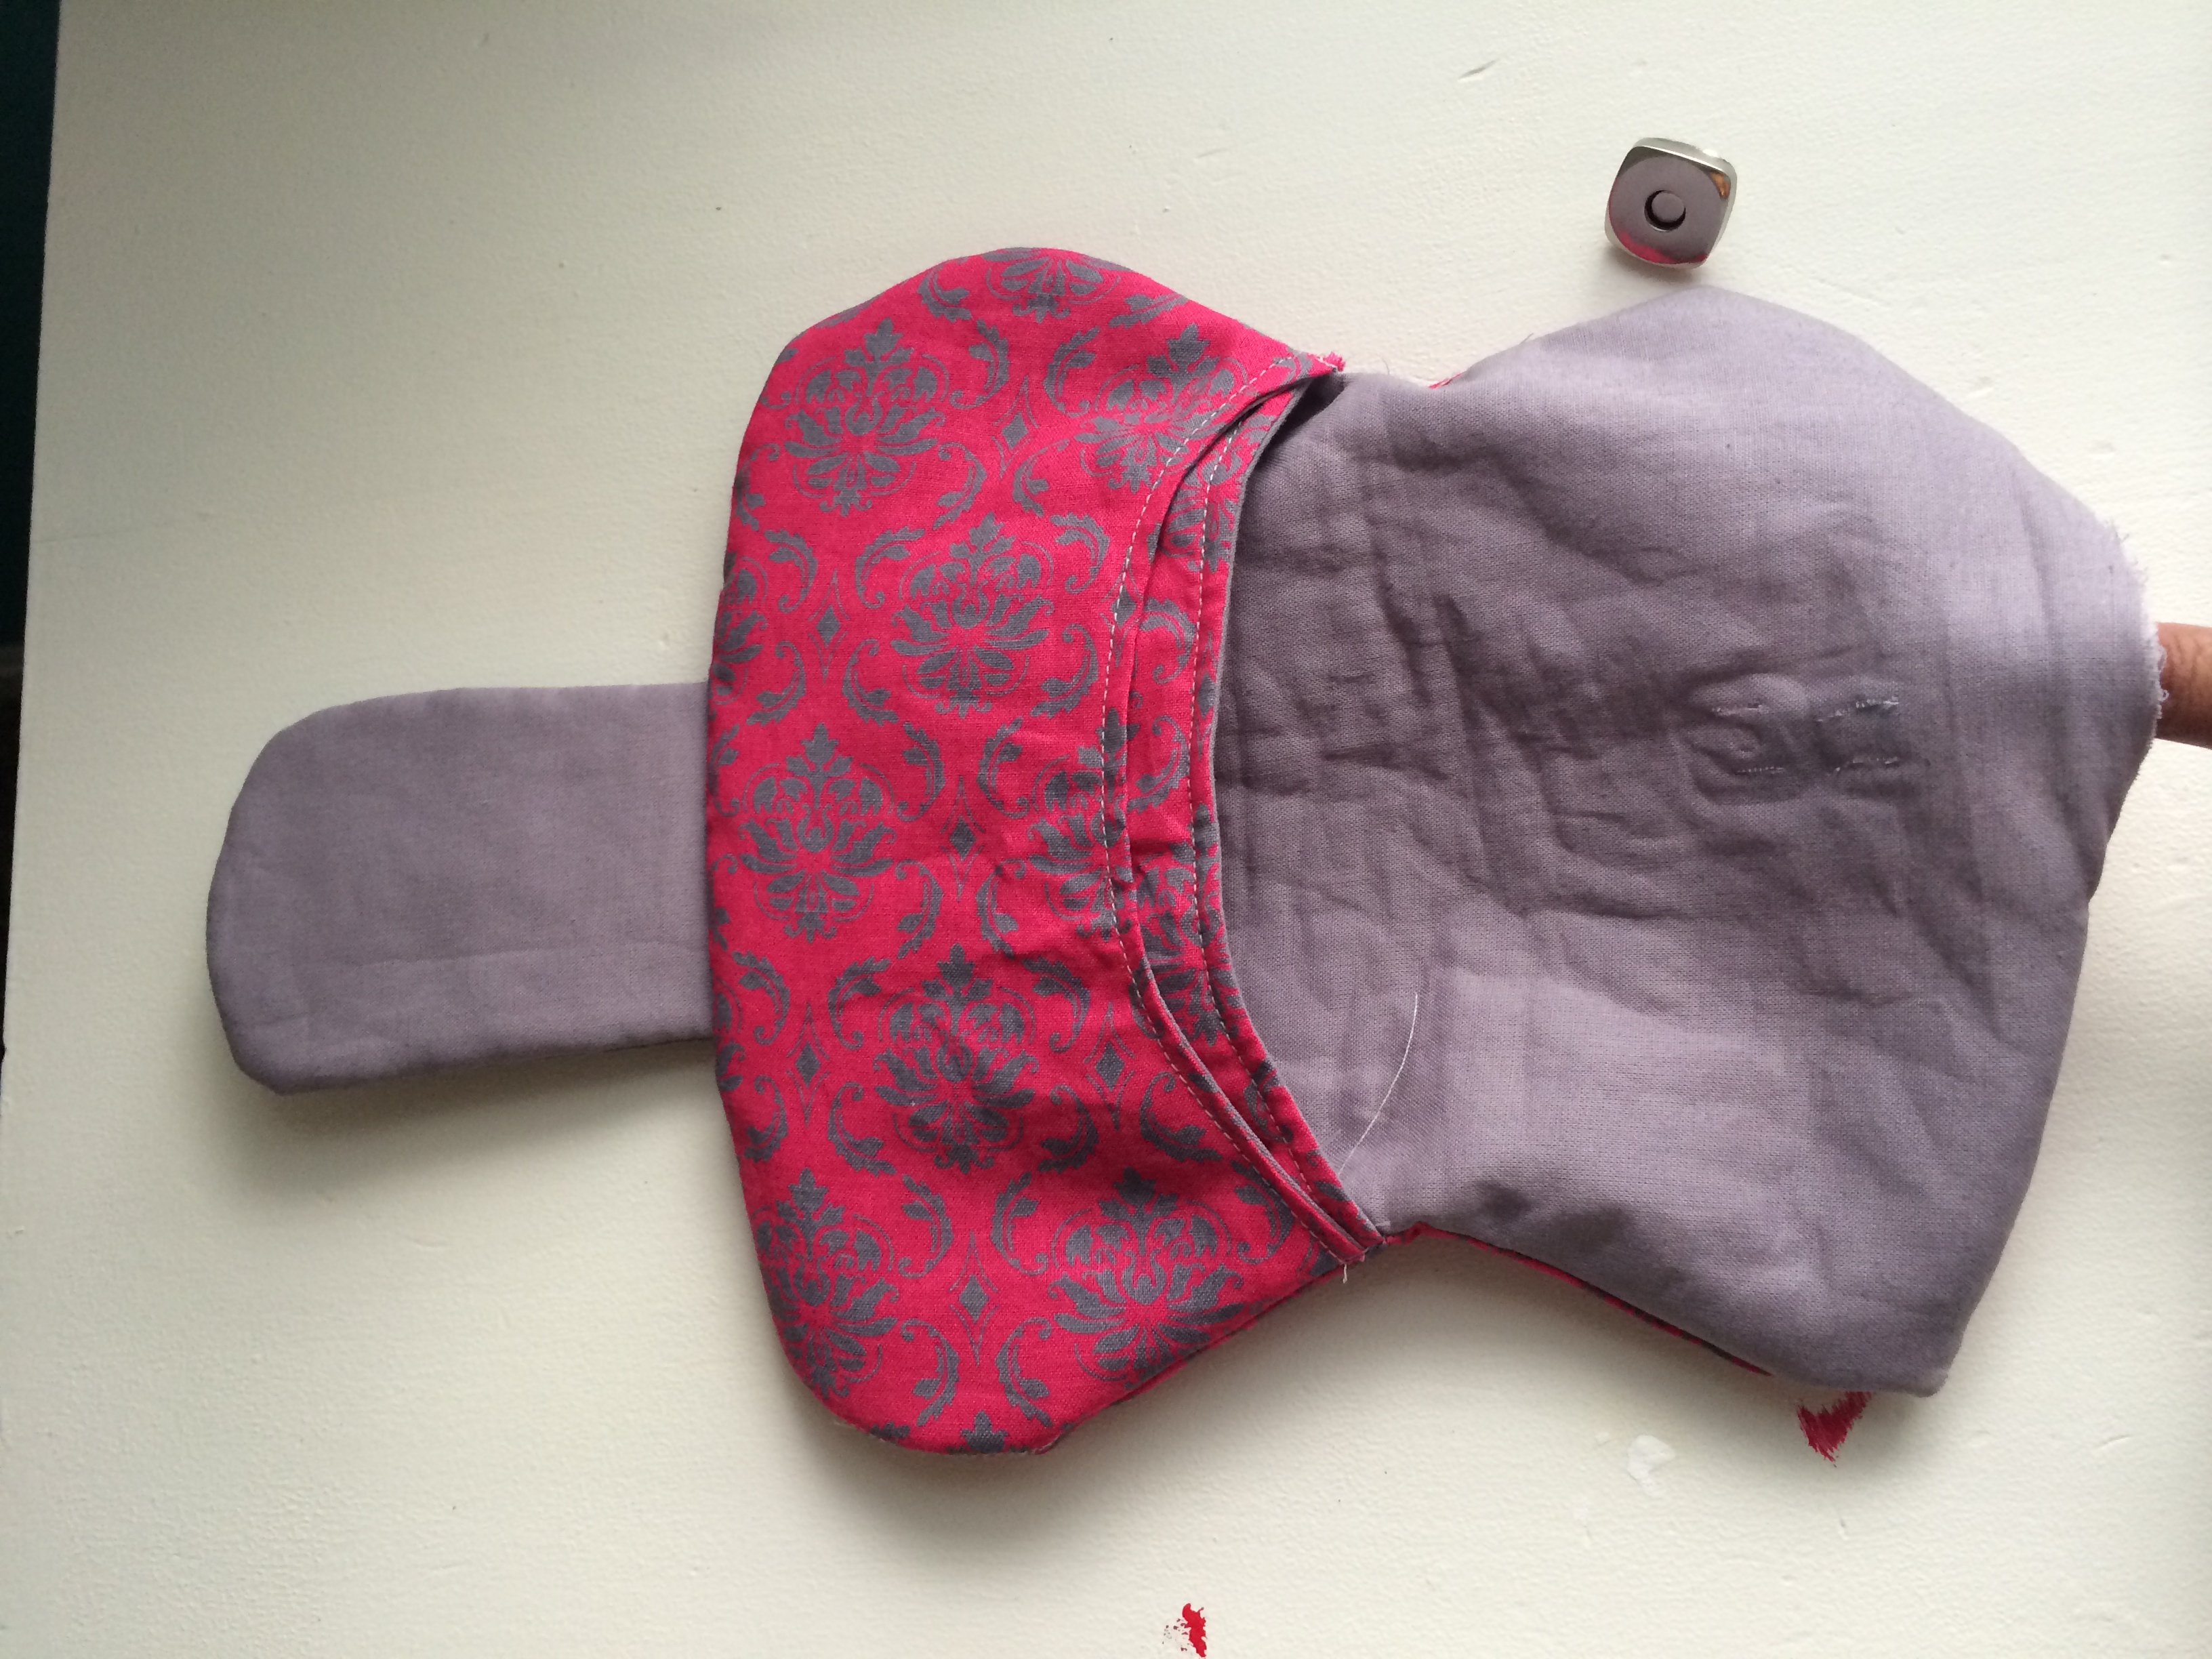
Next, let’s put it all together. Place and pin your straps to the botton of the right side of the lining piece.

Take your main back piece and sew to the lining piece with the straps inside. Sew right sides together. See all the way around, leaving about 4″ open at the top.

Turn it inside out and top stitch your opening close. You can also top stitch all around the top part of the clutch.
That’s it!
Thanks for visiting and Happy Sewing,