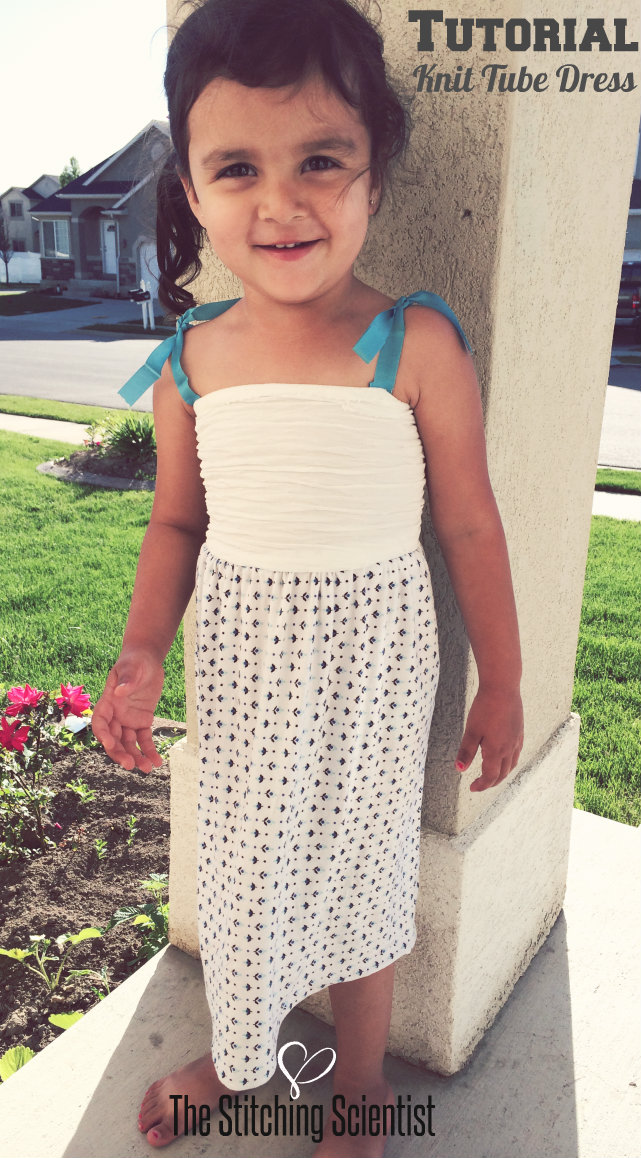
Here is a super simple 10 minute dress you can whip up for your little girl with scraps from your stash. This tube dress uses stretchy bubble knit on the top and regular jersey knit on the bottom. I used bubble knit because that’s what I had but any type of stretch knit can be used. Also instead of knit on the bottom, regular cotton can be used. Its a simple versatile dress that allows you to mix and match from your fabric stash. You can make the length shorter for tunic or top style or long for a flare style. Either way, it finishes up in just 10 minutes using 3 simple steps! I decided to add ribbons as my straps but it can be worn without as a true tube dress or top. My little girl loves hers and we will be making a few more of these this summer.

I get all my knits from Girl Charlee Fabric Shop. They have a wide variety to chose from. You can also make this from bits and pieces of knits you have at home from an old t-shirt or shirt that you no longer use. Anything that stretches will work well for the top.
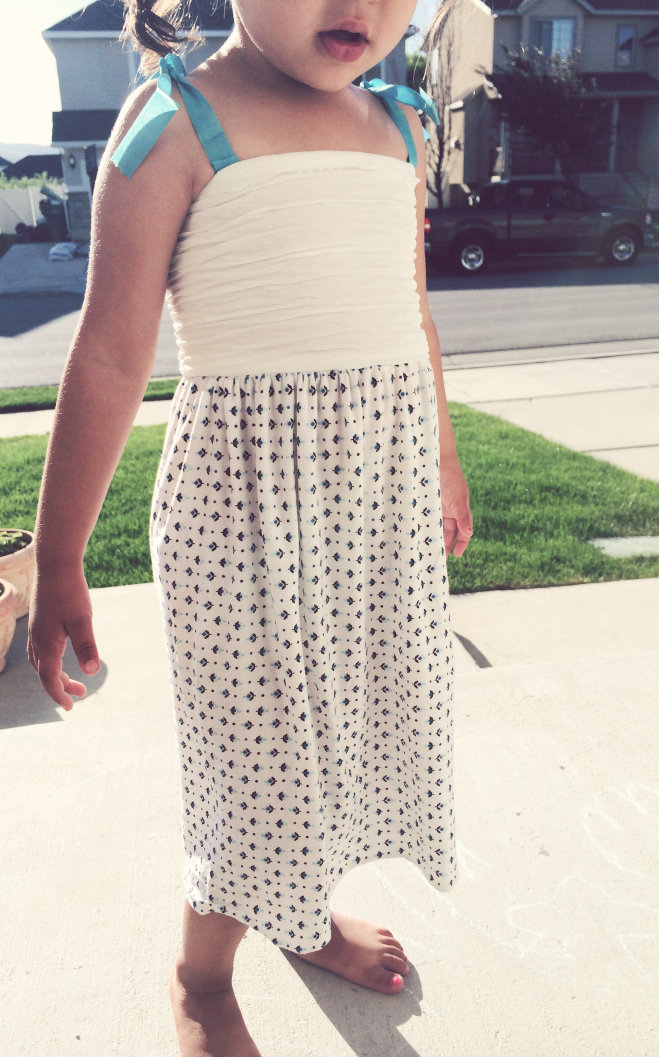
I decided to make Mila’s dress long because she likes to twirl but you can make yours shorter as a top.
Your Supplies
Top Tube- 7″ x 18″ knit (Toddle 3T girls)
Bottom- 1/4 yard knit or cotton
20″ ribbon. Cut in 4 5″ strips.
Measurements
Top-Measure around your model’s chest and subtract 3″. To get the width, measure from under the arm to just about 2″ above the belly button. Mila’s top ended up being about 7″ x15″.
Bottom- Measure around your model’s waist. Take that number and multiply it by 1.5. To get the length, measure however long you want the dress to be from the belly button area and add 1″ for seam allowance.
Let’s start
Make the top tube by sewing the two short ends right sides together.
![IMG_3751[1]](https://thestitchingscientist.com/wp-content/uploads/2014/06/IMG_37511.jpg)
![IMG_3752[1]](https://thestitchingscientist.com/wp-content/uploads/2014/06/IMG_37521.jpg)
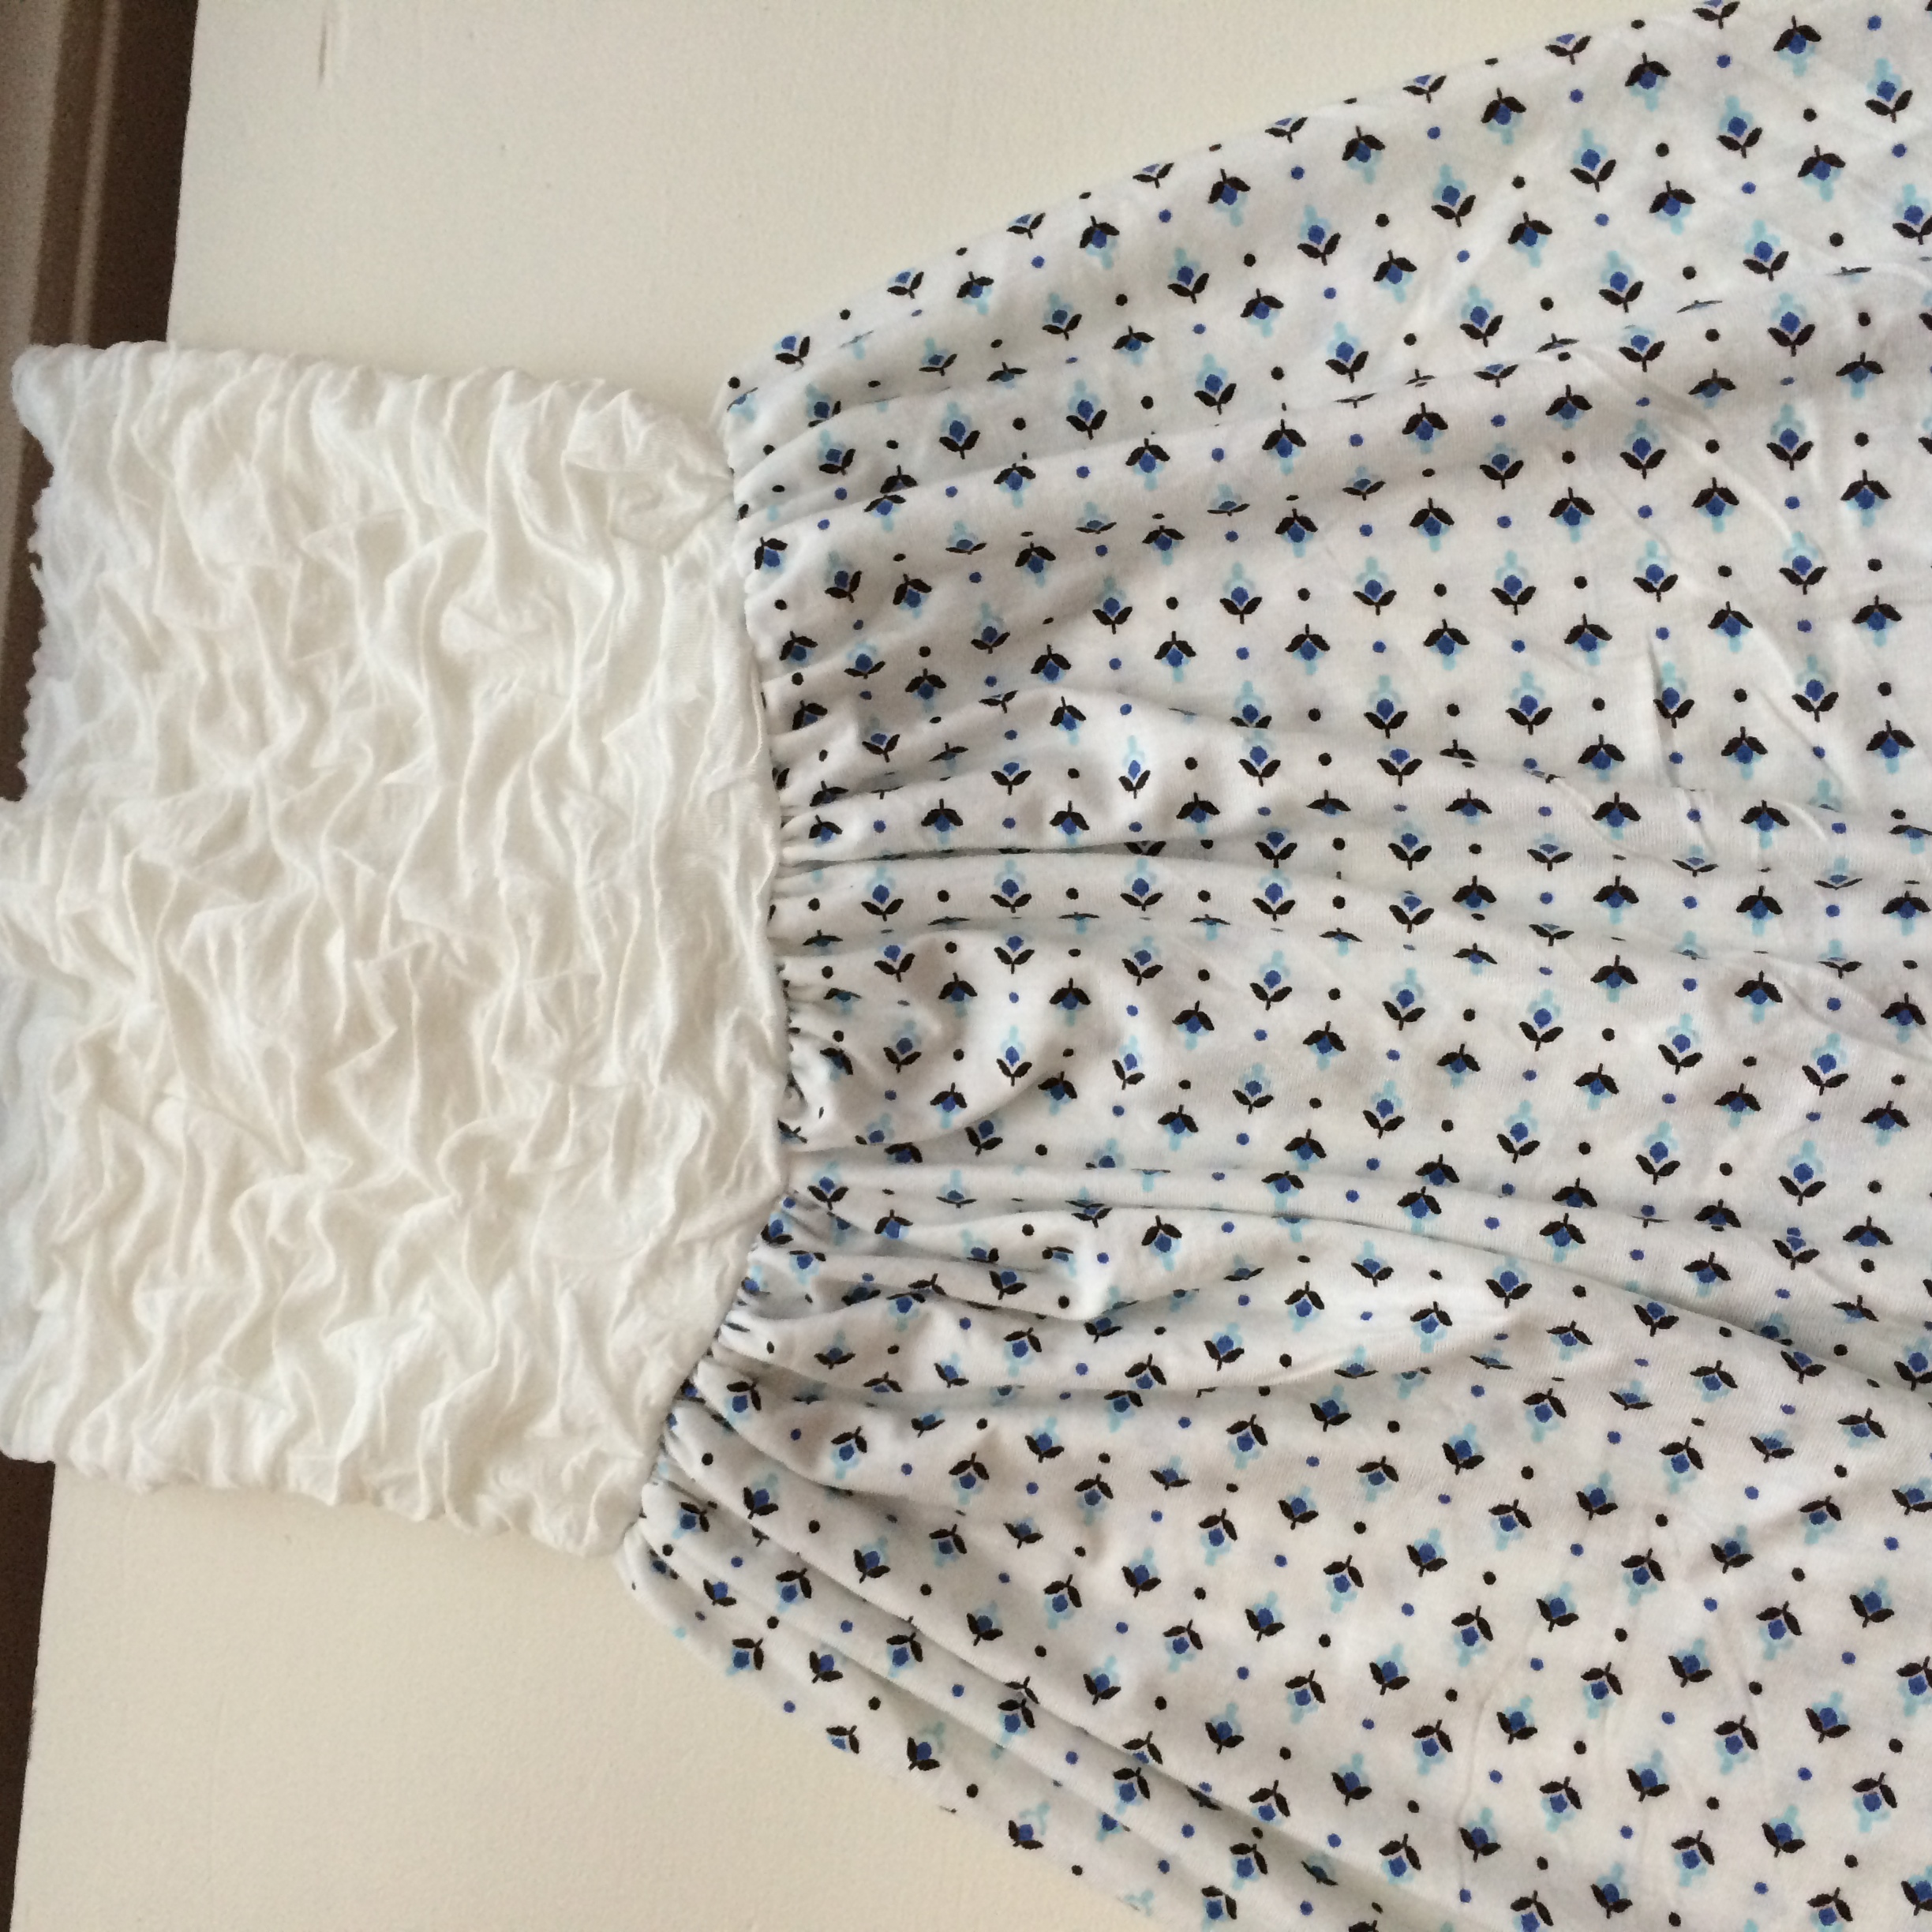
Next, take your bottom piece, sew a long stitch 1″ from the top and pull to form a gather.
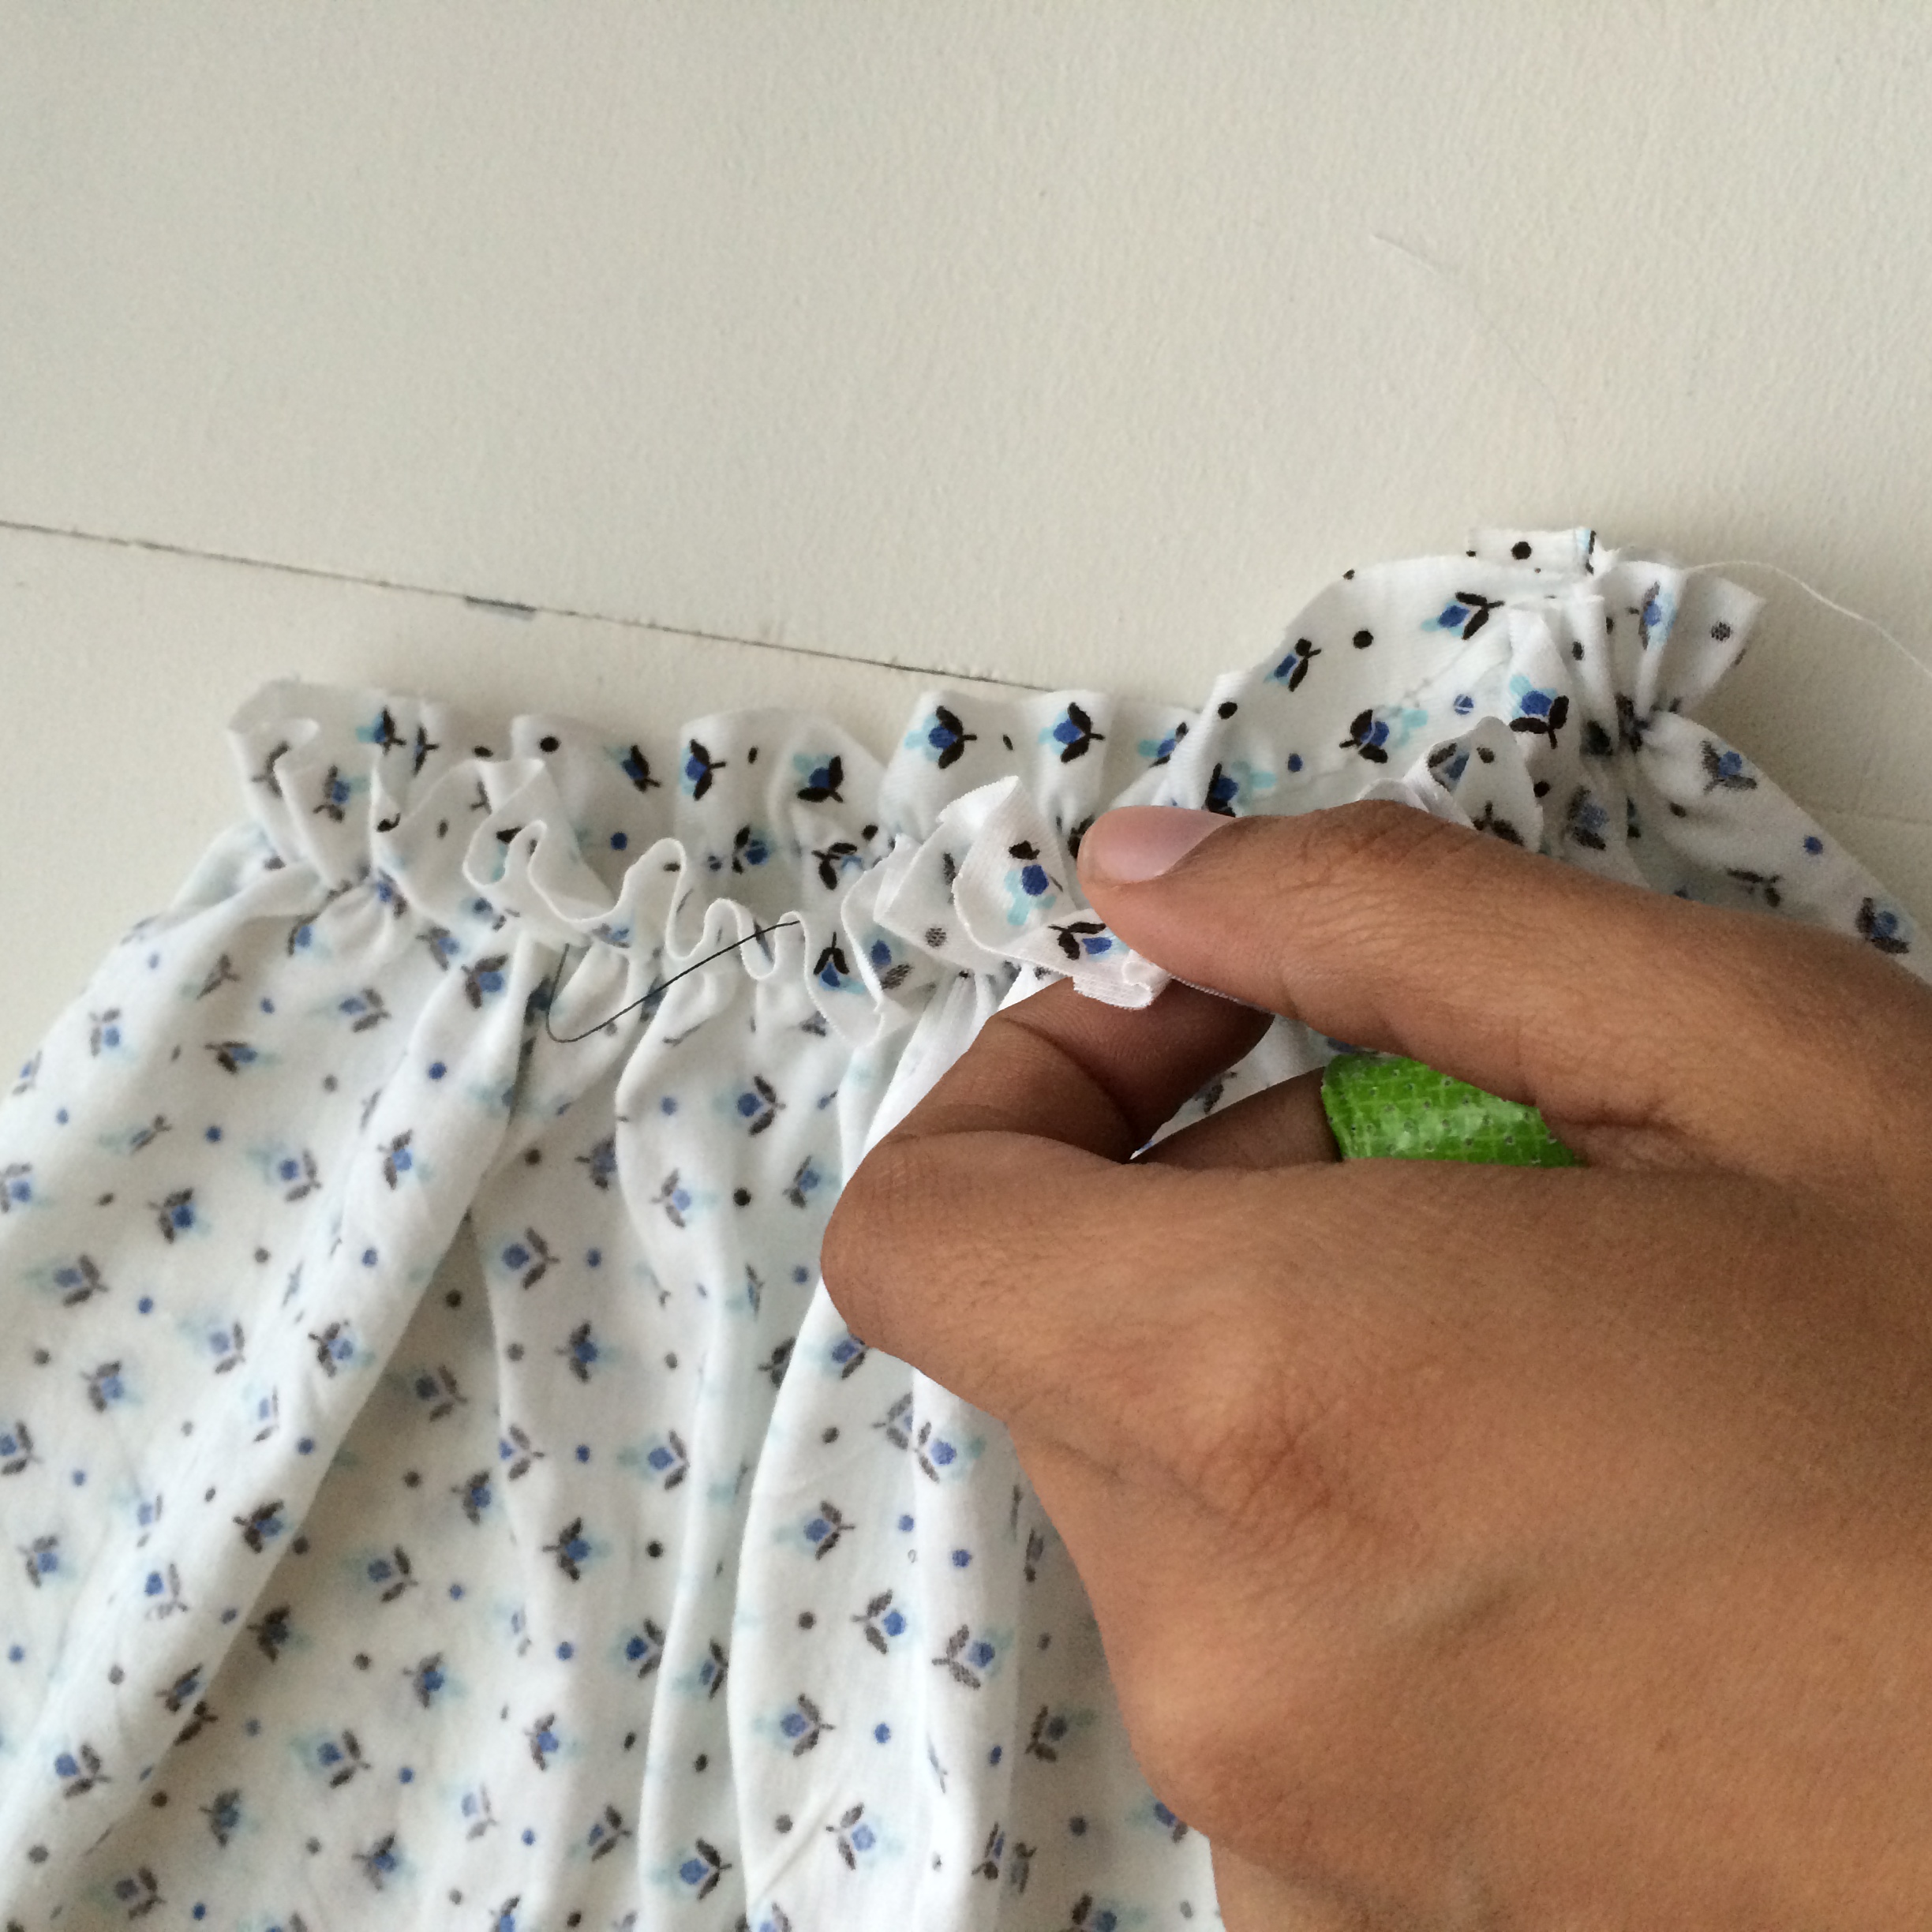
Fit your top into the bottom piece, right sides together aligning the back of the gathered piece to the back of your top piece.

Sew using 1″ allowance all the way around.

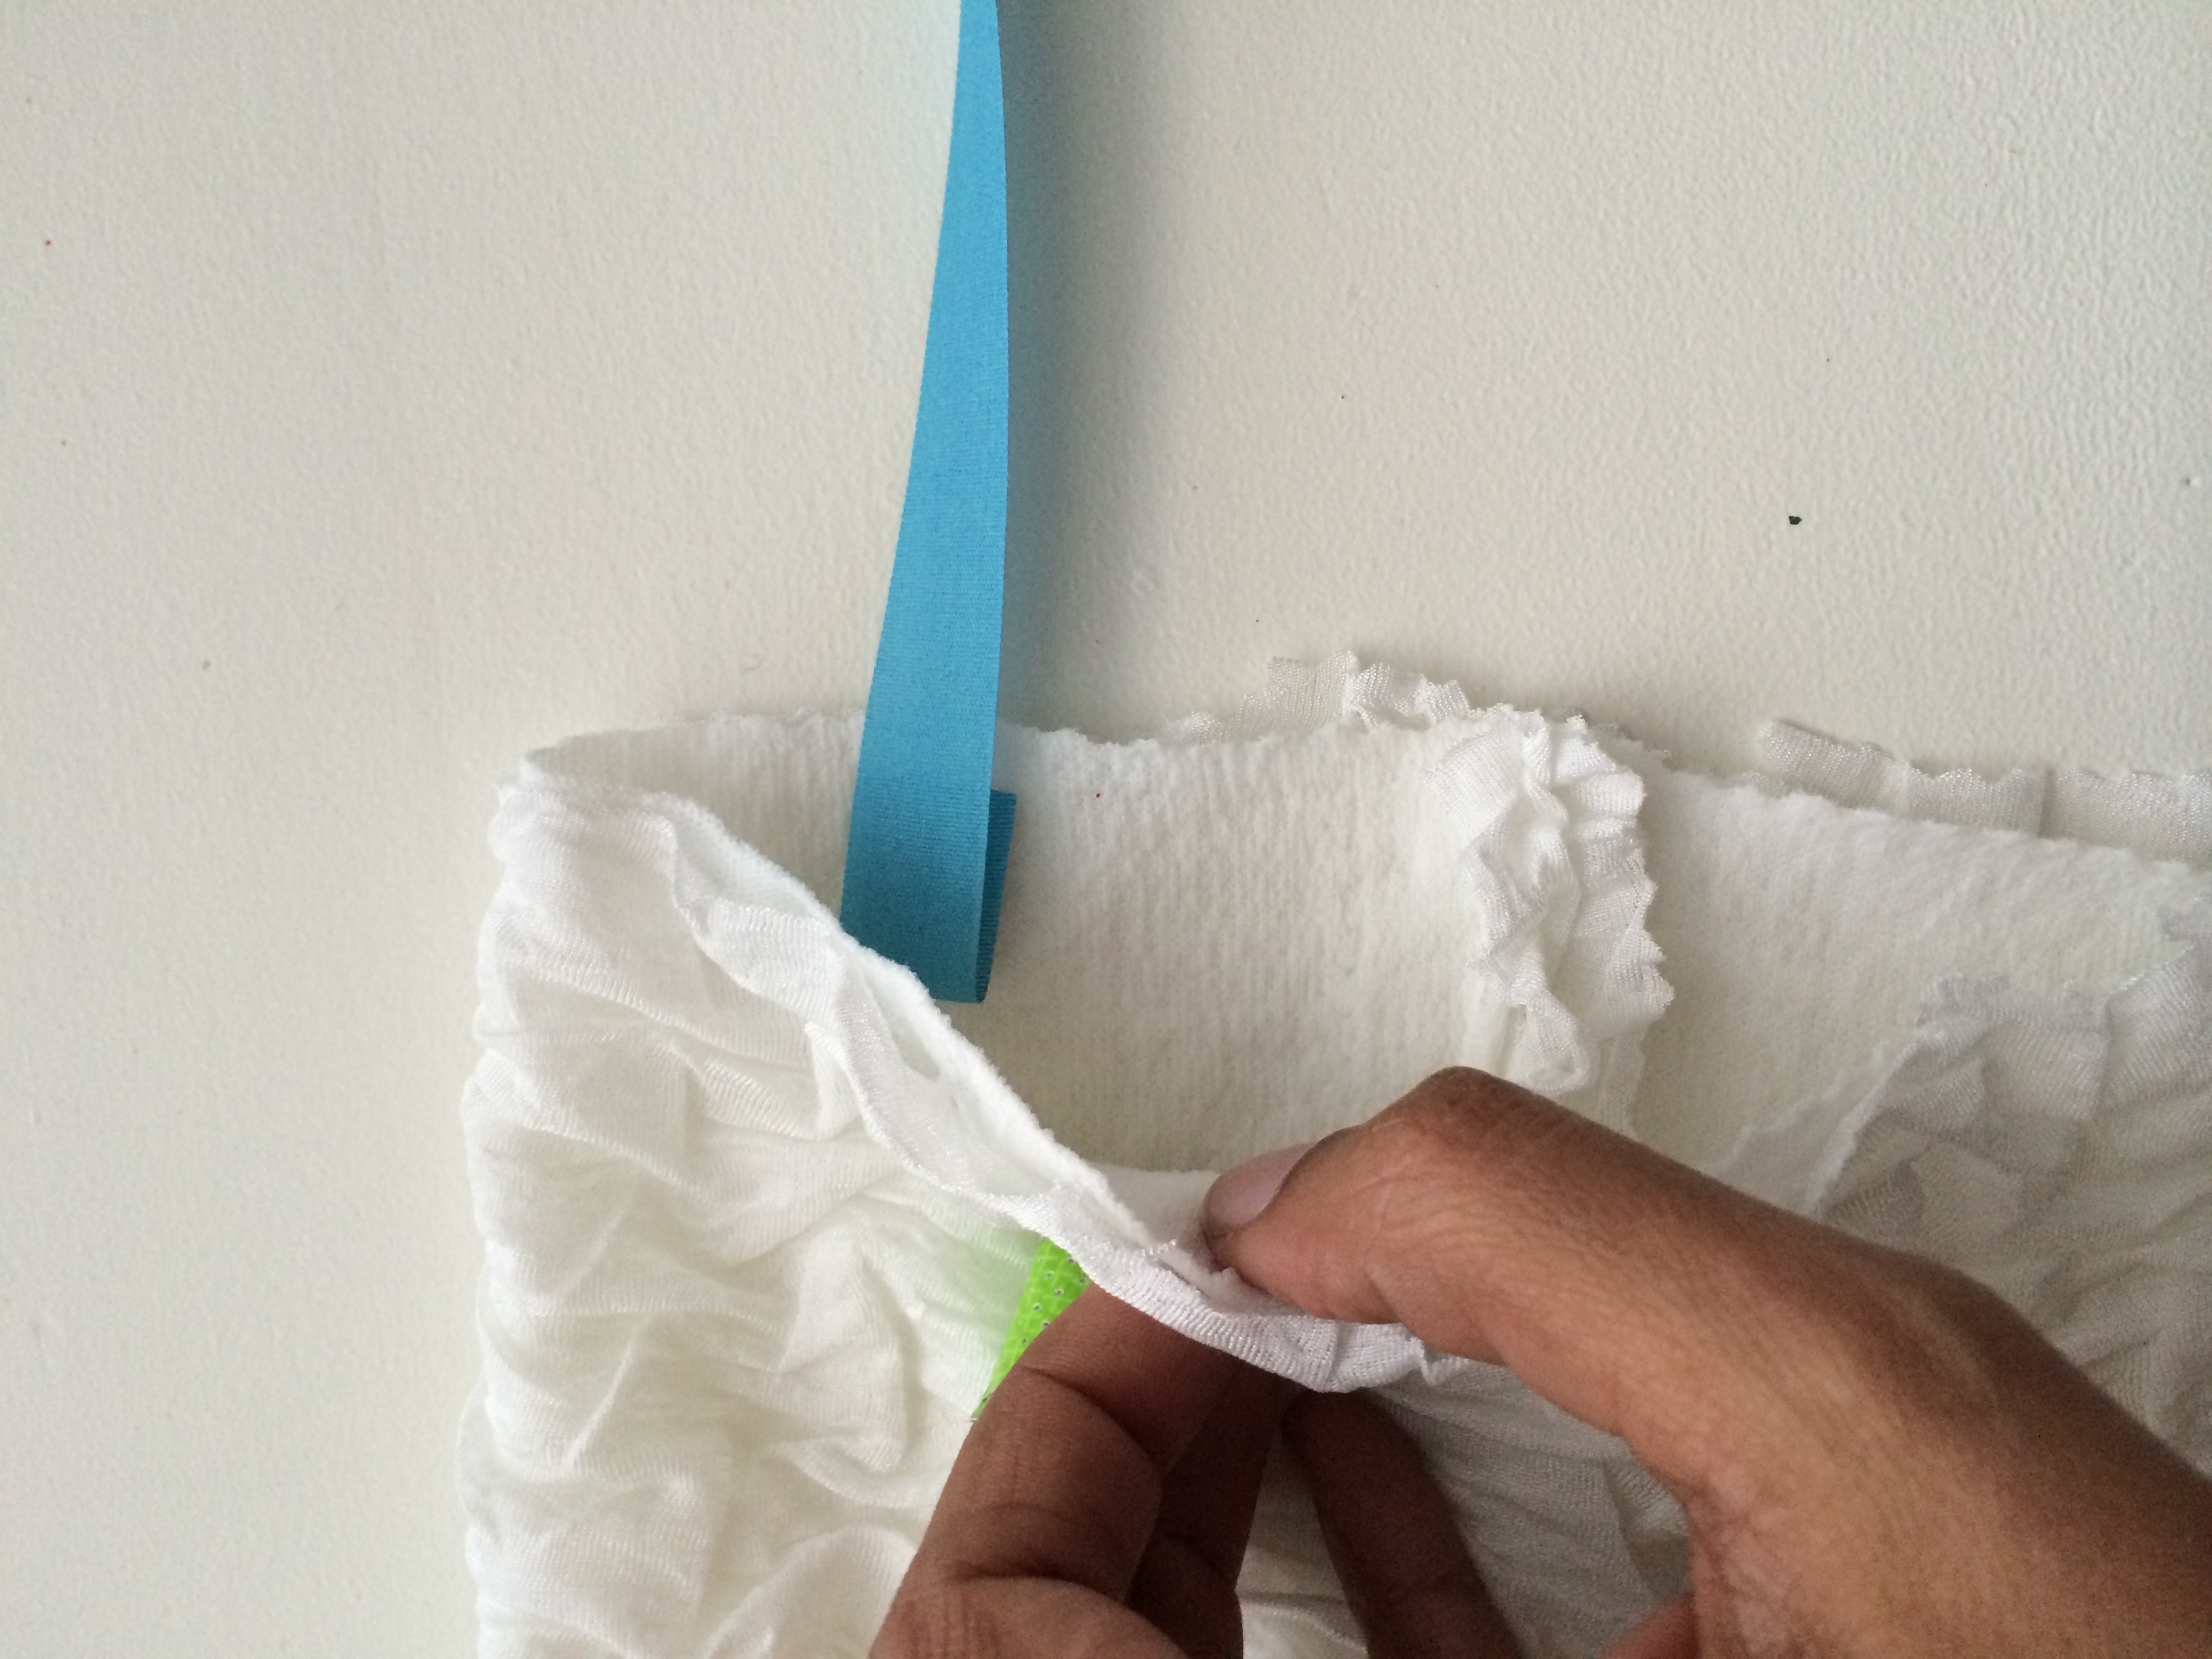
To add your straps, take one of your ribbon piece and fold in the ends. Sew it about 2″ from the side of your tube piece. Do this for all 4 pieces.
If you want to hem the bottom, go ahead and do that now. If not, you are done!
Thanks for visiting and Happy sewing,