I have been so busy lately with my full time job, being a single parent and juggling things at home, its been difficult finding time to sew. It seems like there should be way more hours in a day. However, with Valentine’s Day coming up, I knew I had to make something special for my Mila to wear to school. Fortunately or unfortunately, with every holiday or special occasion, there is an expectation at school that Mila will come in something “mommy made”. So, here we go with another Mila inspired creation.
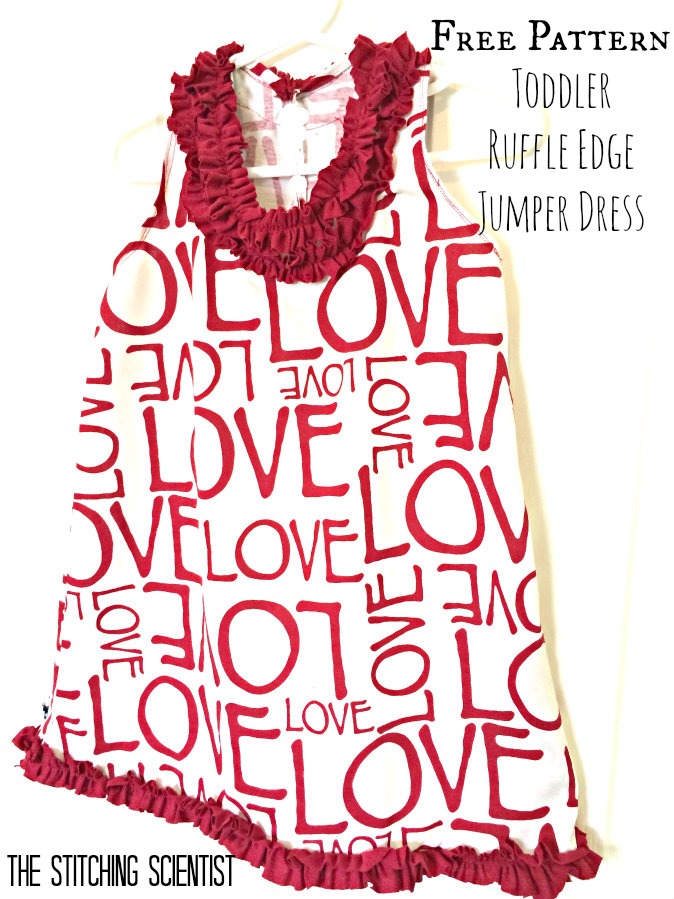
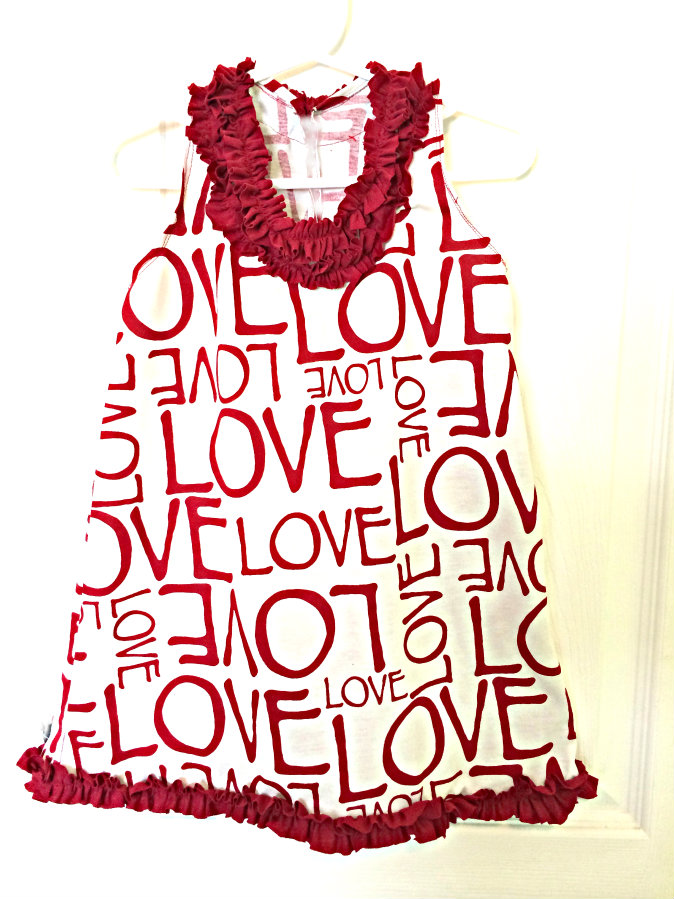
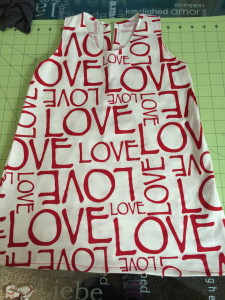
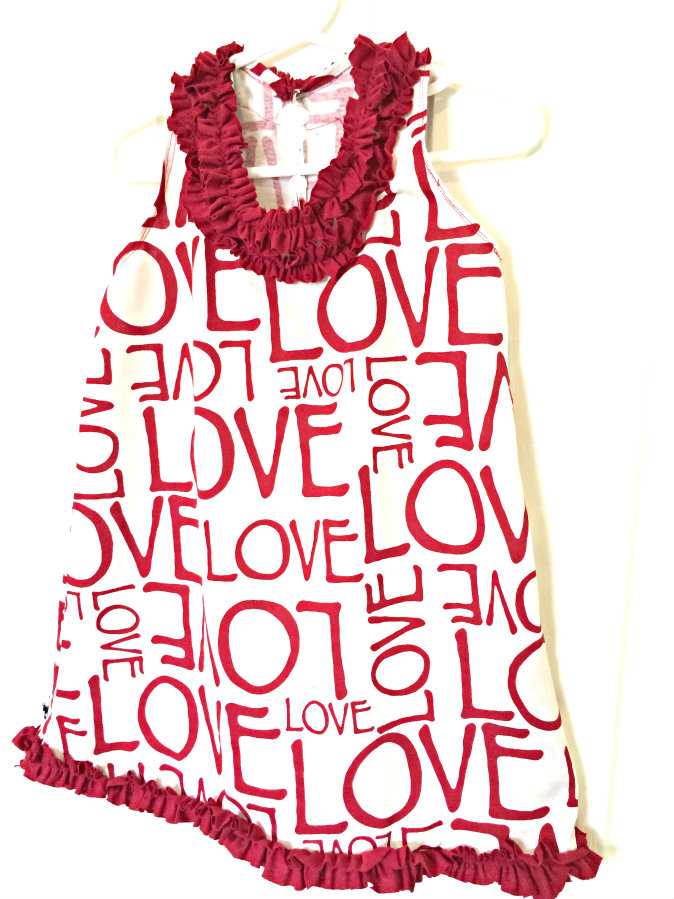
I found this Red Love Cotton Jersey fabric from Girl Charlee and just fell in love with the pattern. Inspired by love and the warmth of jersey knit, it makes for the perfect February fabric. Knowing how fast Mila grows, I wanted to make her something she could wear in the cold months and maybe still fit in during spring and early summer. This ruffled edge jumper is one of the easiest apparel projects on the blog. You can literally do this in under an hour for your little princess. The pattern comes in 3 sizes (18M, 2T and 3T). It comes with a 3 button closure at the back accented with two rows of ruffles at the neck line and one at on the bottom hem. You can accessorize with a tulle and ribbon flower, a large button or even a removal felt flower on the top side for some added beauty.
Here is what you need:
- 1/2 yard main knit fabric
- 3 strips in accent knit each measuring 1″ x 60″ (this is my measurement for a 3T, you will have a some left over for the smaller sizes)
- 3 buttons
You can download the pattern HERE. It comes in 18M, 2T and 3T.
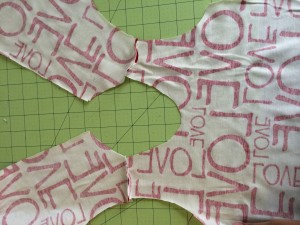
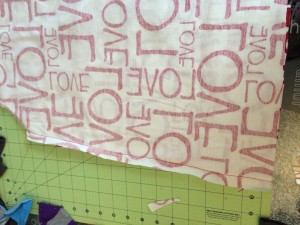
Instructions for printing and cutting: Ensure the pattern is at 100%. Set the printer preference to ’tiled large multiple pages’. You should get 3 pages for the front and 3 pages for the back. Tape the pages together, place on fabric and cut 1 piece for the front on fold and 2 separate pieces for the back.
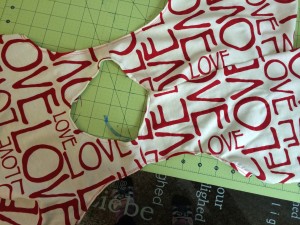
First, you will sew the back pieces of the dress to the front of the dress at the shoulder.
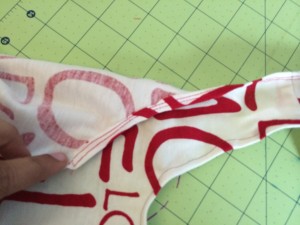
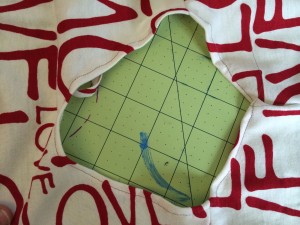
Next, fold in the neckline and around the arm about 1/4″ and sew. I did two stitches on the arms but it will look great with just one as well.
Now, sew the sides all the way down.
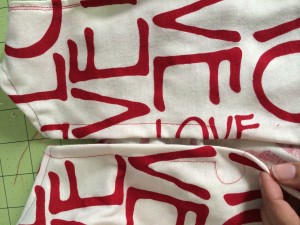
Fold and iron down the raw edge of the back pieces about 1/2″ and sew down 5″ from the top.
Next, sew the two back pieces right sides together with about 1/2″ seam allowance.
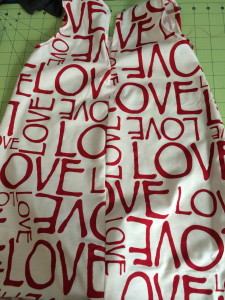
Hem the bottom about 1/2″. If you dont want the ruffles, you can stop here and add some buttons at the back.
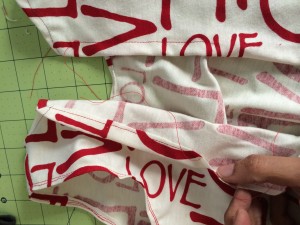
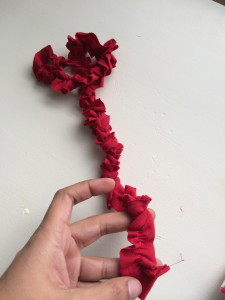
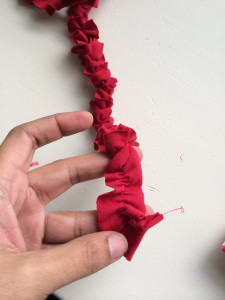
Make ruffles with all 3 of your strips by setting you stitch length to 5, sewing down the middle and pulling one of the treads until the entire strip is ruffled.
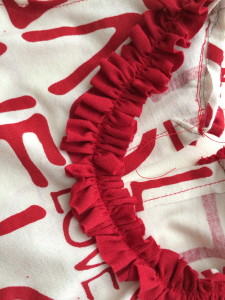
Take one of the ruffled strips and sew all the way around the neckline in the middle of the ruffle. Repeat for the second ruffle under the first.
Take your last ruffle and sew it to the bottom of the dress using the same technique as the neckline. Add 3 buttons to the back and you are done.
Thank you for visiting and Happy Sewing
