If you haven’t noticed from some of my previous tutorials, I love peplums and free dress patterns. I am not at my ideal weight (yet), so having a peplum over a skirt or in the middle of a dress hides what I need hidden in a very stylish way. I have made a few of these dresses in the past before I started the blog and always wanted to share the pattern since it’s such a classic look. The women’s peplum dress pattern comes in 2 sizes. Size small will fit anyone from 30-32 bust and size medium will fit 34-36 bust. The overall length is about 30″ for both sizes. The dress fits very snug on the body so its best to use a jersey cotton knit as your fabric. The pattern can also be made into a gorgeous sheath knit dress by simply skipping the peplum part of the tutorial. The pattern is based off of women’s Gap size chart if that helps you figure out the measurements.
For this dress, I decided to do a sleeve at elbow length. I think a longer sleeve makes the dress look a bit dressier and modern. You can also accent the sleeves with some shiny buttons or ribbons for an even dressier look. The dress hits right above the knees which makes it perfect for a date night or for work. Additionally, if you prefer to go sleeveless for a more casual look, the pattern can be used without the sleeve. This gorgeous knit fabric can be found at Girl Charlee. Hope you like it and enjoy the pattern.
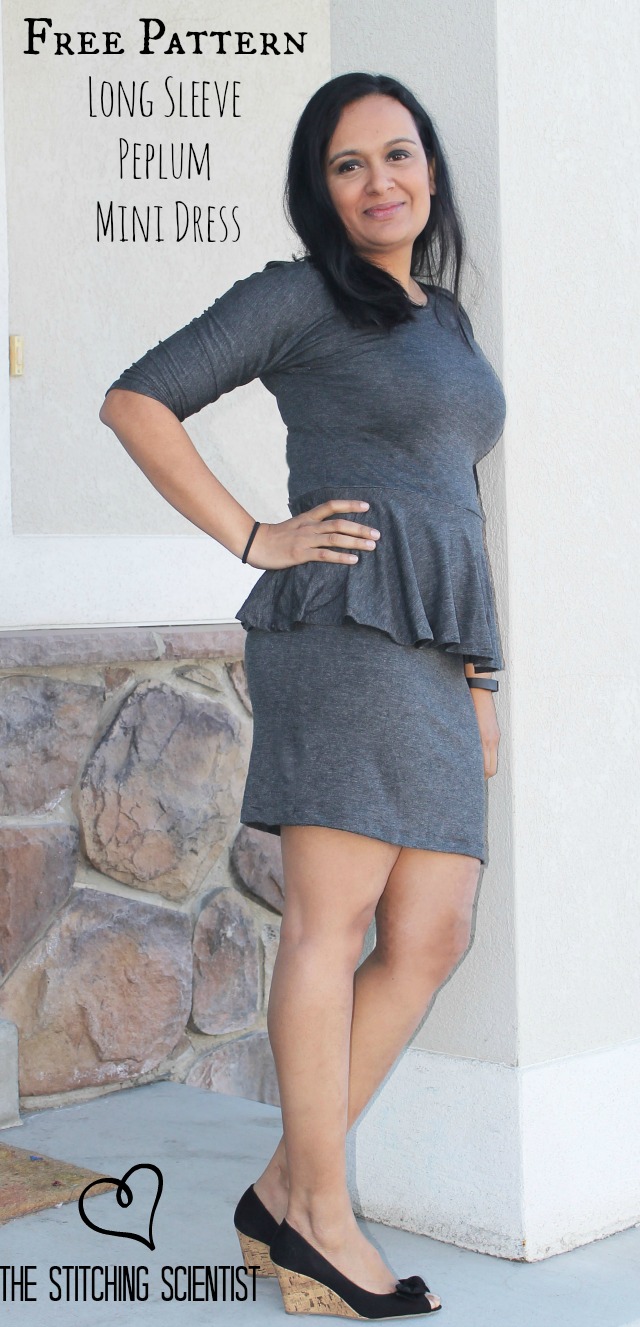
It was freezing outside but with some help from a friend, we managed to get a few shots of the dress. This pictures gives you a better idea of the length. I don’t think it’s truly a mini dress. The length hits right above the knee instead of mid-thigh like a true mini.

I like the placement of the peplum. It hits right at the true waist which covers up the extra lbs I need to hide:-)

For a size small you need:
2 yards of knit fabric (with peplum)
1.5 yards of knit fabric (without peplum)
Get the free pattern HERE. When printing the pattern, you need to set the printer to “tiled pages”. You should get 8 pages for the front, 8 for the back and 6 for the sleeve. Cut and piece together to form the complete pattern. Pin on your fabric and cut. The pattern does not have seam allowance so when cutting, cut about 1/2″ away from where you pinned the pattern. You will have 1 piece for the front, 1 for the back, and 2 for each sleeve. Take a chalk and mark on your front fabric for the peplum placement. Note: if you dont have enough fabric to cut on fold for both back and front pieces, cut two of each and lay it flat on your unfolded fabric.
The Peplum
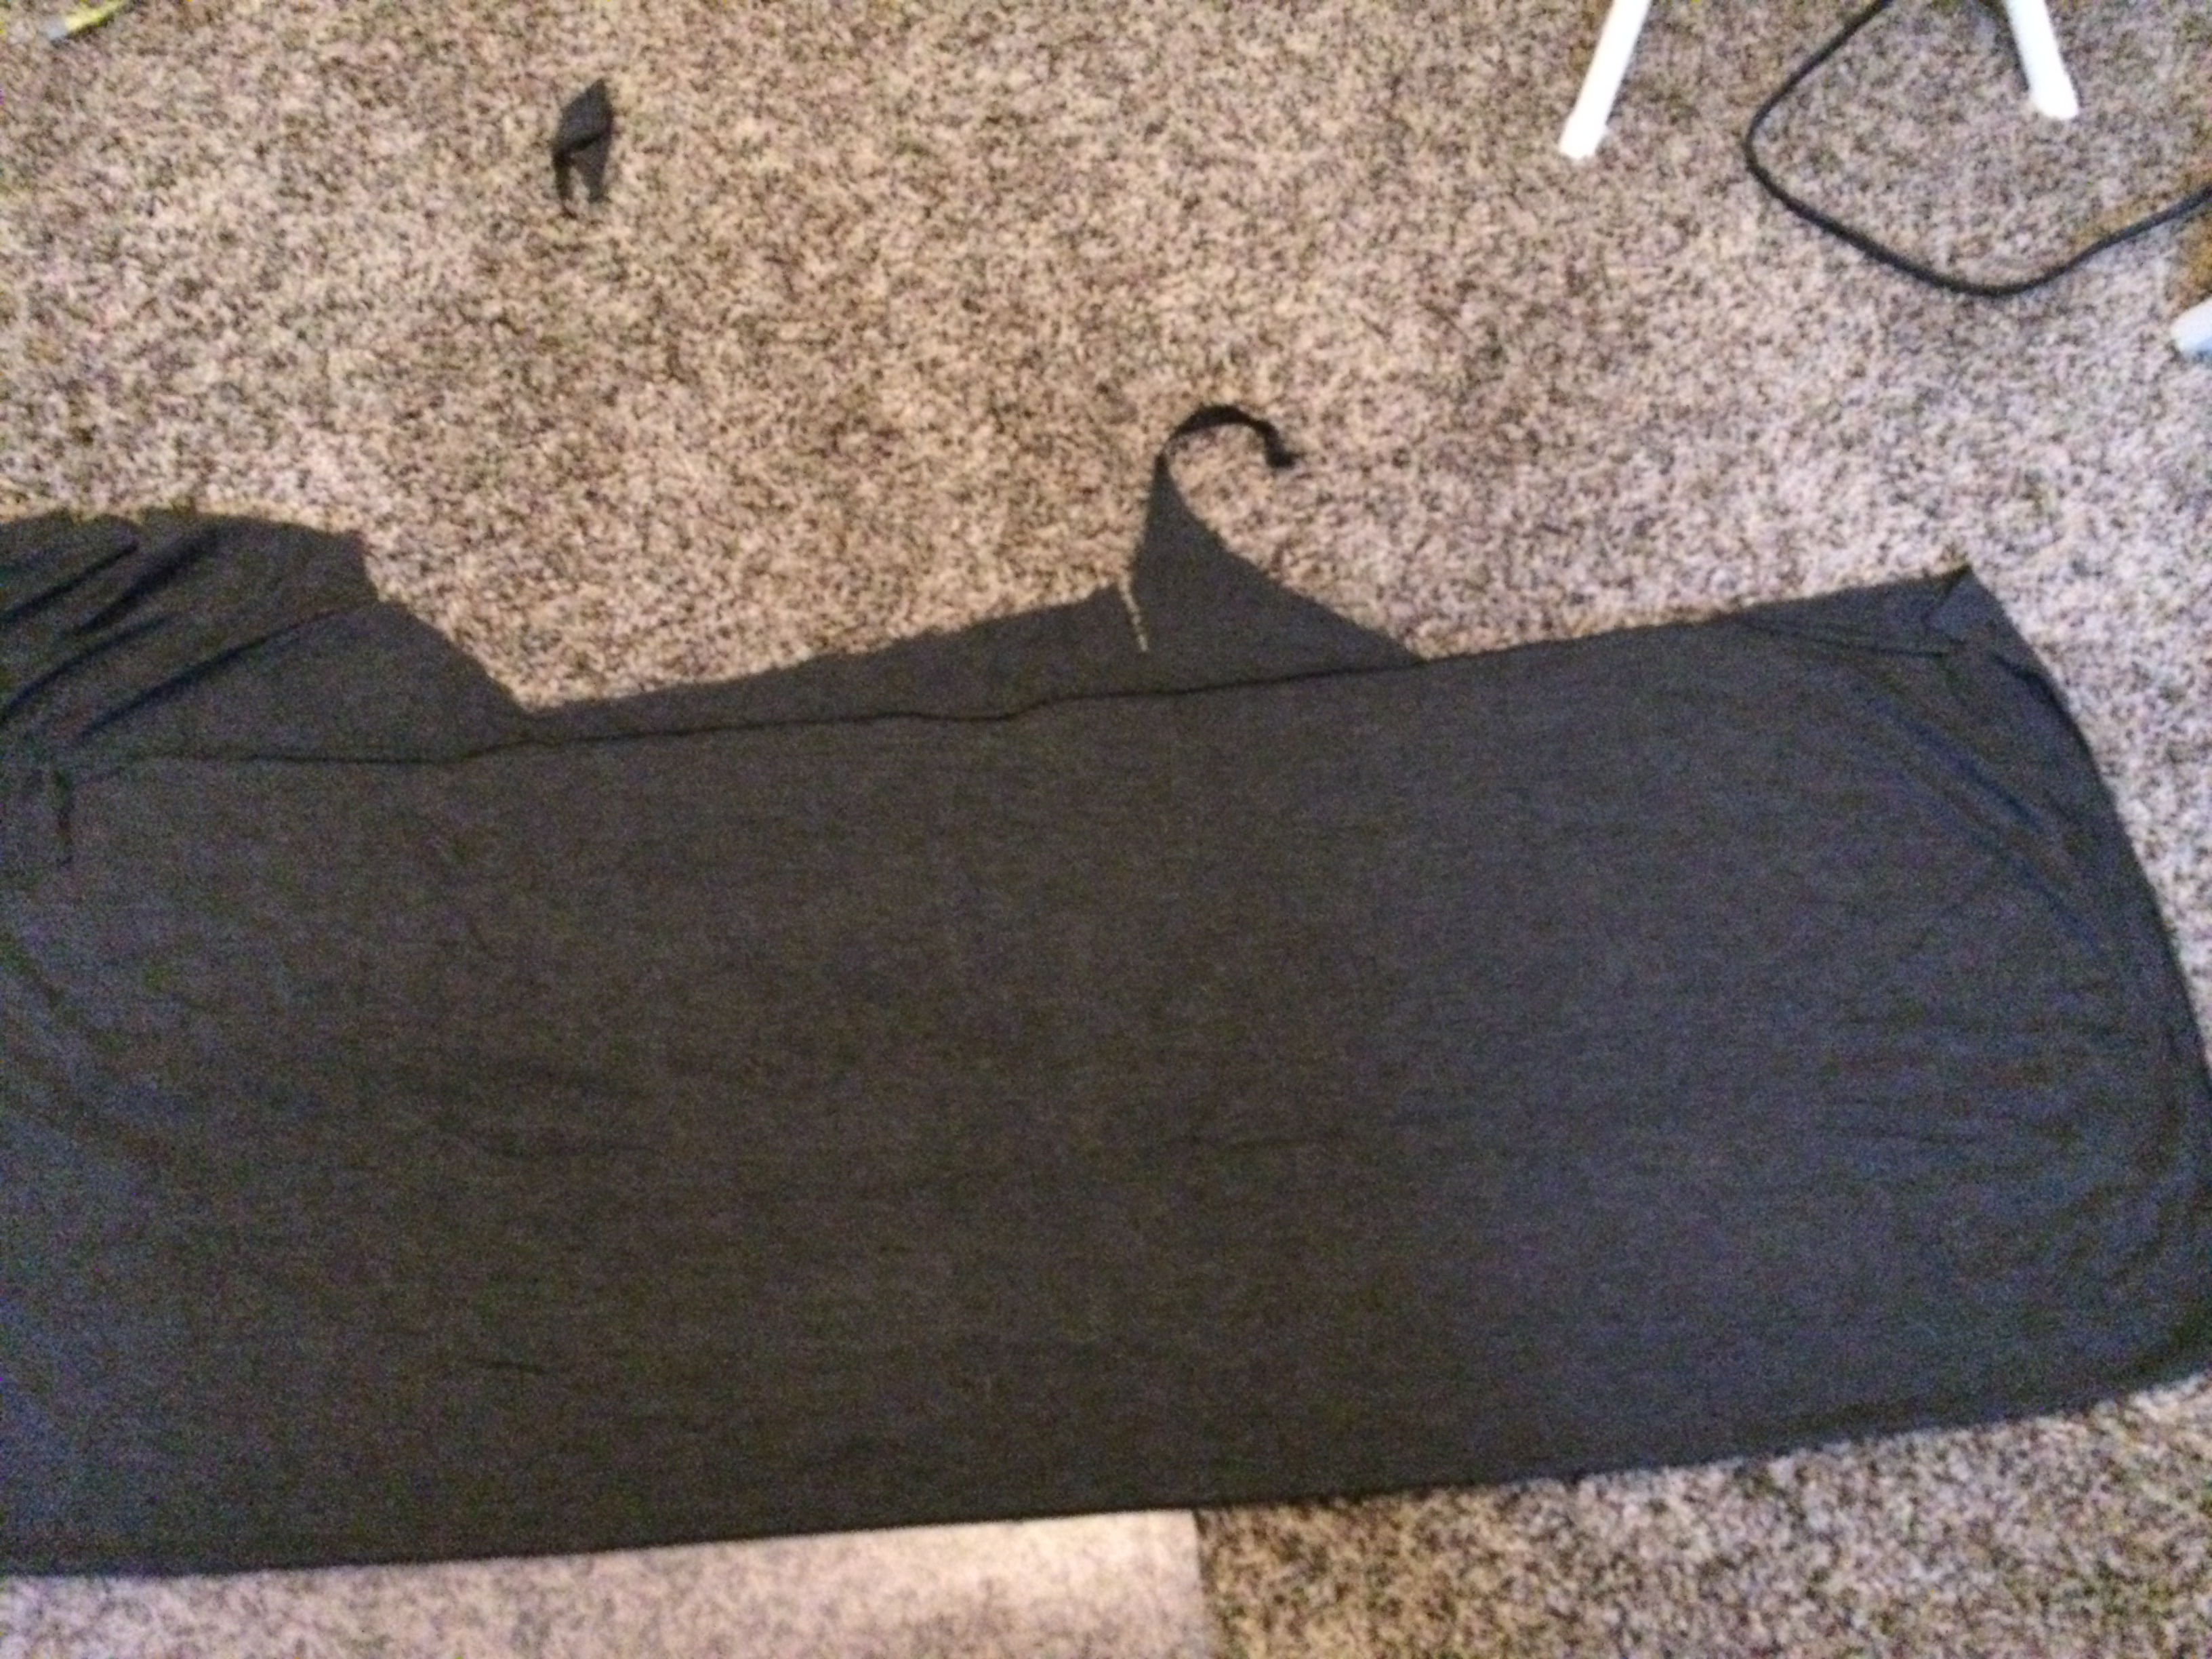
Now that you have all your pieces, lets make the peplum. Cut out about 1/2 yard of fabric and lay flat.
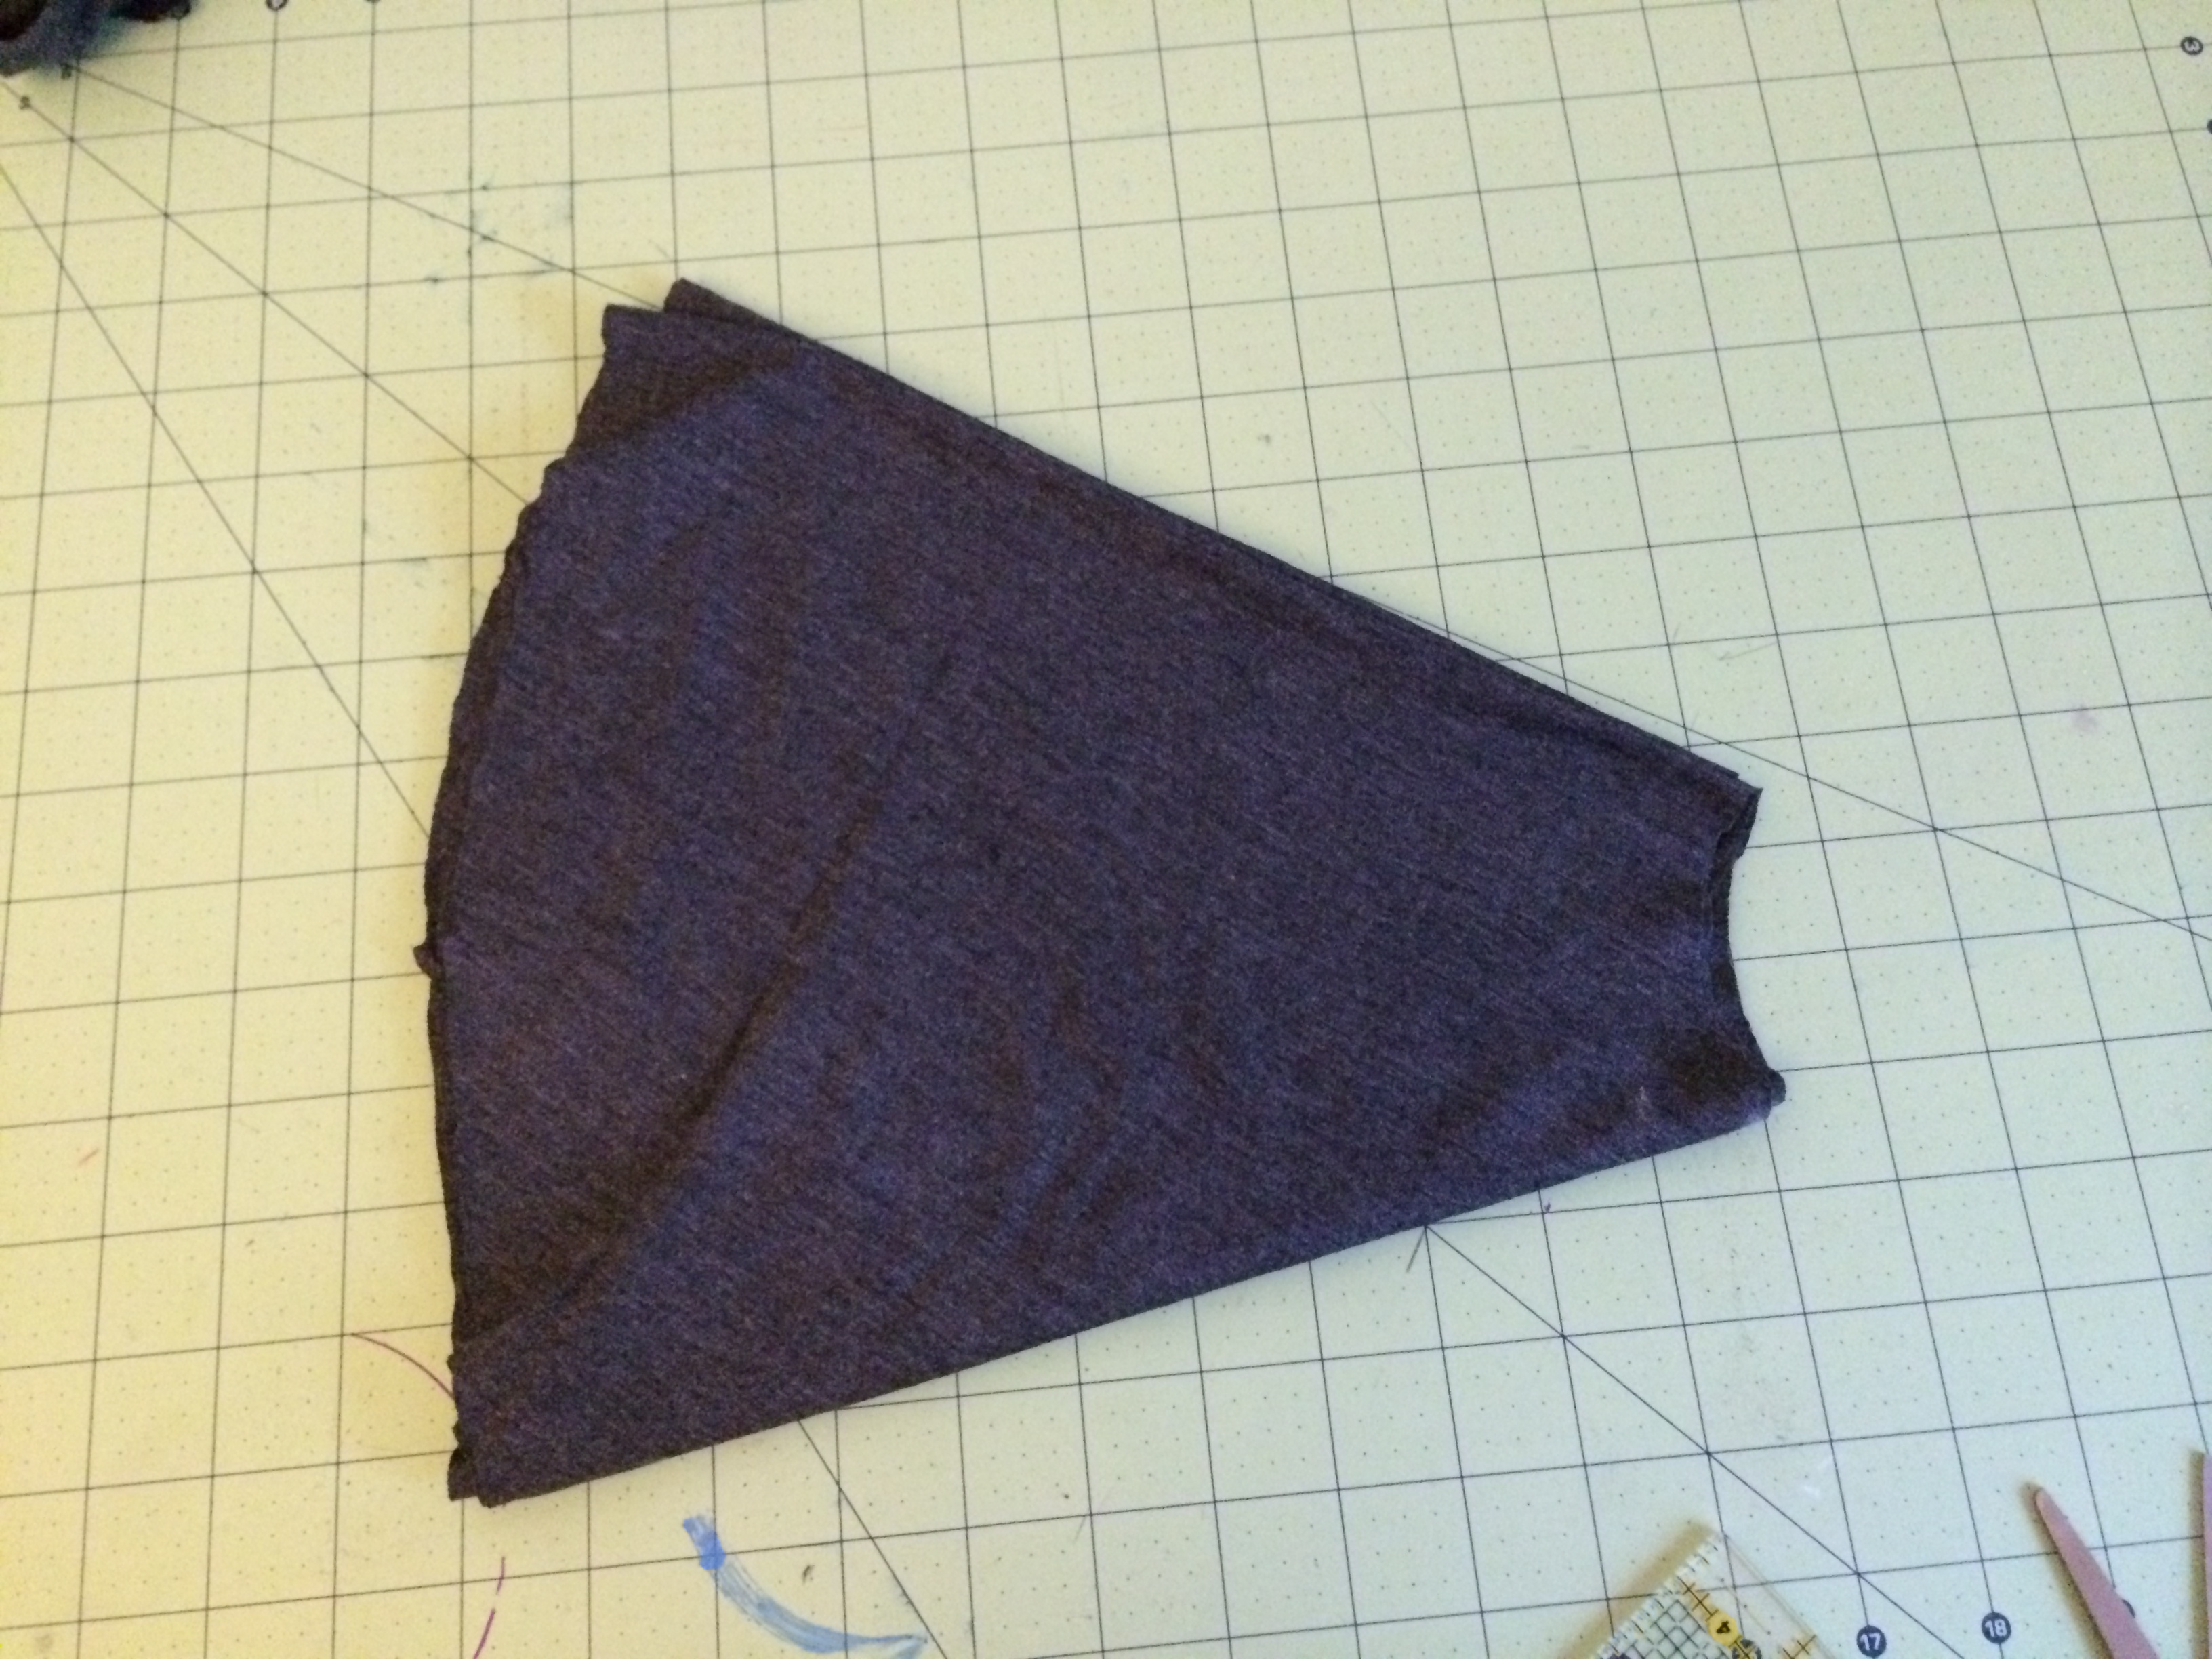
I wanted my peplum to hit on the top of my thighs so I made mine a bit long (8″). If you want yours shorter, cut accordingly.Fold your fabric in half then again to form a triangle. Follow the pictures below:

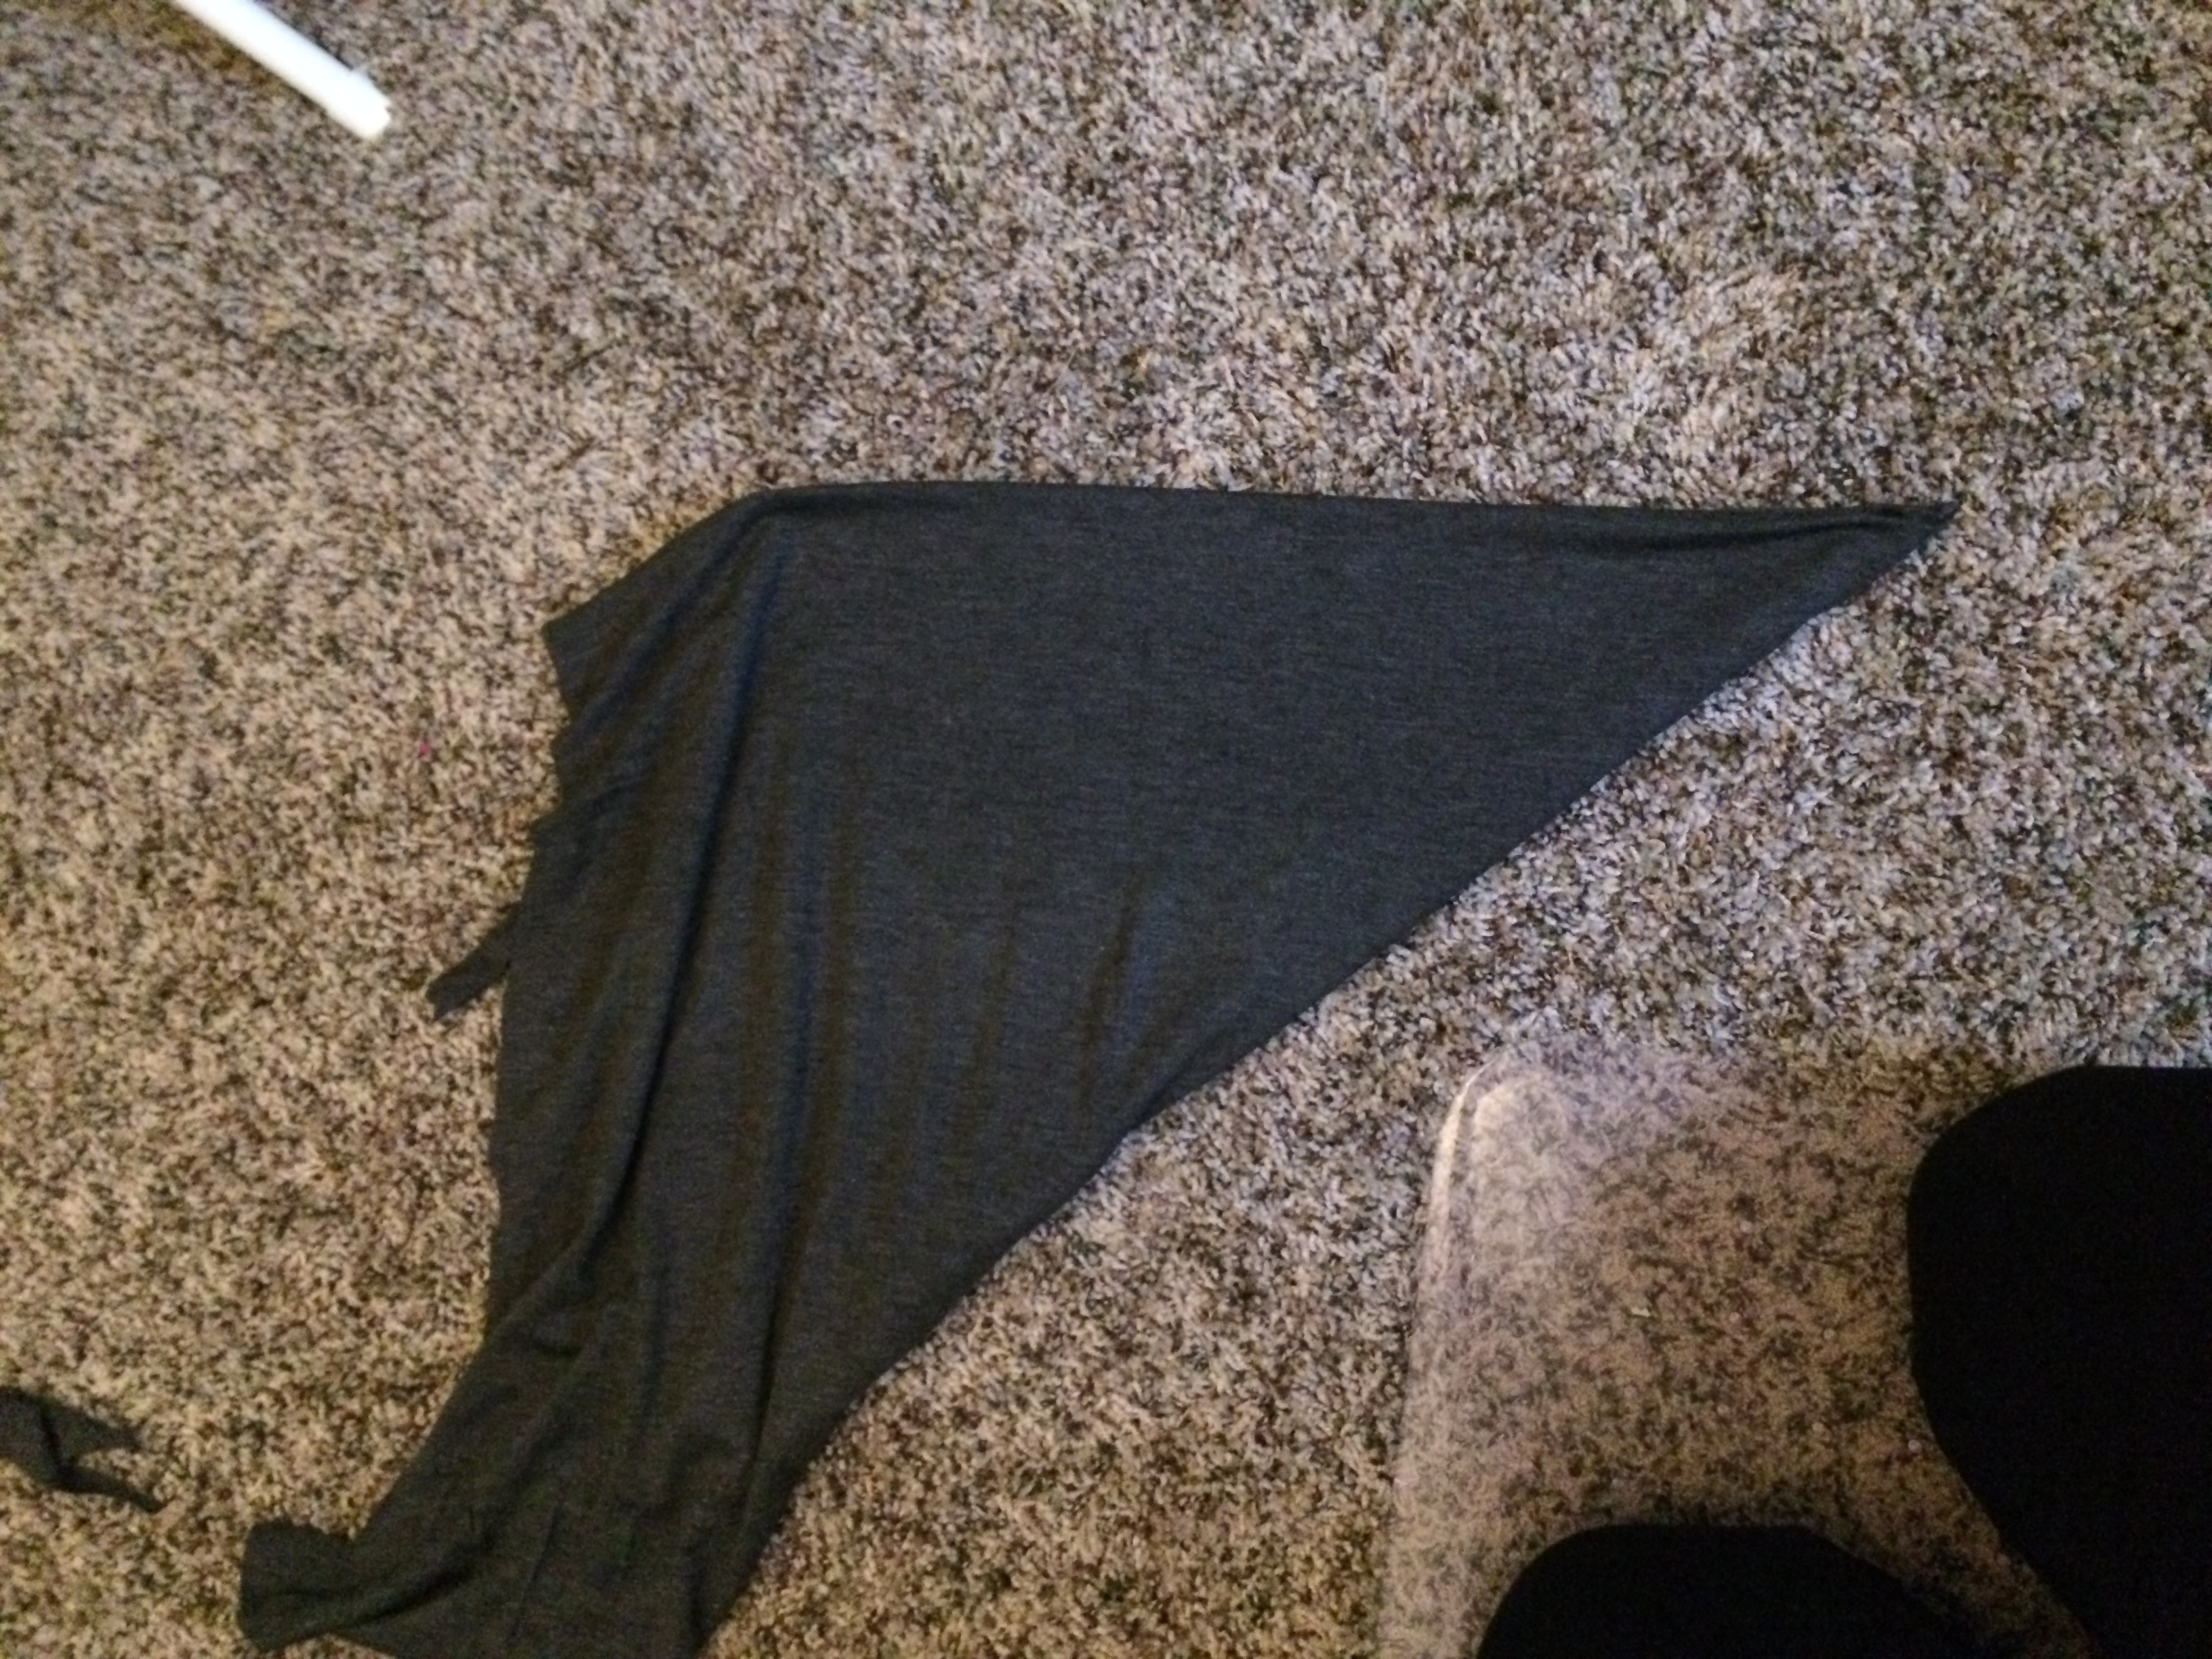

Using this formula (waist divide by 3.14 divide by 2 subtract 5/8″), measure and cut from the tip of the triangle in a curve shape. Base on my waist, my measurement was 4″. If you don’t want to use the formula, cut a little at a time until it measures the waist of the dress. Also, as an FYI, the size small pattern has a waist of 28 and the size medium has a waist of 32.
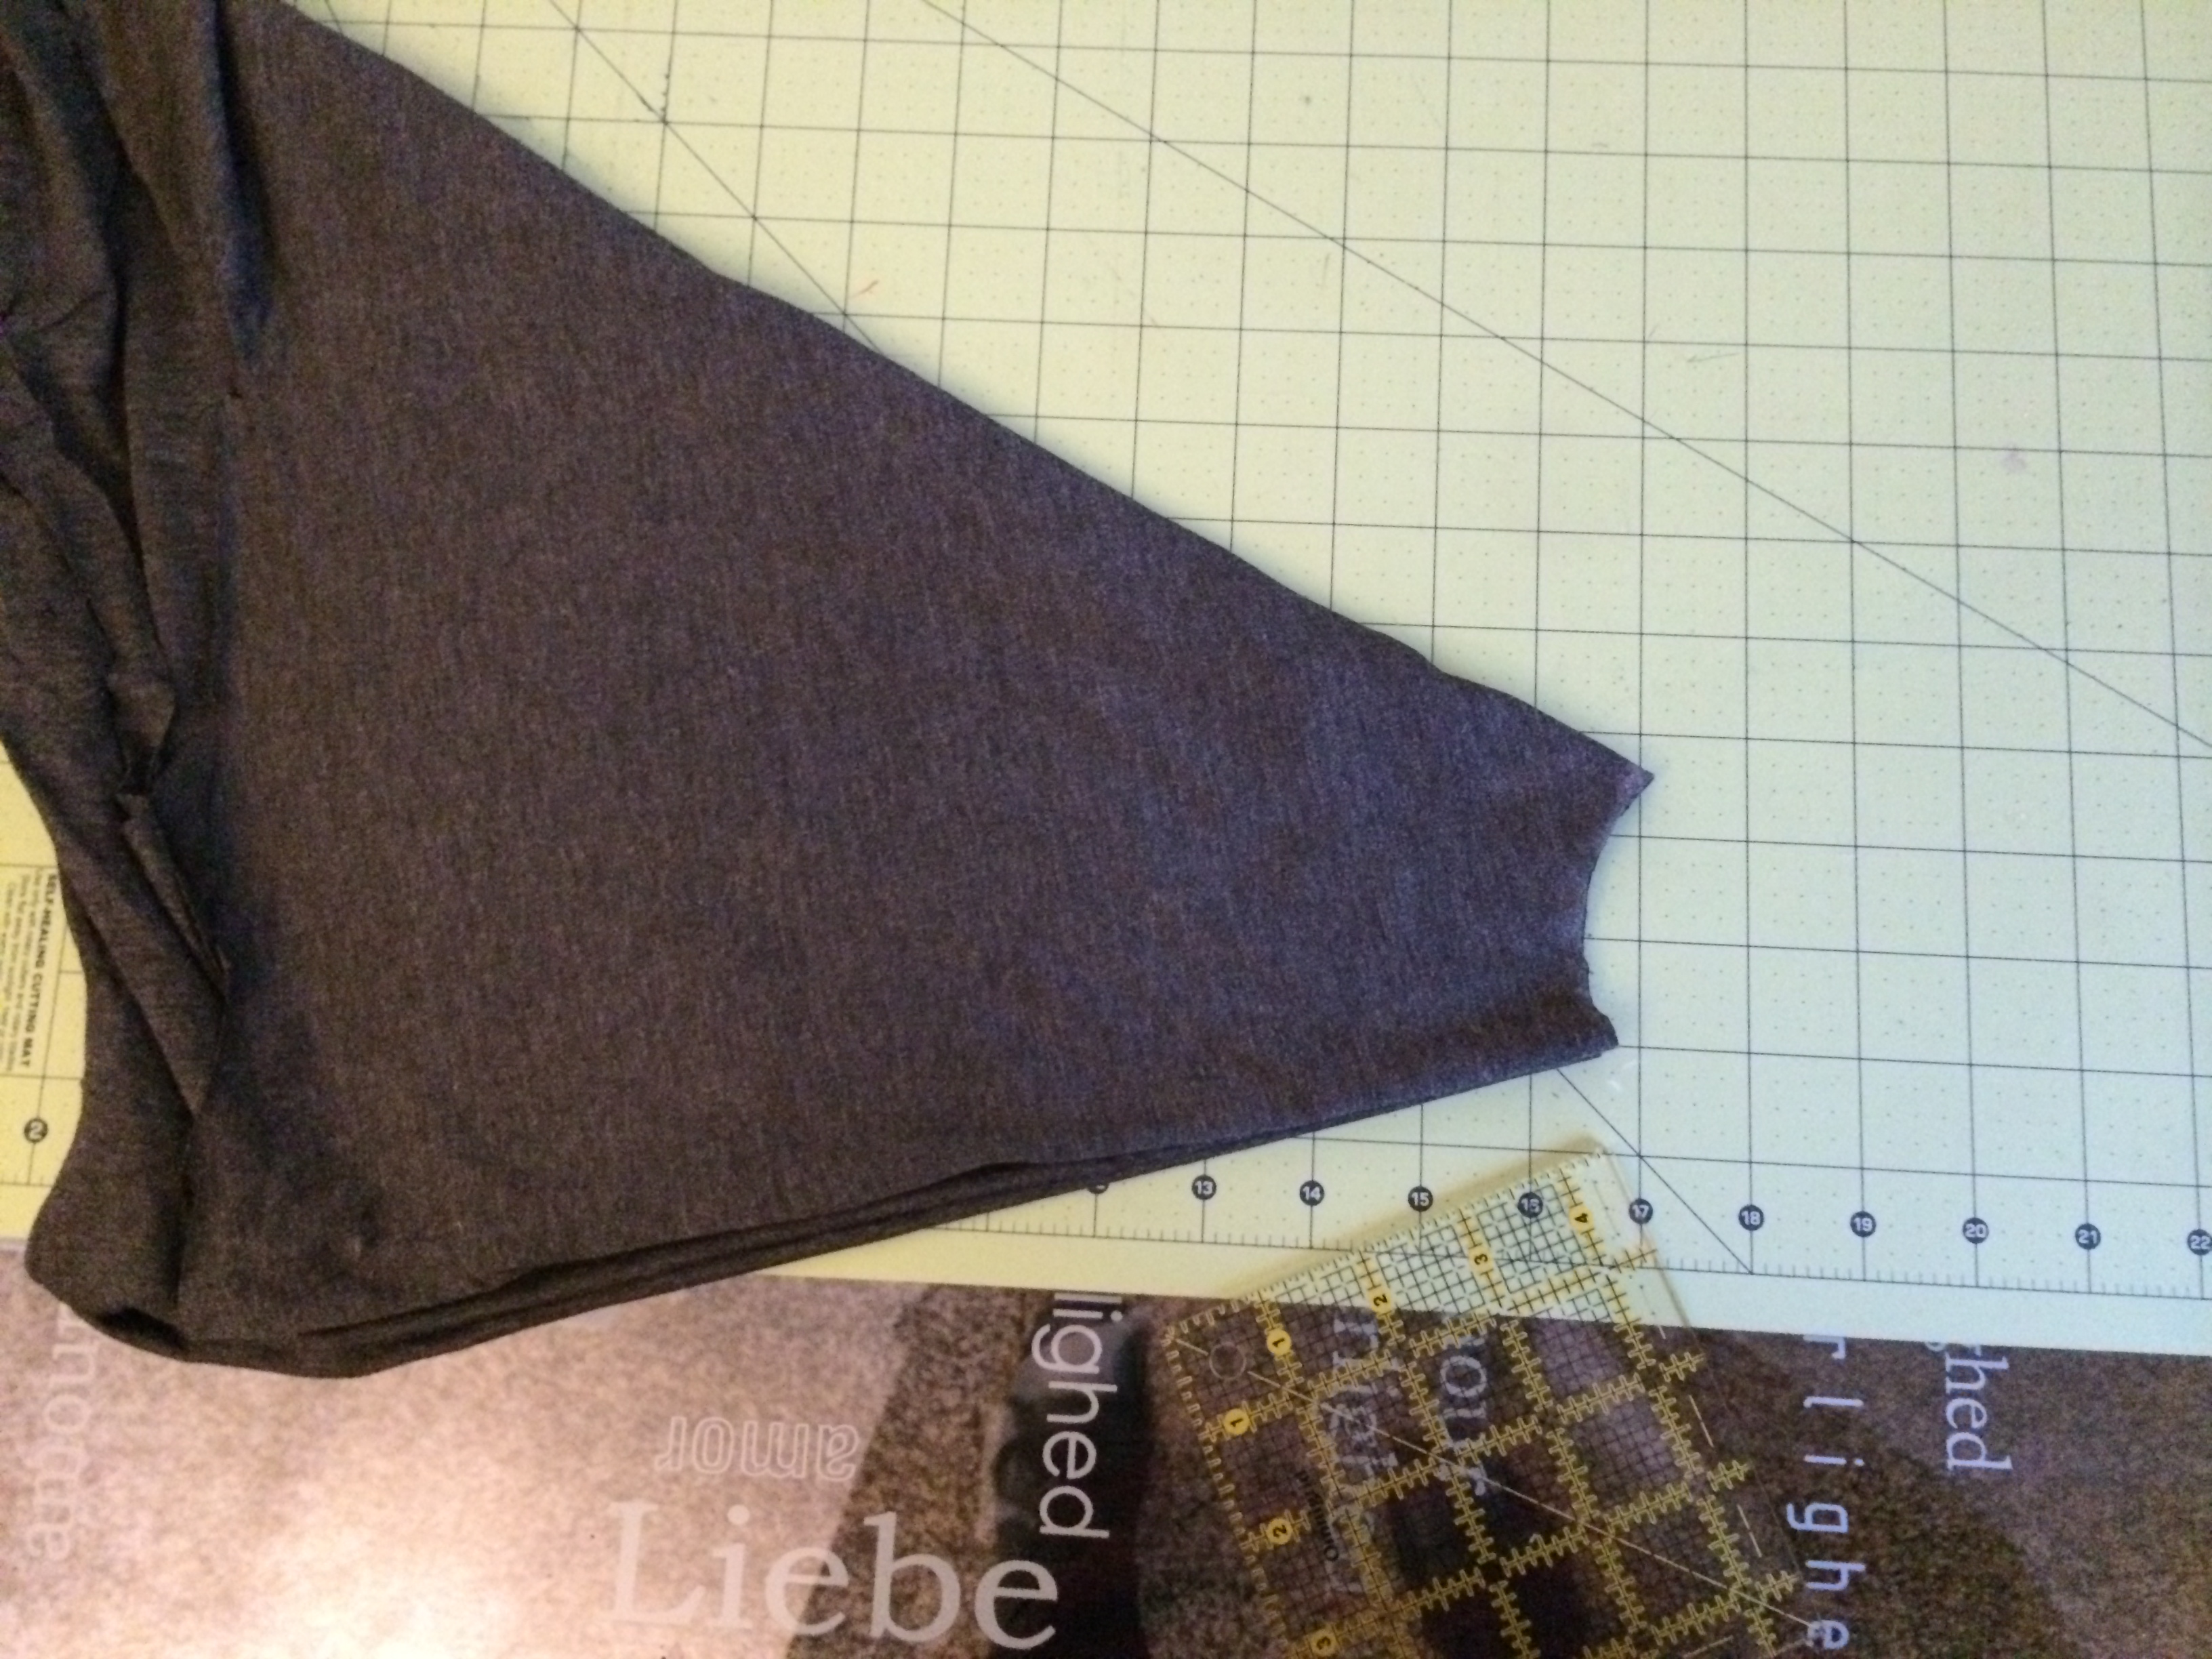
To get the length, measure your where you cut down to whatever length you need it + 1″ for hemming. My length was 10″. Cut on a curve. You can either draw a curve on your length line with chalk or just eyeball it. It doesnt need to be perfect.

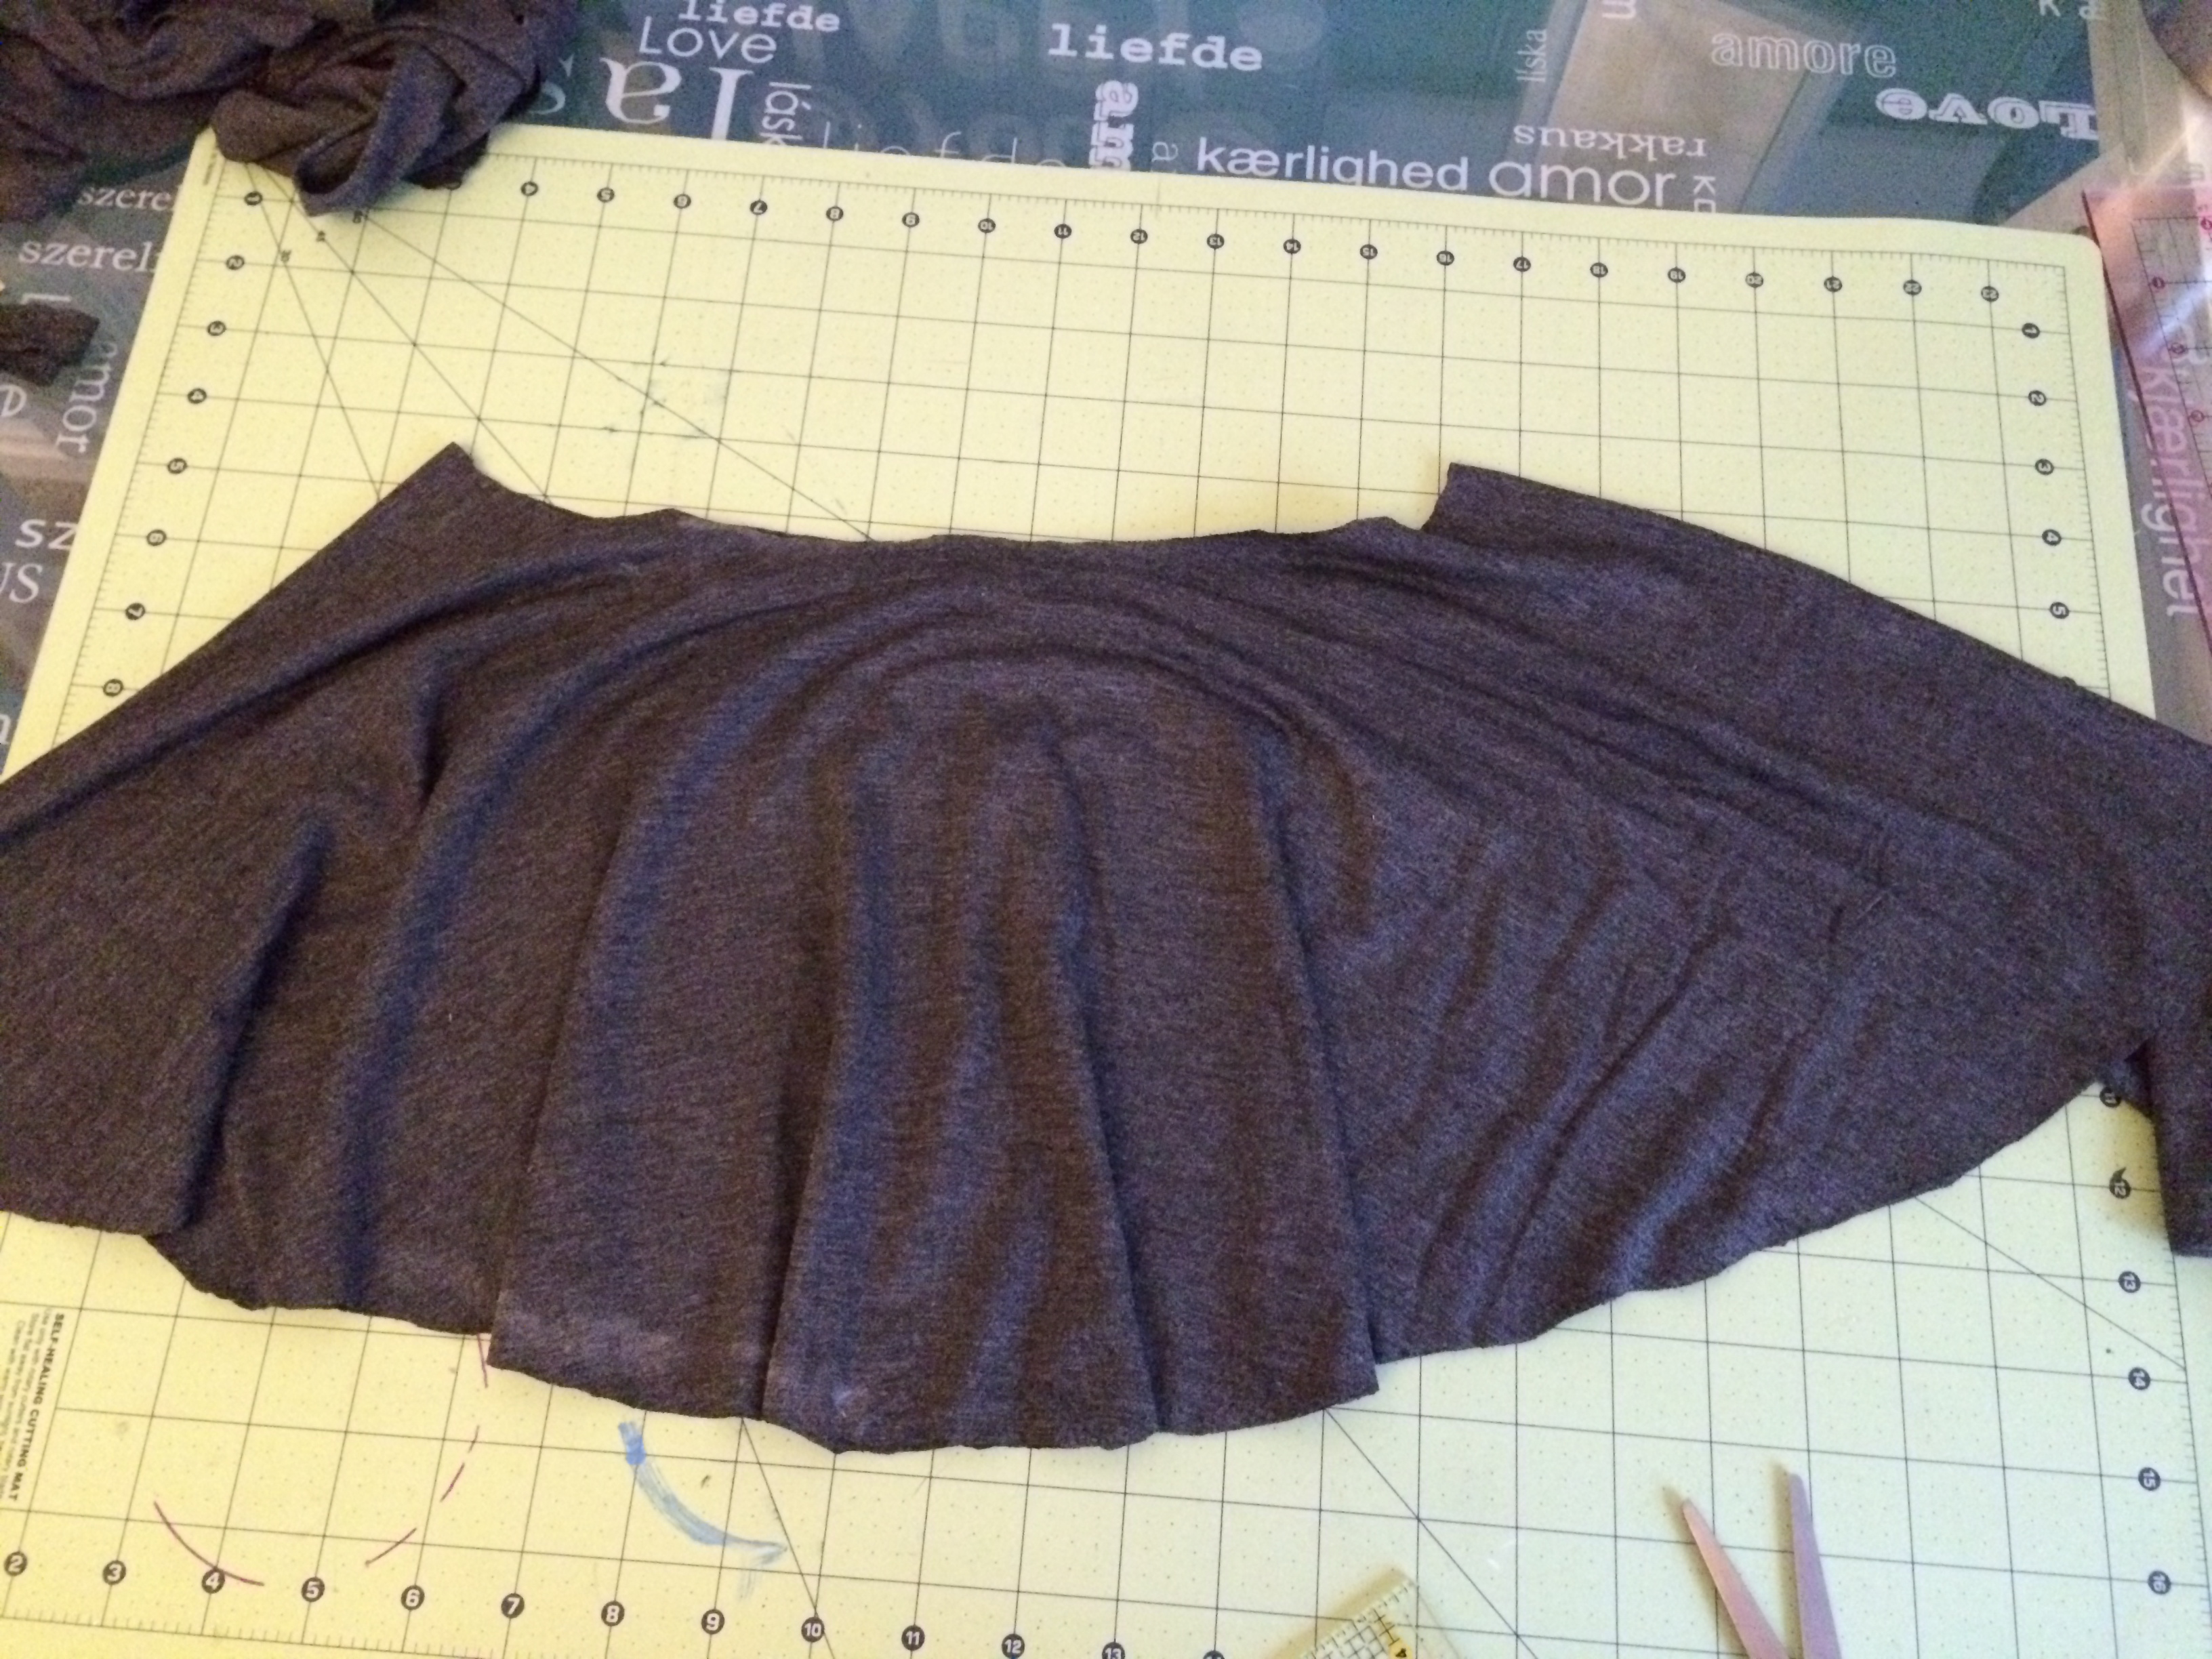
Next, hem the bottom of the peplum. I like folding in 1/4″, sew all the way around and then another 1/4″ and sewing all the way around again for clean finish. Your peplum is done!
The Dress
Lets start the dress by sewing the front and back pieces right sides together at the shoulder.

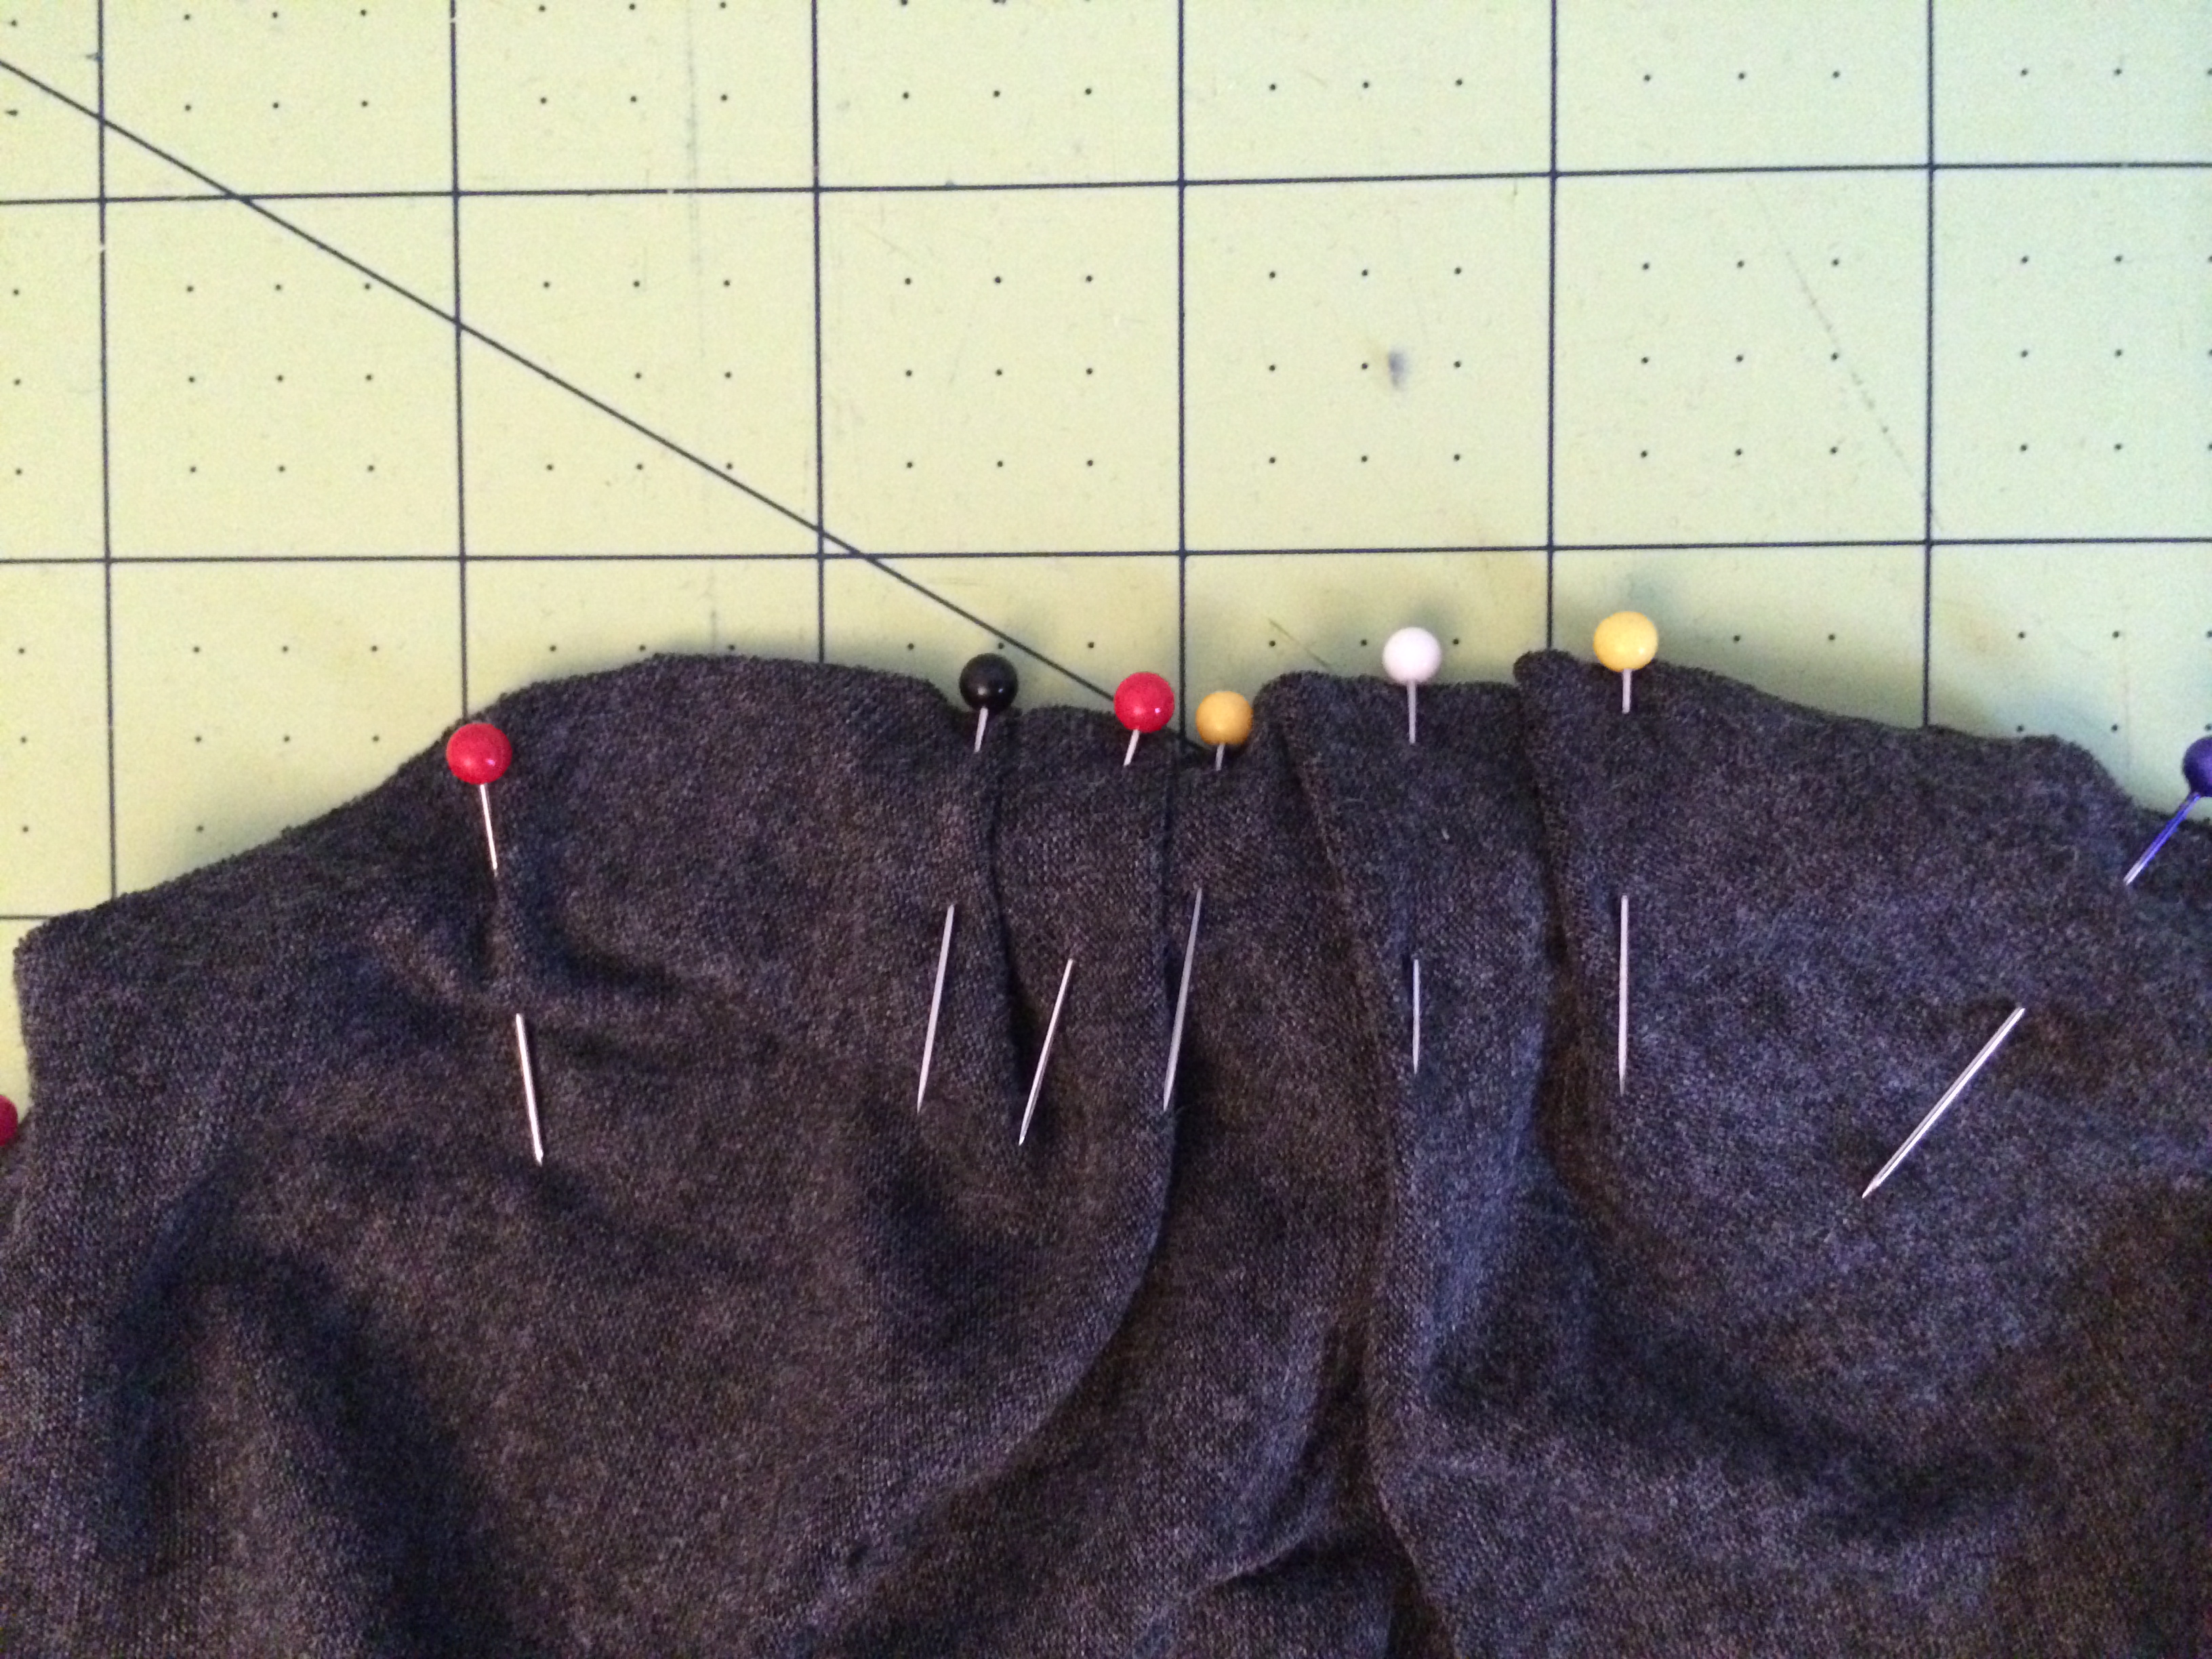
Next, take your sleeve and pin the middle of the sleeve top to the should seam of the dress. Do two 1/4″ fold on both sides of the middle pin for a slight gathered look (see pic below). Pin the folds. Continue pinning the sleeve to the arm of the dress. Sew all the way around. Repeat for the other side.


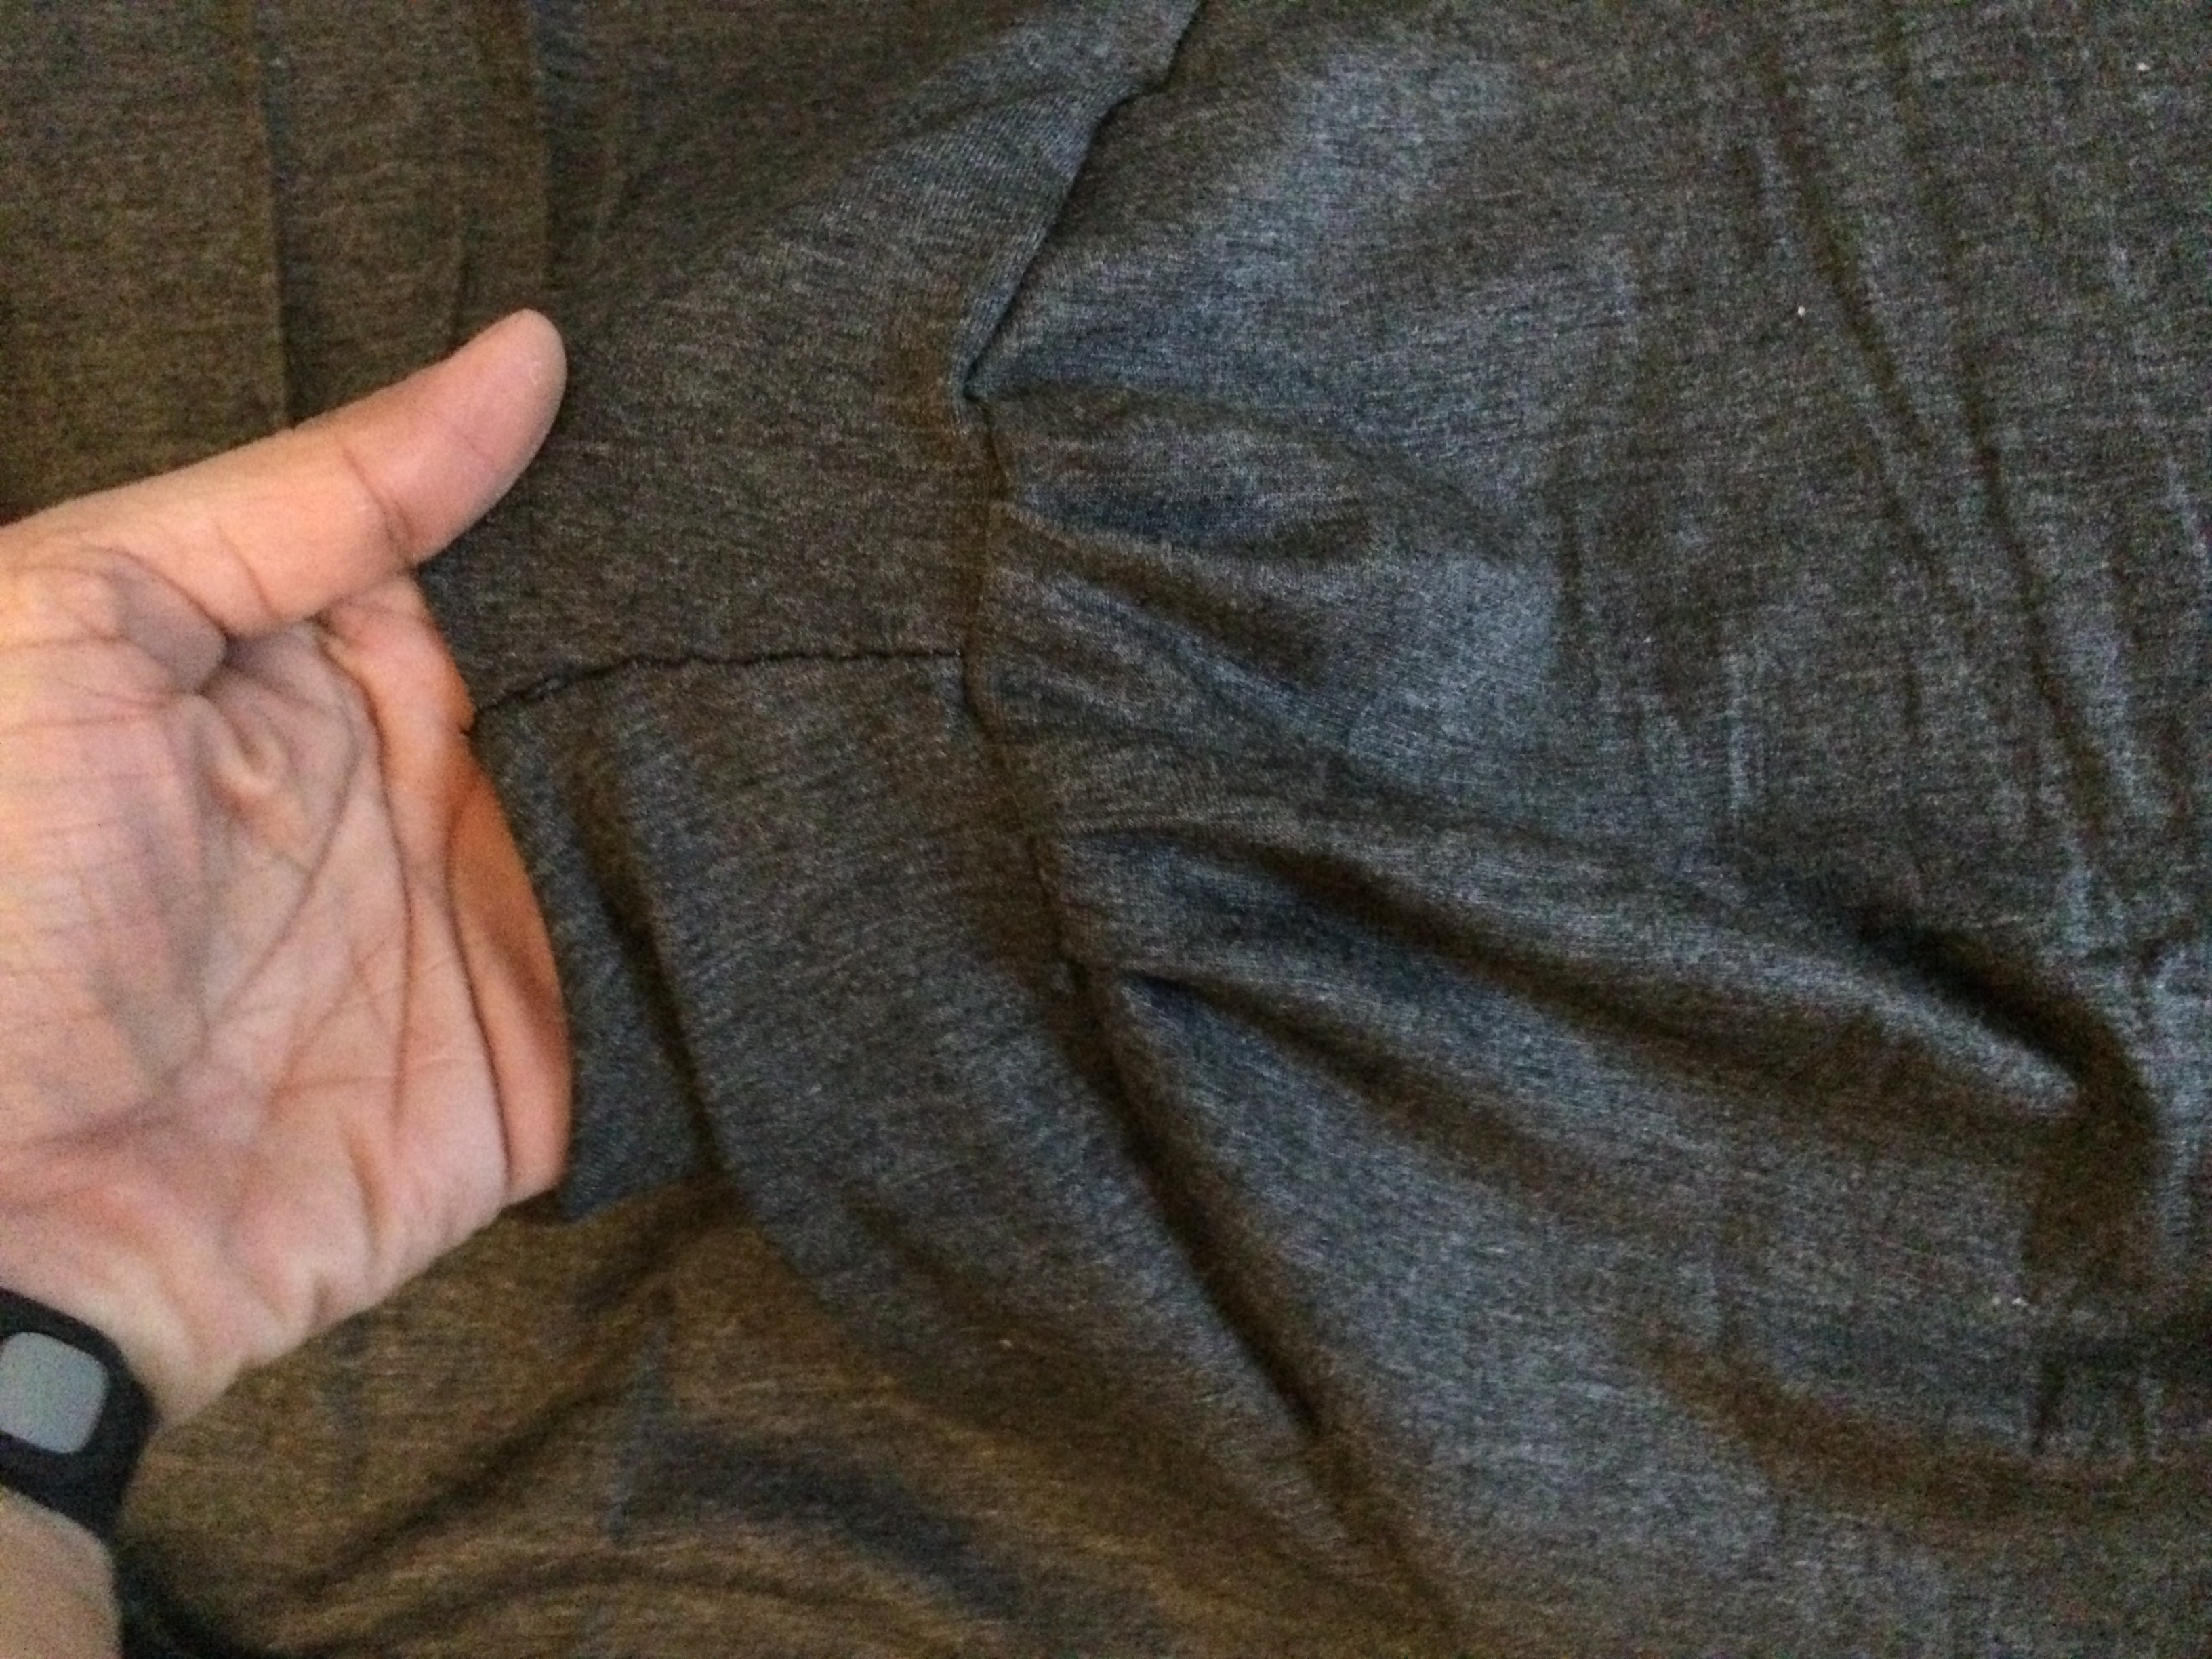
Now, sew all the down the sleeve towards the armpit area and down the side of the dress using the white line below as your guide. You will want to lock your stitch a few times when you reach the arm pit area to get a secure stitch (circle in white below). Repeat for the other side.

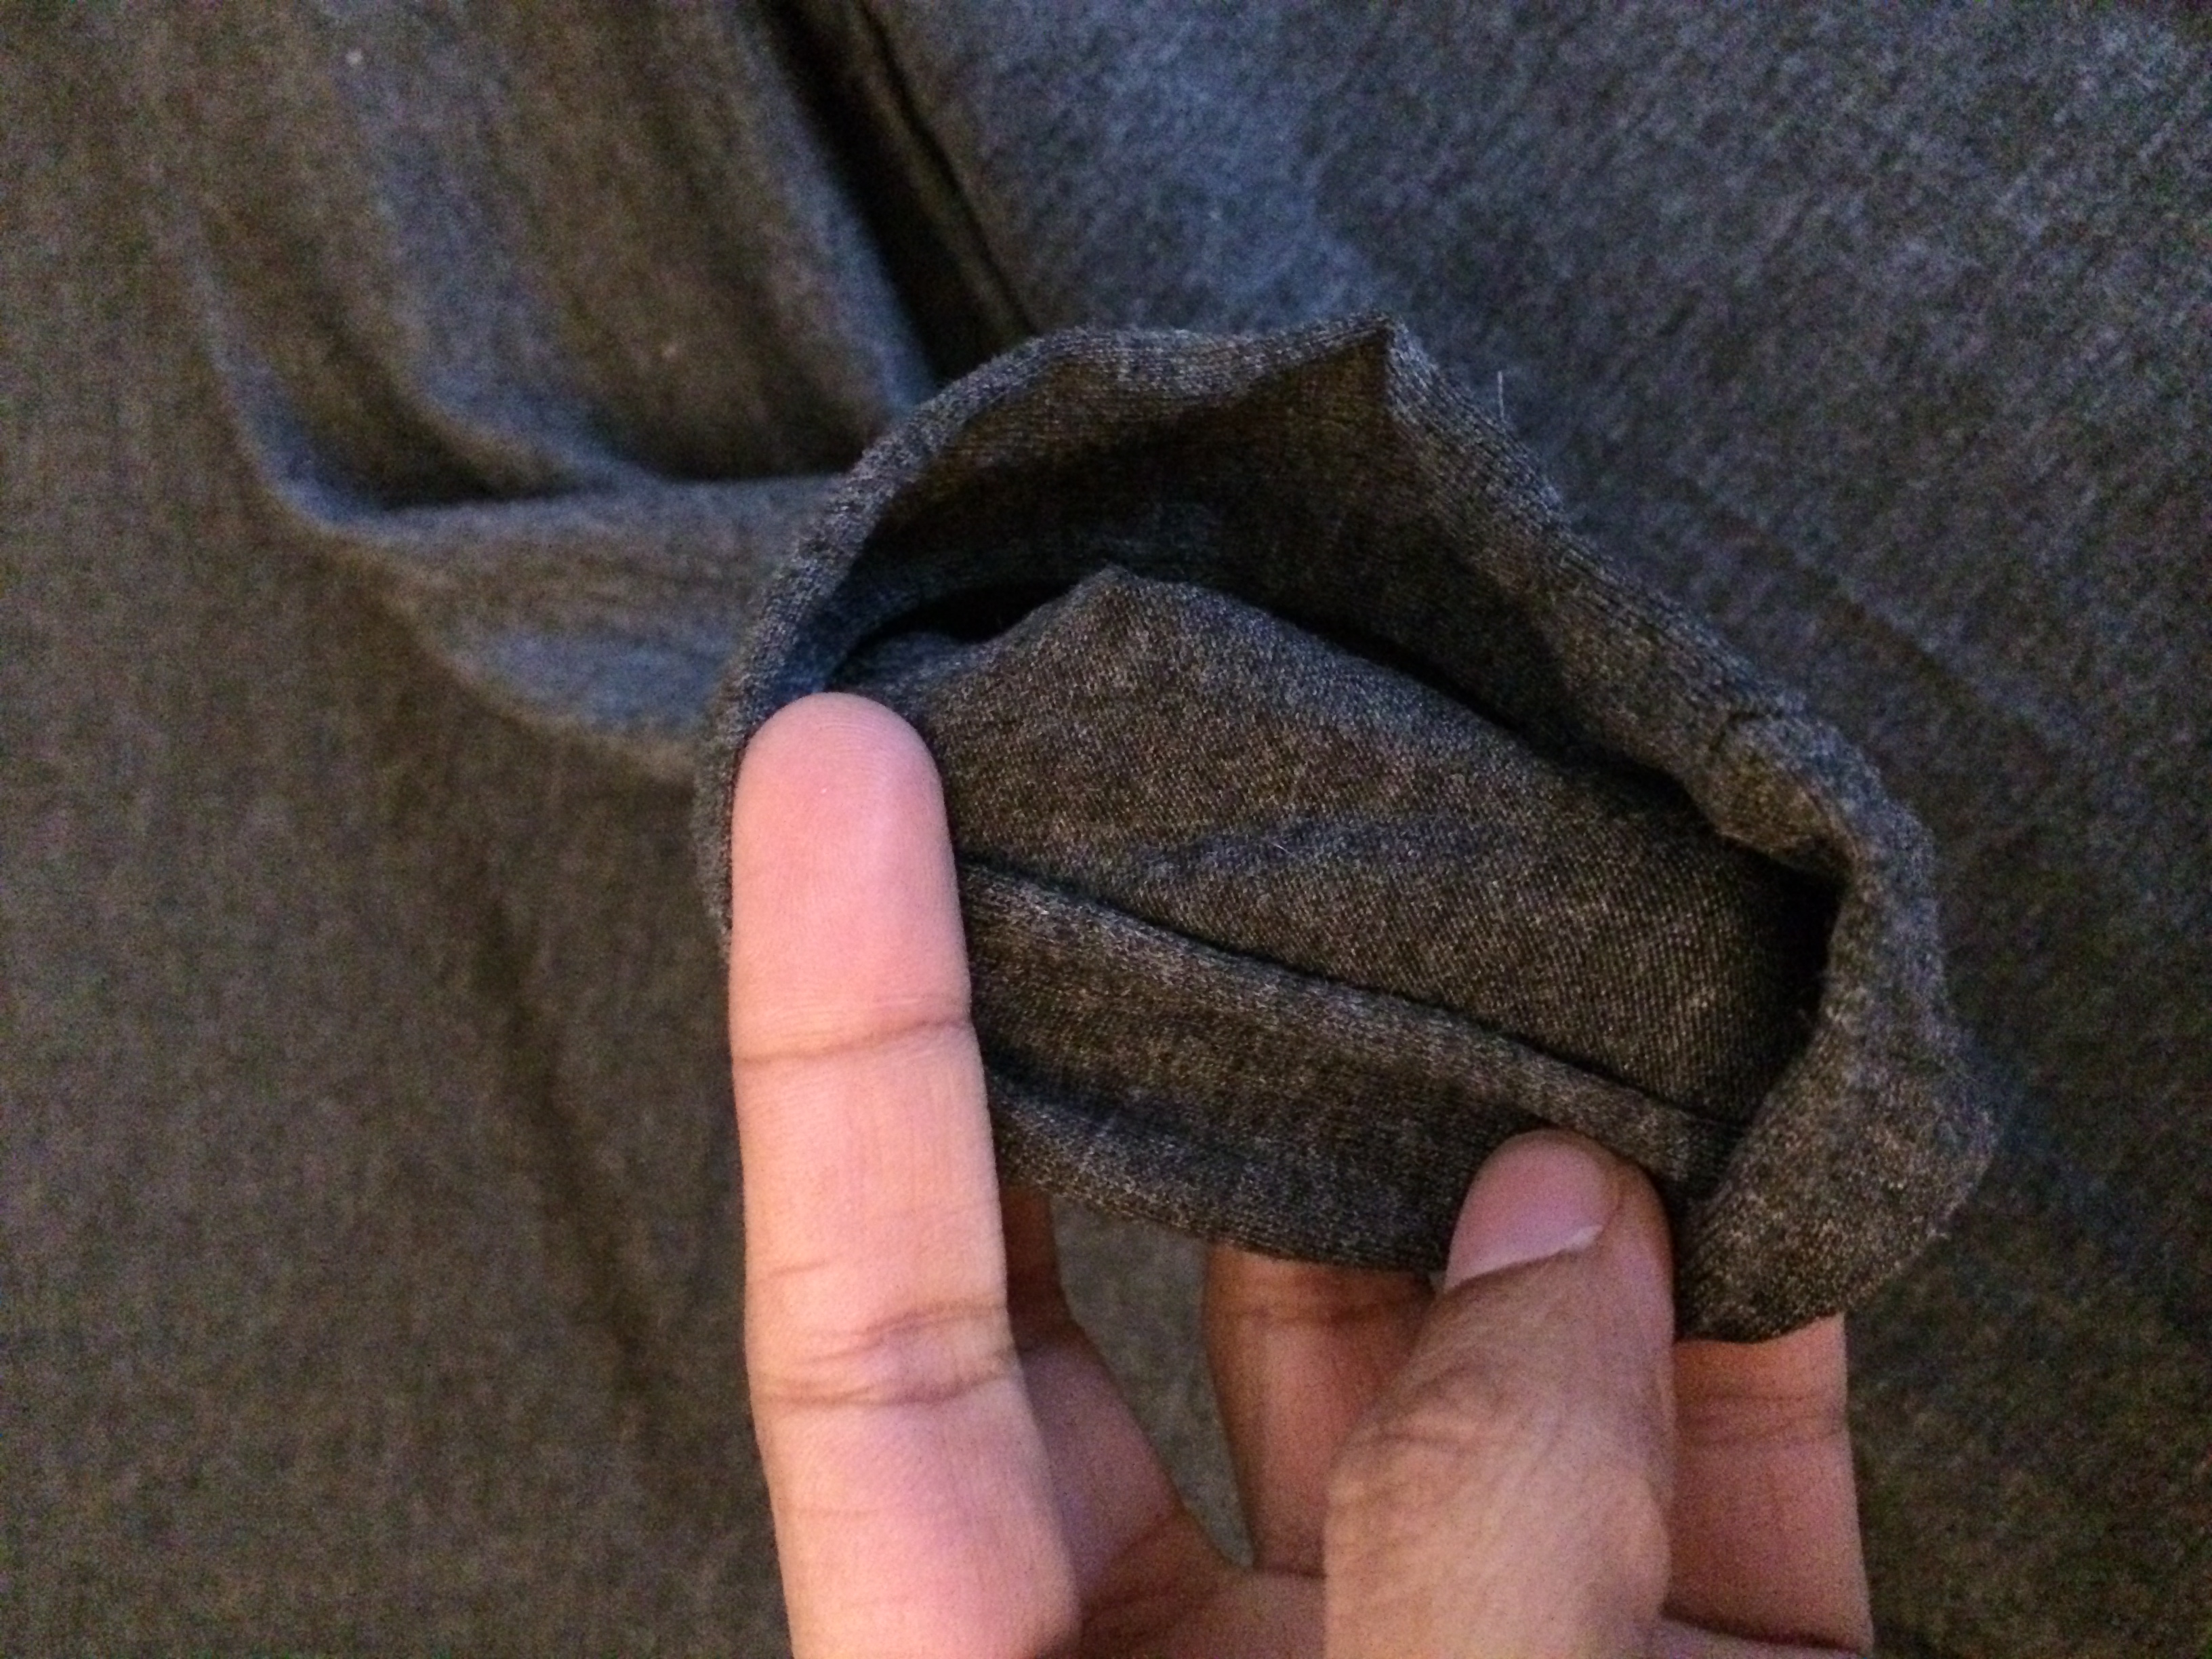
Hem, Hem Hem. Fold in the bottom of the sleeve about 1/2″ and sew all the way around. Do the same thing for the neck line as well as the bottom of the dress. You can leave it unhemmed for a more rugged look. The pics below shows you the neck folded in 1/4″ and sewn down, the sleeves and the bottom about 1/2″. I like to make my stitch right the the edge of the fold for a neat finish.


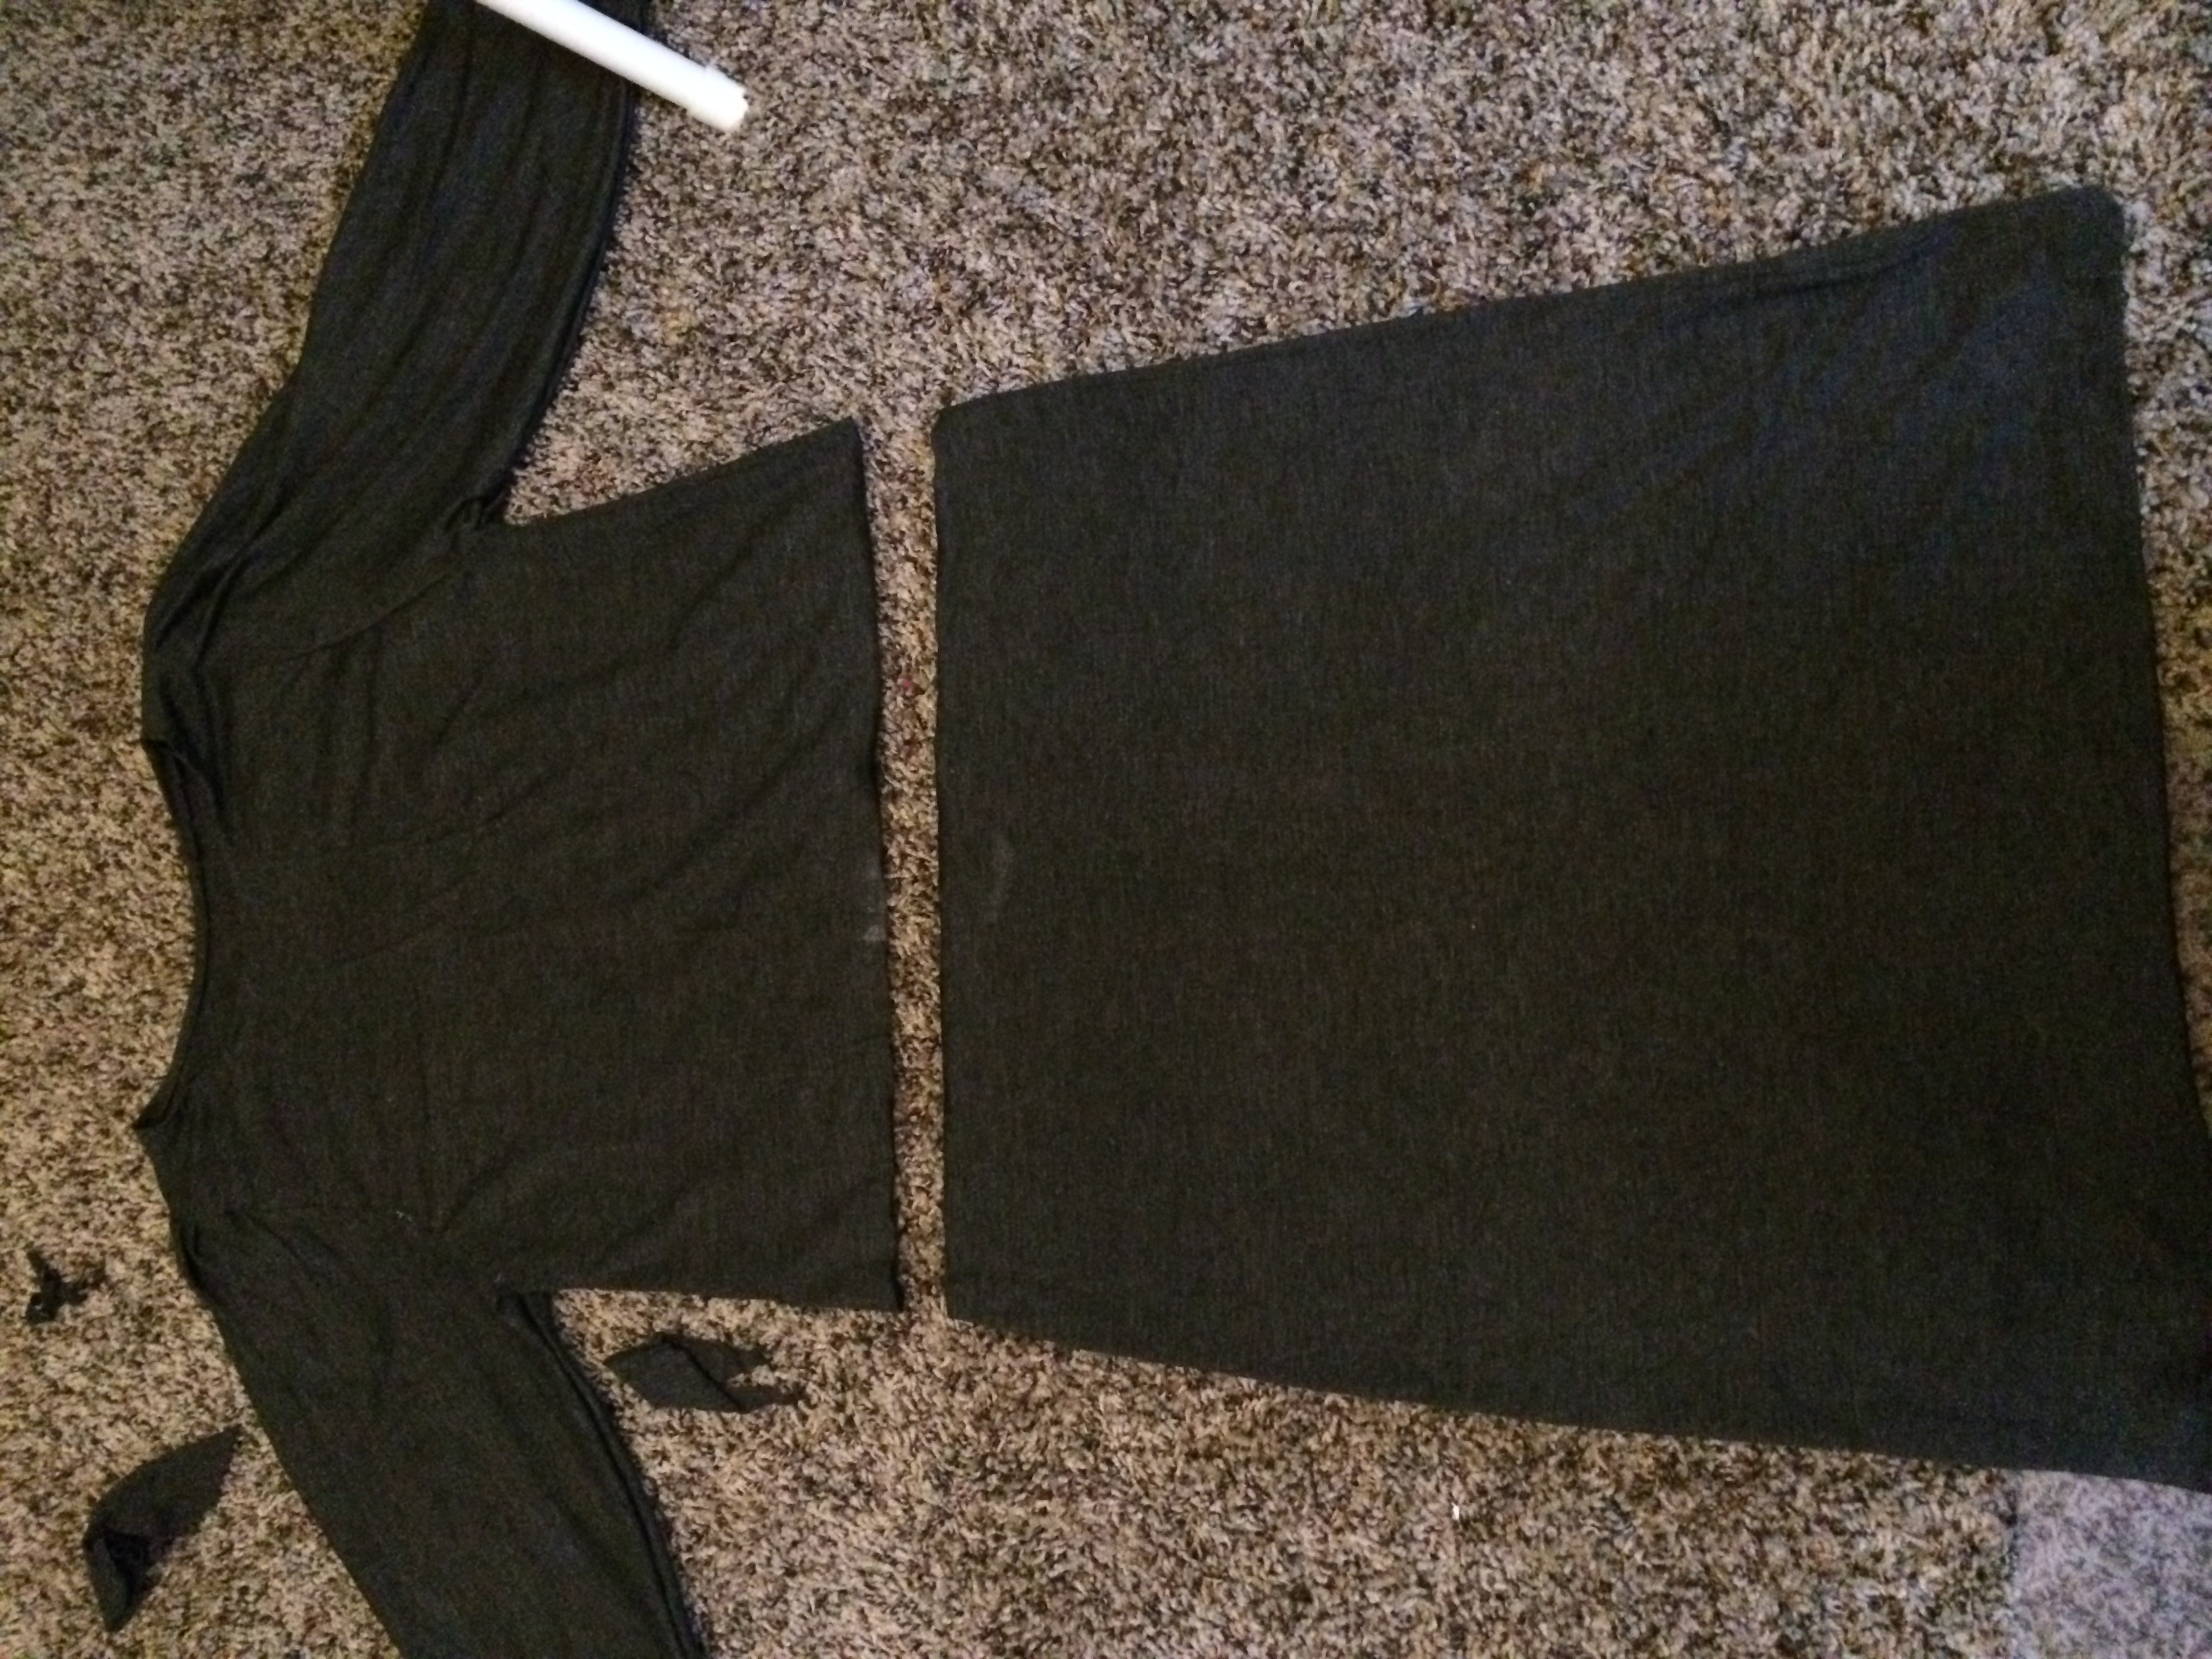
Lay the dress out on a flat surface and cut it in the middle where you have your peplum placement mark. You will now have a top piece and a bottom piece.
Put it all together
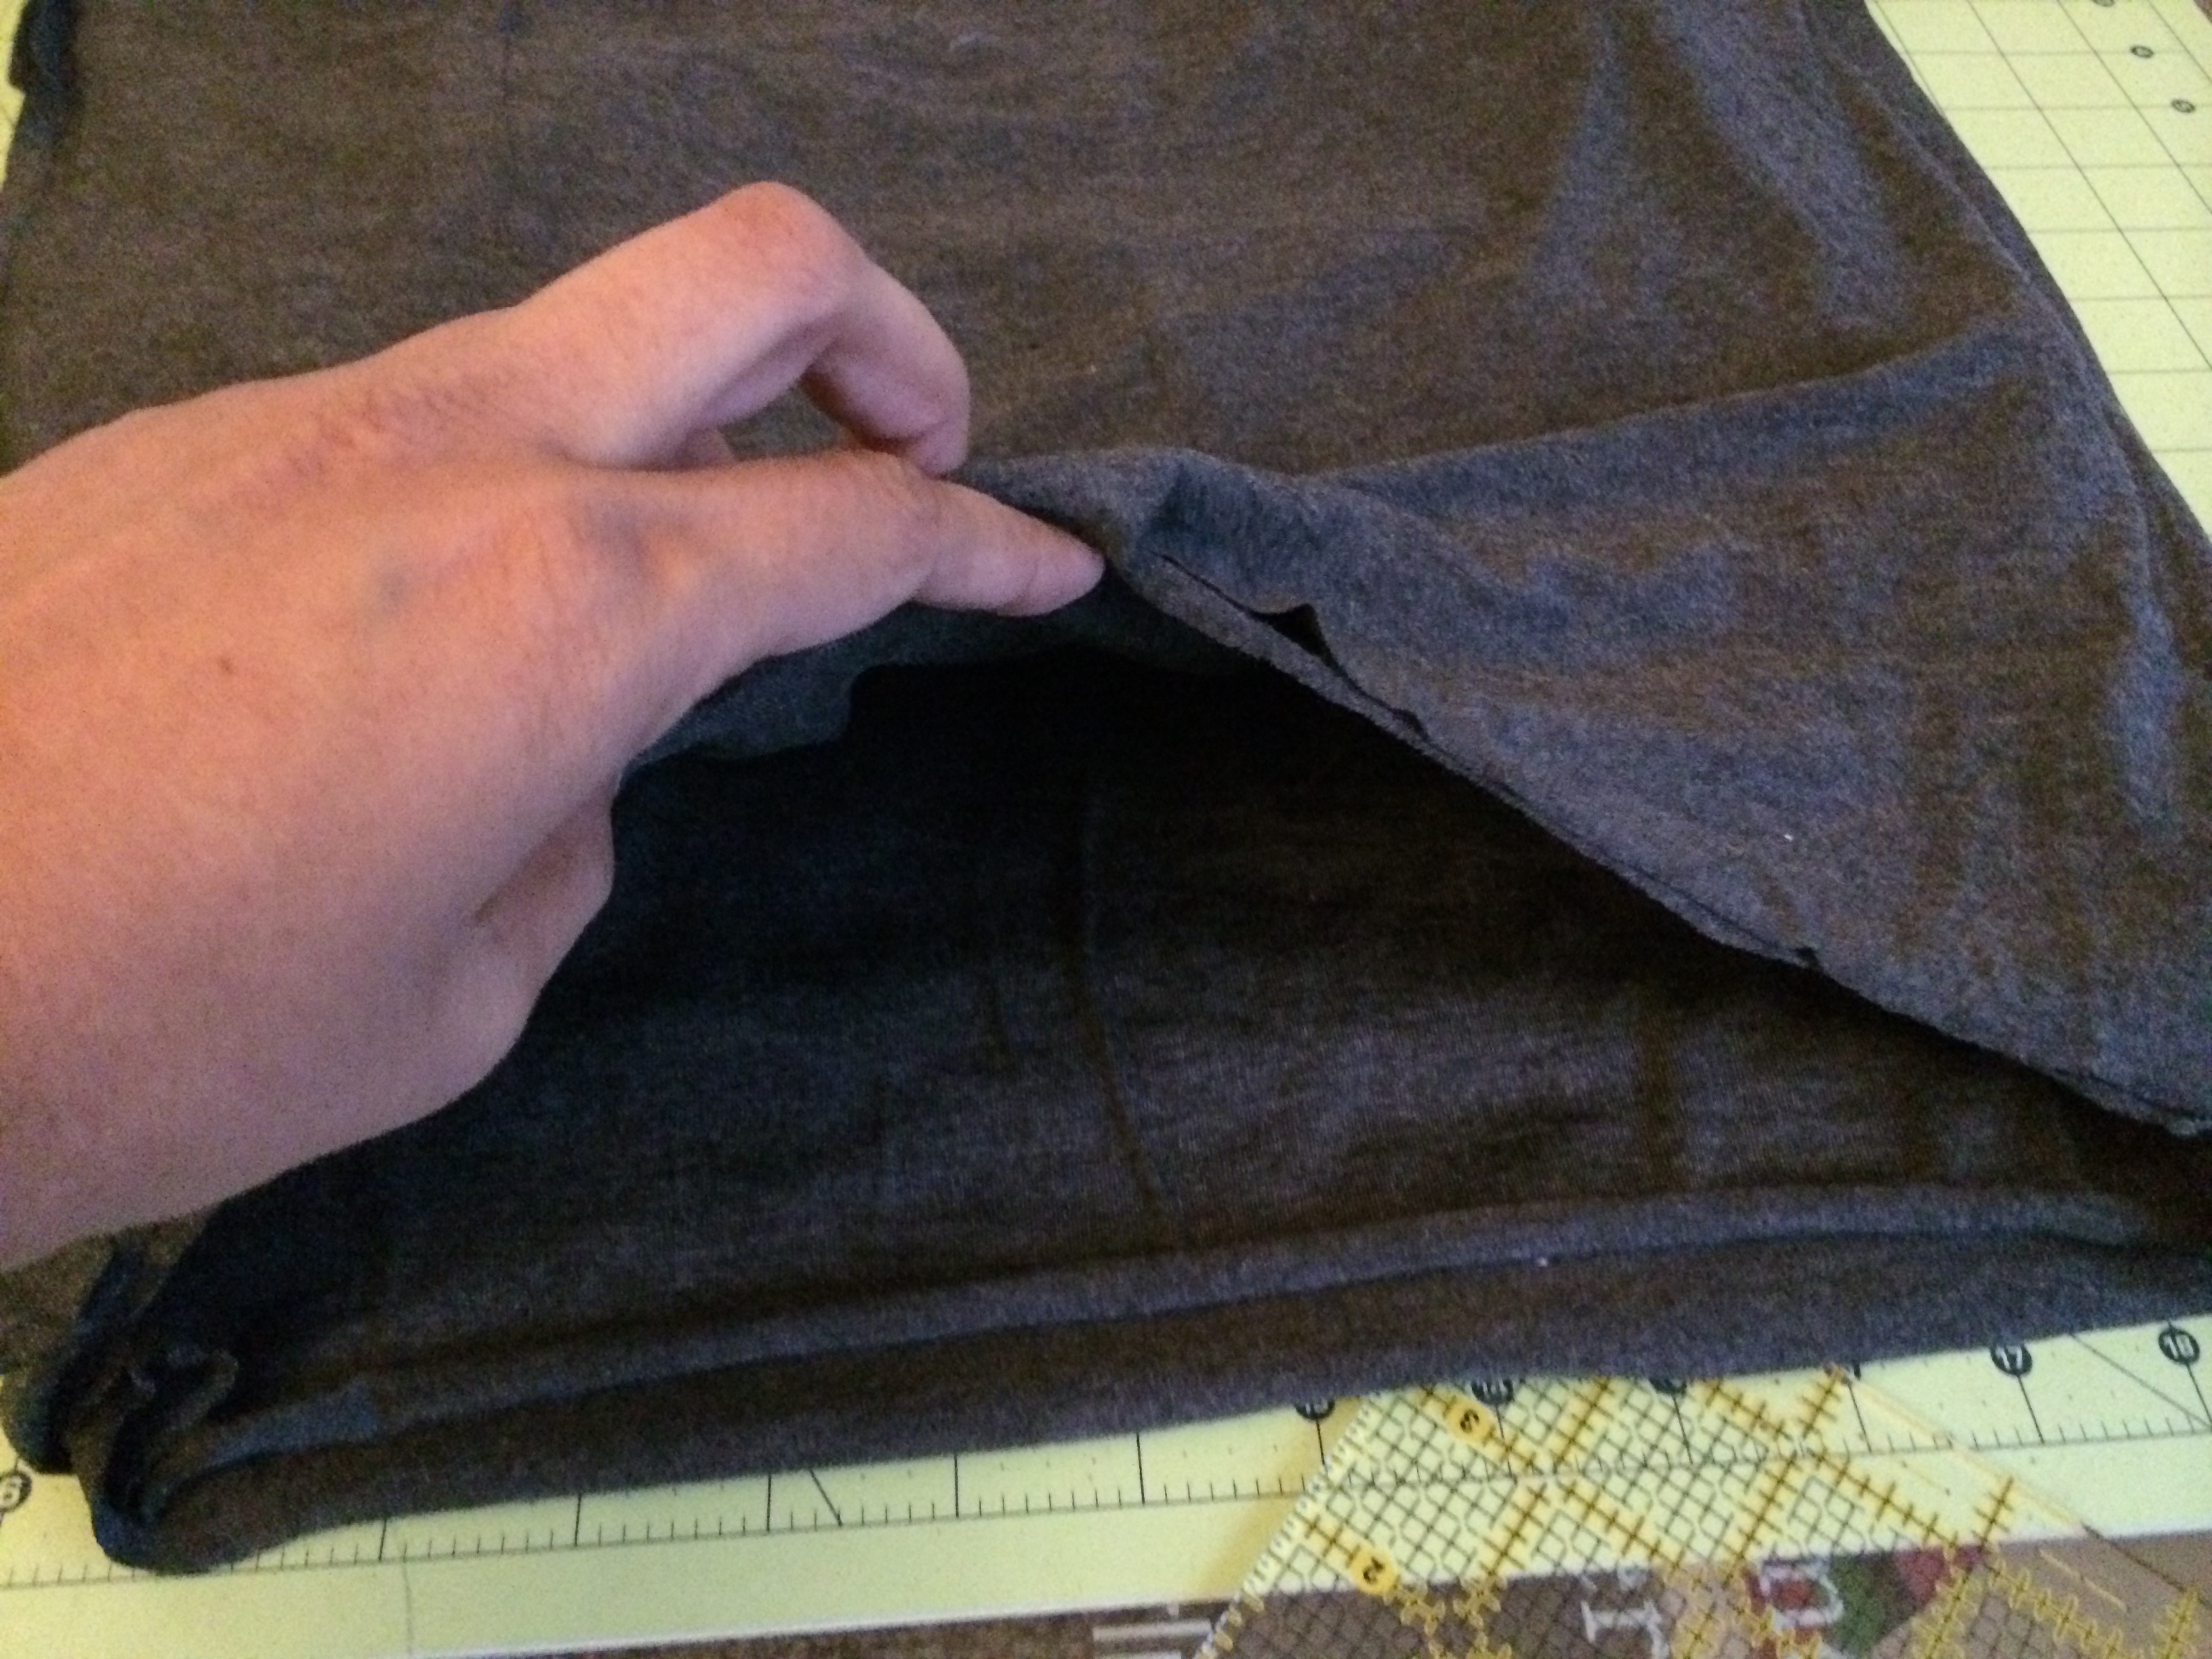
Now, lets put it all back together with the peplum in the middle. Take the peplum and fit it over the top (right side together).
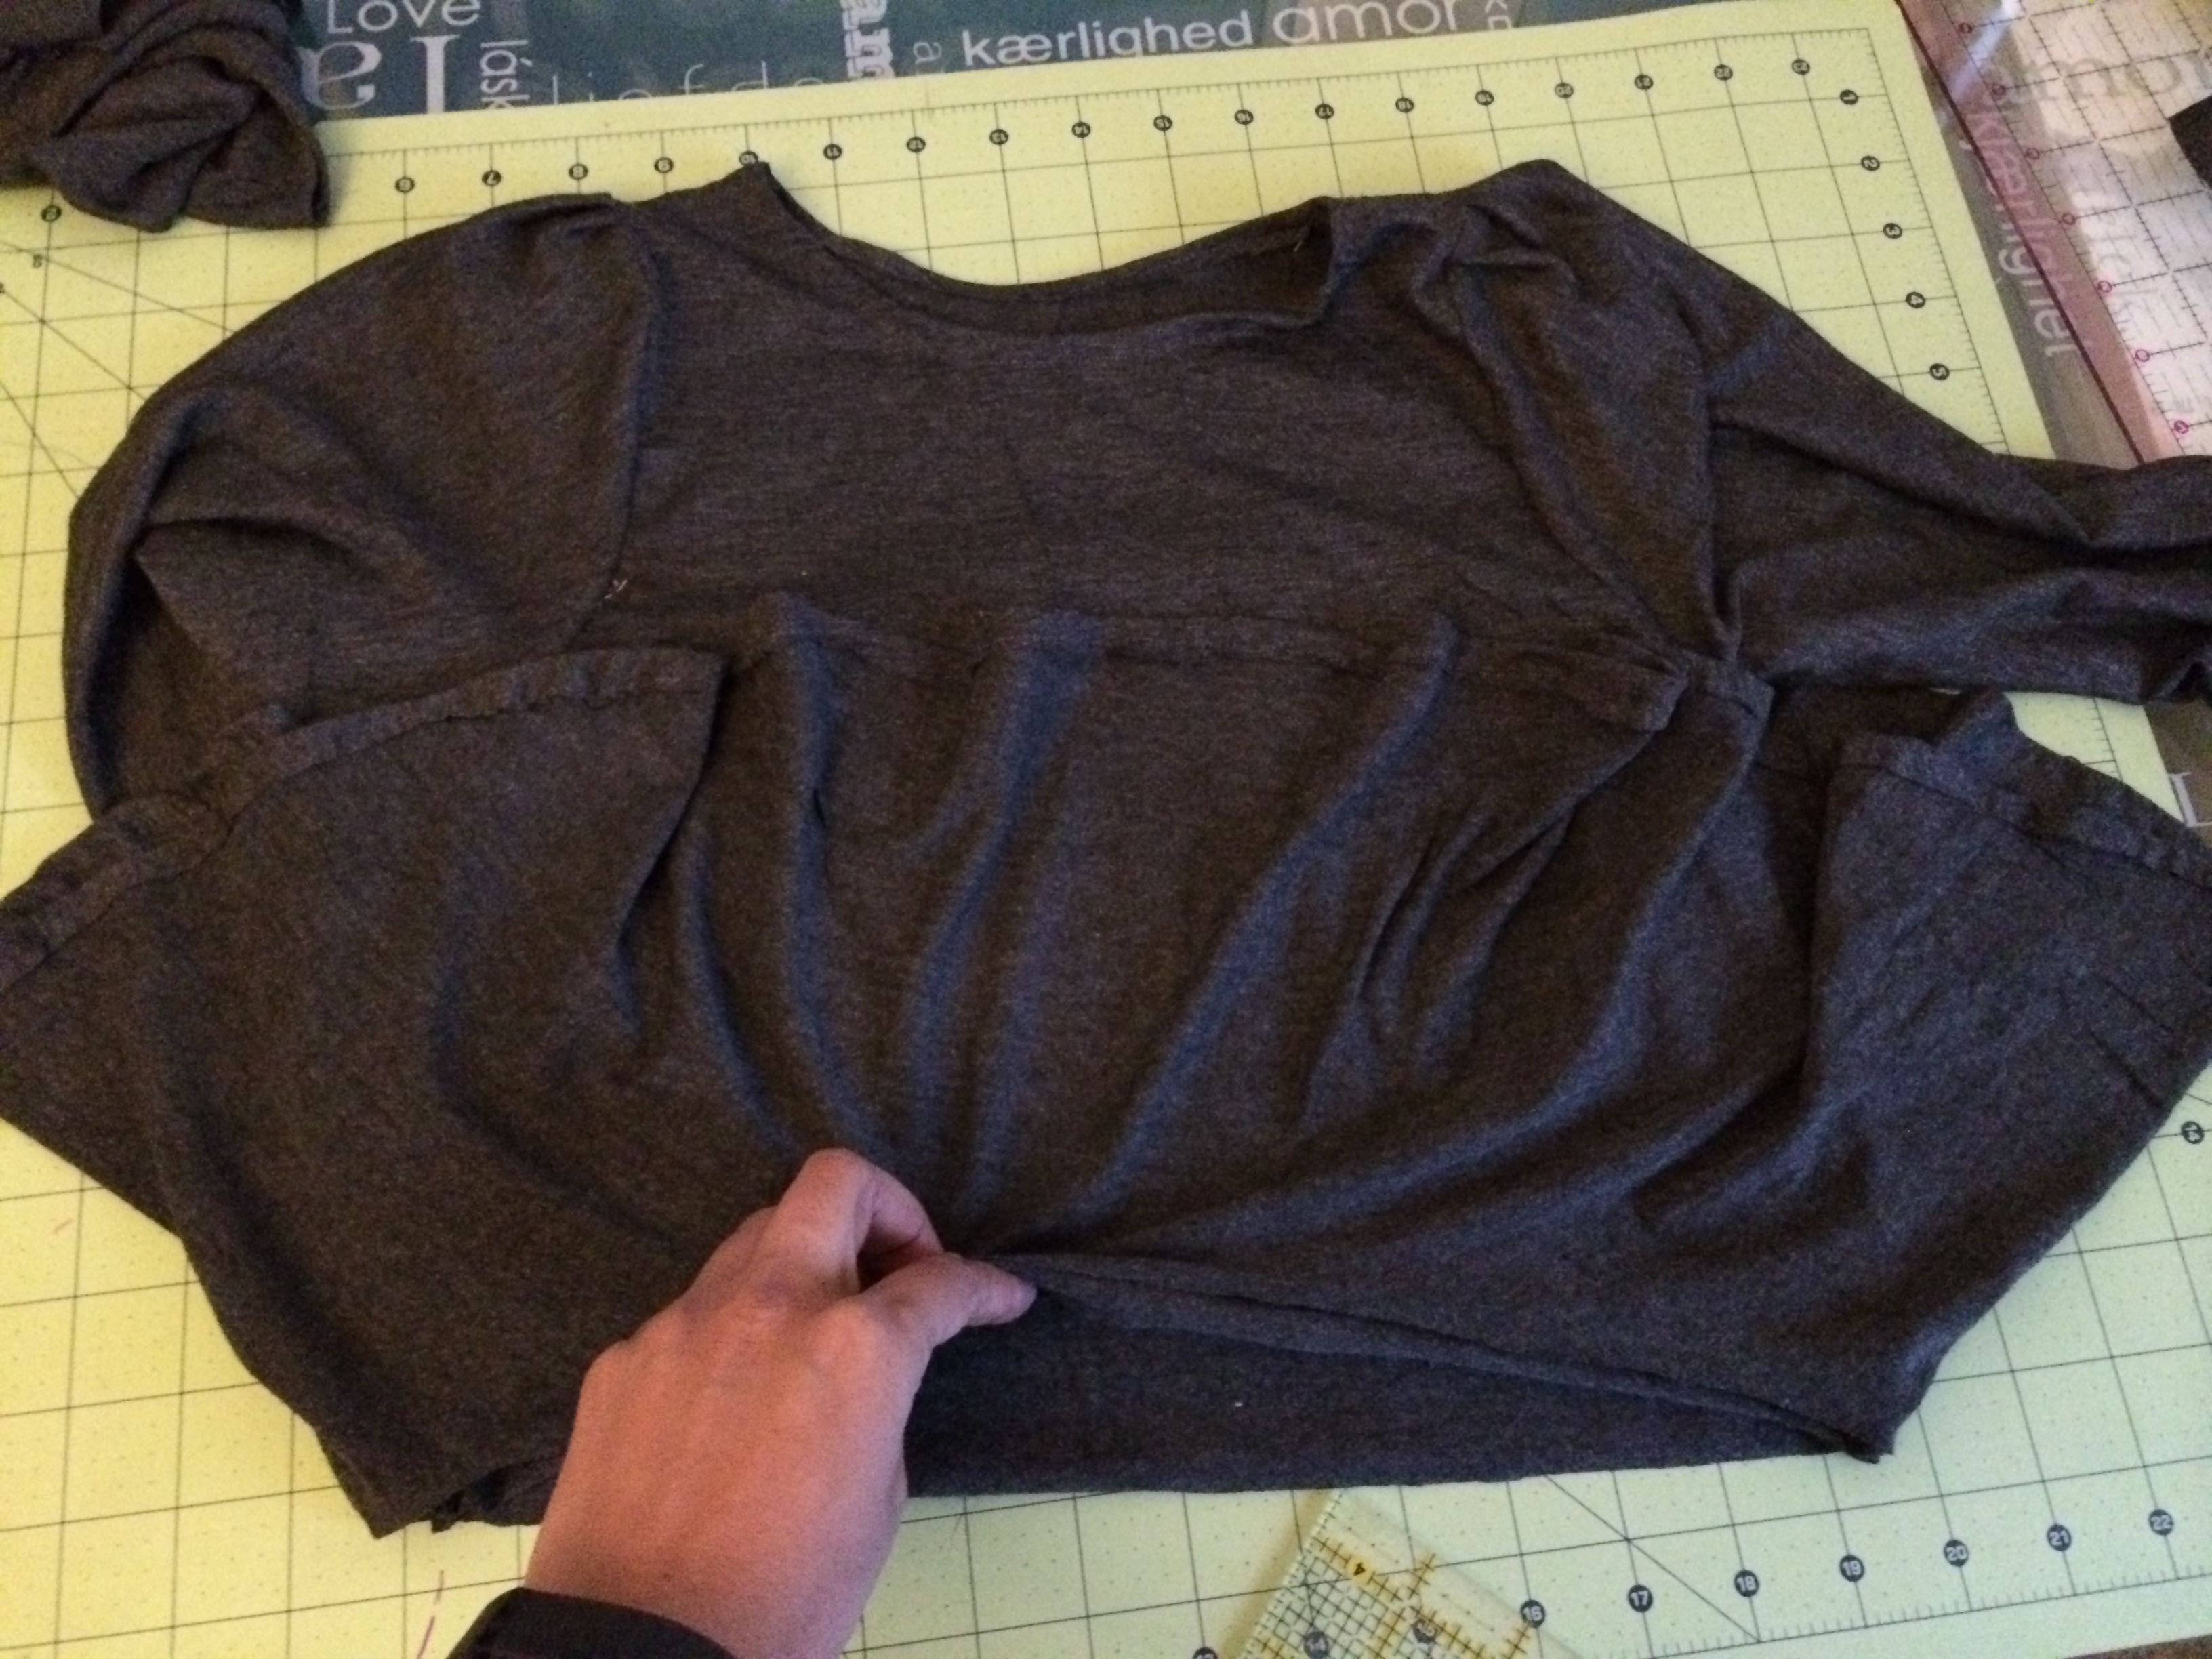
Take our skirt and turn it inside out. Now, take your peplum and top and fit inside the skirt lining up the edges. So, you will have the skirt layer first, then the peplum, then the top. Pin all the way around.
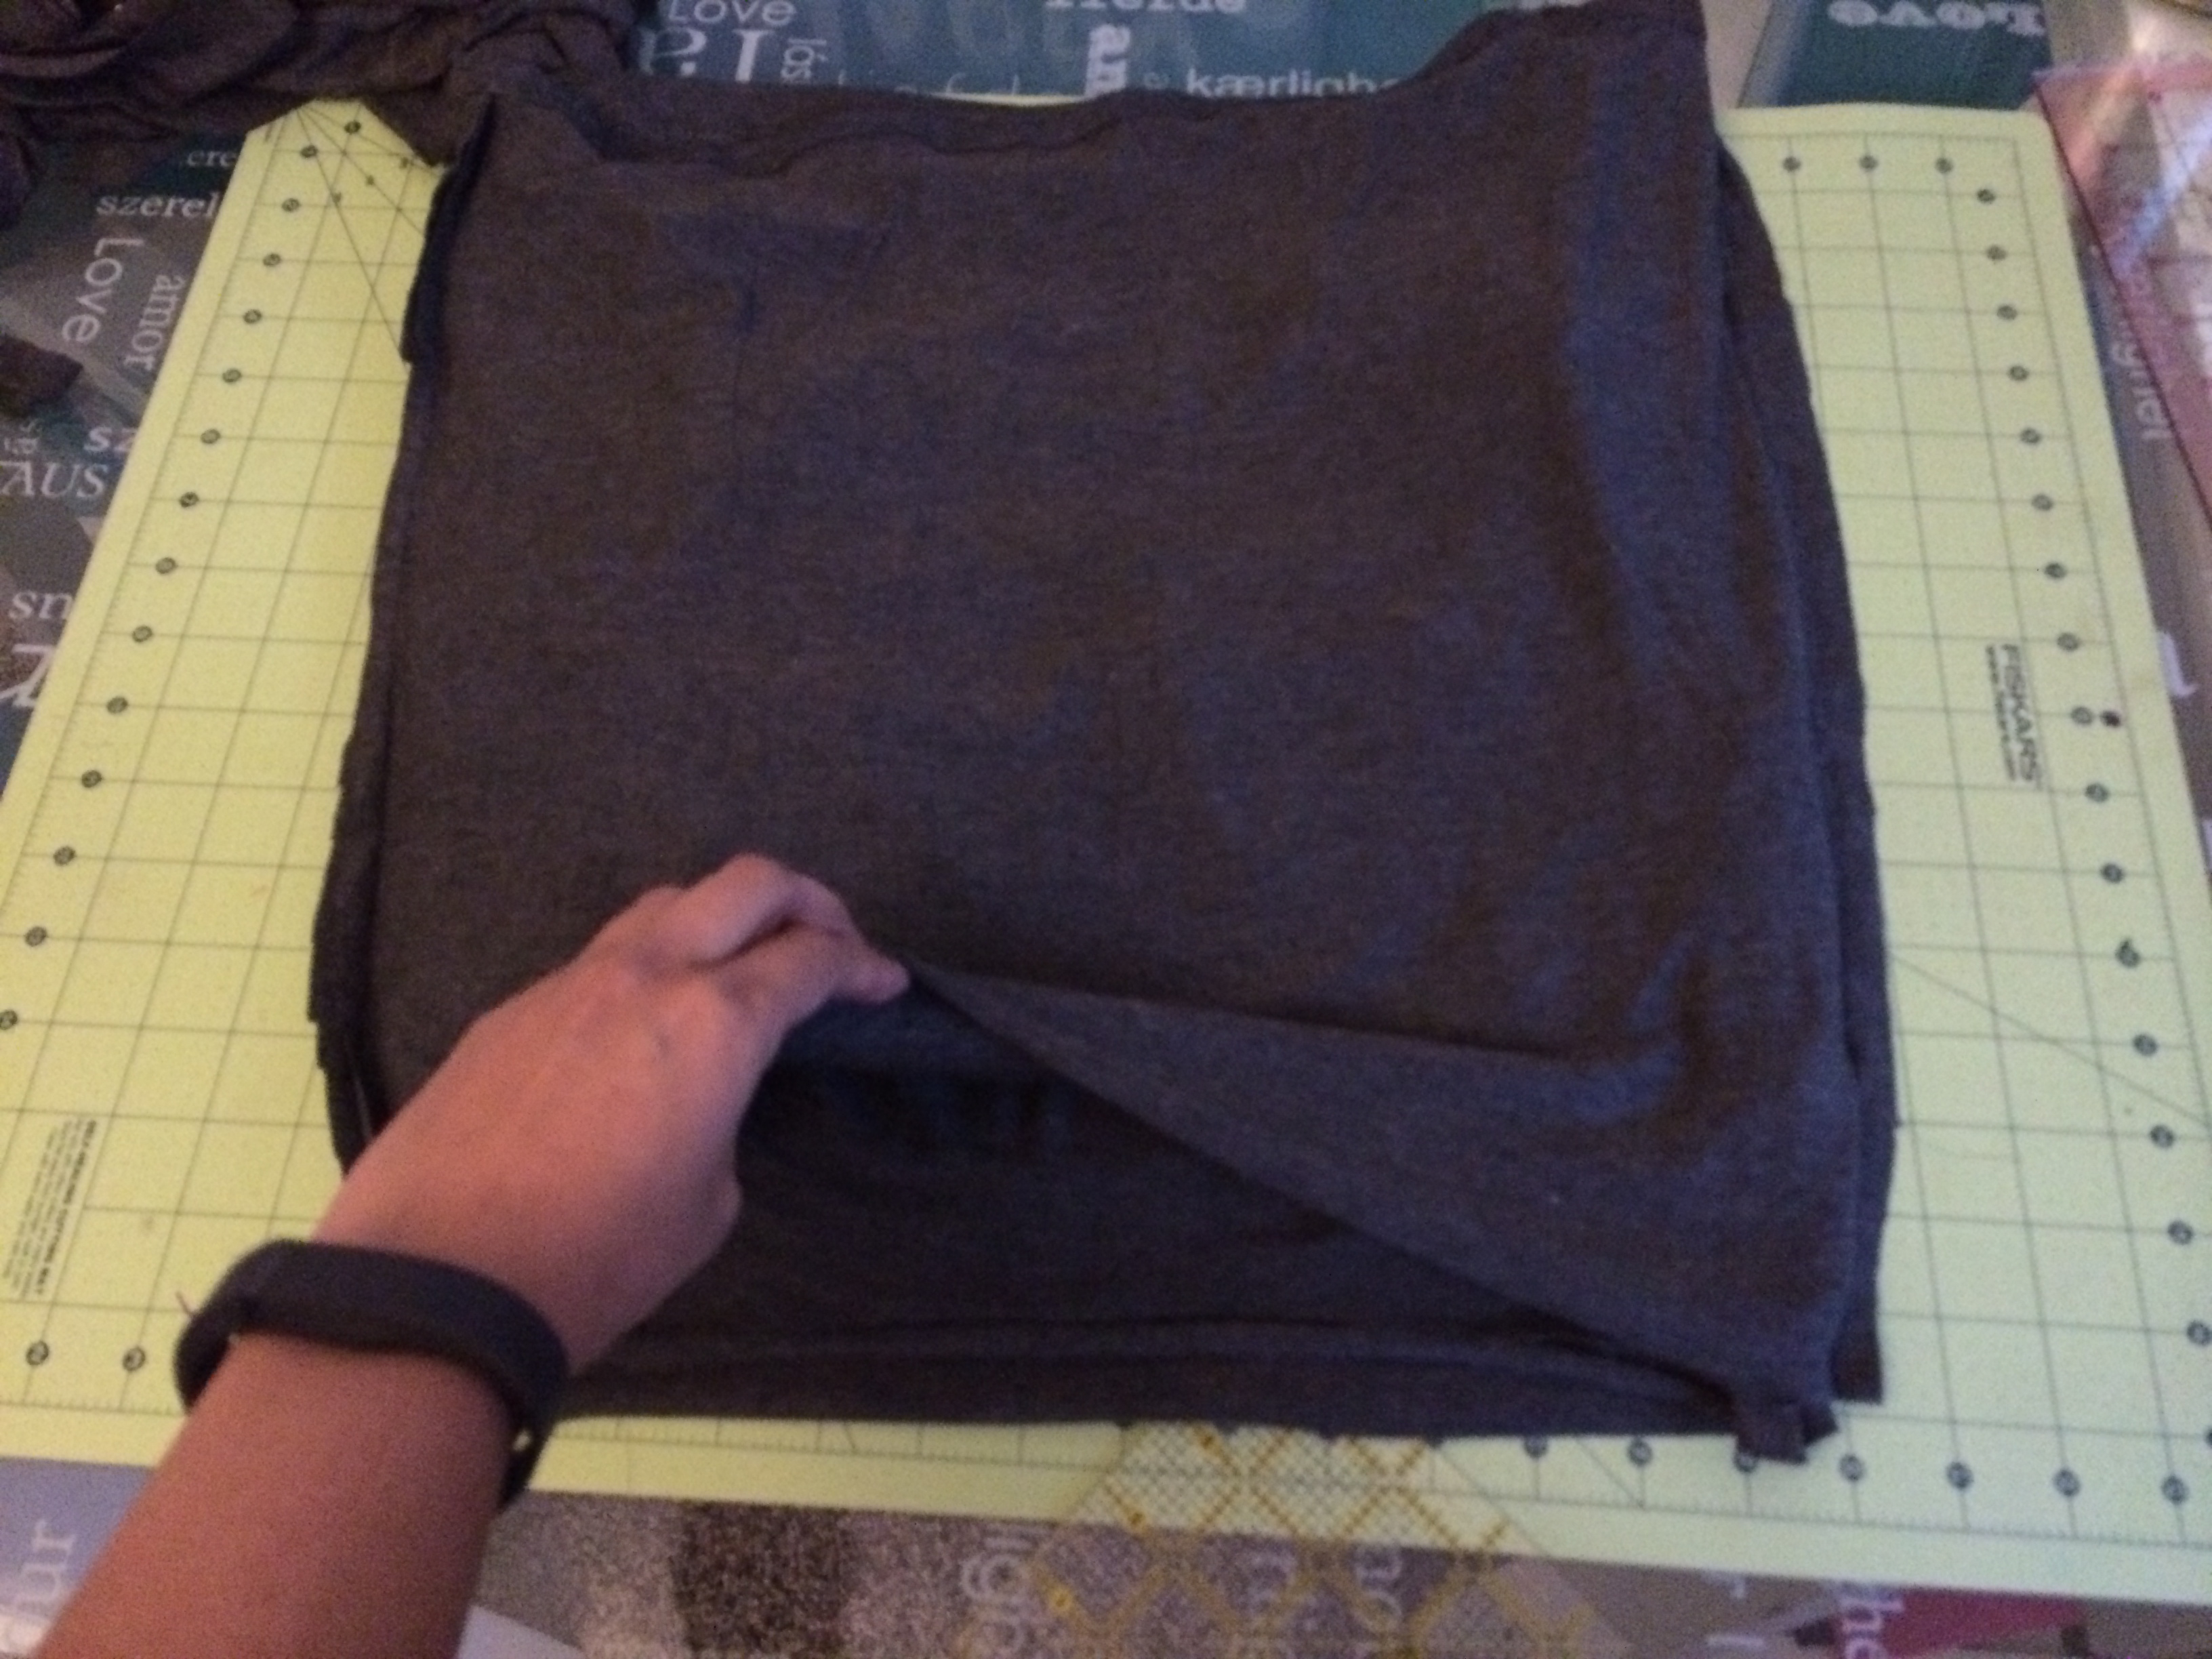
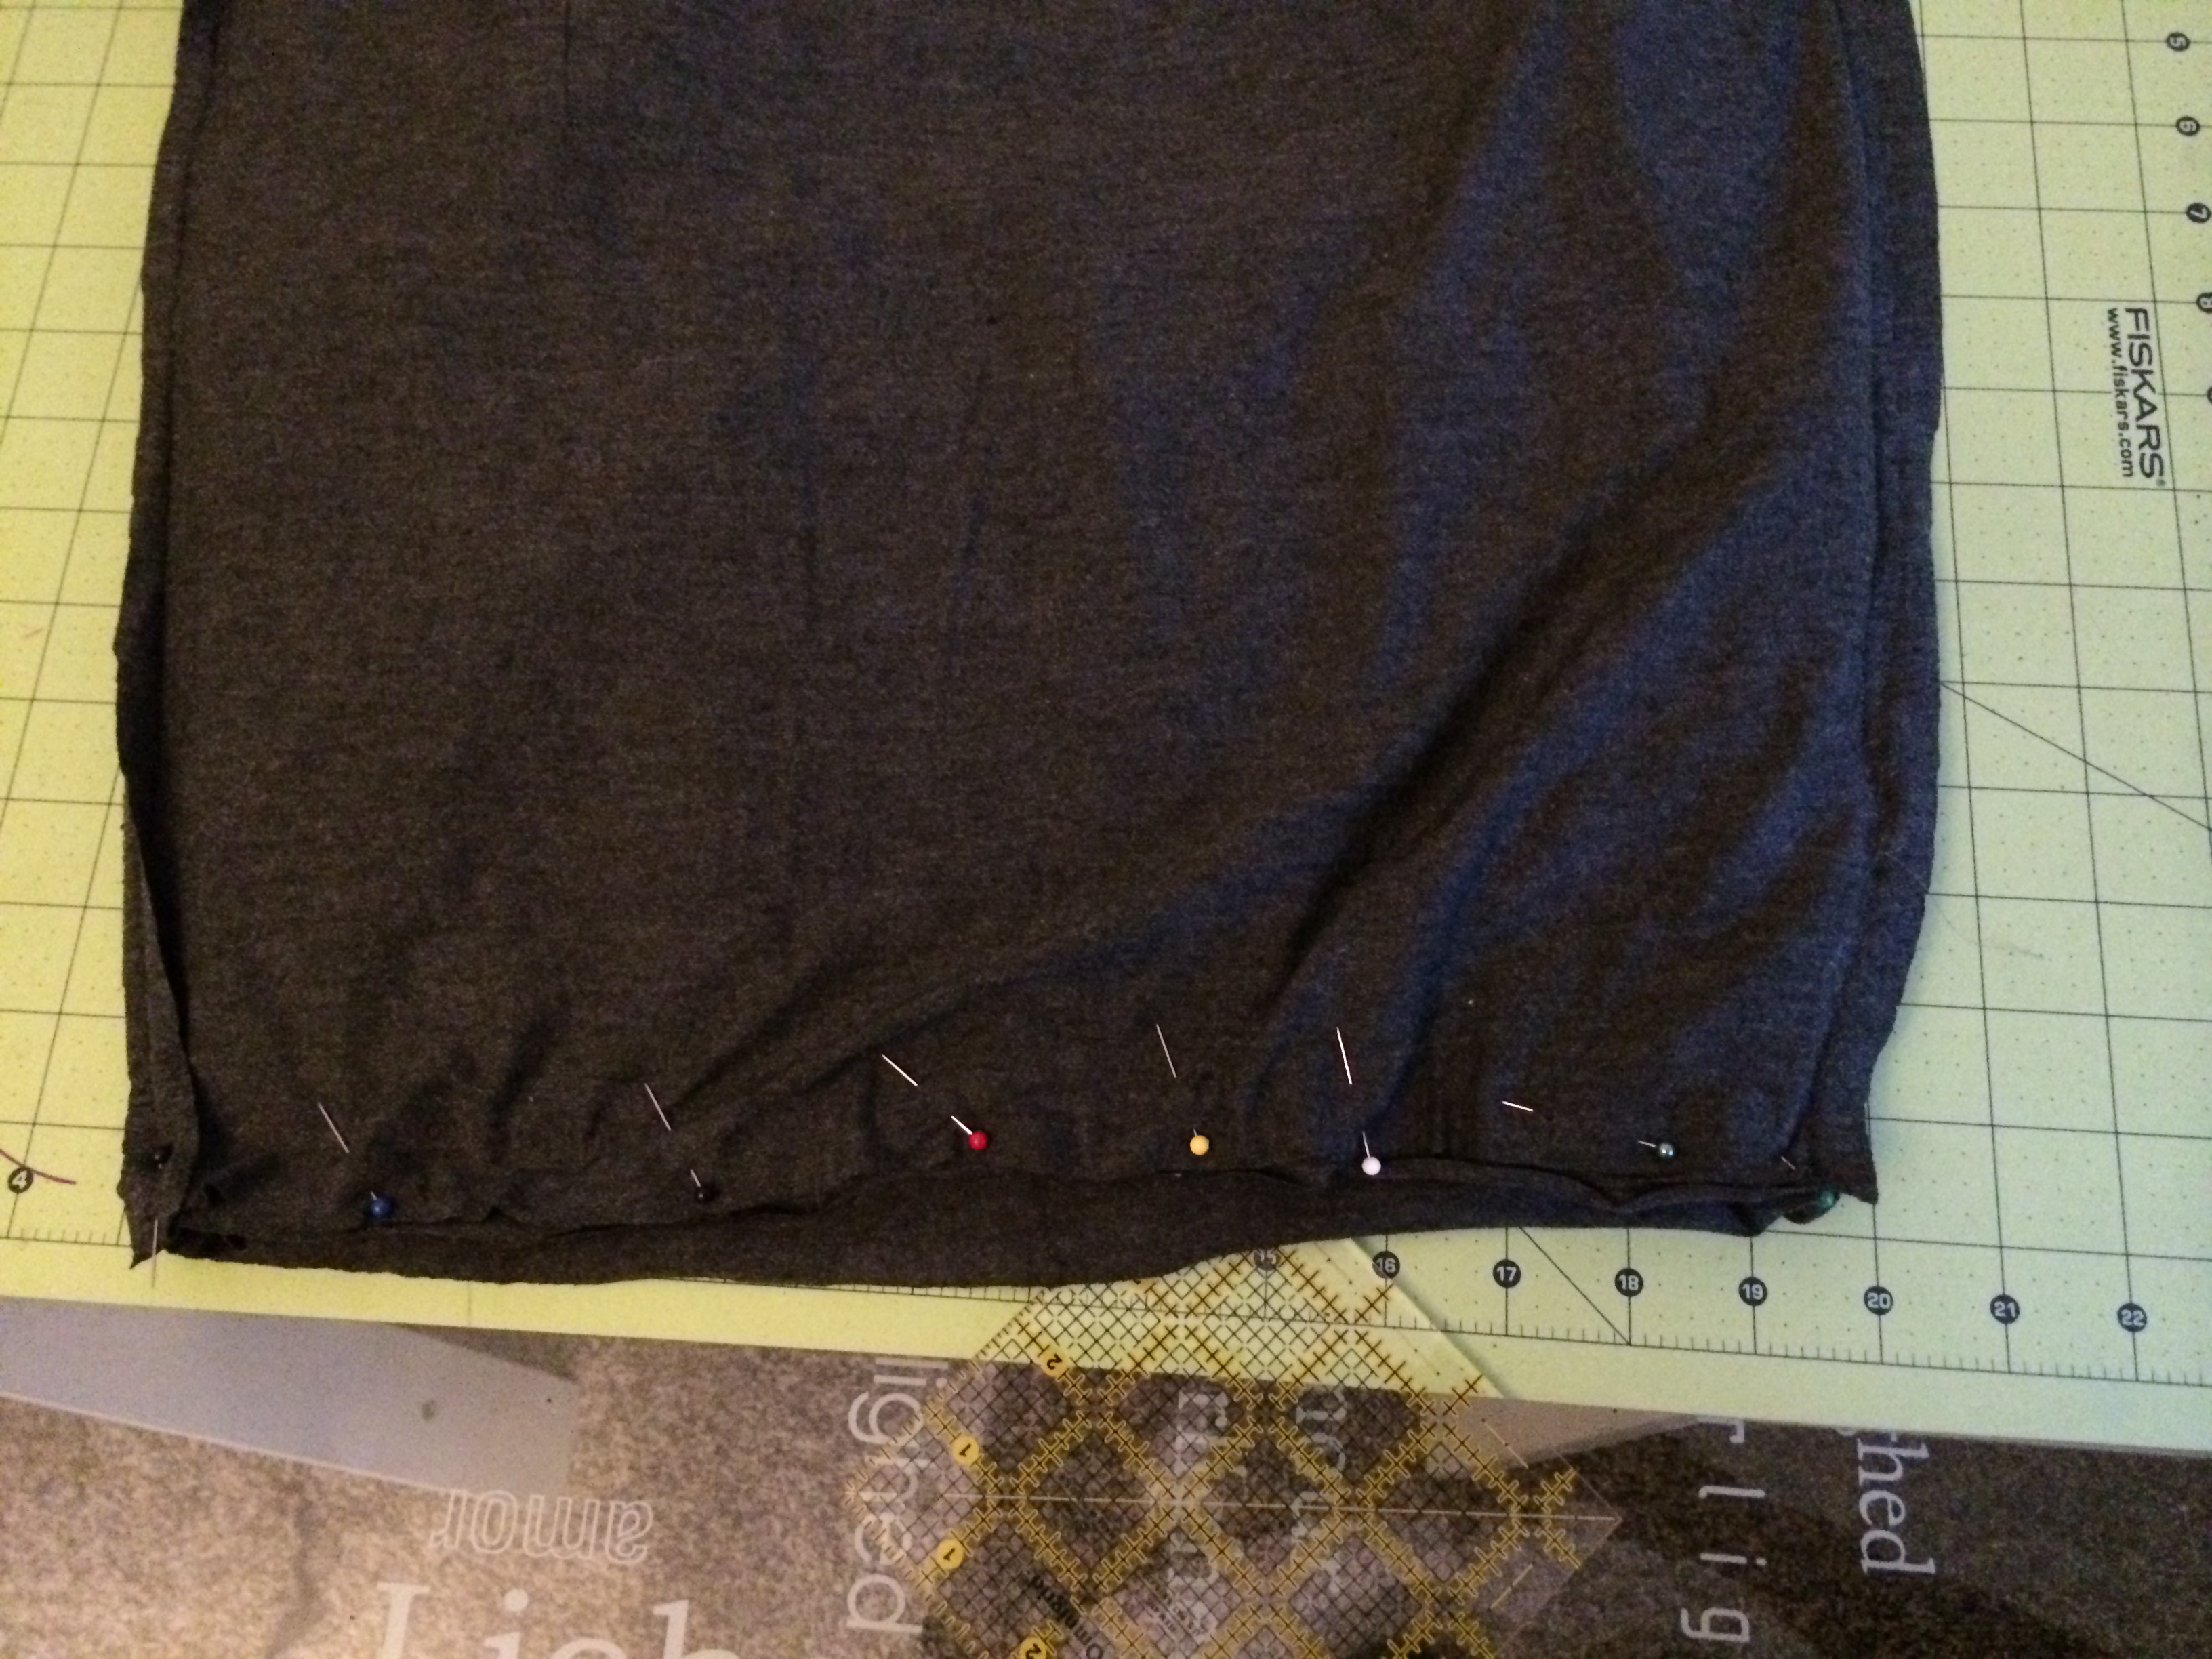
Take to the machine and sew using 1/2″ allowance. Turn inside out and you are done! Enjoy your new creation.
Thanks for visiting and Happy Sewing!