• Home
  • About Me
  • Tutorials
    • Bags
    • Children
    • Women
    • Home
  • Free Sewing Patterns
    • Bags
    • Children
    • Women
    • Quilts
    • Home
  • Shop
    • Sale
    • Essentials
    • Flash Sale
    • Kits
    • Sewing Gifts
    • Pre-cut Fabric
    • Sewing Patterns
  • Roundup
  • Contact

The Stitching Scientist

    DIY Ottoman

    Free Pattern

    9 Jan

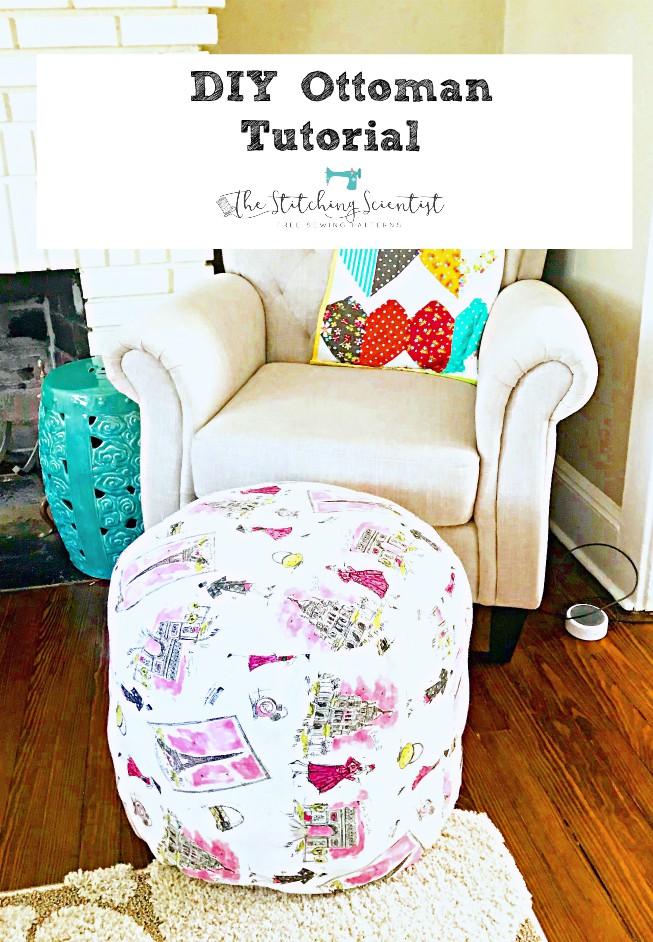
    Hope you are all keeping warm, especially if you live in the Northeast. I don’t like to sew when it’s cold outside. I am just not motivated to be productive in the Winter. I managed to get off my couch to do this DIY Ottoman project over the holidays. I really needed an ottoman for my chair and fell in love with this Tres Chic Canvas Fabric from Hobby Lobby. It matches perfectly with my cottage chic decor in my living room. This DIY Ottoman literally took about 30 minutes to create. It is so easy! You can use these for a footrest, a child’s seat or just a gorgeous accessory to your living space.

    How to make an ottoman


    Your Supplies

    • 2-3 yards of Canvas/Duck Fabric
    • ~60 oz of filling

    Step 1- Measure twice, cut once

    Measure how high and wide you want your ottoman to be. I like mine to be just about 2″ shorter than the seat height and slightly smaller than the width of the seat. Mine measures 22″ wide x 15″ high.

    Top and Bottom- Diameter of Circle (22″)

    Side-(3.142x diameter) x height . Mine was 69″ x 15″ . Add 0.5″ for seam allowance to the long side. So my finished side piece was 69.5″ long x 15″ high.

    Cut out top and bottom
    • Fold your fabric in half.
    • The width of the ottoman is essentially how wide you want the top to be. It is the diameter. Mine is 22″
    • Divide that number by 2 to get a radius. Mine is 11″.
    • Put the start of the measuring tape in the center of the fabric and move it 11″ (radius) all the way around marking it about every 4″. Cut out your circle. You will now have 2 circles.

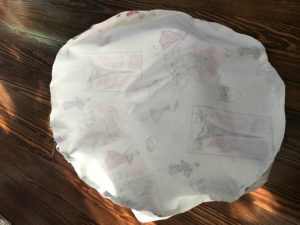
    Step 2-Pin circles and sew.

    With right sides facing each other, sew the two short ends of the side pieces together.

    Pin and sew the top circle piece to the side piece. Repeat for the bottom piece, leaving a 5″ opening.

    pin circle

    Stuff and Stuff

    Turn your ottoman inside out and stuff with filling. Press down to make sure it is compacted well. Hand sew your opening closed.

    Stuffing

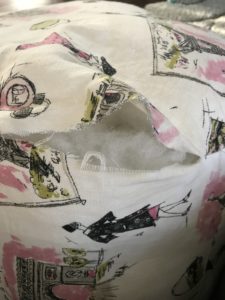
    If you press down the filling and make the ottoman really compacted, it will stiff enough to even hold an eating tray where you can put drinks and snacks.

    How to make an ottoman

    Happy sewing and thanks for visiting!

    « Easy Christmas Sewing Gifts
    Happy New Year! »
    Close
    Forgot password?
    Send me my password!

    Close message

    Login
    • This blog post
    • All blog posts

    Subscribe to this blog post's comments through...

    • Add to netvibes
    • Add to My Yahoo!
    • Add to Google
    • Add to Microsoft Live

    RSS Icon RSS Feed

    Subscribe via email

    Subscribe

    Subscribe to this blog's comments through...

    • Add to netvibes
    • Add to My Yahoo!
    • Add to Google
    • Add to Microsoft Live

    RSS Icon RSS Feed

    Subscribe via email

    Subscribe
    Follow the discussion

    Comments (3)

    Loading... Logging you in...
    Close

    Login to IntenseDebate

    Or create an account

    Forgot login?

    Cancel Login
    Close WordPress.com

    Lost your password?

    Cancel Login
    Dashboard | Edit profile | Logout
    • Logged in as

    Admin Options

    Save Settings

    Sort by: Date Rating Last Activity

    Loading comments...
    +1 Vote up Vote down
    Nita's avatar

    Nita · 385 weeks ago

    Just what I was thinking about making for my house for the granddaughters to sit on!! Thanks for sharing your information and I hope to make a couple of those this weekend! I will send a picture of them.
    Reply
    0 replies · active 385 weeks ago
    +1 Vote up Vote down
    instagonline's avatar - Go to profile

    instagonline · 382 weeks ago

    The pattern in your fabric is so beautiful! I guess this will be my next project! Thank you for the tutorial!
    instagram search
    Reply
    0 replies · active 382 weeks ago
    0 Vote up Vote down
    Laurie's avatar

    Laurie · 104 weeks ago

    Cover a 5 gallon with a lid using this method after wrapping it in batting thickly and you have a strong seat to hold much more weight. Leave the bottom circle off until after threat is sewed.
    Reply
    0 replies · active 104 weeks ago

    Post a new comment

      Comment as a Guest, or login:

      • Login to IntenseDebate
      • Login to WordPress.com
      Go back

      Displayed next to your comments.

      Not displayed publicly.

      If you have a website, link to it here.

      Posting anonymously.

      Submit Comment
      Thank you so much for taking the time to comment on this post! Please visit us again.

      Comments by IntenseDebate

        Reply as a Guest, or login:

        • Login to IntenseDebate
        • Login to WordPress.com
        Go back

        Displayed next to your comments.

        Not displayed publicly.

        If you have a website, link to it here.

        Posting anonymously.

        Cancel Submit Comment
        Loading Loading IntenseDebate Comments...


        Welcome

        Hi there! Thanks for visiting my creative corner. I am a DIY enthusiast and single mom to a little girl and a slobbering dog. I enjoy my full time job as a research scientist during the week but like to experiment on sewing and crafty projects on the weekends. Join me as we explore the beautiful world of fabrics together. Read More…

        Craftsy

        Fat Quarter Shop Quilting Fabrics and Supplies

        • Home
        • About Me
        • Tutorials
        • Free Sewing Patterns
        • Shop
        • Roundup
        • Contact

        Copyright © 2025 · Refined theme by Restored 316