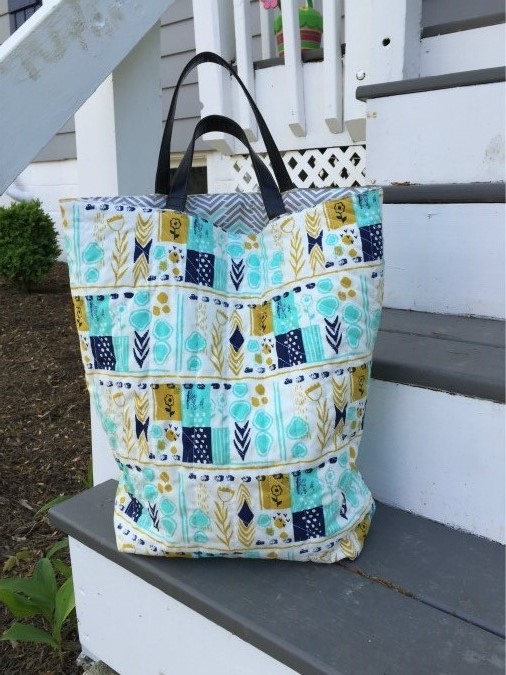
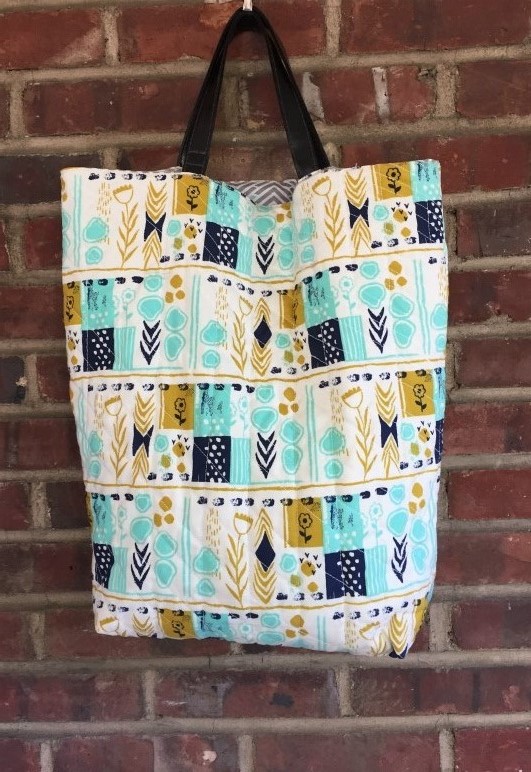
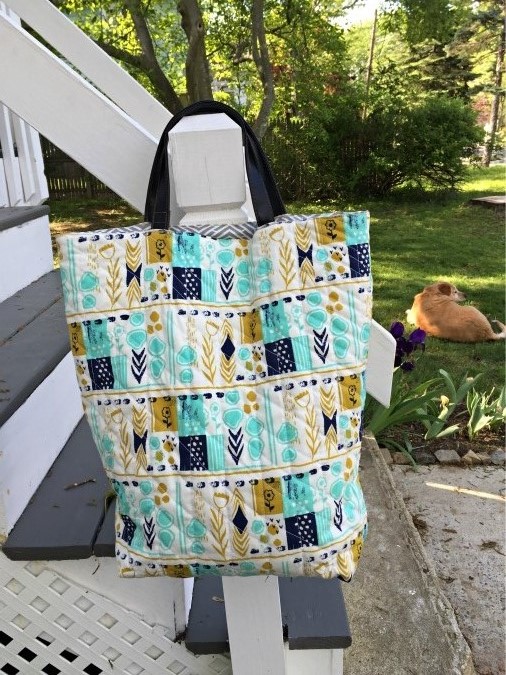
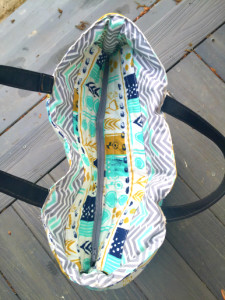
Are you guys enjoying spring? Aside from the allergies, we are enjoying it. I did this bag a few months ago and just never got around to doing a post for it due to our move across country. I am in love with this bag. I know I say that about everything but seriously, I just love how this turned out. It is a classic piece and the Cotton and Steel August Mezzanine makes it look so elegant. It looks like something I would buy at a store if I had an extra $60. This bag literally cost me about $15 to make and 2 hours of time. I usually give away most of the bags I make but this one is a keeper. Check out this super simple quilted tote tutorial and create this stunning piece for yourself this summer.
This looks like it is a market tote cause it is so large. I love the size. It works as an overnight bag, a shopping bag or something to take to a street fair.
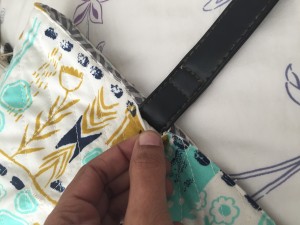
I did’t want to make the straps long. I think the short straps gives it a more elegant look. These straps were taking from a thrift store bag I bought for $1. Usually, they would be about $20 for real leather straps.
I added a recess zipper closure to the top. This is completely optional. I honestly don’t think it would make much of a different without it. The recess zipper took a while for me to figure out but it turned out pretty good.
Your Supplies
- 1 yard outer cotton fabric
- 1 yard lining fabric
- 1 yard batting
- 14″ zipper (optional)
- Leather straps (optional)
Measure and Cut
- Cut 2 rectangles 20 x 30″ of both the main outer fabric, lining and the batting
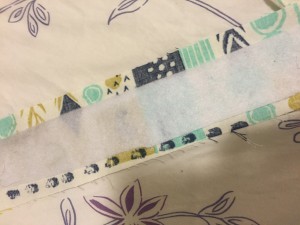
- Cut 4 rectangles of 3 x 16″ for the closure (optional)
Sew
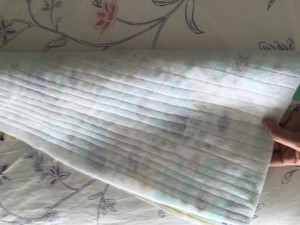
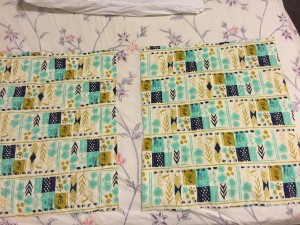
1)Take your main pieces over your batting pieces and sew straight lines about 1″ apart from top to bottom.
2) Next, sew the two main rectangles right sides together along the longer sides and on the bottom. Repeat for the lining pieces.
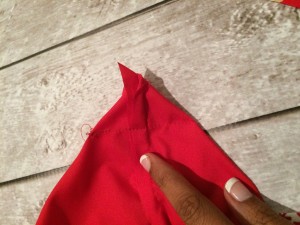
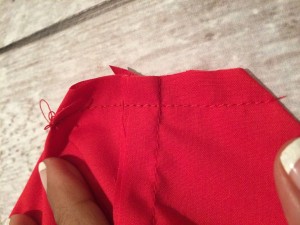
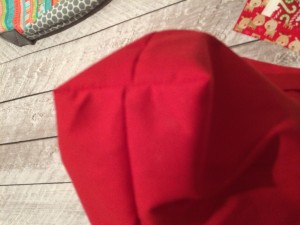
3) Then, we are going to box the sides. Sorry I did not take pictures when I did not intend to feature it in a tutorial. However, you simply make a triangle with the bottom ends. For the this bag, the base of the triangle was about 4″ to make it wide. Sew straight across, then cut remaining left over. Repeat for the lining.
4) OPTIONAL: The recess zipper. You can leave the bag without a zipper. It looks just as gorgeous. Or, if you are up to it, add a zipper. I followed this tutorial on how to make a recess zipper.
5) Next stop: the straps. I actually found a cheap bag at the local thrift store and cut out the leather straps. If you have old leather straps, you can do that or you can make your own straps.
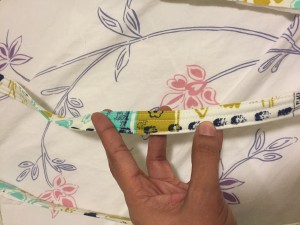
Cut 2 pieces of main fabric 12″ long x 3″ wide and 2 pieces batting the same size. Fold in the sides about 1/2″ each. Iron down. Then, fold in half and sew closed. You can make it look like its quilted by sewing 1/2″ stitches down the long sides. Do this for both straps.
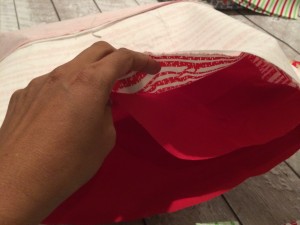
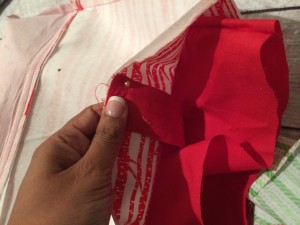
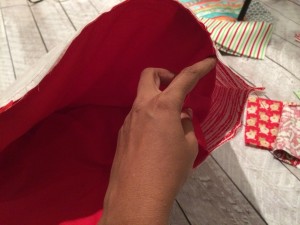
6) Insert the lining of the bag (red shown in picture) into the main piece of the bag, right sides together.
7) On the right side of the main bag, pin one end of the strap about 5″ away from the seam of the main bag and the other end of the strap 5″ away from the other side seam. Repeat for the other side of the main bag piece using the other straps.
8) Sew all the way around the top and leave about 5″ open to turn the bag inside out.
9) Turn inside out and top-stitch all the way around.
You are done. Now go show off your creation!
Thanks for visiting and Happy Sewing!
