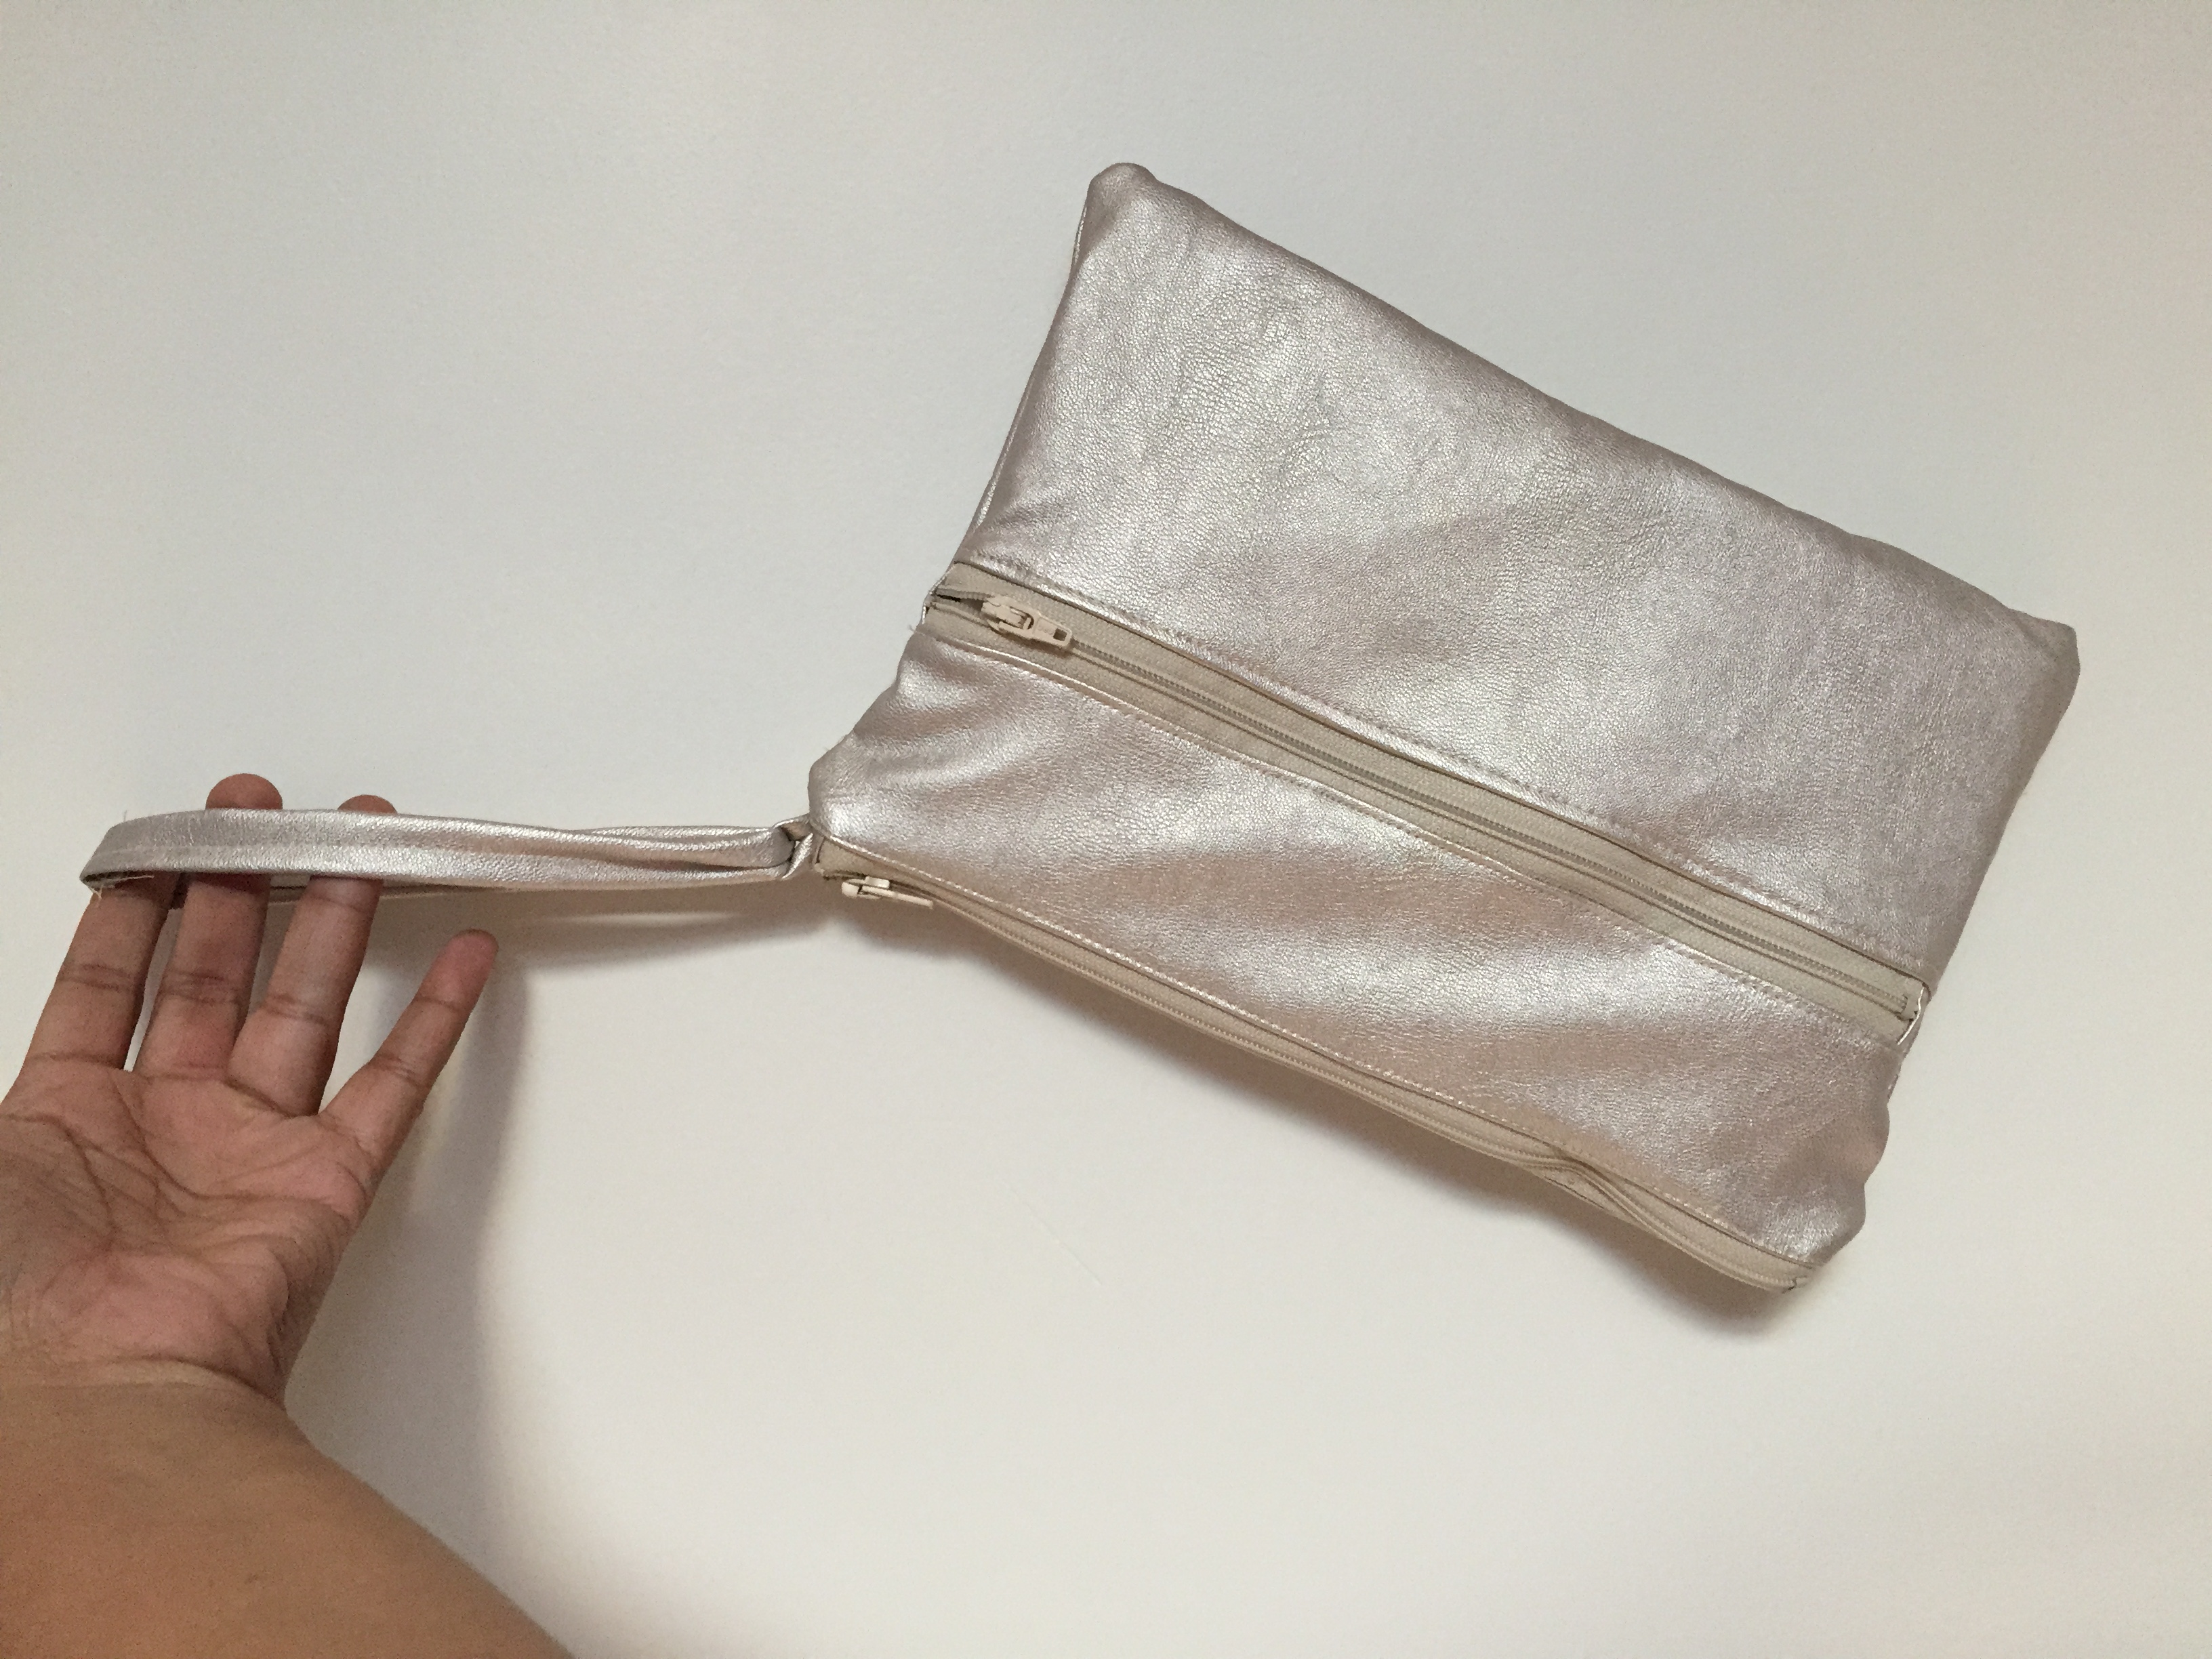
I found this gorgeous leather champagne fabric the other day and knew I had to get a hold of some yardage to do some upcoming projects. I don’t know about you but I hate tagging along a huge bag with me on a night out or a date. I also like to have my essentials like credit cards, my makeup must-haves, my phone, keys and some cash. I found a similar leather clutch like this one for about $70 at a department store and knowing me, I decided to knock it off. I don’t think it came out as high end looking as I was hoping but I think it’s pretty darn close. The entire project cost about $15 to make and took about 2 hours. It is really similar to the iPad Mini Case I did a while back, except this one has a strap and a top zipper. Hope you guys enjoy the tutorial!
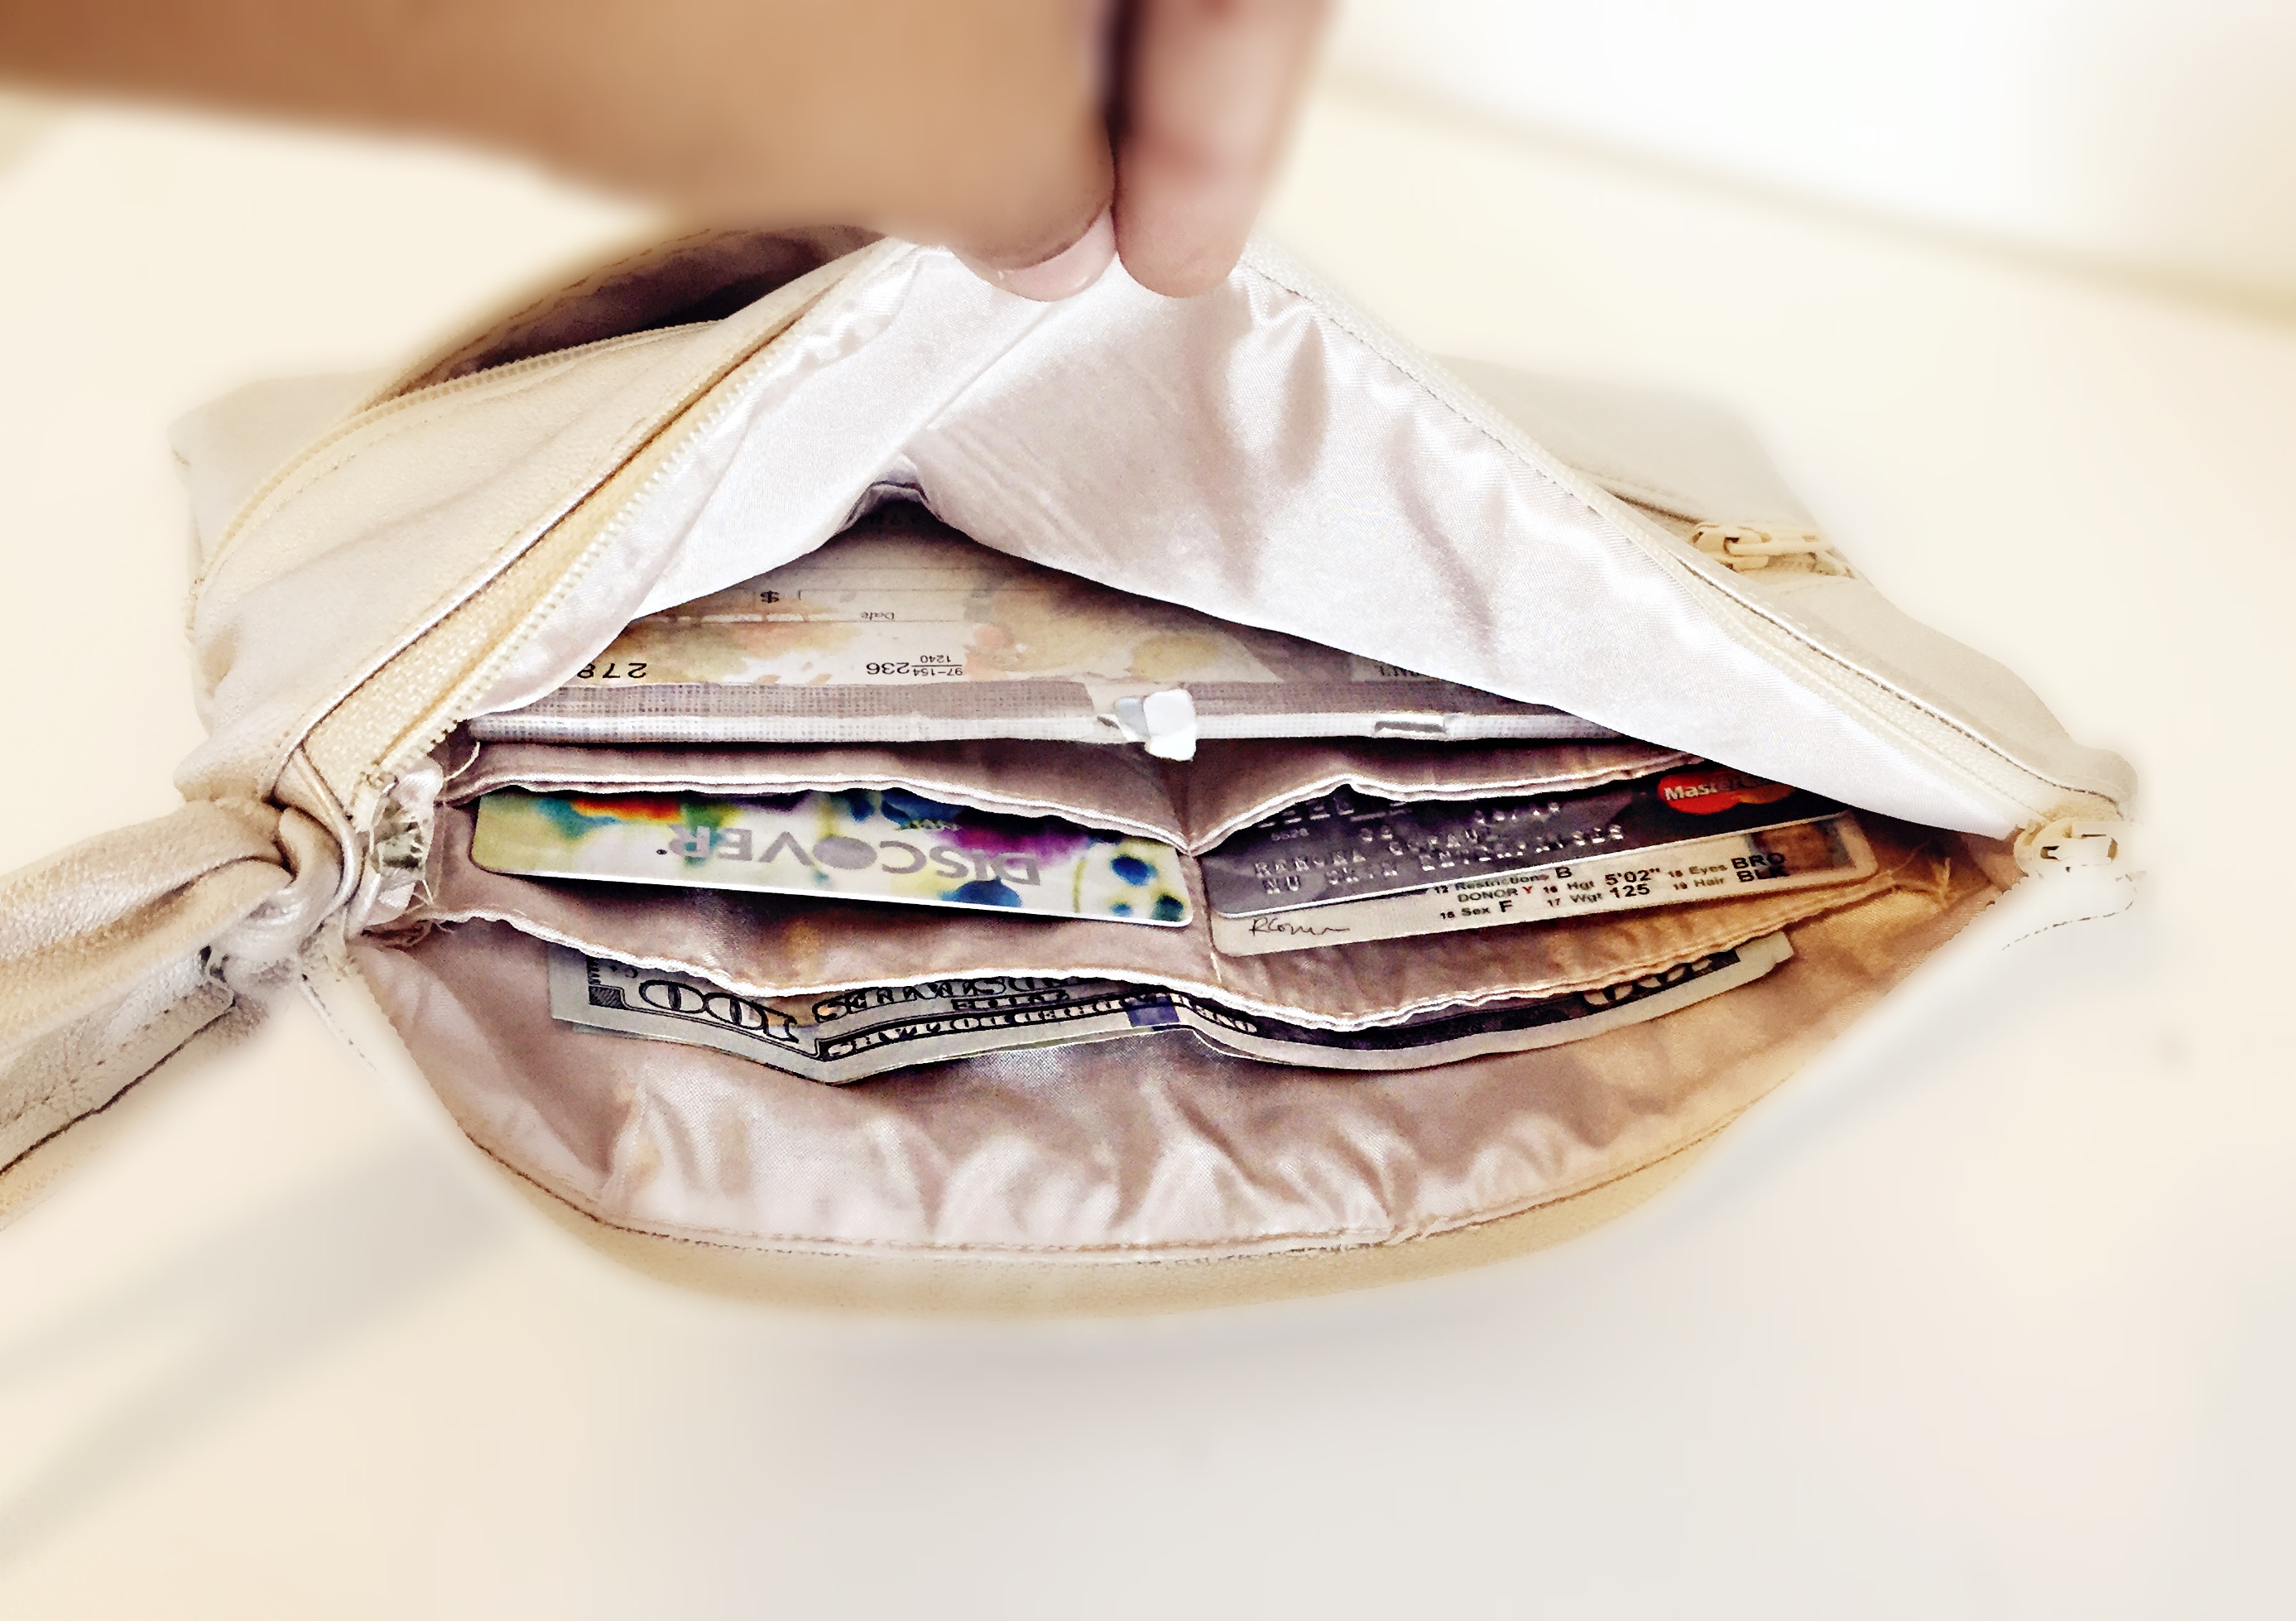
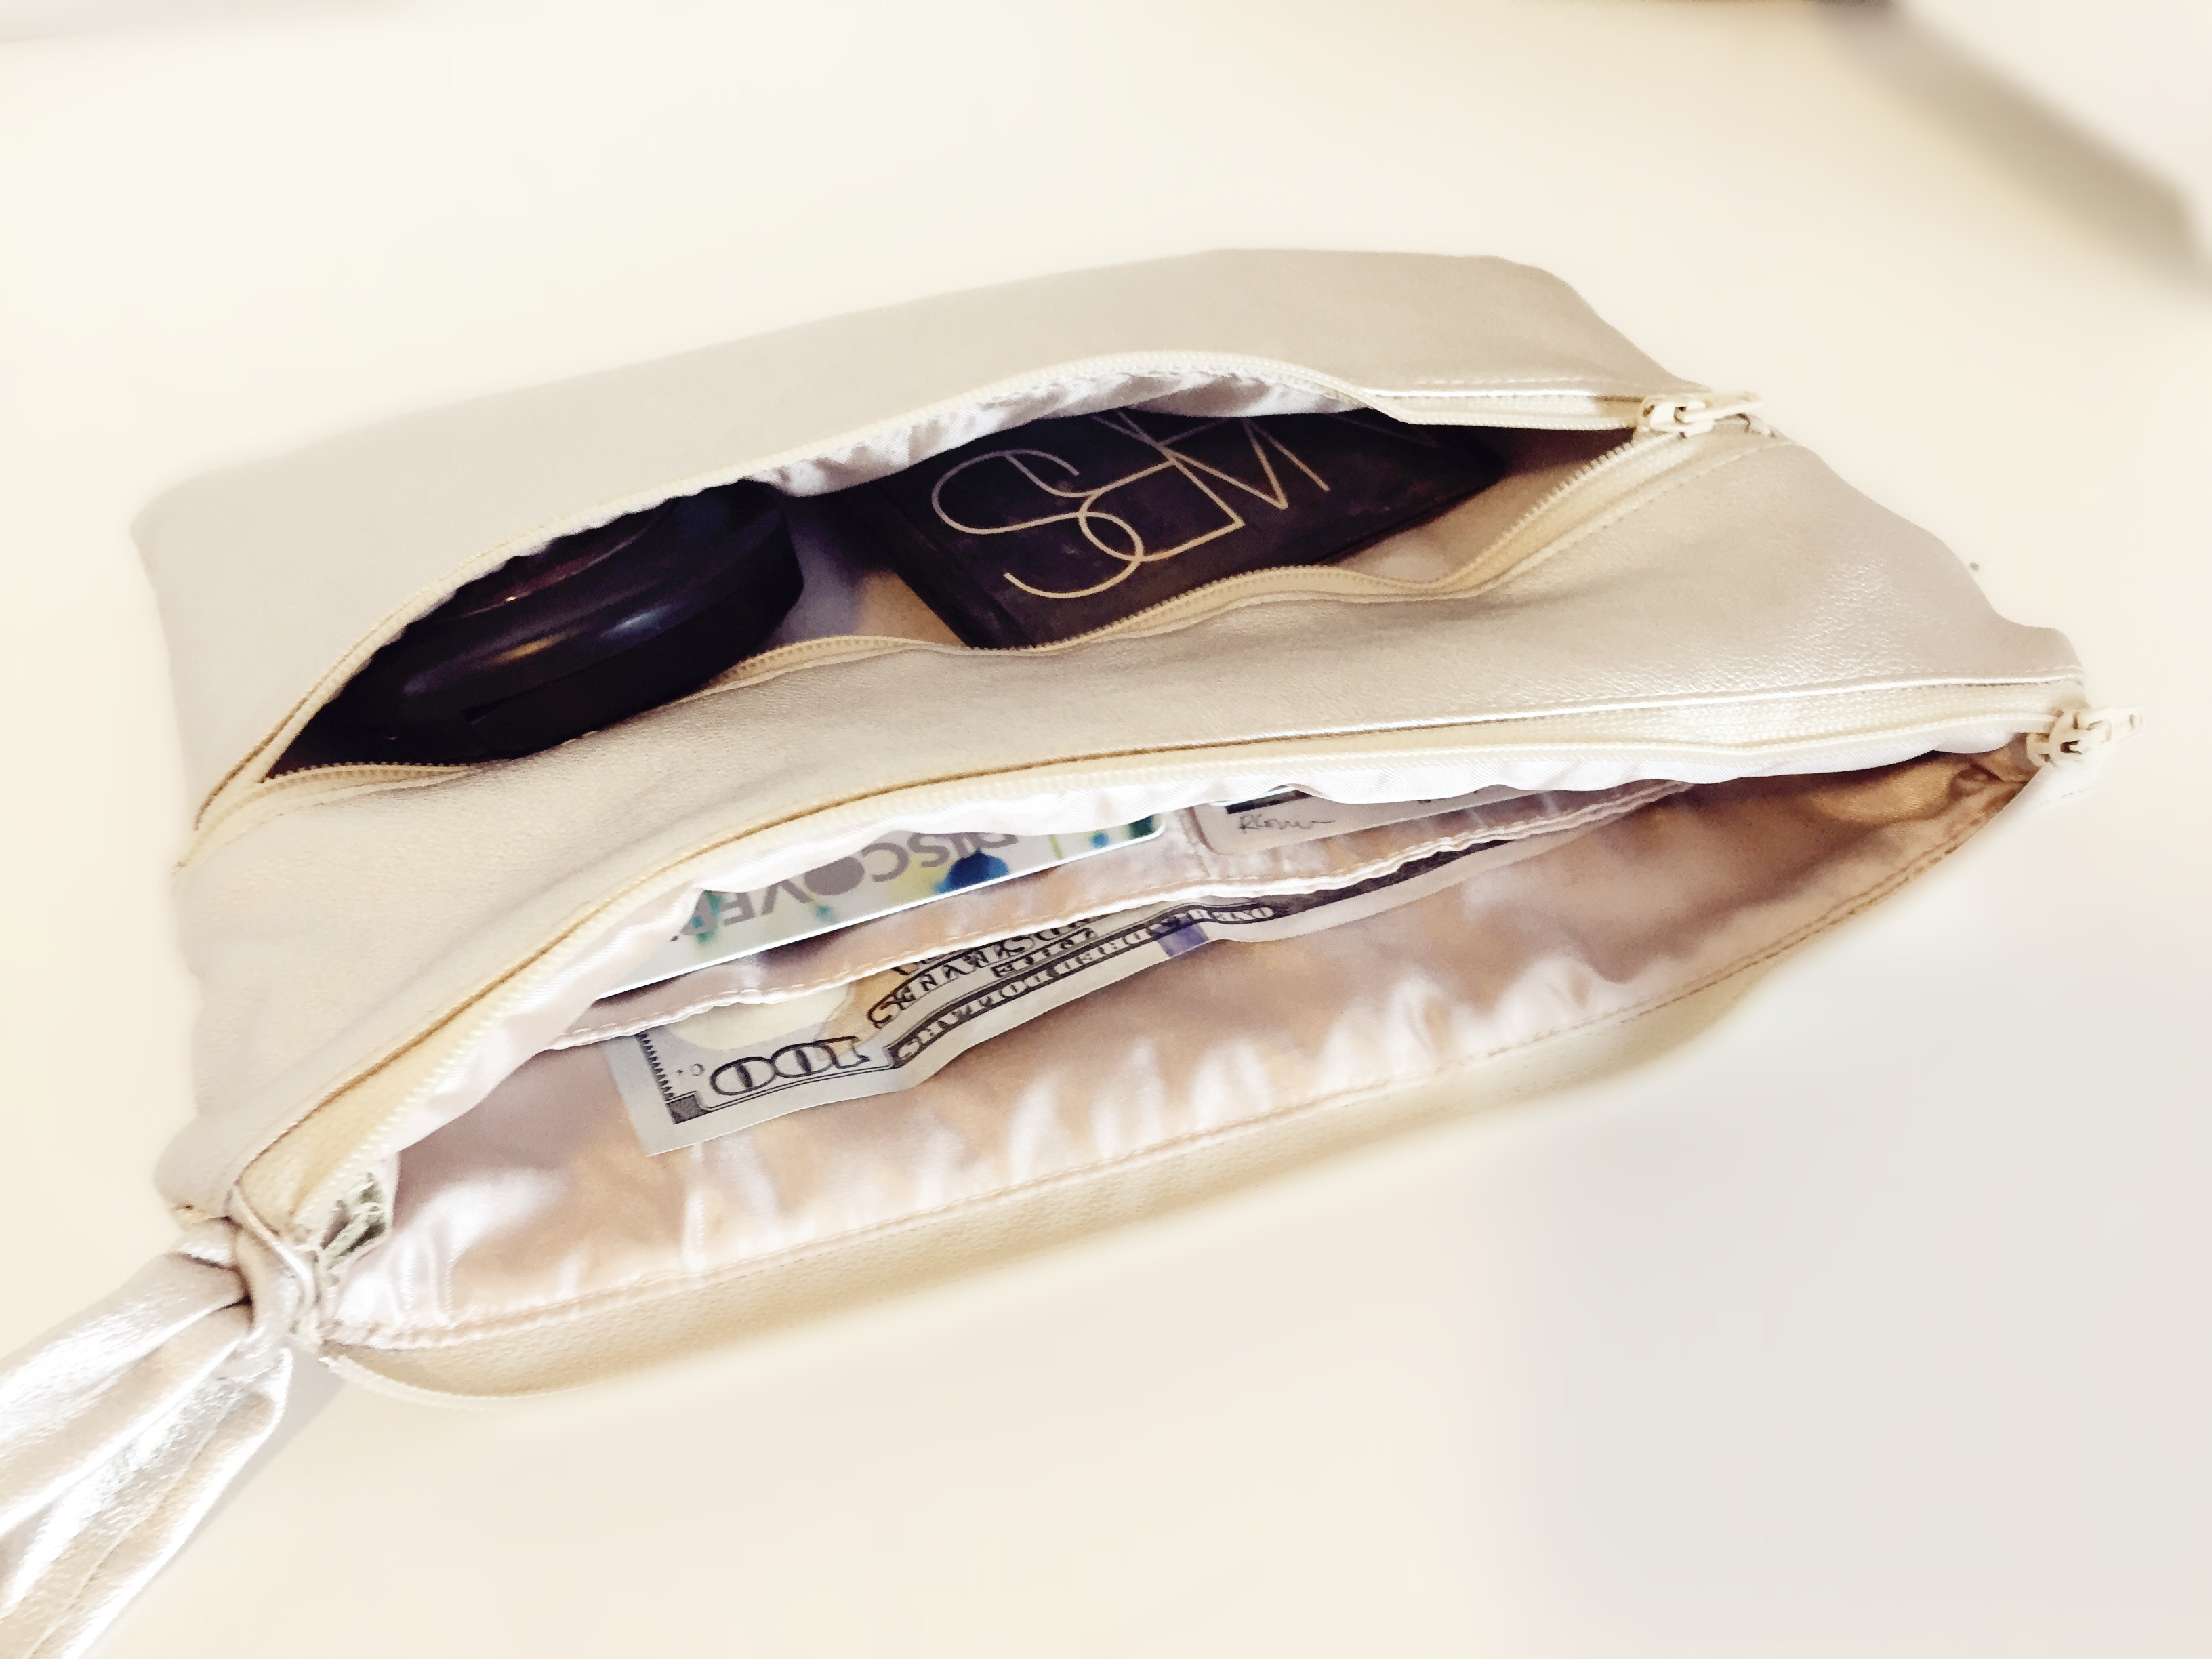
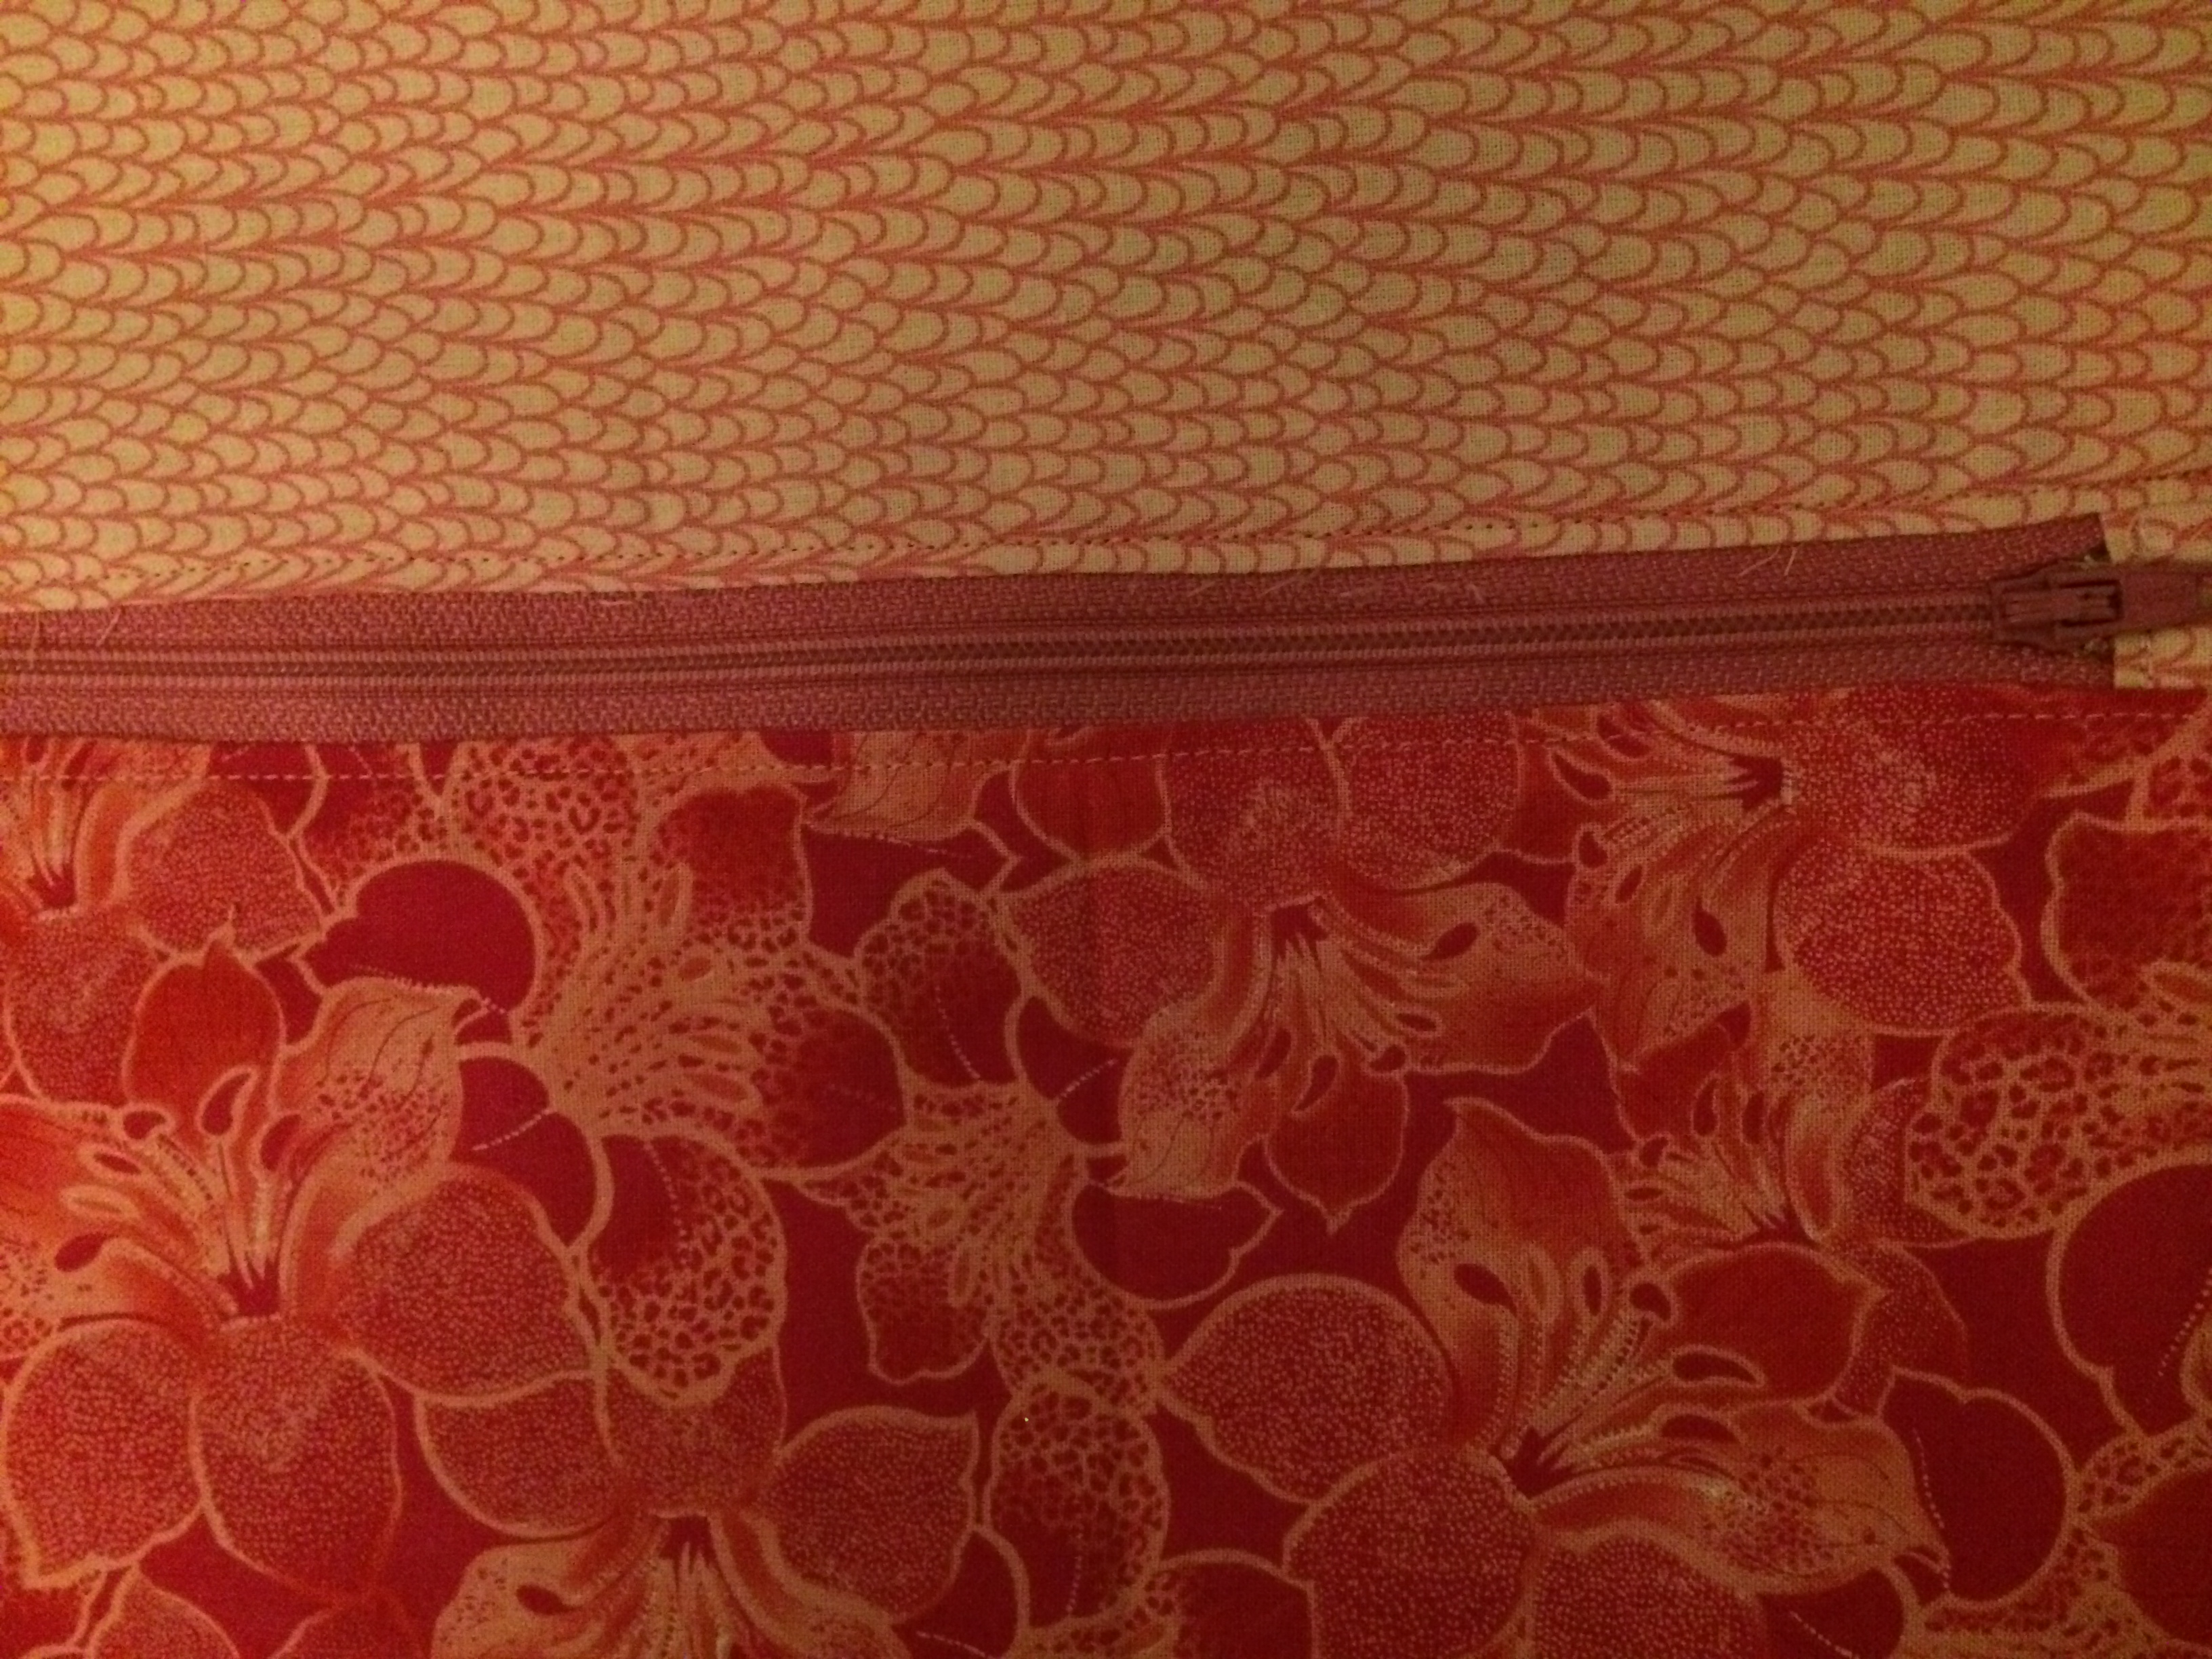
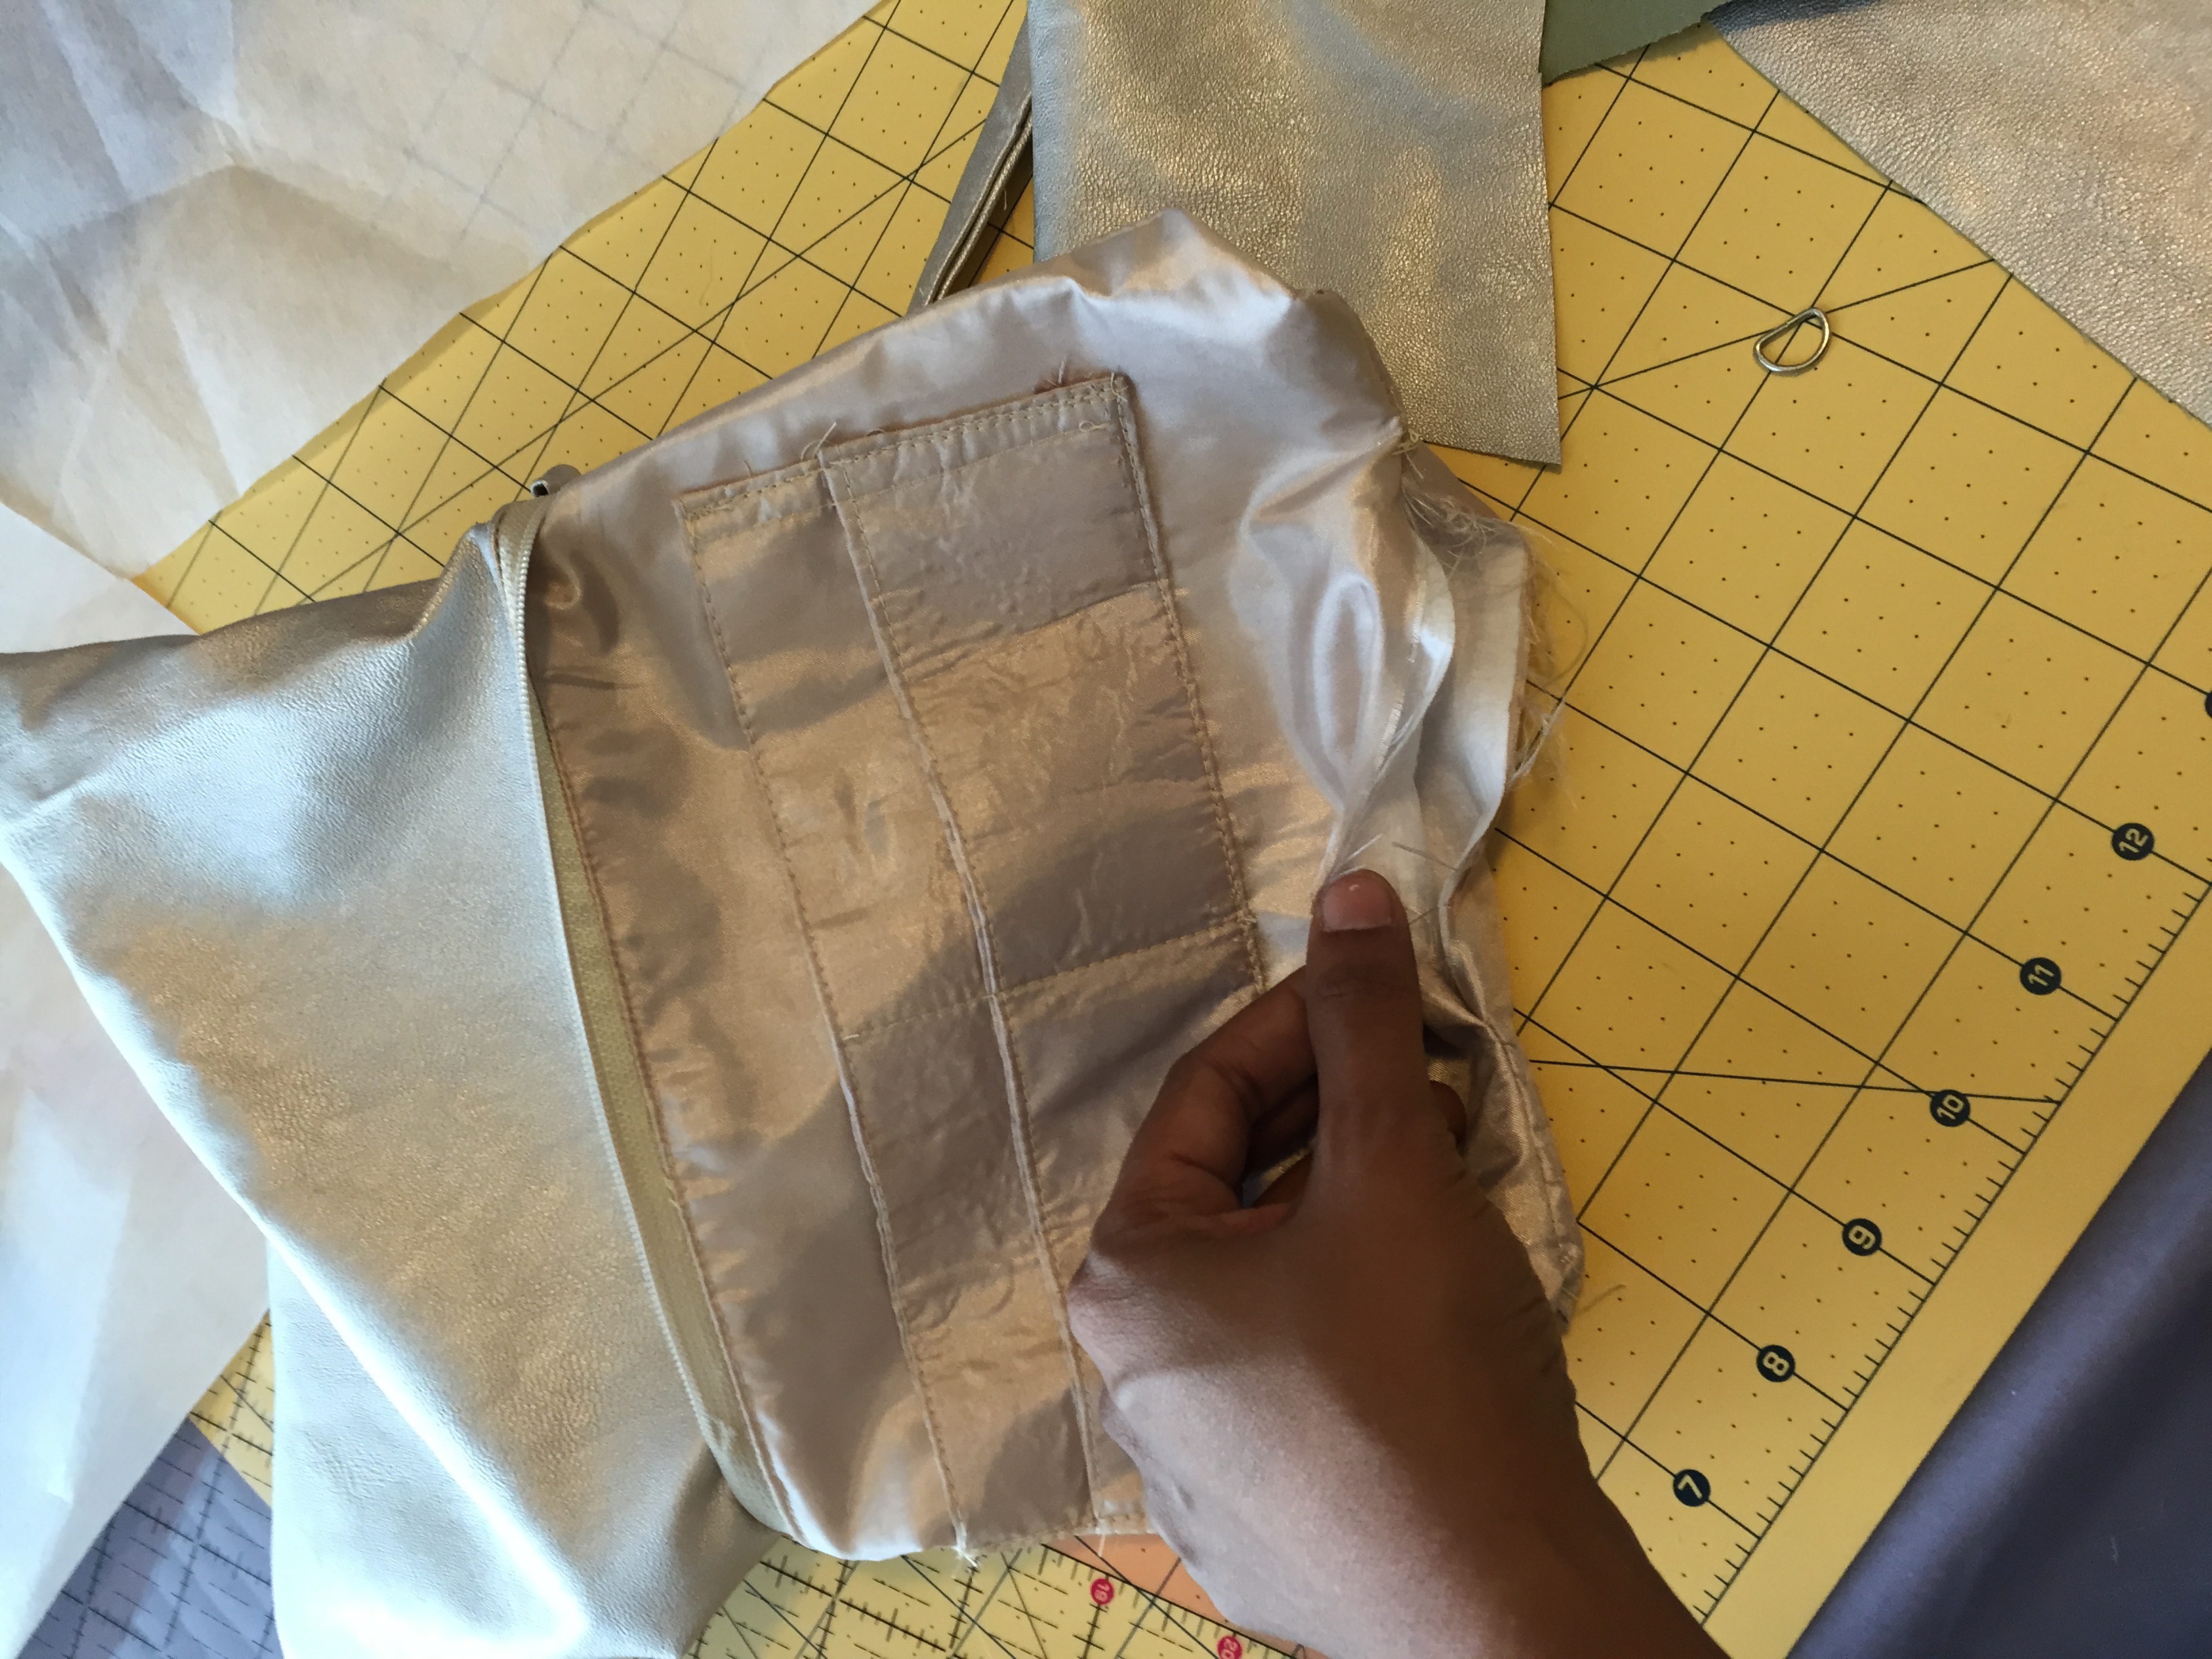
How gorgeous is this champagne color! I love the lining as well. Inside the clutch comes with a wallet compartment for your money and credit cards as well as a roomy interior to store your checking book, a pen, your phone, makeup etc.
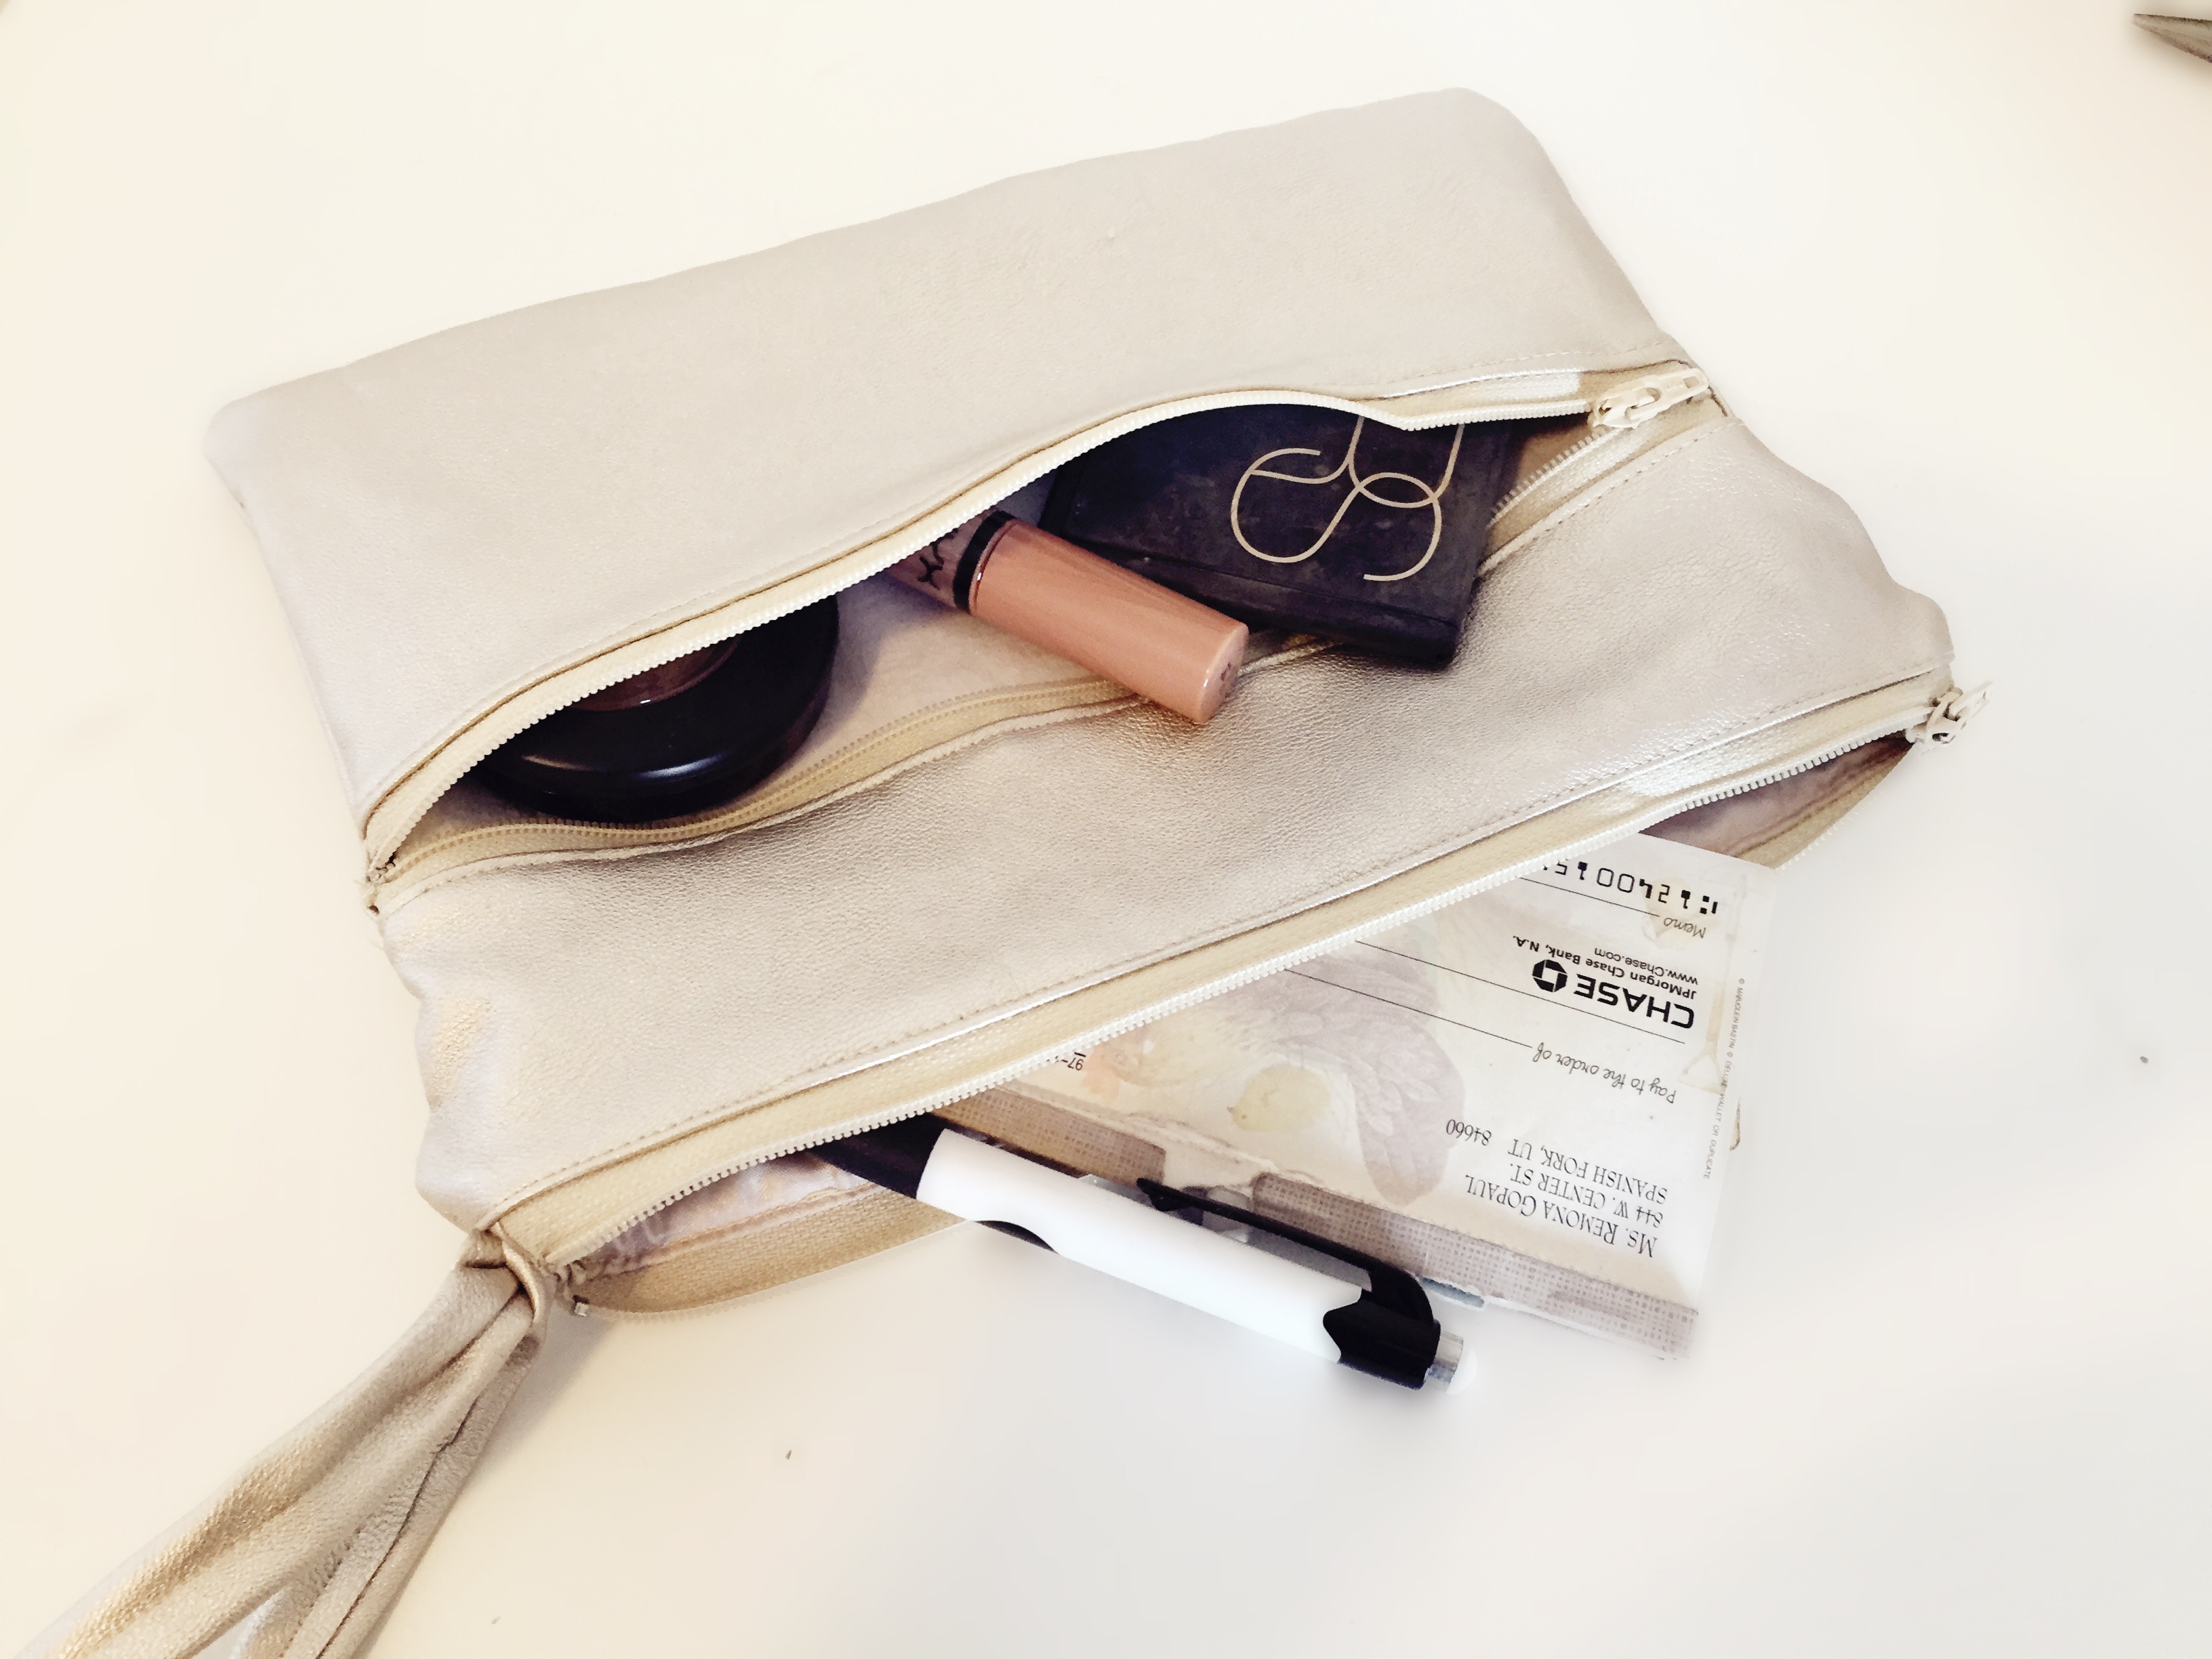
The front pocket also can be used for your phone, a few cosmetics and whatever else you carry on your night out.

I think it came out pretty neat. It may have looked a little more high end with some metal accents on the zipper pull and straps. Maybe next time, I will go all out on the accessories.
Your Supplies:
1/4 yard leather fabric
2 9″ zippers
1/4 yard lining
1/4″ yard medium weight interfacing
Measure and Cut:
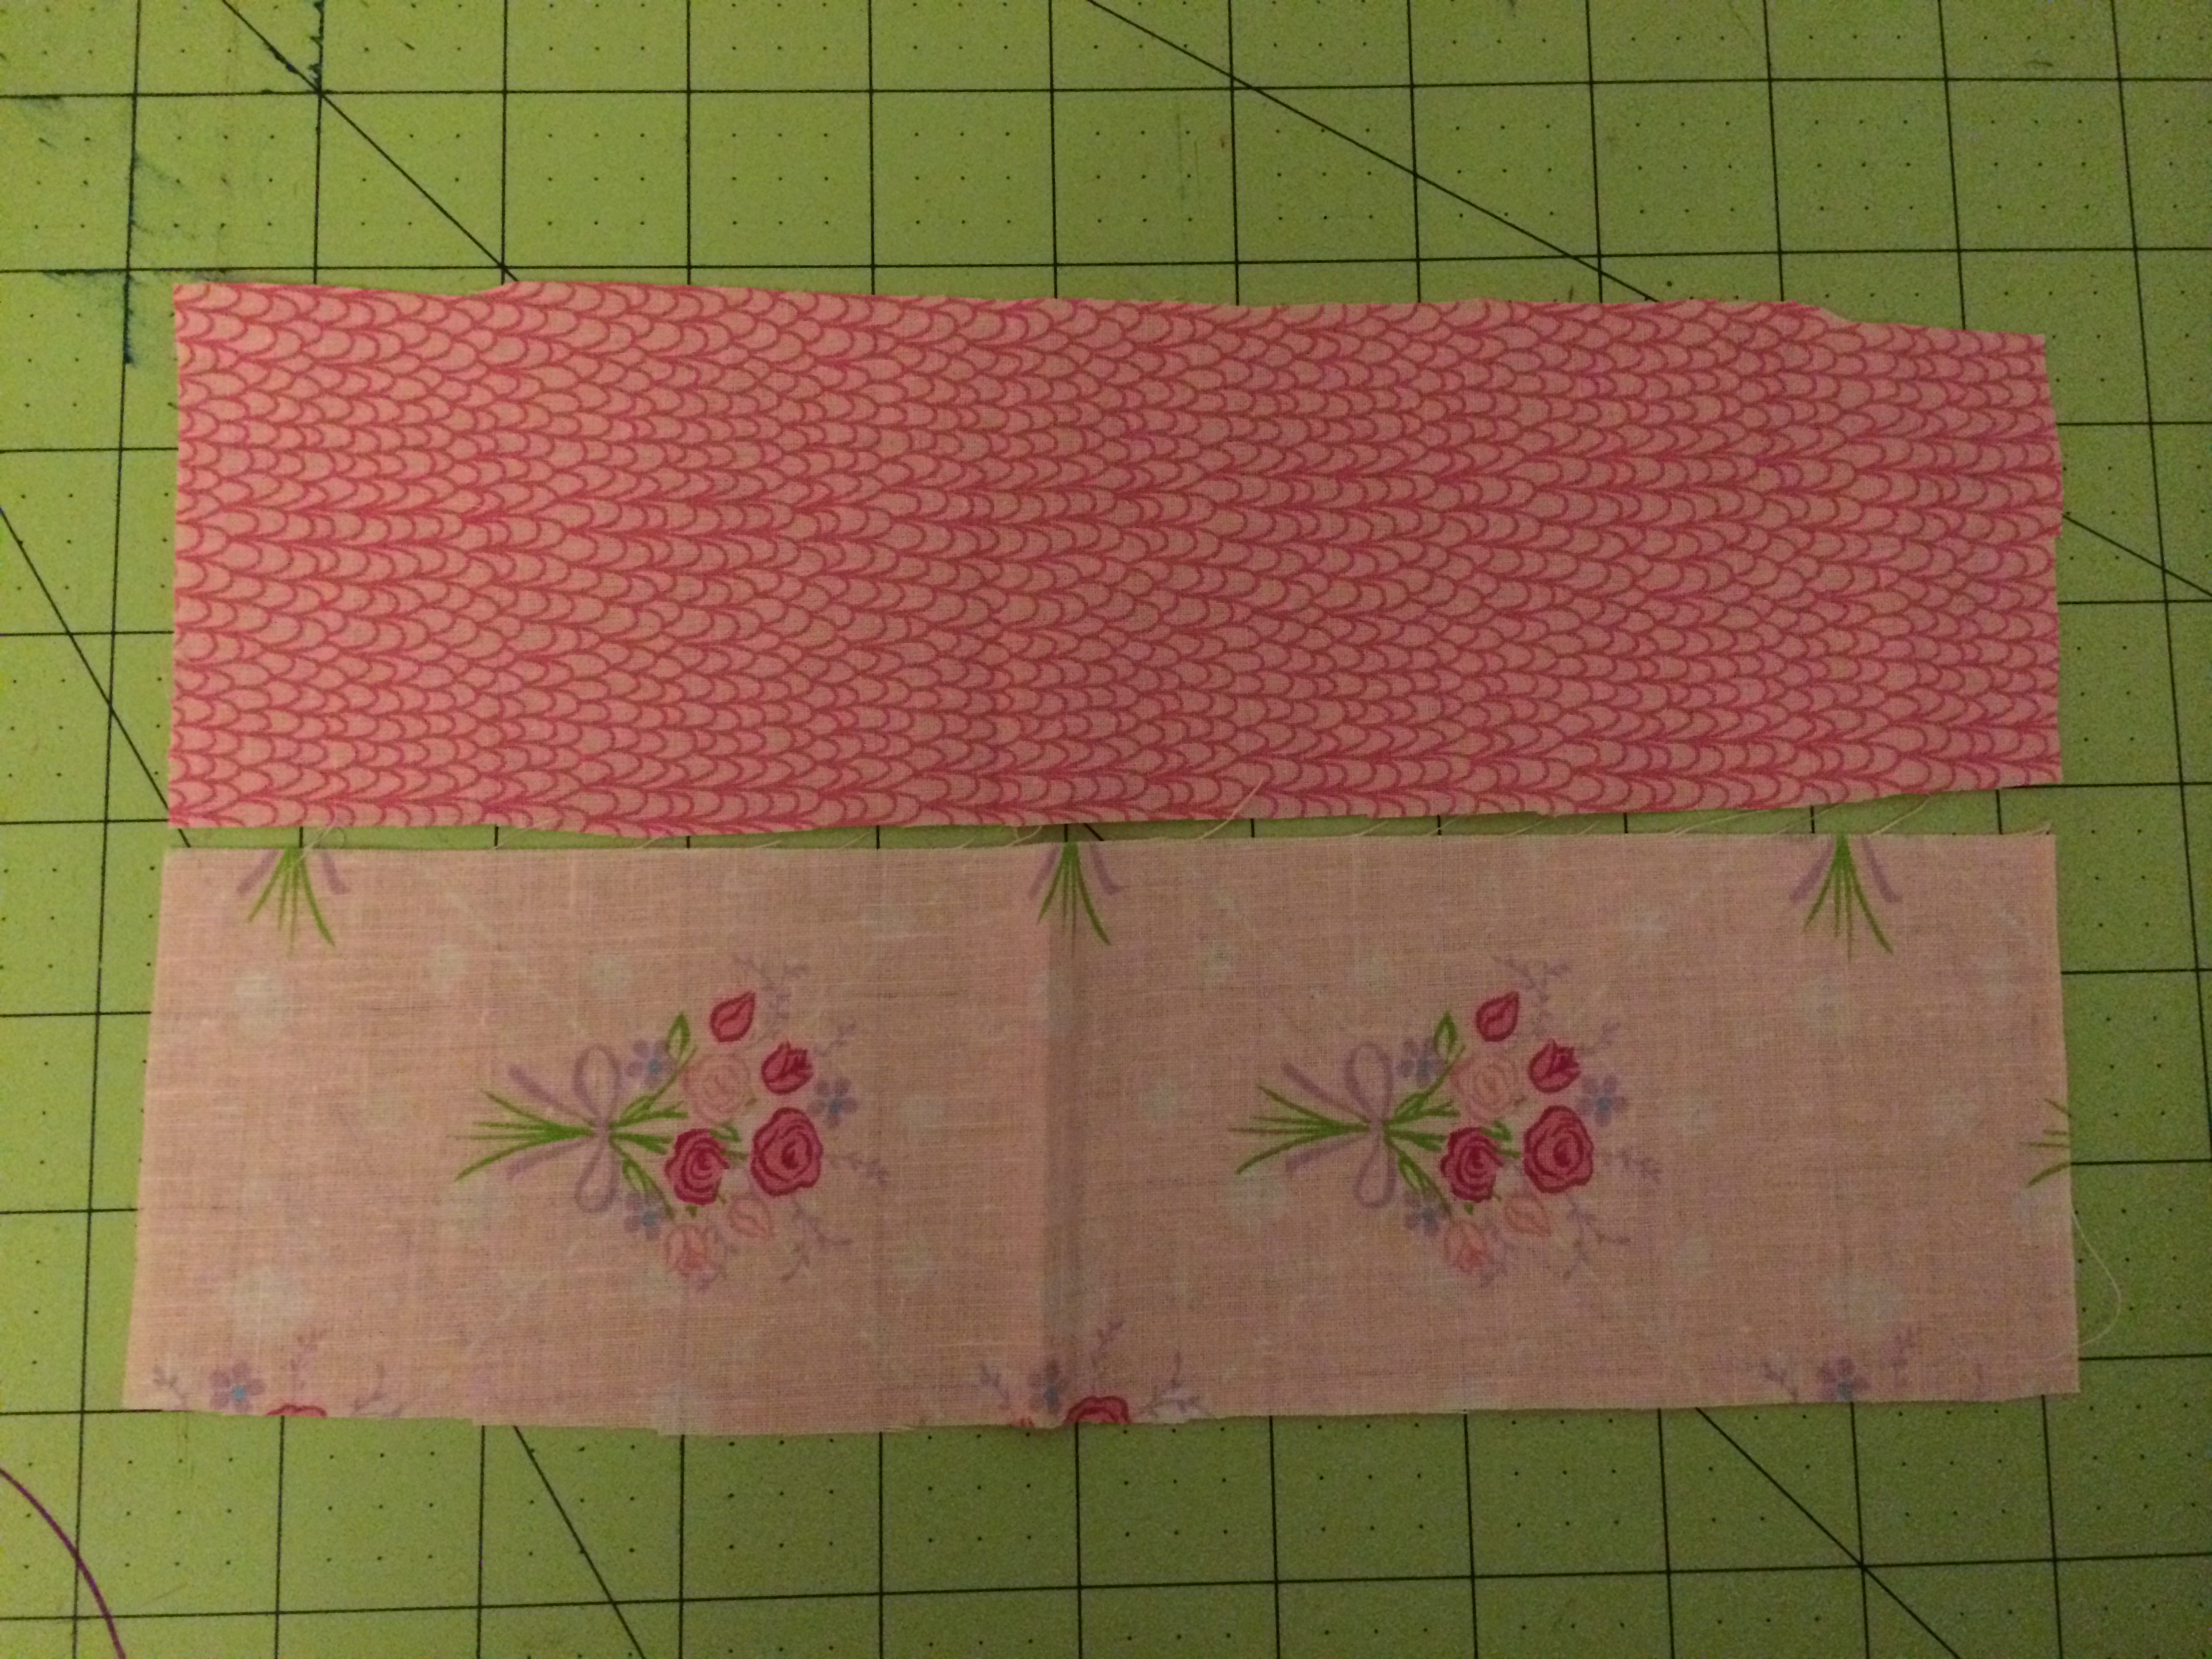
Front Pocket- Bottom piece: 4″ x 11″ of lining and main, Top Piece: 2.5″ x 11″ of lining and main leather, Pocket lining : 8″ x 11″.
Back: 8″ x11″ lining, interfacing and main leather
Front : 8″ x11″ lining, interfacing and main leather
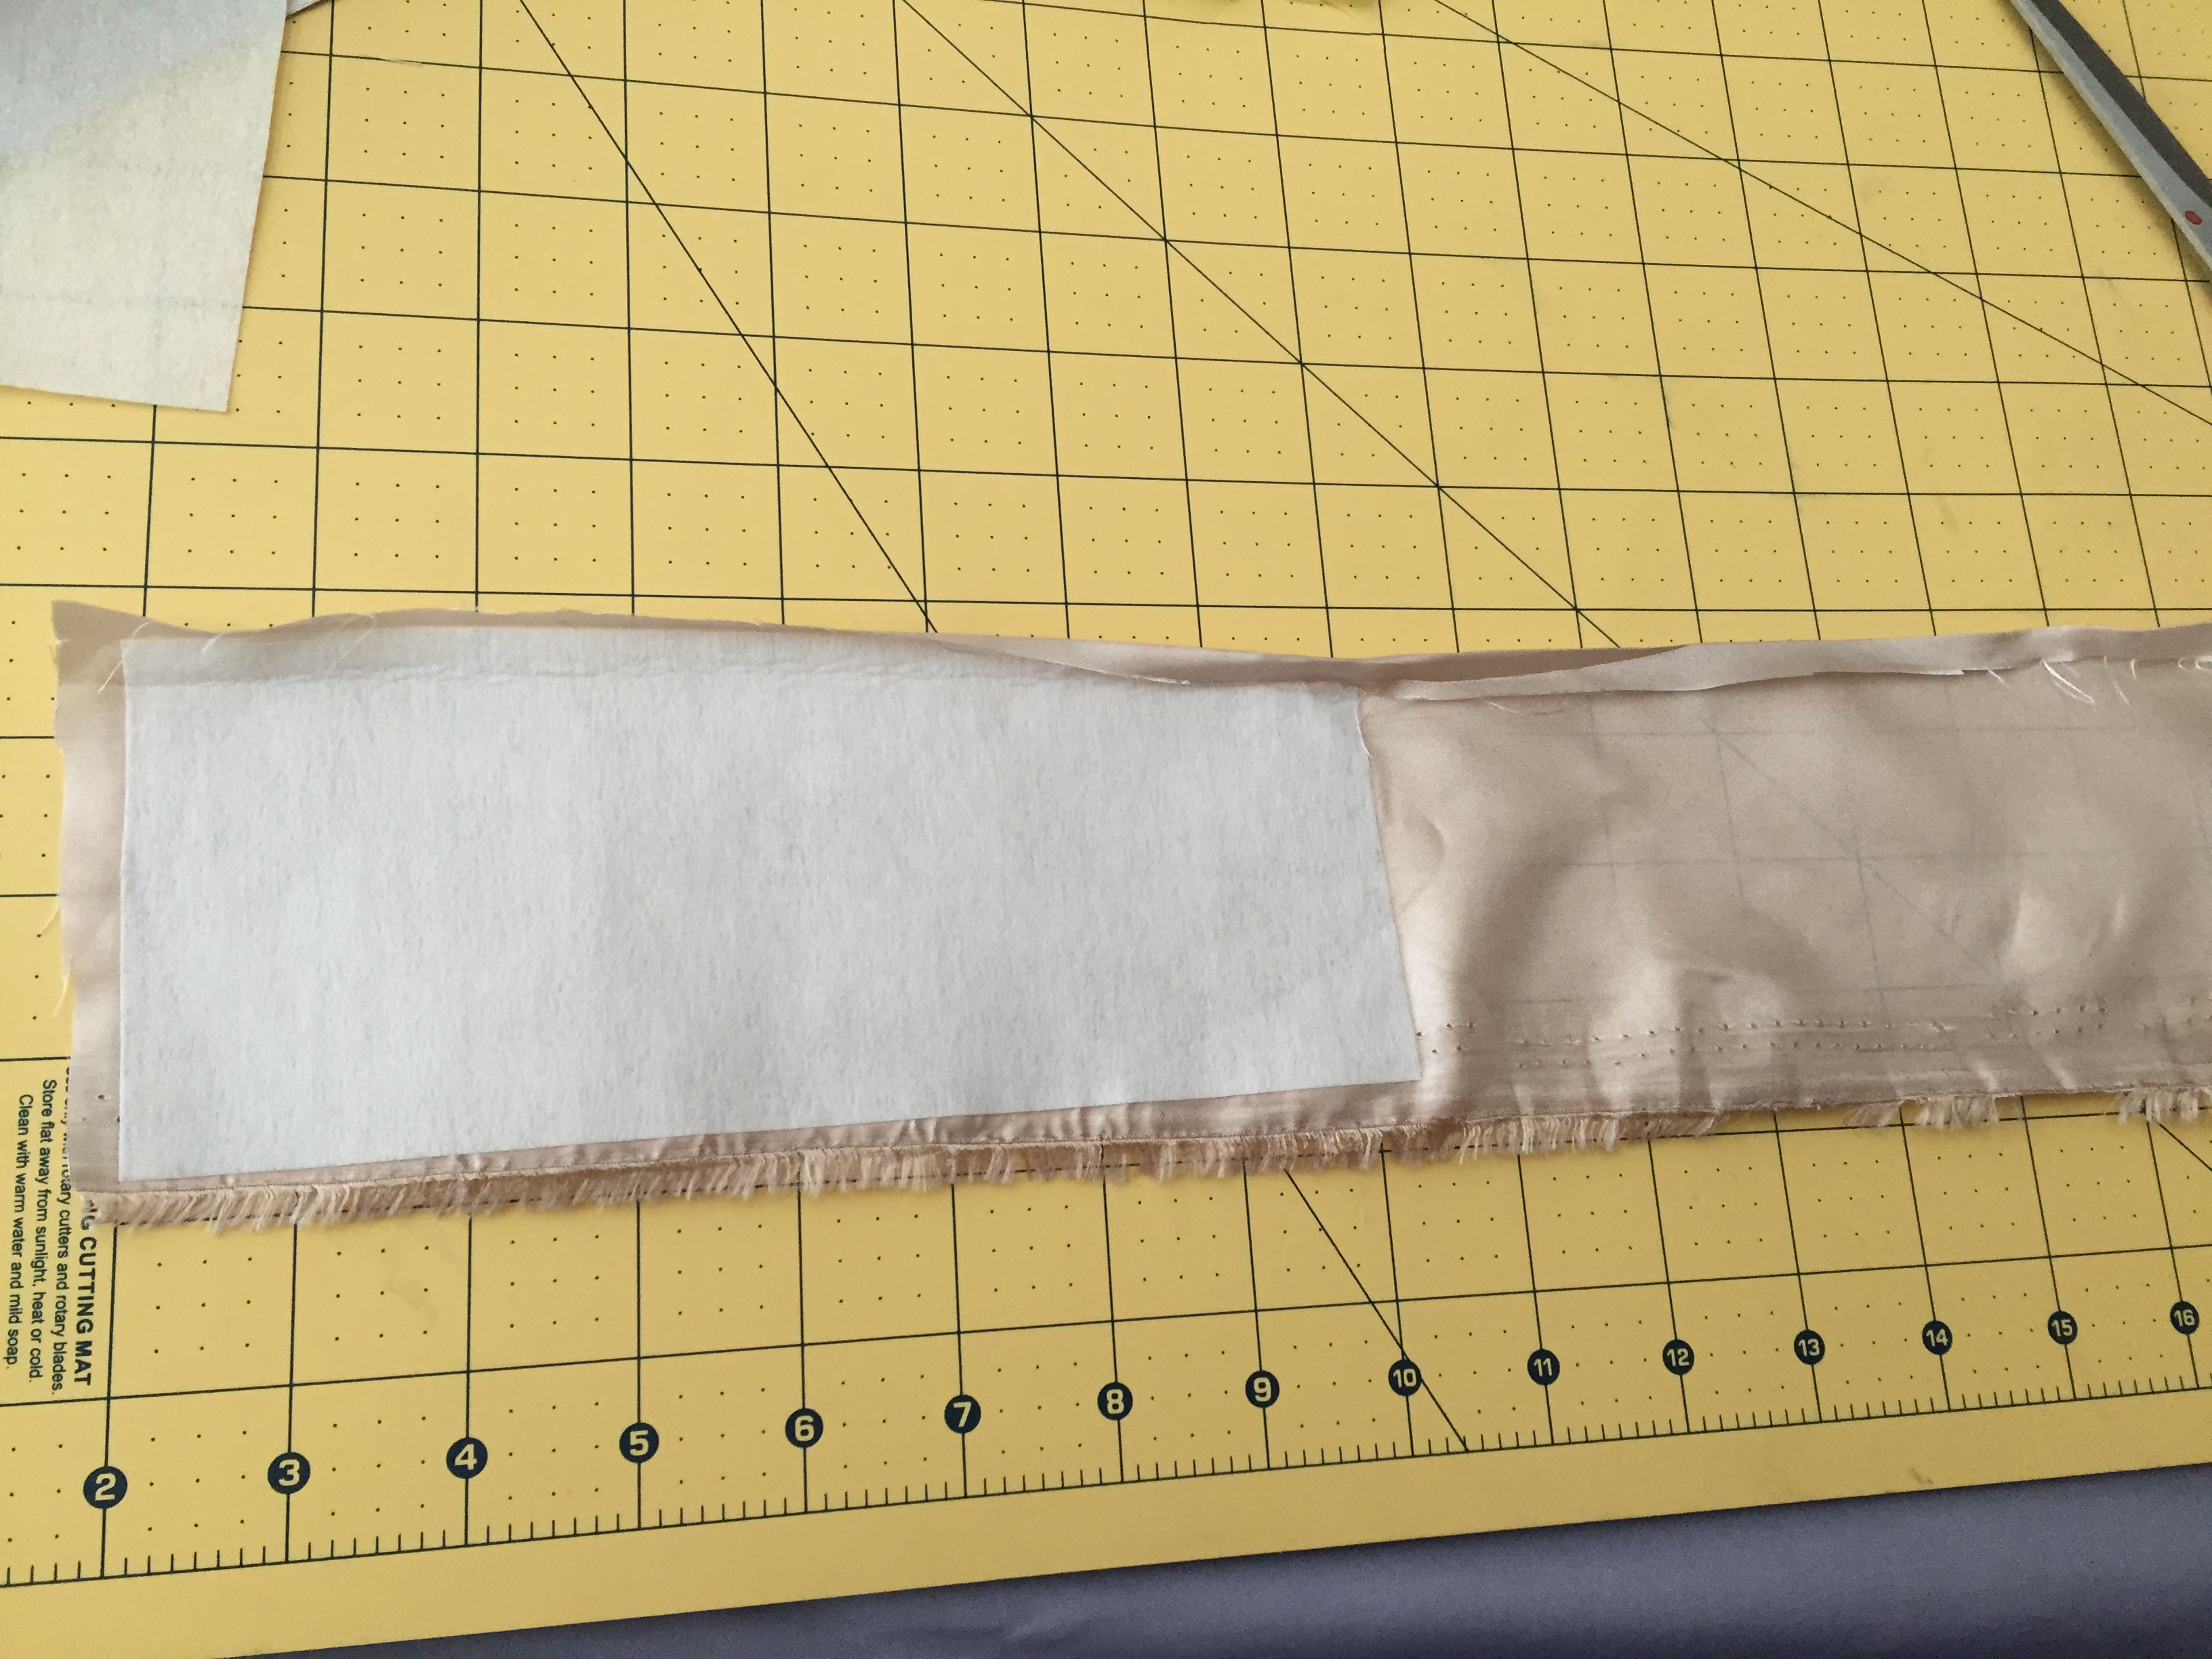
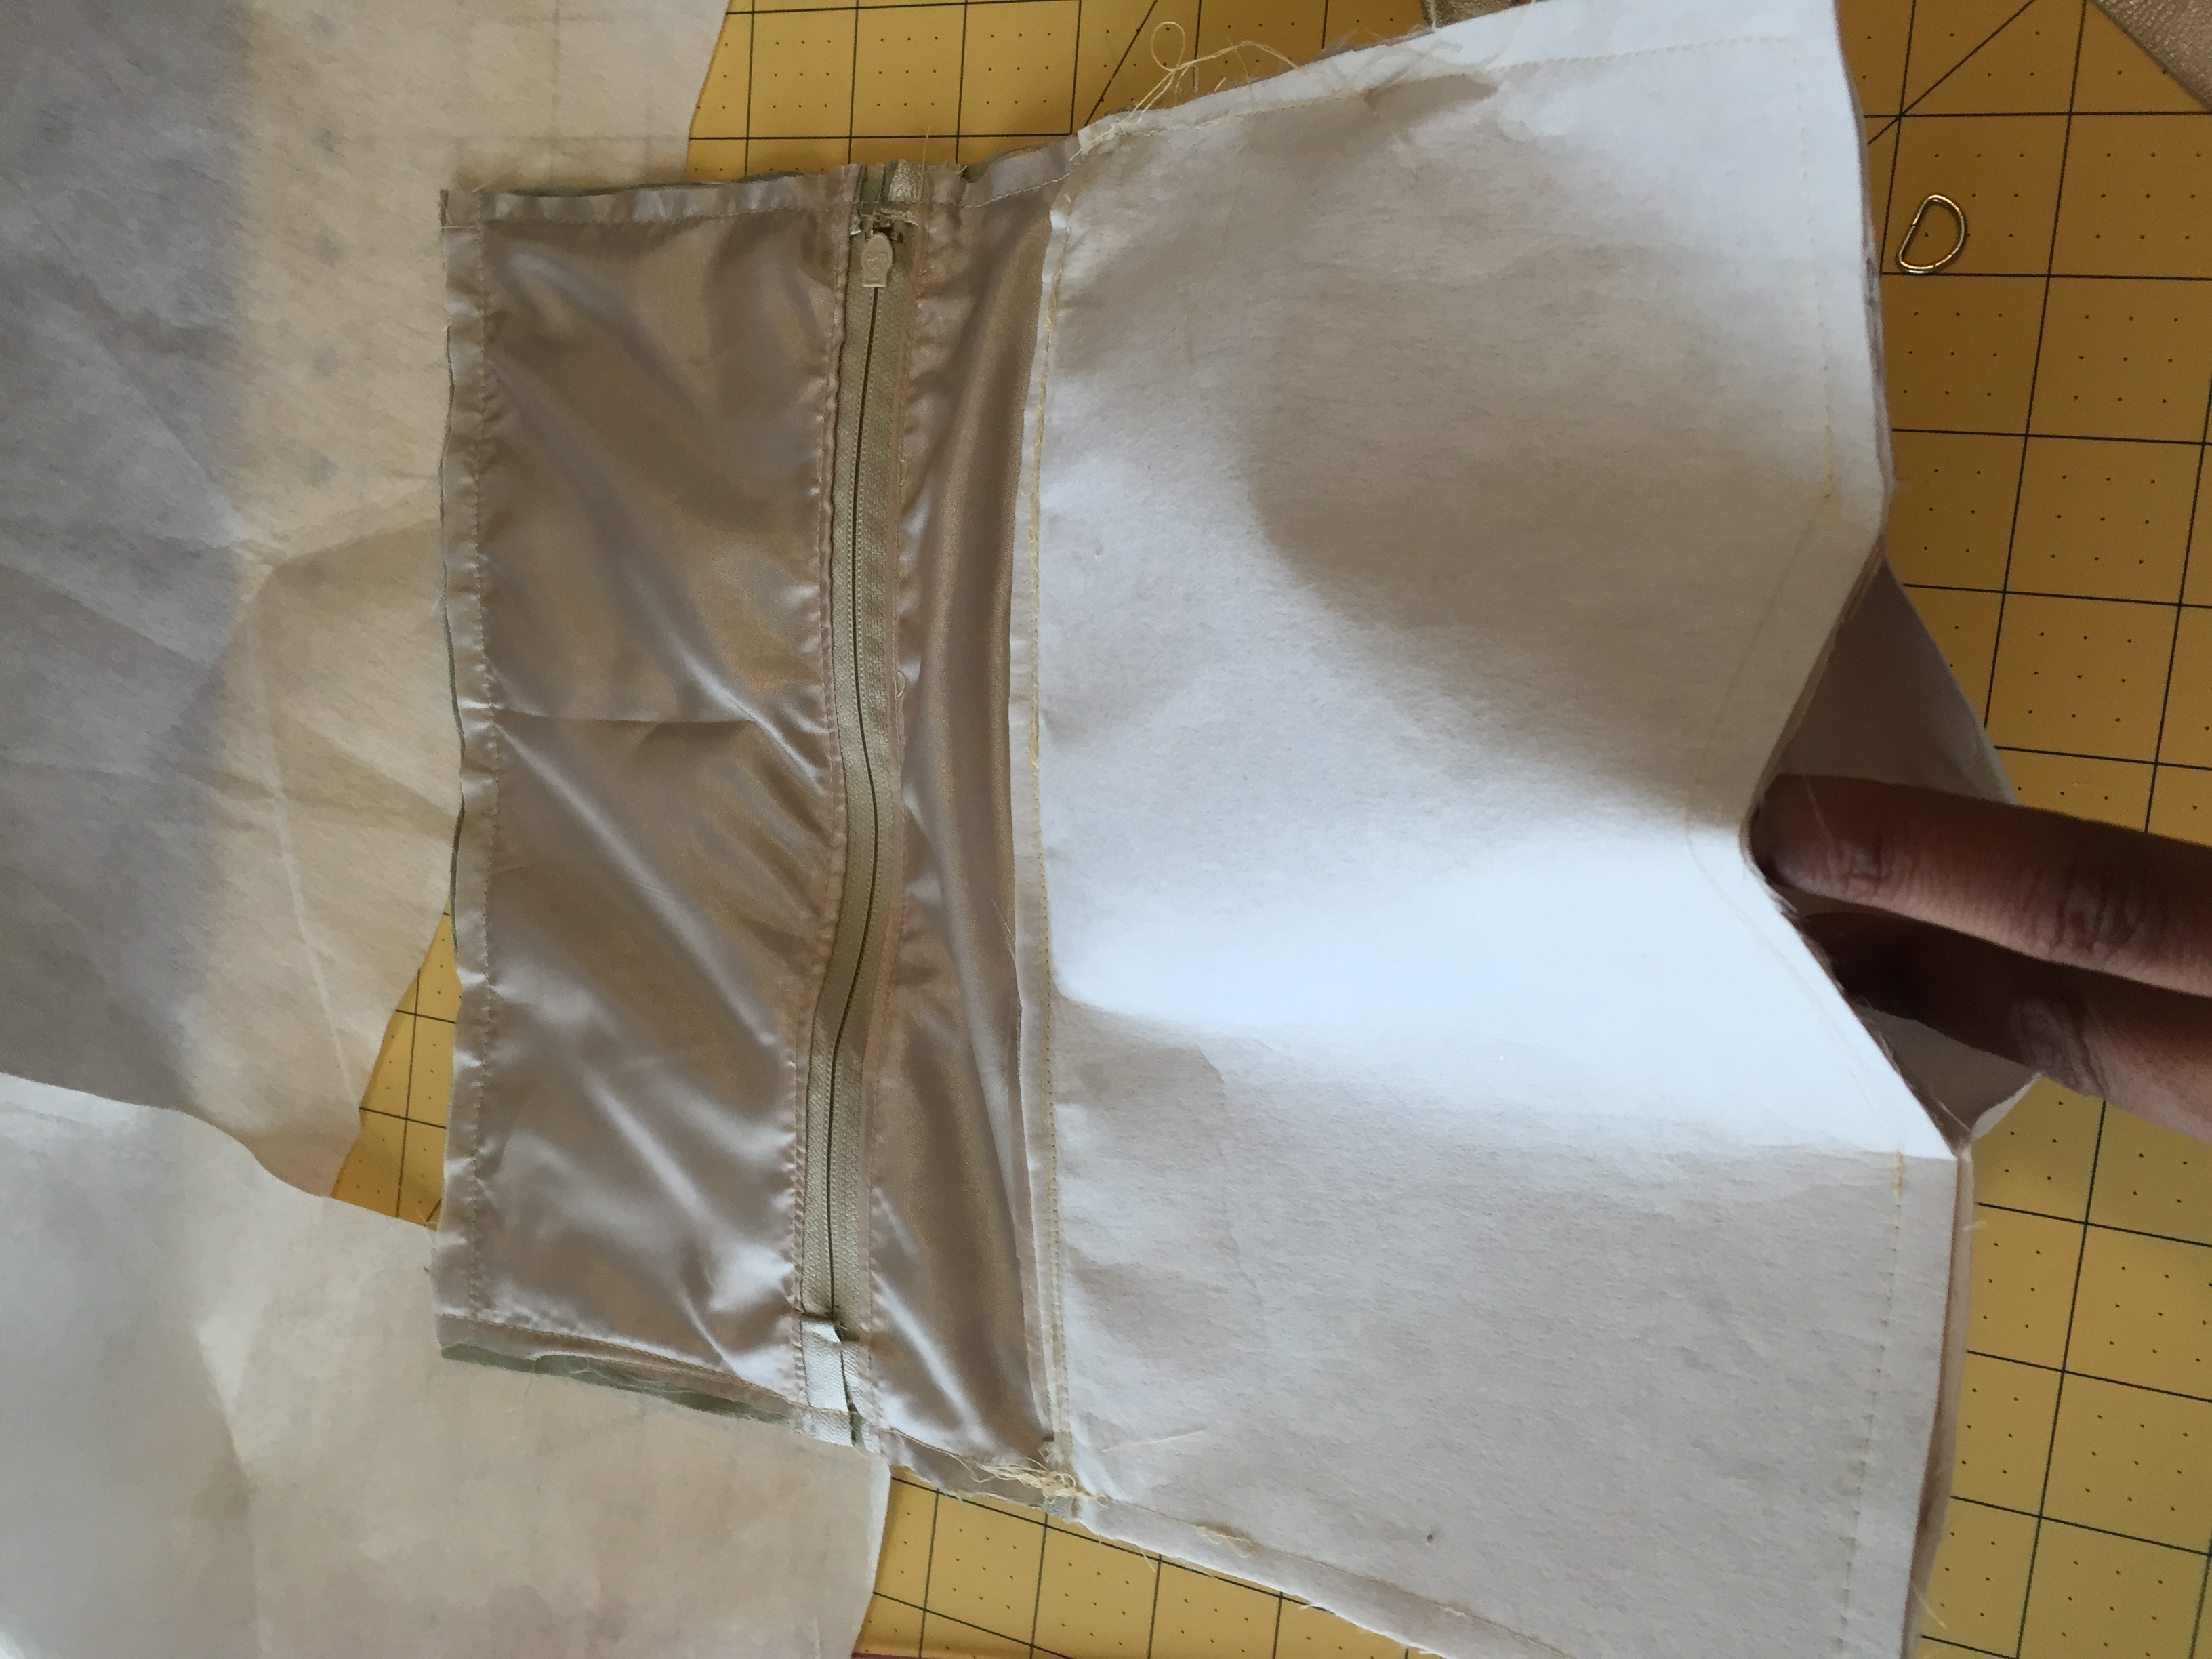
Inside Wallet Compartment 2 pieces lining material: 3″ x 15″, 3″ x 7″ interfacing material (2)
Prepare: Take your two lining pieces and iron on interfacing to each one. Set aside.
Sew:
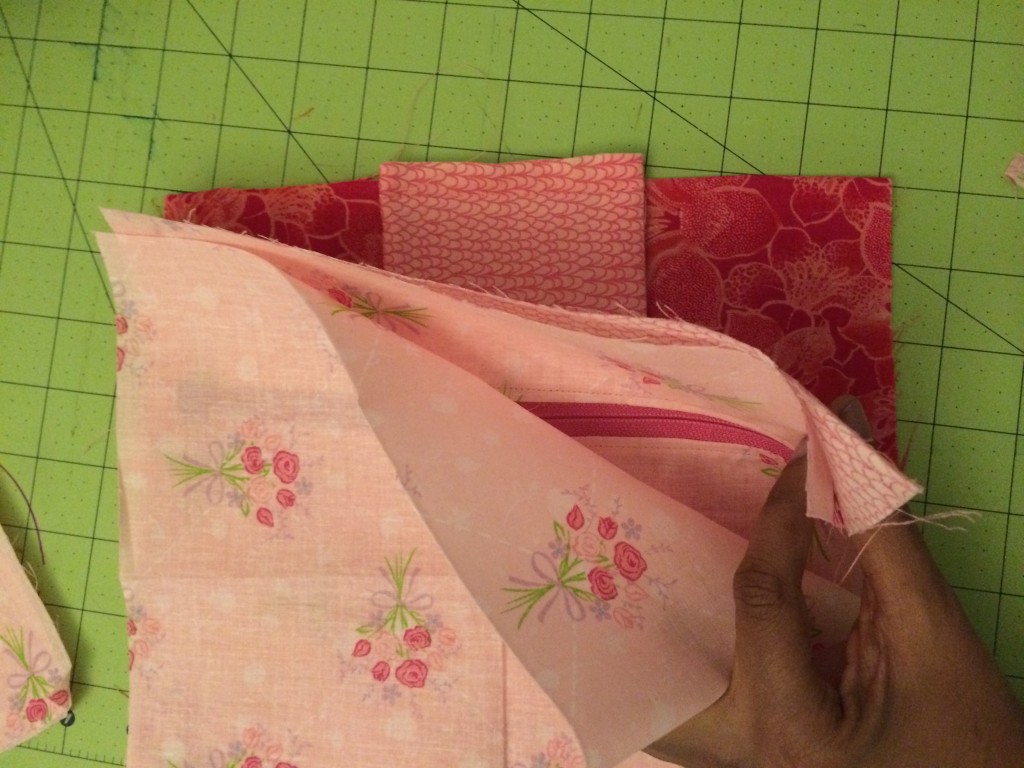
Note: Since this tutorial is the same as the iPad Mini Case, I am using pictures from that tutorial for the most part.
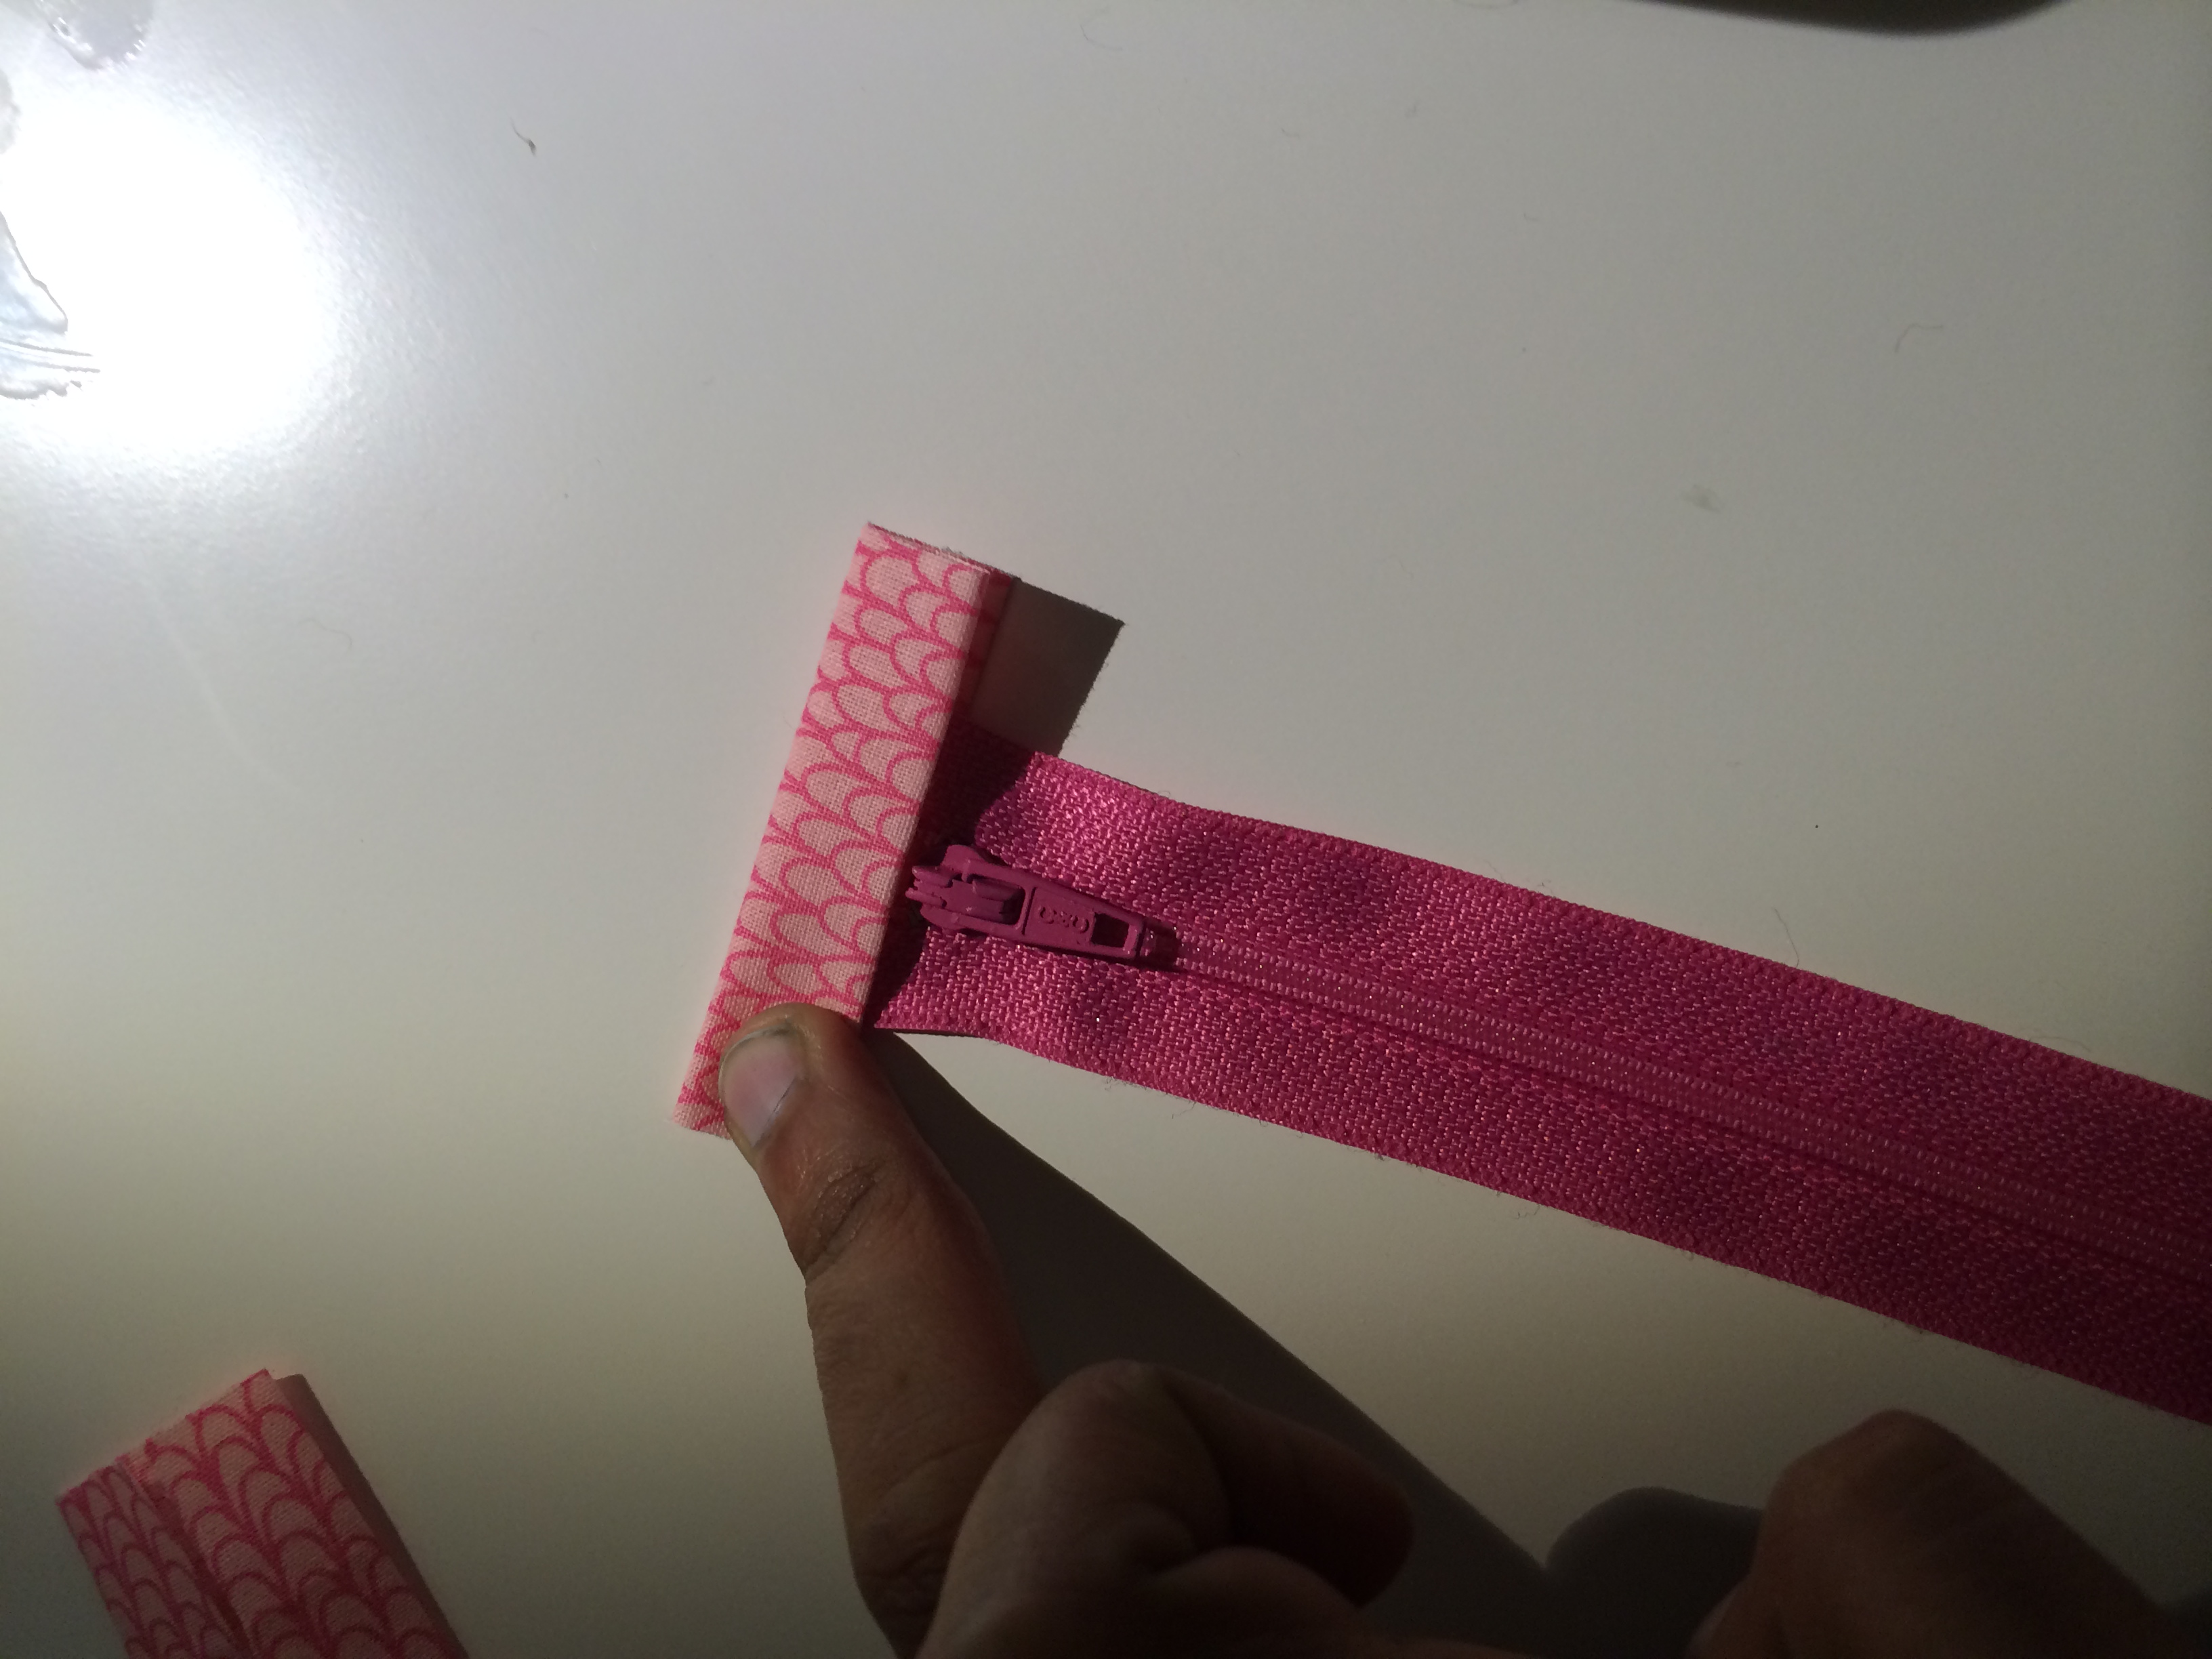
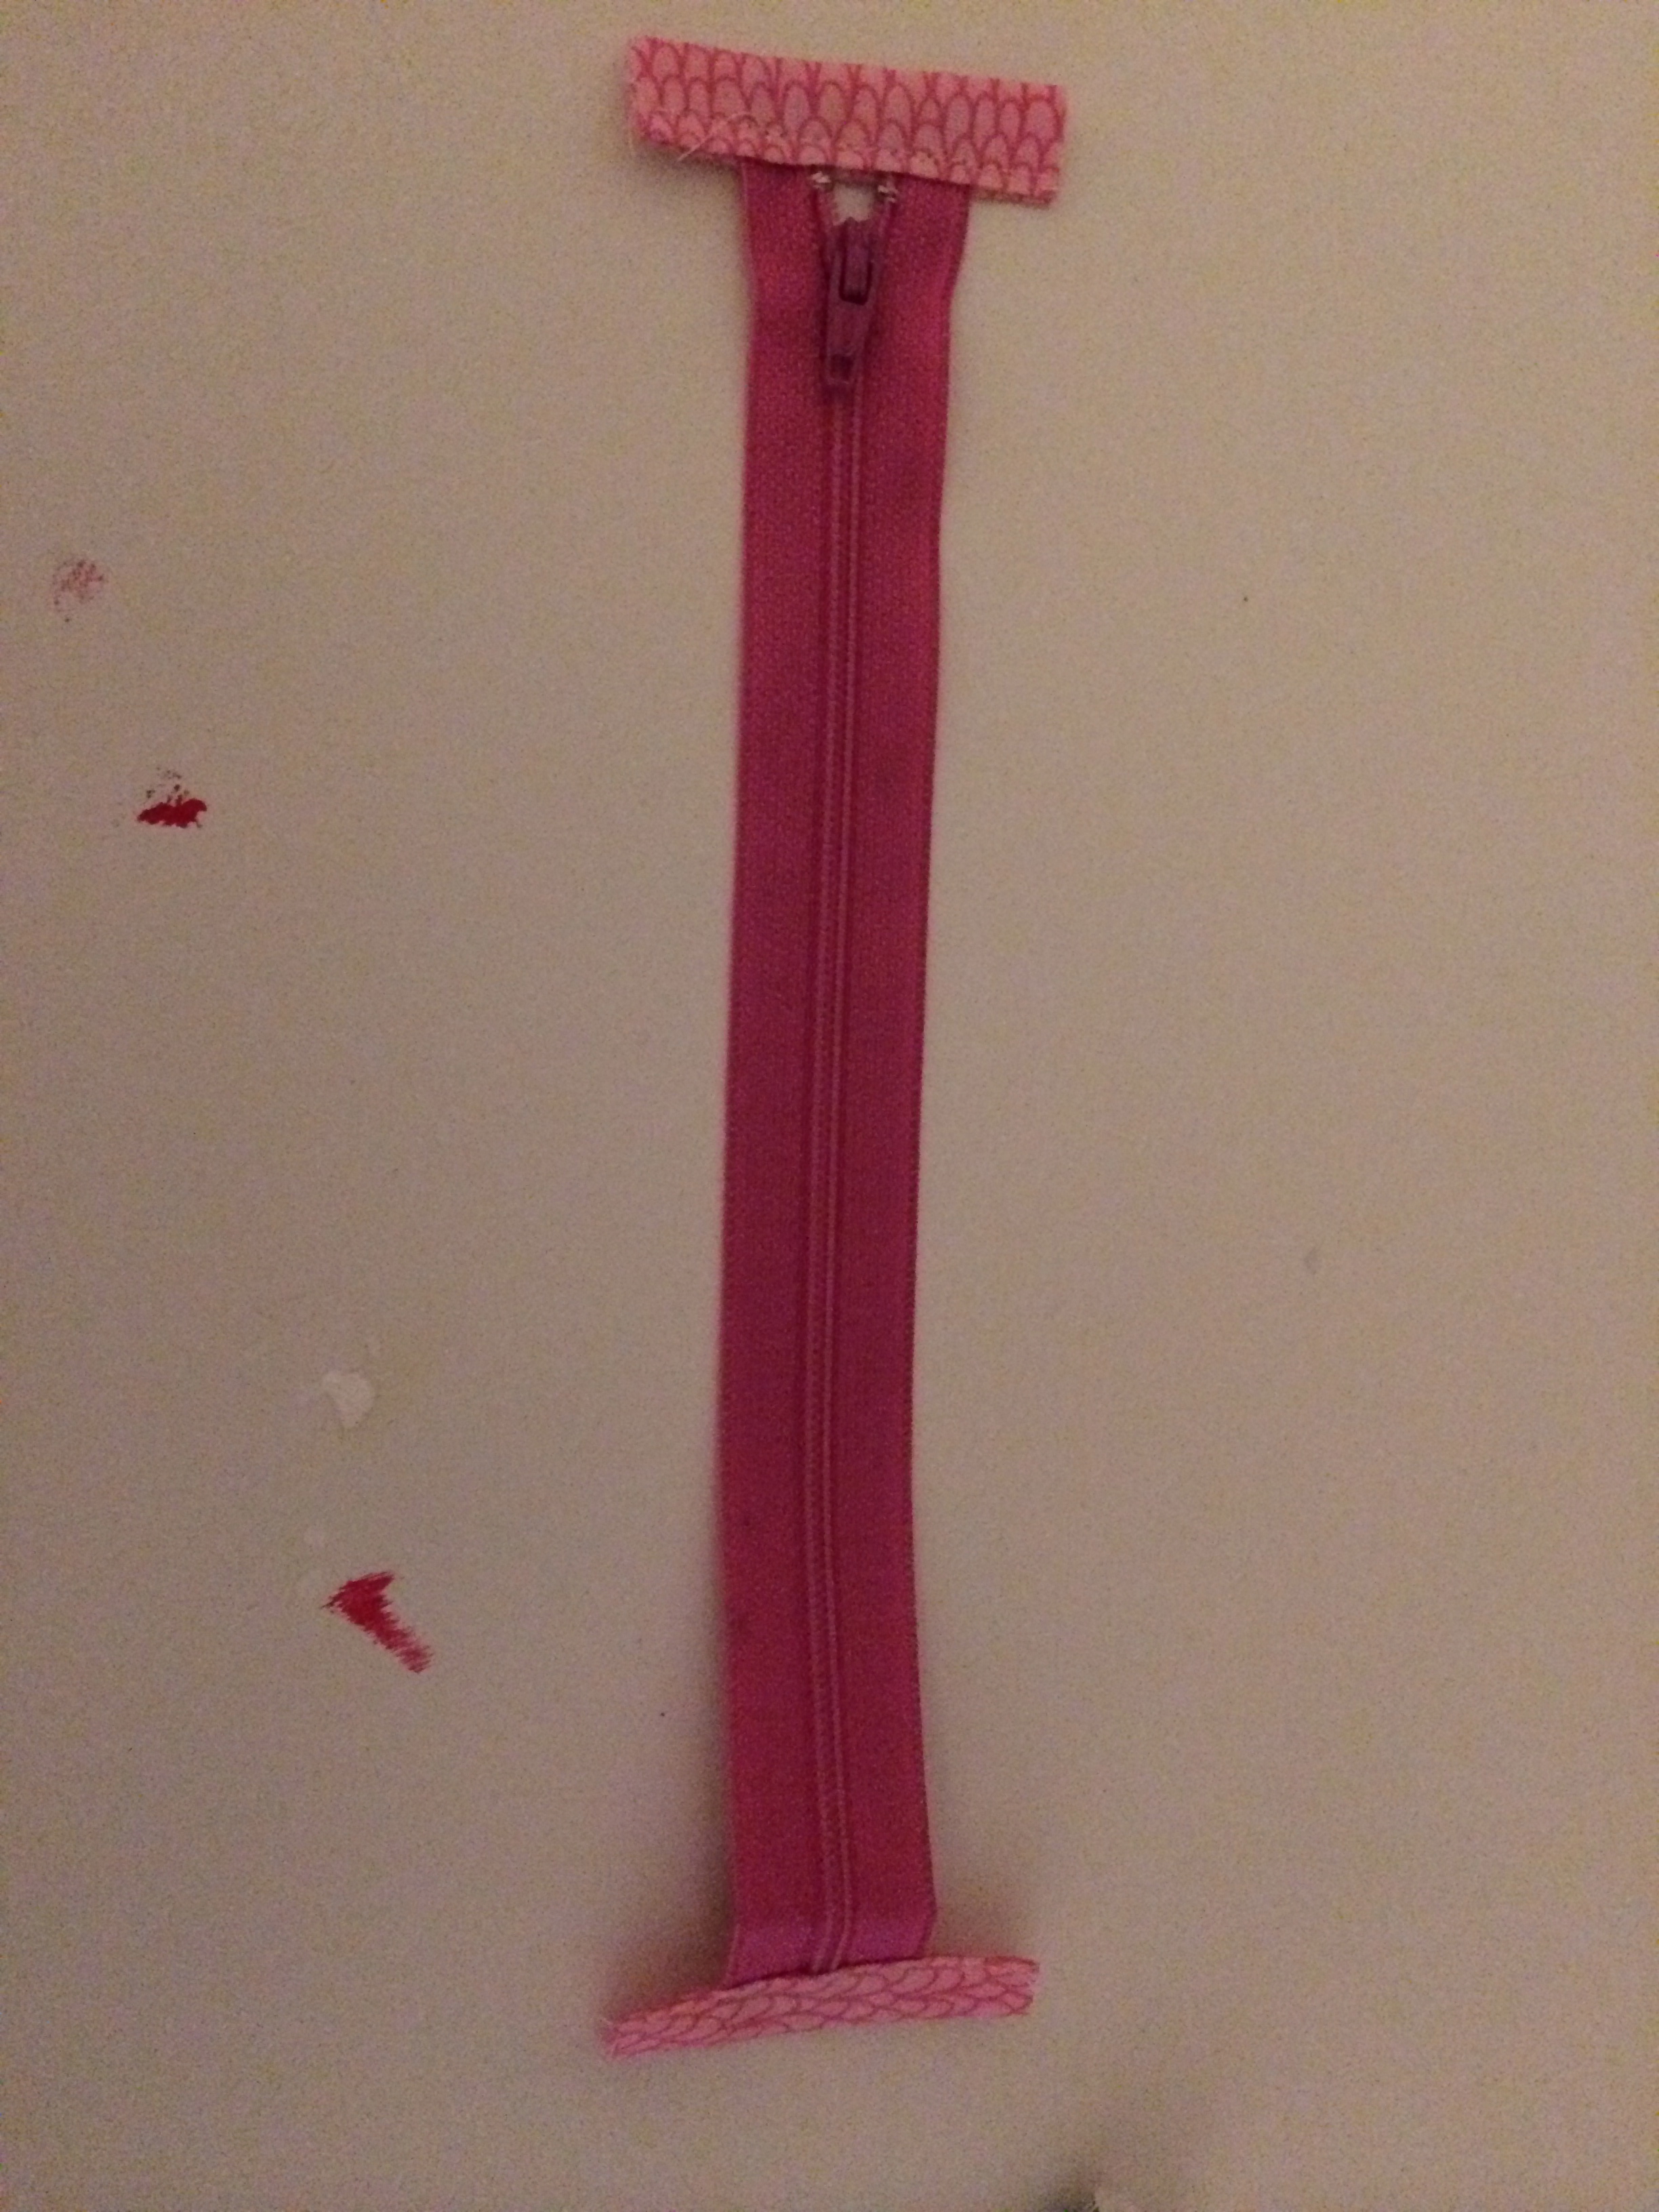
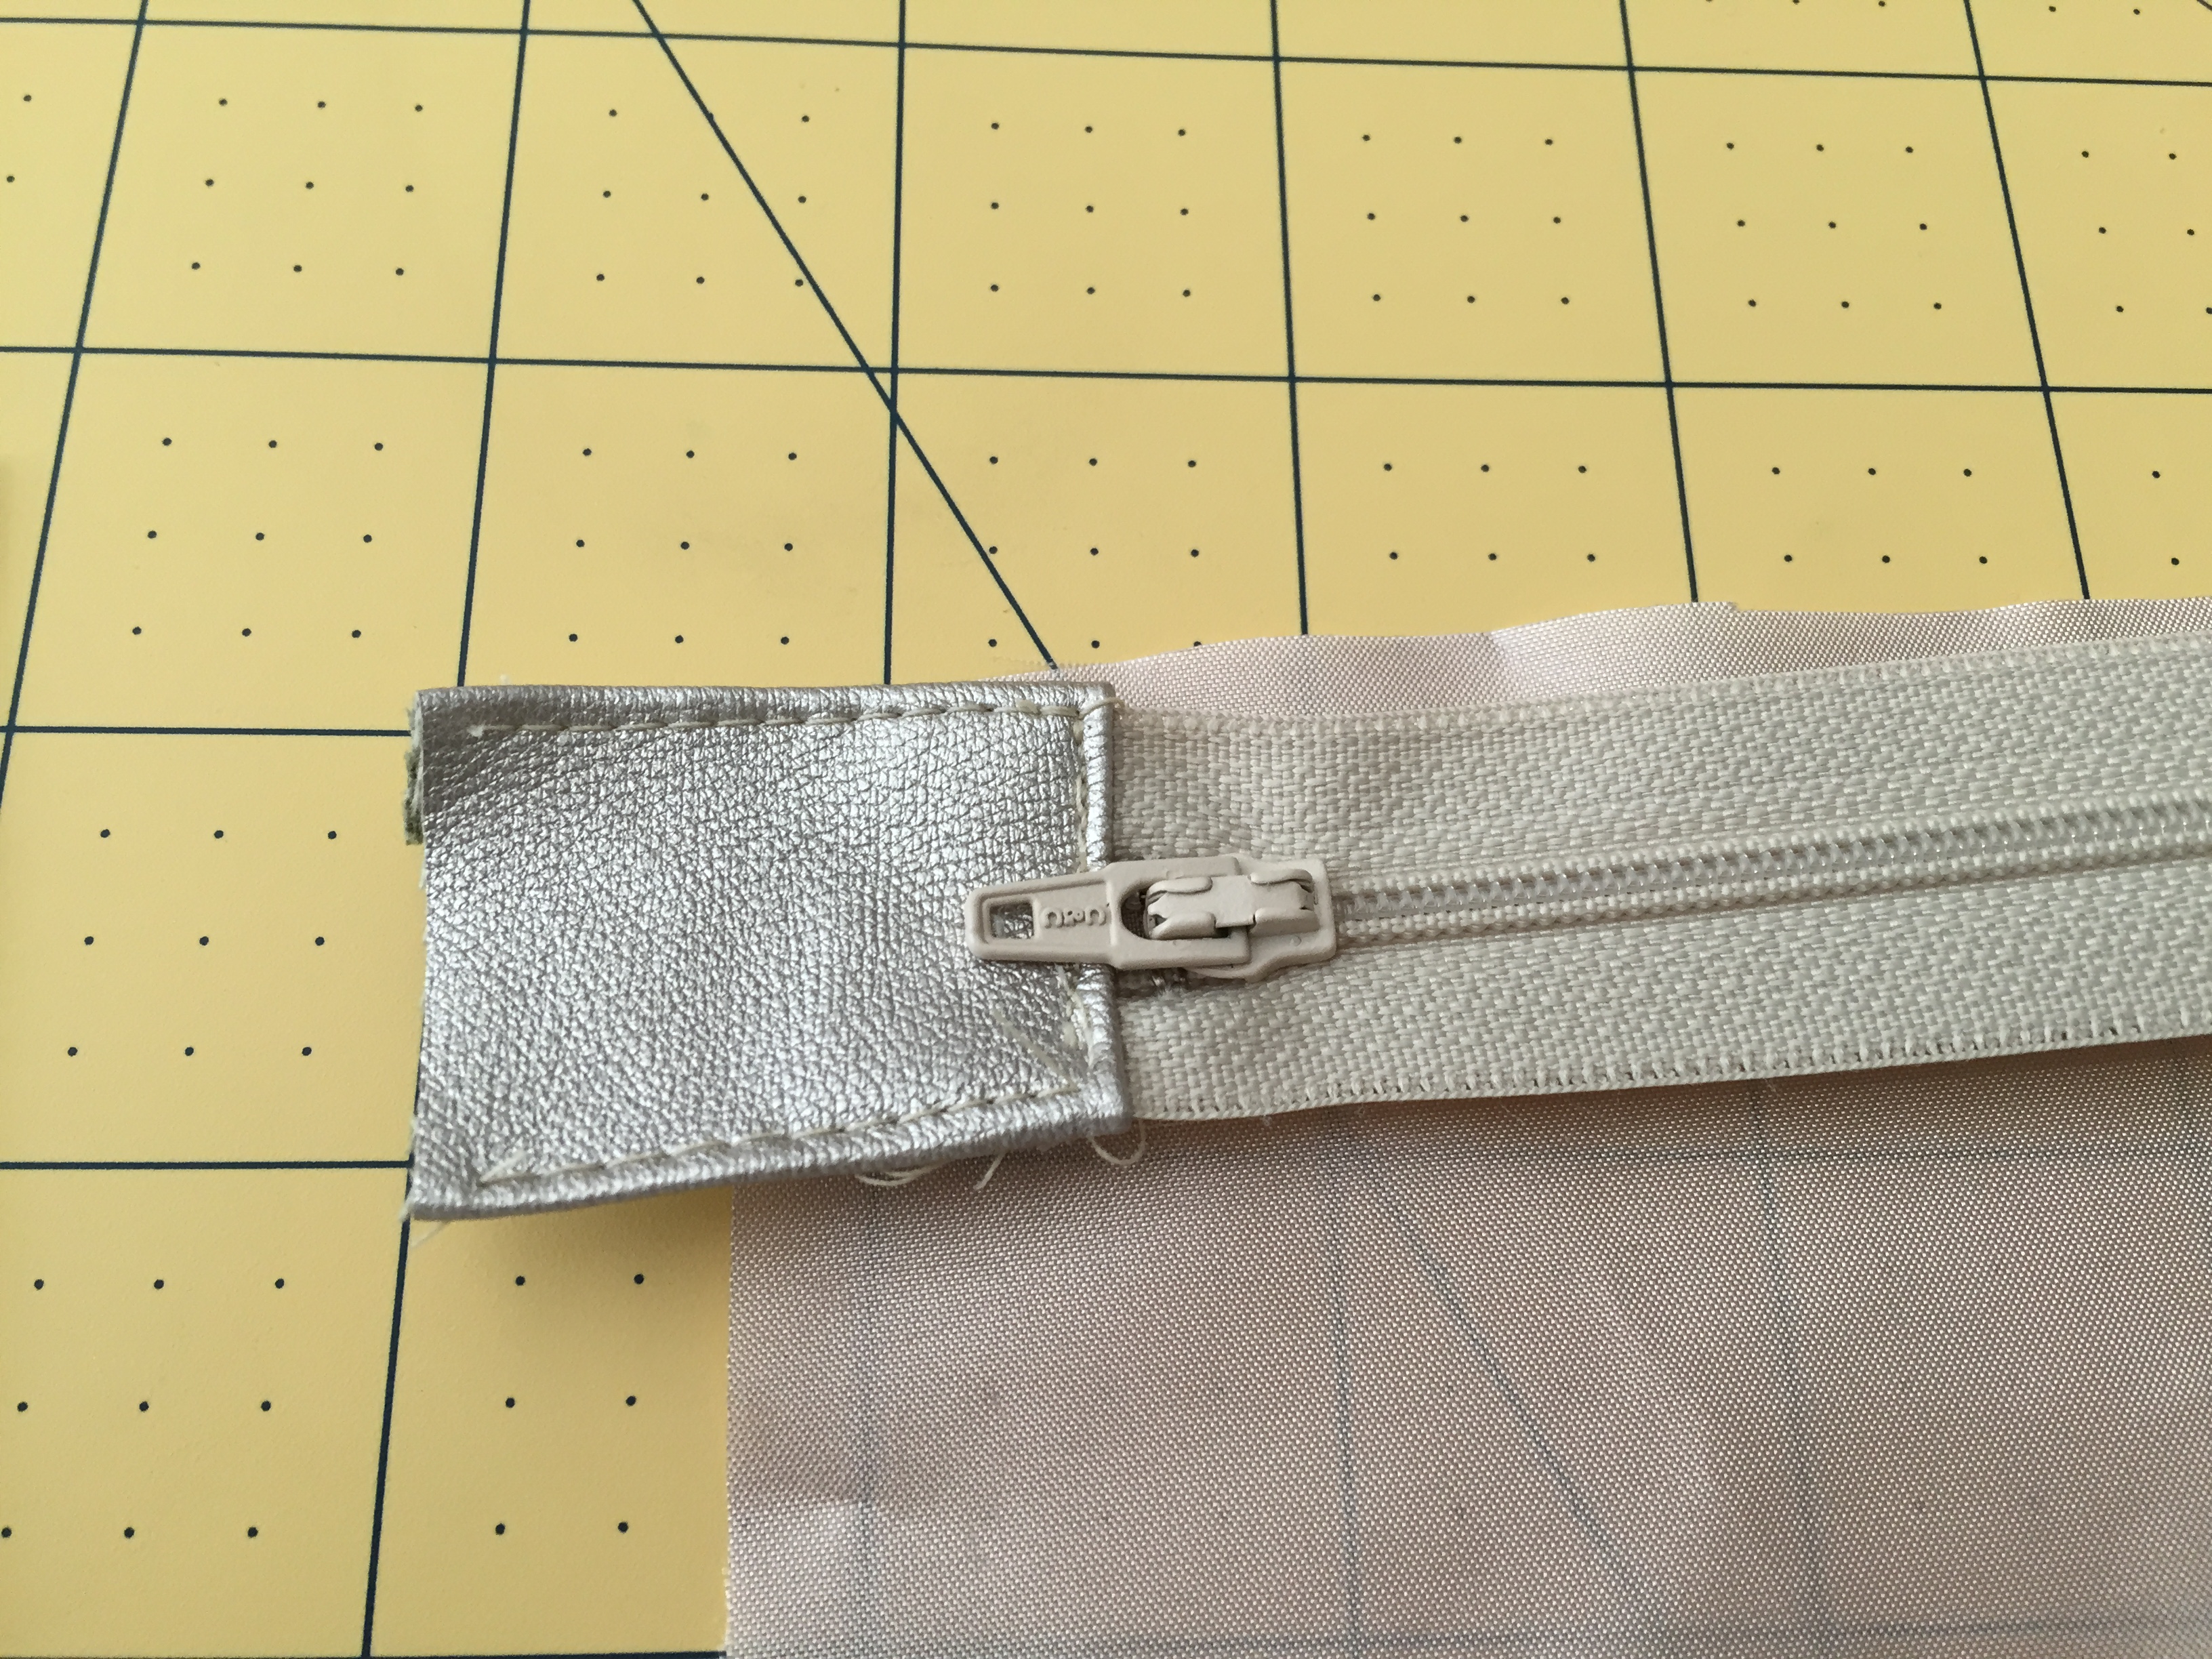
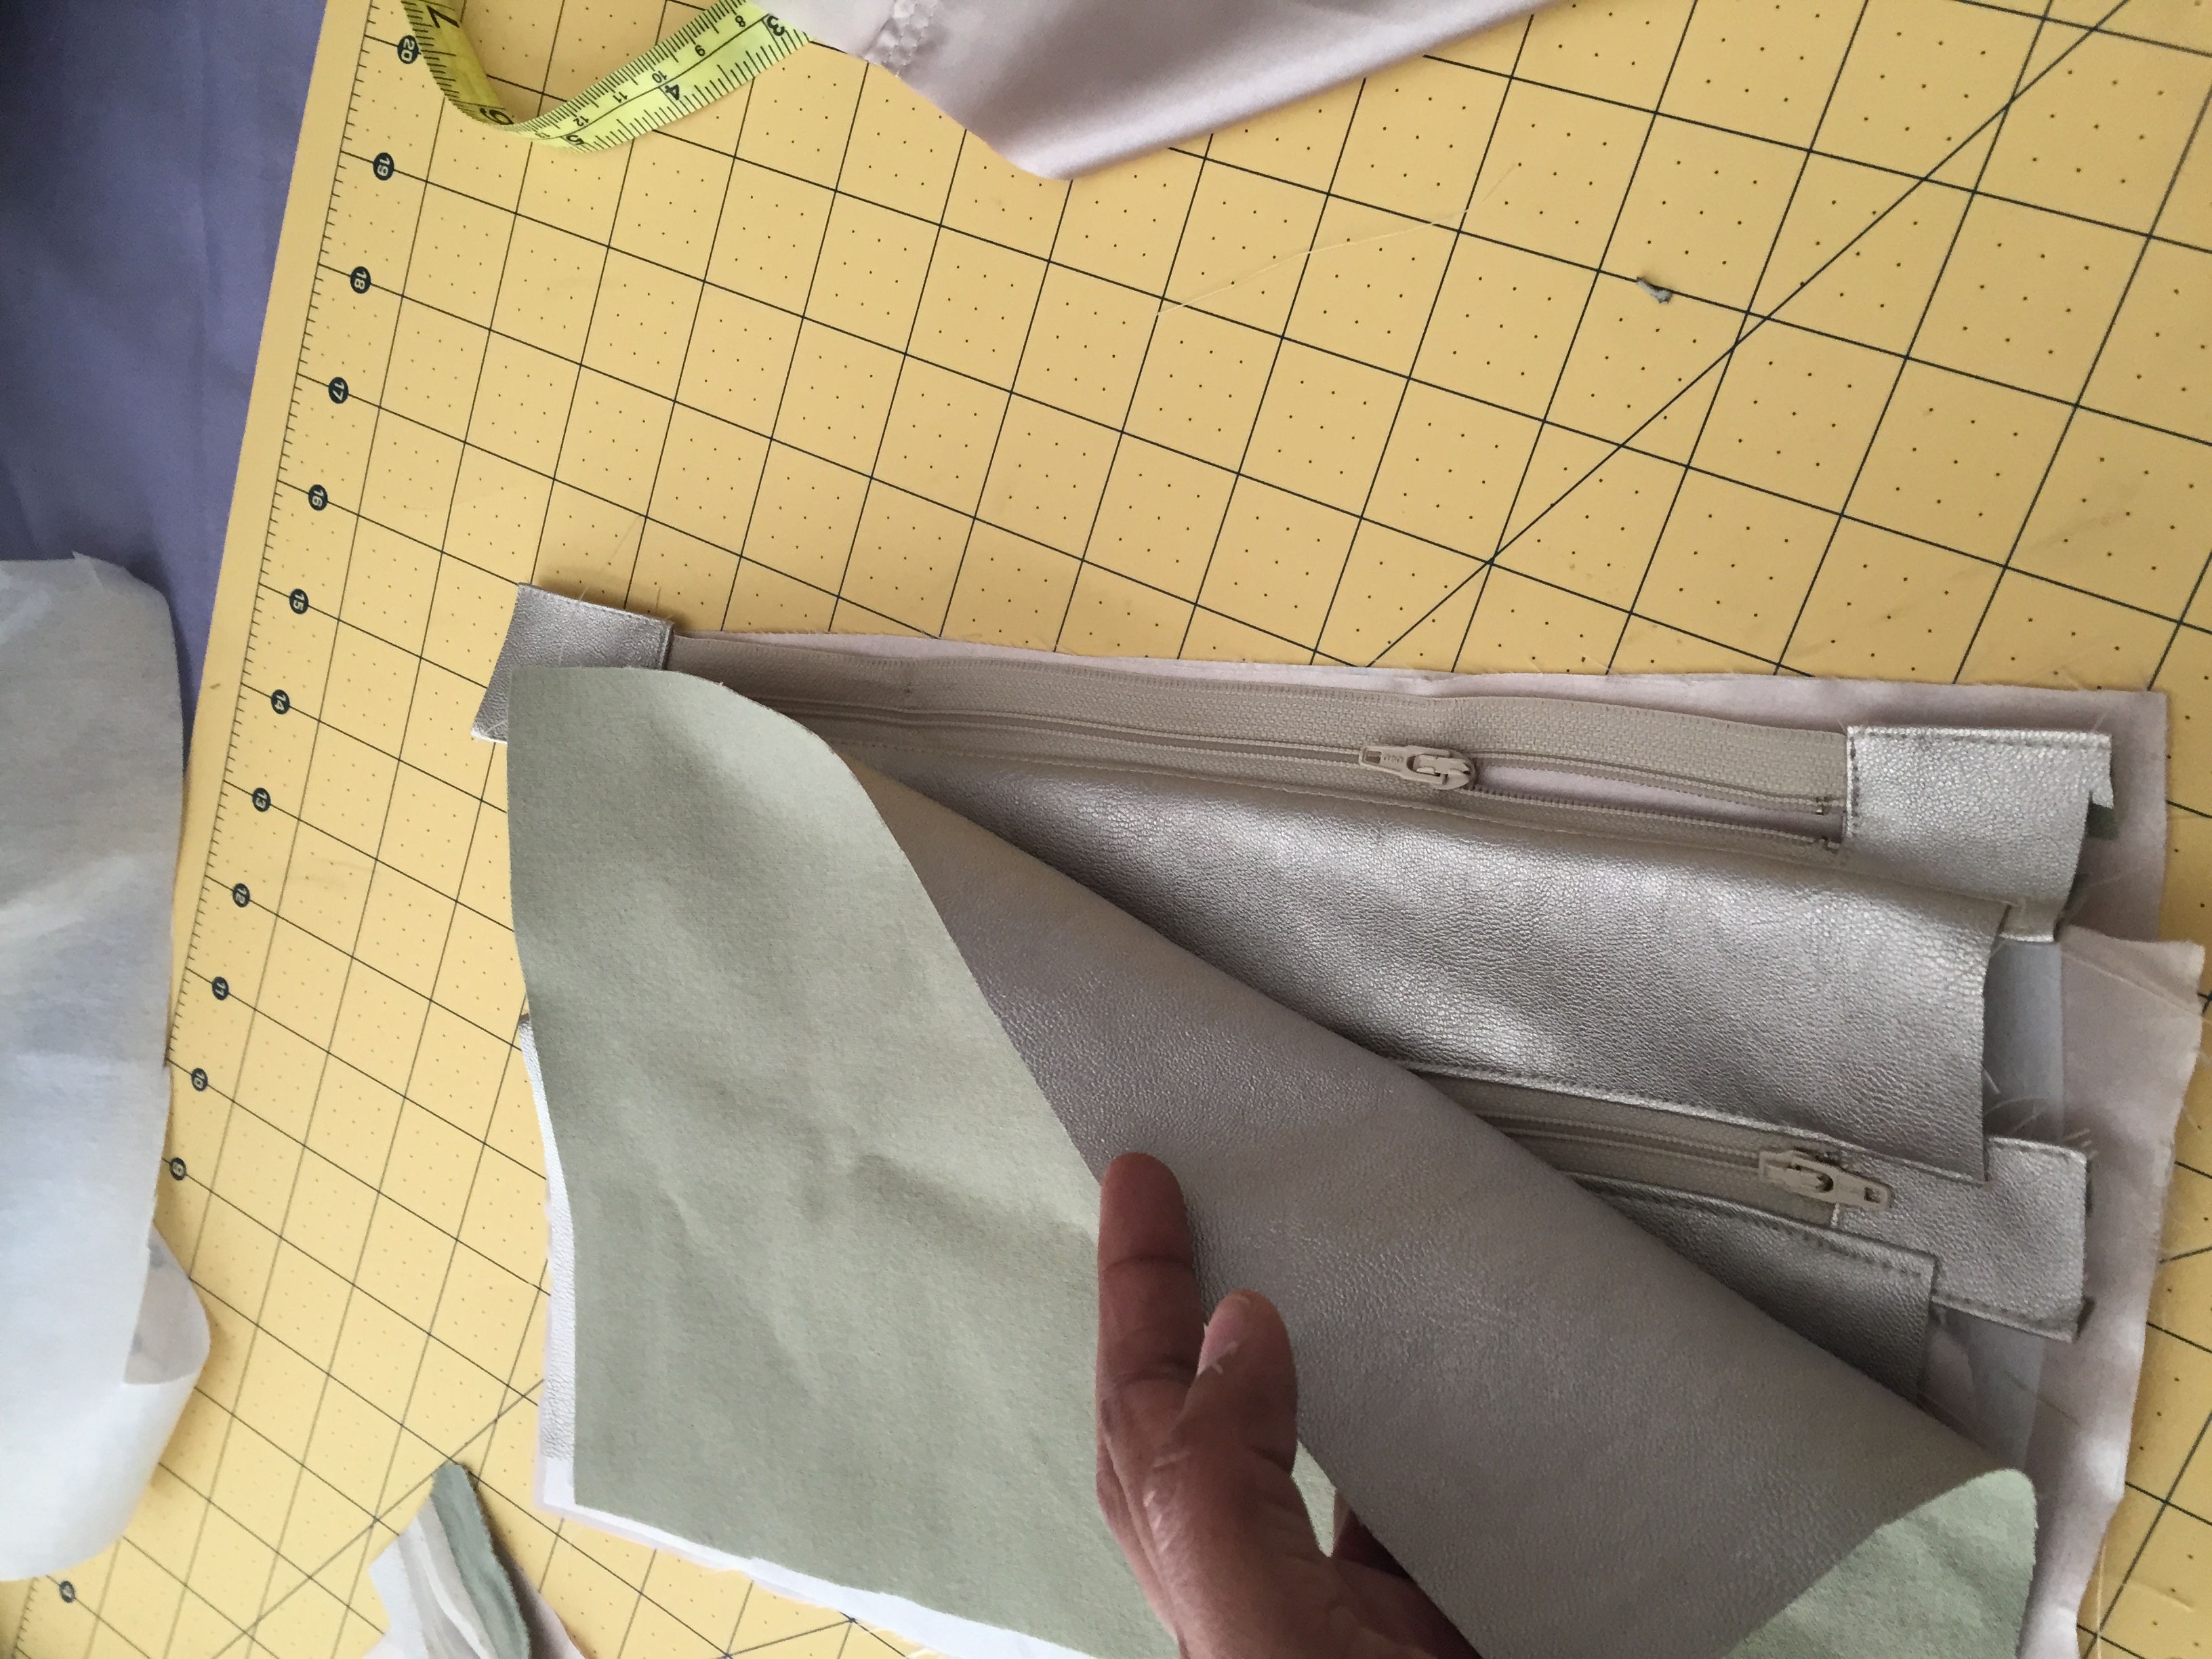
Zipper: Cut a small square 2″ x 2″ of leather fabric.
Fold in your zipper ends fabric and iron in the middle. Fold around the ends of zipper and sew down.
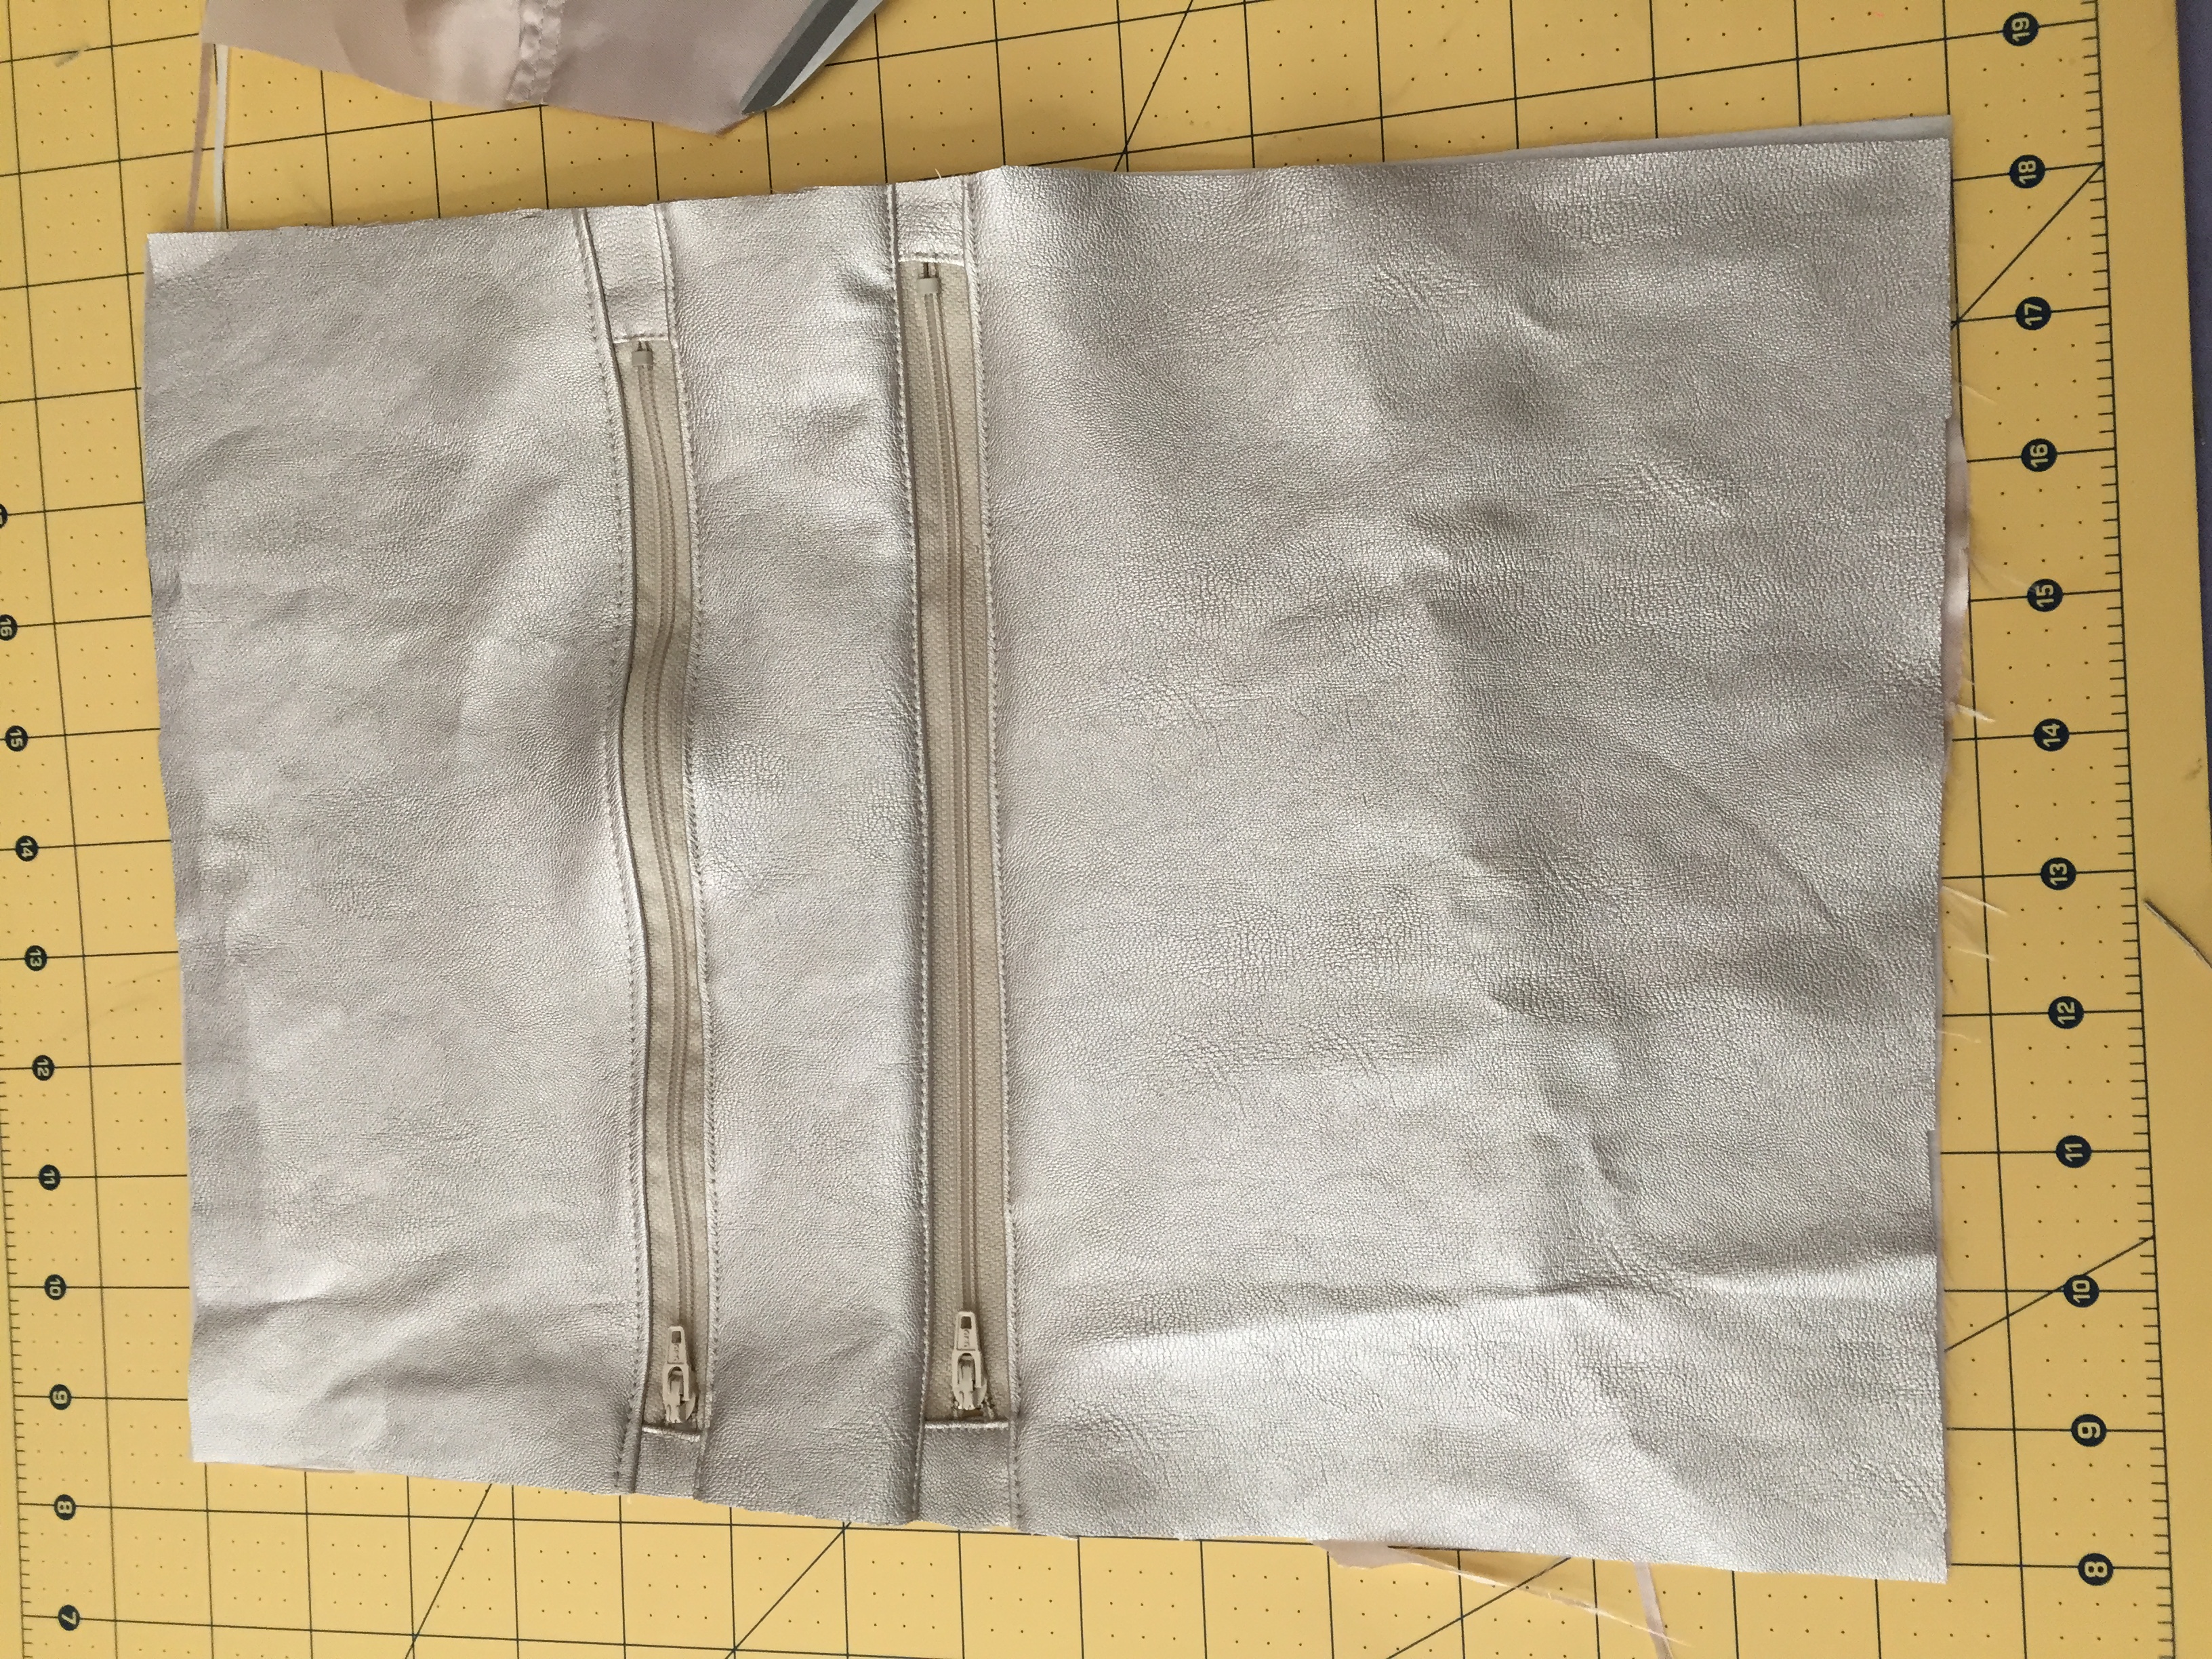
Main Front/Pocket
Make a zipper sandwich using your bottom lining and your bottom main piece. For the sandwich, your lining is facing right side up, following by zipper right side up, followed by outer main fabric right side down. Pin and sew down using the zipper foot on your machine.
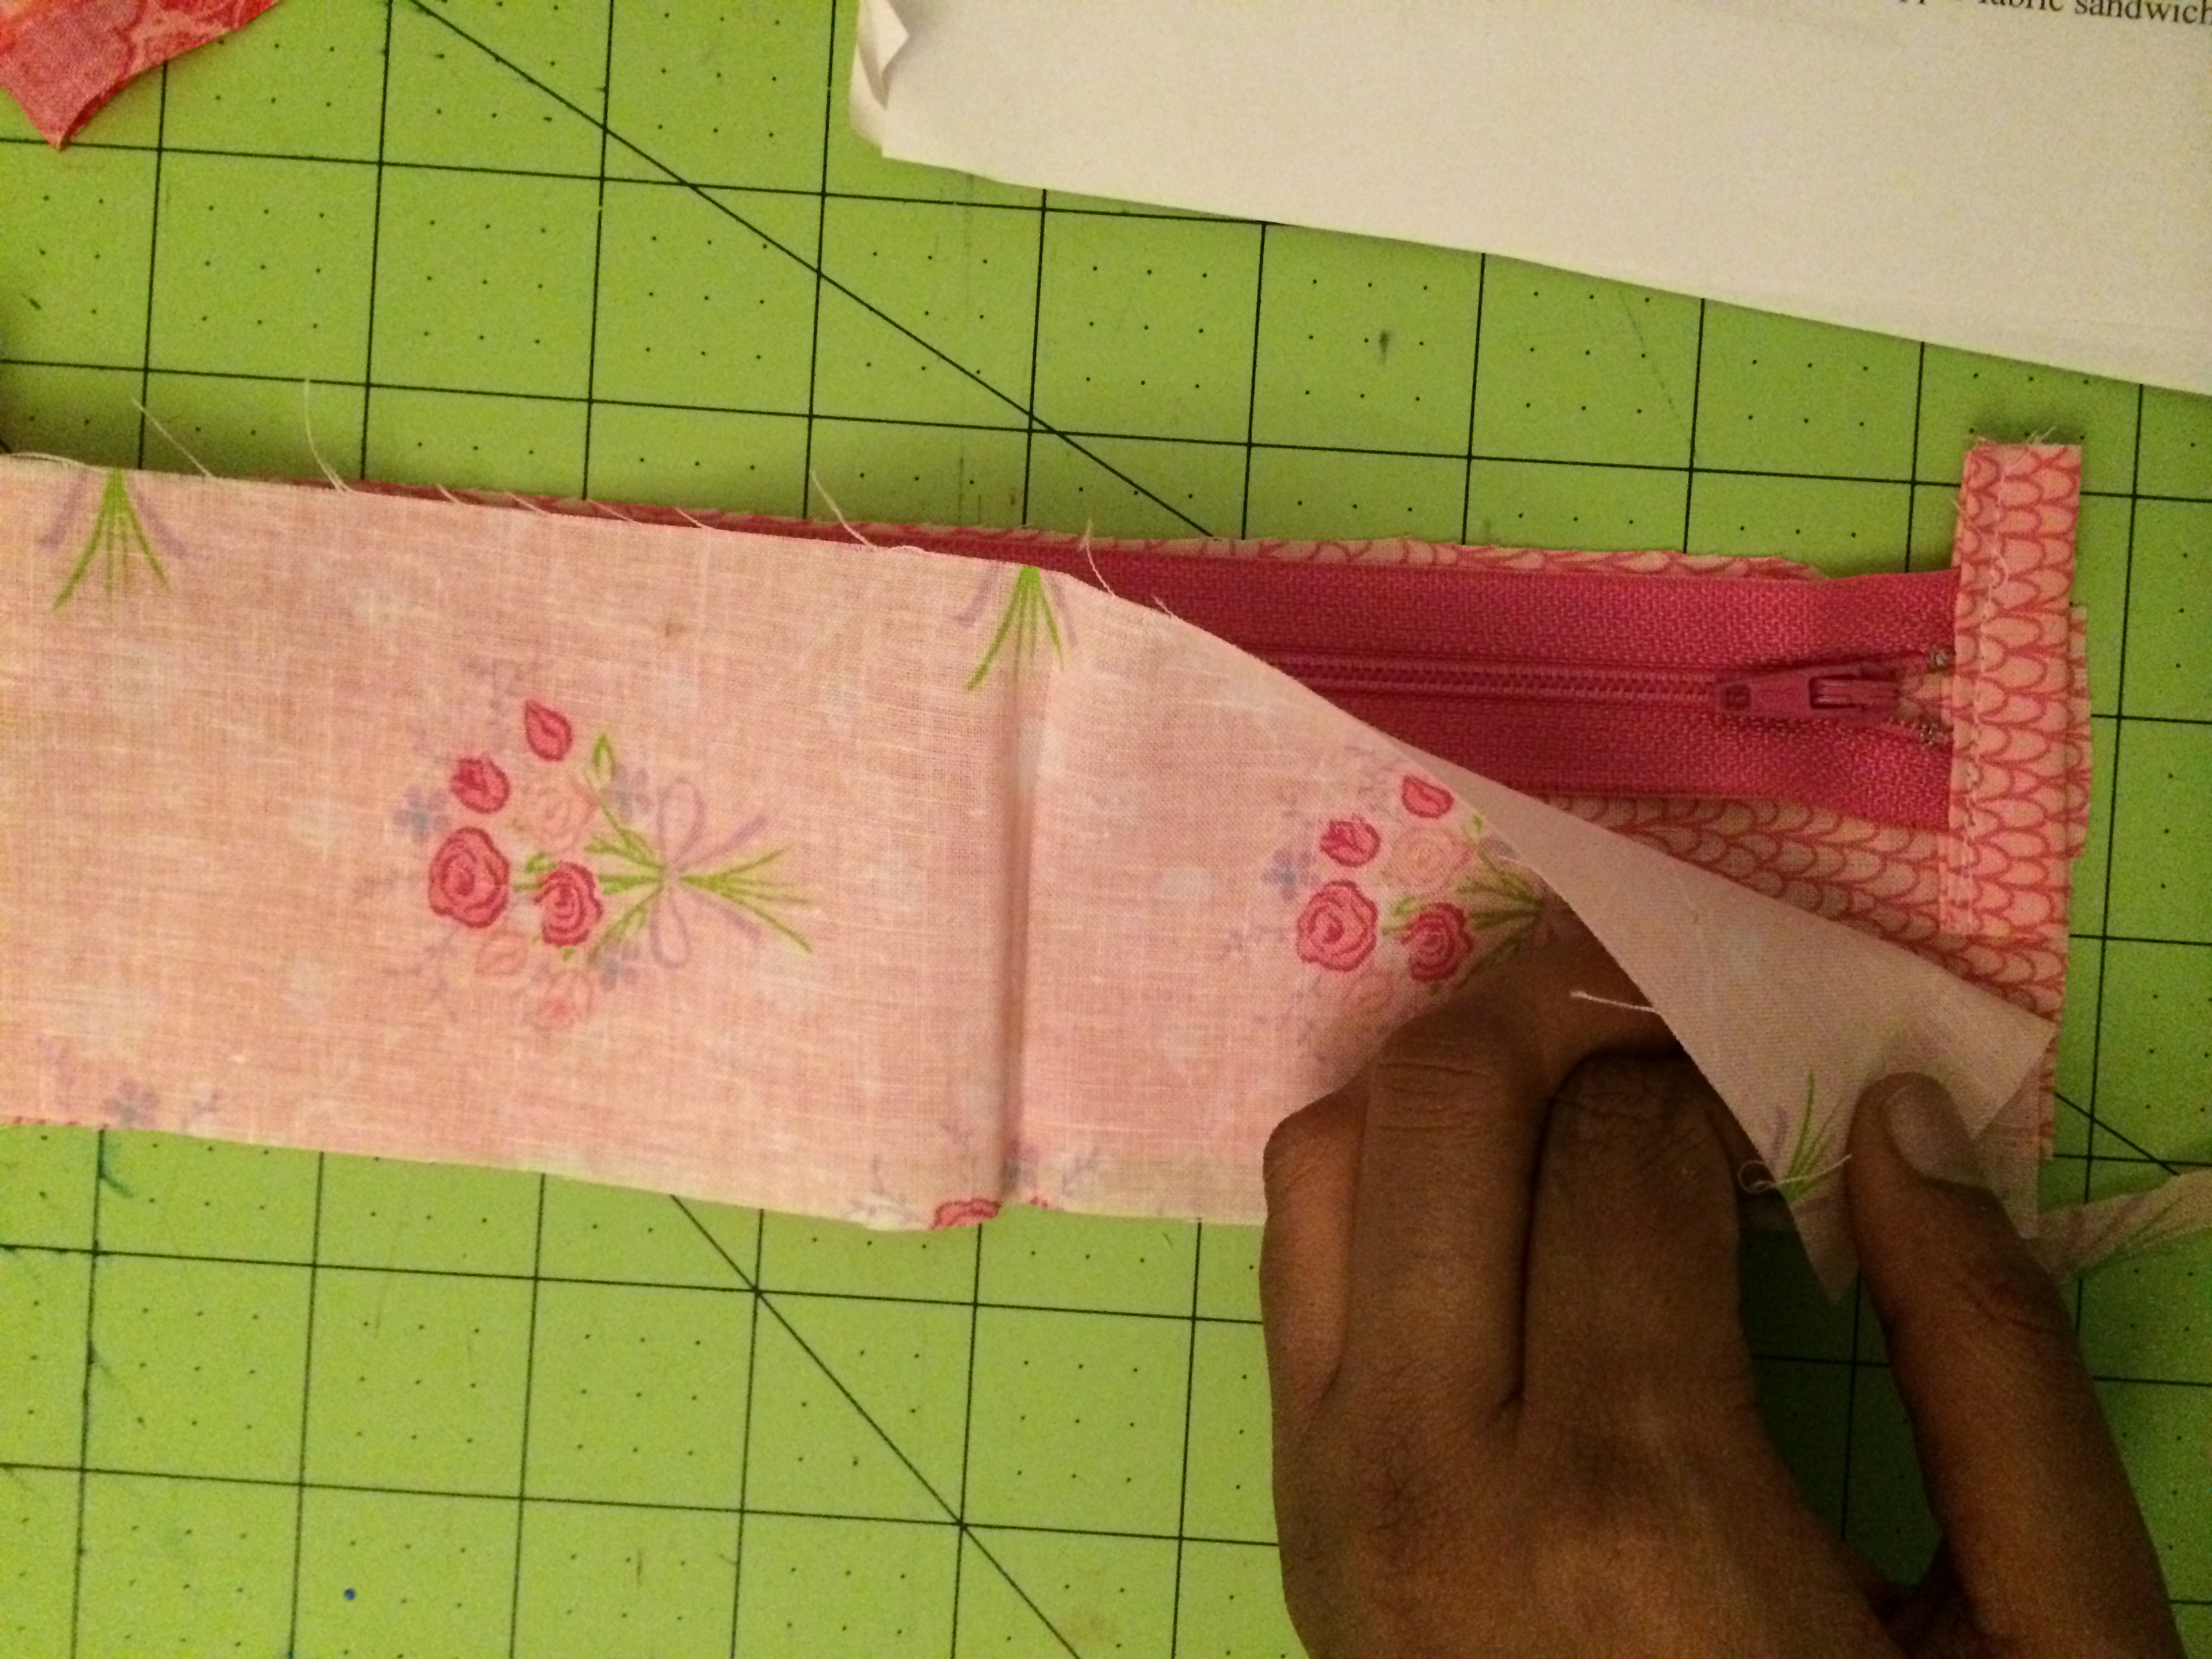
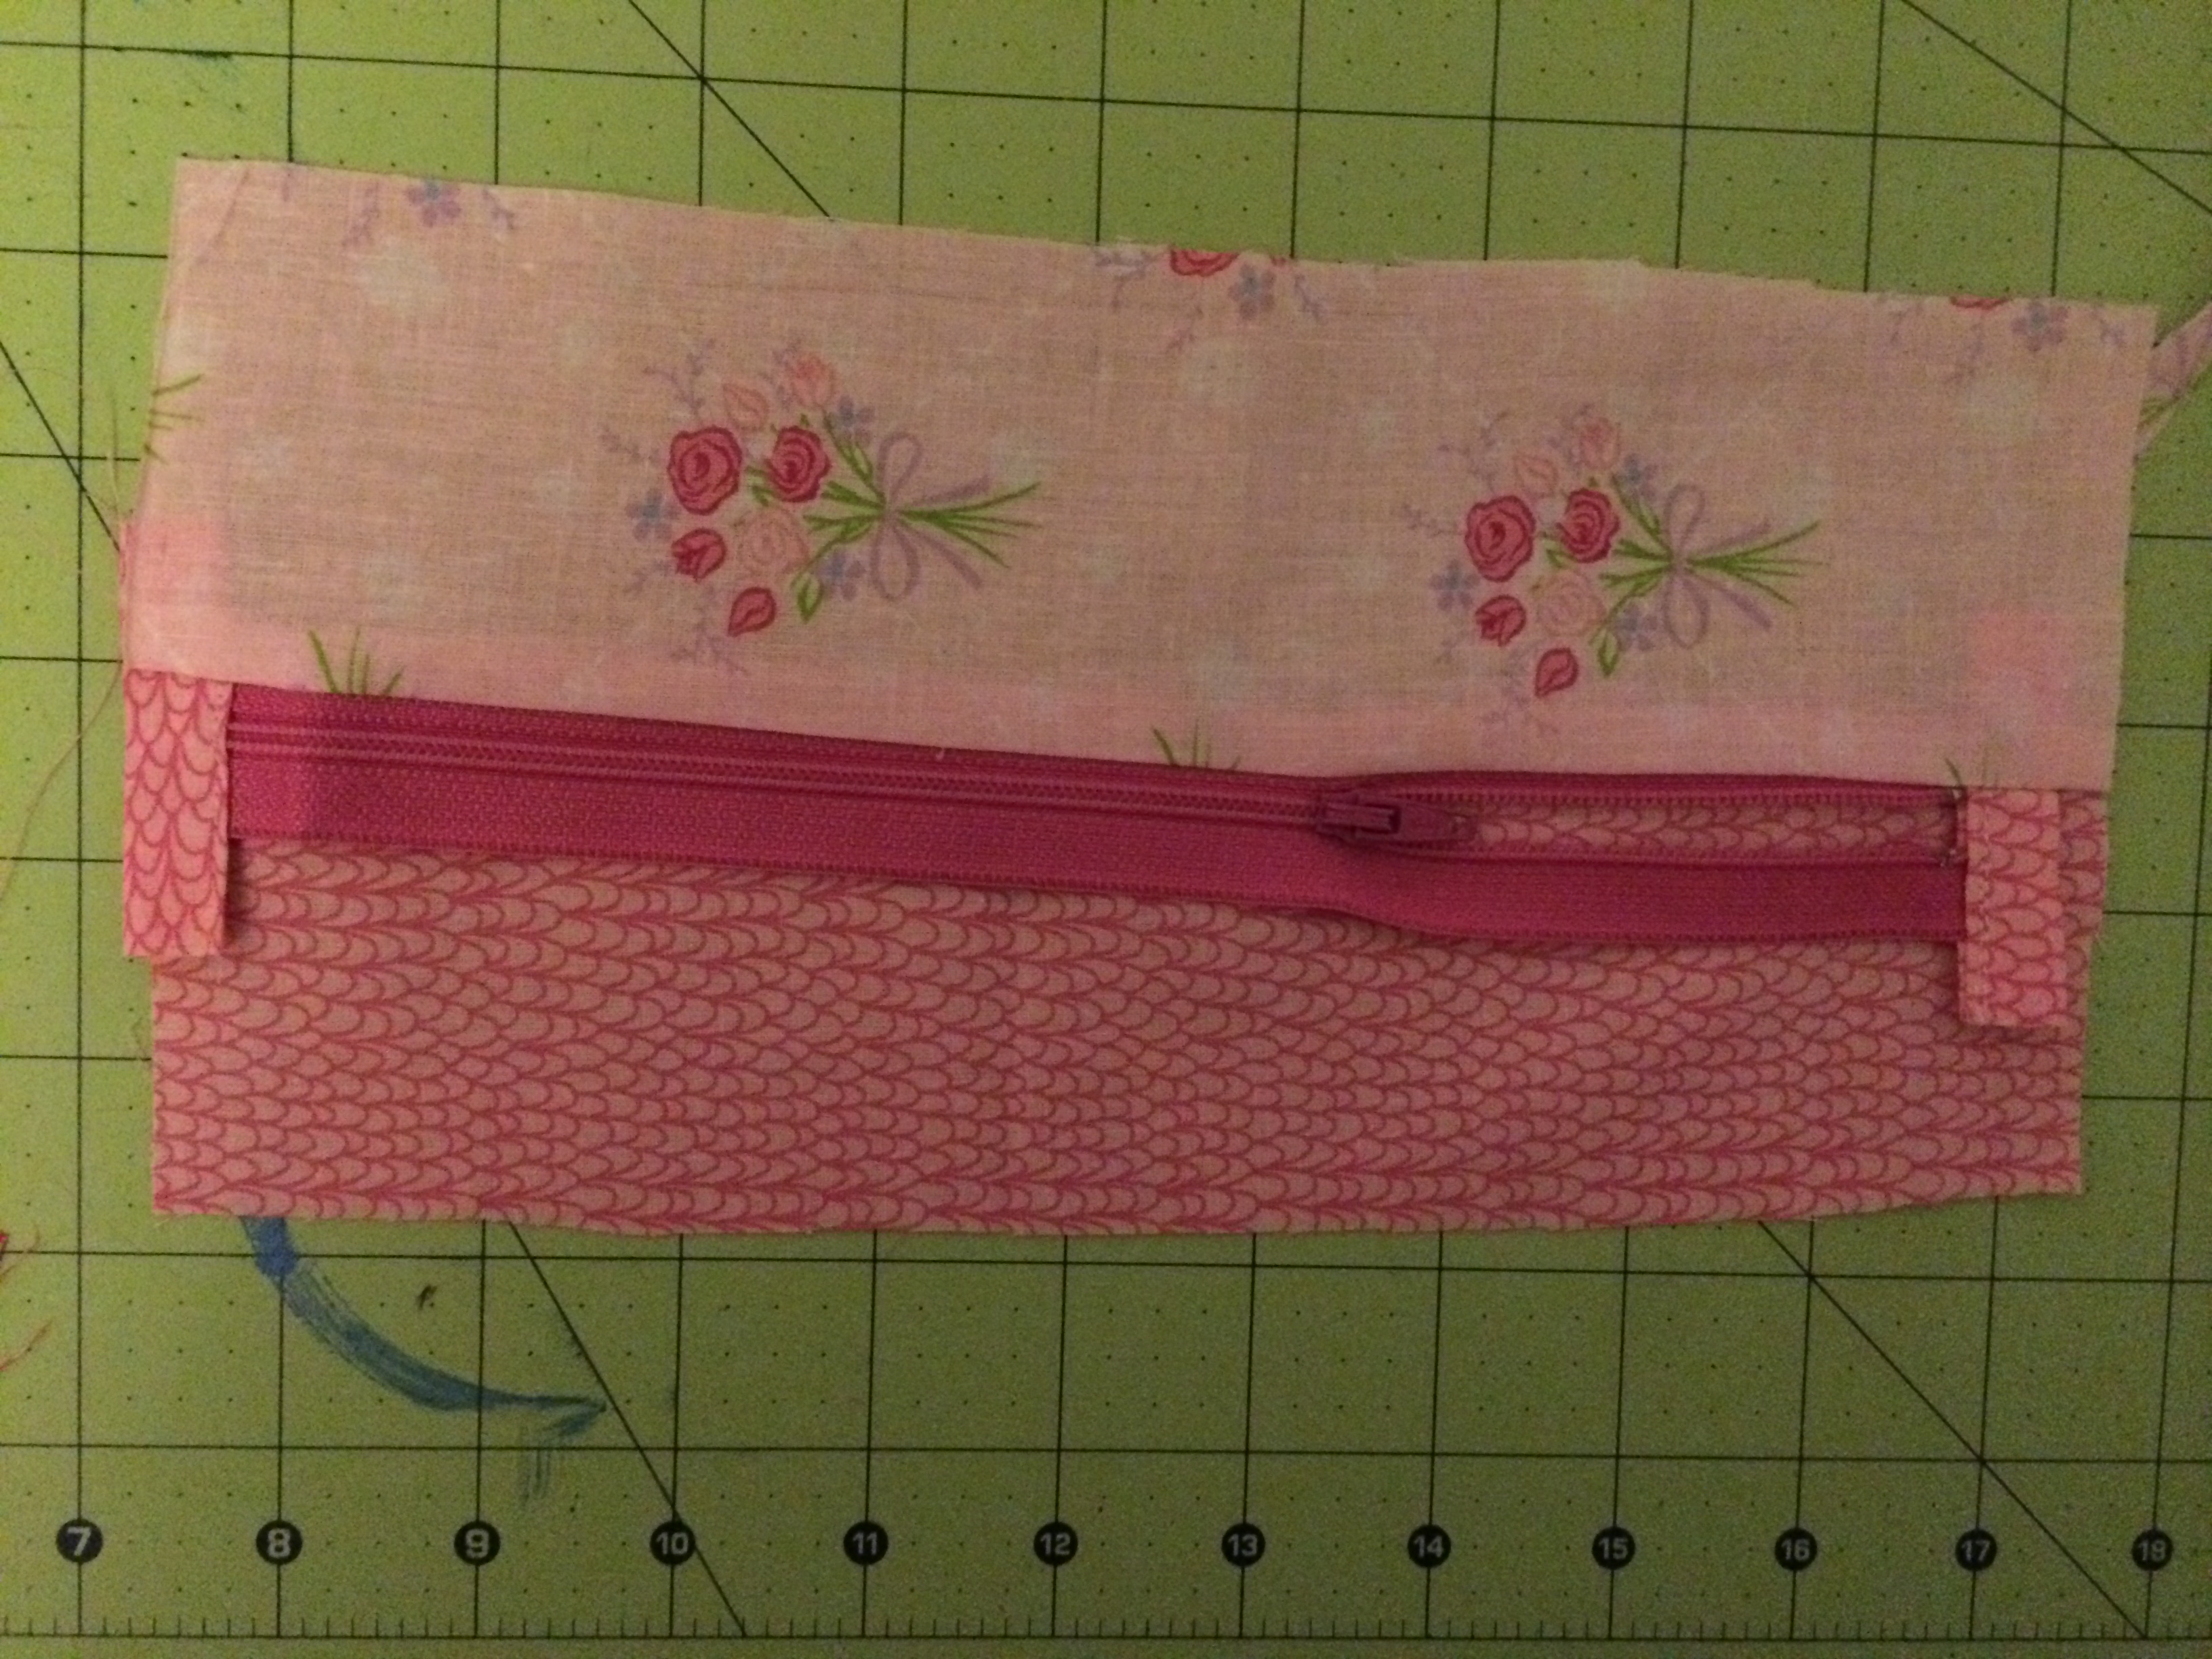

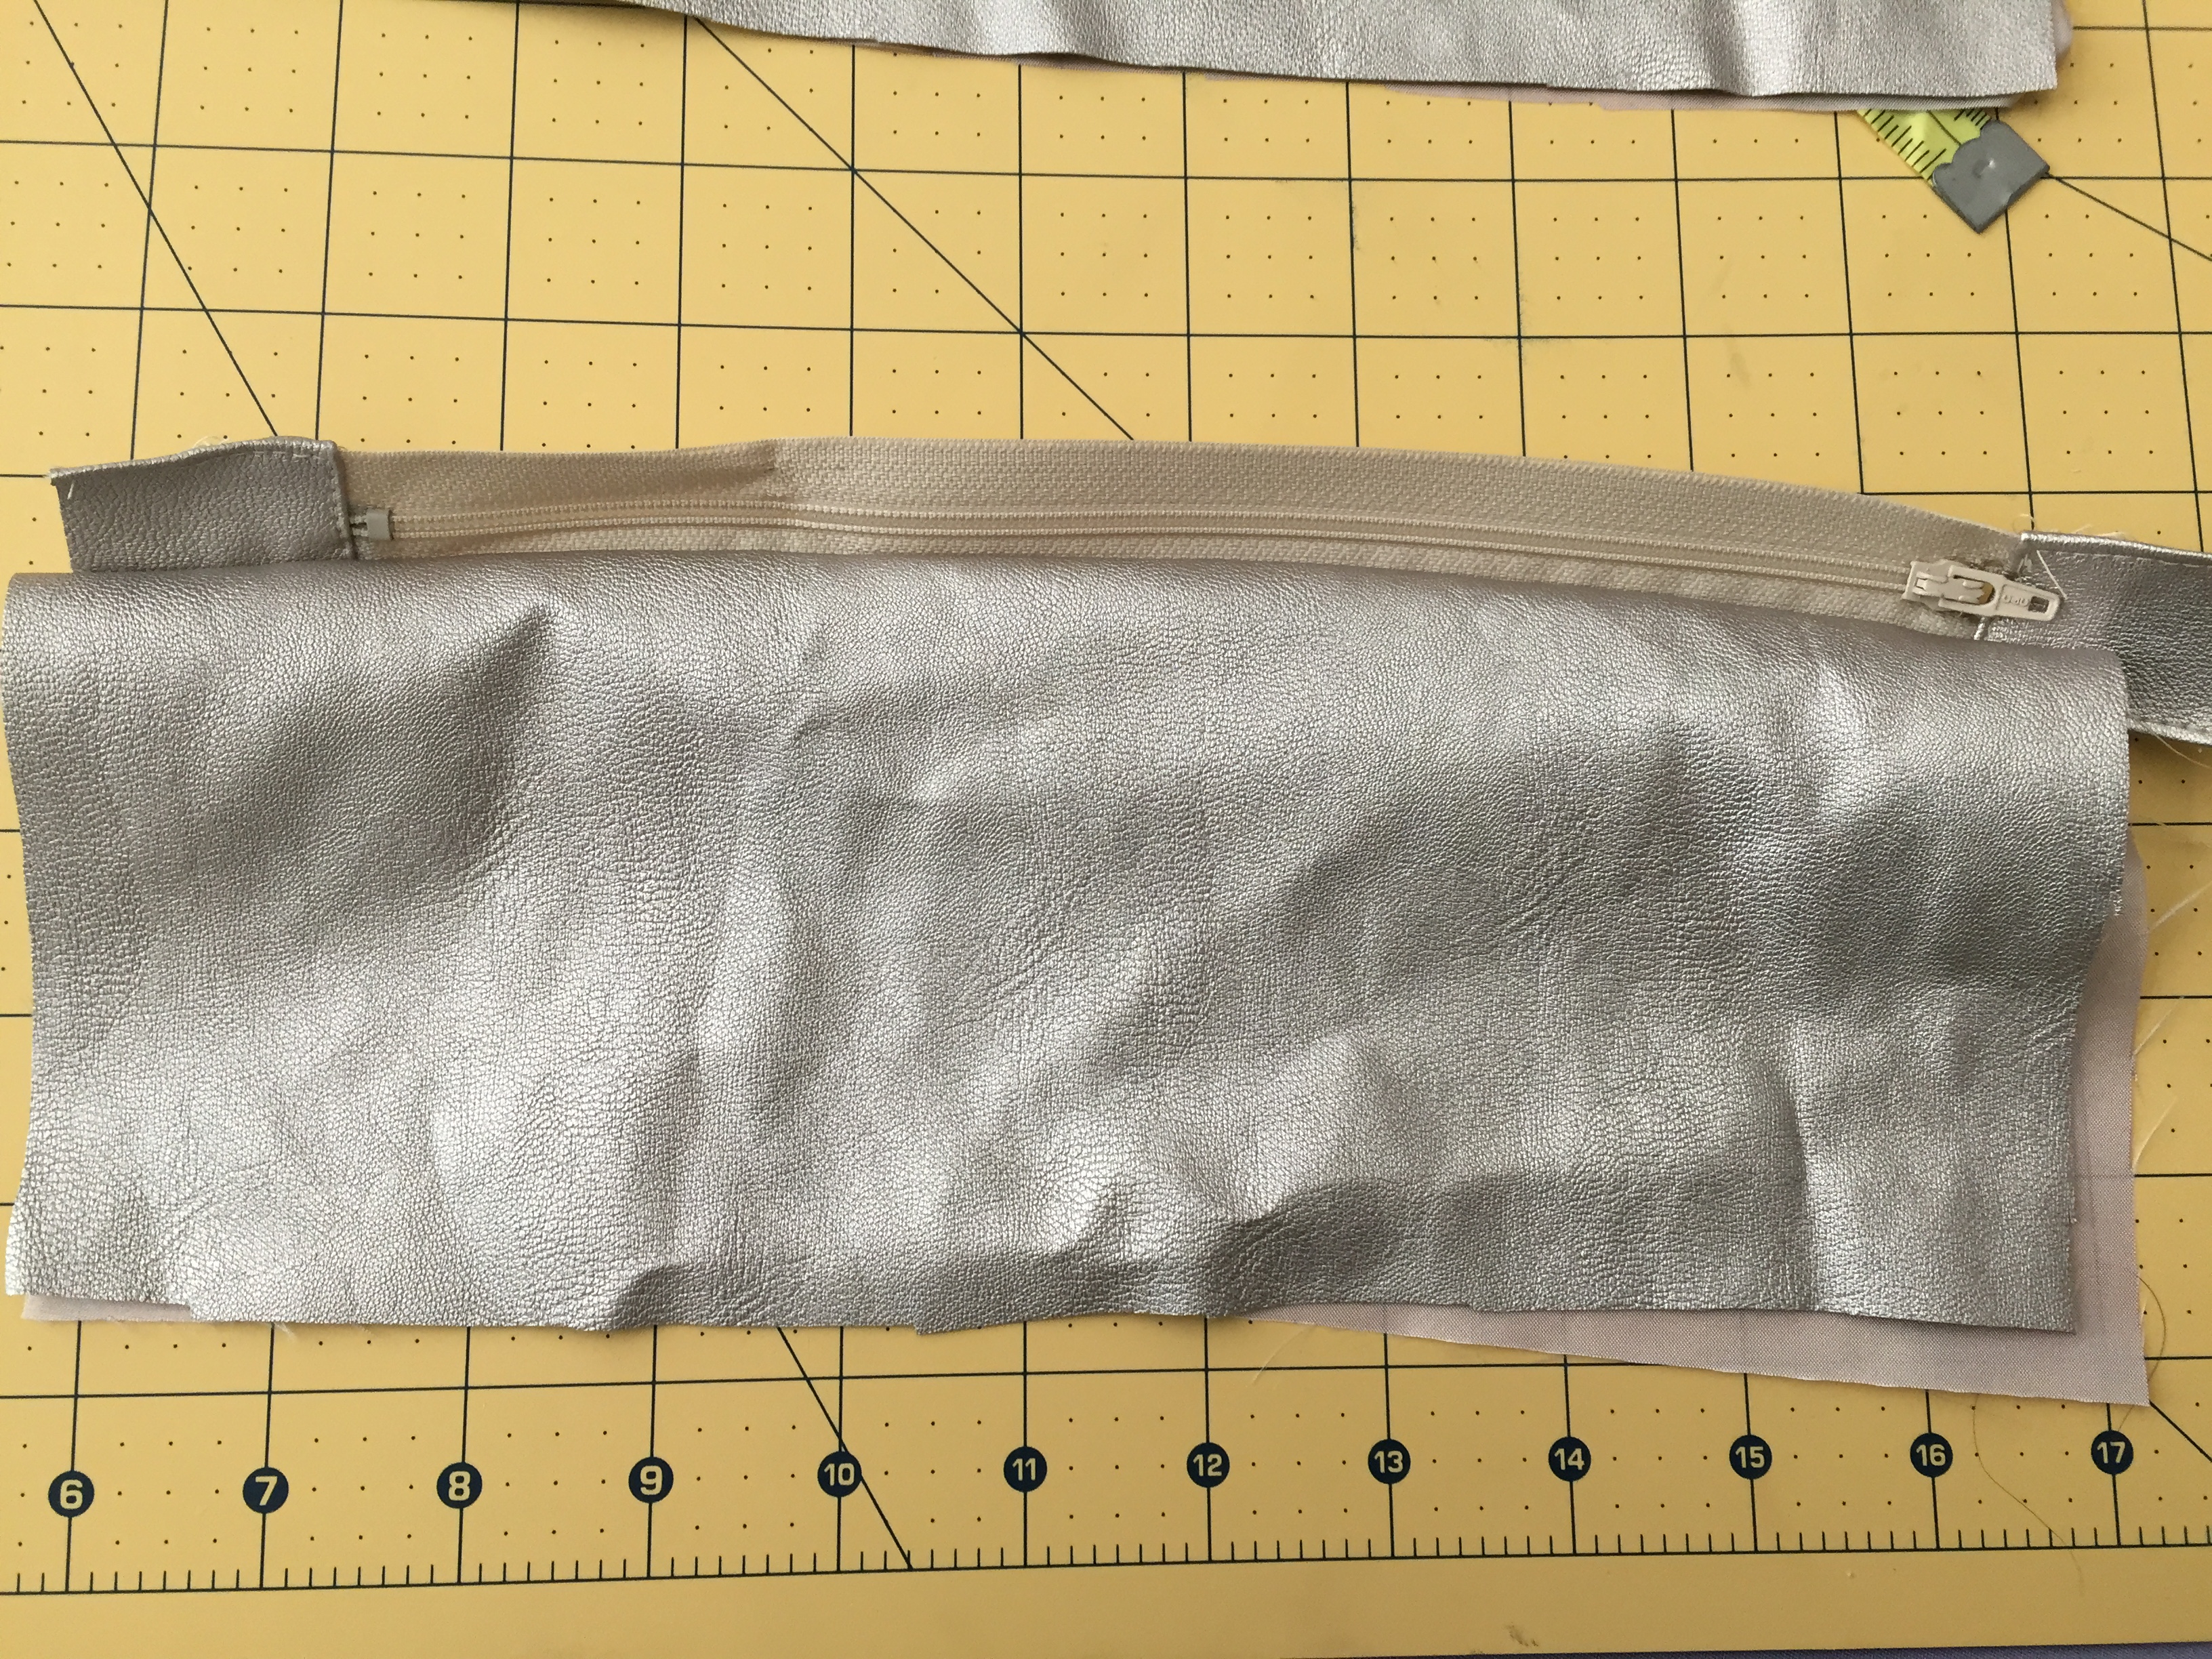

Repeat the same sandwich step as noted above using your bottom pieces. Take the piece that you just did face it right side up, then take your other outer top right side down and pin. Sew down with your zipper foot.
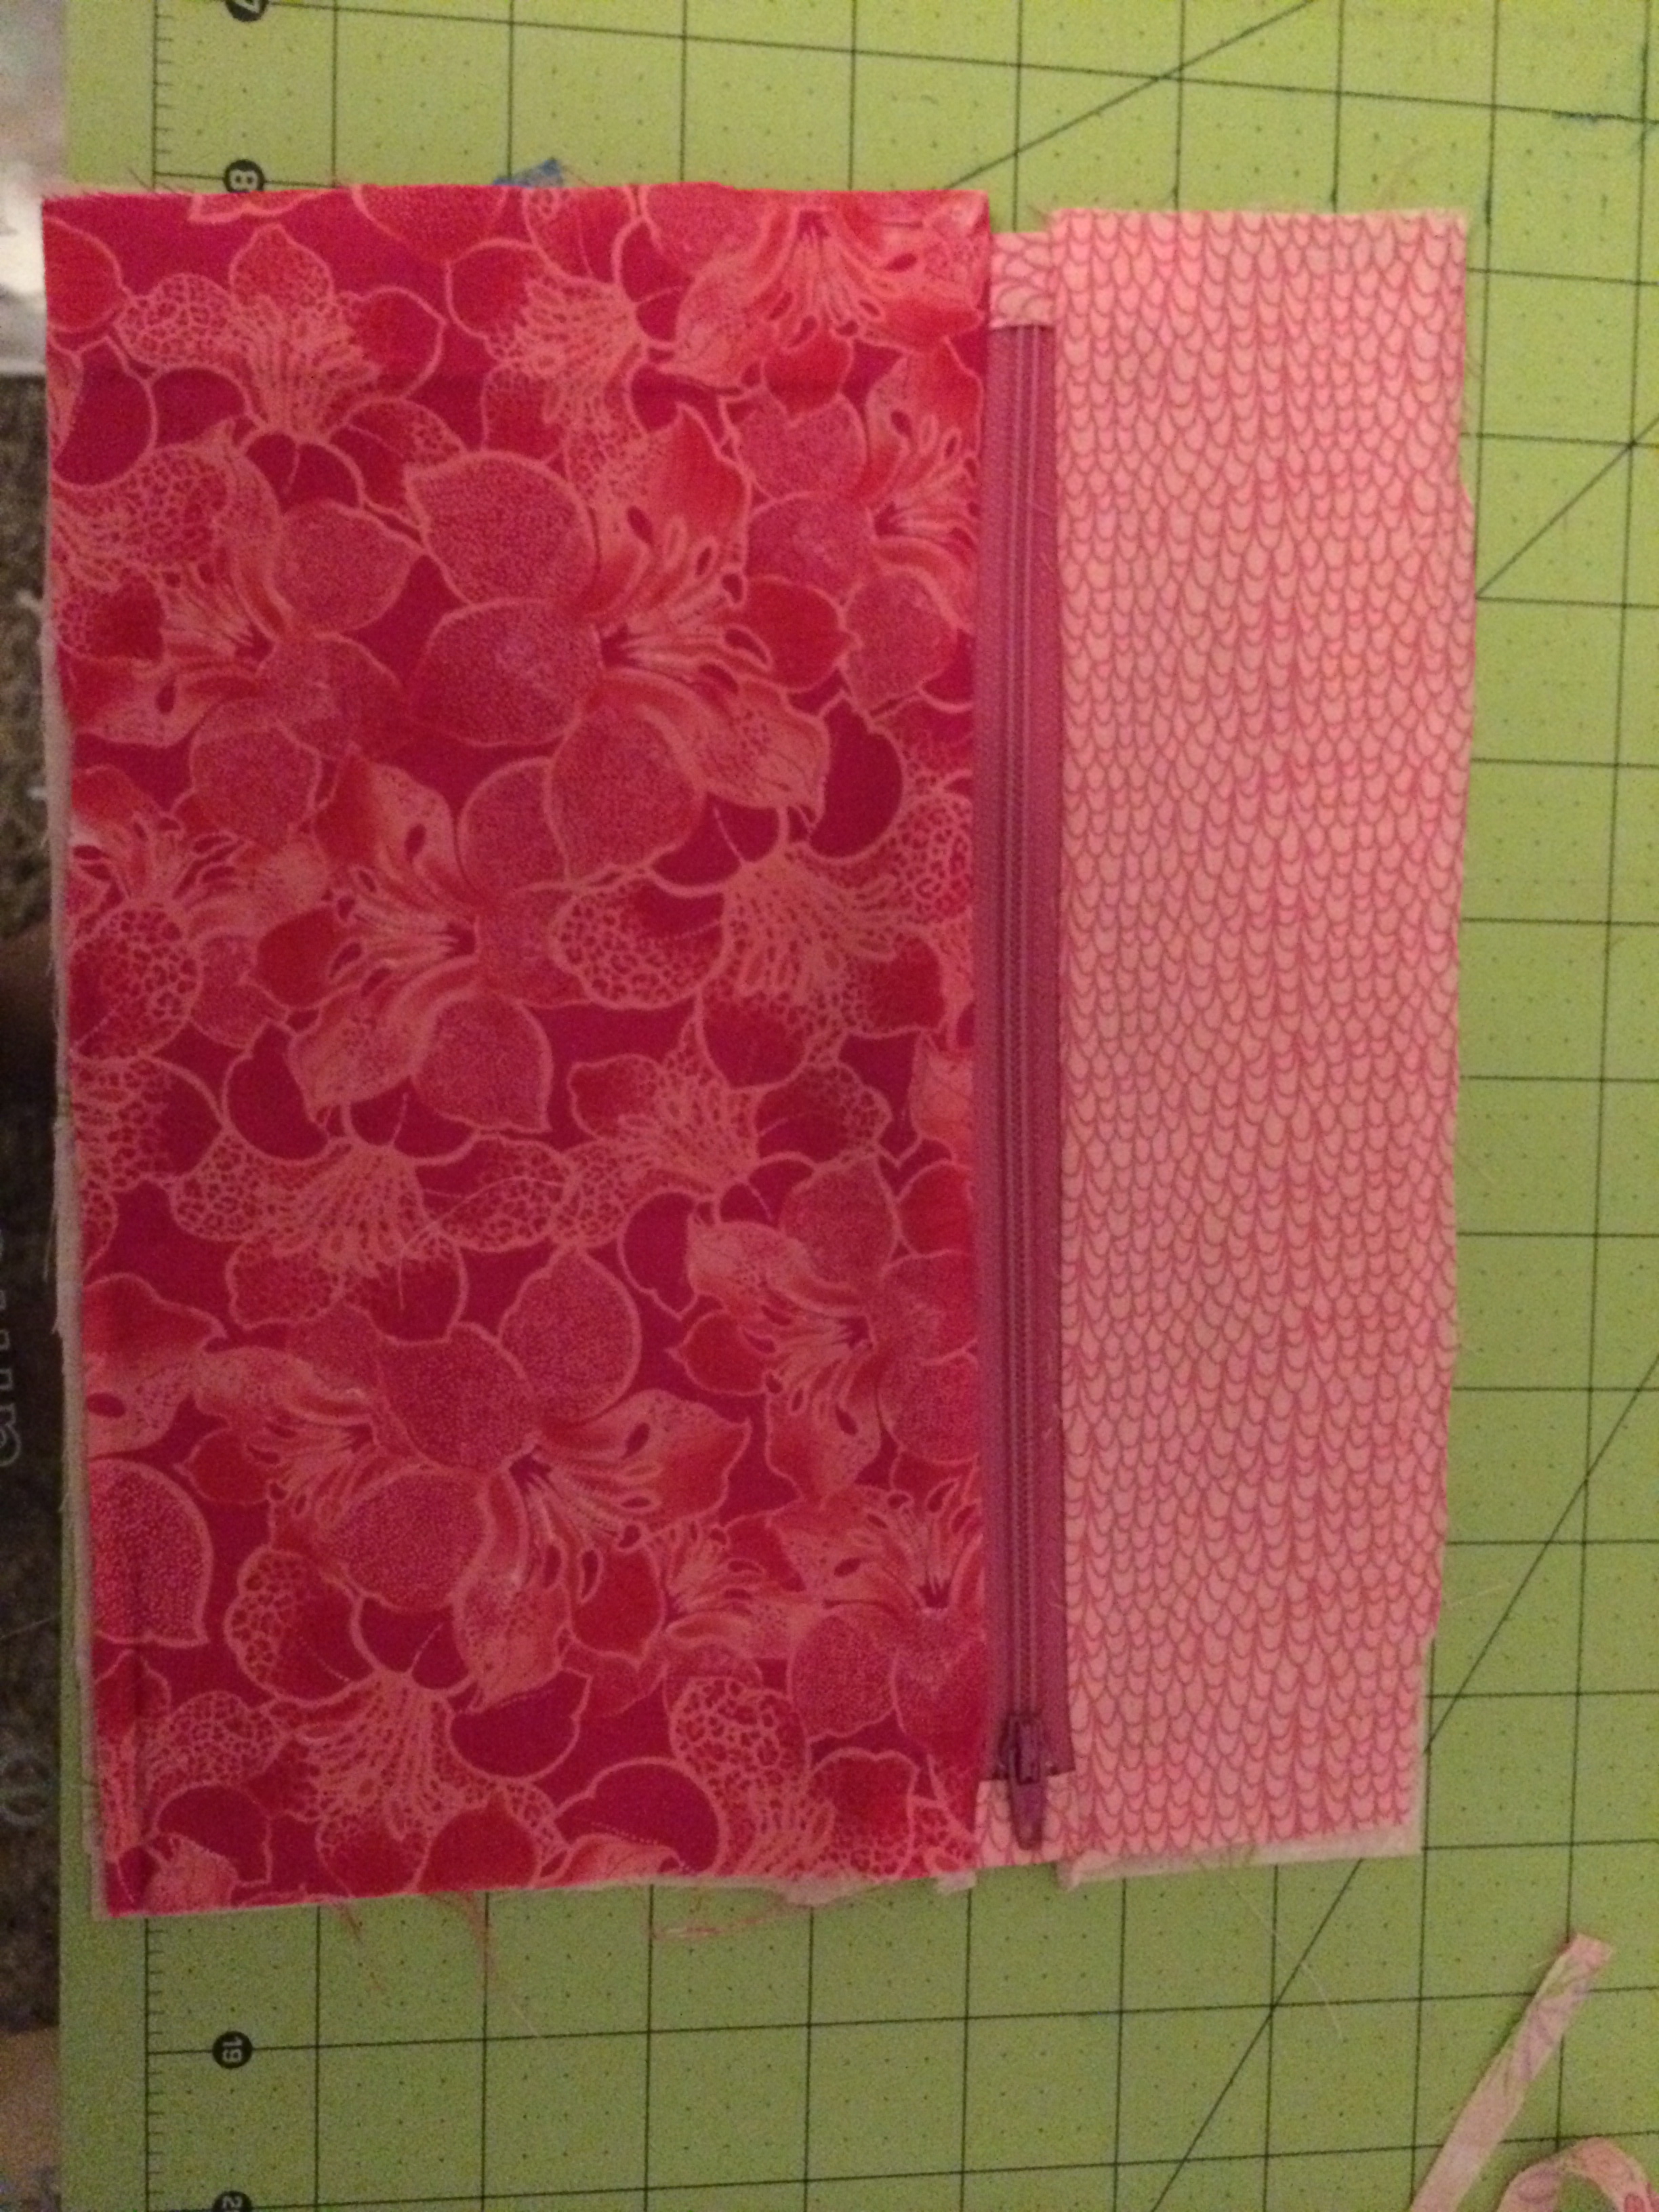

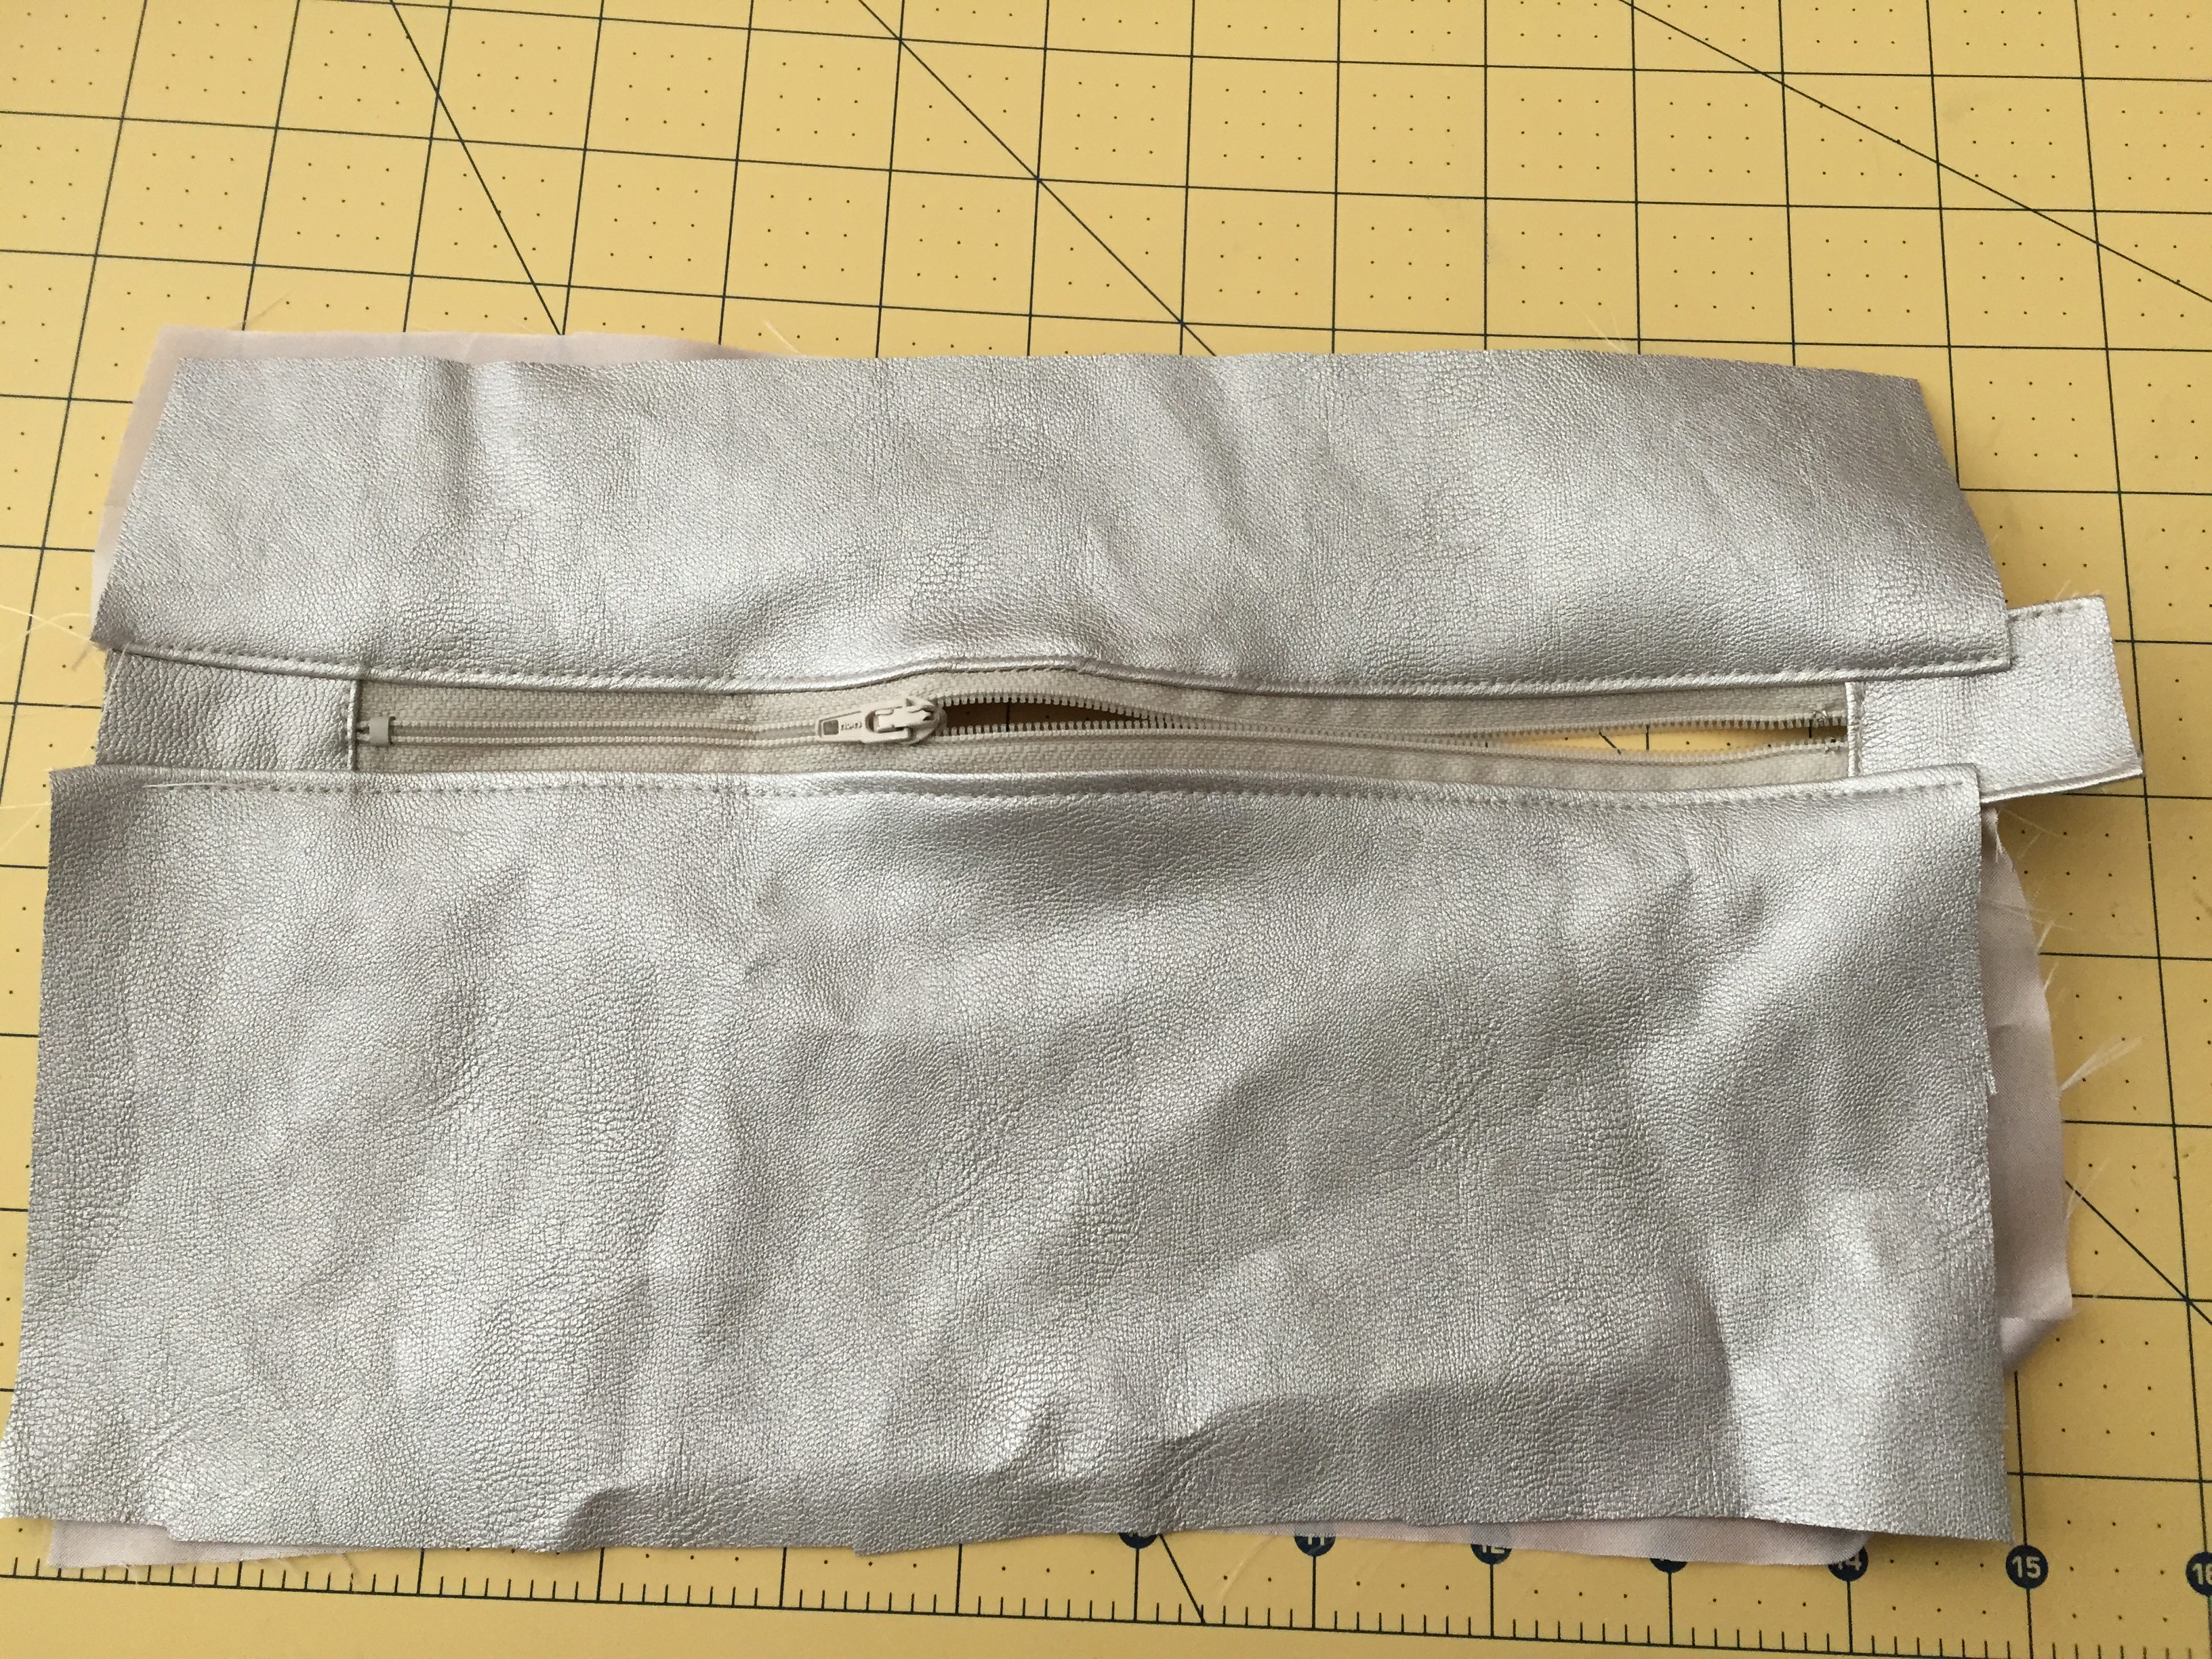
You can then top stitch around your zipper.
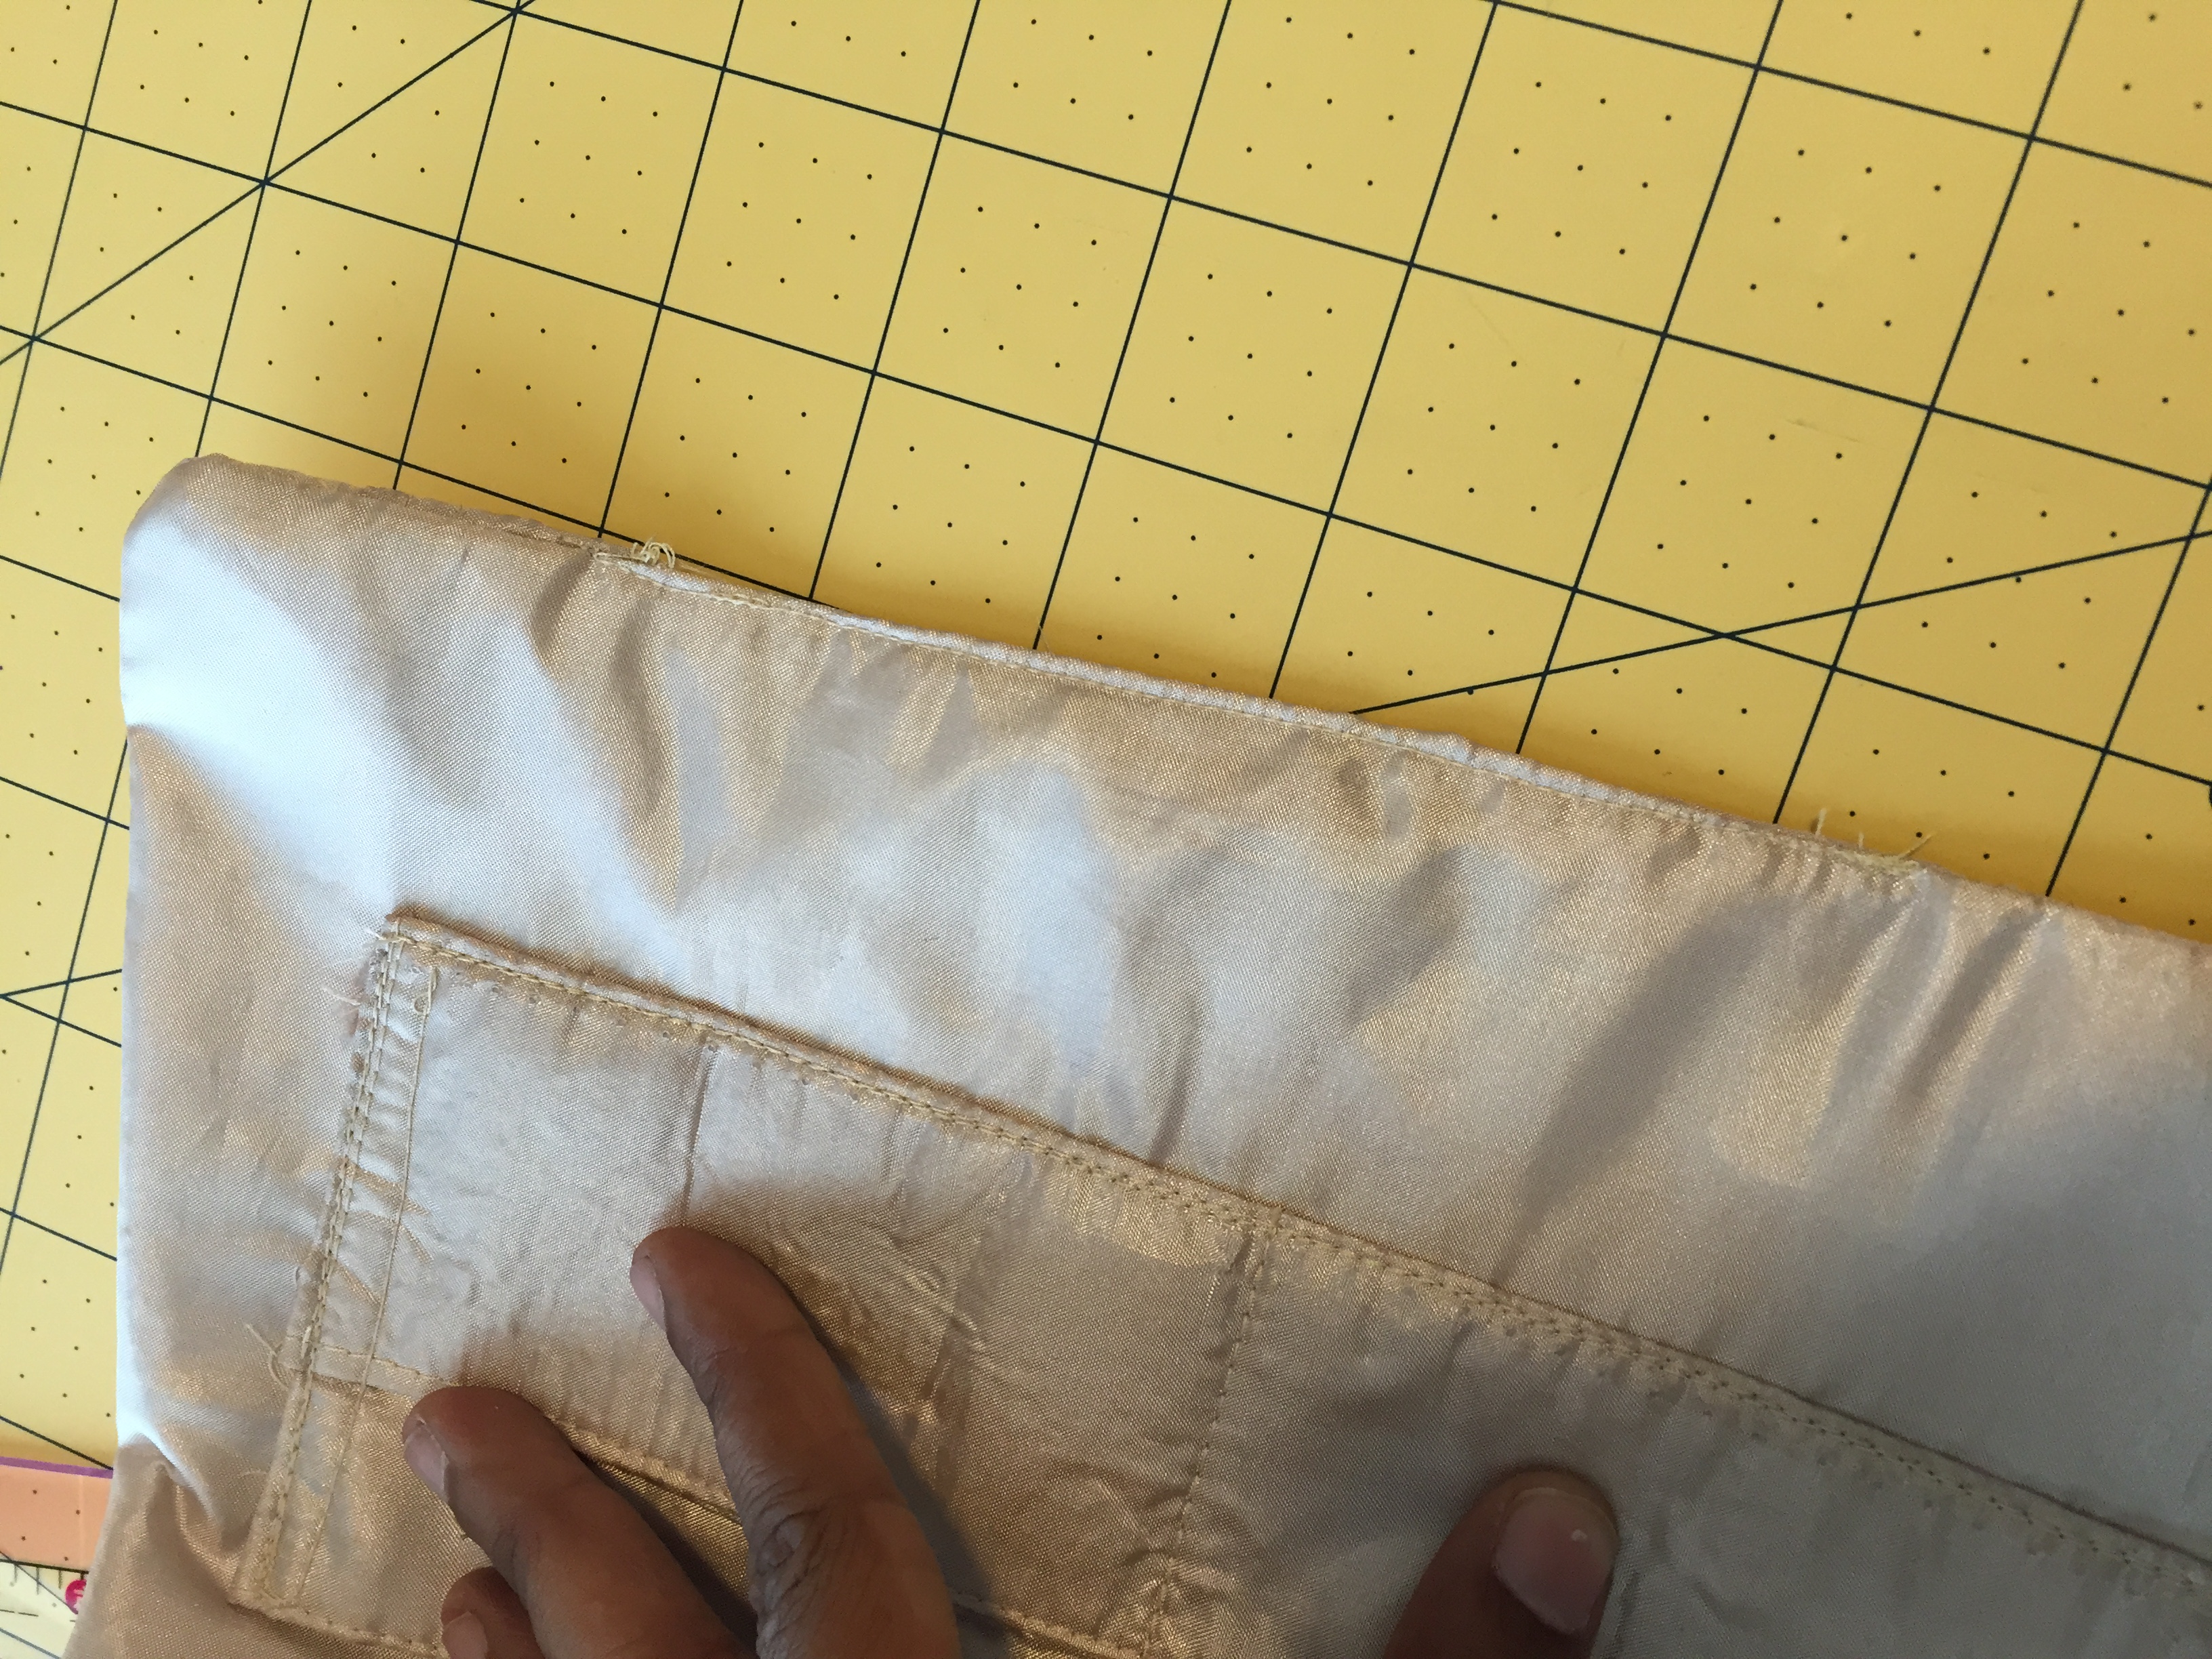
Inside Compartments
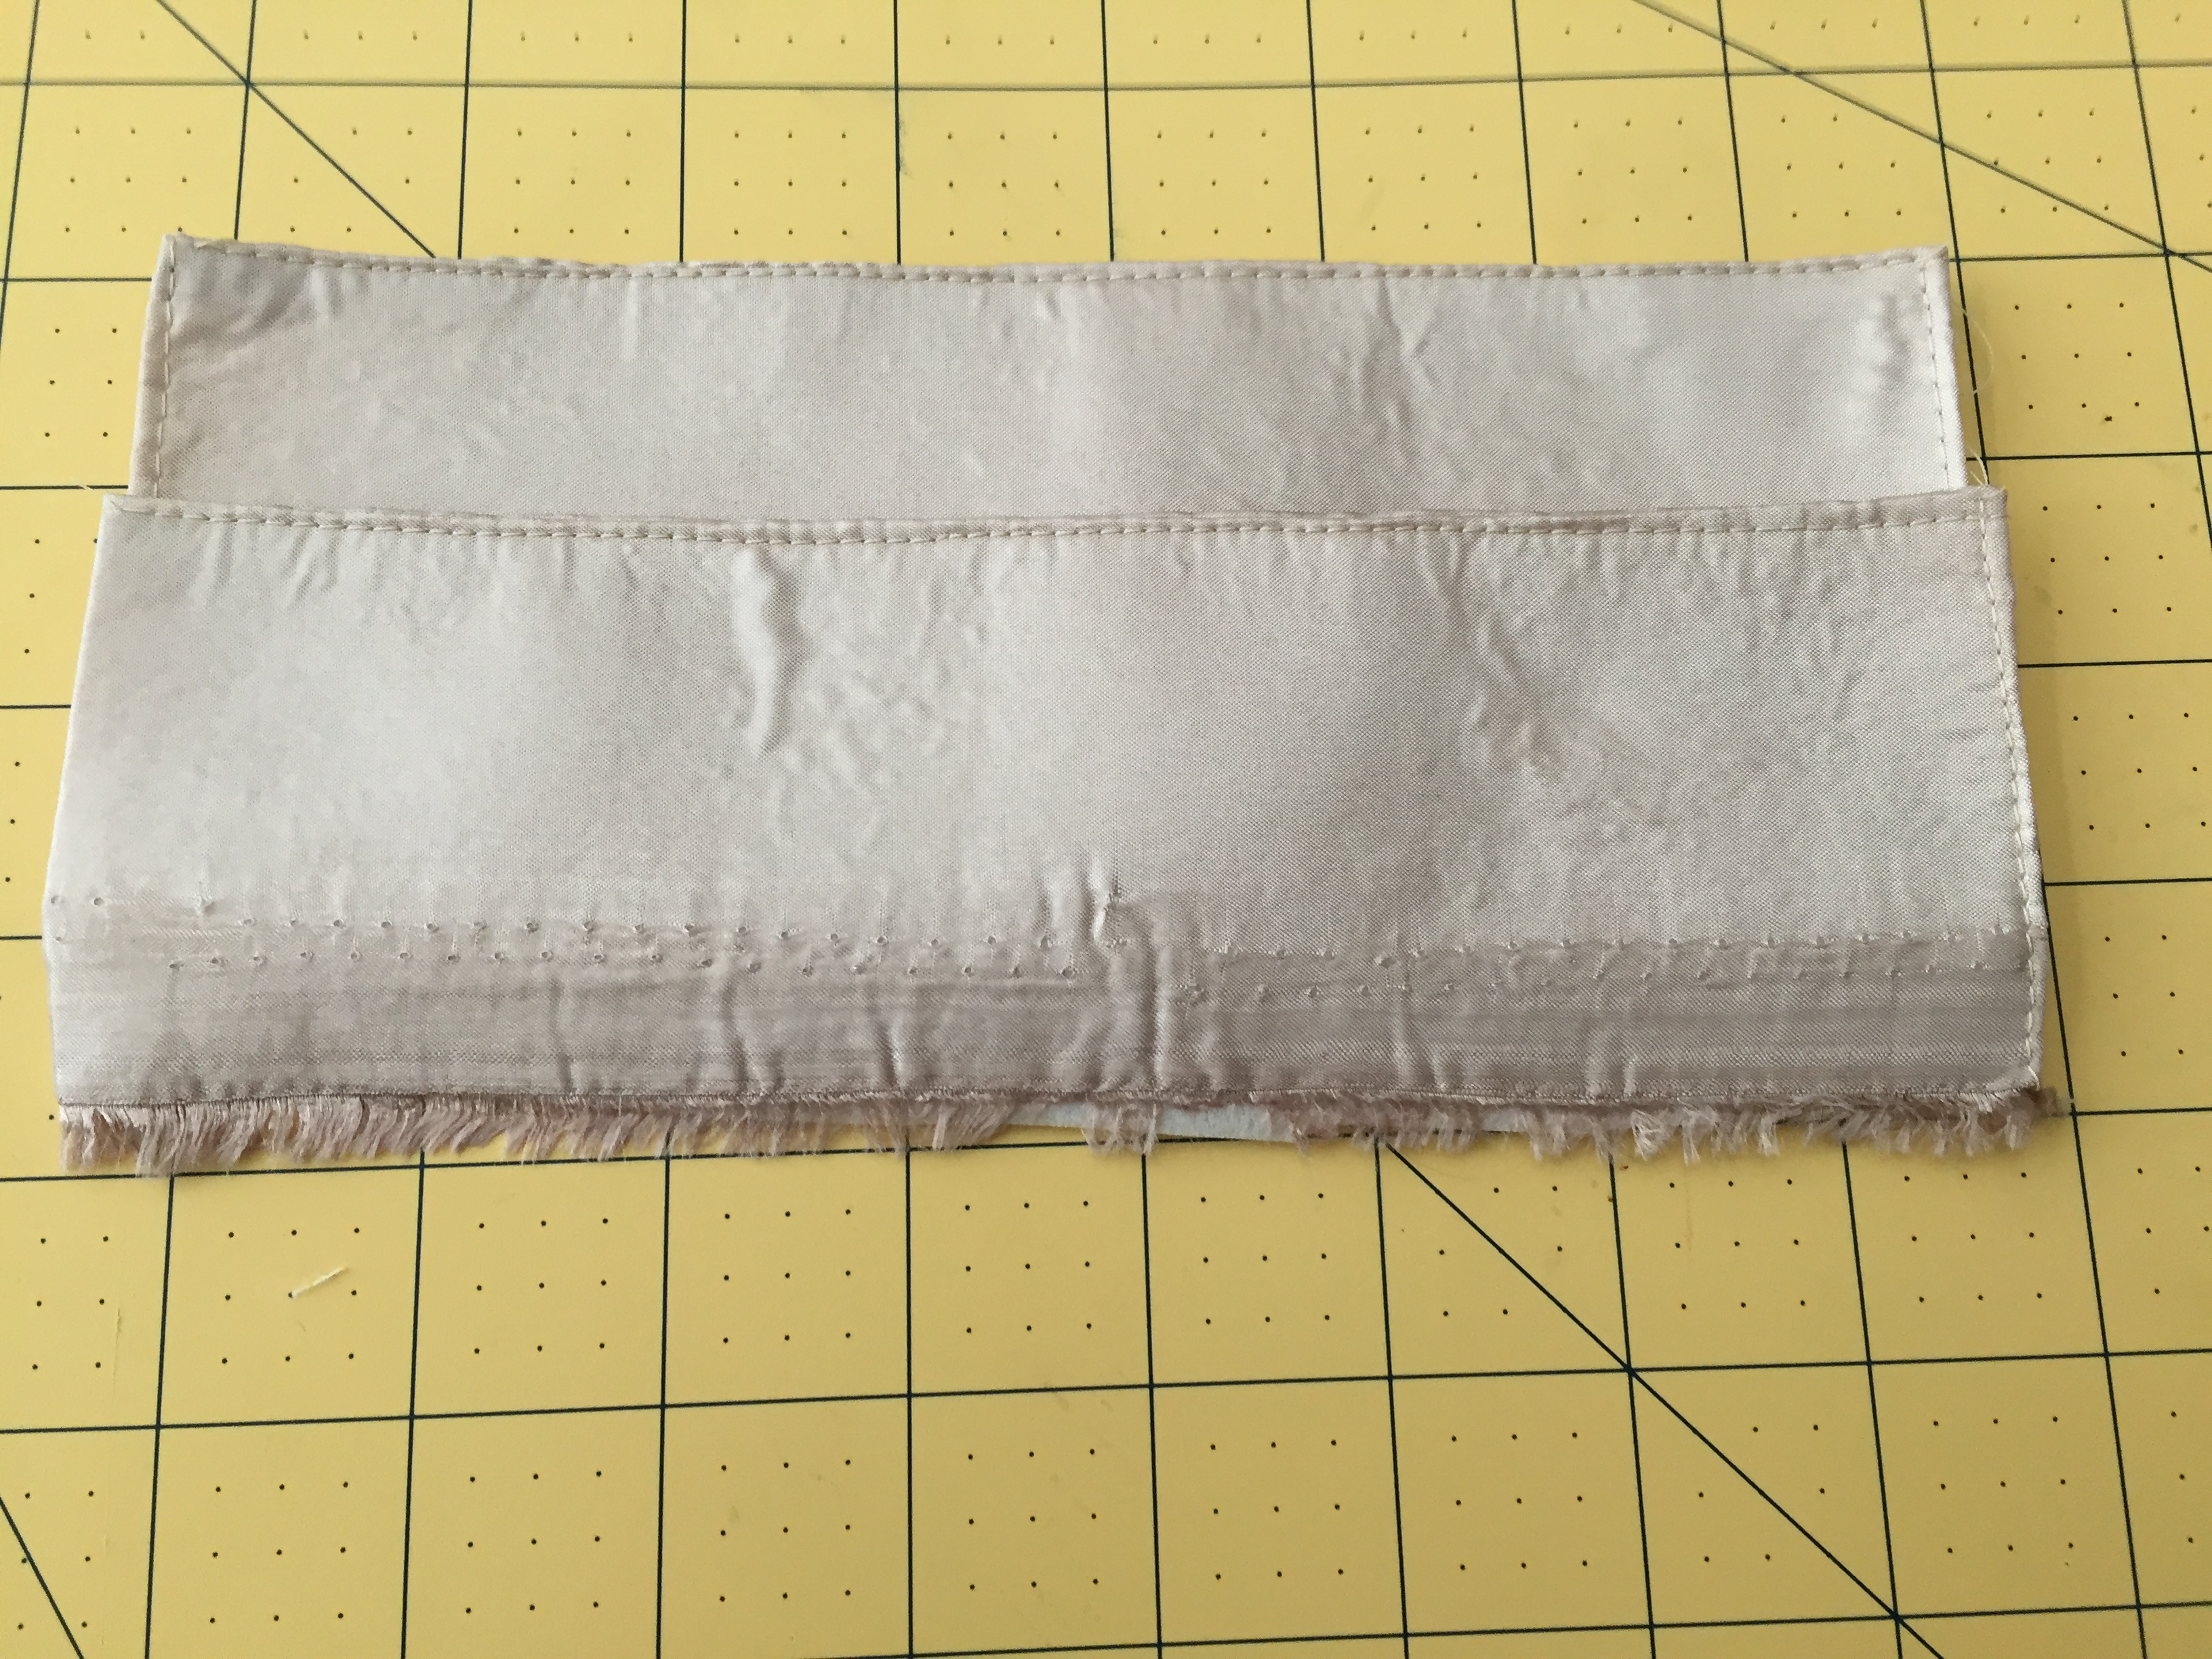
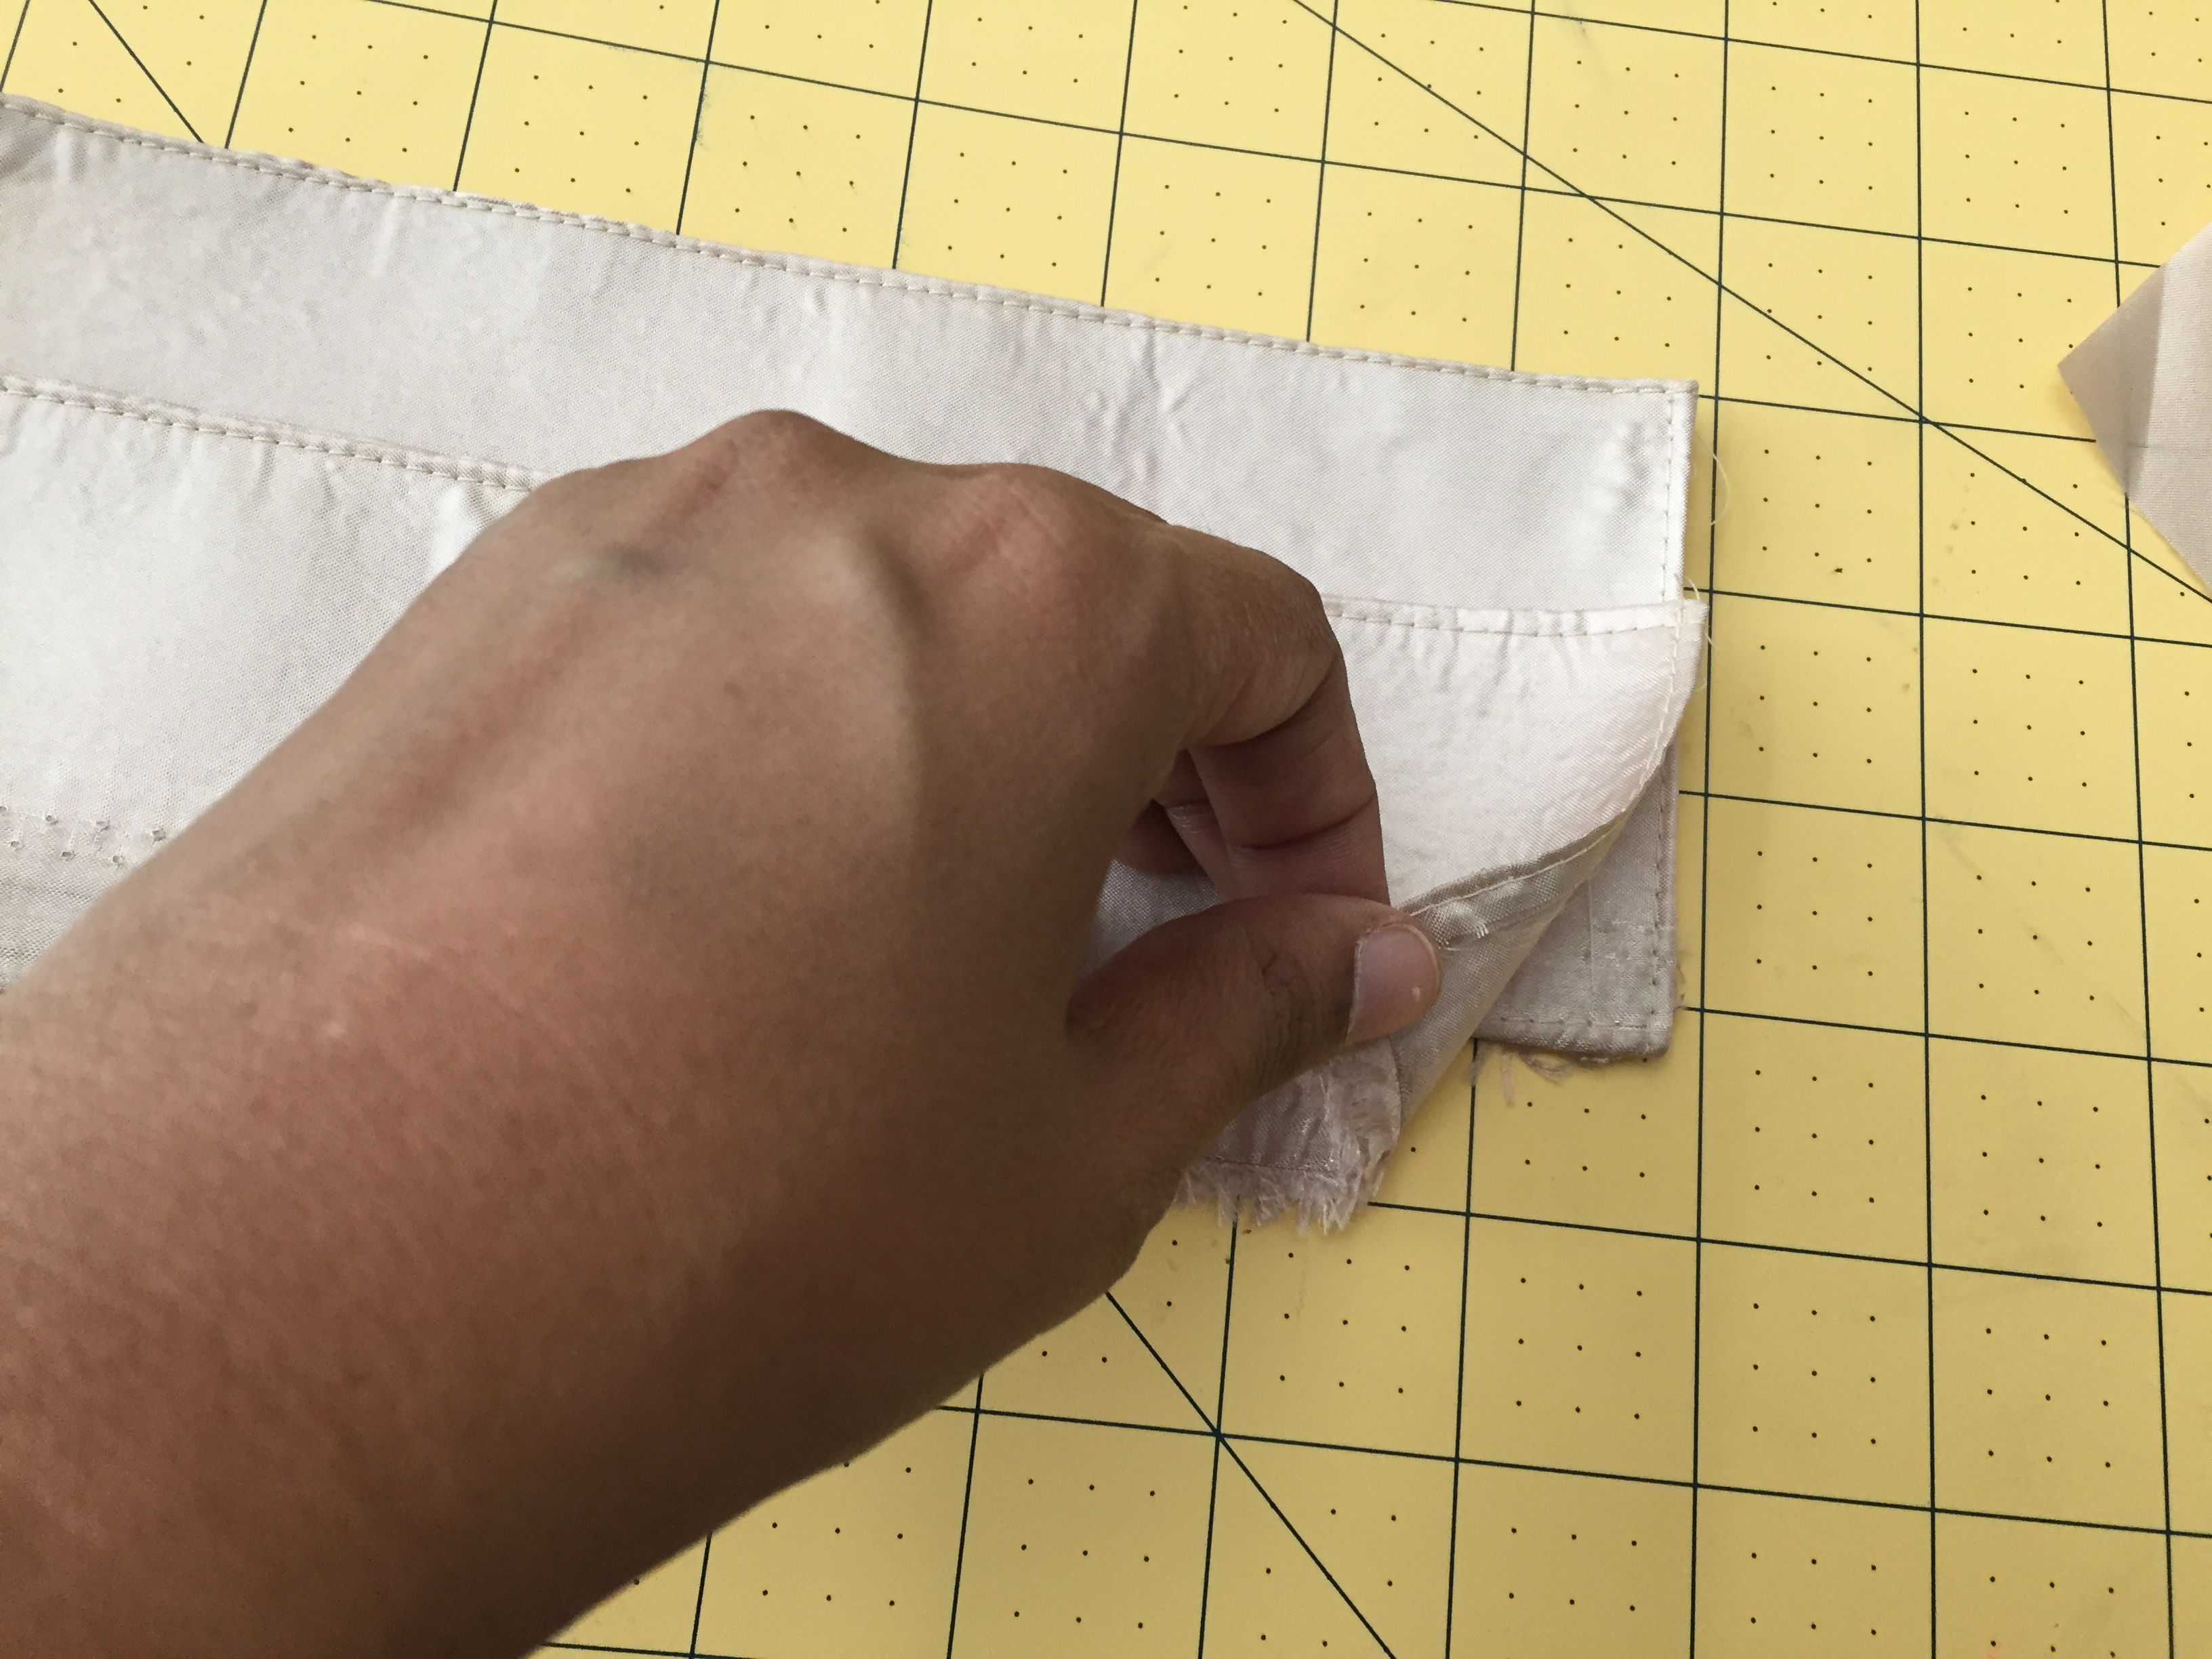
Take your 15″ strip of lining and iron on interfacing on one end. Fold it over and 1/4″ in all the way around then again 1/4″. Top stitch until you have a neat rectangle. Repeat for a second one.
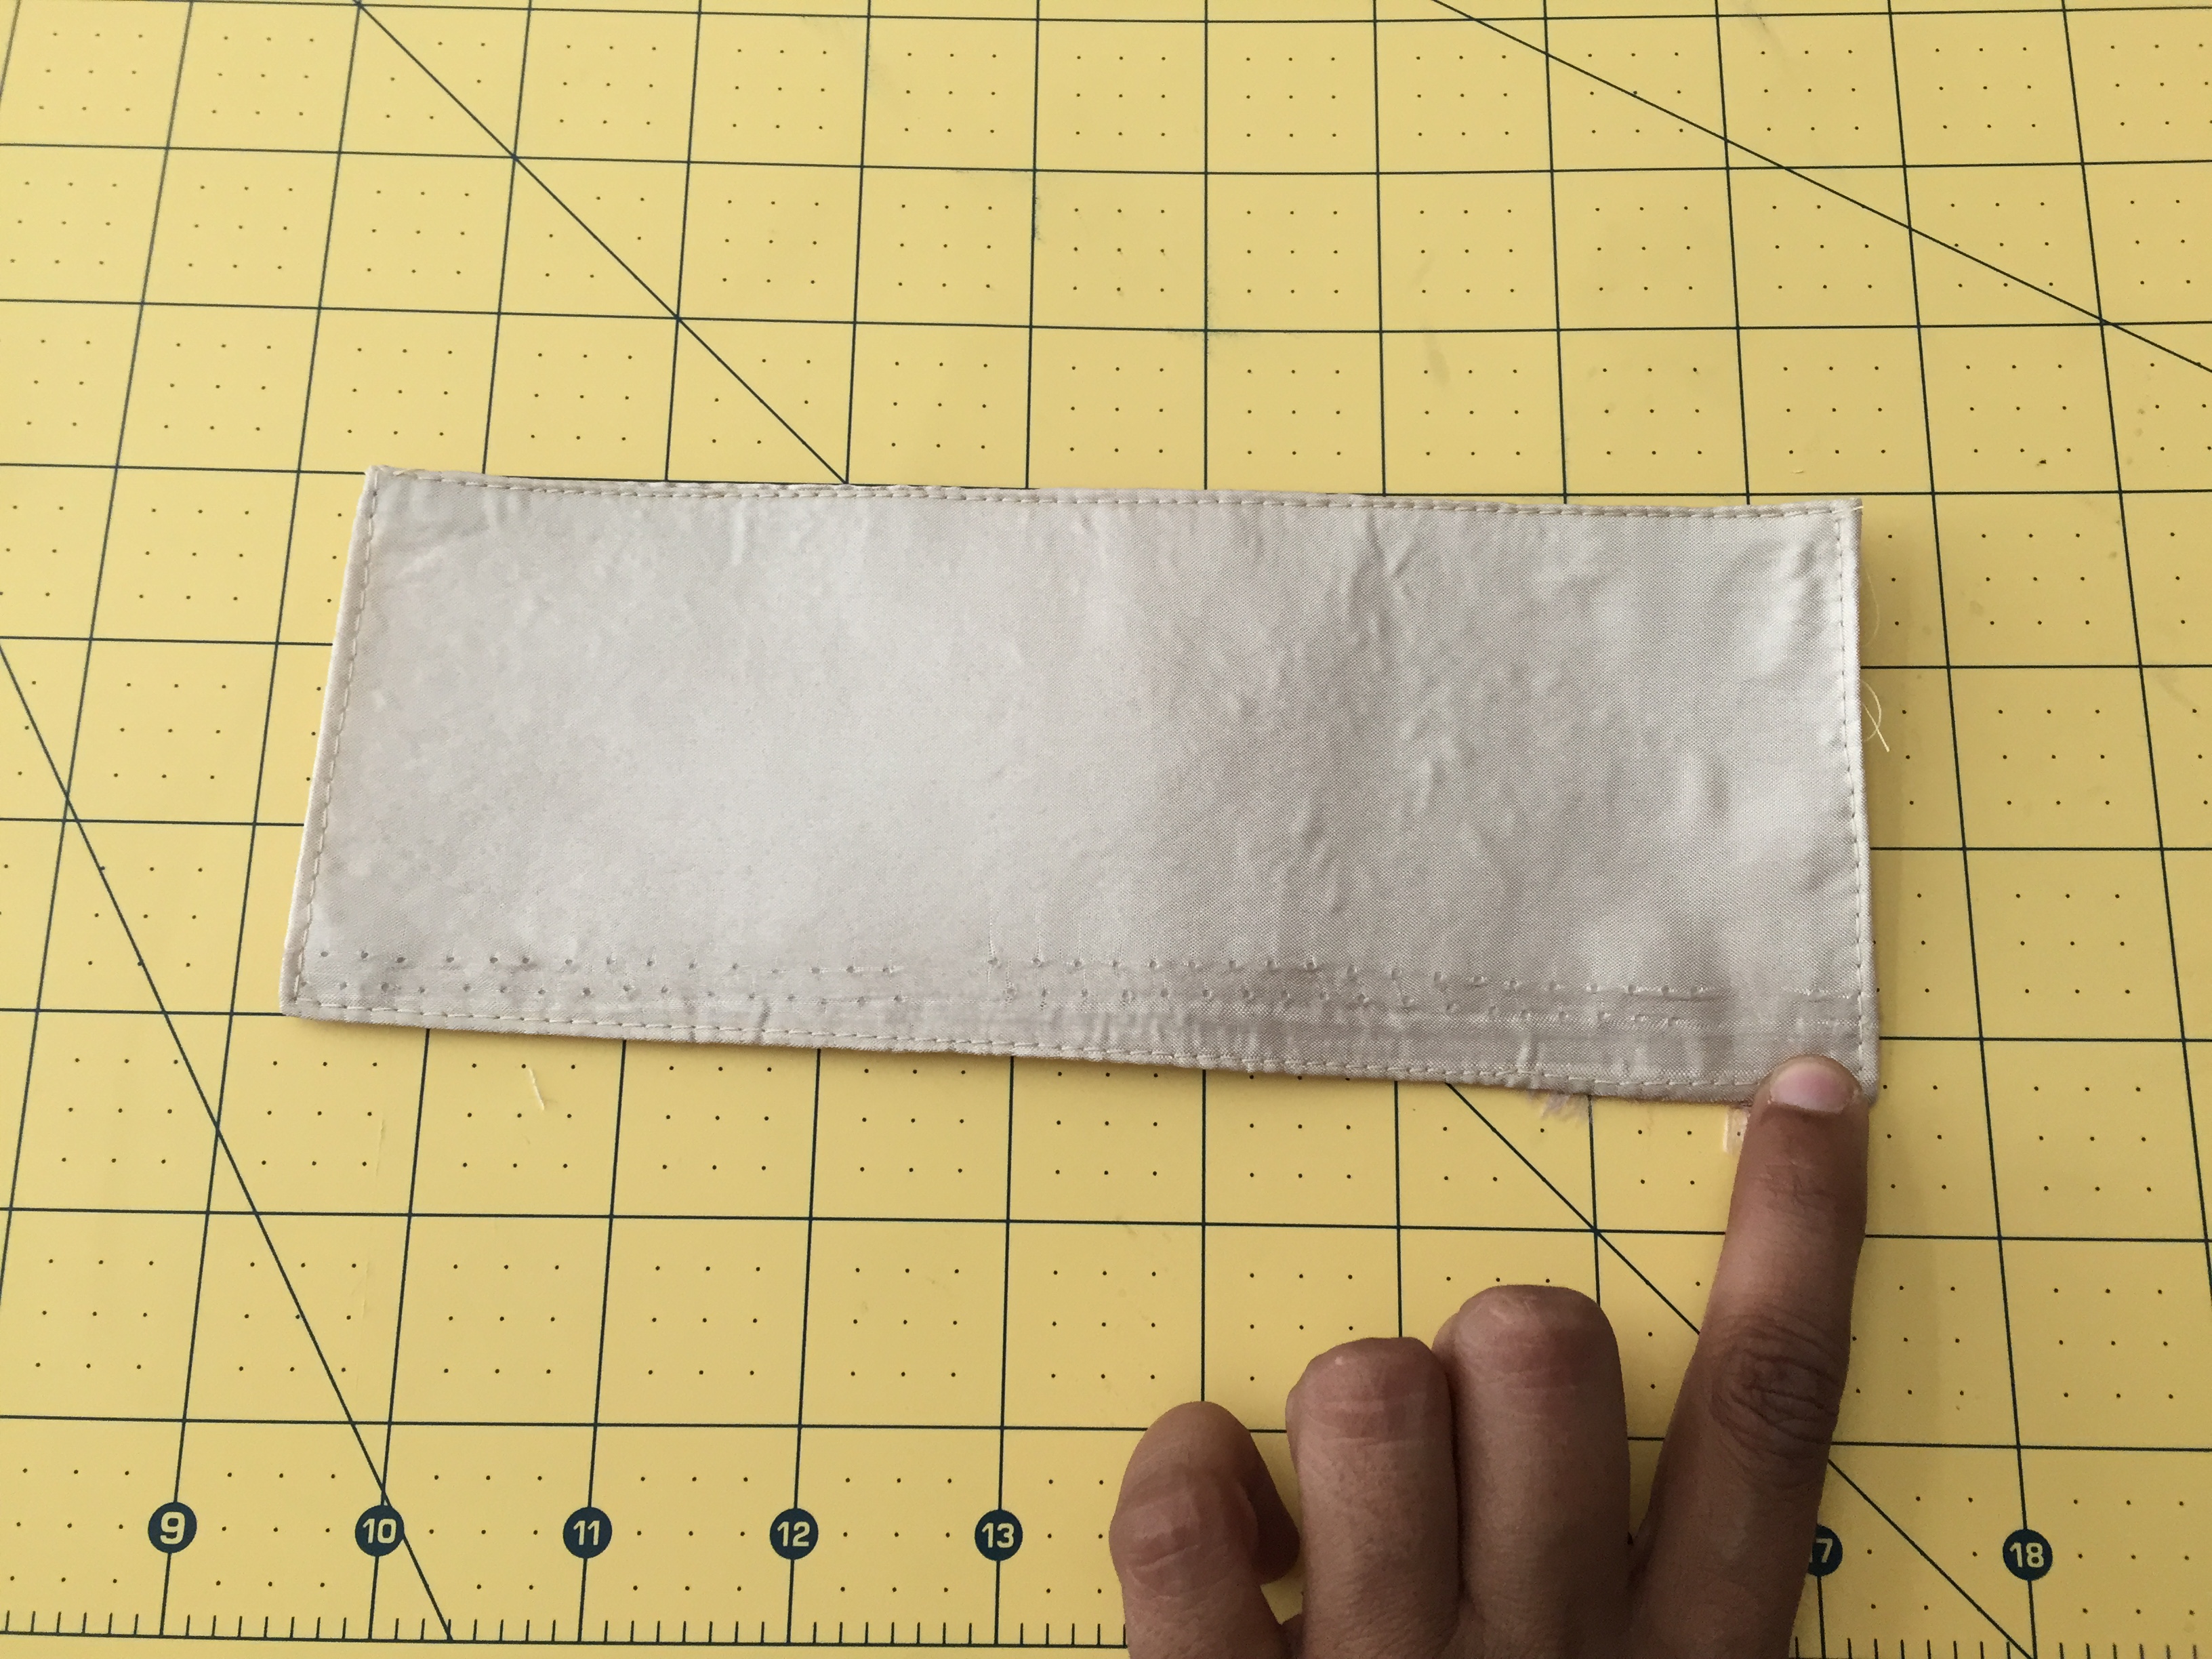
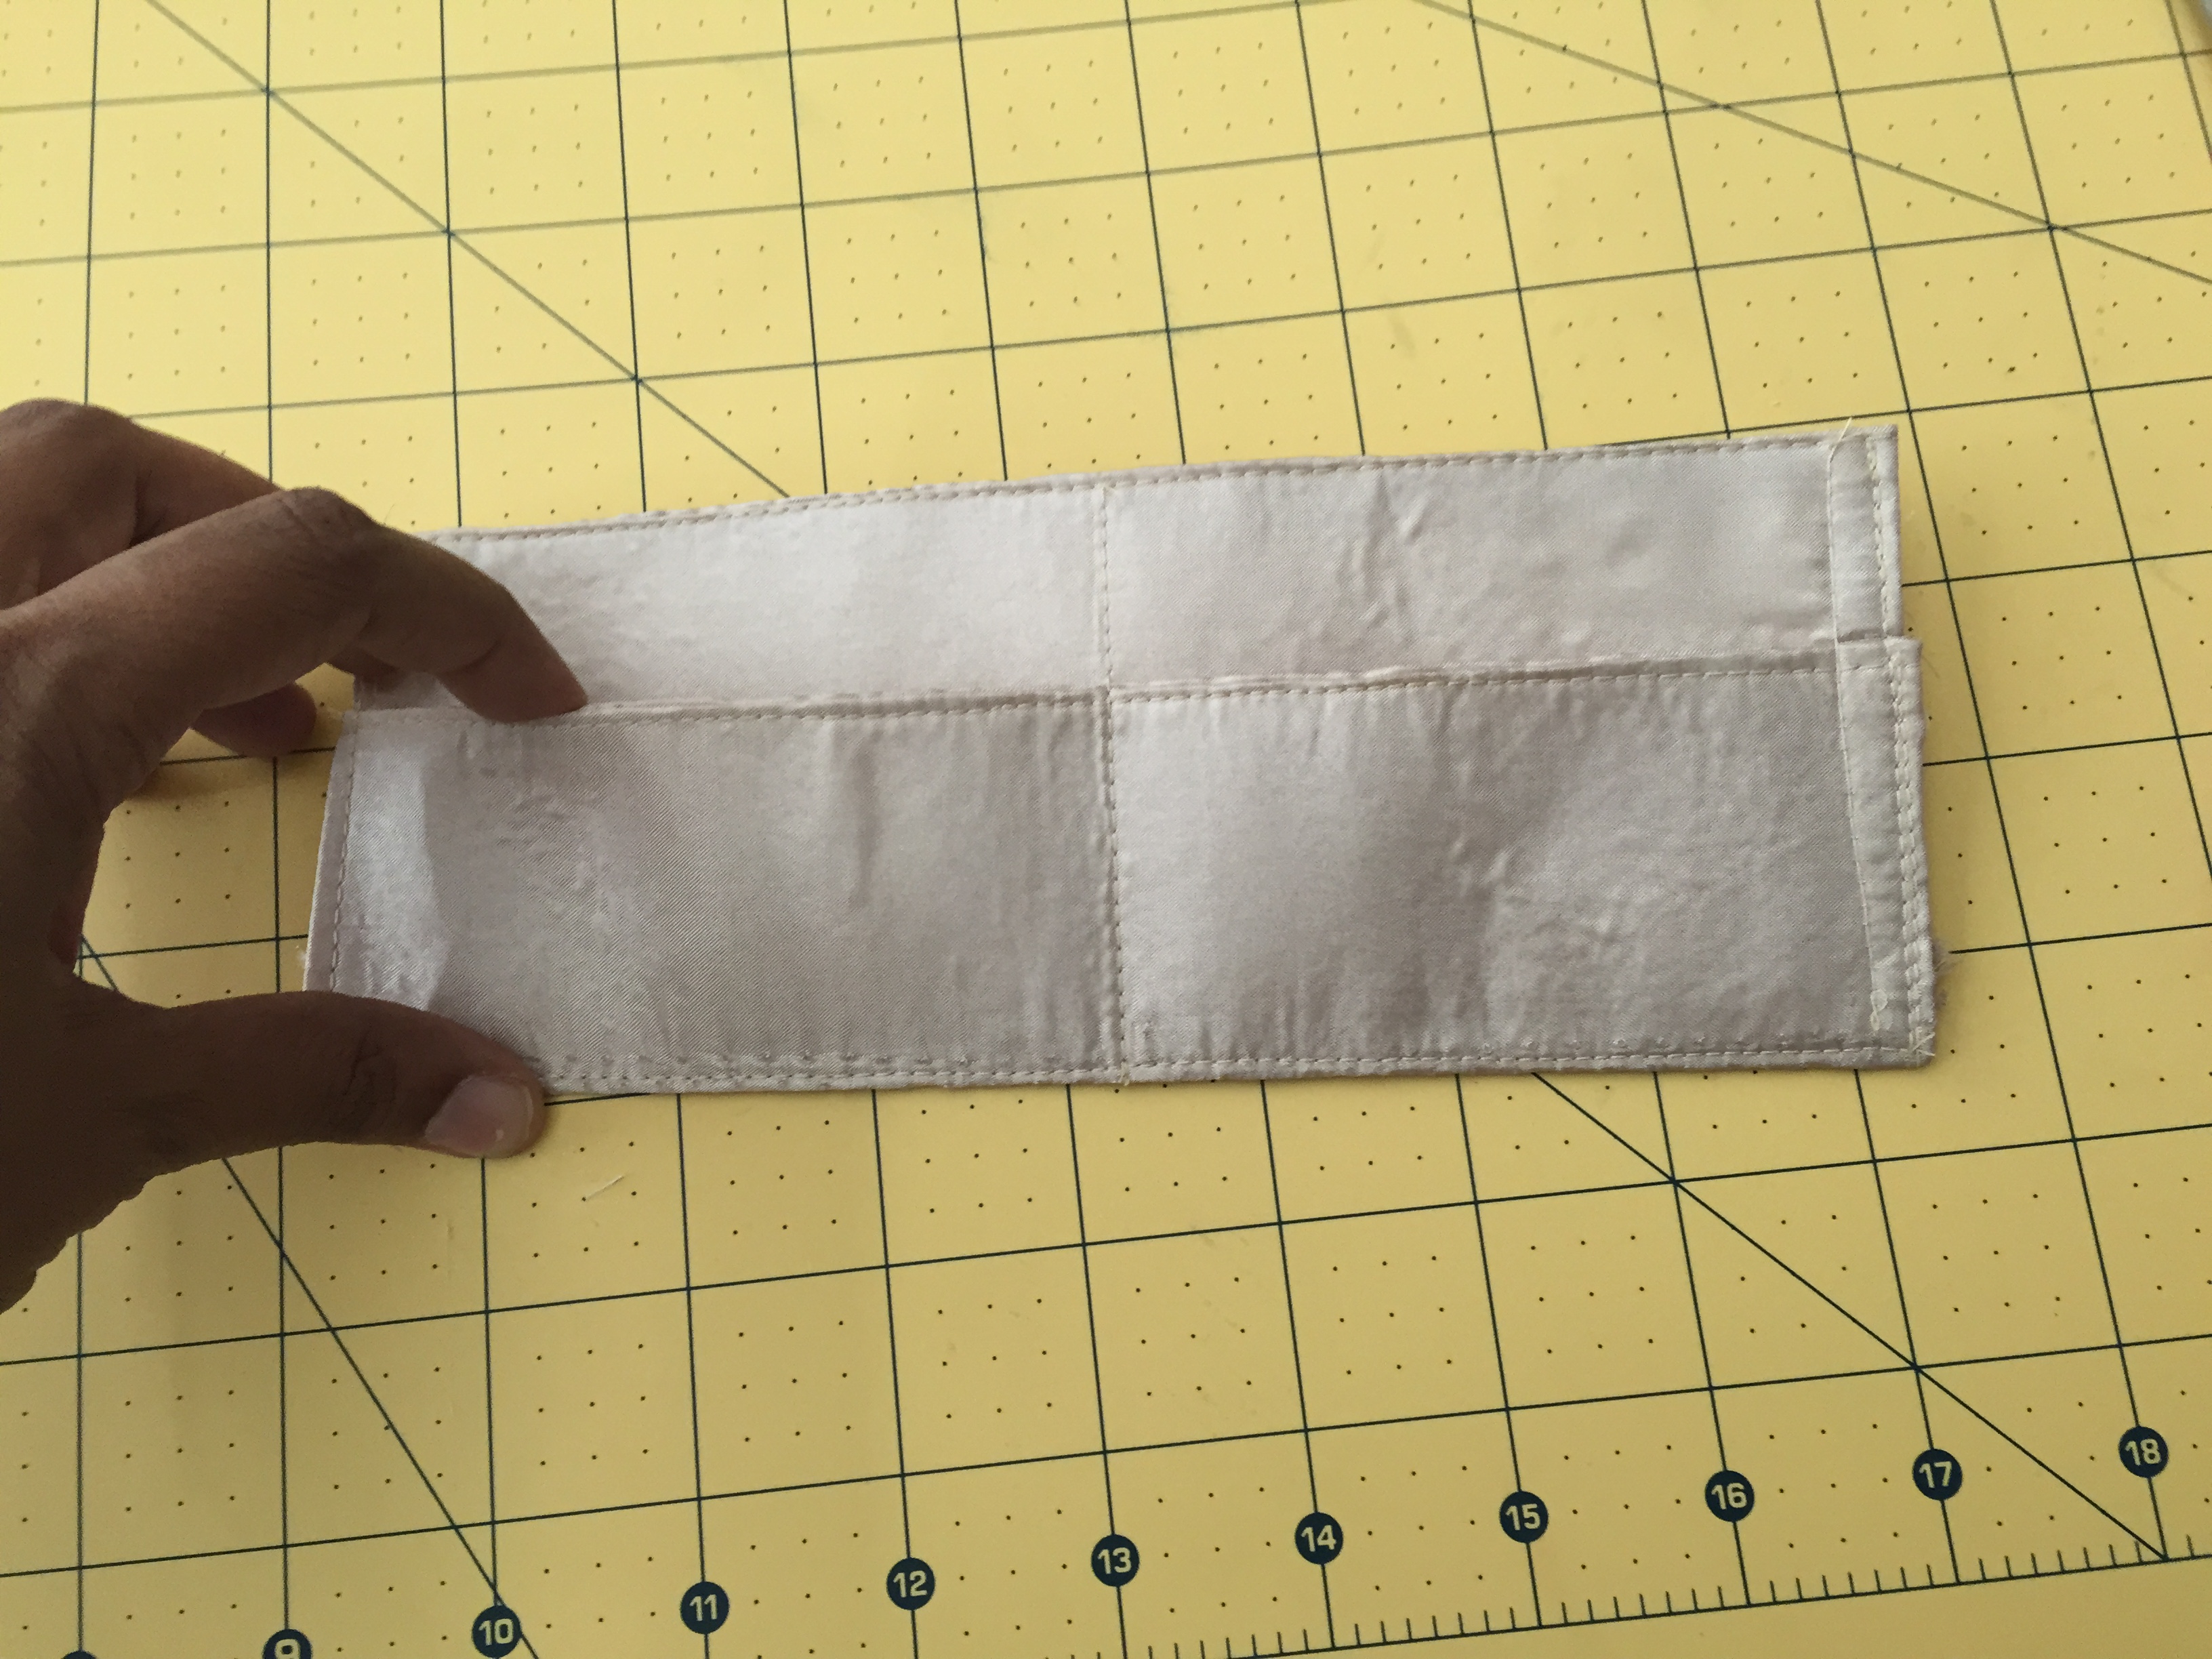
Please the two pieces together with the bottom on about 1″ left over at the bottom. Fold it over and sew.
 Sew a line in the middle.
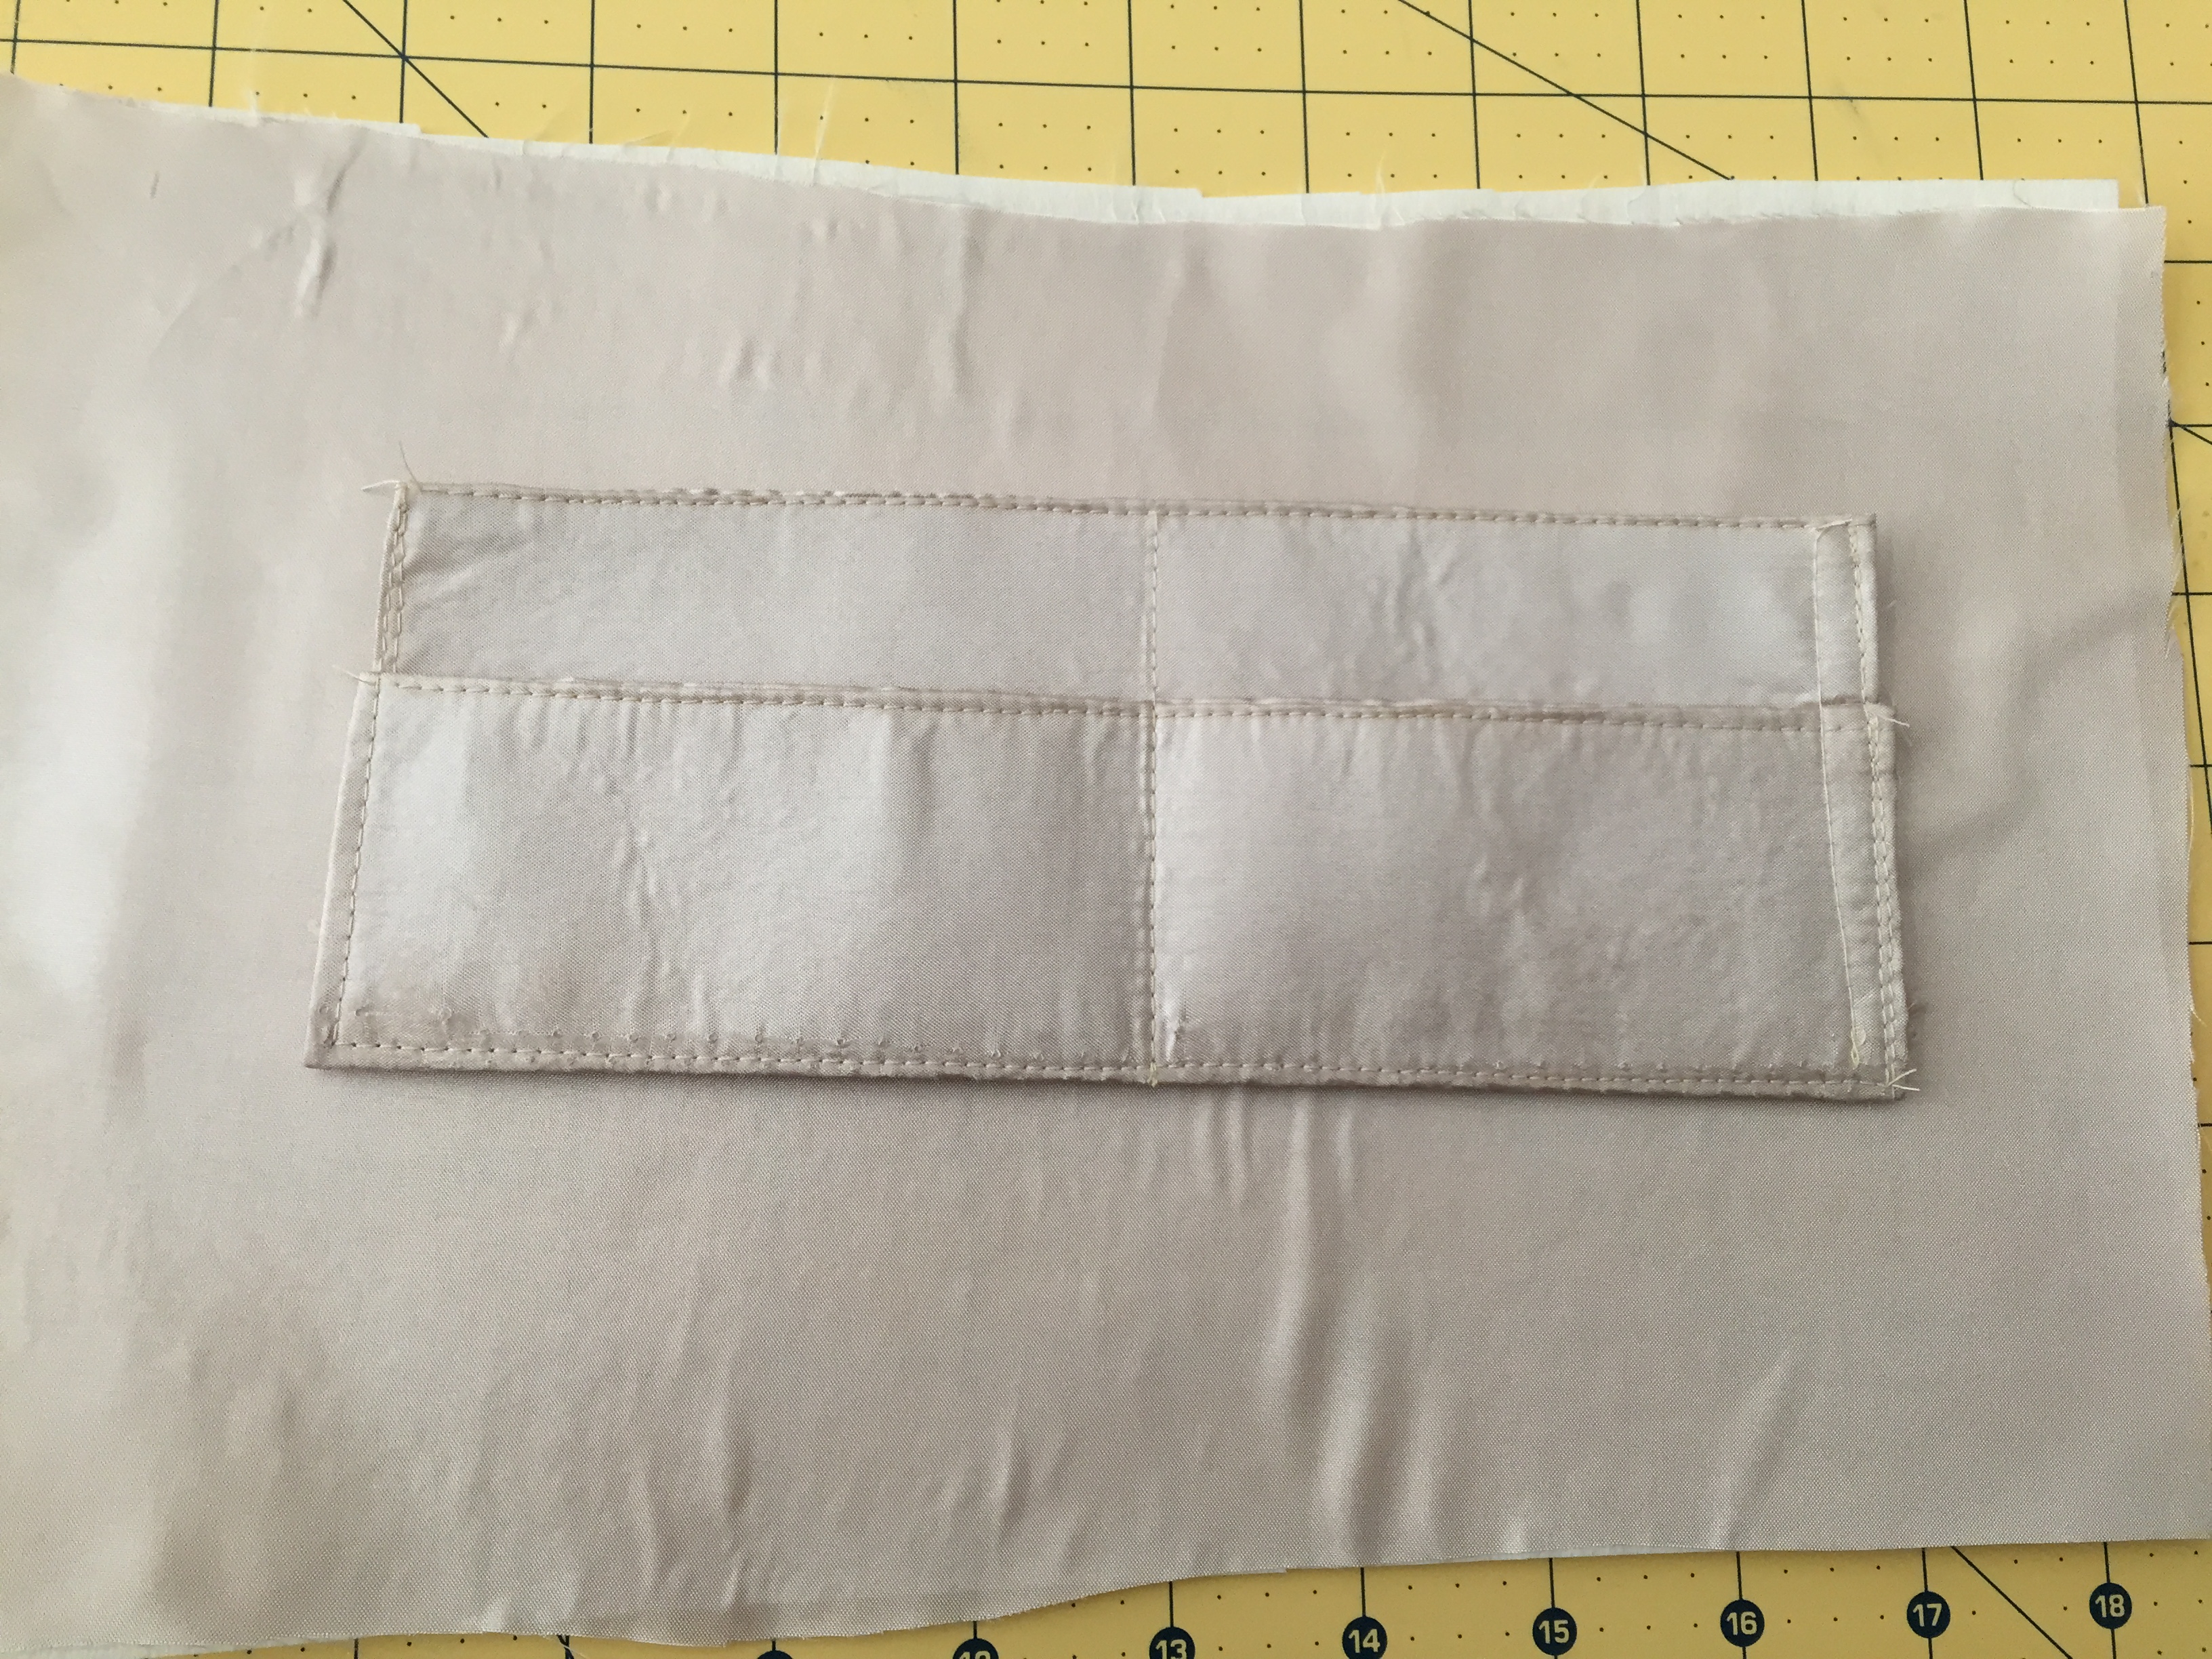
Take your new compartment piece and attach to the middle of the inside lining.
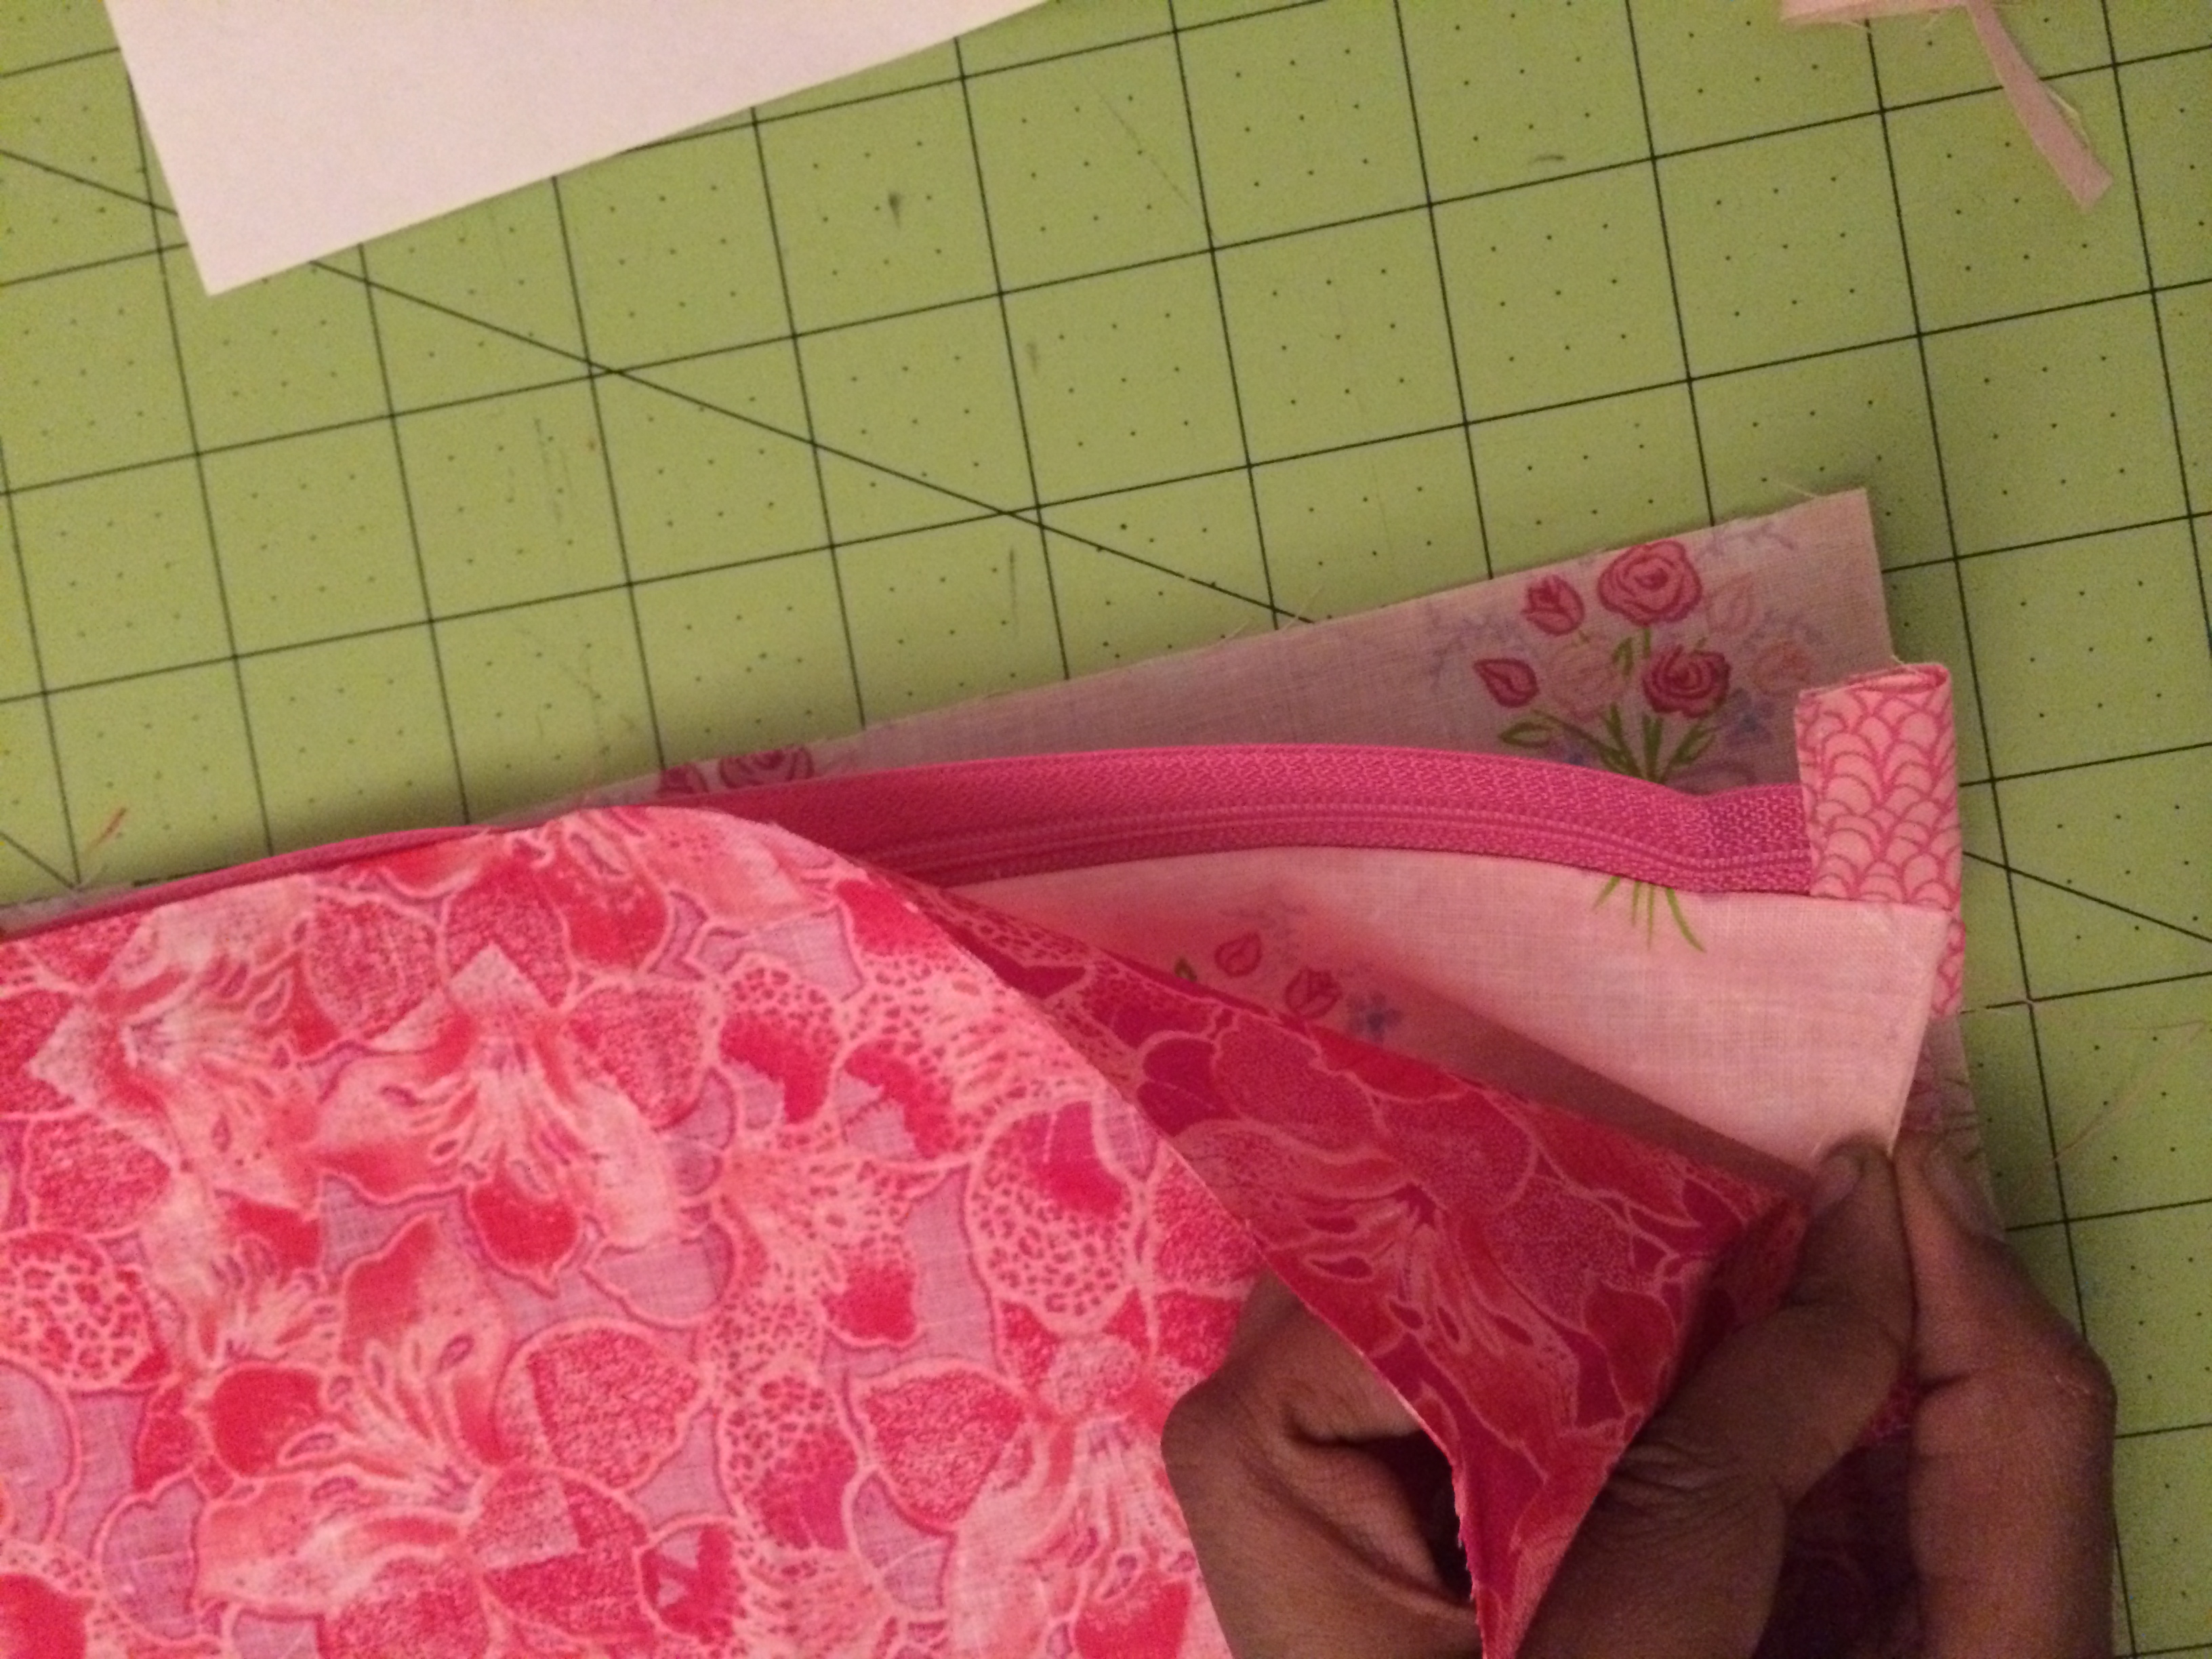
Back and Front Together
Take the back and lay it right side up, front with the zipper right side down, your pocket piece with front of the zipper right side up and then your pocket lining piece right side down. The picture below is missing the top zipper but you would lay it facing up on the back.
Next, you would repeat for the other side of the zipper.
Next, align everything and cut neatly all the way around.

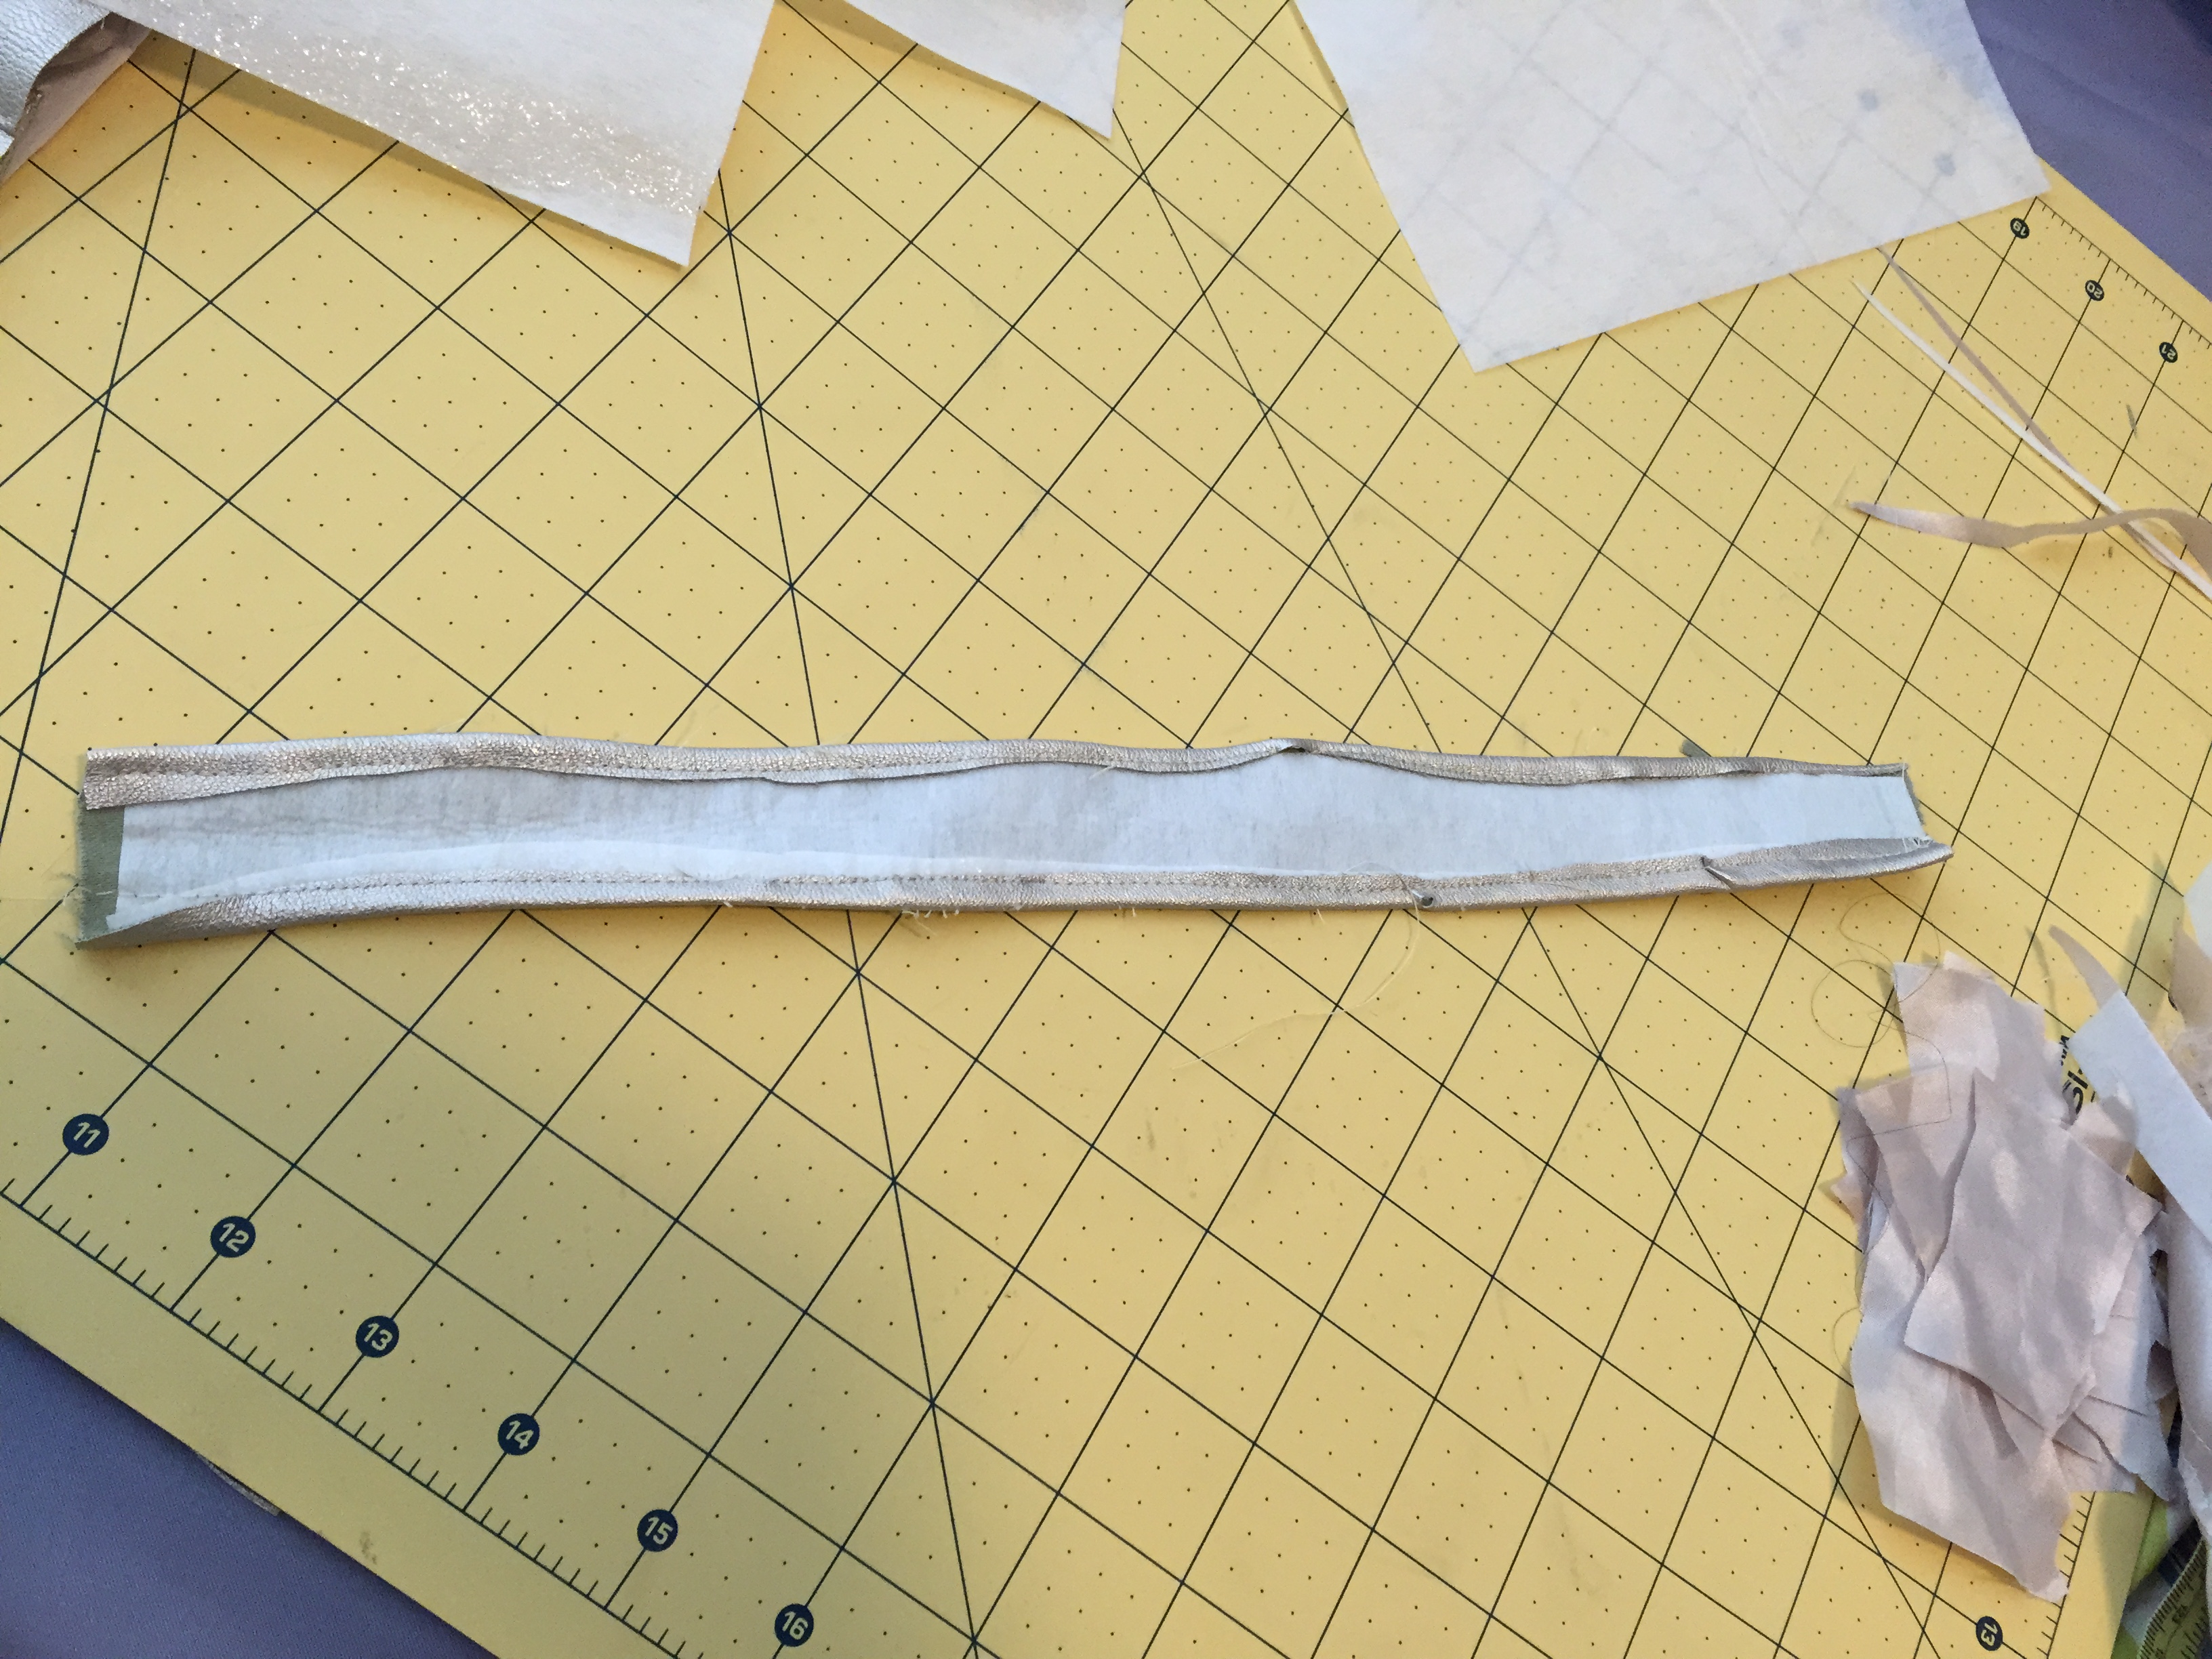
Next, make your straps: take a small strip of leather, 2″ x 12″, iron on interfacing inside. Fold over the inside ends and then top stitch.

Cut a small piece of your strap and pin on the side of your clutch.

Next, sew the lining pieces to the front pieces, leaving a 5″ opening. Turn inside out and top stitch the opening closed.
Take your straps and pass it through the tube your attached earlier and sew closed.
That’s it!

Thanks for visiting and Happy Sewing!