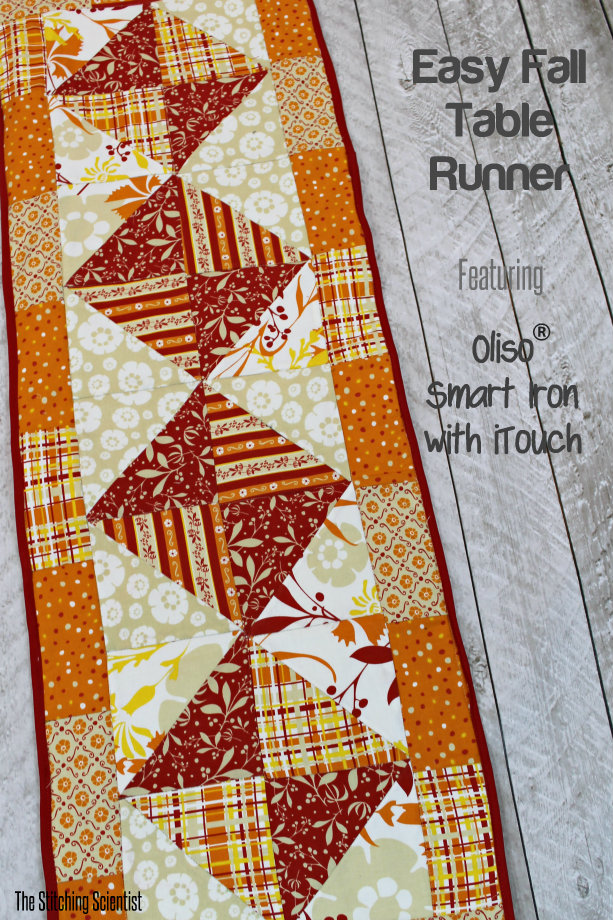
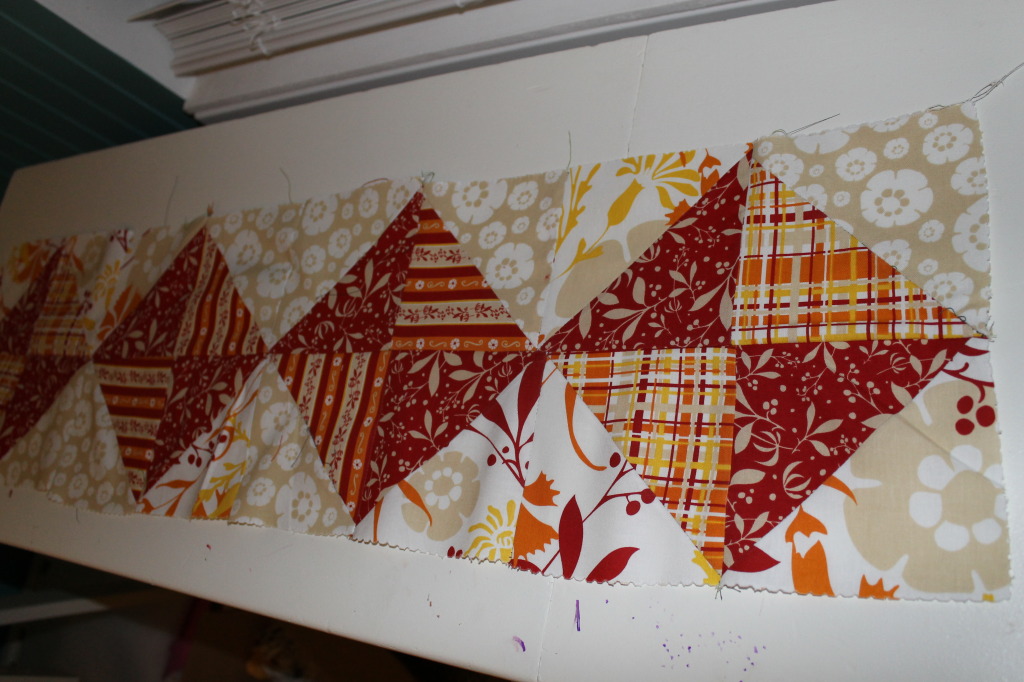
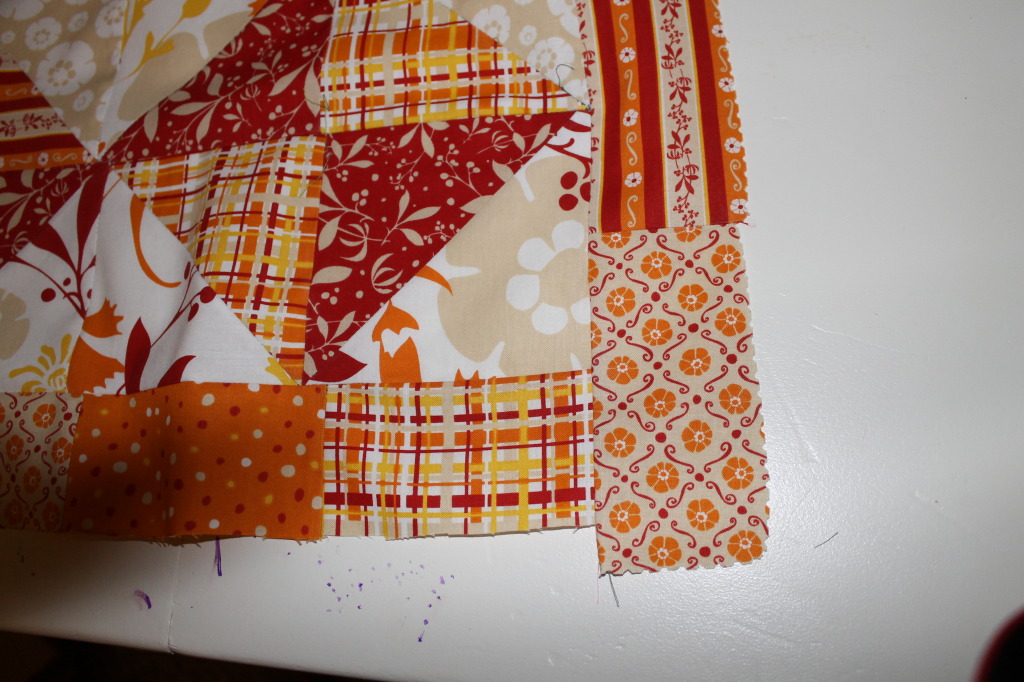
I am so excited to share with you this easy tutorial for a simple fall theme inspired table runner. Today’s tutorial and pattern features the amazing Smart Iron with iTouch® Technology from Oliso®. Working with this iron for the first time felt like my first experience going from my old flip phone to my iPhone. I am officially hooked and doubt that I will ever go back to my old iron. The table runner is a simple half square triangle (HST) center running with patches of strips on the sides. Its is a perfect beginner pattern that will look stunning on your dining room table. I hope you guys enjoy the tutorial and free pattern!
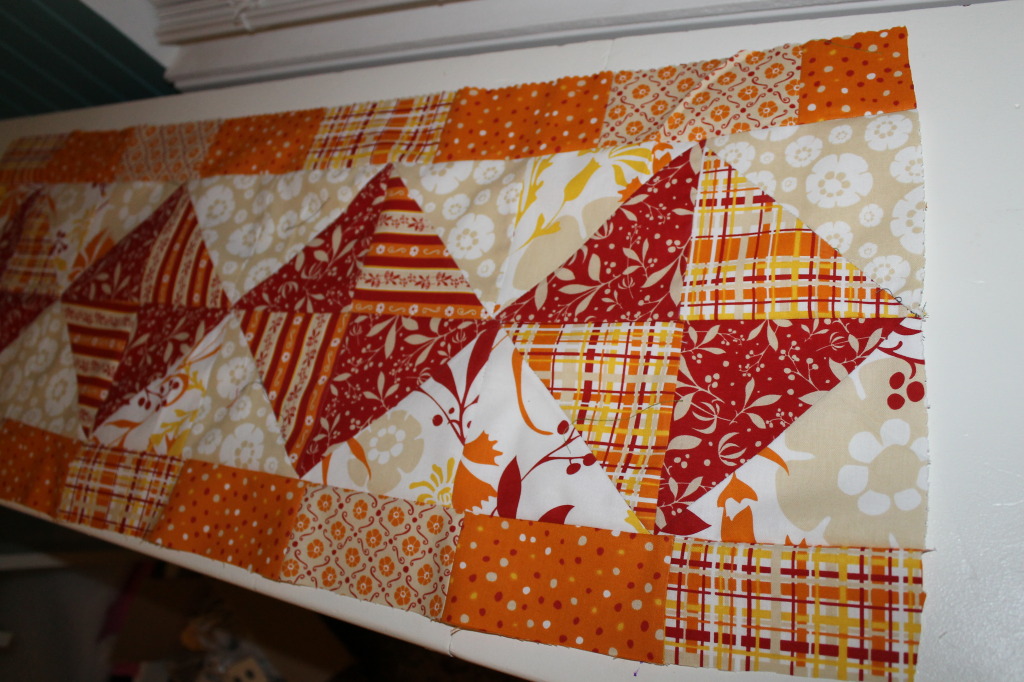
I love how vibrant the colors are on this runner. It screams fall and Thanksgiving. The final size for this table runner measures about 12″ x 45″ and fits perfectly on my 4′ dining room table. If you want it bigger, you can extend the pattern to make it longer.
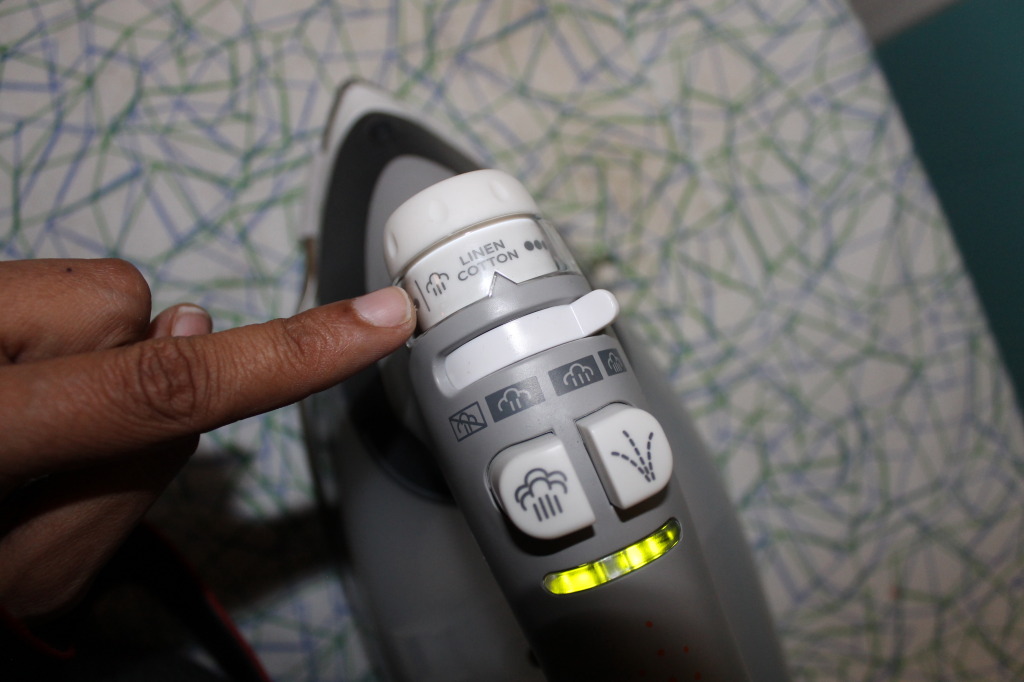
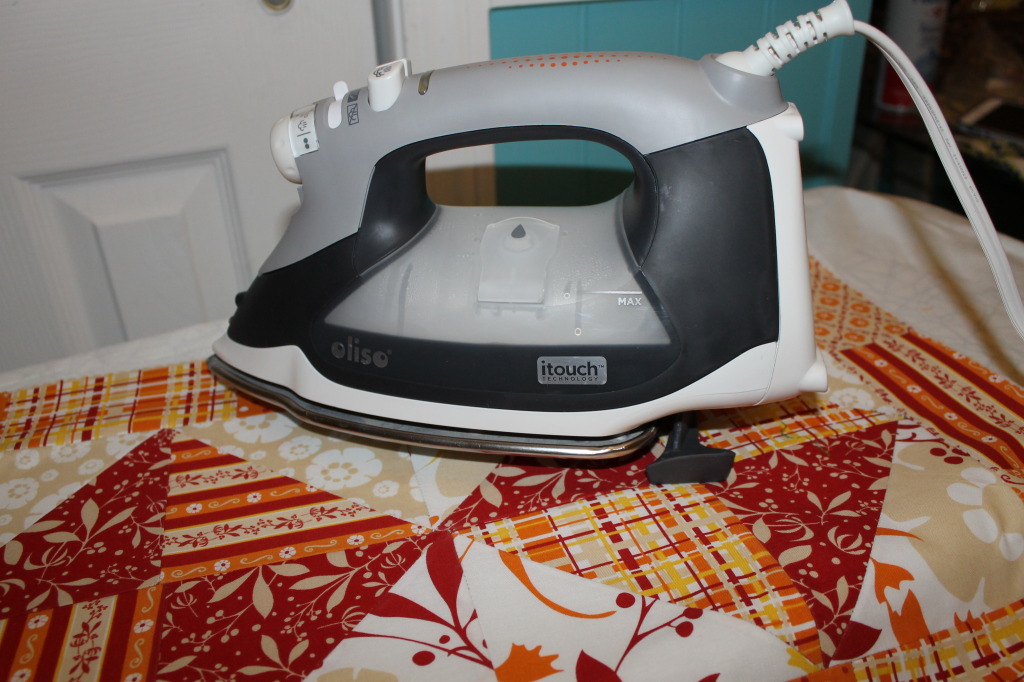
Here is the amazing Smart Iron!
Let’s get started on the tutorial!
Supplies
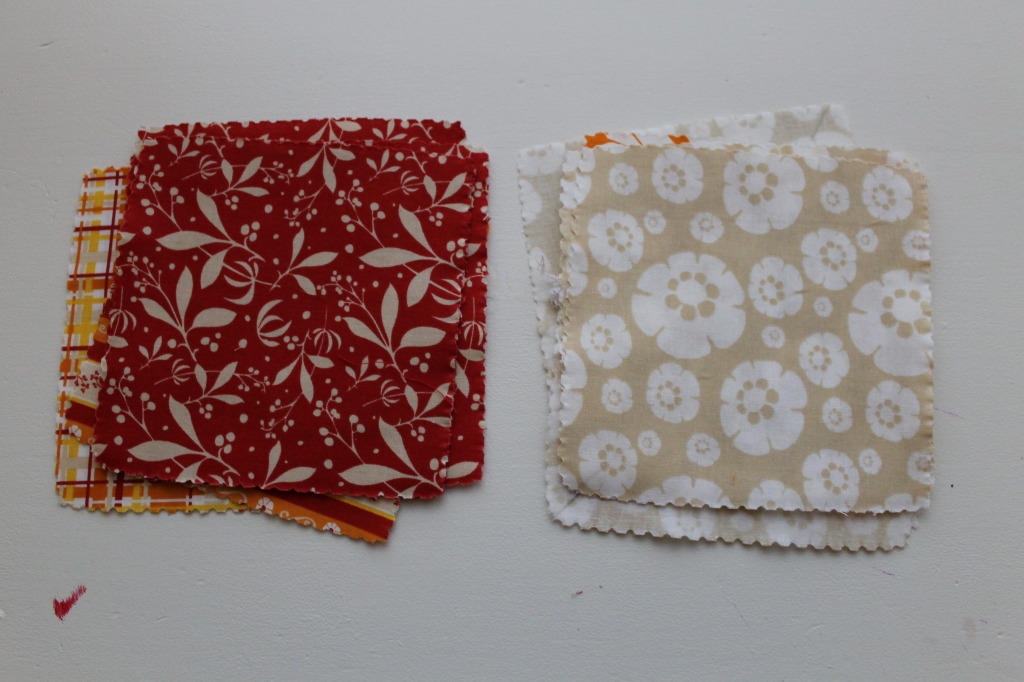
- 1 Fall Colored (yellow and reds) Charm Pack (5″x5″ squares)
- 15″ x 45″ of light weight batting
- 15″ x 45″ of cotton fabric for the back
Step 1-
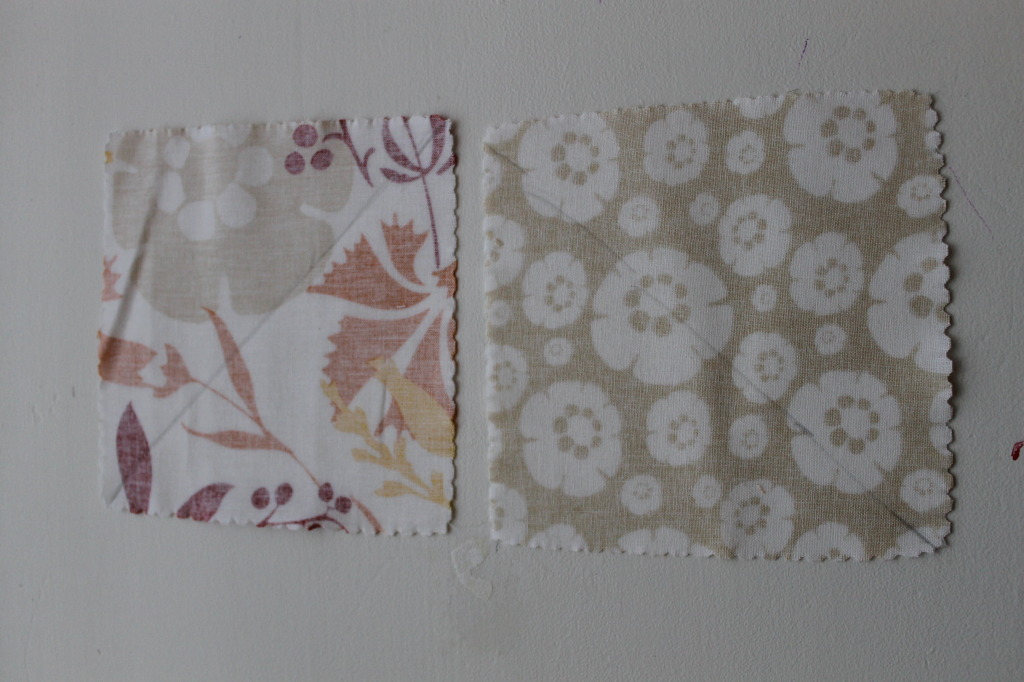
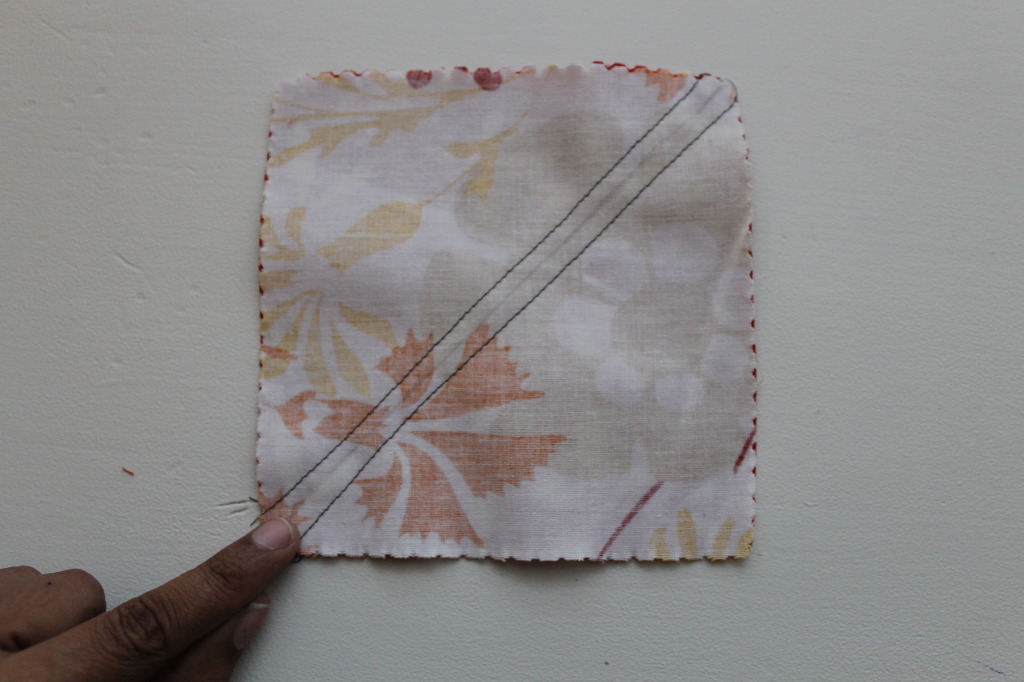
Take 8 dark colored charms and 8 light colored charms. Draw a diagonal line on the back of the light colored charms.
Step 2
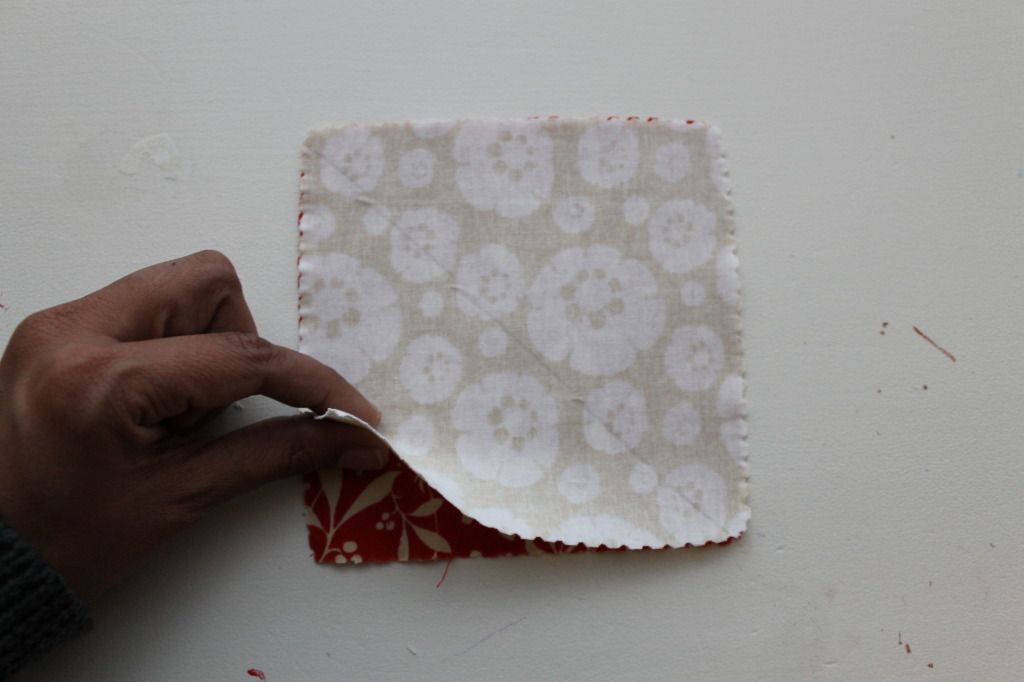
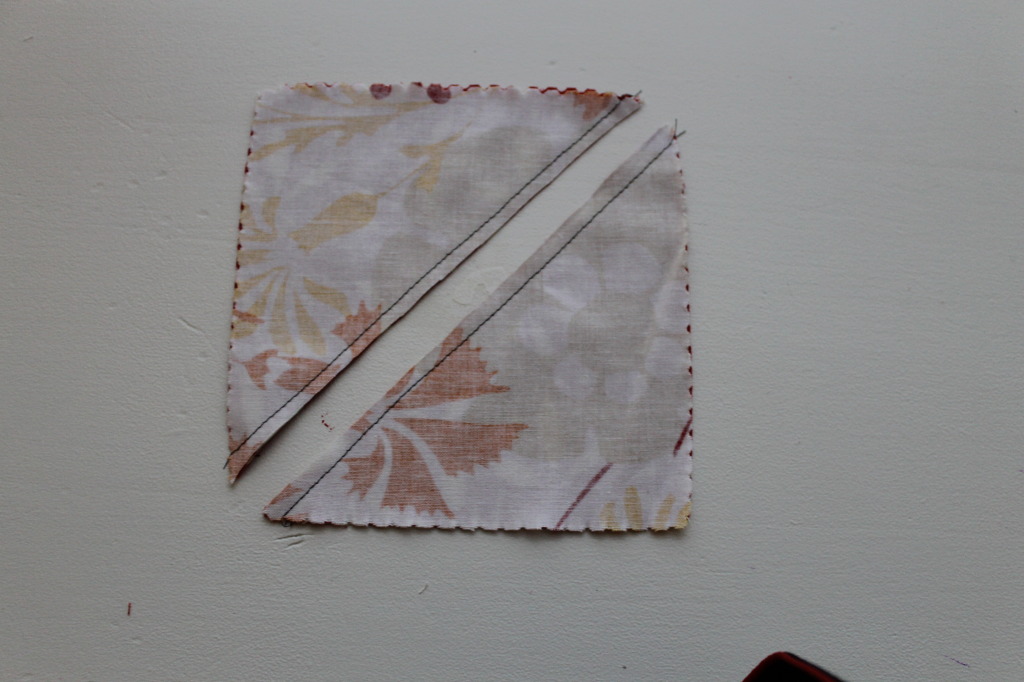
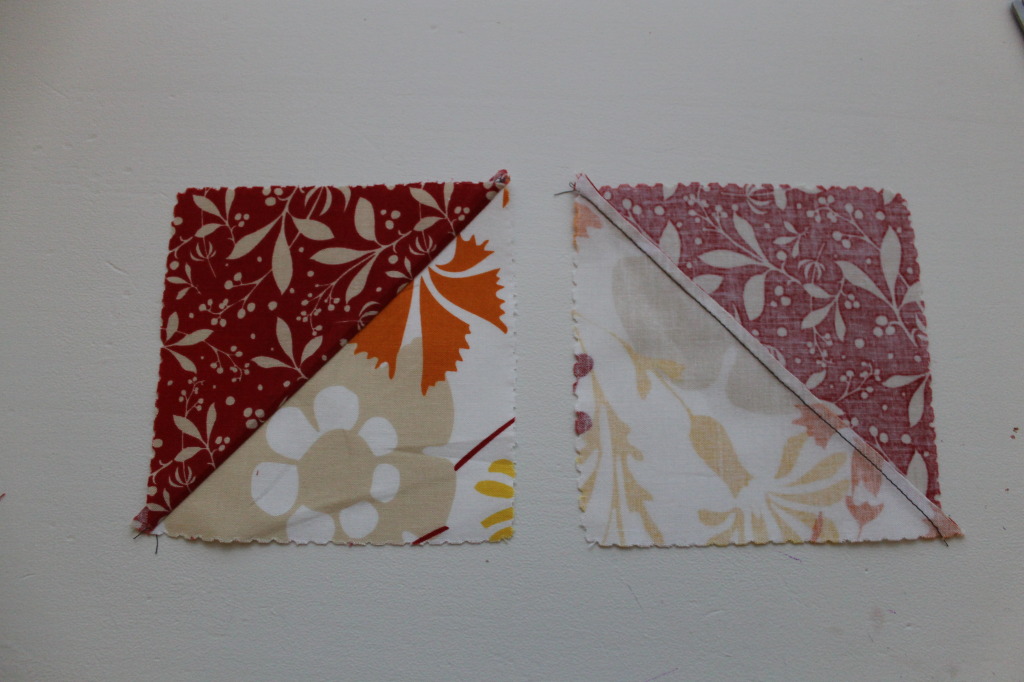
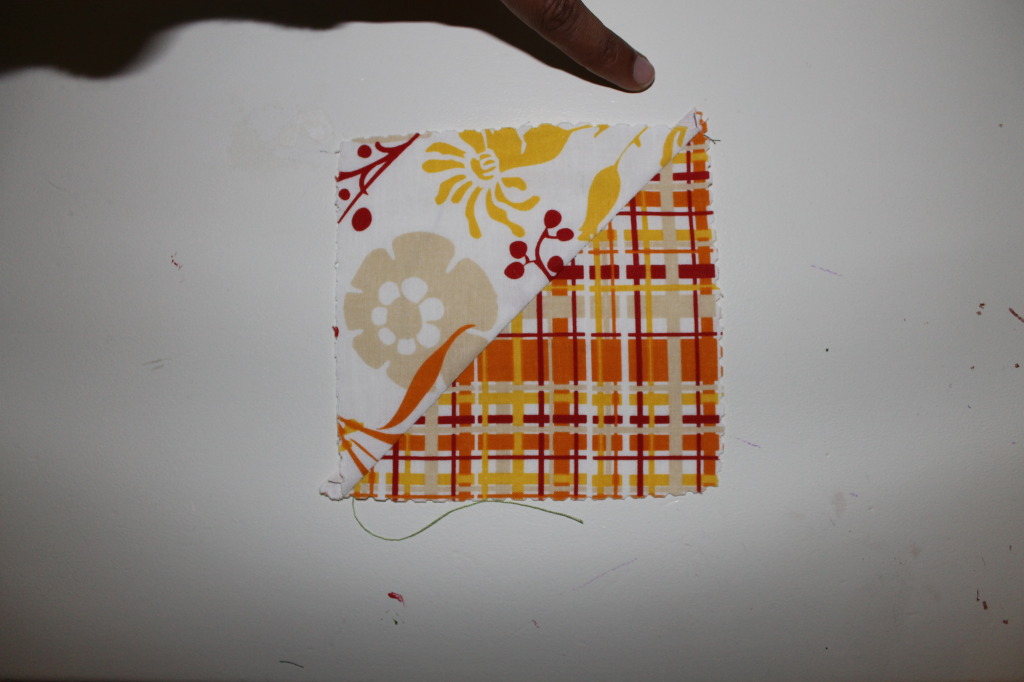
With right sides together, sew the dark colored charms to the light colored charms 1/4′” from the center line. Cut on center line to get 2 triangles.
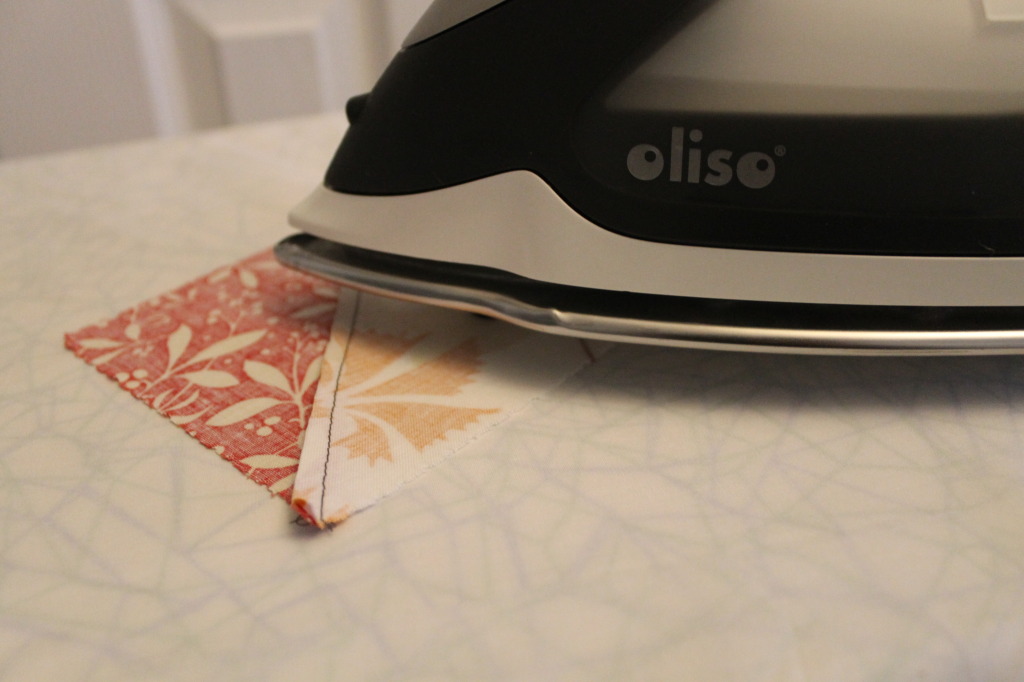
Now take it to the ironing board and sew open your seams neatly. The Smart Iron does a spectacular job at doing this with only one pass!
Cut and even out the corners of all your squares.
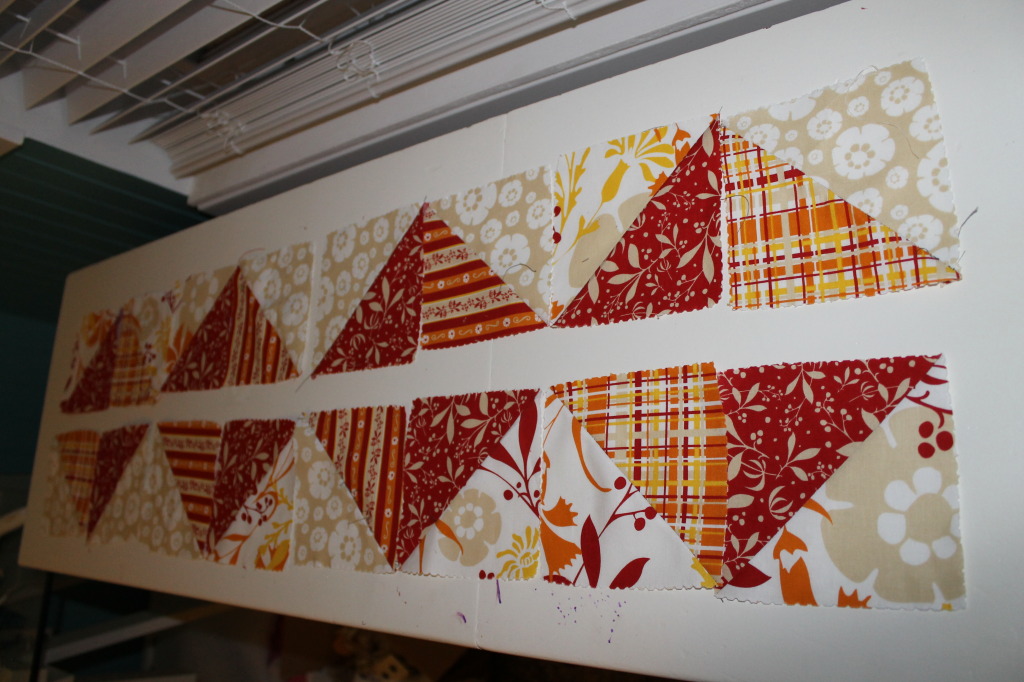
Now take 4 of your squares and align them so that center is dark. Repeat this 3 times.
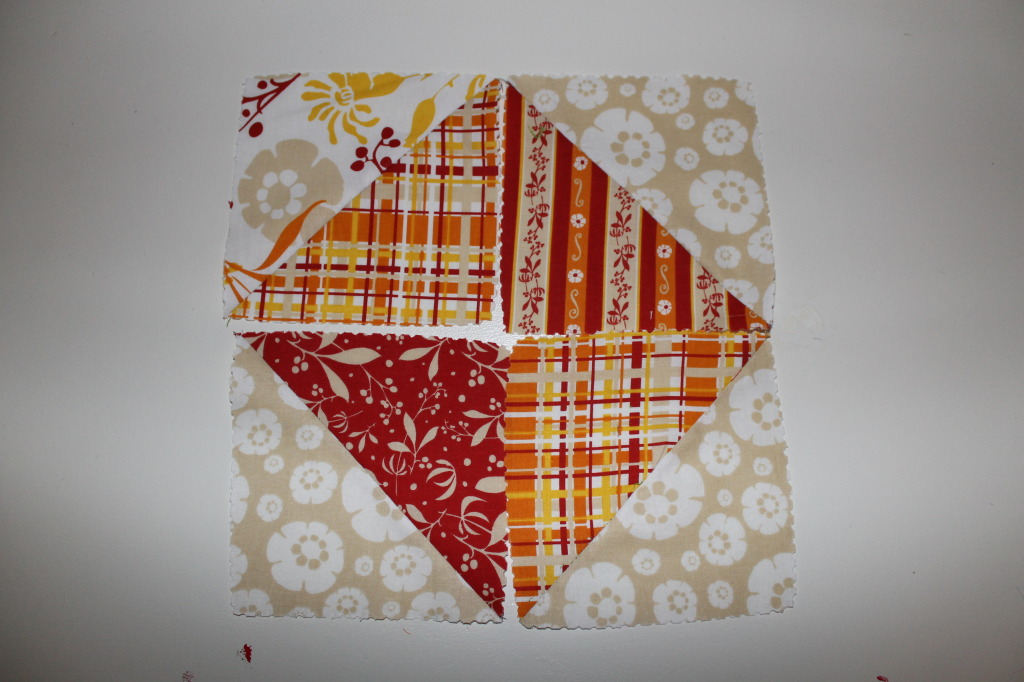
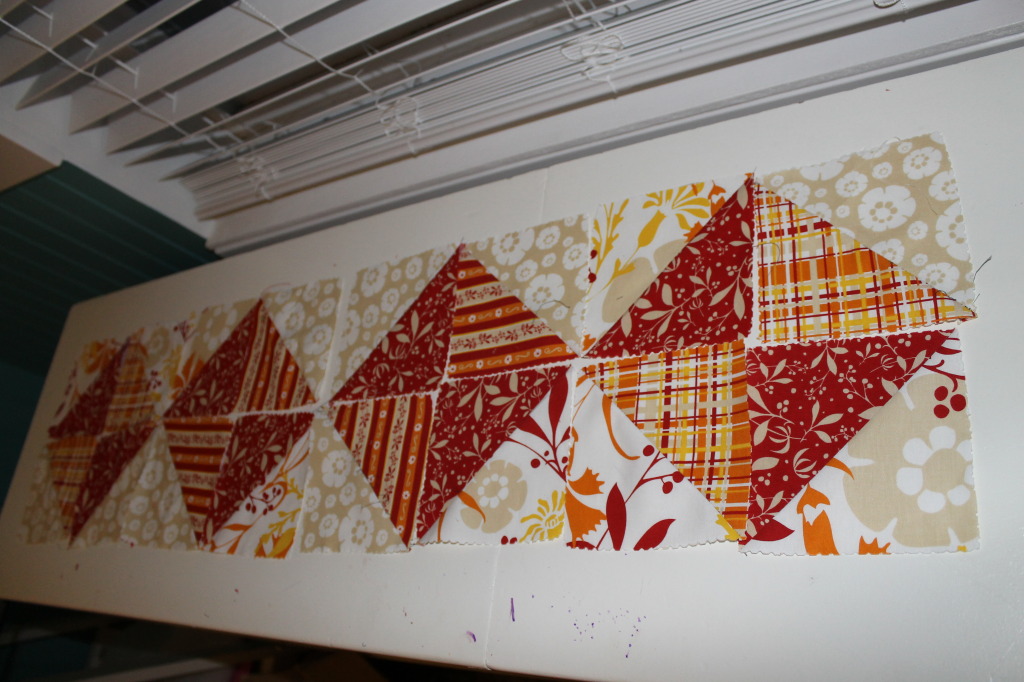 Separate your center into 2 pieces.
Sew the top row right sides together and the bottom row right sides together. Iron neatly. Then sew the two rows together to form the center of the runner.
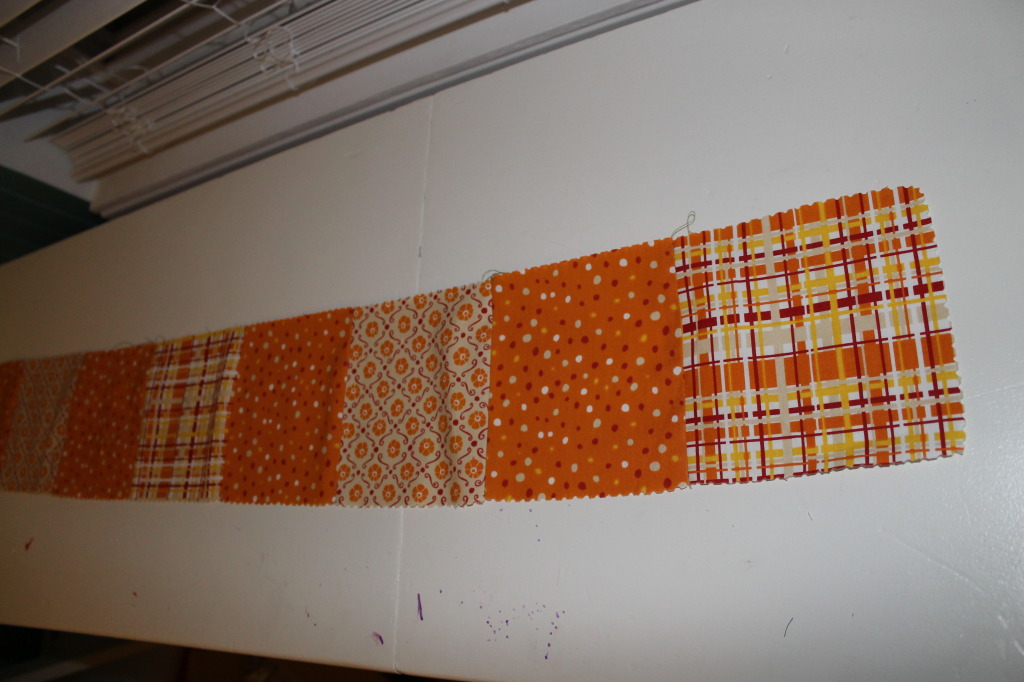
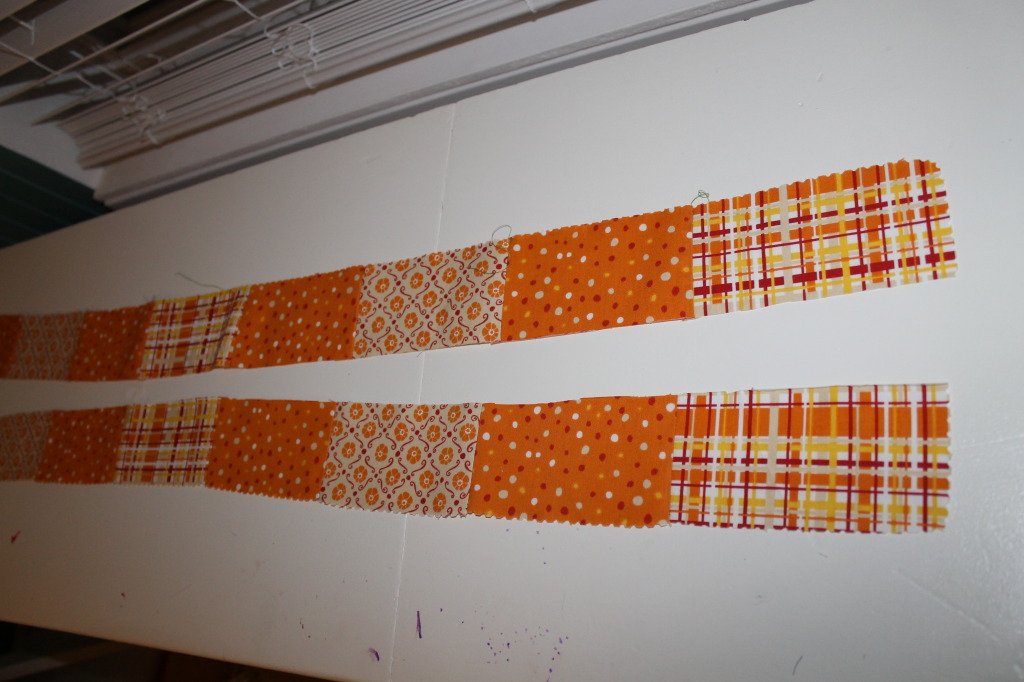
Now onto the sides! Take 8 charms and sew right sides together. Fold in half lengthwise and cut in 2. Iron
Sew one to each of the sides of the center of the runner. Cut extra fabric and even out edges.
Repeat for the bottom and top of the runner by using 3 charms.
To quilt and bind the runner, please refer to this tutorial I did a year ago on a similar shape and size runner as this one.
I hope you guys enjoyed the tutorial!
