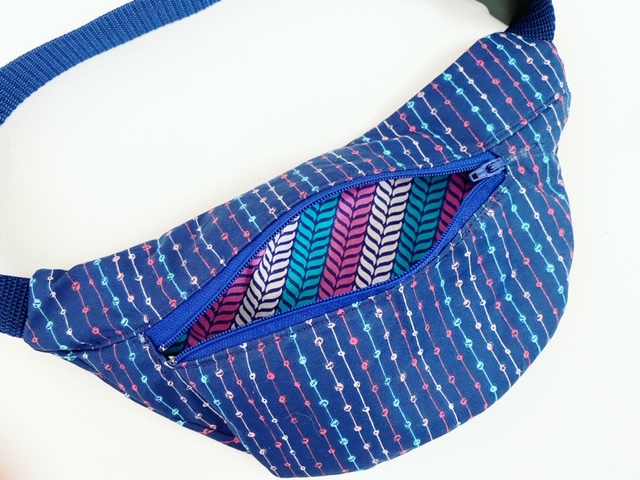
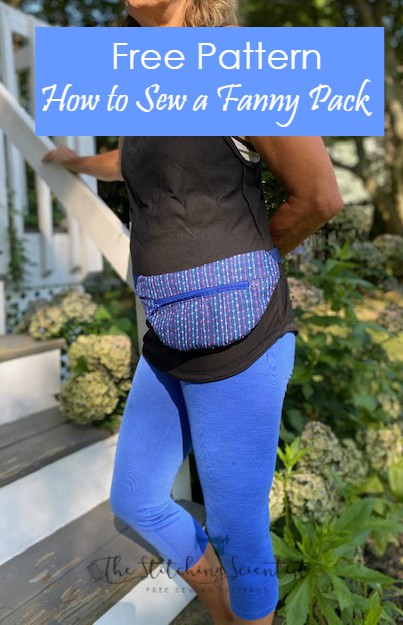
Here is a quick and easy FREE PATTERN and tutorial on How to sew a Fanny Pack. There is nothing fancy about the pattern. It is a basic, beginner friendly one zipper waist bag that you can make for a child or yourself in just under an hour. The finished size is 10’x6′ so it’s perfect for your phone, keys and a little snack to take on your next hike.
If you are looking for some really cool designs on yardage fabric, check out The Fat Quarter Shop Sale Page. I browse this every so often to grab designer fabric that I can afford for future projects.
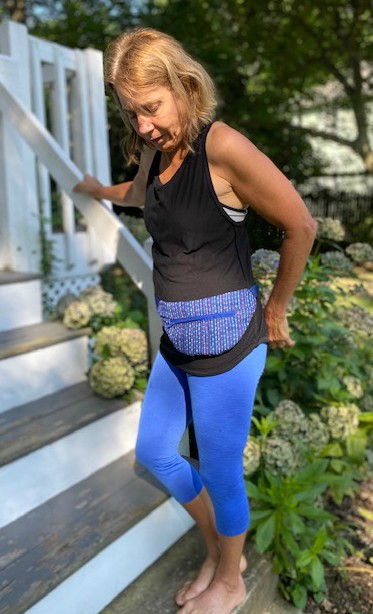
This tutorial on How to Sew a Fanny Pack is perfect for hiking or walking. I gave this one to my neighbor to hold her keys and phone on her walk today.
Your Supplies
- 1/4 yard main fabric
- 1/4 yard lining fabric
Let’s Get Started
First download the pattern for How to Sew a Fanny Pack FREE PATTERN HERE. You will have 3 pieces in total: 2 front pieces (1 top, 1 bottom), 1 back piece.
Cut out 3 pieces of main fabric, lining and interfacing.

For the belting: measure your waist, add about 5″. This will be your total length. Now, cut in half so you have 2 pieces.
Iron on your interfacing onto the wrong side of your main fabric.
Add Zipper
Take your zipper and place it right side down (zipper pull down) on the right side of the front bottom piece of main fabric. Make sure it is in the middle of the pattern.
Then, take your lining fabric and place right side facing down to form a sandwich. Your sandwich will be main bottle piece fabric facing up, zipper in the middle facing down and lining right side facing down.
Pin and sew using zipper foot.


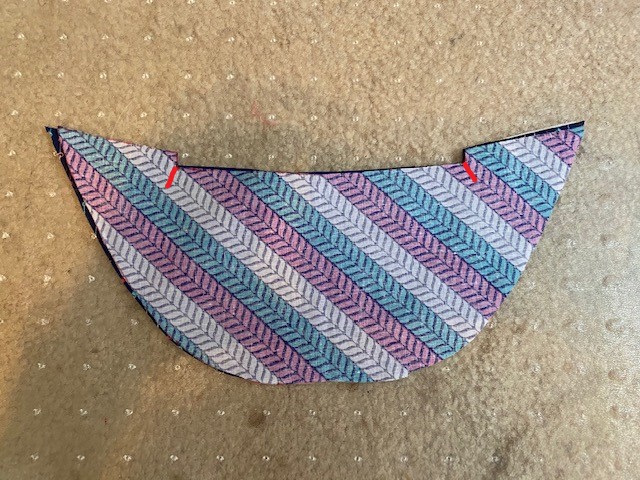
Now after you sew your zipper, clip the ends (without clipping the zipper) as marked below. Do this for lining and and main piece.
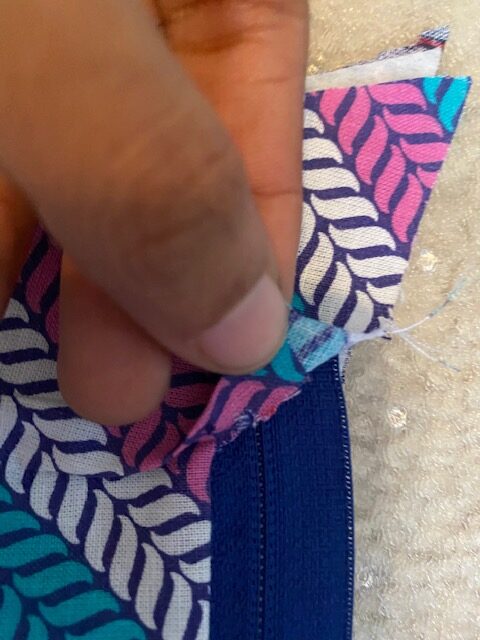
Next, you will meter all four corners front and back of the edges where your zipper is by folding in and up to create a square. So hard to do this with pictures.

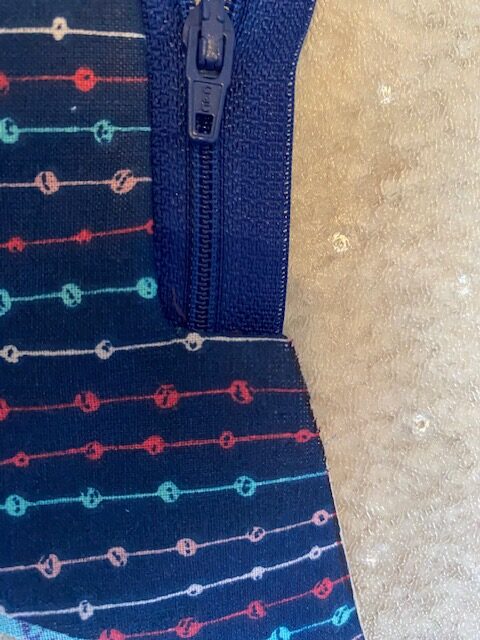
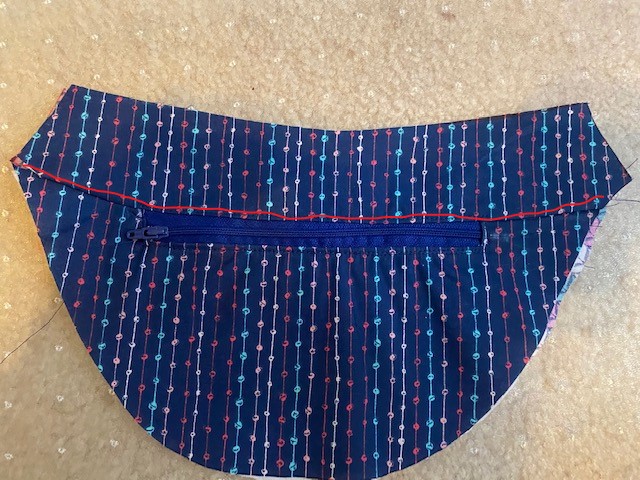
Top stitch all the way around the zipper and shown in red below.
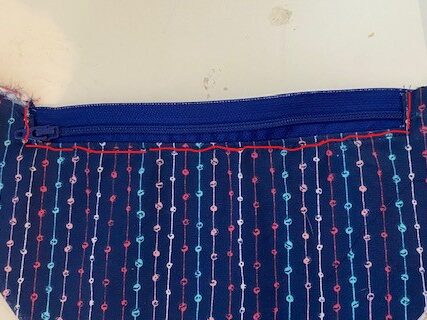
Next take your front top piece and lay it right side together over your zipper and pin. Then, flip over and do the same with the lining piece. So now you have a sandwich. Sew
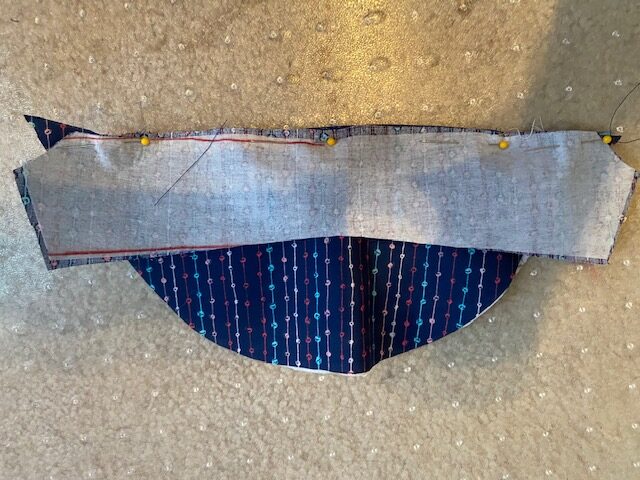
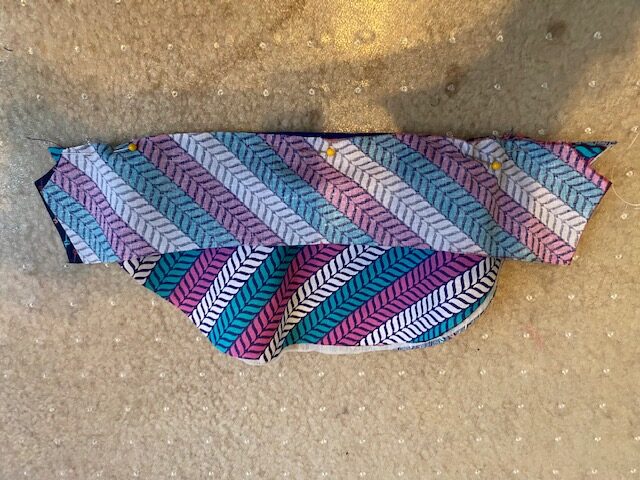
Fold over, iron and top stitch as shown in red below
Attach the straps
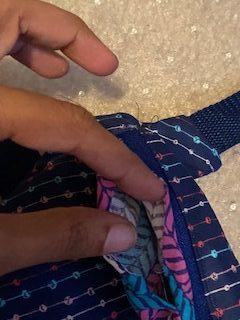
Pin and sew the ends of the straps facing inwards on the front of the main fabric. DON’T sew on lining.

Finish up the bag
Next, open the the zipper. Then, take the main back piece and place right side together on the front of the bag. Sew all the way around. Don’t sew lining, just front main piece to front back piece.


Repeat for the lining but leave about 4″ on top open so you can turn it inside out.

Turn the bag inside out and stitch the opening closed.
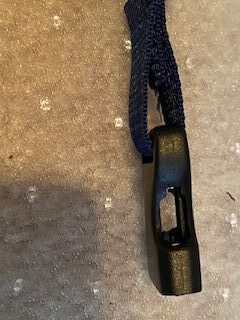
To finish up your buckle and belting, pass your belting through the buckle, fold and sew.
I hope you guys enjoy this free pattern on How to Sew a Fanny Pack. If you enjoy this pattern, check out all my other Free Bag Patterns on the site. Thanks for visiting and Happy Sewing.
