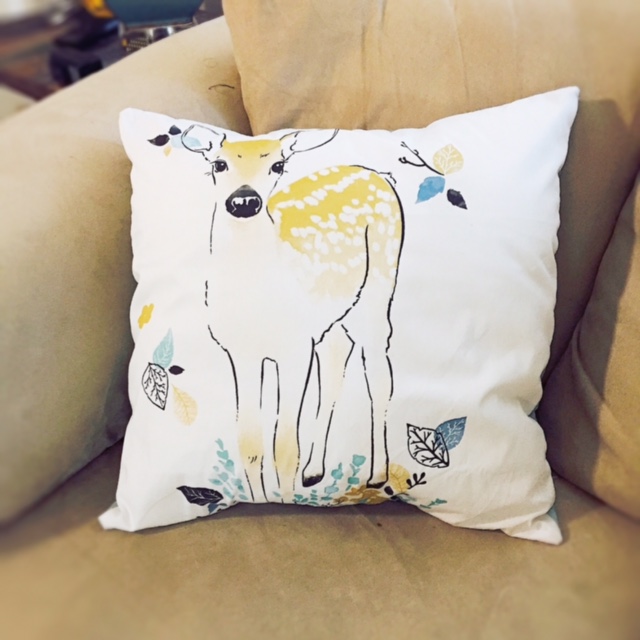
Learn how to sew a pillow cover with this easy to follow, beginner friendly tutorial. I bought these absolutely beautiful deer-inspired fabric to make some accent pillows for my living room. This teal/turquoise fabric was the perfect color for my rustic, vintage living room. I am loving how these look on my couch. They literally took about 20 minutes each to make. I couldn’t resist sharing the tutorial with you guys. This is an easy project that you can whip up in no time to add a bit of charm to your decor.
The fabric used here is from Hawthorne Threads Winter Fawn line.
The envelope pattern makes removing and washing the pillow cover easy. How pretty is this border on the bottom of the pillow!
Your Supplies for 1 pillow cover
- 1/2-1 yard cotton fabric (depends on the size of your pillow)
- pillow insert
- sewing essentials
Measure and Cut
- Measure the size of your pillow insert. Mine was 15″ X 15″.
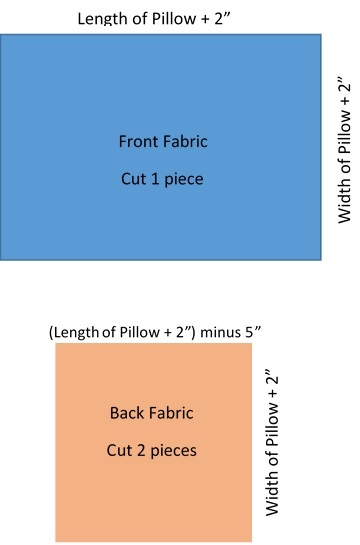
- Front: Cut one piece 2″ longer than your pillow. I cut mine 17″ x 17″.
- Back: Cut two pieces same width as the front but 5″ shorter in width. Mine was 17″ x 12″.
Sew
(using 1/2″ seam allowance)
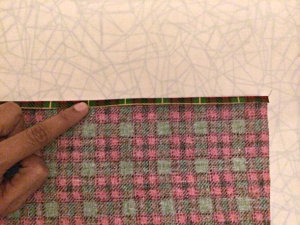
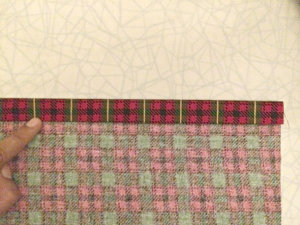
Let’s start by hemming the back pieces. Fold in the short long side 1/4″. Iron neatly. Fold it again 1″ and iron neatly. Sew down. Repeat for both of your back pieces.
This is what your hemmed back pieces will look like:

Next, lay all your pieces right sides together. Your back pieces will overlap.
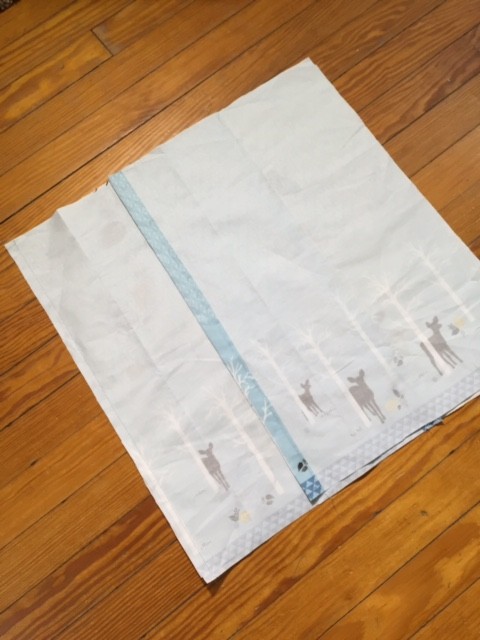
Sew all the way around.
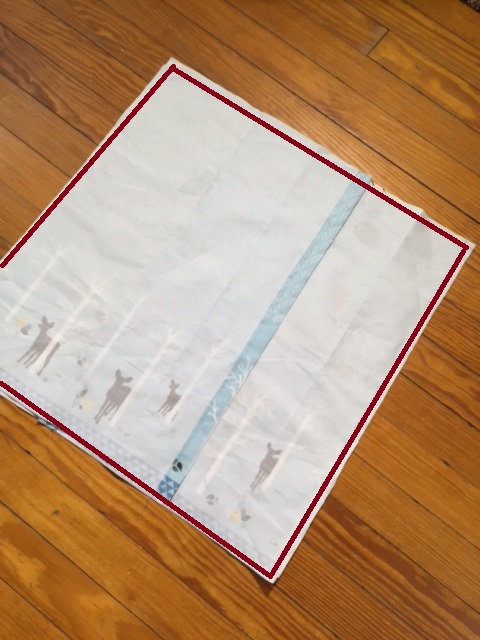
Zig-zag or serge all around the pillow to prevent fraying.

Turn inside out and insert your pillow
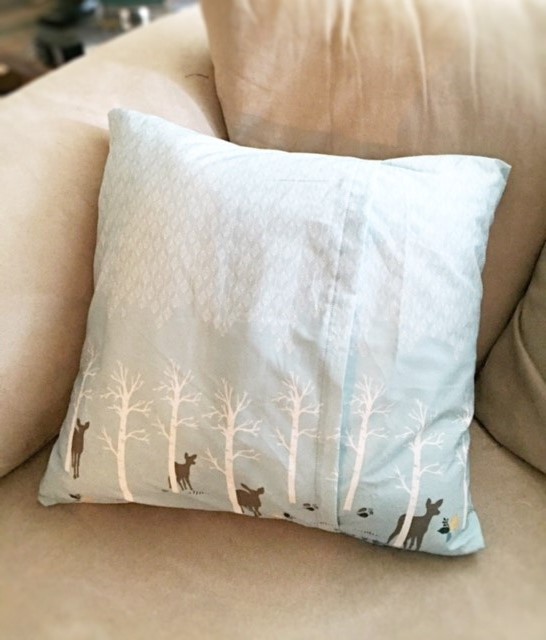
That’s it. It was that easy. Now you know how to sew a pillow cover!
Thanks for visiting and Happy Sewing!
