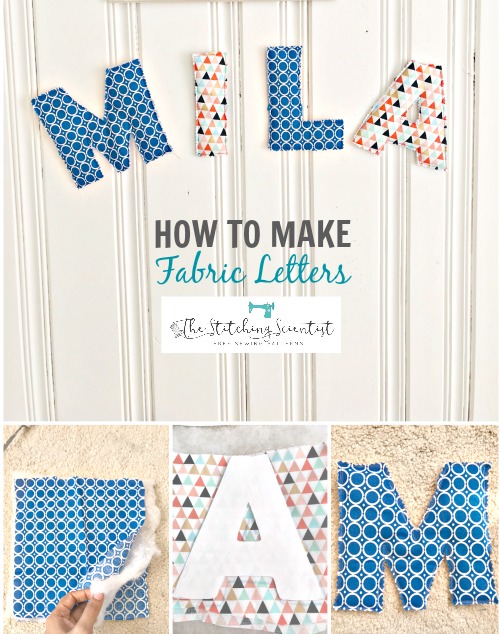
Hello Everyone. Hope you are all doing well. I have been looking for ways to include my daughter into my sewing and thought doing some quick fabric letters of her name for her room was a good start. These letters literally took us about 10 minutes to make. I think even a longer name would have taken the same amount of time. It actually took us longer because my daughter was helping me. Here is our tutorial of a quick DIY 10 Minute Fabric Letters Name Decor. I think we may end up doing some of these for the different holidays and hang over our fireplace mantle.
My daughter chose these fabrics from my scrap bin. The “a” and “i” are Hobby Lobby Piper Triangles Fabric. The “m” and “l” are from Joanns. You can really have fun mixing and matching fabrics for this project. I am not a fan of the fabrics my daughter chose but it’s her name so I had no say in her choice.
Your Supplies
- (8″x8″ squares x number of letters in name)x 2. For my daughter’s 4 letter name, we cut out 8 squares of fabric.
- 8″x8″ squares of thick batting x number of letters in name
- Pinking sheers
Step 1
Print and cut out your letters. I used Arial Black Font with 500 font size. If you go to text effects, you can do outline of the letter instead of printing all black and wasting ink. Or, you can just use a light color instead of black.
Step 2
Trace letters on right side of fabric pieces. I used colored chalk.
Step 3
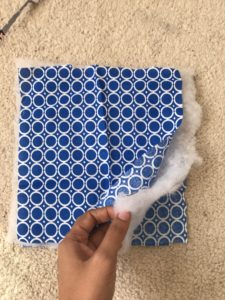
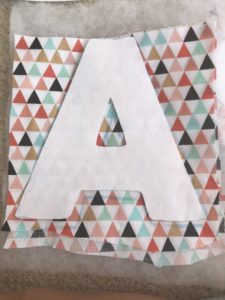
Make a sandwich of top fabric with traced letter, then batting, then back fabric with wrong side facing up.
Step 4
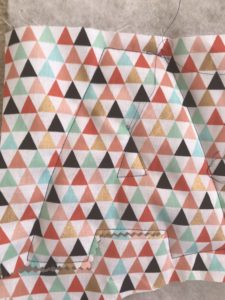
Pin all 3 pieces together or hold in place and sew on your traced letter mark.
Step 5
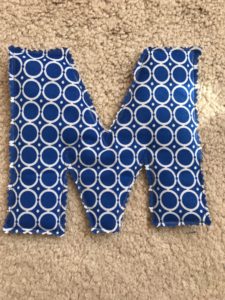
Cut out your letters using pinking sheers. Remember to cut on the outside of your sewing line.
That’s it! Glue letters on a string and hang on a wall or tape on a wall.
Thanks for visiting and Happy Sewing.