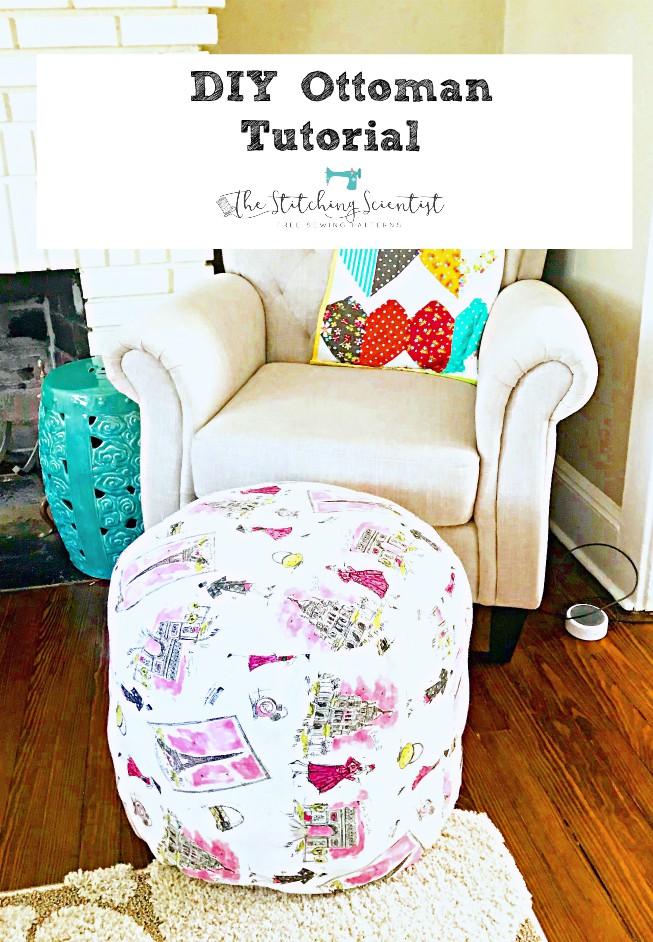
Hope you are all keeping warm, especially if you live in the Northeast. I don’t like to sew when it’s cold outside. I am just not motivated to be productive in the Winter. I managed to get off my couch to do this DIY Ottoman project over the holidays. I really needed an ottoman for my chair and fell in love with this Tres Chic Canvas Fabric from Hobby Lobby. It matches perfectly with my cottage chic decor in my living room. This DIY Ottoman literally took about 30 minutes to create. It is so easy! You can use these for a footrest, a child’s seat or just a gorgeous accessory to your living space.

Your Supplies
- 2-3 yards of Canvas/Duck Fabric
- ~60 oz of filling
Step 1- Measure twice, cut once
Measure how high and wide you want your ottoman to be. I like mine to be just about 2″ shorter than the seat height and slightly smaller than the width of the seat. Mine measures 22″ wide x 15″ high.
Top and Bottom- Diameter of Circle (22″)
Side-(3.142x diameter) x height . Mine was 69″ x 15″ . Add 0.5″ for seam allowance to the long side. So my finished side piece was 69.5″ long x 15″ high.
Cut out top and bottom
- Fold your fabric in half.
- The width of the ottoman is essentially how wide you want the top to be. It is the diameter. Mine is 22″
- Divide that number by 2 to get a radius. Mine is 11″.
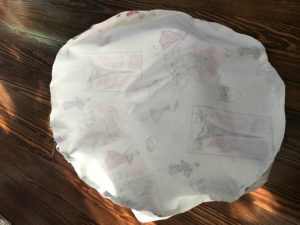
- Put the start of the measuring tape in the center of the fabric and move it 11″ (radius) all the way around marking it about every 4″. Cut out your circle. You will now have 2 circles.
Step 2-Pin circles and sew.
With right sides facing each other, sew the two short ends of the side pieces together.
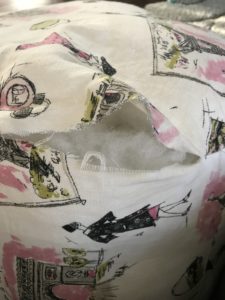
Pin and sew the top circle piece to the side piece. Repeat for the bottom piece, leaving a 5″ opening.

Stuff and Stuff
Turn your ottoman inside out and stuff with filling. Press down to make sure it is compacted well. Hand sew your opening closed.

If you press down the filling and make the ottoman really compacted, it will stiff enough to even hold an eating tray where you can put drinks and snacks.

Happy sewing and thanks for visiting!
