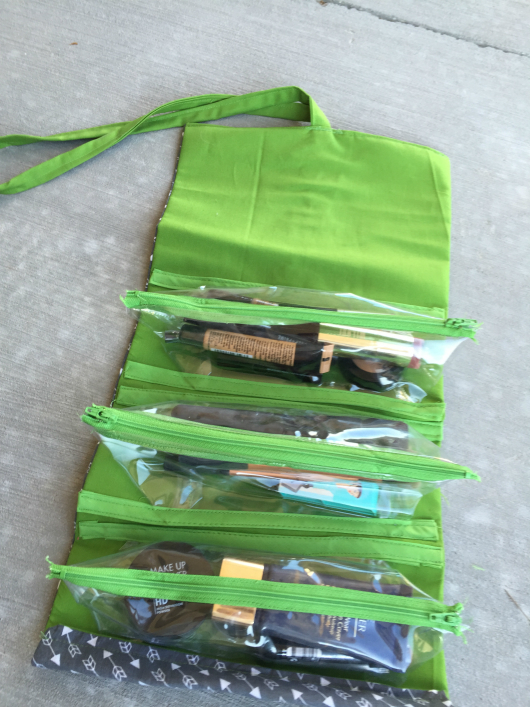
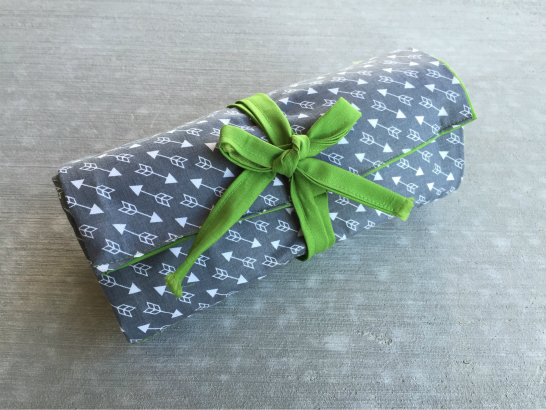
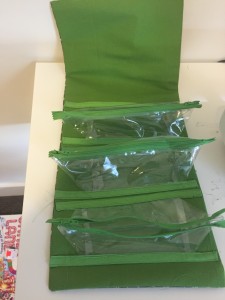
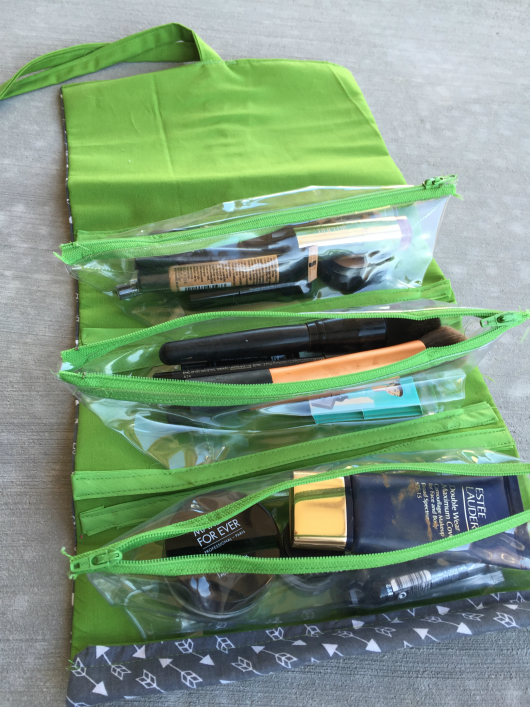
Hey Guys! I am so excited to share this awesome project with you. I have been pondering on this idea for a while now but never got around to making it. Well here it is: my makeup roll up bag. I am loving how this turned out. I call it a valet because it can roll out on your counter top. You can also hang this up too!! It comes with zippers to hold everything together and with all the storage being clear, you can actually see what you are choosing instead of blinding fiddling in your search. You can change the pattern to add more storage or less based on your needs. I am so making these as Christmas gifts this year. I saw some of these on Etsy for around $20. This cost about $10 to make and took less than 2 hours. Can’t beat that, right?
The fabric for this makeup valet was purchased from Walmart at the scraps section and the clear vinyl from Amazon. I used 12 gauge vinyl to make it a tad sturdier. I wasn’t too thick to work with and held everything really securely. The zippers were the most expensive thing for the project but I ended up using my Joann’s coupon and got all 3 for about $5.
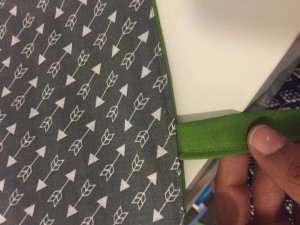
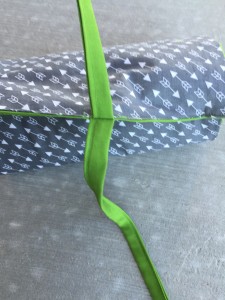
Love how great the green fabric coordinated with the gray arrows. I will definitely be making a few more of these babies. I wanted to do Velcro but it seems a bit too tedious for my lazy self so I just added straps to tie at the end.
I didn’t do too of a neat job with the binding as I had my 4 year old whining the whole time during the project. I think the imperfections make it more “handmade” looking:-). Yep that’s my Estee Lauder Double Wear in there; my favorite foundation of all times! Oh, I made these to be about 10″ wide to hold my makeup brushes and eye liners which are usually long.
Your Supplies:
1/4 yard outer fabric
1/4 yard inner fabric
1/4 yard medium weight interfacing
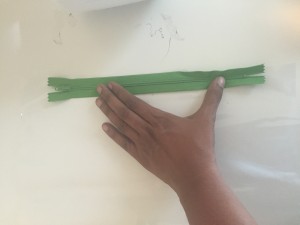
3 9″ regular zippers
3 yards of binding
1/2 yard 12 gauge vinyl (you will have lots left over)
Measure:
Vinyl- cut 3 squares 10″ x 10″.
Outer, inner and interfacing: 11″ wide by 20″ long
Sew:
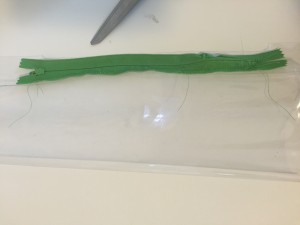
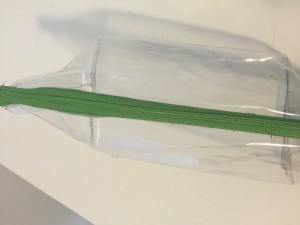
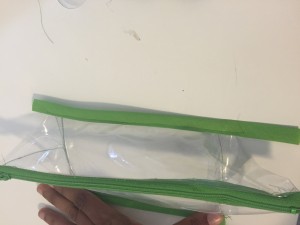
Fold your vinyl in half and sew zipper in between long ends.
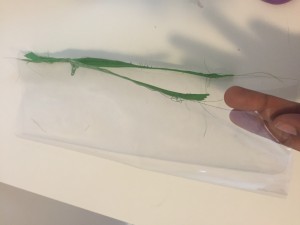
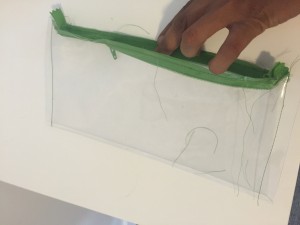
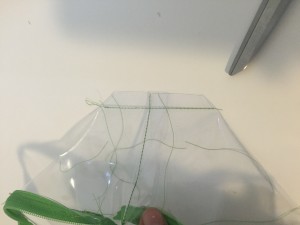
Open the zipper and sew two short ends closed. Cut extra vinyl that is left off on the ends.
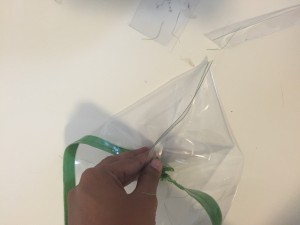
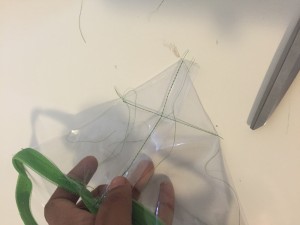
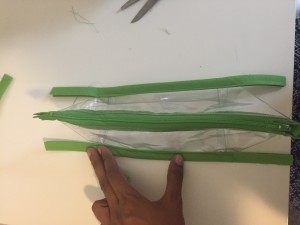
Fold a triangle on both ends and sew a straight line about 2 ” from the tip. Cut.
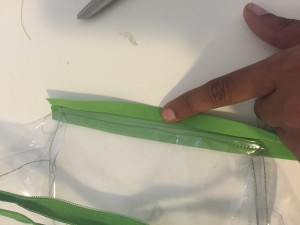
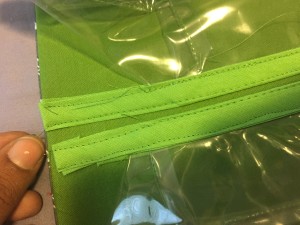
Cut about 10″ binding. Fit in the center of the sides of the purse. Sew.
Now, let’s move onto the valet part.
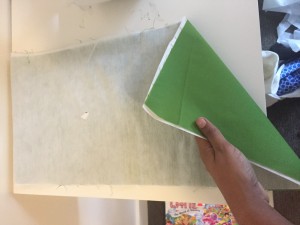
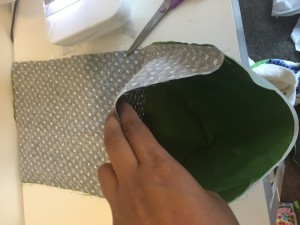
Iron on interfacing to wrong side of inner fabric. Sew outer fabric right side together. Sew all the way around, leaving one short end open.
Fit in your straps in the center of your opening with the straps facing inside your valet. Top stitch closed. ( Sorry, I did not take a picture of this). You can use ribbon or make your own straps. The straps are about 11″ long.
Now, just take your vinyl purses and sew them on the valet. You are going to sew the binding part on the valet. Fold the ends in on the binding so you don’t have raw edges. I did a horrible job because I was in a rush but here a picture to give you an idea. You can leave a few inches before you place on first purse or just sew on the end. It will turn out the same.
Fill up with all your goodies and you are good to go!
Thanks for visiting and Happy Sewing!
