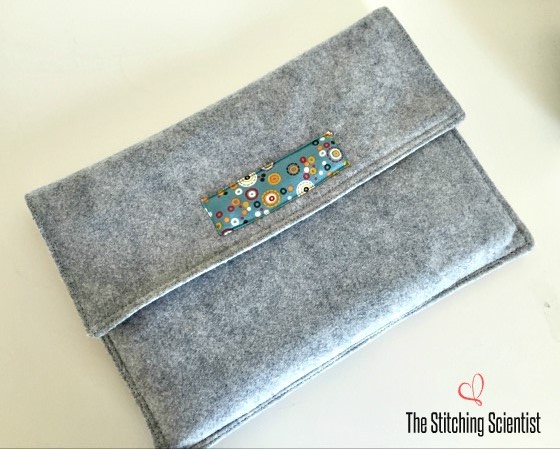
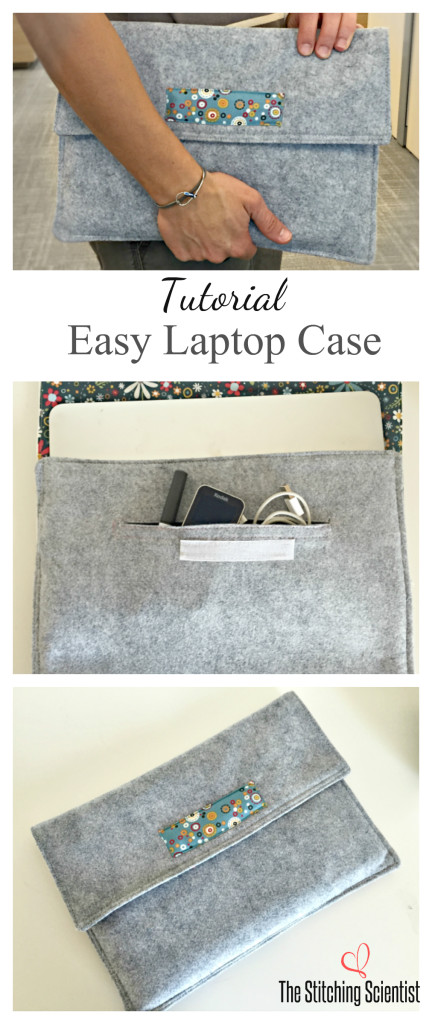
Hey Guys! I whipped up this super easy laptop case pattern last night that I thought I would share with you. This literally took about 20 minutes. I saw similar ones on Etsy for around $30! This cost me about $6 to make. I love how it turned out. Next time, I may add some leather to it but can’t wait to show this baby off on my next trip.
This case or sleeve is made with wool felt and cotton for the lining. It has an inside pocket and is very modern looking. Check out how to sew this gorgeous case up as your next gift or to add to your collection of sewing projects.
The fabric used for the top accent and inside is from ADORNit Nested Owls Charcoal line. I actually bought a fat quarter set from Zulily when they had a sewing notions sale. The wool felt can be found at any craft store. I am in love with the light gray color. It just looks modern to me.
I like the easy no zip pockets that can only look this neat and polished with felt. I am honestly going to make a few more of these this year as gifts. You can also use felt in the insides as well but I thought that a colorful fabric will go well as a compliment to the wool.
Here is my friend hand modeling the case for me. Love love love it!
Your supplies
- 3″ strip velcro
- 1/2 yard wool felt
- 1/2 yard cotton fabric
- Fleece interfacing (optional)
Measure
First, measure your laptop. My Macbook was 10″ x 8″.
Front: Take your measurement from above and add 2″. Then, cut out 2 rectangles with that measurement. I cut 2 pieces measuring 12″ x 10″.
Back: Take the front measurement and add 4″ to the shorter side. My back piece was 12″ x 14″.
Cut
2 pieces of felt of front measurement
2 pieces of cotton of front measurement
1 piece of felt of back measurement
1 piece of cotton of back measurement
If you want the case to be thick then use fleece interfacing. Cut 2 pieces, one for back and one for front. Cut the interfacing about 1″ smaller than your main pieces.
Sew
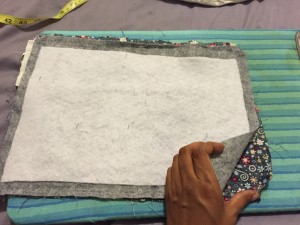
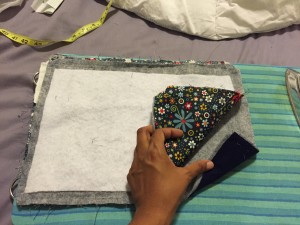
If you used interfacing, iron on one to your main back felt piece and one to your front felt piece.
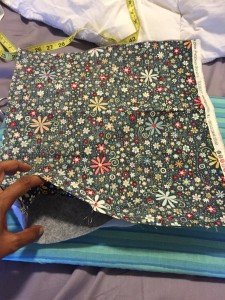
Take your back cotton piece and sew right sides together to the felt, leaving 4″ open to turn inside out.
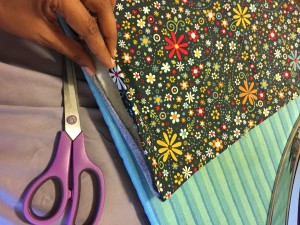
Next, top stitch all the way around, folding in your opening and sewing it closed.
Next baste stitch one of the front felt to one of the cotton pieces right side together. I did this to the one I had the interfacing on.
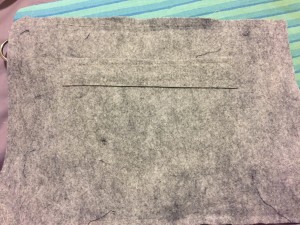
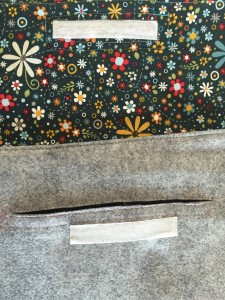
The other front felt will be your pocket. Measure where you want the pocket opening to be and cut out a strip of felt (about 2″ x 5″) and sew it to that area. This will act as reinforcement for the pocket opening.
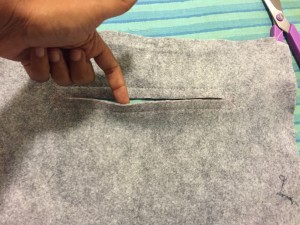
Next draw a line in the middle and cut through to the front.
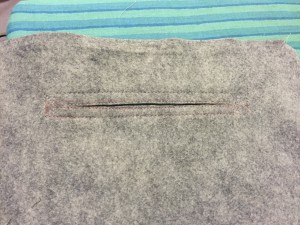
I topstitched my pocket to make it really secure. The pocket opening is the right side of the felt.
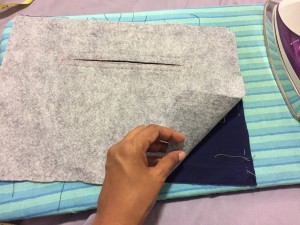
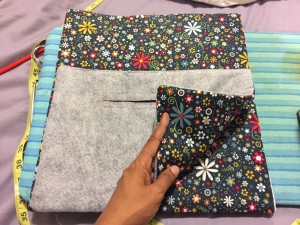
Next, take your other piece of fabric and baste stitch on the back of your pocket piece. You will need to do right side of cotton to wrong side of felt.
Now take you two front pieces and sew right sides together, leaving 4″ open to turn inside out.
Turn inside out and topstitch all the way around and opening closed.
Next take your front piece that you just finished and sew to the back piece, cotton fabric sides together. This will be really thick so go slowly.
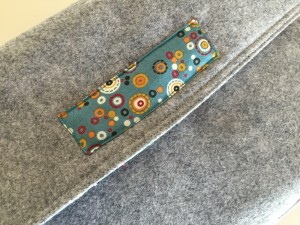
That’s it! Sew your velcro and then an accent over the cover to hide your stitches from the velcro.
 Here is the final case! Enjoy.
Thanks for visiting and Happy Sewing,
