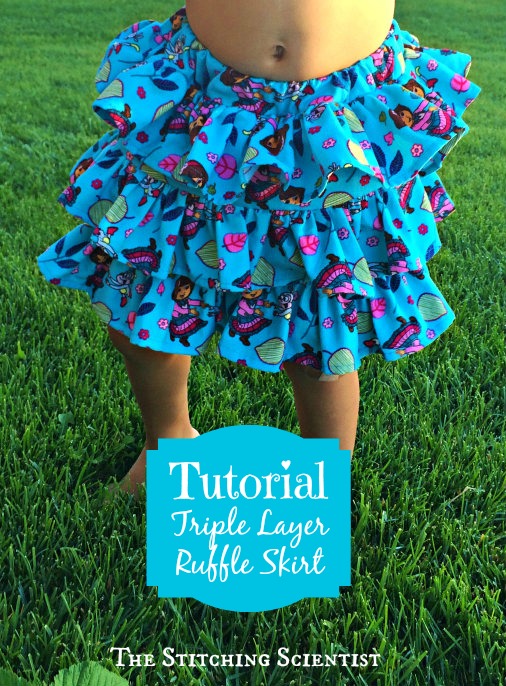
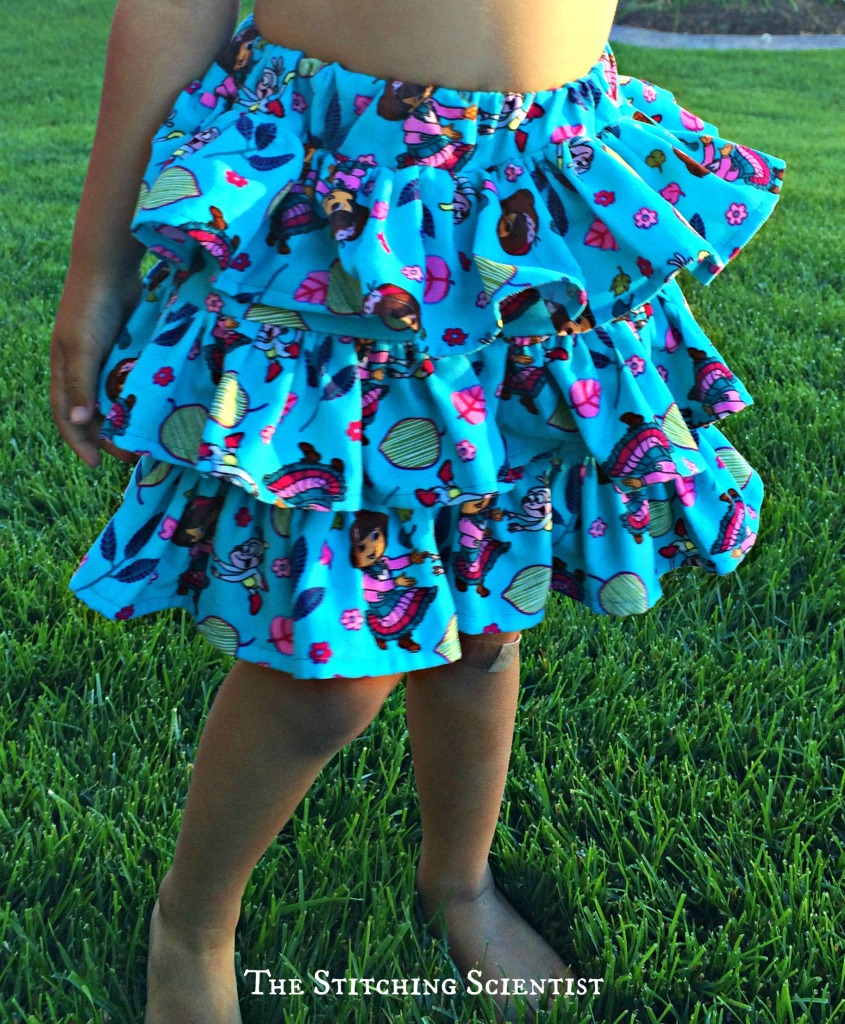
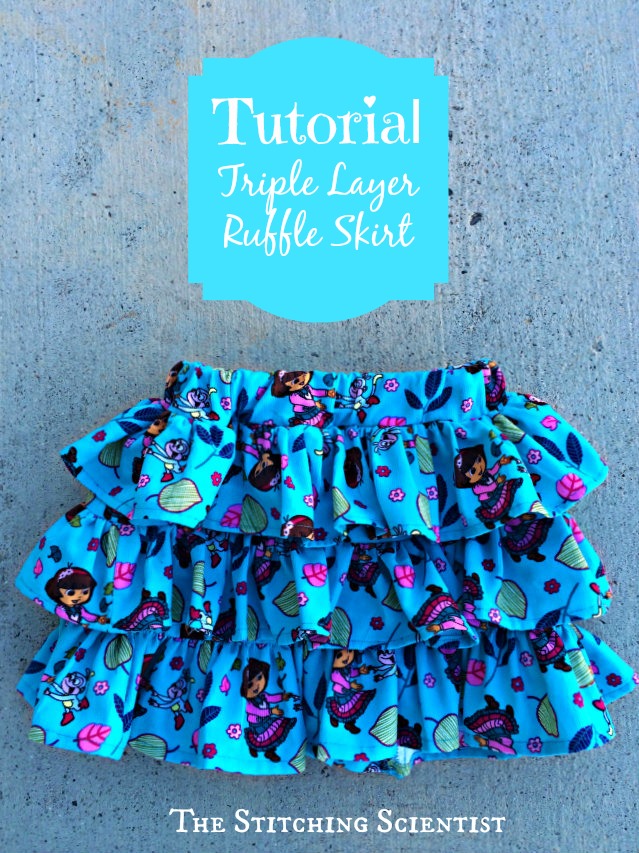
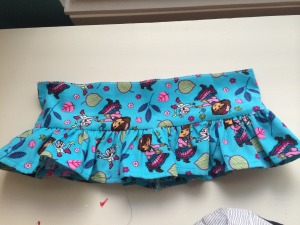
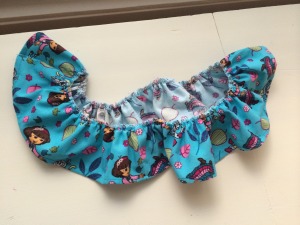
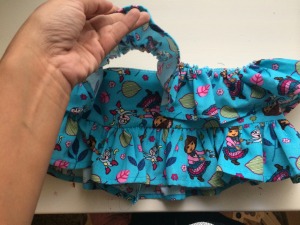
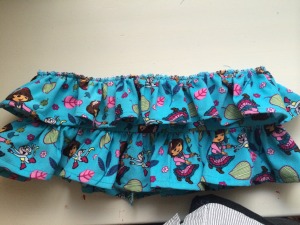
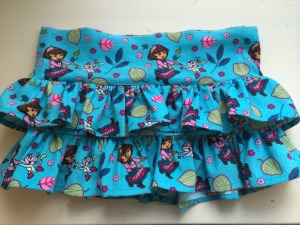
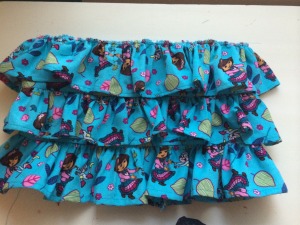
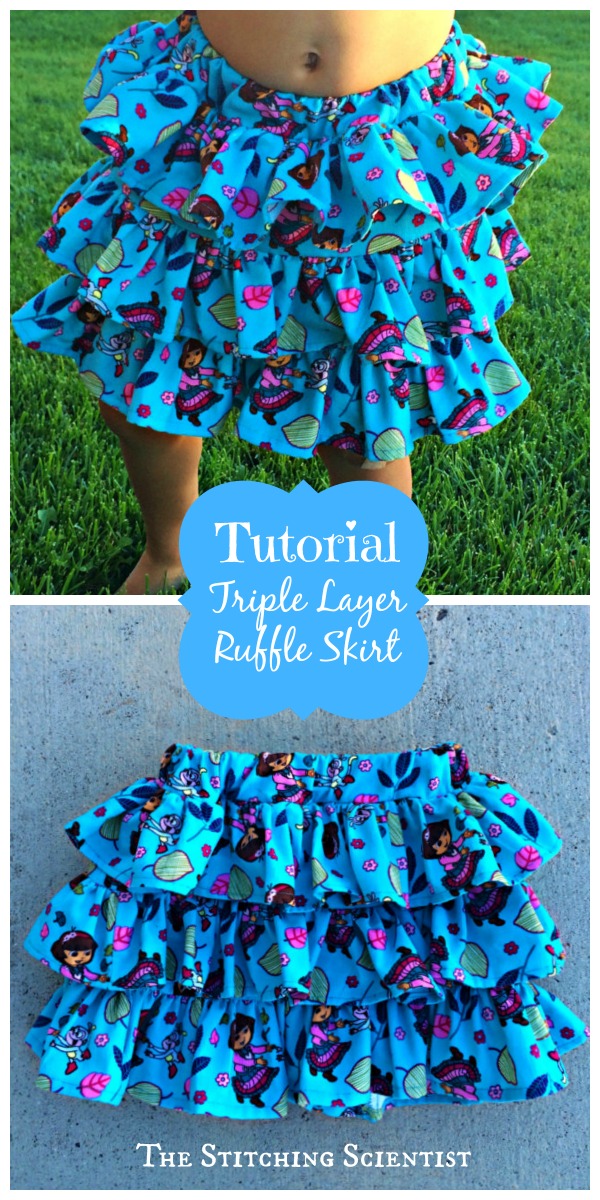
Colder days doesn’t translate to skirtless days! This weekend I found some cheap Dora the Explorer blue corduroy fabric at my local Joann’s. It was on sale for $2 a yard so even though my daughter isn’t into Dora, it was too cute and cheap not to purchase. I don’t know about your little girls but mine hates pants! She is all girl and only wants to wear dresses and skirts. Although it’s getting cold outside, I decided to make her a triple layer ruffle skirt that she can wear with tights or stockings. This project took about 2 hours which is longer than most of my sewing creations but I was so thrilled at how it turned out! The Dora fabric is really vibrant and the ruffles makes the skirt look girly and fun. If you are looking for some cute corduroy fabric. I found some cheap, cute ones at Fabric.com. I hope you guys enjoy the tutorial. Please post your pics if you make the skirt.
Your Supplies
- For a toddler size 2T-4T you need 1 yard of corduroy fabric.
- About 25″ of 1″ non-roll elastic
Step 1- Cut your strips.
- For 3 layers, you need 3 ruffle strips and 3 connector strips. Here are the dimensions:
- Measure the waist- we will call this number A.
- Measure how long you want the skirt to be and divide that number by 3. We will call this number B This will be the width of all your strips. Mila’s skirt length was 12″ so the width of her strips was 4″.
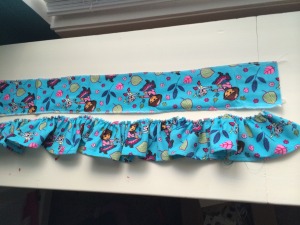
- Ruffle Strips- B” wide x (A” x 3.5) length. Mila’s waist is 20″, so her ruffle strips measured 70″. You may need to sew 2 or 3 pieces together to get that long of a length. It depends on the width of your fabric. Her ruffle strips measured 4″ wide x 70″ in length.
- Connector strips-B” wide x A” x 1.5 length. Mila’s connectors were 4″ wide x 30″ in length.
- You should now have 3 really long ruffle strips and 3 connector strips.
- Elastic length- waist of child.
Step 2-Prepare your strips
To prepare your strips, you will need to:
- Surge or zig-zag both sides of your connector strips.
- Surge or zig-zag one side of your ruffle strips and 1/4″ hem the other end.
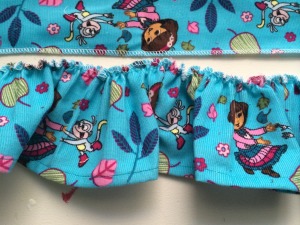
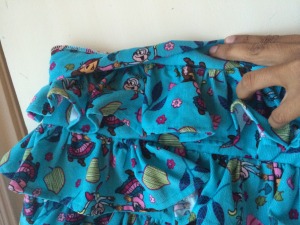
- Take each of your ruffle strips and sew a long stitch on the side that you surged. Pull and gather to match up with the connector strip.
Step 3- First Layer
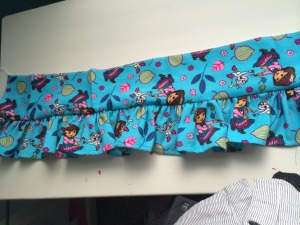
To do your first layer, you need to sew ruffle 1 to connector 1 right side together. Then, sew the sides close. Iron neatly.
Step 4- Second Layer
Sew the sides of ruffle 2 close. Next, fit it into the top part of your first layer, right side up and sew all the way around.
Step 5- Third layer
A: Sew the sides of connector 2 close. Then, fit it in on top of ruffle 2 right sides together. Sew all the way around.
B: Next, take ruffle 3 and sew the sides close. Then, sew it to the skirt fitting it right side up on connector 2 and sewing all the way around.
Step 6- The Band
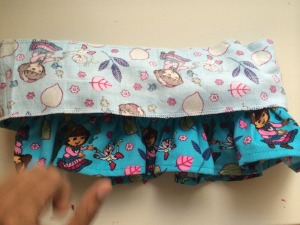
A: Connector 3 will be used for your waist band. Sew it the same way you did in step 5 to the skirt; sew the sides together, fit it on ruffle 3 right side together and sew all the way around.
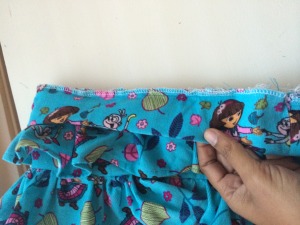
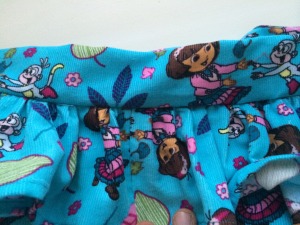
B: Next, fold connector 3 (the band) in half and sew the edges to the seam that you created above in part 6A. Leave about 3″ open for the elastic.
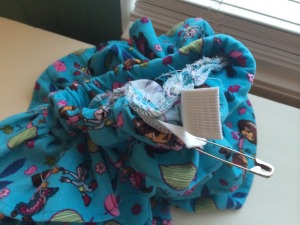
C: Thread your elastic using a pin all the way around the band. Sew the ends together. Pull the elastic in the band and sew the opening close.
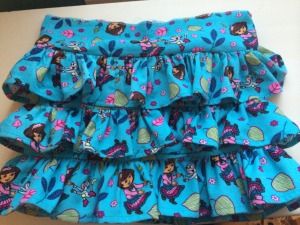
That’s it! You are done. Enjoy.
