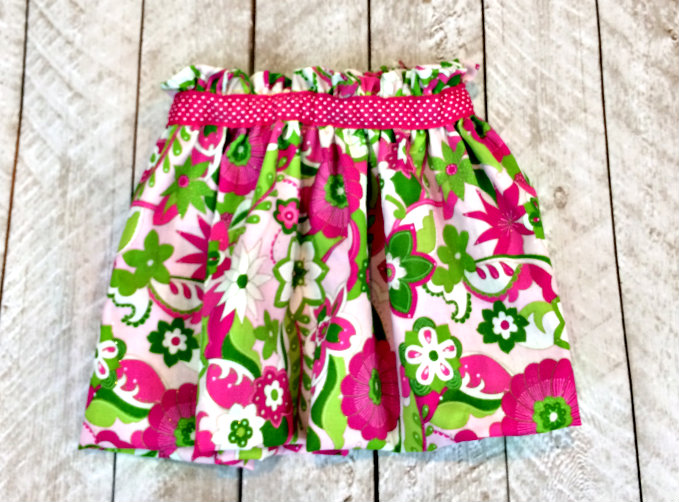
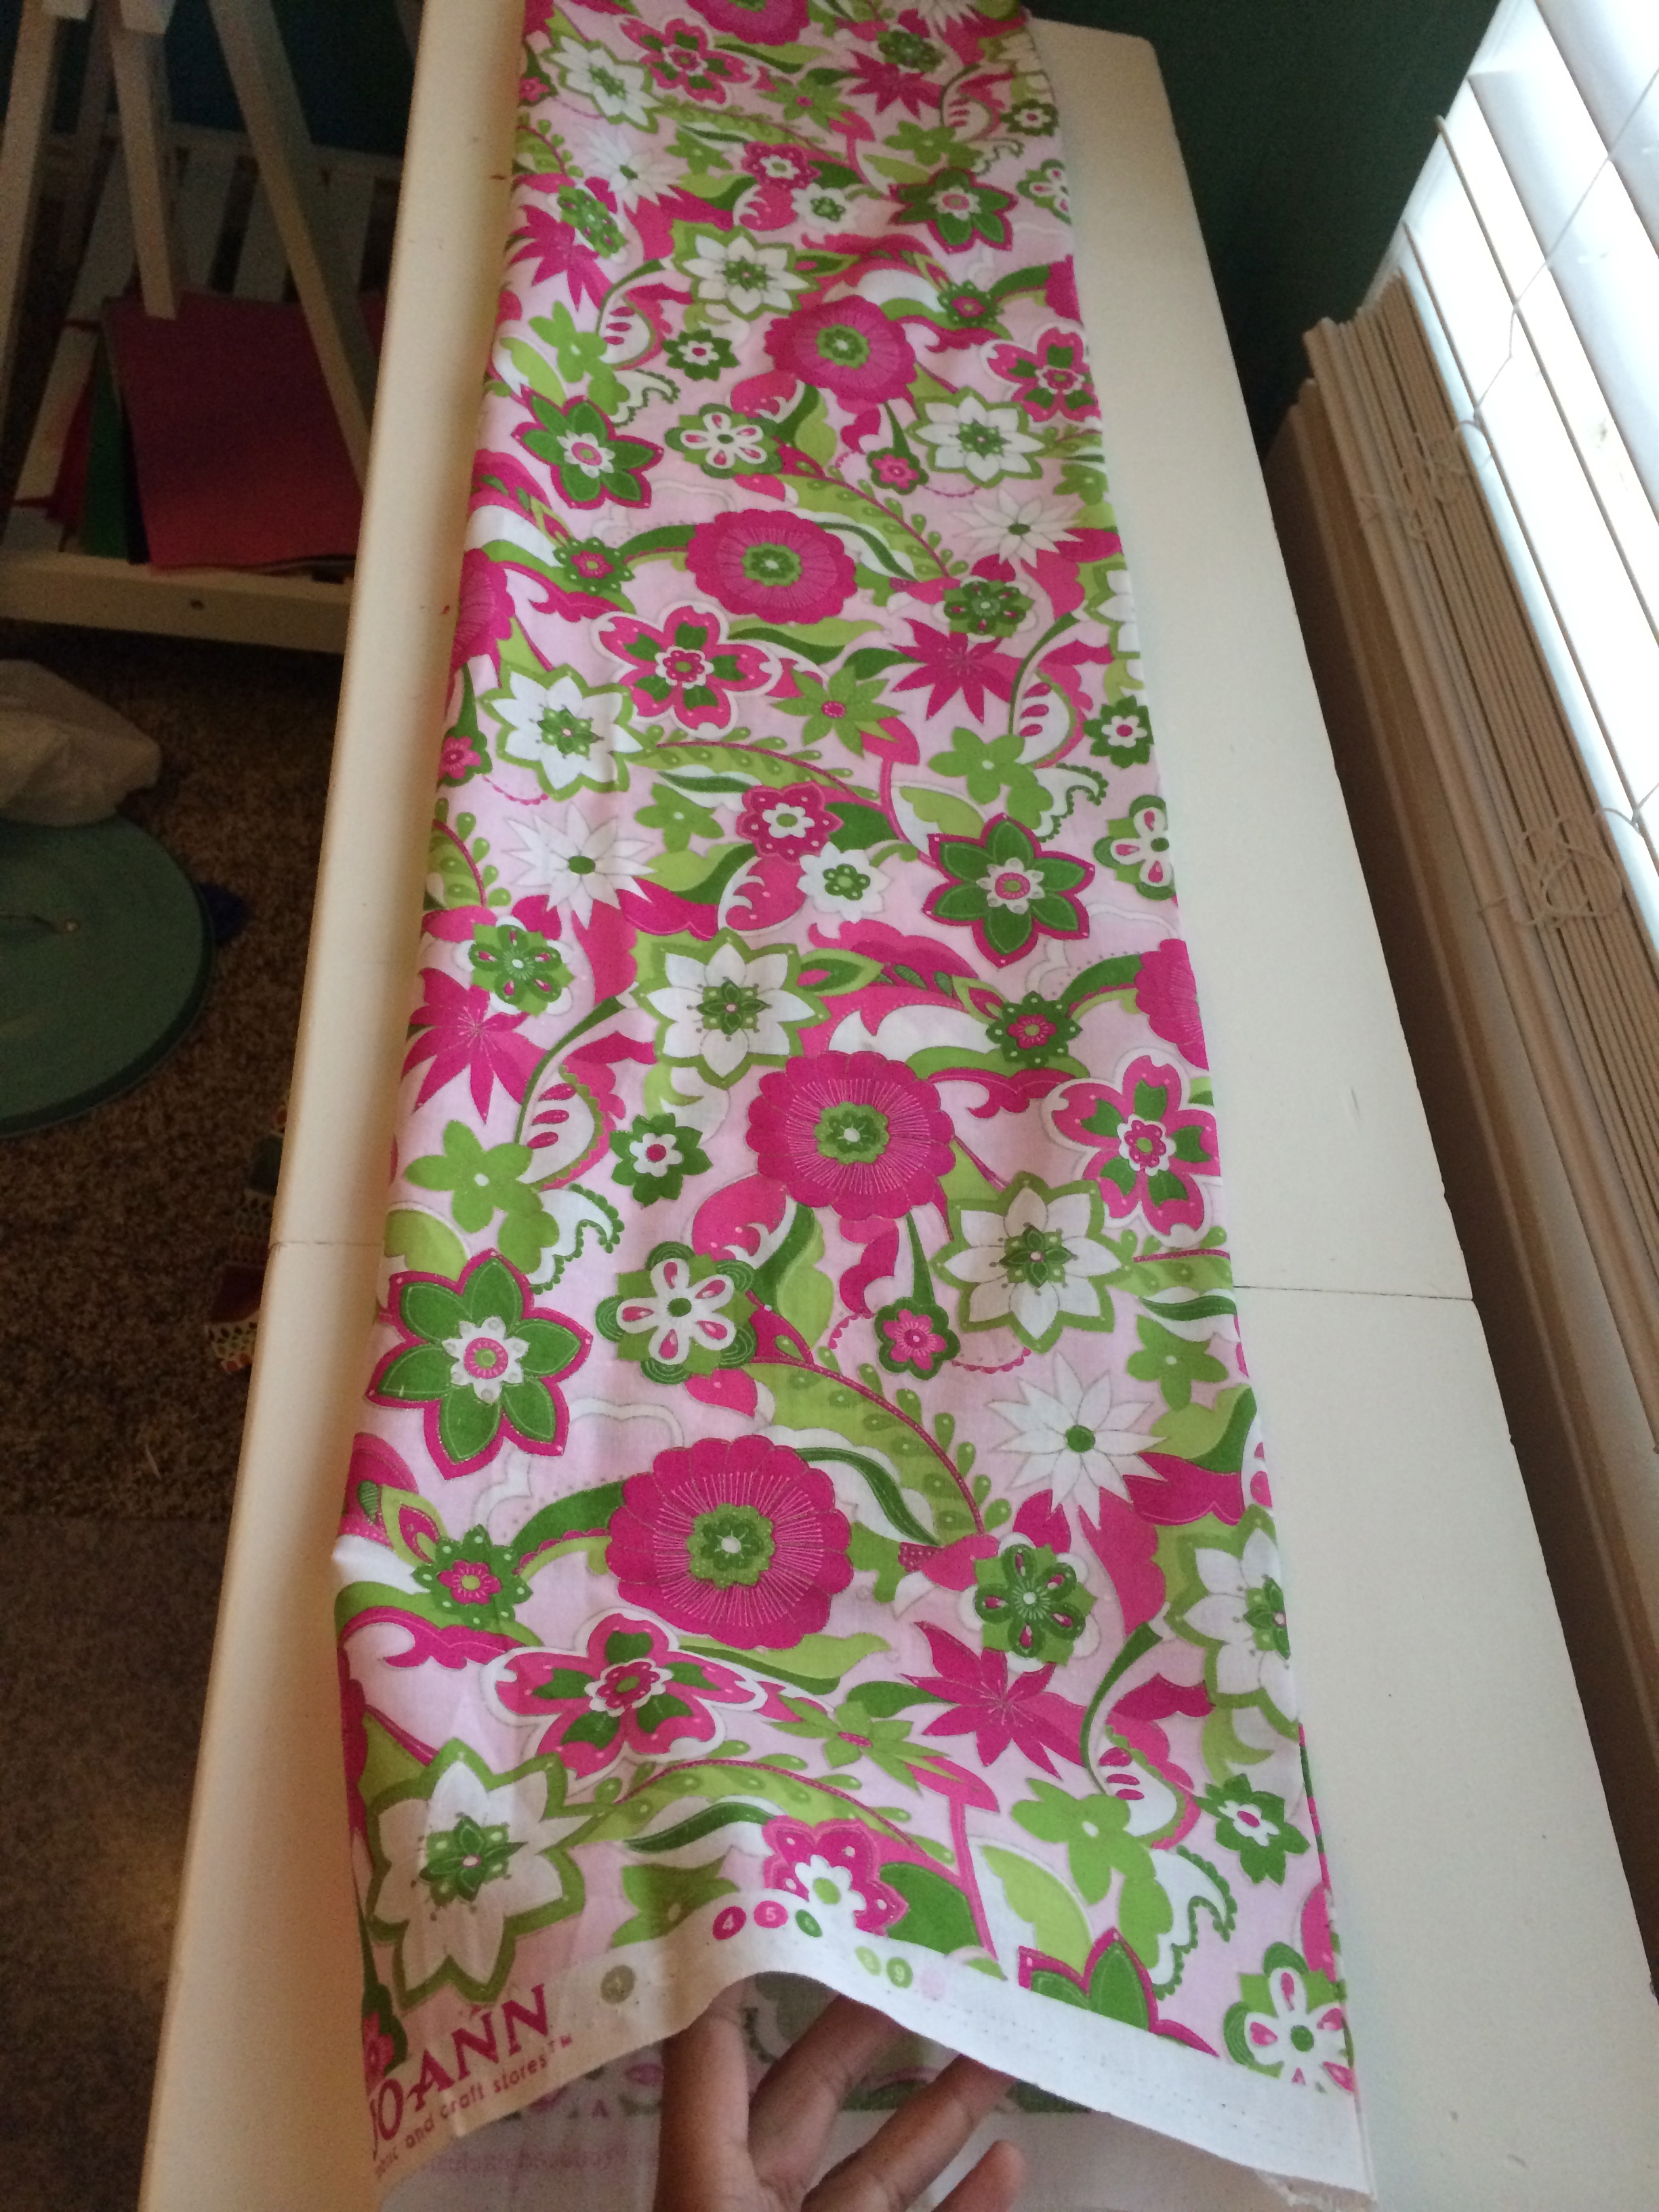
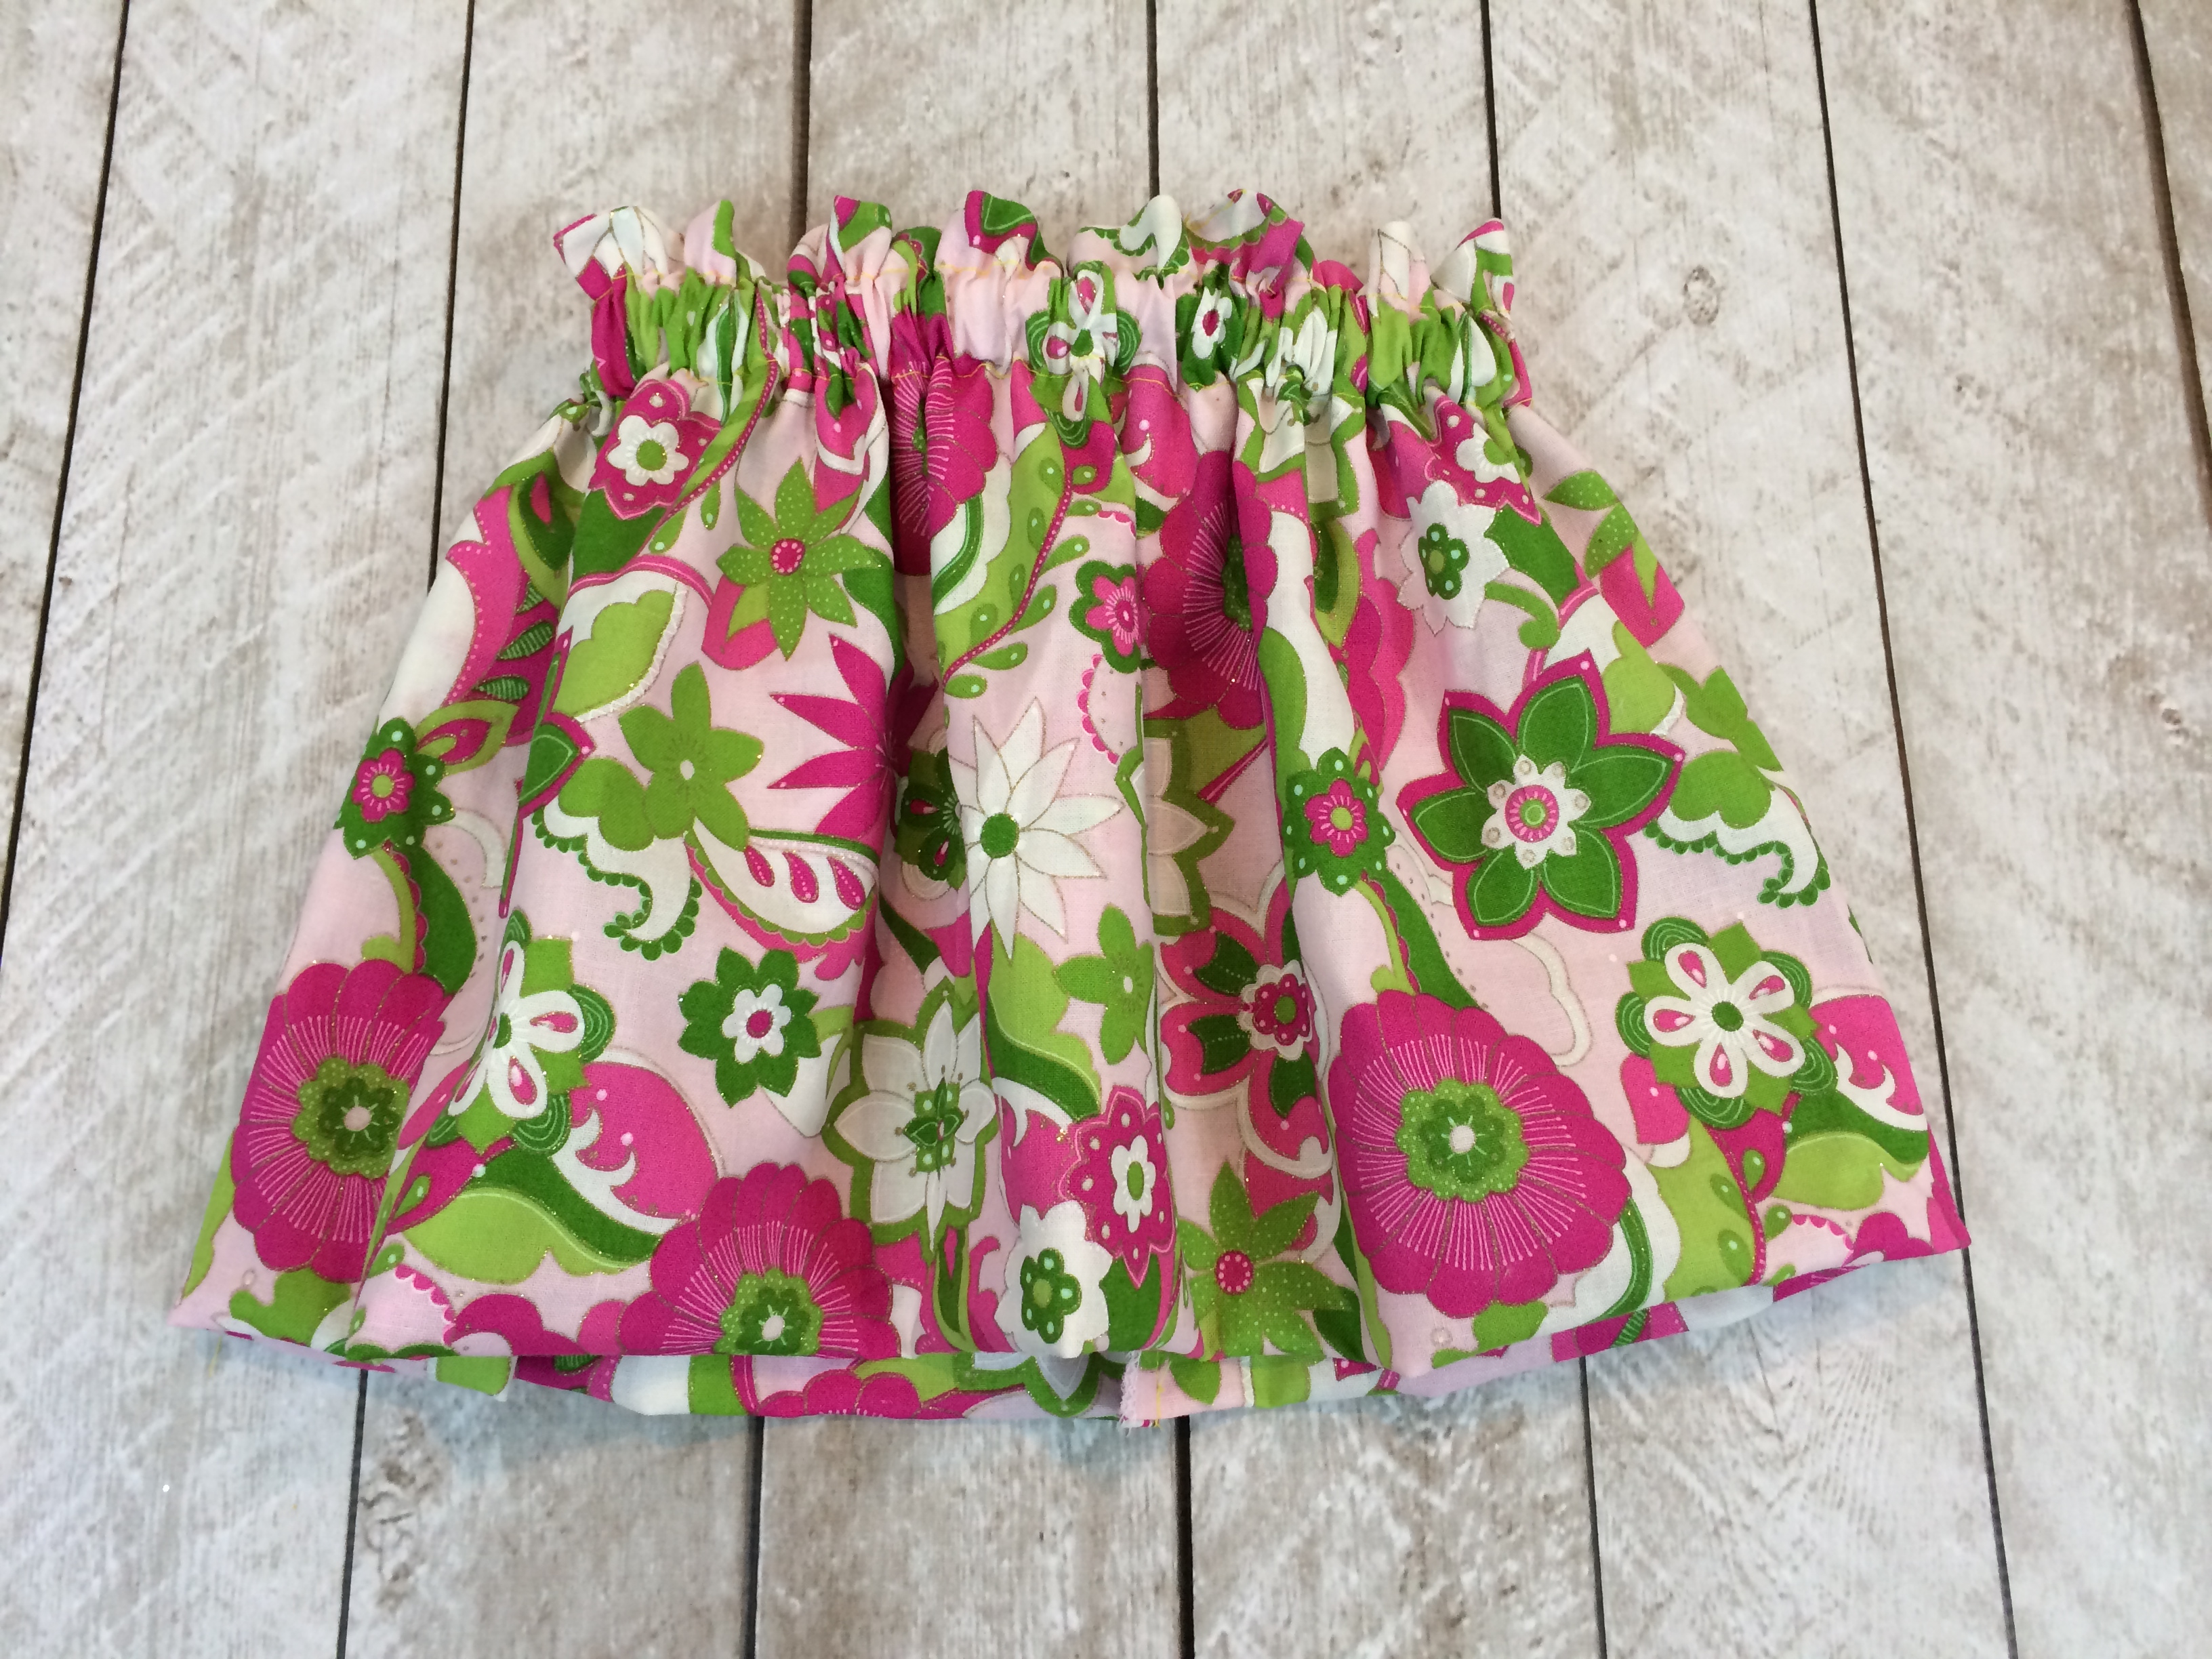
Hope everyone is having a good spring season so far. It’s been beautiful here in the Midwest. My daughter and I have been trying to get as many skirt days in as we can. Here is a little paperbag bubble skirt we did today for our mommy-daughter Sunday project. My little cutie pie picked out this pink and green fabric we found at Joanns. It is complimented with a bright pink polkadot ribbon on the top. This was a super simple and fast tutorial. For a 3T size, it only uses about 1/4 yard cotton fabric. We will definitely be making a few more of these gorgeous skirts for the summer.
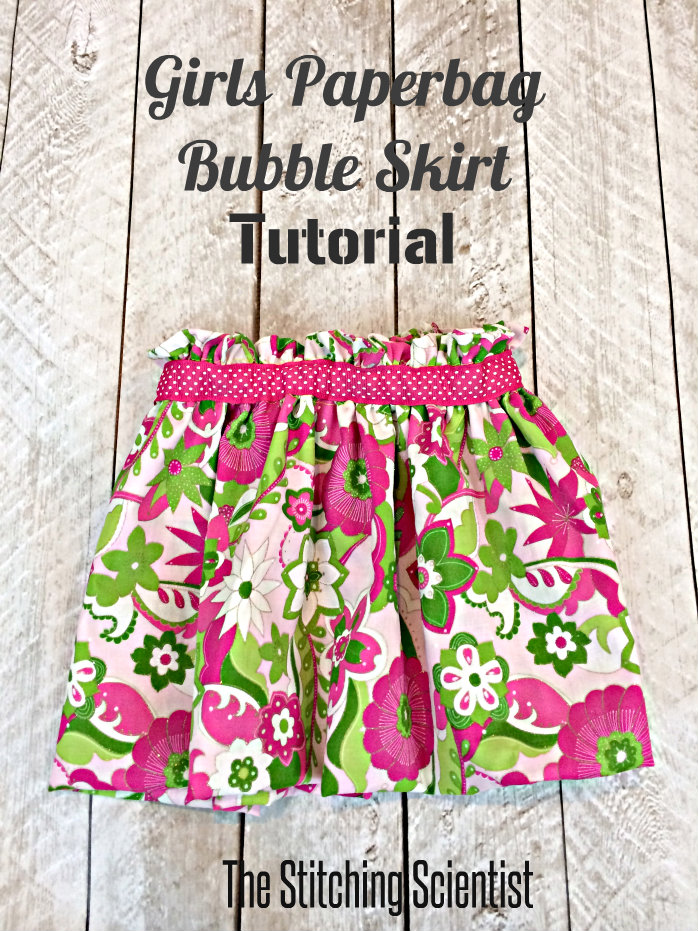
I think the folded bubble design makes the skirt a bit fuller and heavier at the bottom. This skirt also looks great under leggings for colder weather. I love how bright and bold this fabric is. Mila really did a good job in her selection:-)
Your Supplies
1/2 yard for 3T
1″ Elastic
1″ Ribbon
Measurement
Length (2 times waist)
Width (2 times length plus 6″)
Elastic (waist minus 2″)
For my 3T size my final fabric measurement was 40″ x 22″. You may need to sew pieces together to get your dimensions before starting the project if you are working with a smaller width fabric.
First fold your fabric in half right sides together lengthwise and sew the two ends together.

Turn it right side out and iron down the seam.
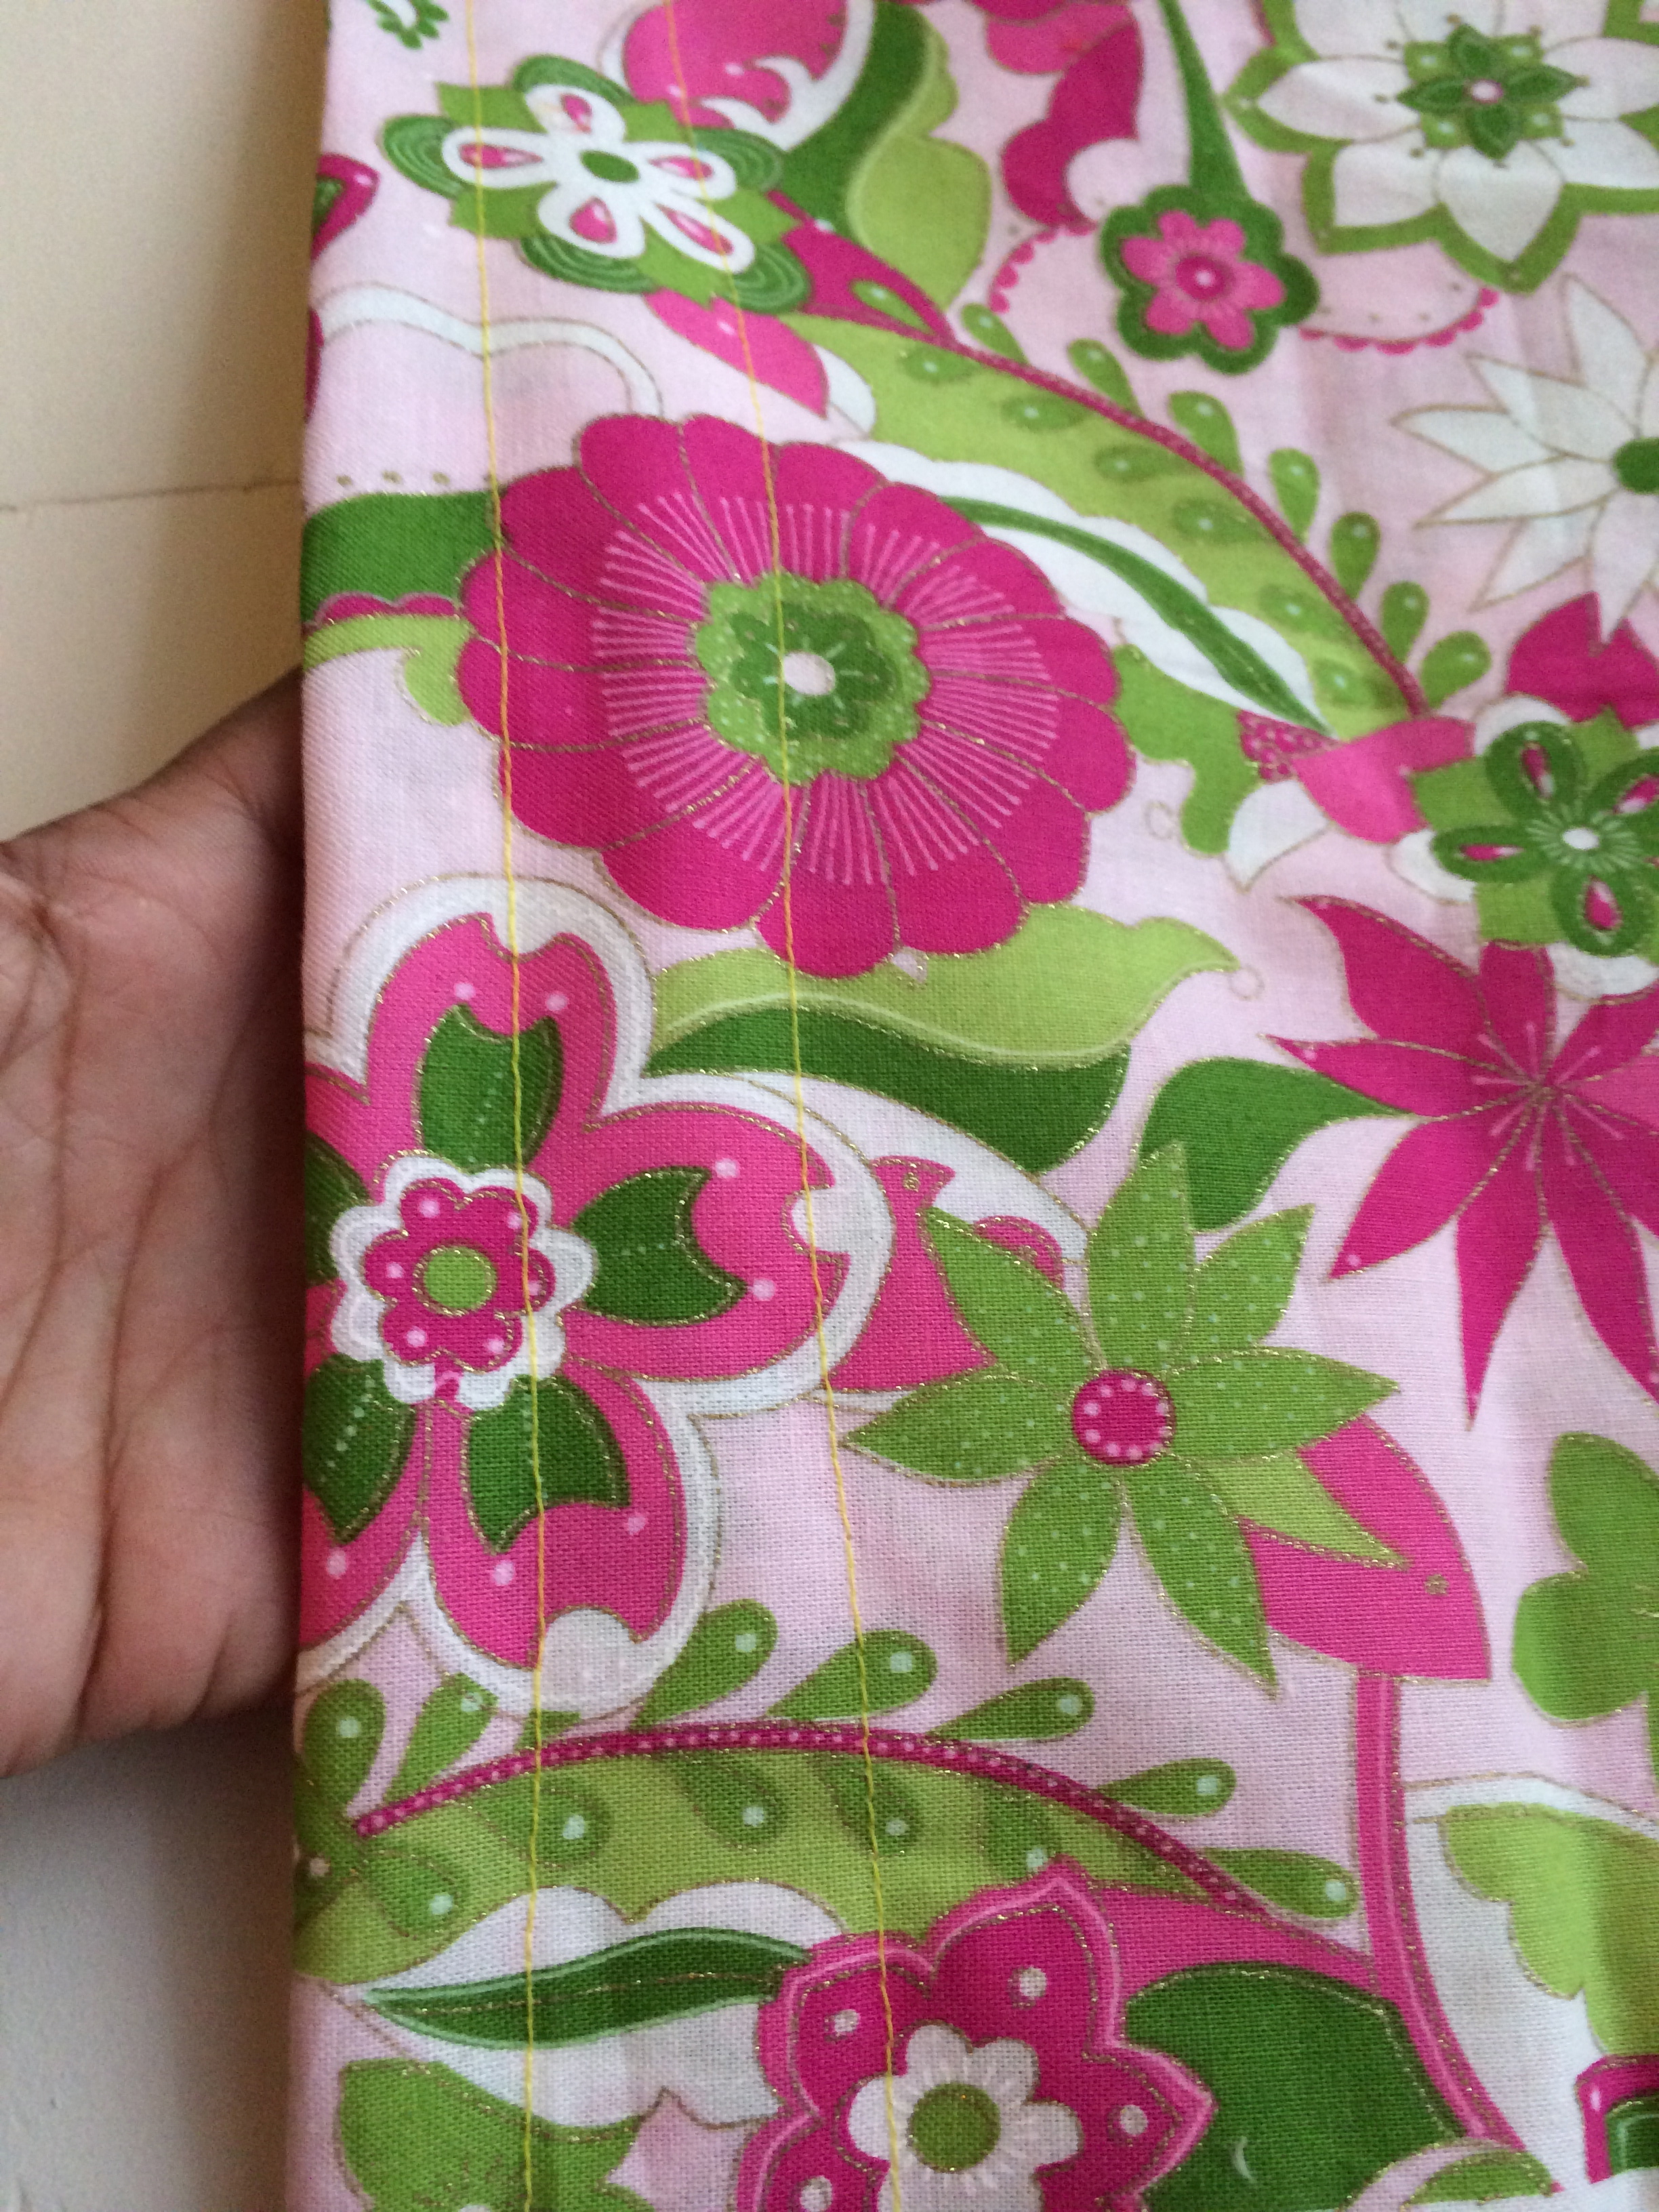
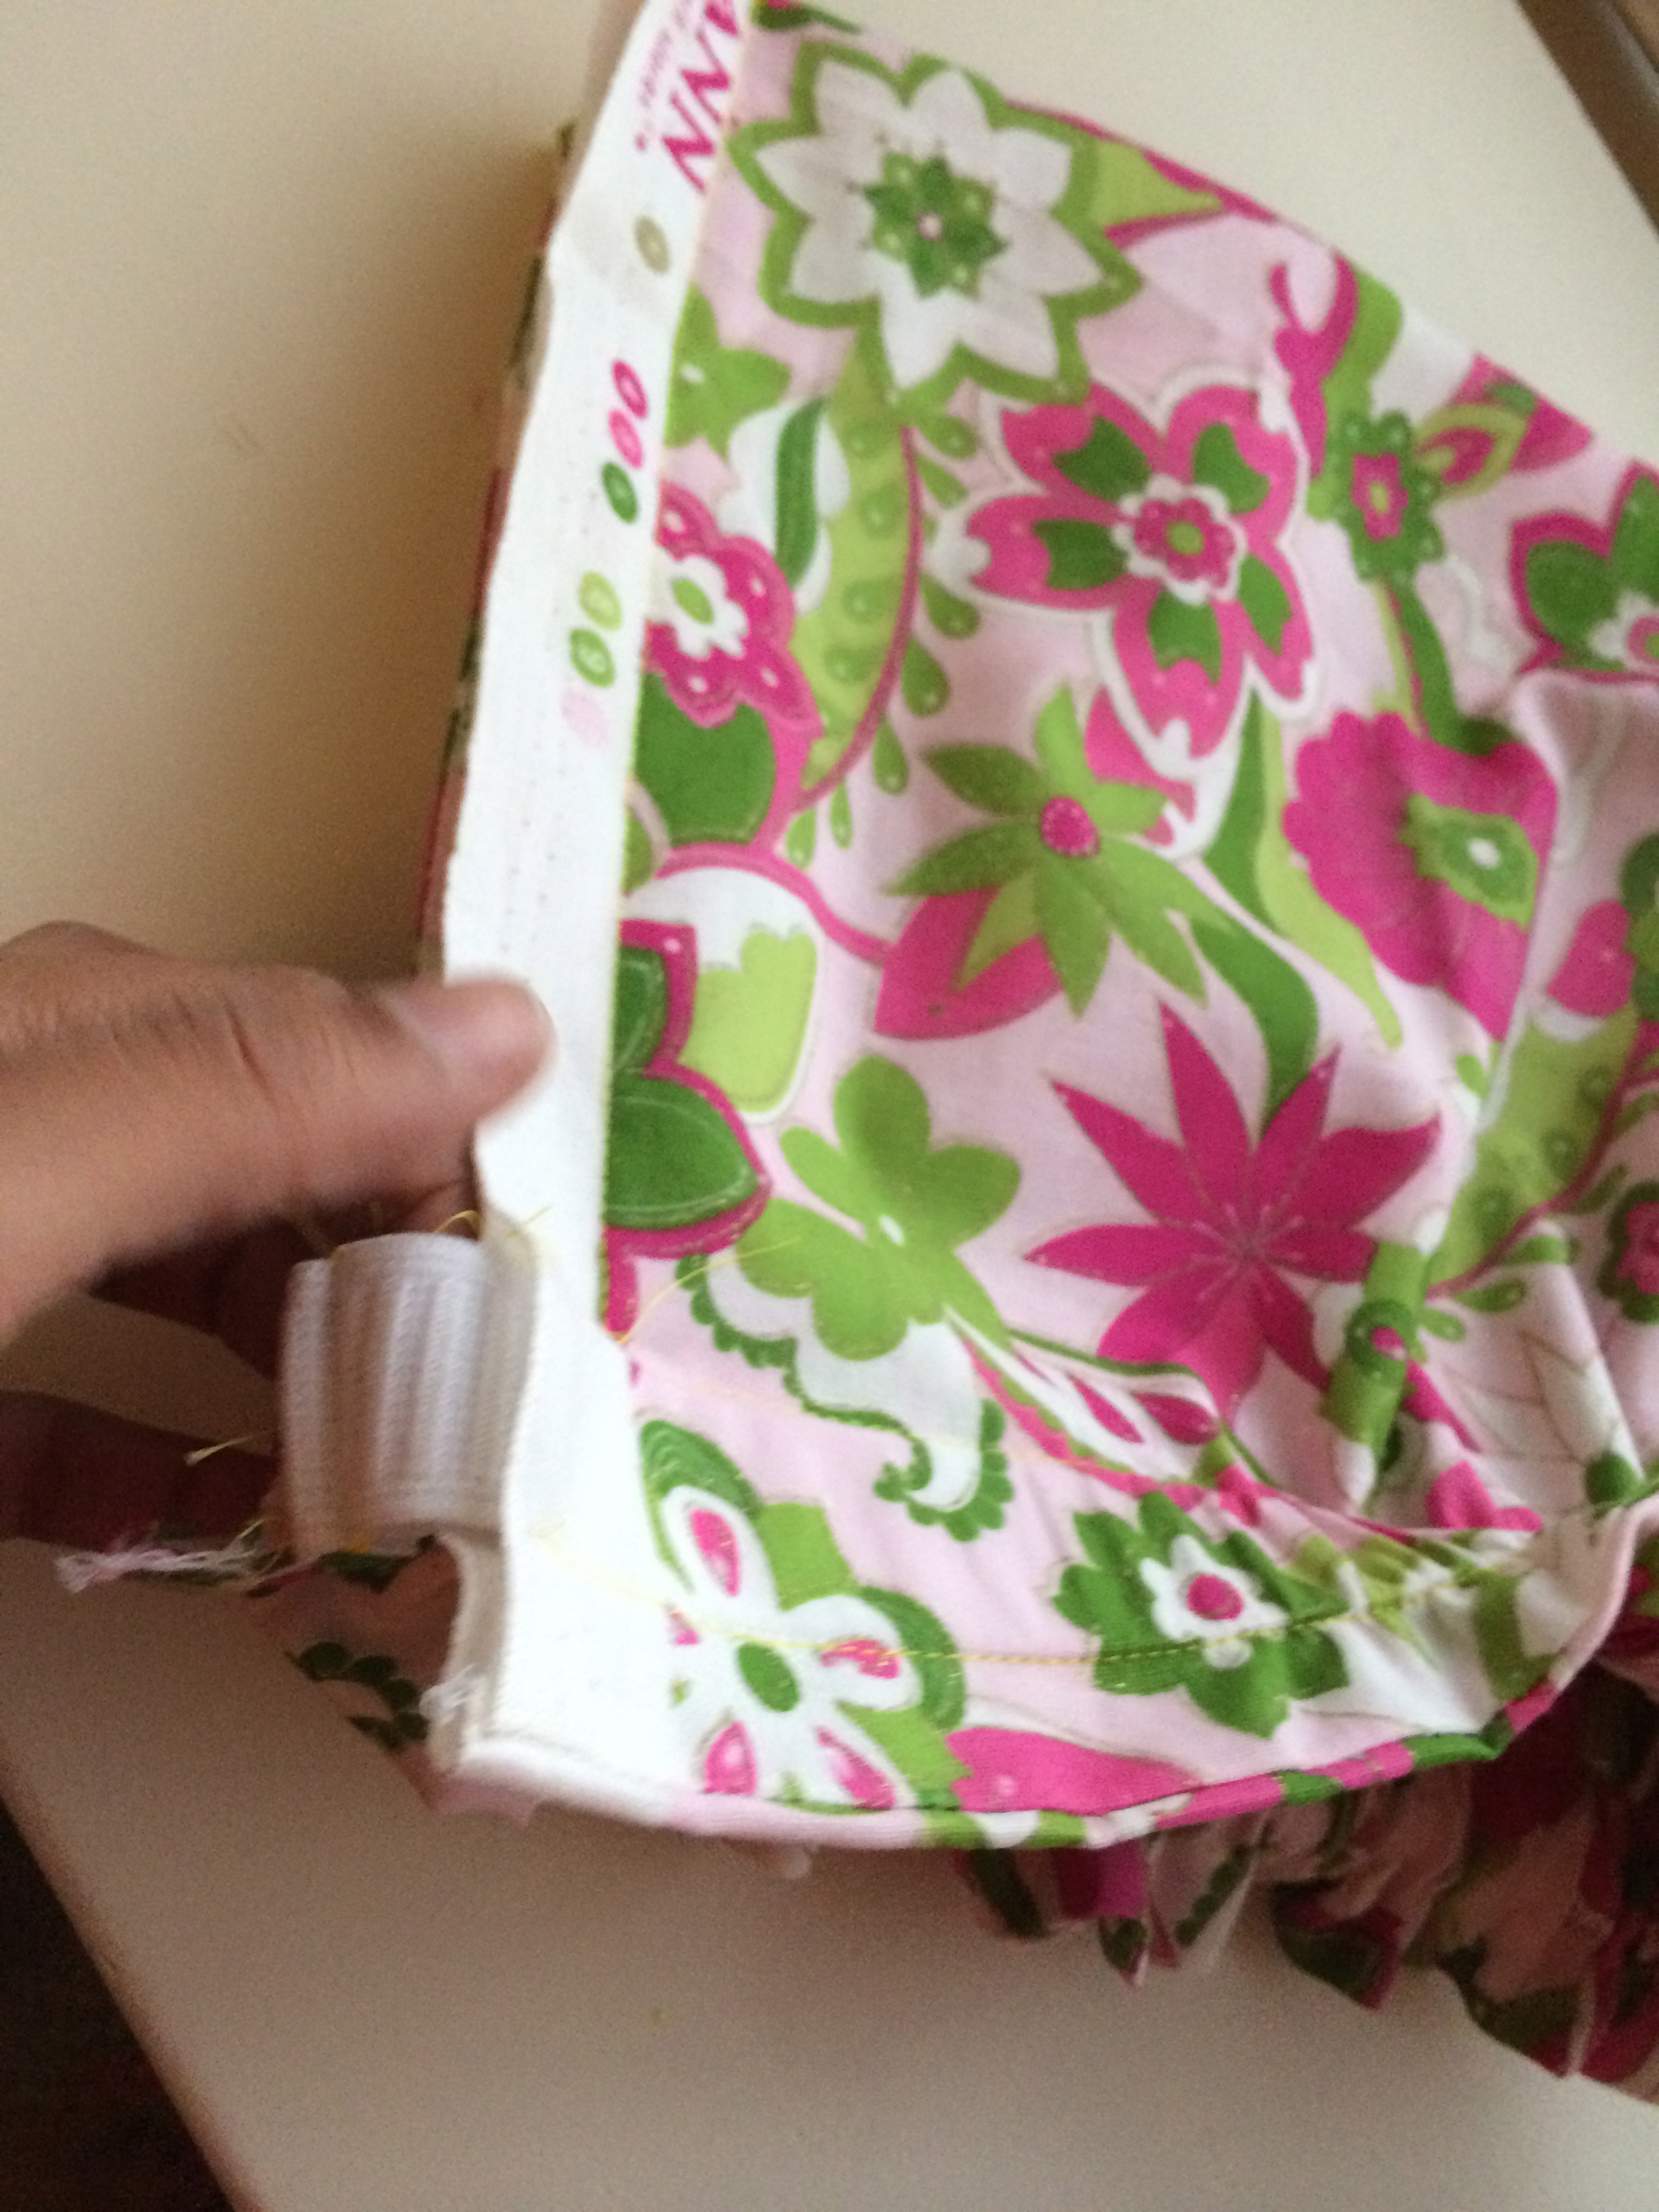
Sew two lines from the top. The top is where your edges meet. The first line is 1.5″ from the top and the second line is 1.5″ from the first line.
Attach a pin to the end of your elastic and thread it through the middle of the two lines. Sew both ends of the elastic together.
Sew the two sides of the skirt together by sewing all the way down the side. Trim and serge or zig-zag to prevent fraying.


Pull and set the elastic neatly on the top of the skirt.
You can stop here if you don’t want the ribbon. If you want to sew the ribbon, you can top stitch the two edges of the ribbon all the way around the middle of your two lines, folding in the ends when you reach the back.
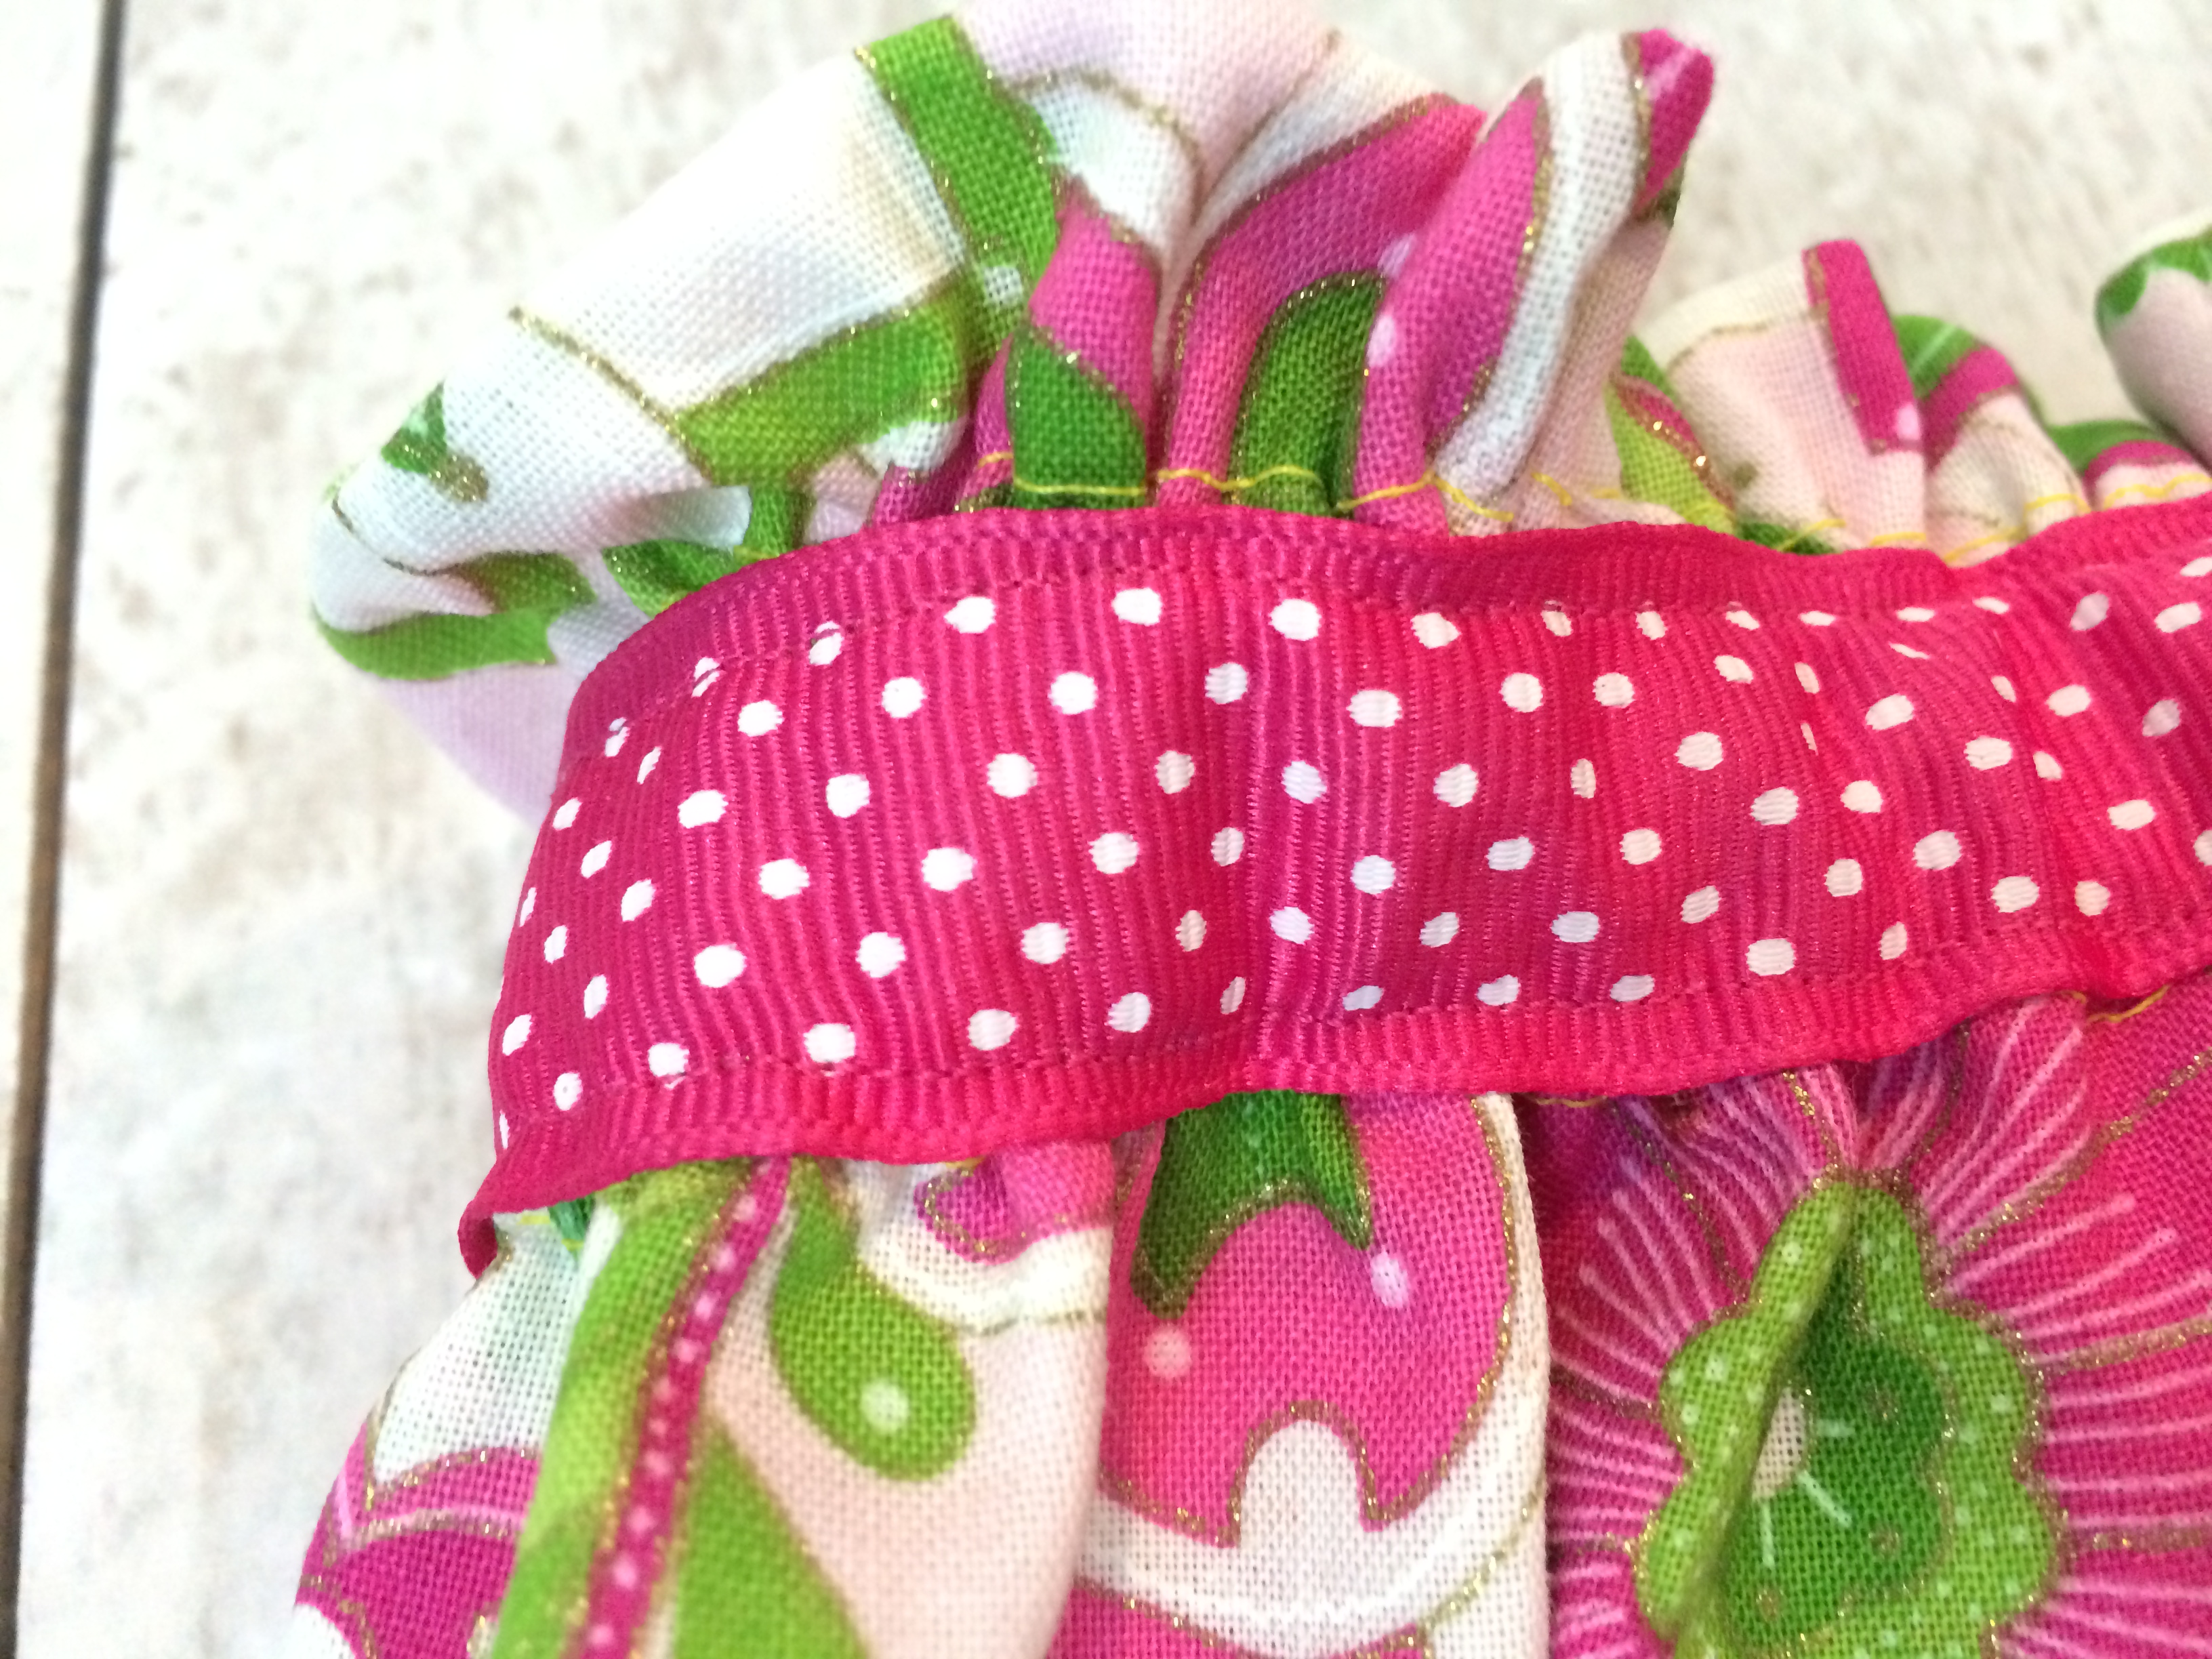
That’s it! You are done.