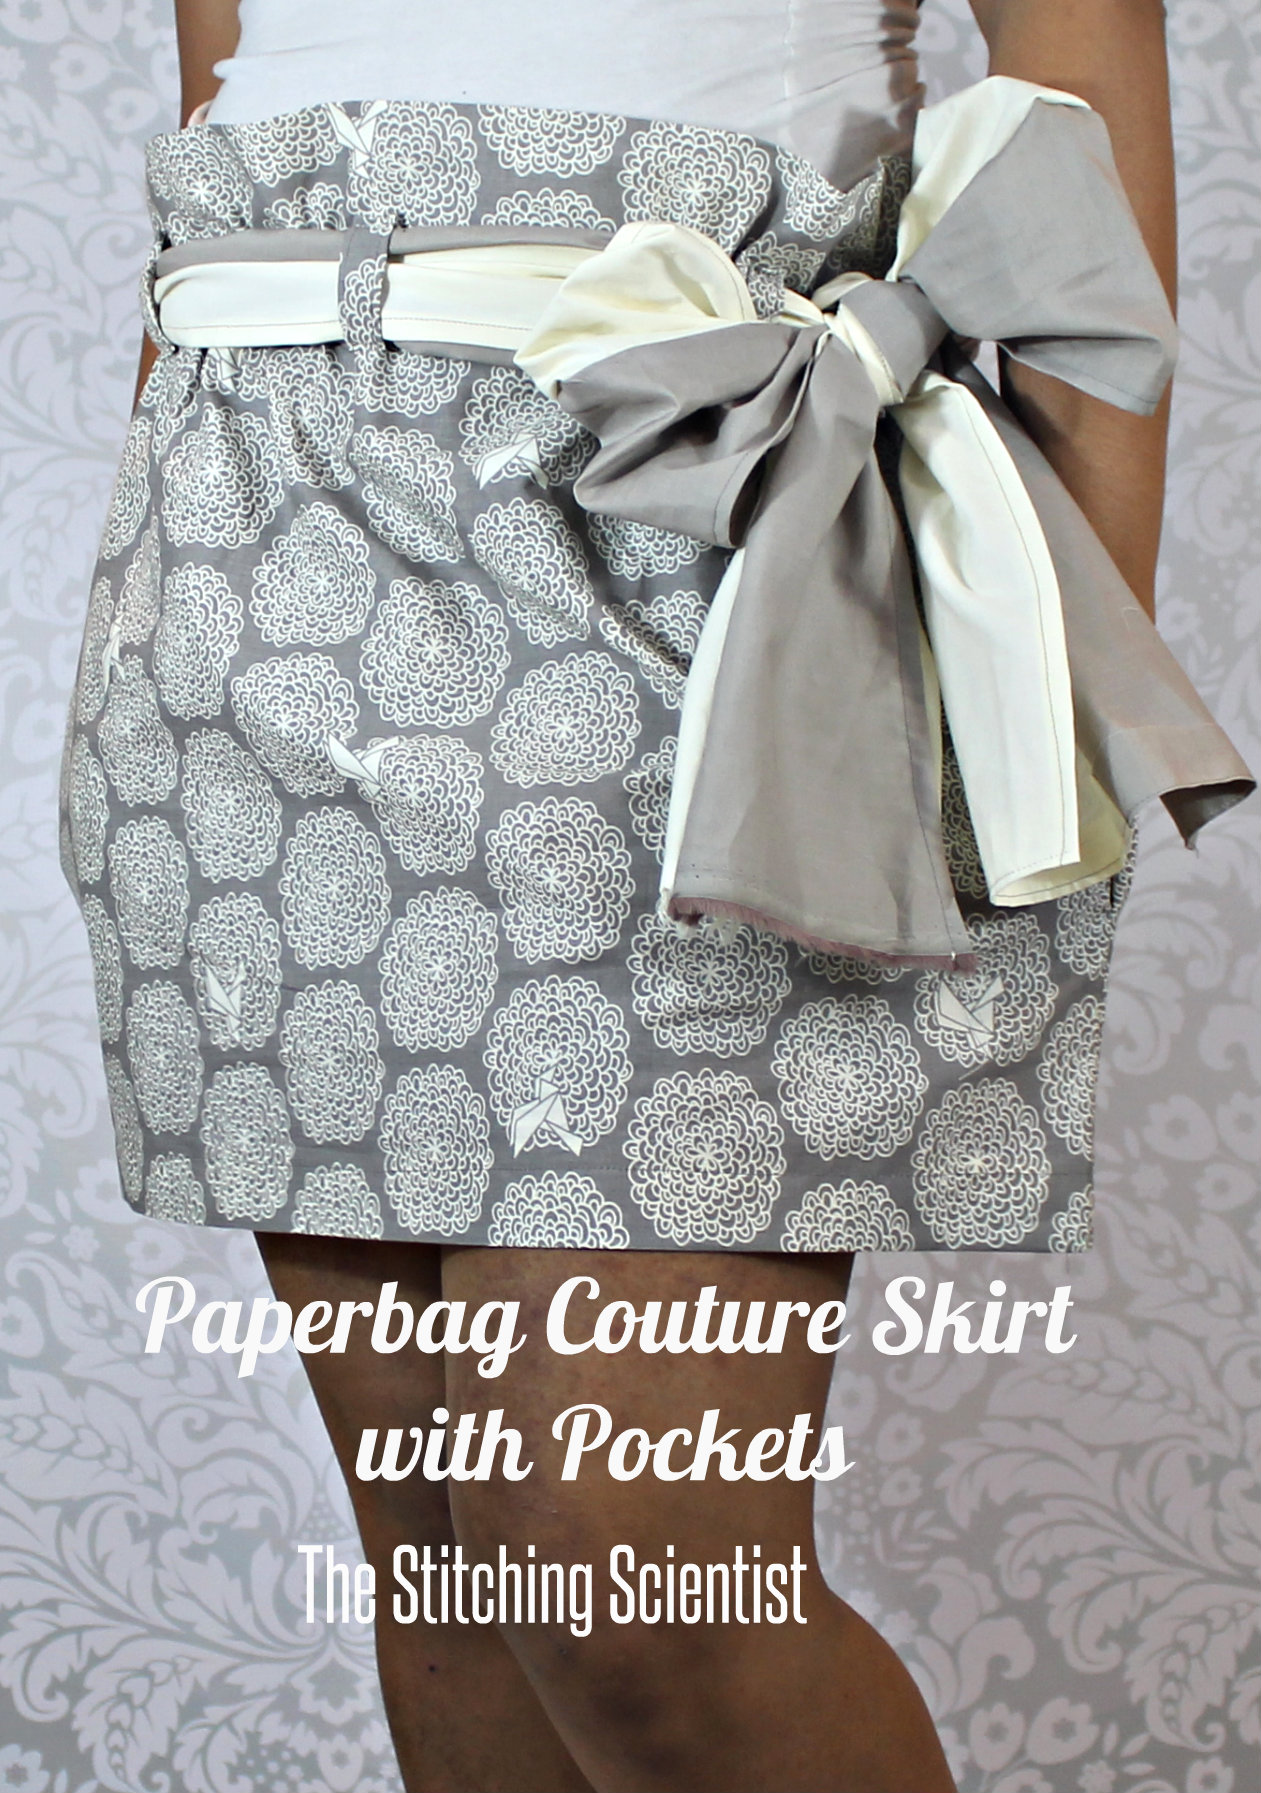
I have always wanted to make a cute mini paperbag skirt that I could dress up for a date or wear with a blazer for work. When I received this gorgeous Bird and Blossoms Shroom print from Fabricworm , I knew it would work perfectly as a paperbag skirt with a large complimentary couture style dual color side bow. This print is from the Eiko line from Jay-Cyn Designs for Birch Fabrics. I love the cream florals on the dark gray background. I think it will work well with a white or cream top. The solid colors from the belt are from Jay-Cyn Designs for Birch Fabrics Mod Basics Collection. I used the Shroom and Cream solids. For this skirt I wanted to go outside of my box a bit and give the classic paperbag design a couture look with a removable large side bow. I think for a date night I will keep the bow and for work or a more casual look, I may swap it out for a large leather belt from my closet. I also decided to add pockets to this skirt which I know will come into to good use for carrying my phone or finding a place for my hands during conversations and such. I am definitely getting my hands on some more fabric from this line for another upcoming project. I am thinking about doing a shift dress for work or a tunic for my daughter. Check out the entire collection from this line at Fabricworm.


To make this paperbag skirt you need:
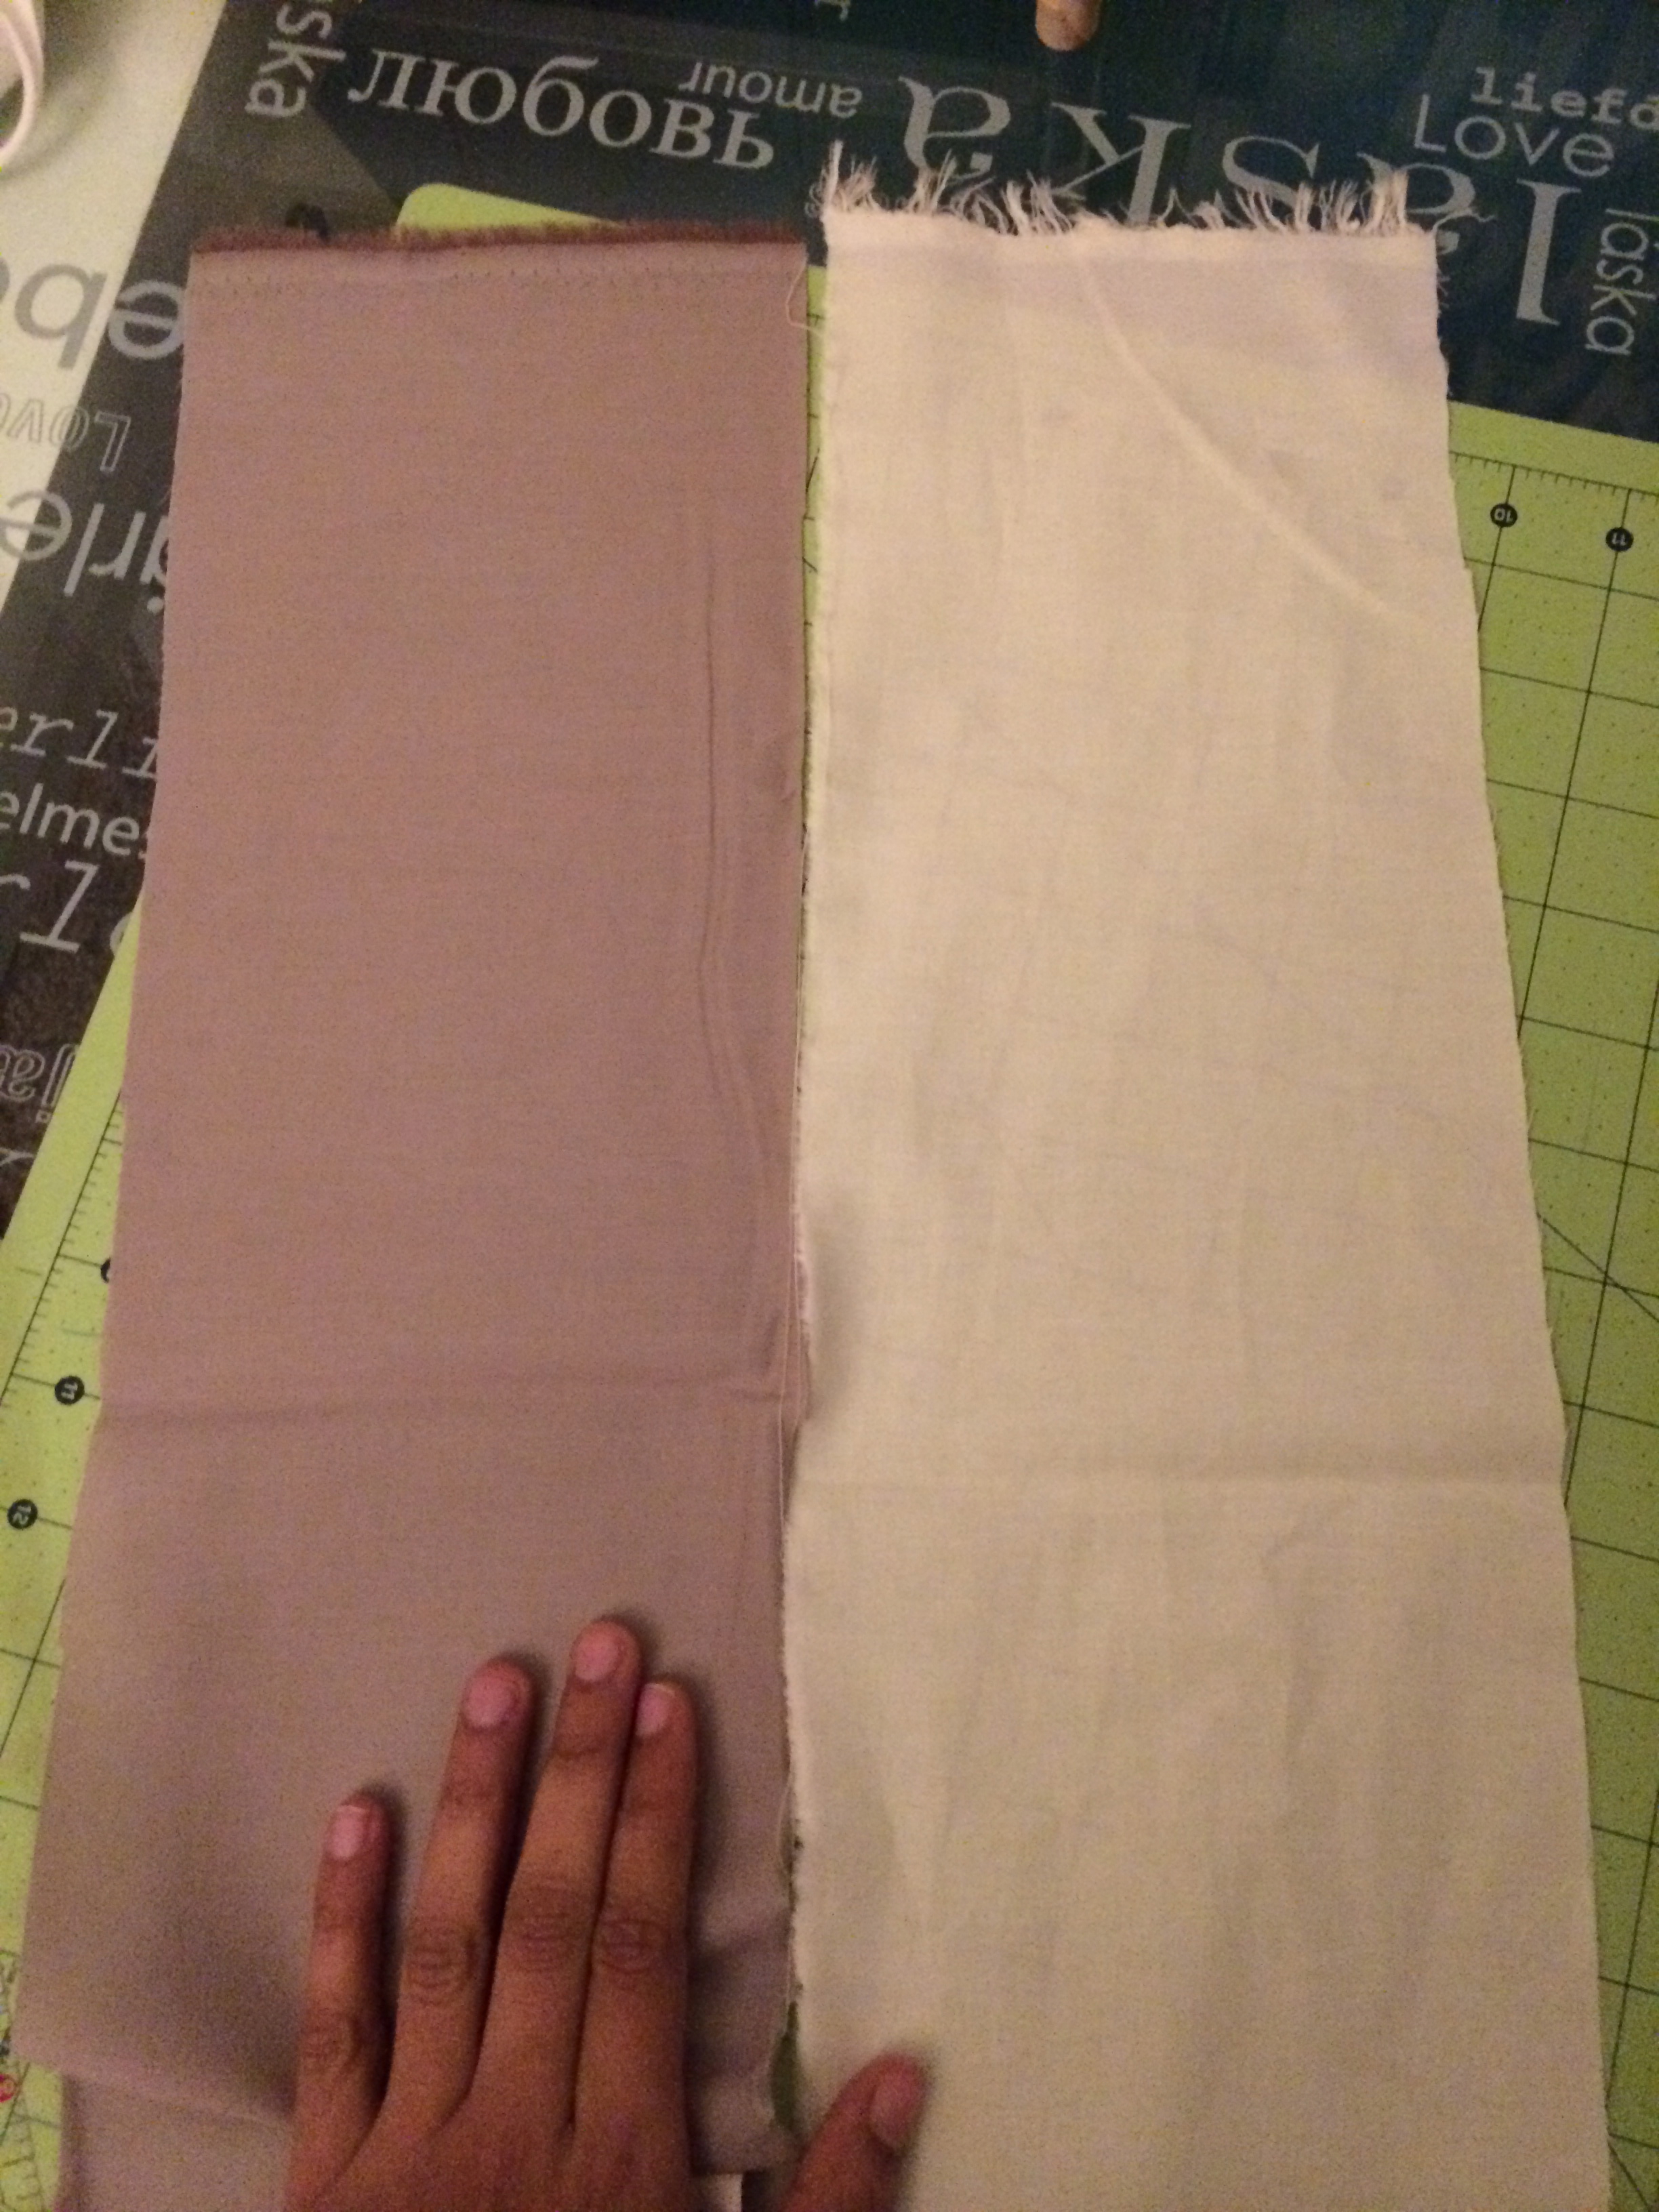
1.5 yards cotton
1/4 yard each of two solid cotton for belt
1″ elastic
Measurements:
Skirt body 2 pieces:
Width : around the biggest part of your hip (usually around your rear end) divide by 2 + 3″.
Length: from waist to however long you want the skirt + 5″.
Belt: 6″ x (3x waist)
Elastic: waist subtract 4″.
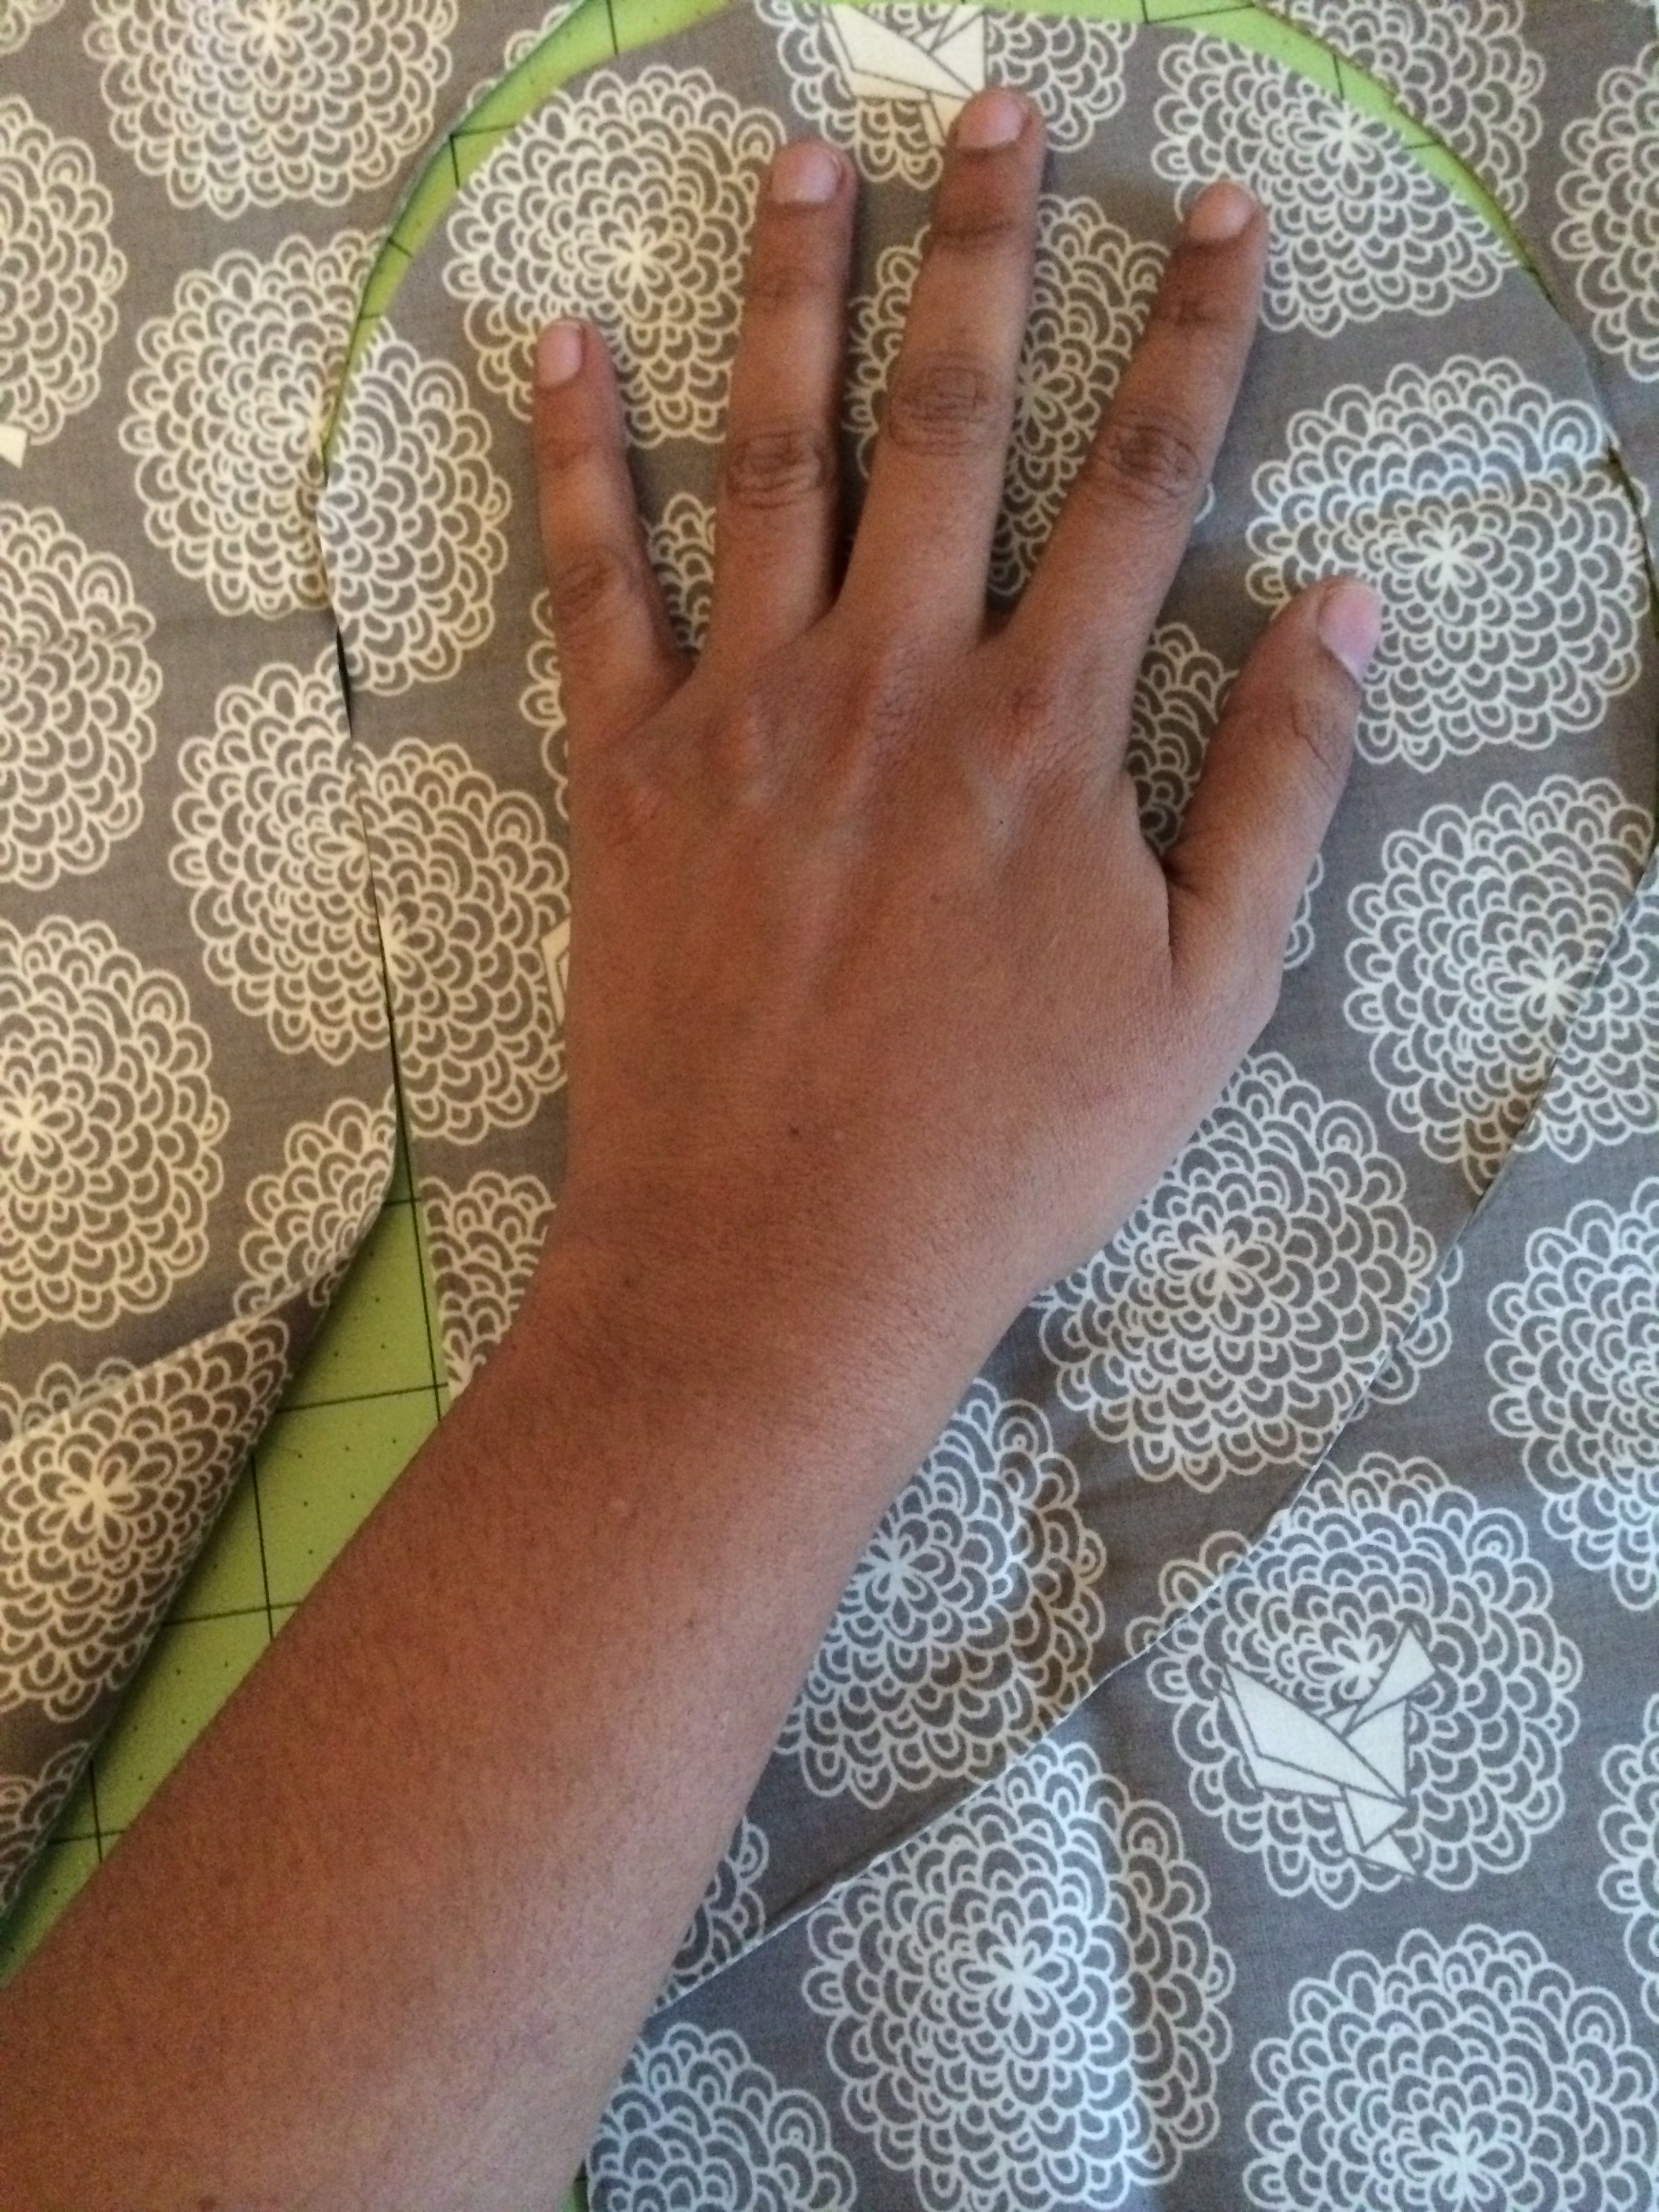
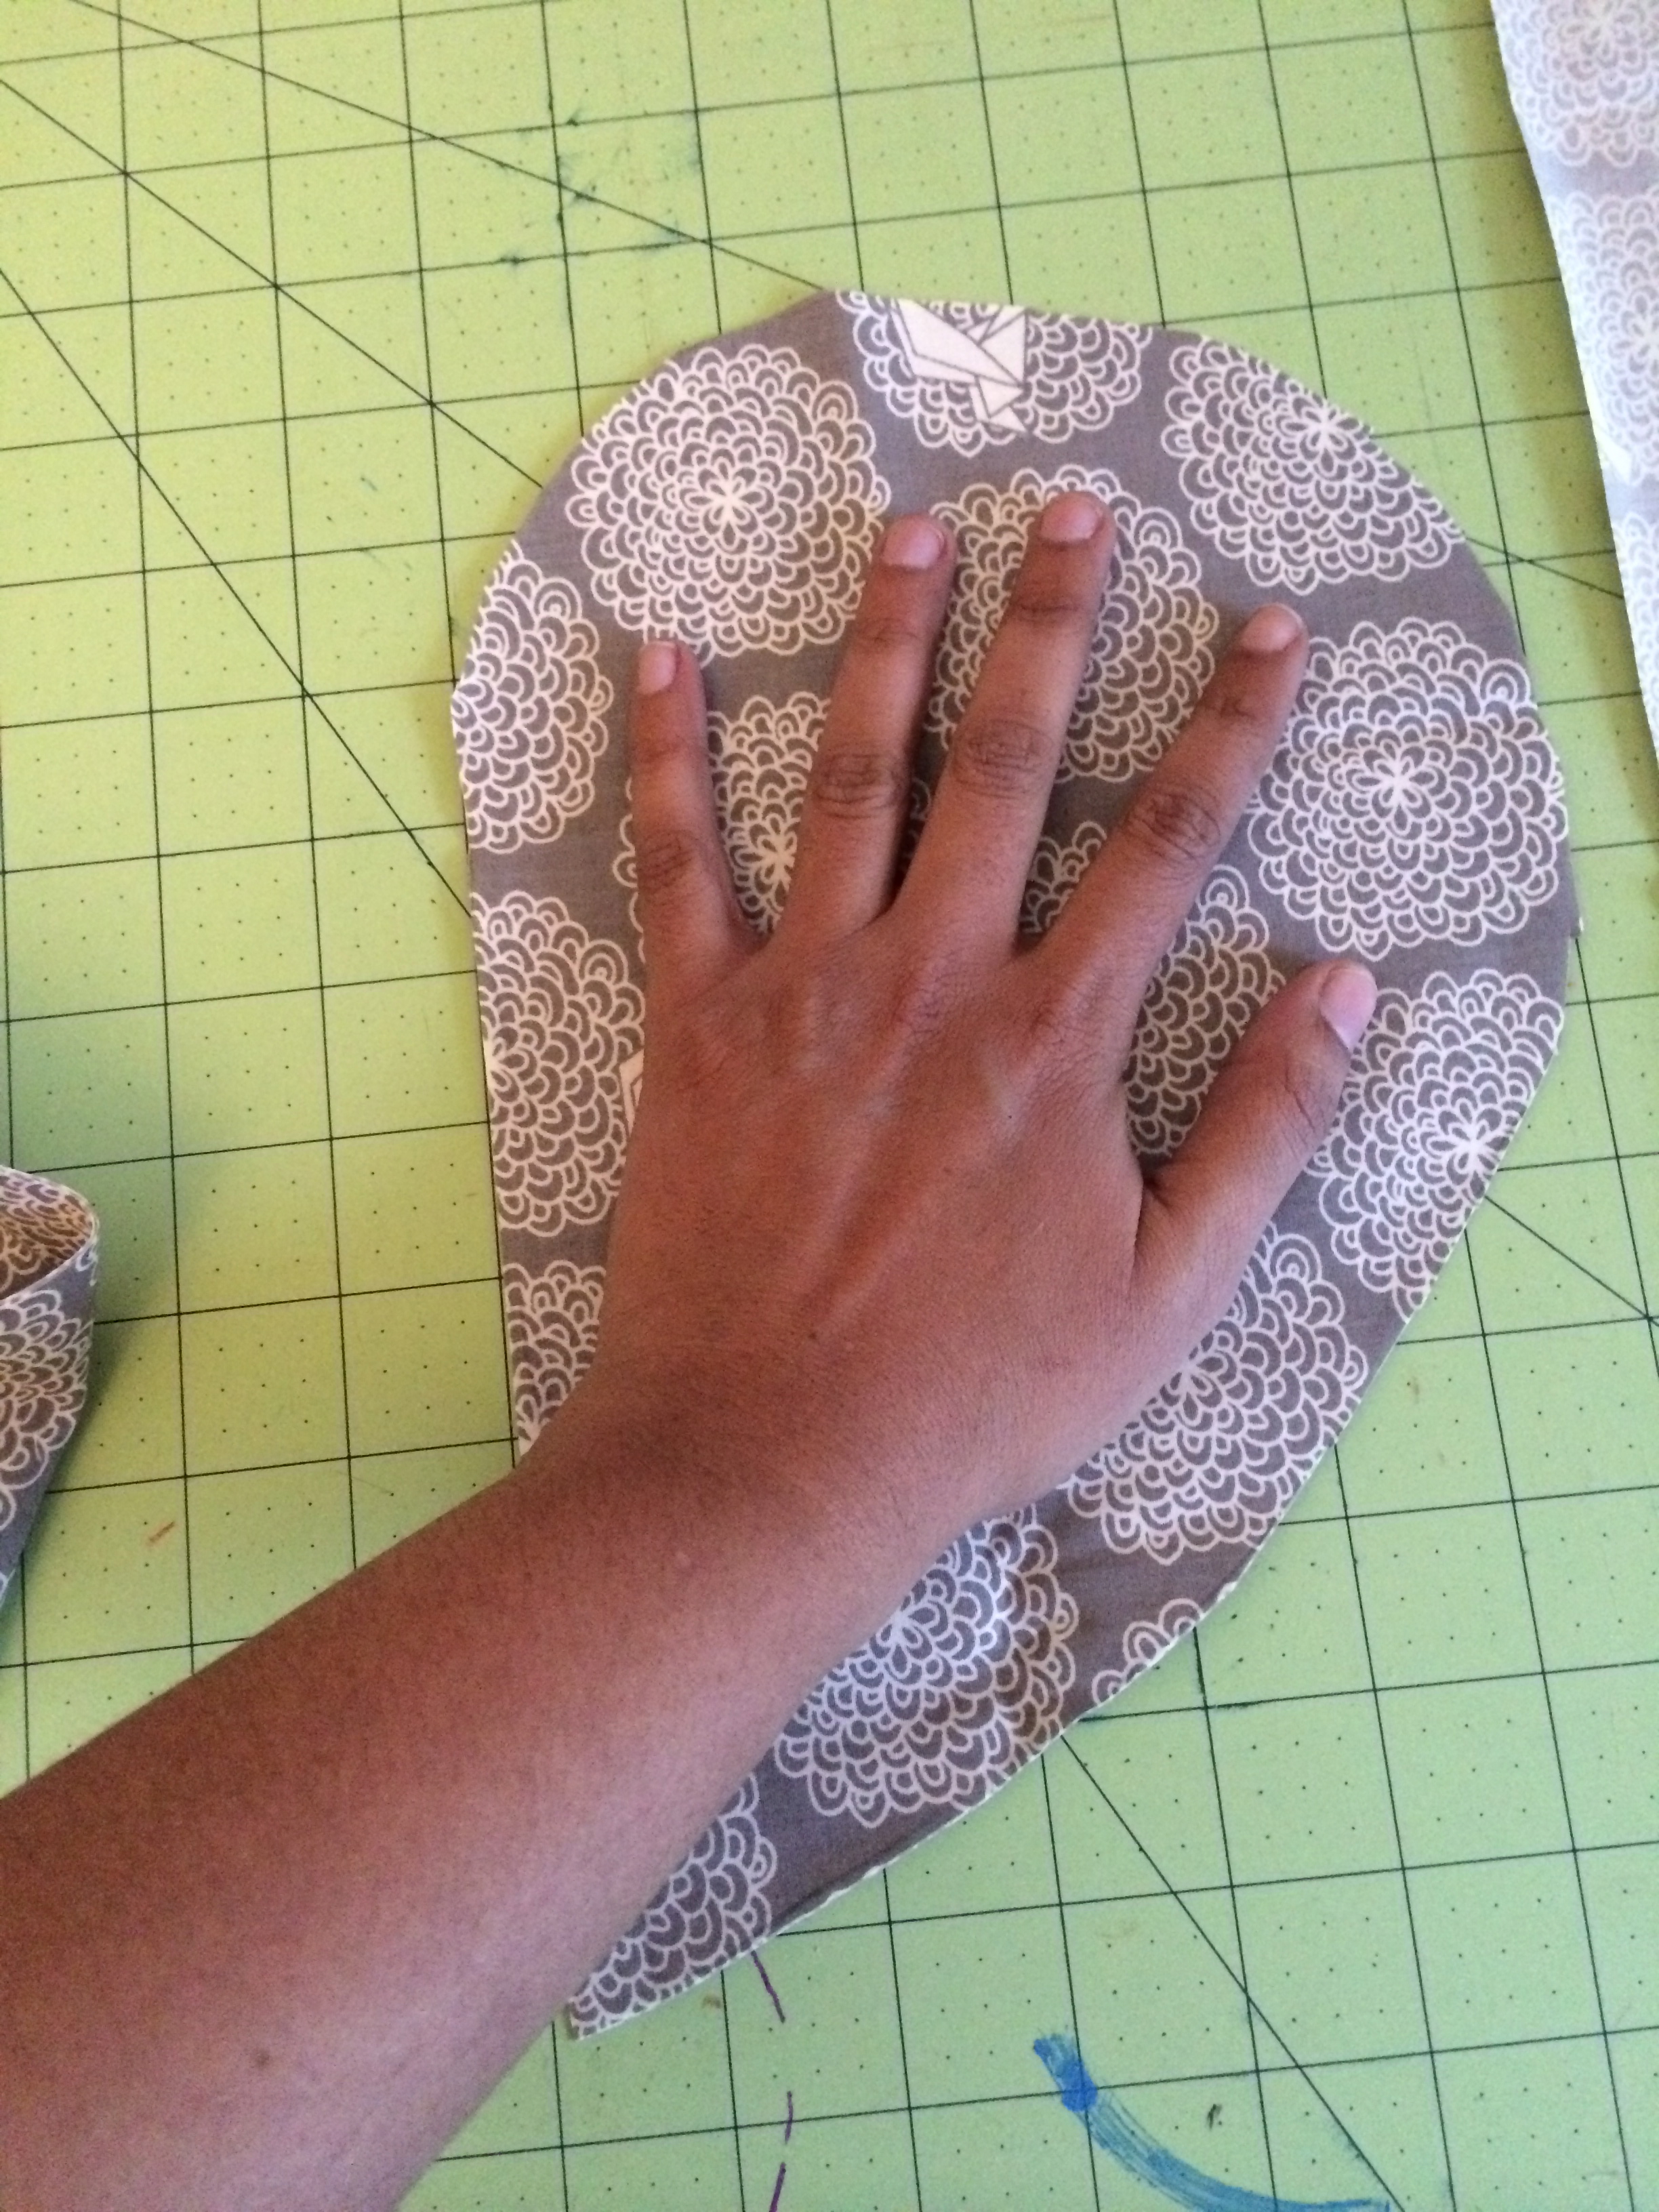
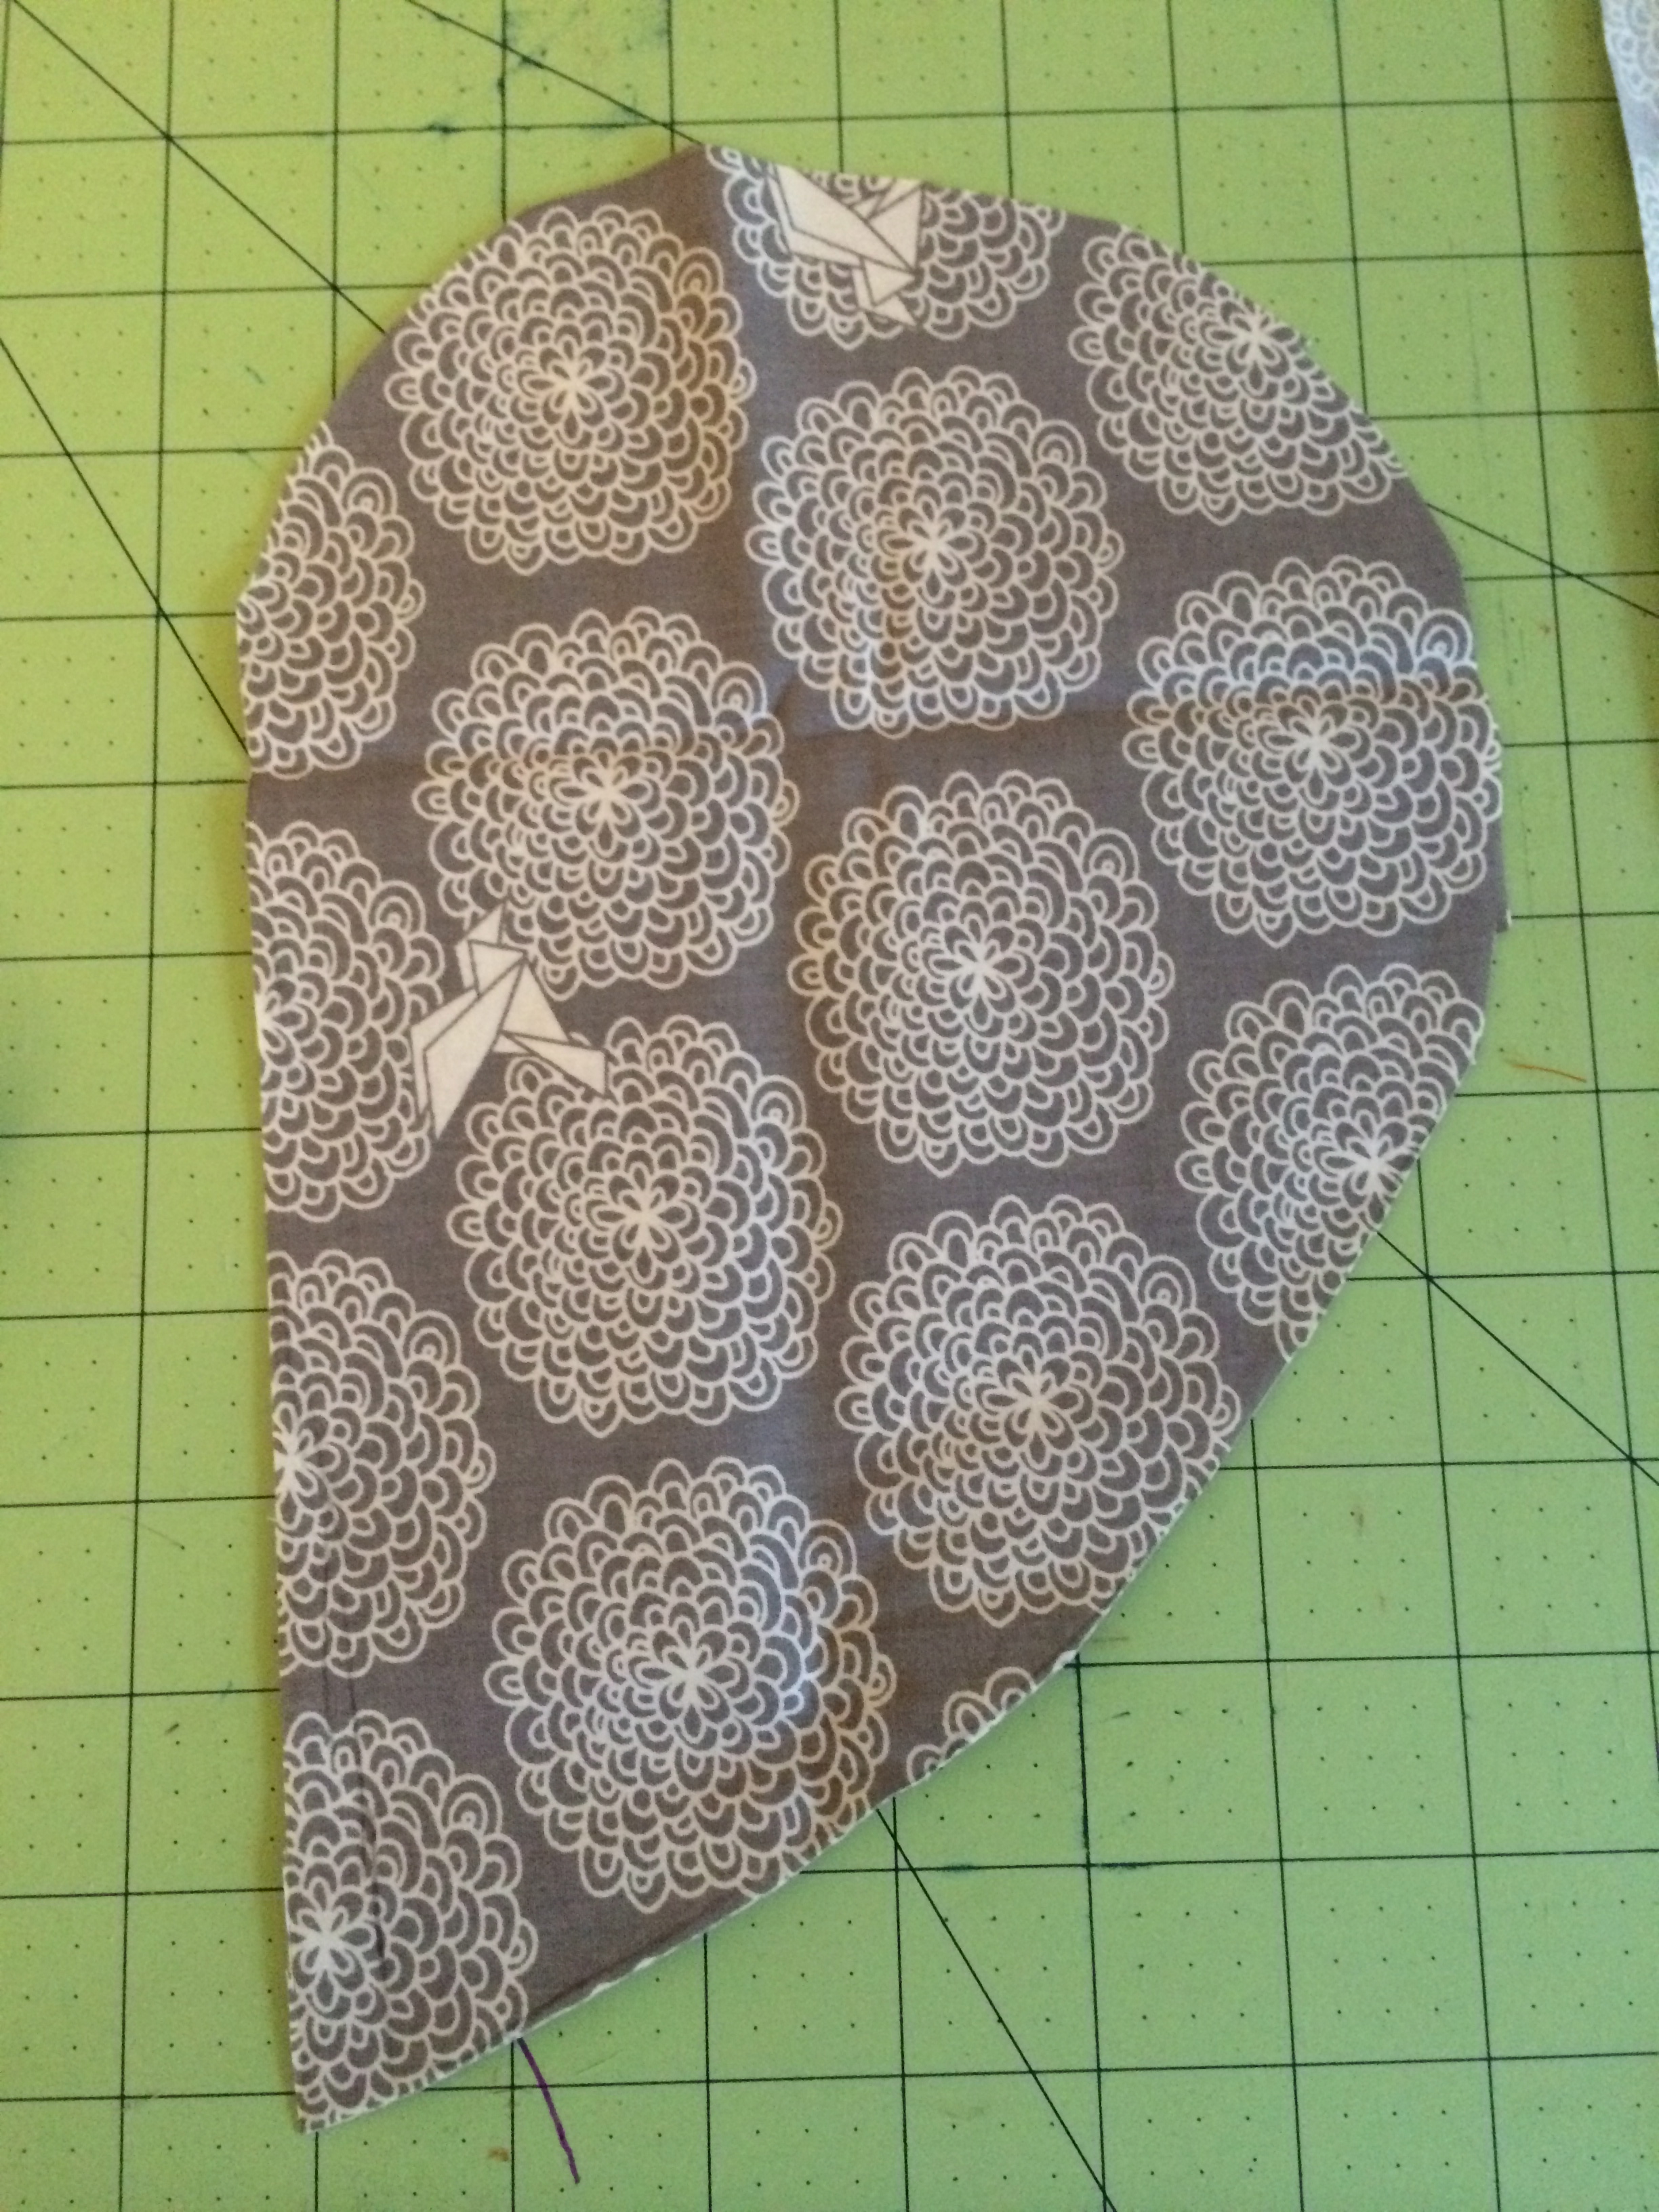
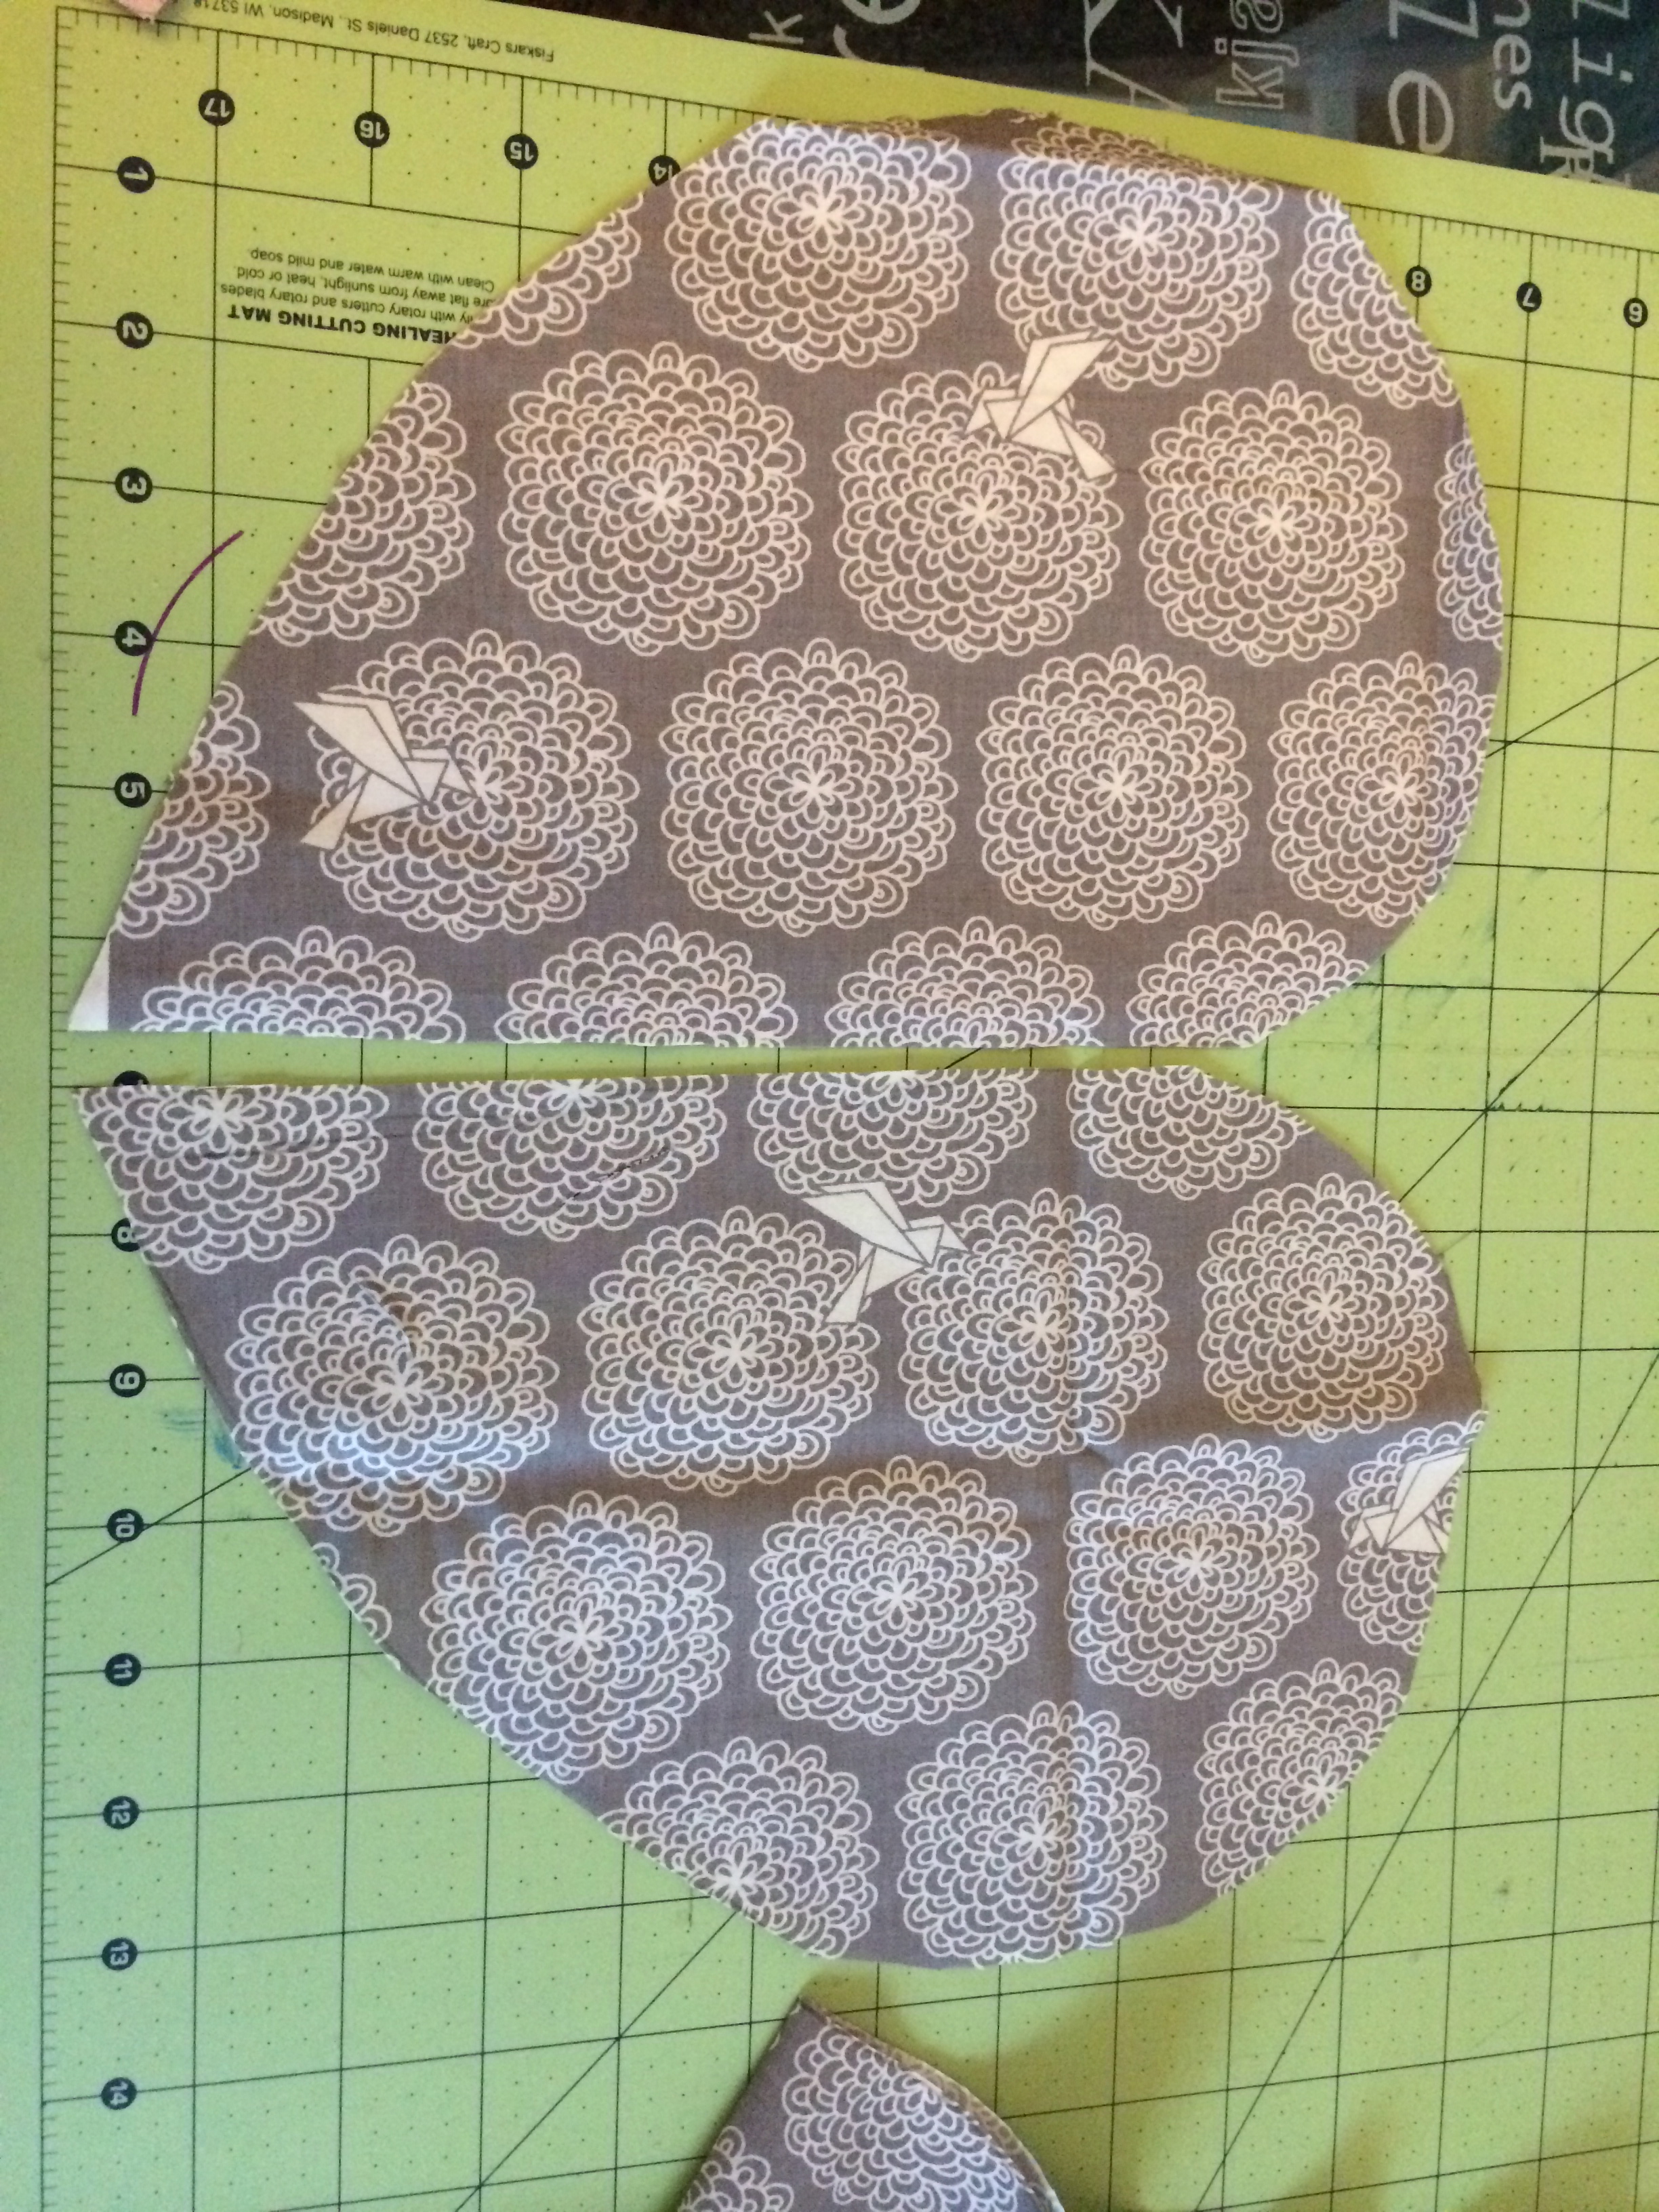
Let’s start by making the pockets.
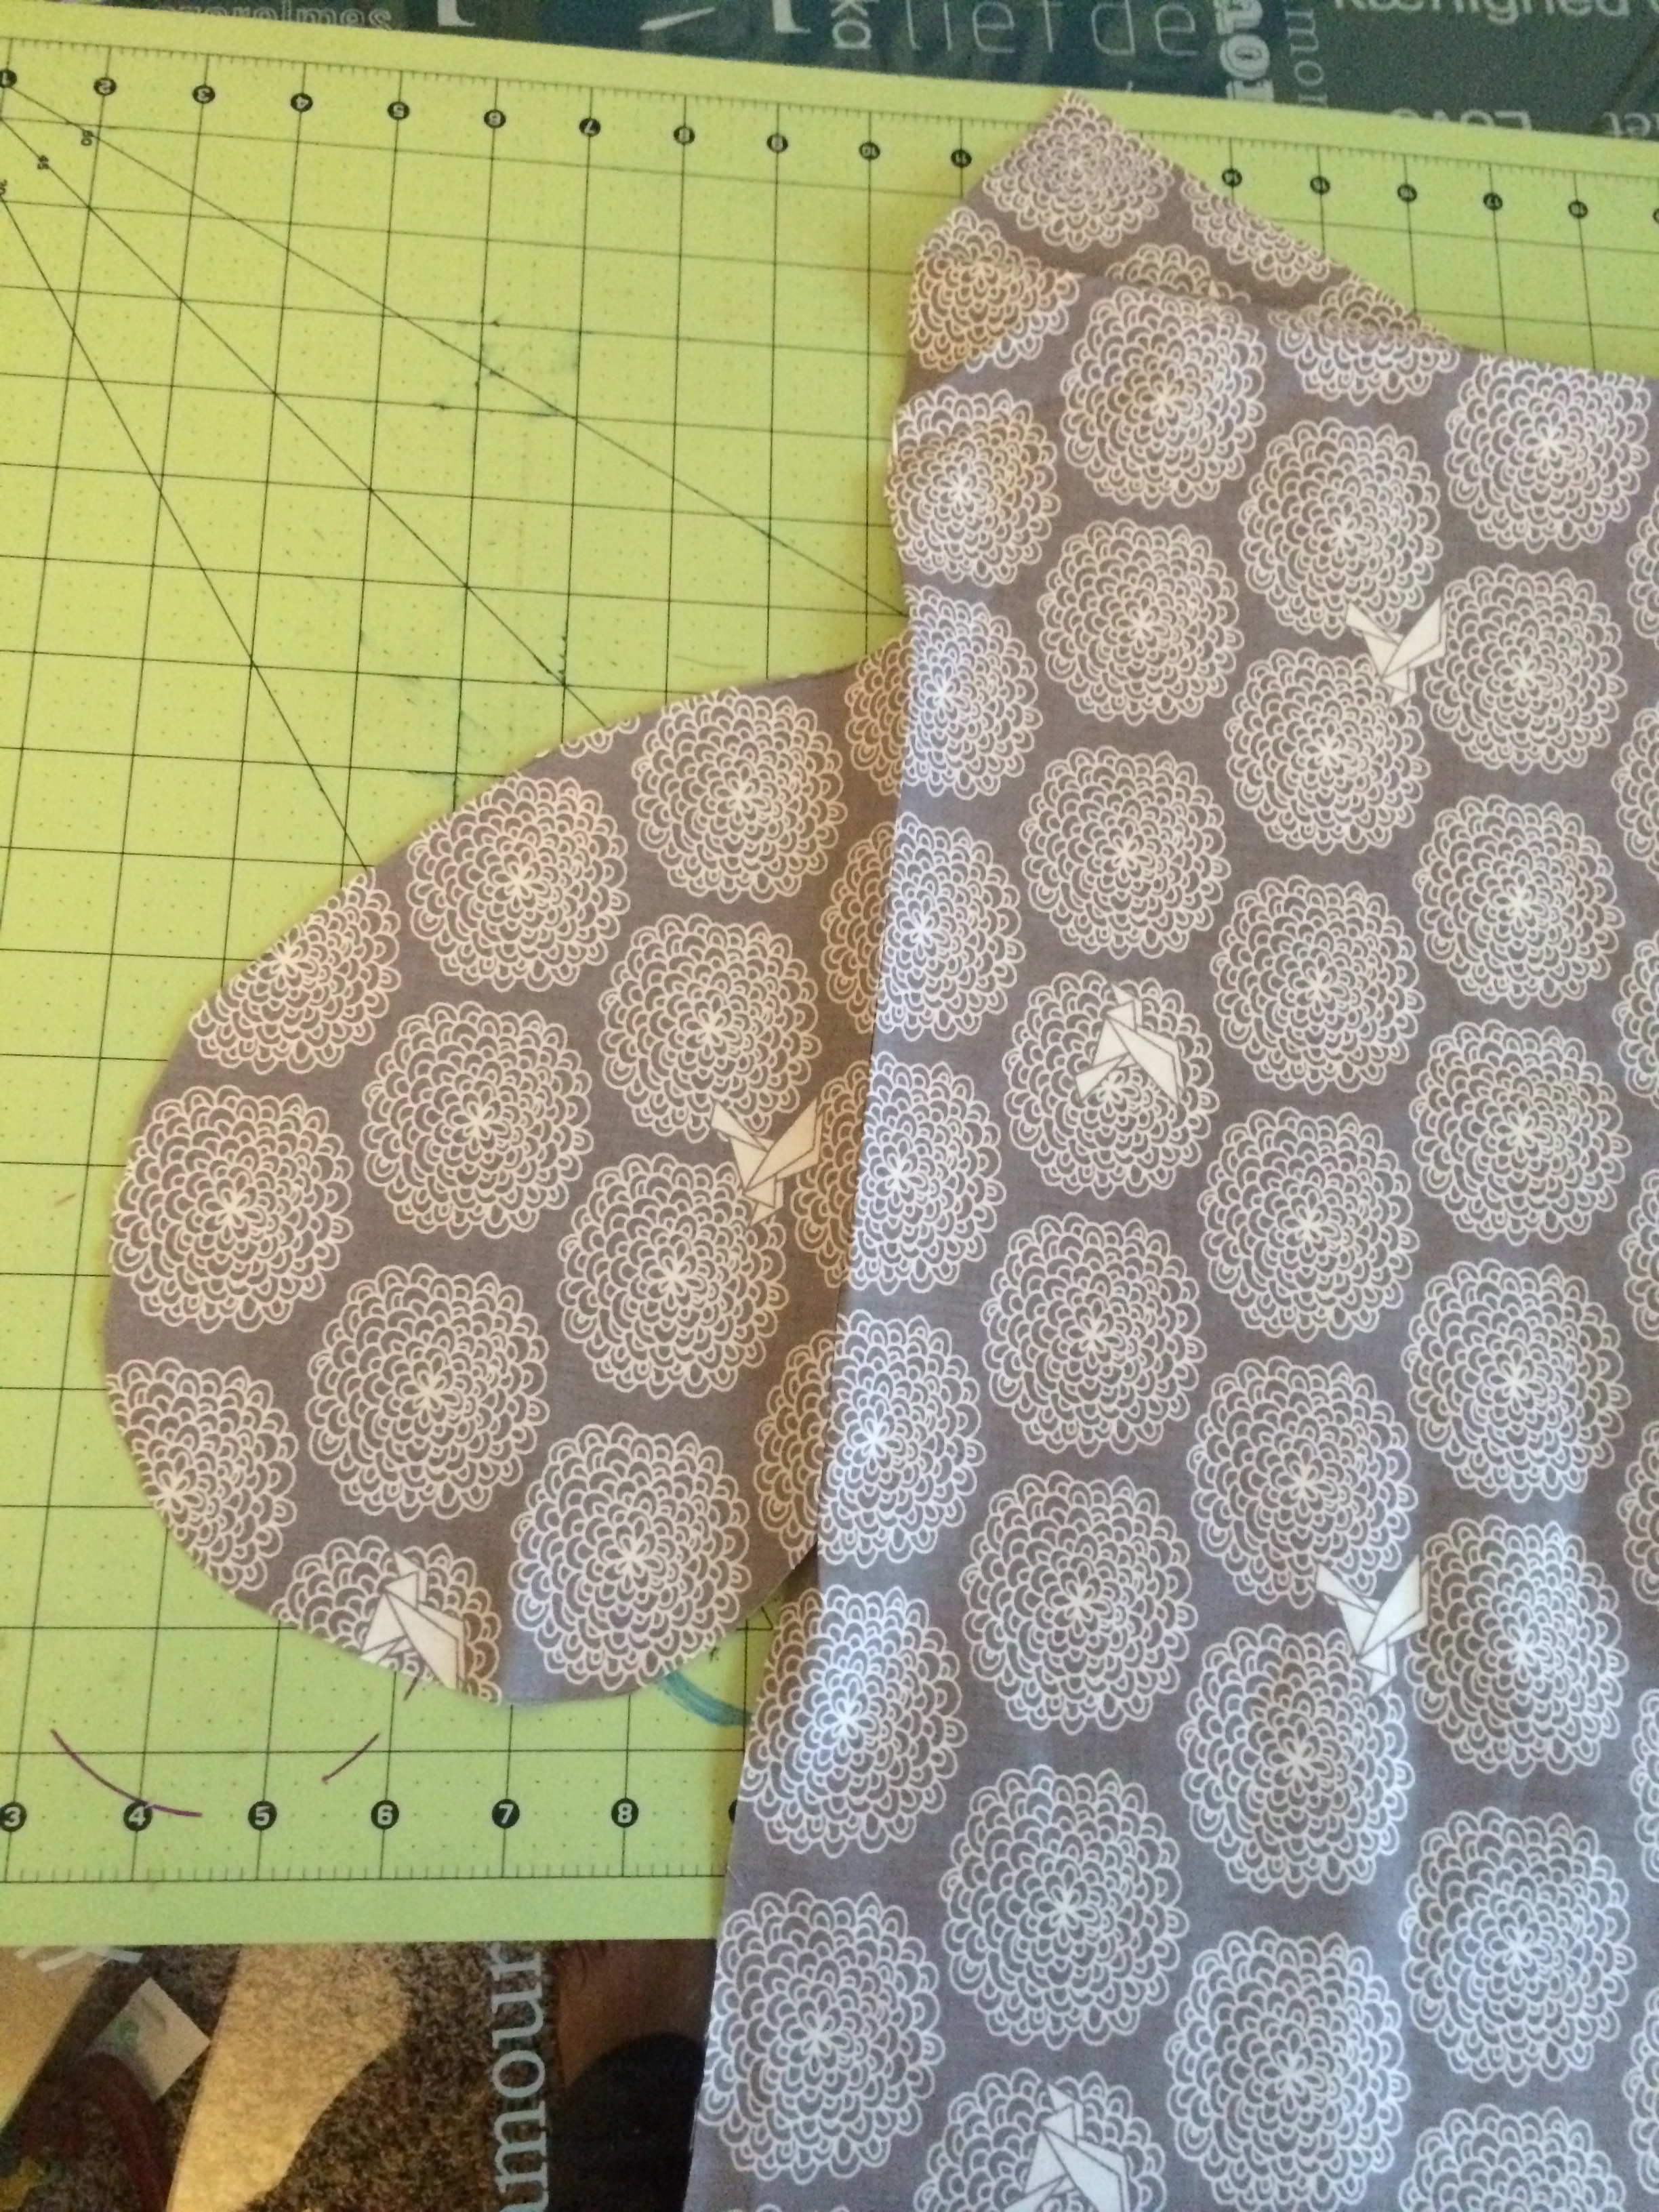
Take your hand and place it on the fabric and cut out a half heart shape about 2″ from the top of your fingers and about 3″ from the bottom of your palm. Fold it and cut out a the other half of the heart. When you are done, you should have 2 hearts each cut in half for your two pockets.
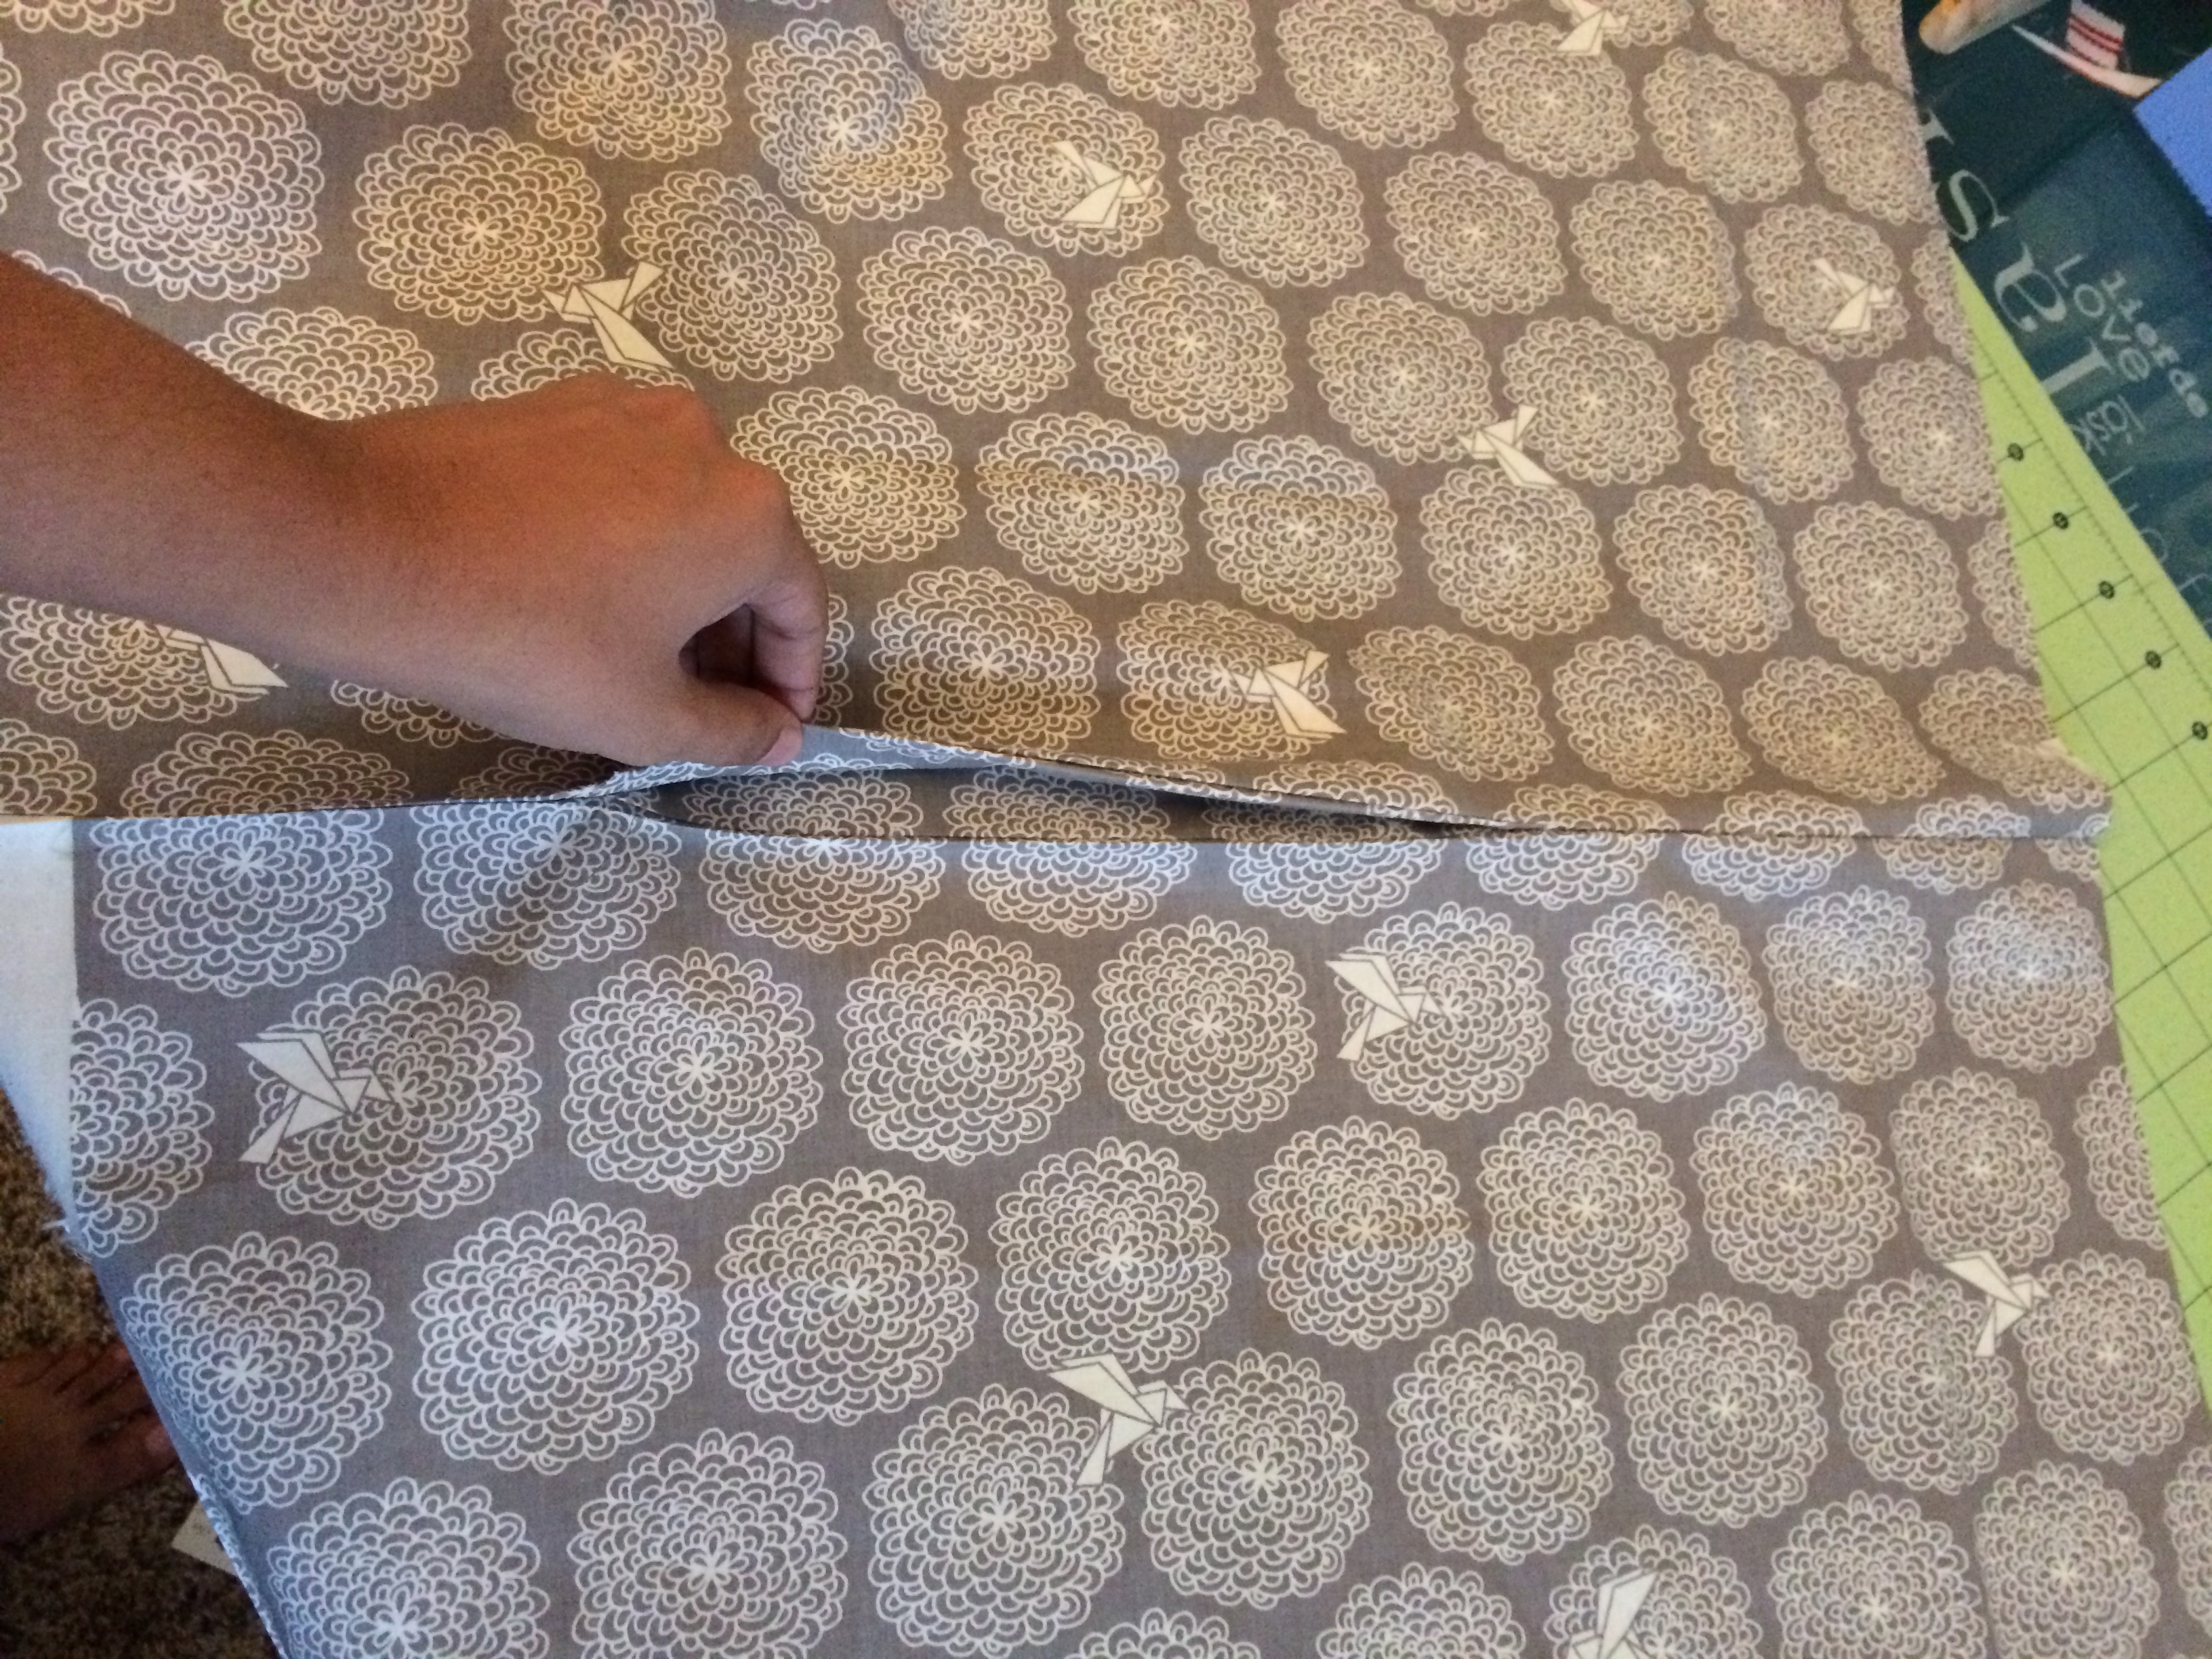
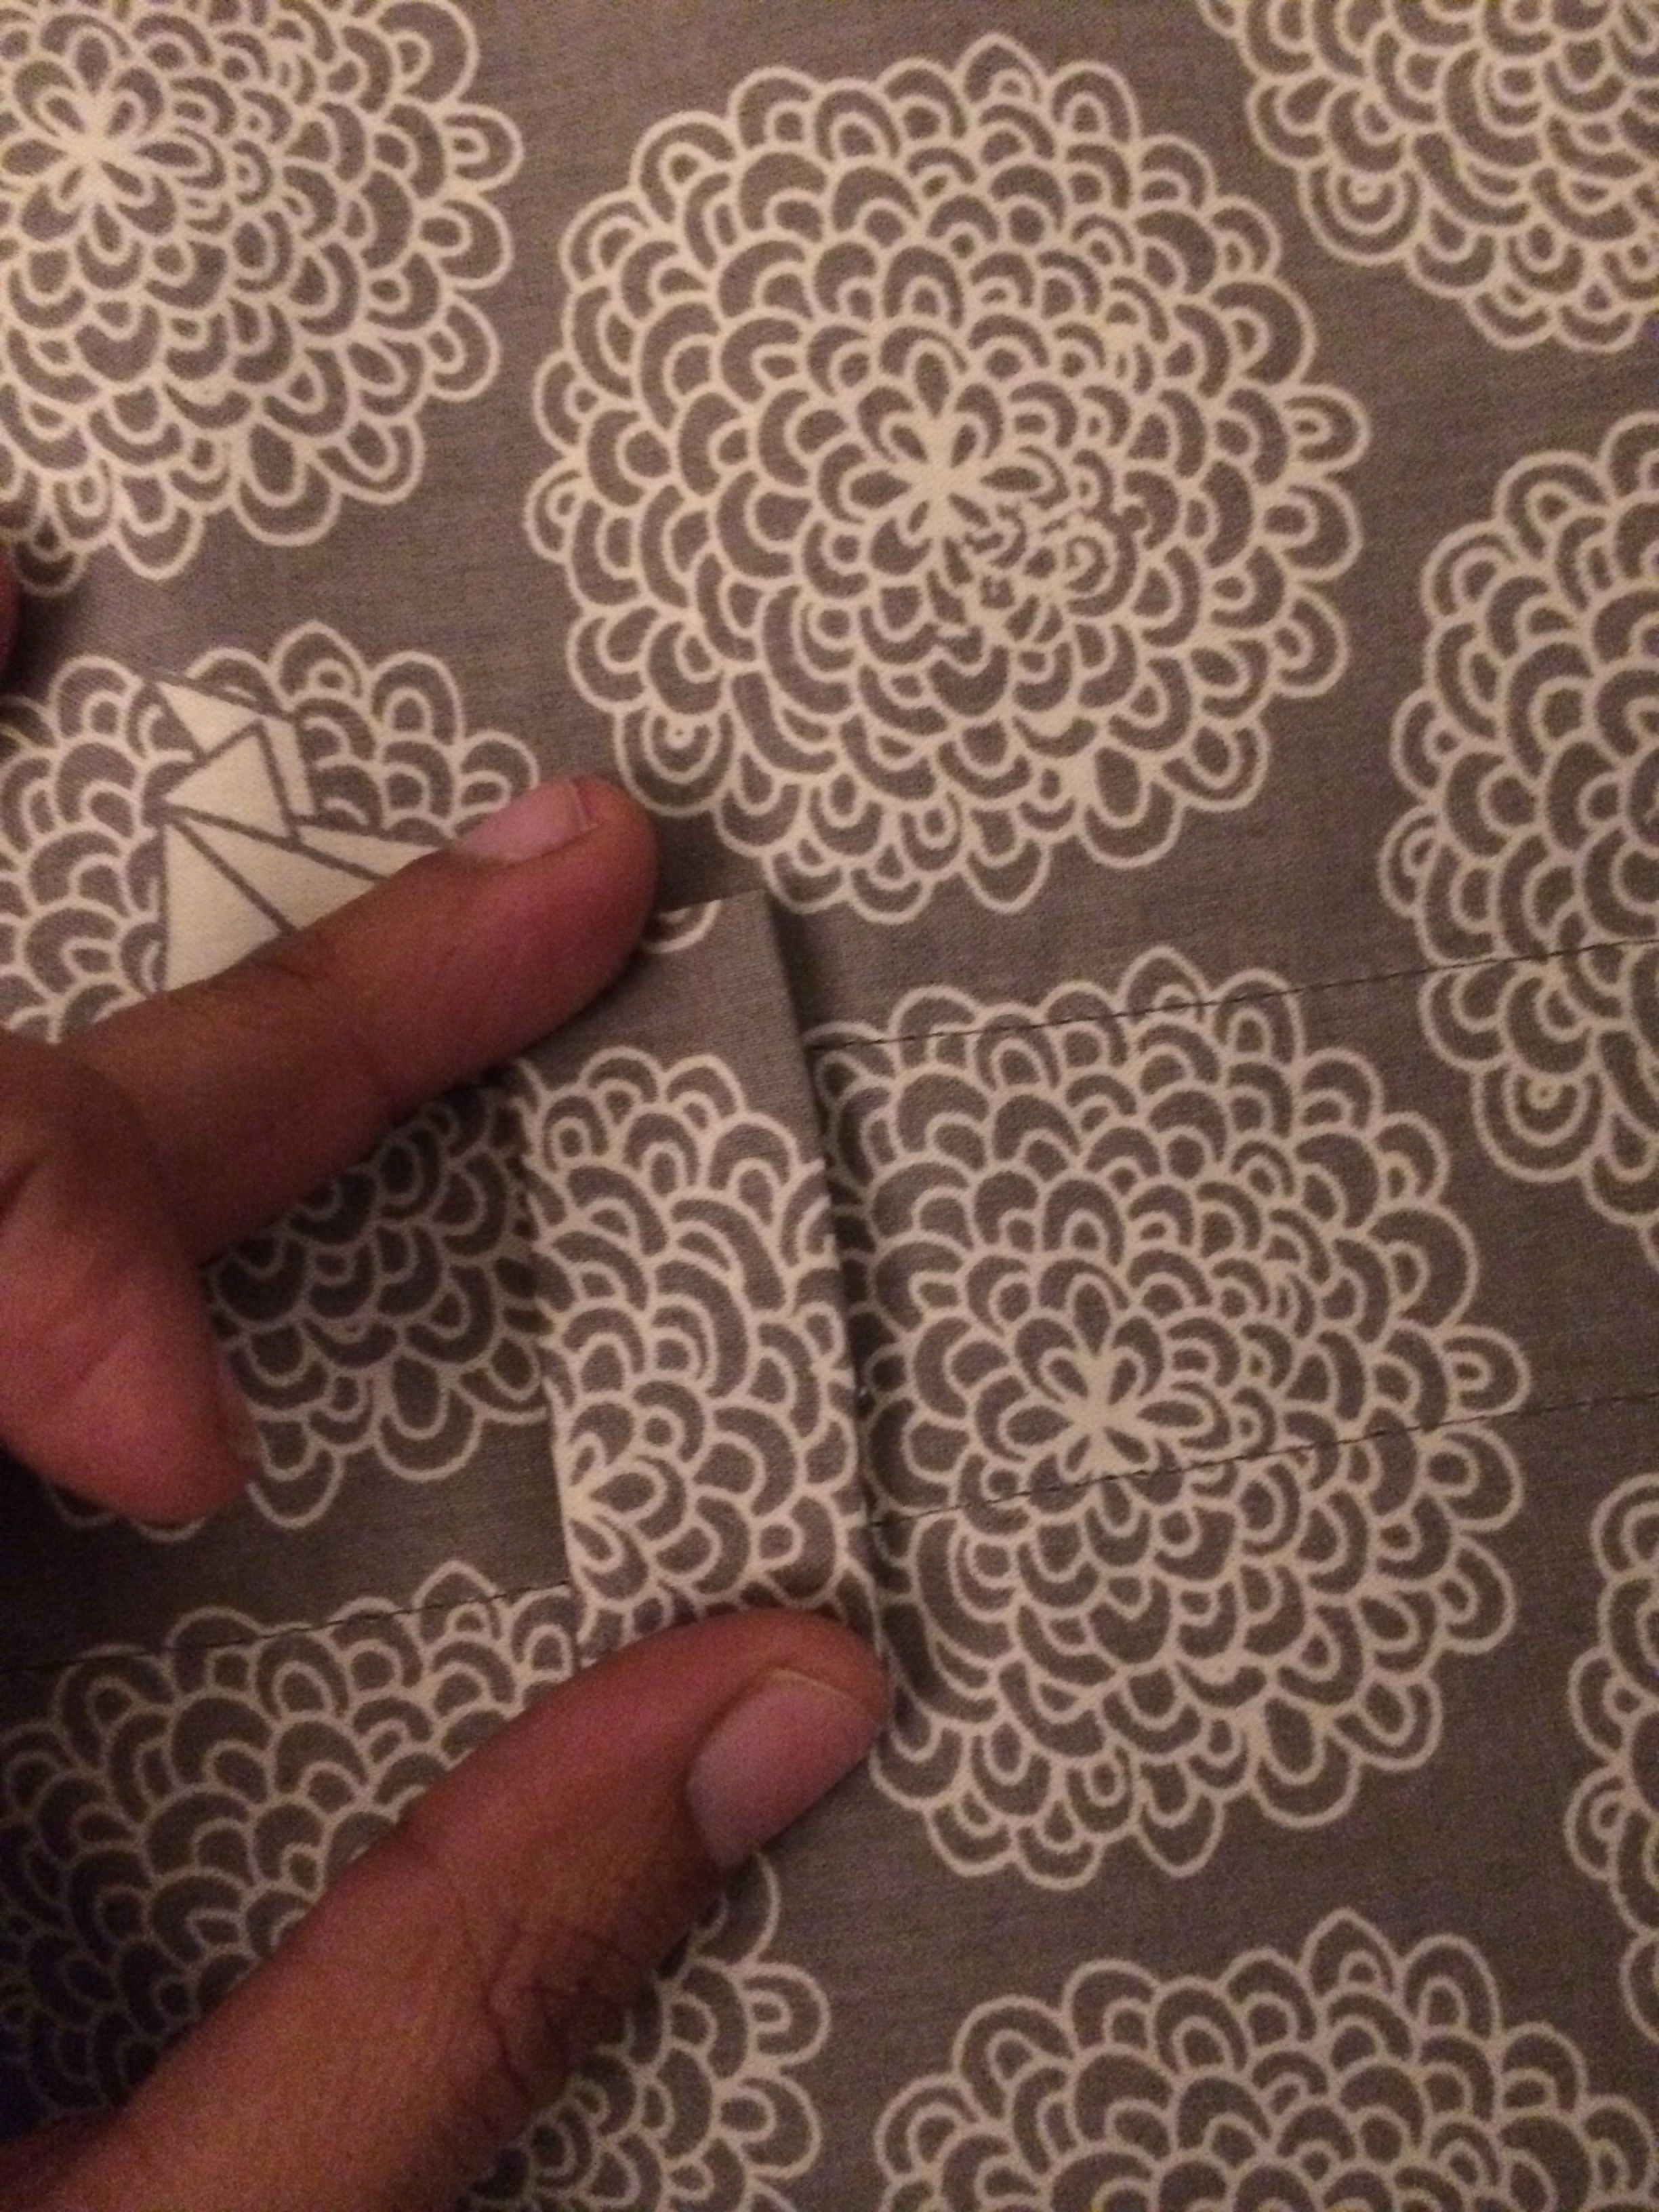
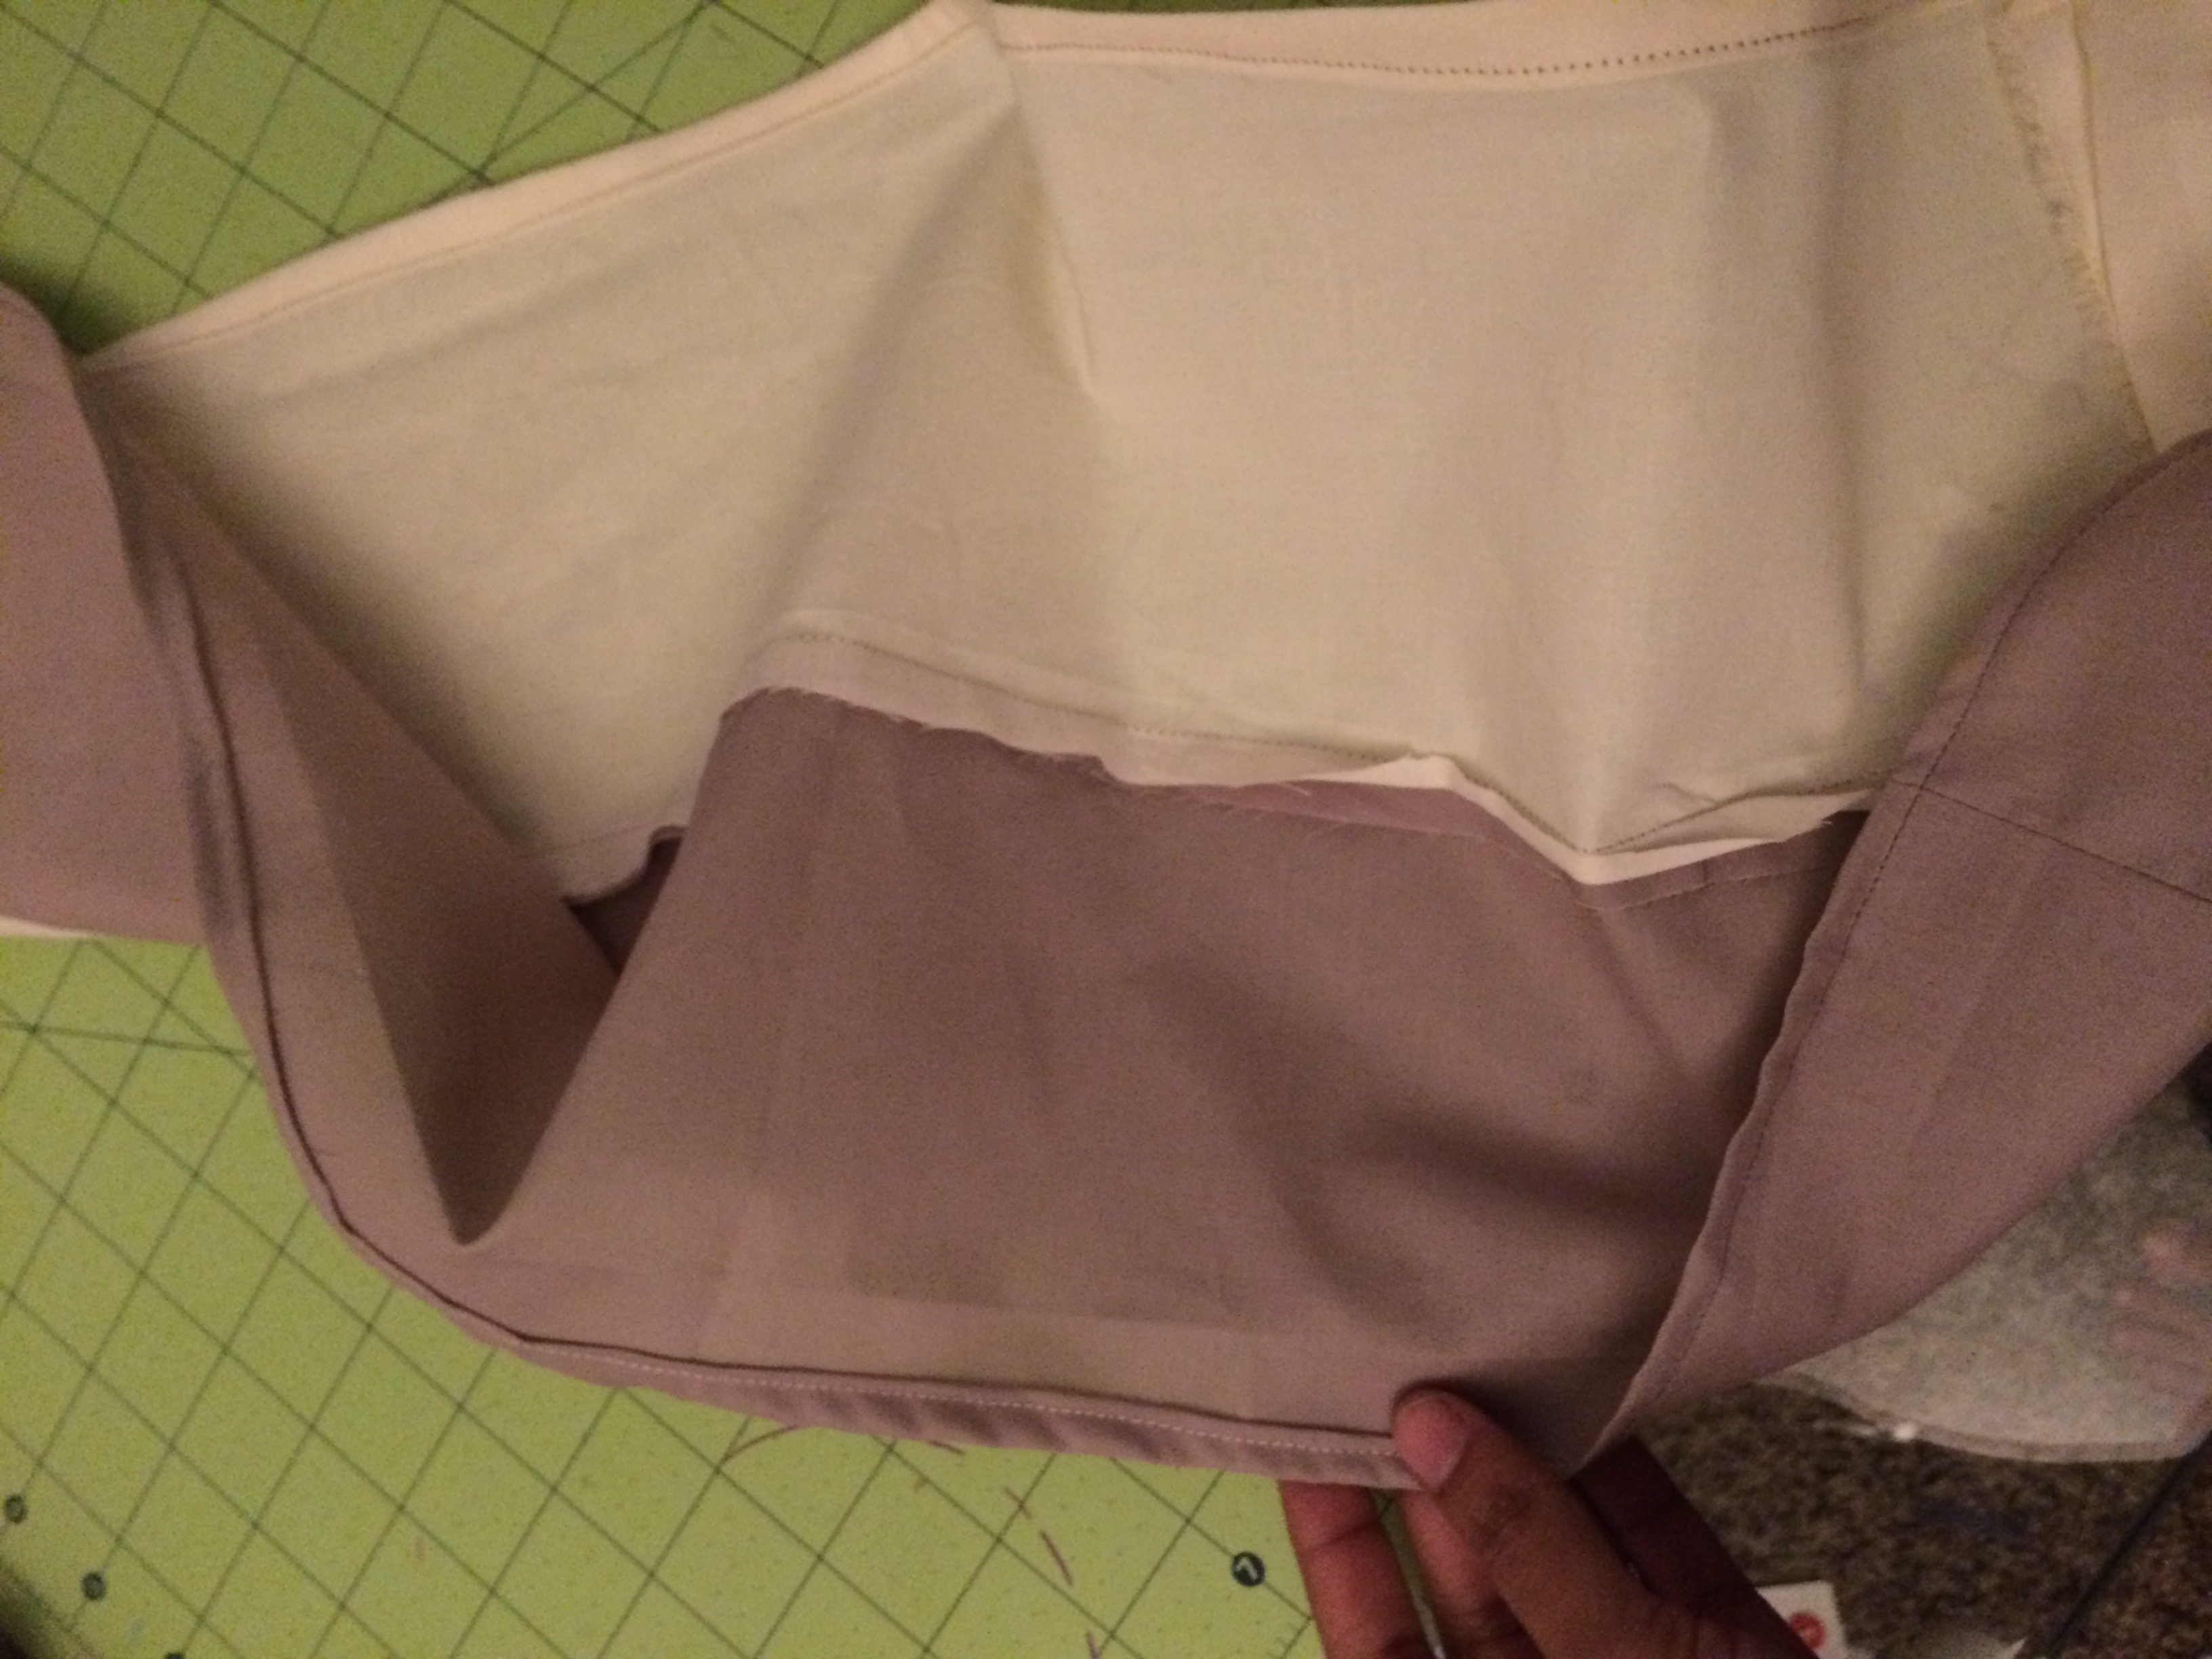
Now fold take your two body pieces and fold down about 4″. Iron and starch. Take one of your pocket piece and lay it on one of the body pieces right sides together with the straight edges aligning with each other, starting from the bottom of your 4″ fold. You want the top of the heart to be facing downwards.
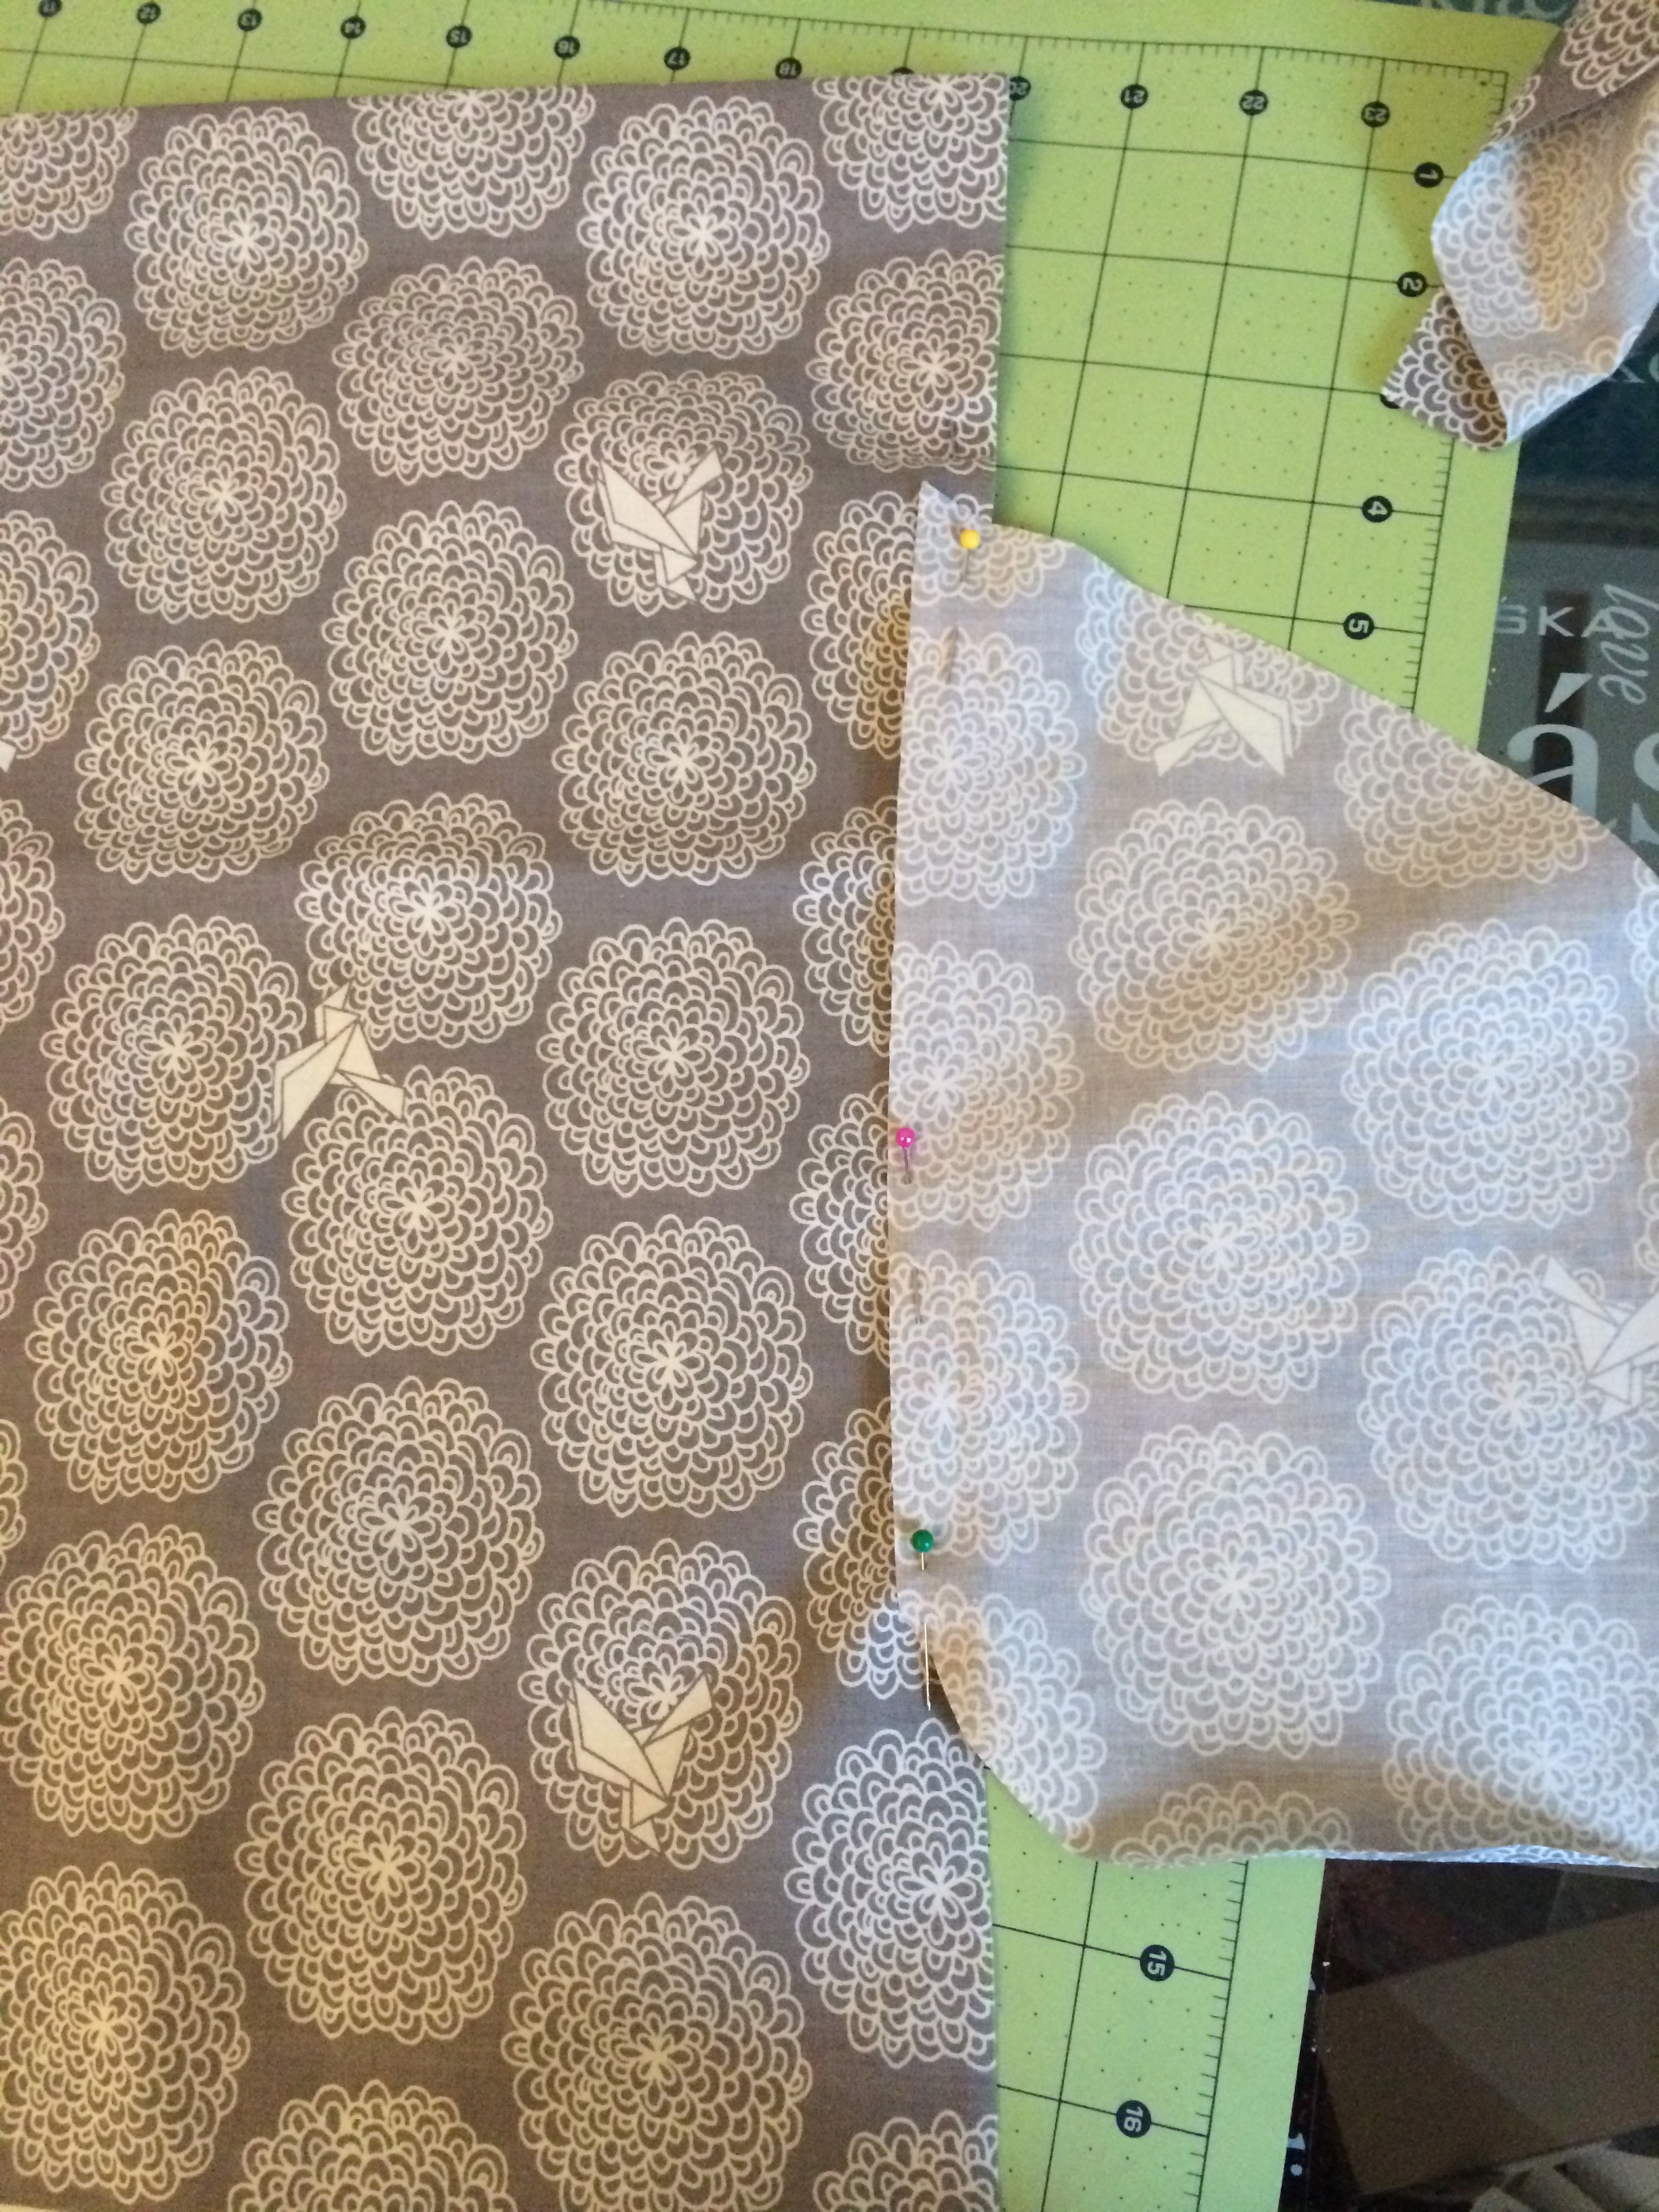
Next, sew one side of one of your body pieces to another side. Only sew one side together for now. In sewing the side, you will unfold your 4″ fold, sew right sides together stopping when you reach your pocket and continuing after the pocket. You will want to do some reinforcing stitches when you stop and start at the pocket intersections. After that, you can go ahead and sew your pockets right sides together as well.

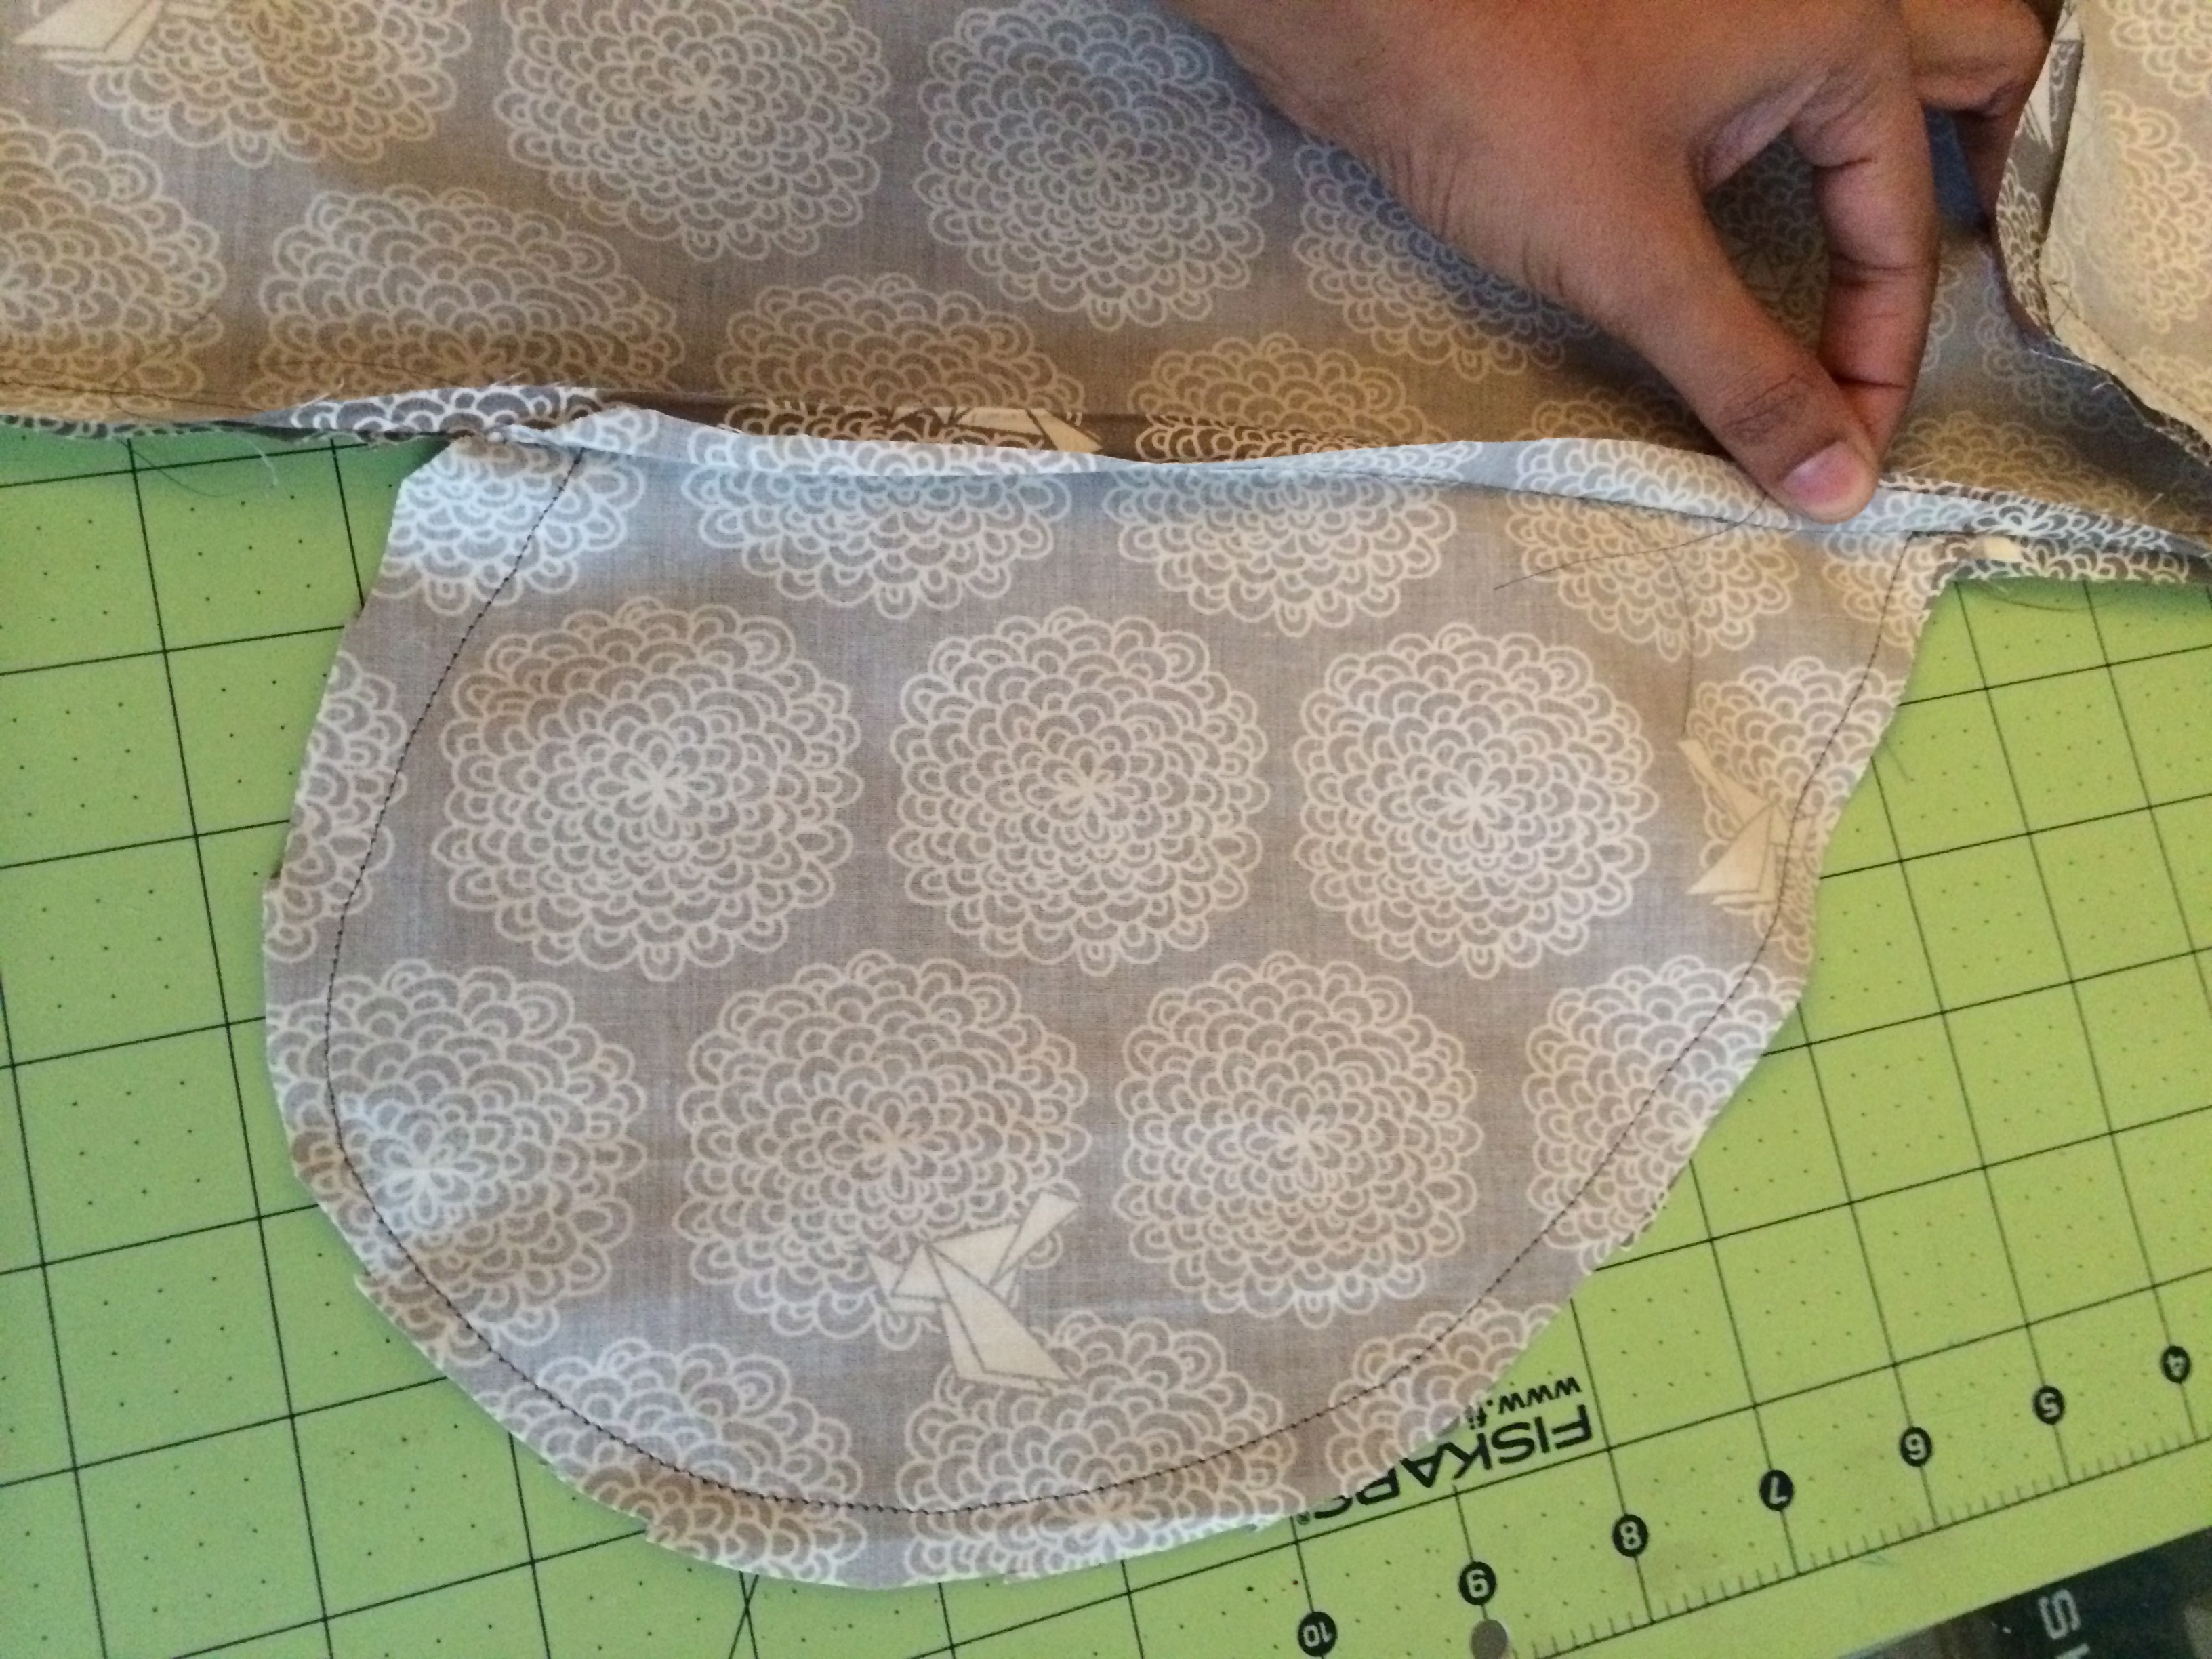
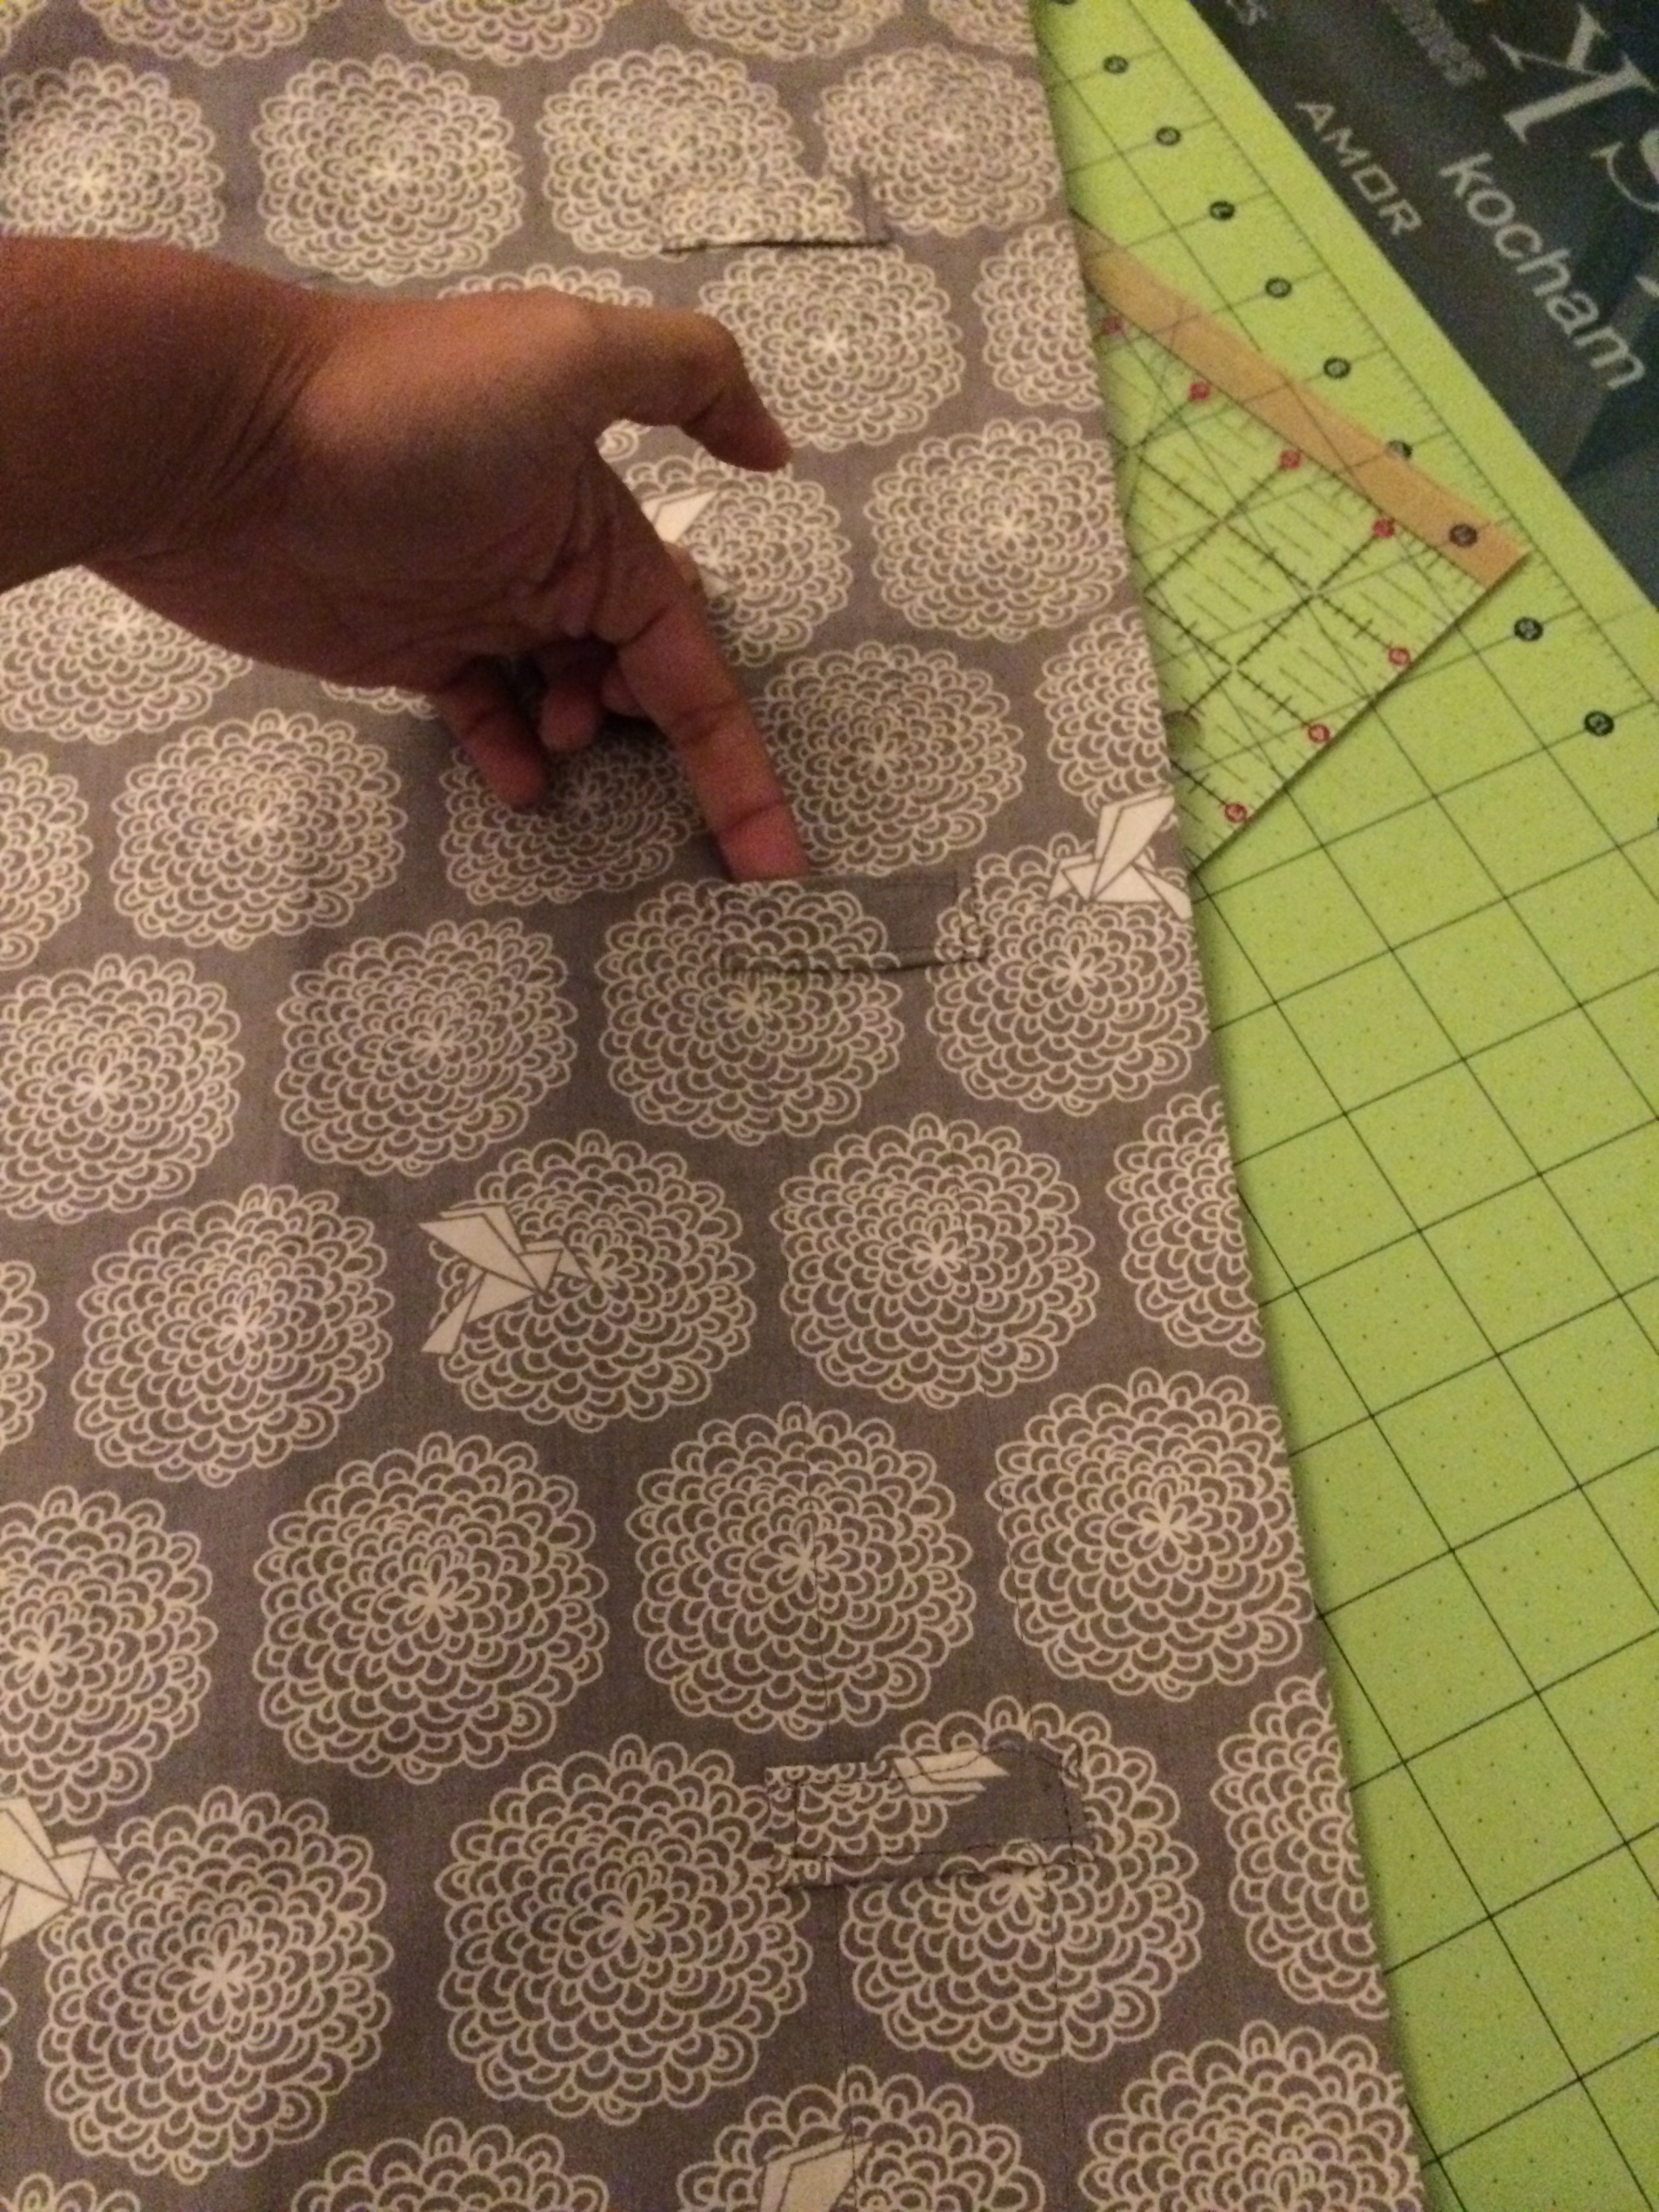
Let’s work on the top now. Fold down the edge of your 4″ fold about 1/4″ and iron down. Sew all the way around, leaving about 2″ open.
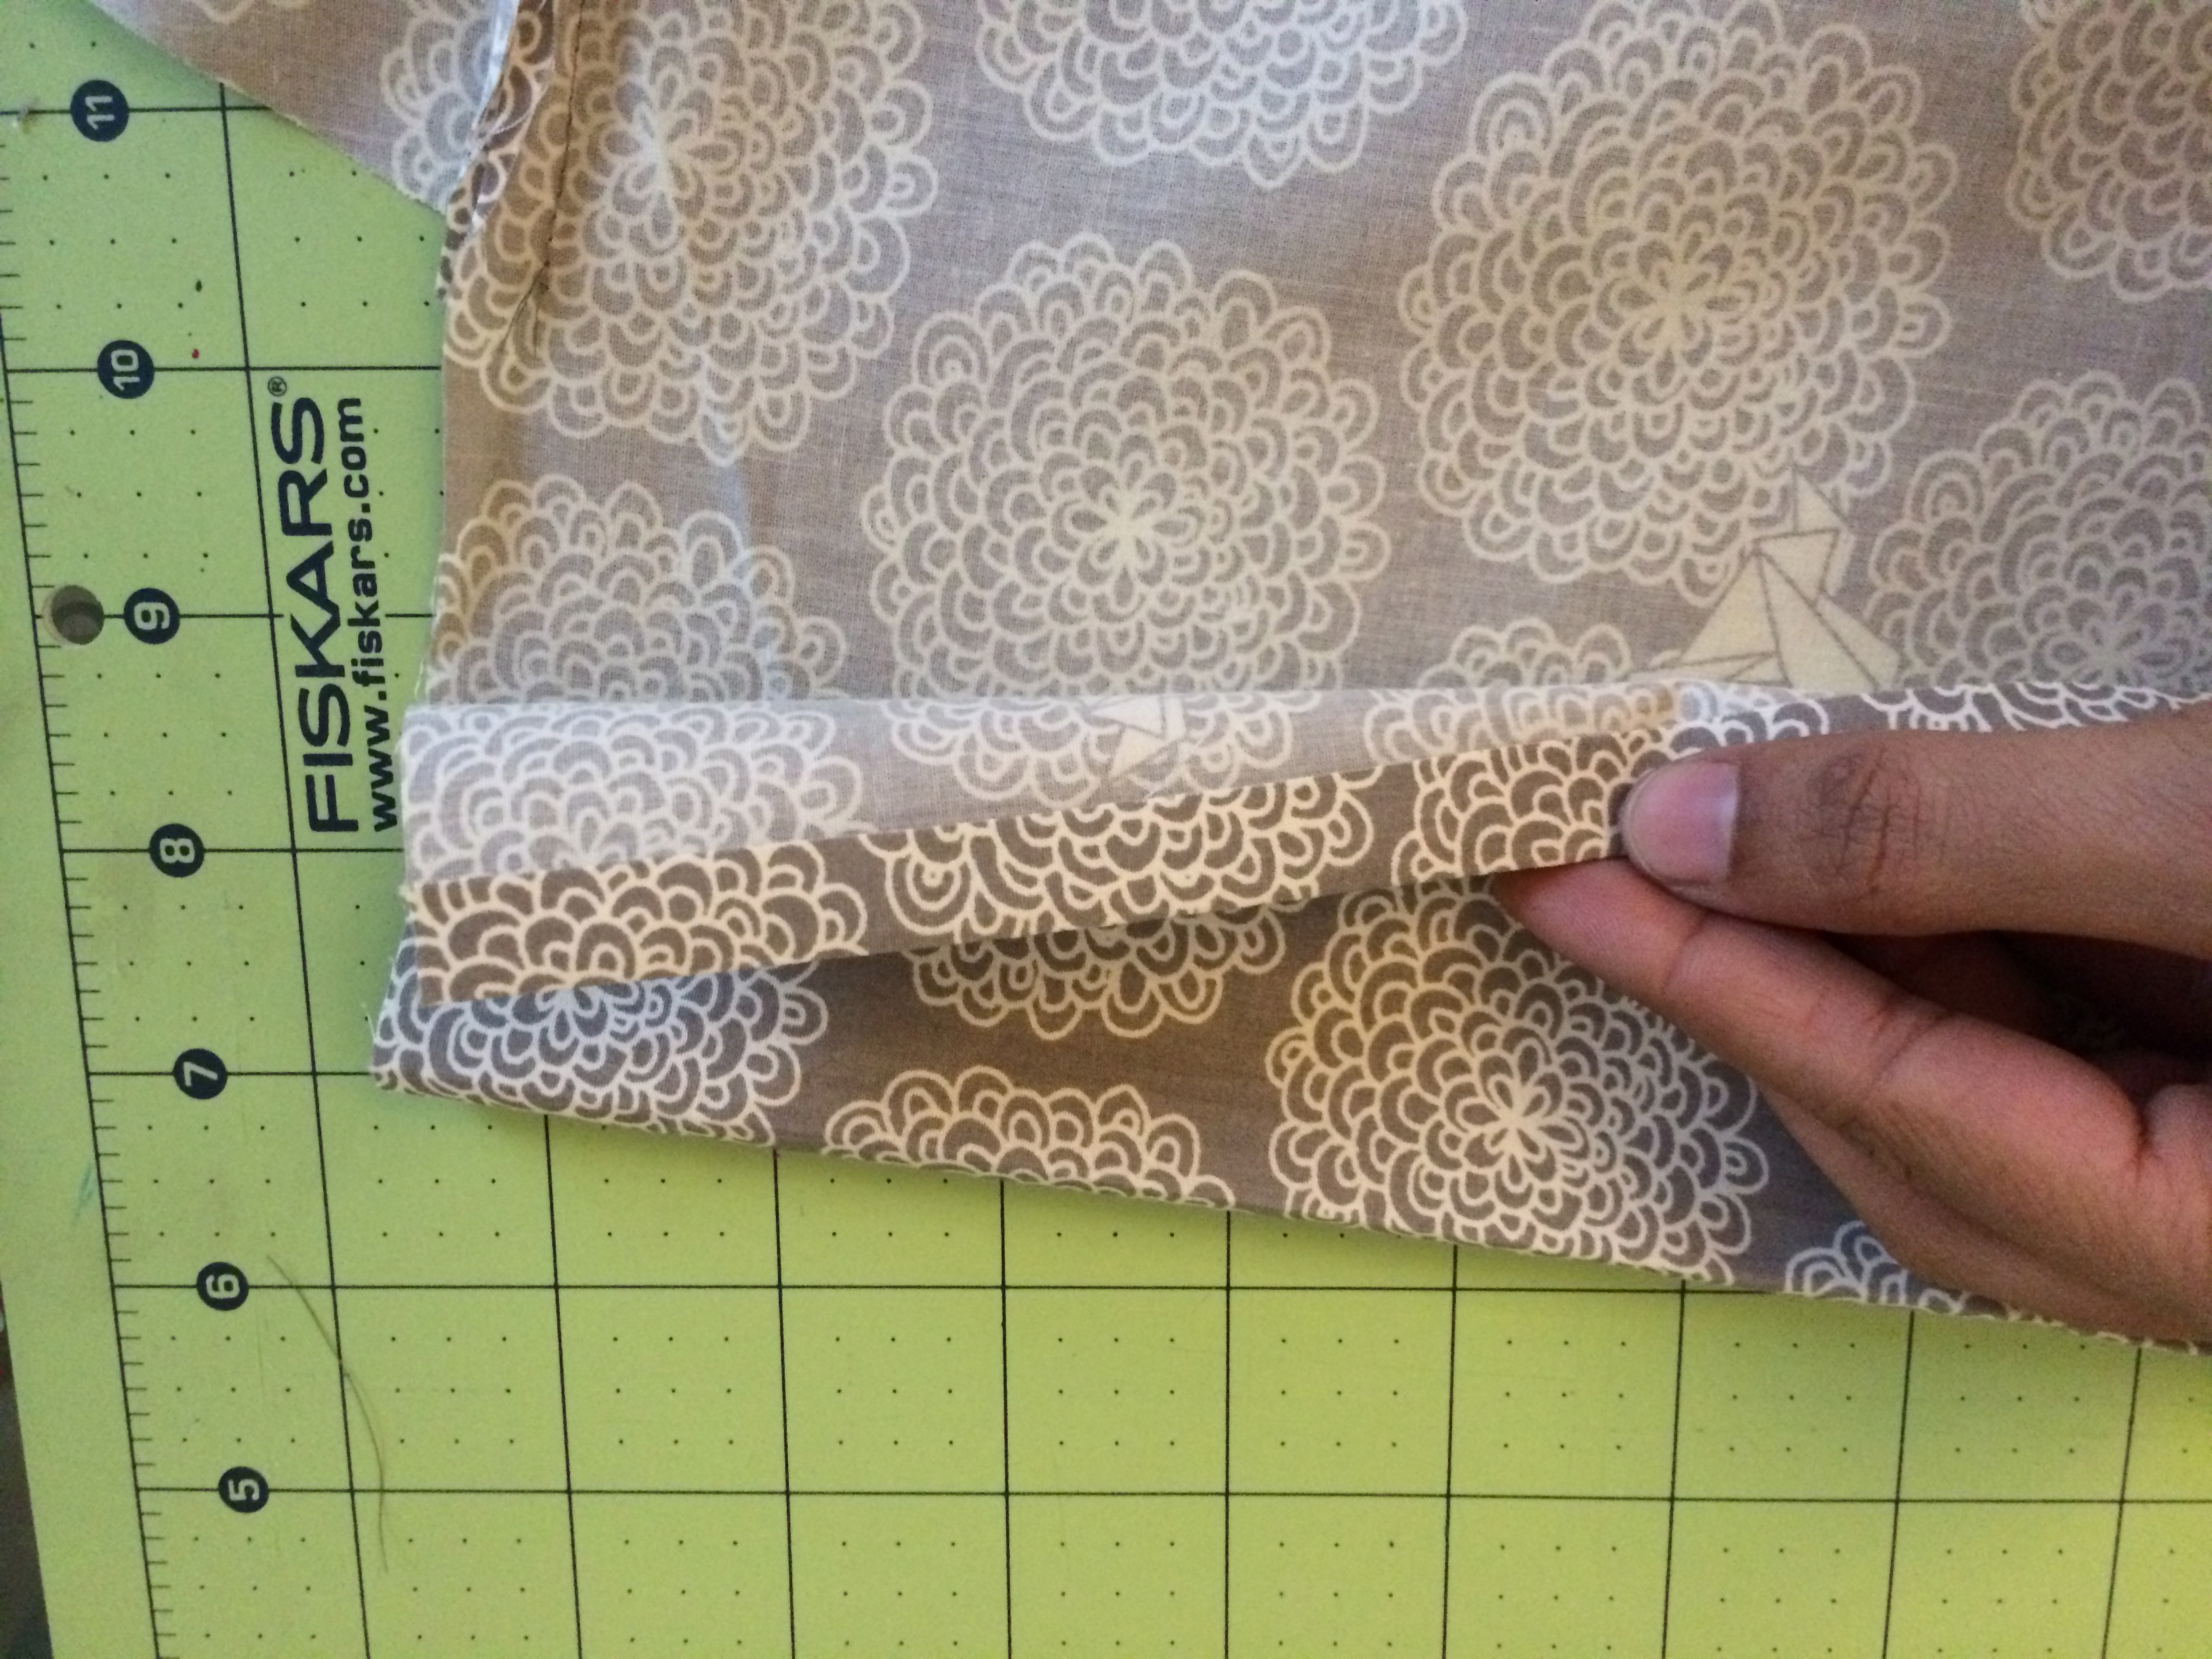
Now, sew about 1.25″ above that stitch all the way around. This is where your elastic will fit. Sorry, I did not take a picture of this but you can see it in the above picture. It’s the stitch in the middle.
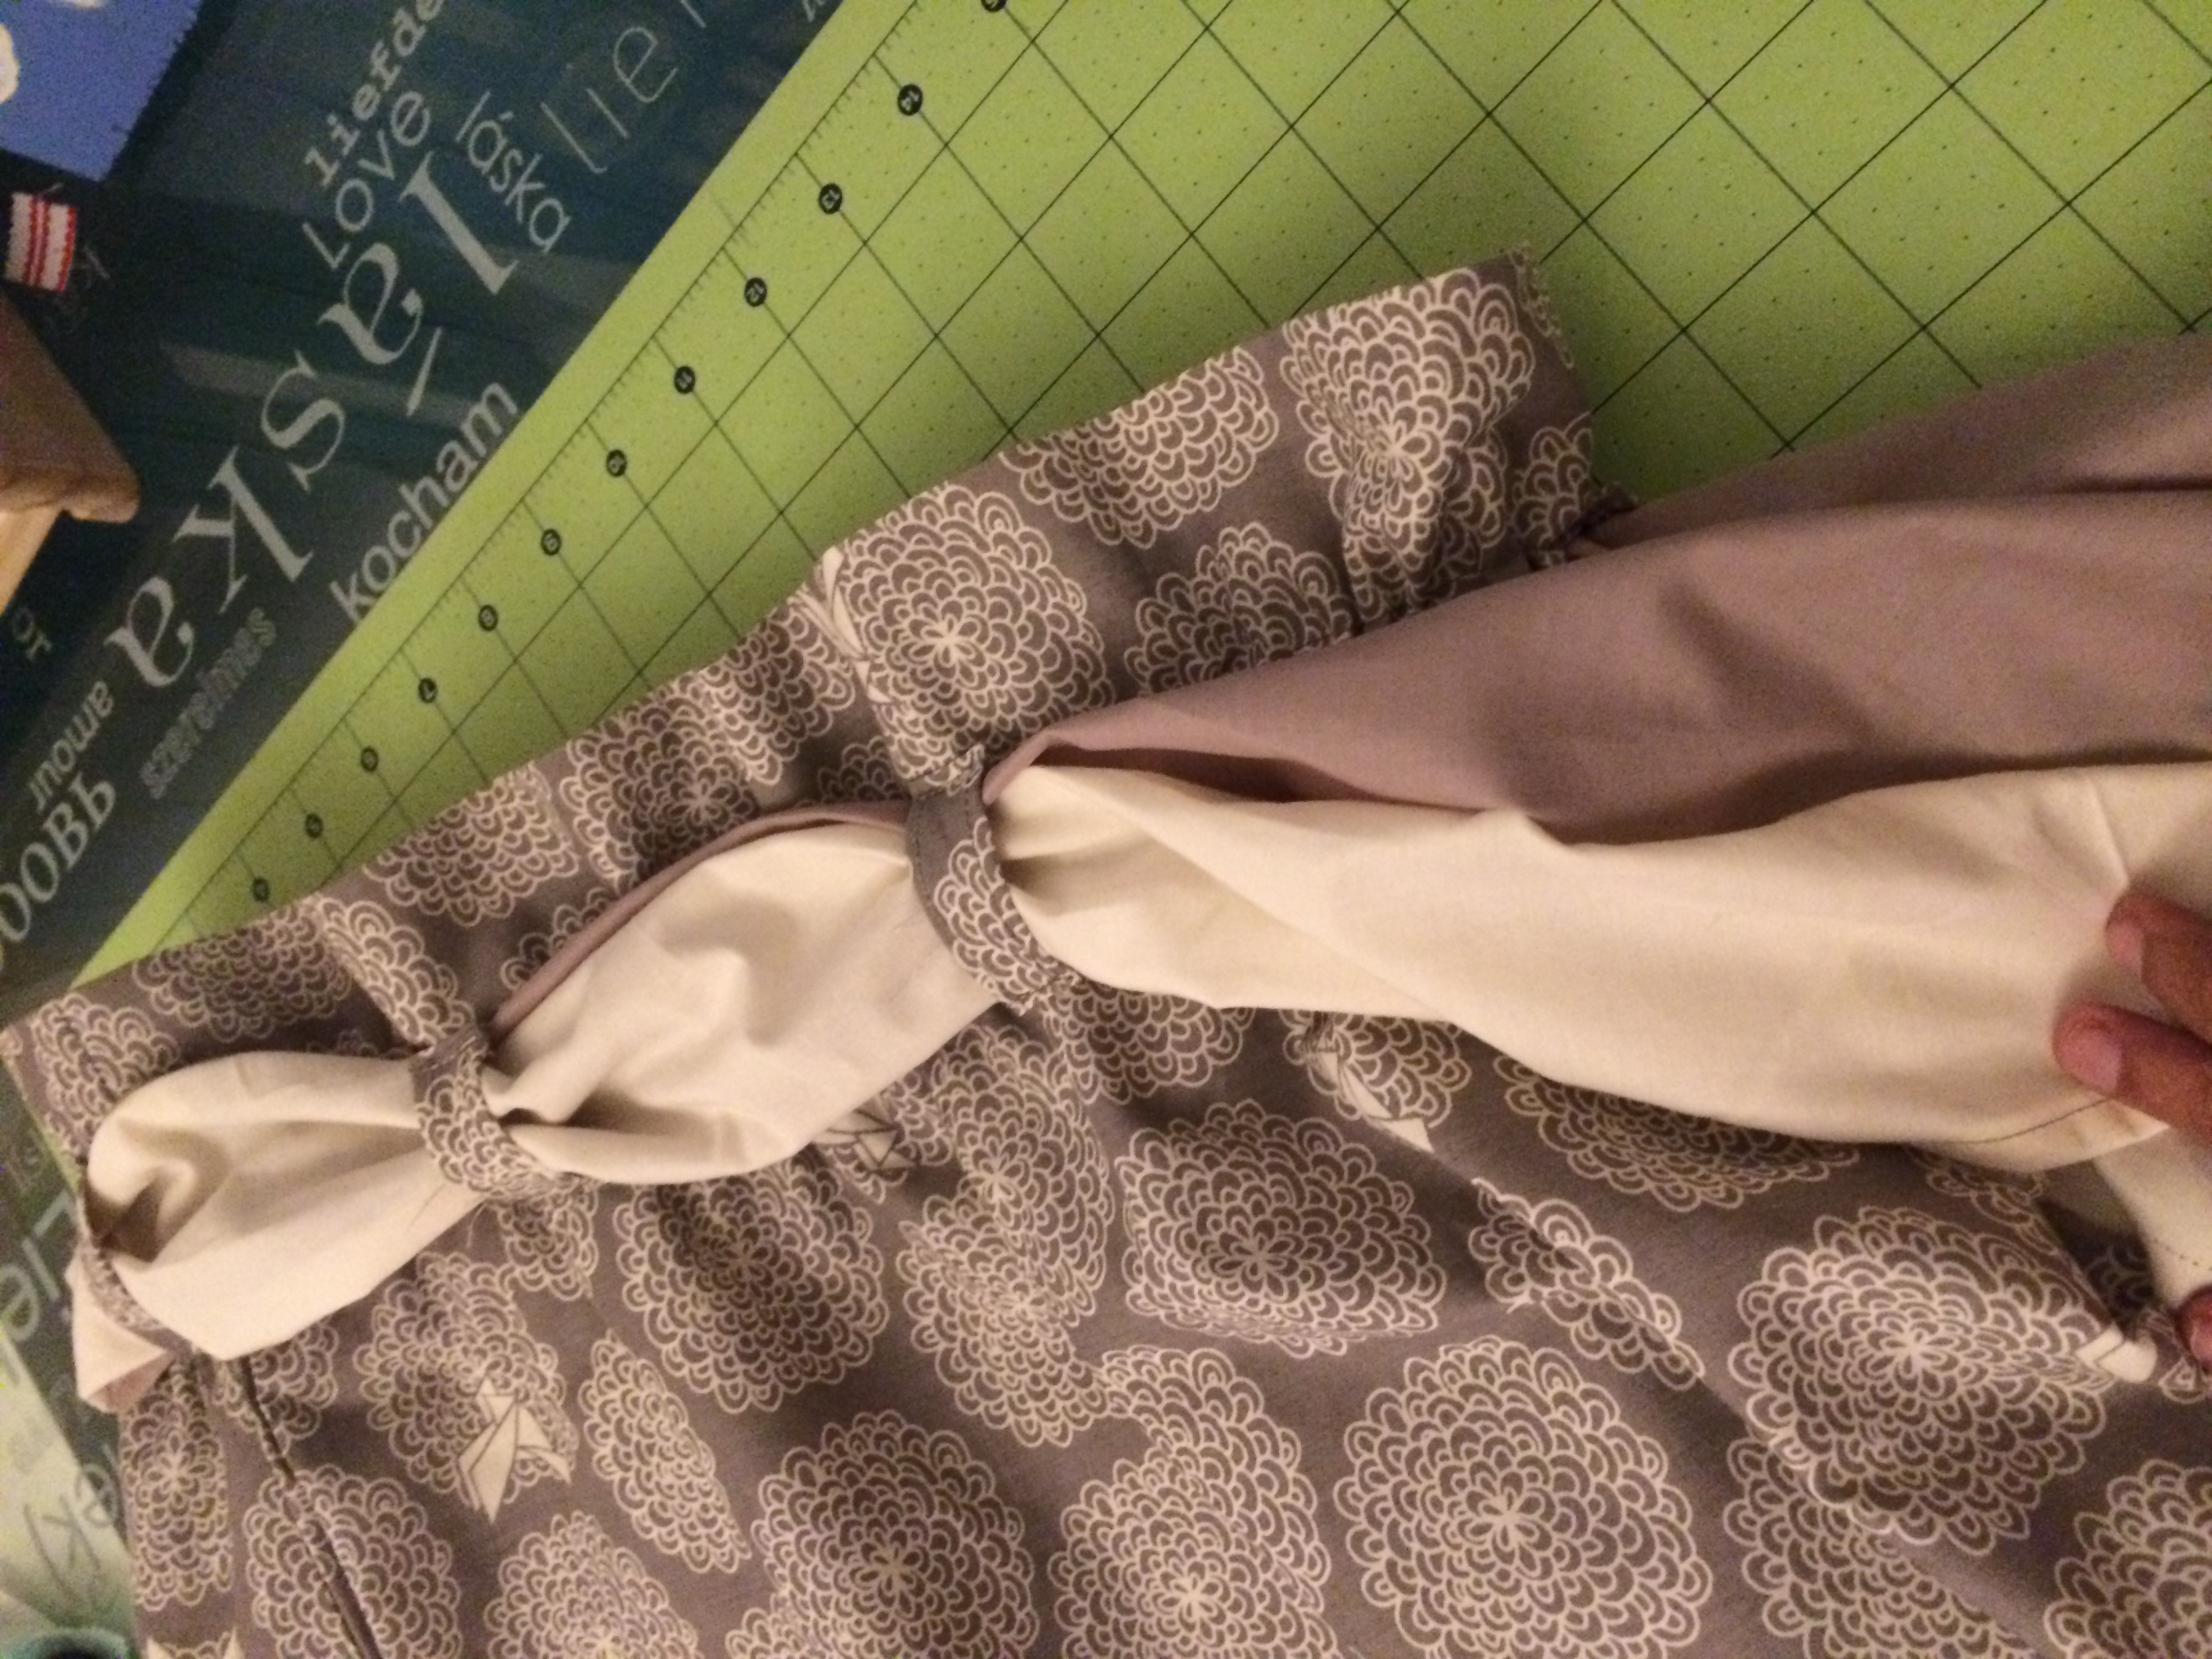
Next, let’s make the belt bands. This is completely optional. You can actually wear the belt without bands and it will look just as good. However, to make these, I just made 1″ tubes and sew the ends close. I then, sewed them about 4″ apart over the 1.25″ slot I made earlier for my elastic. Make sure you just sew the tops of the bands on the skirt so that you dont sew over the elastic slot.


At this point, it is best to go ahead and hem your bottom. I did a 1″ hem.
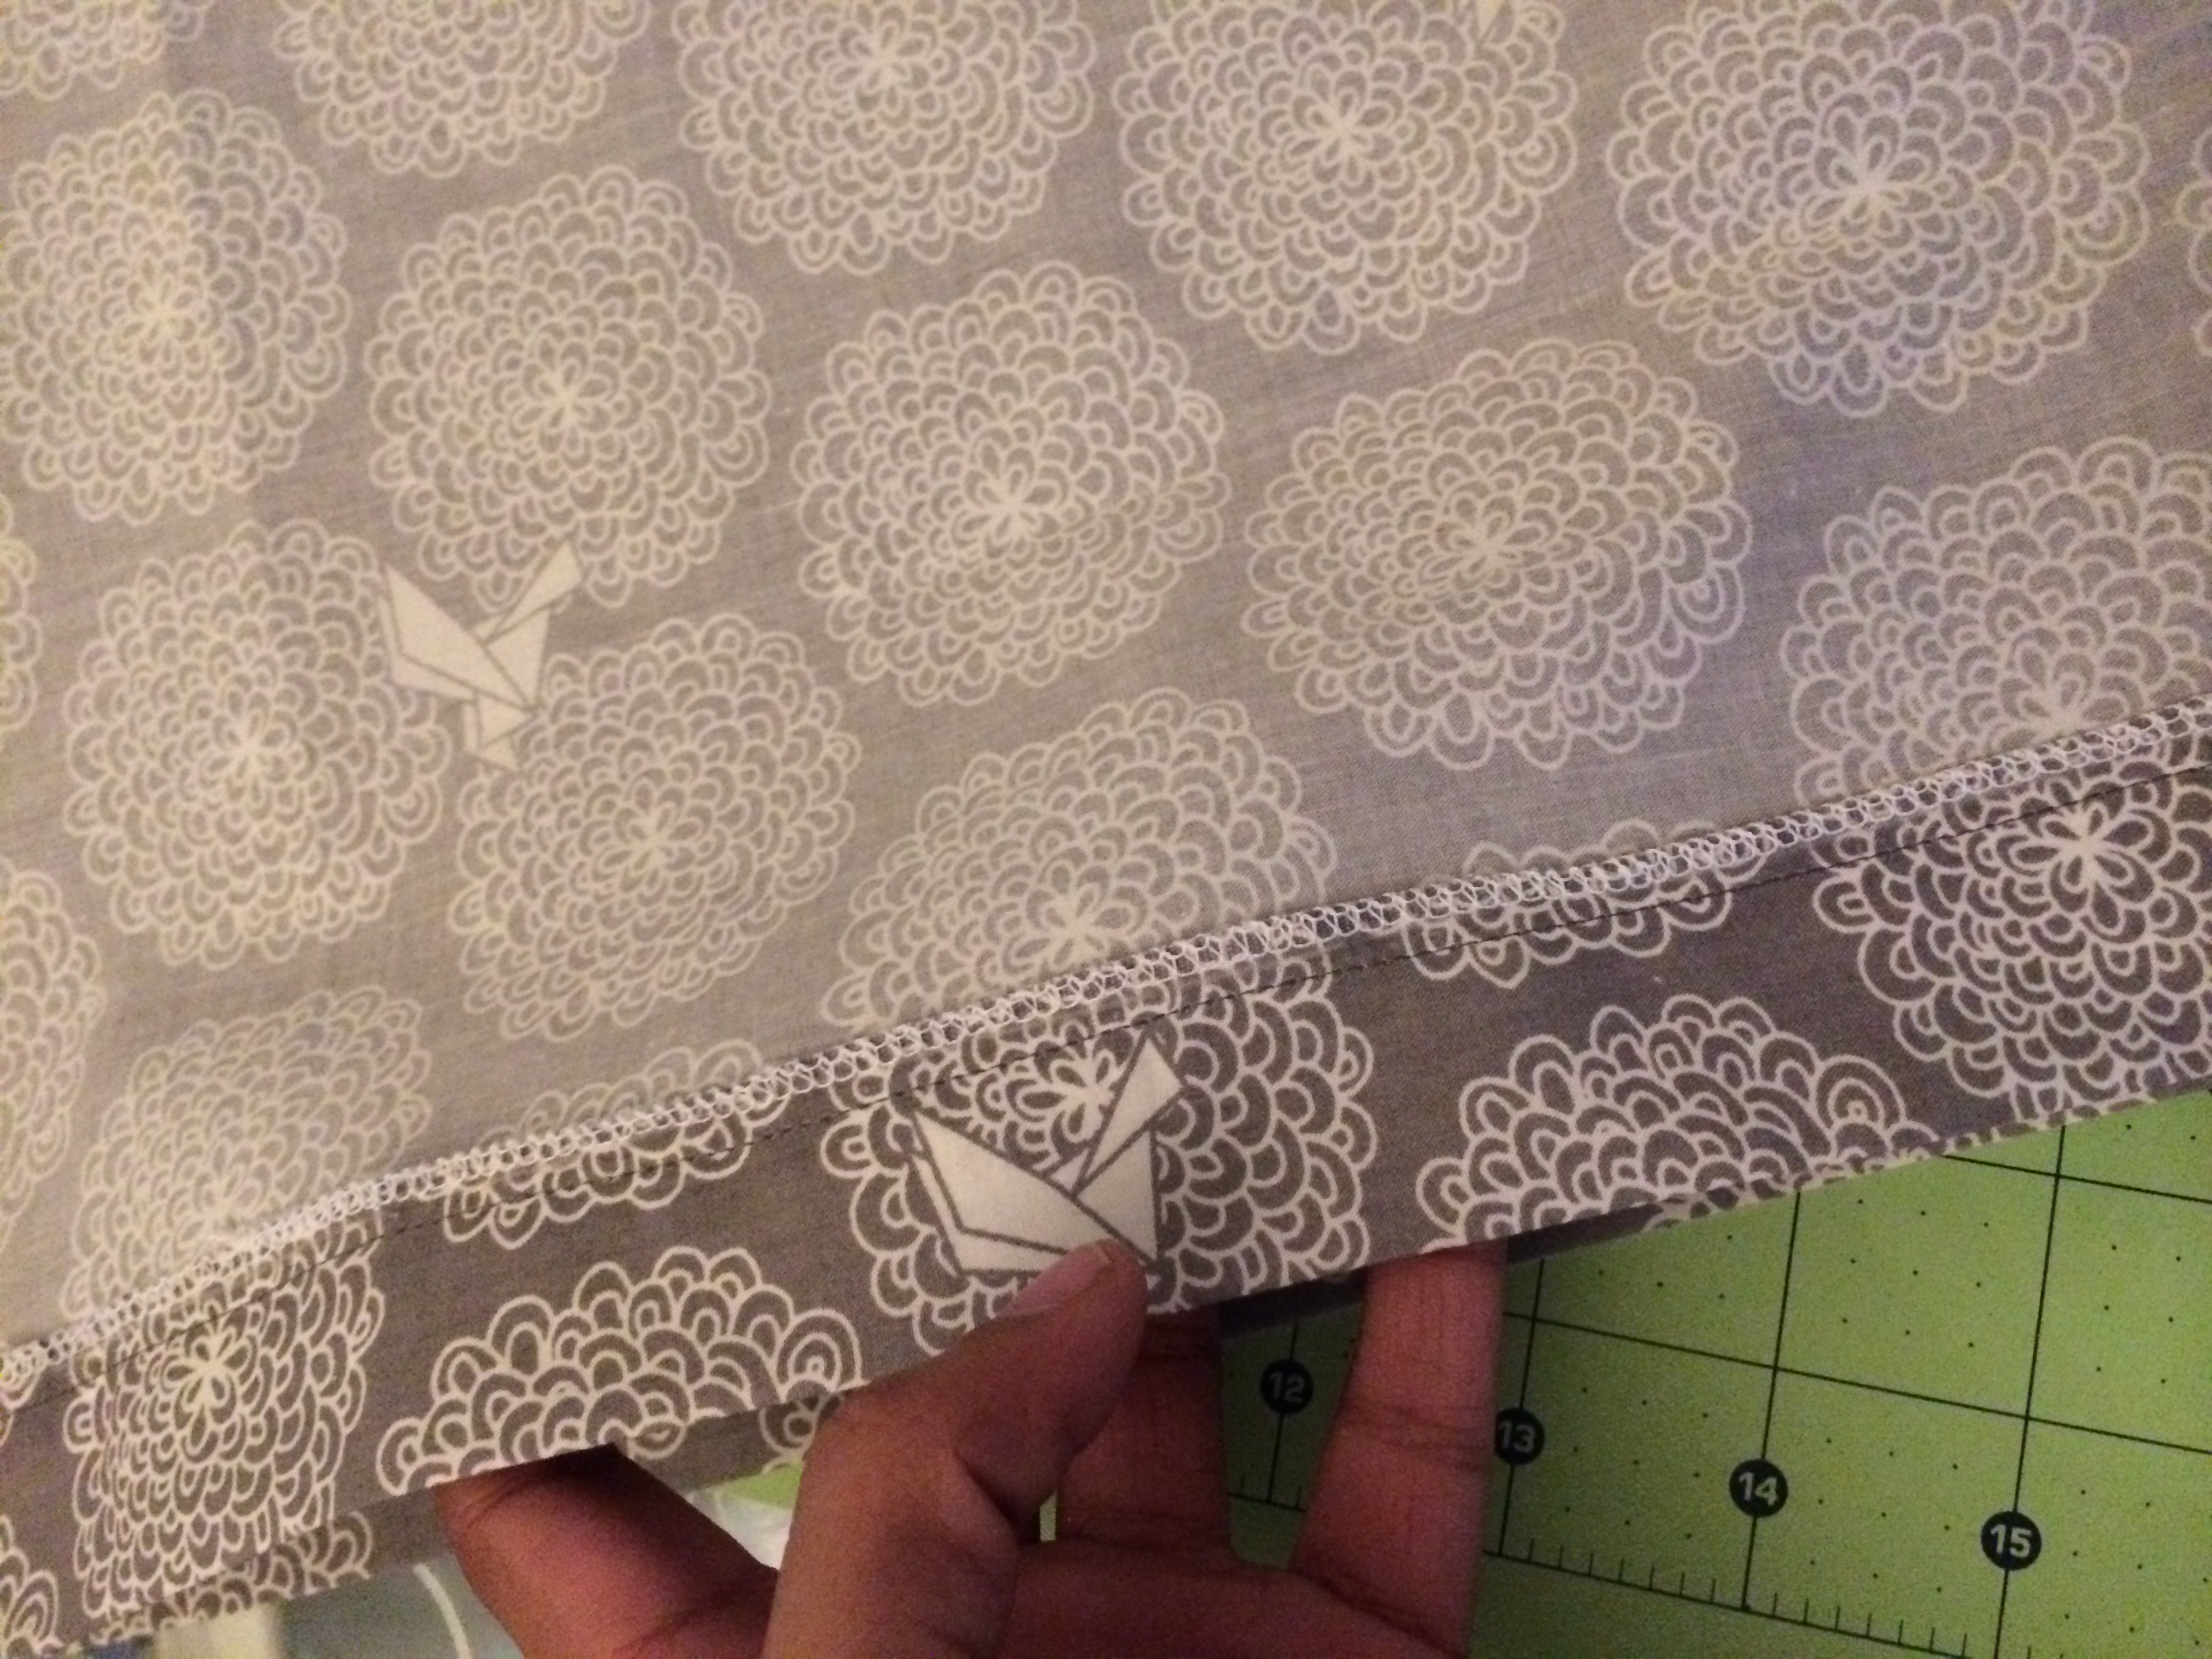
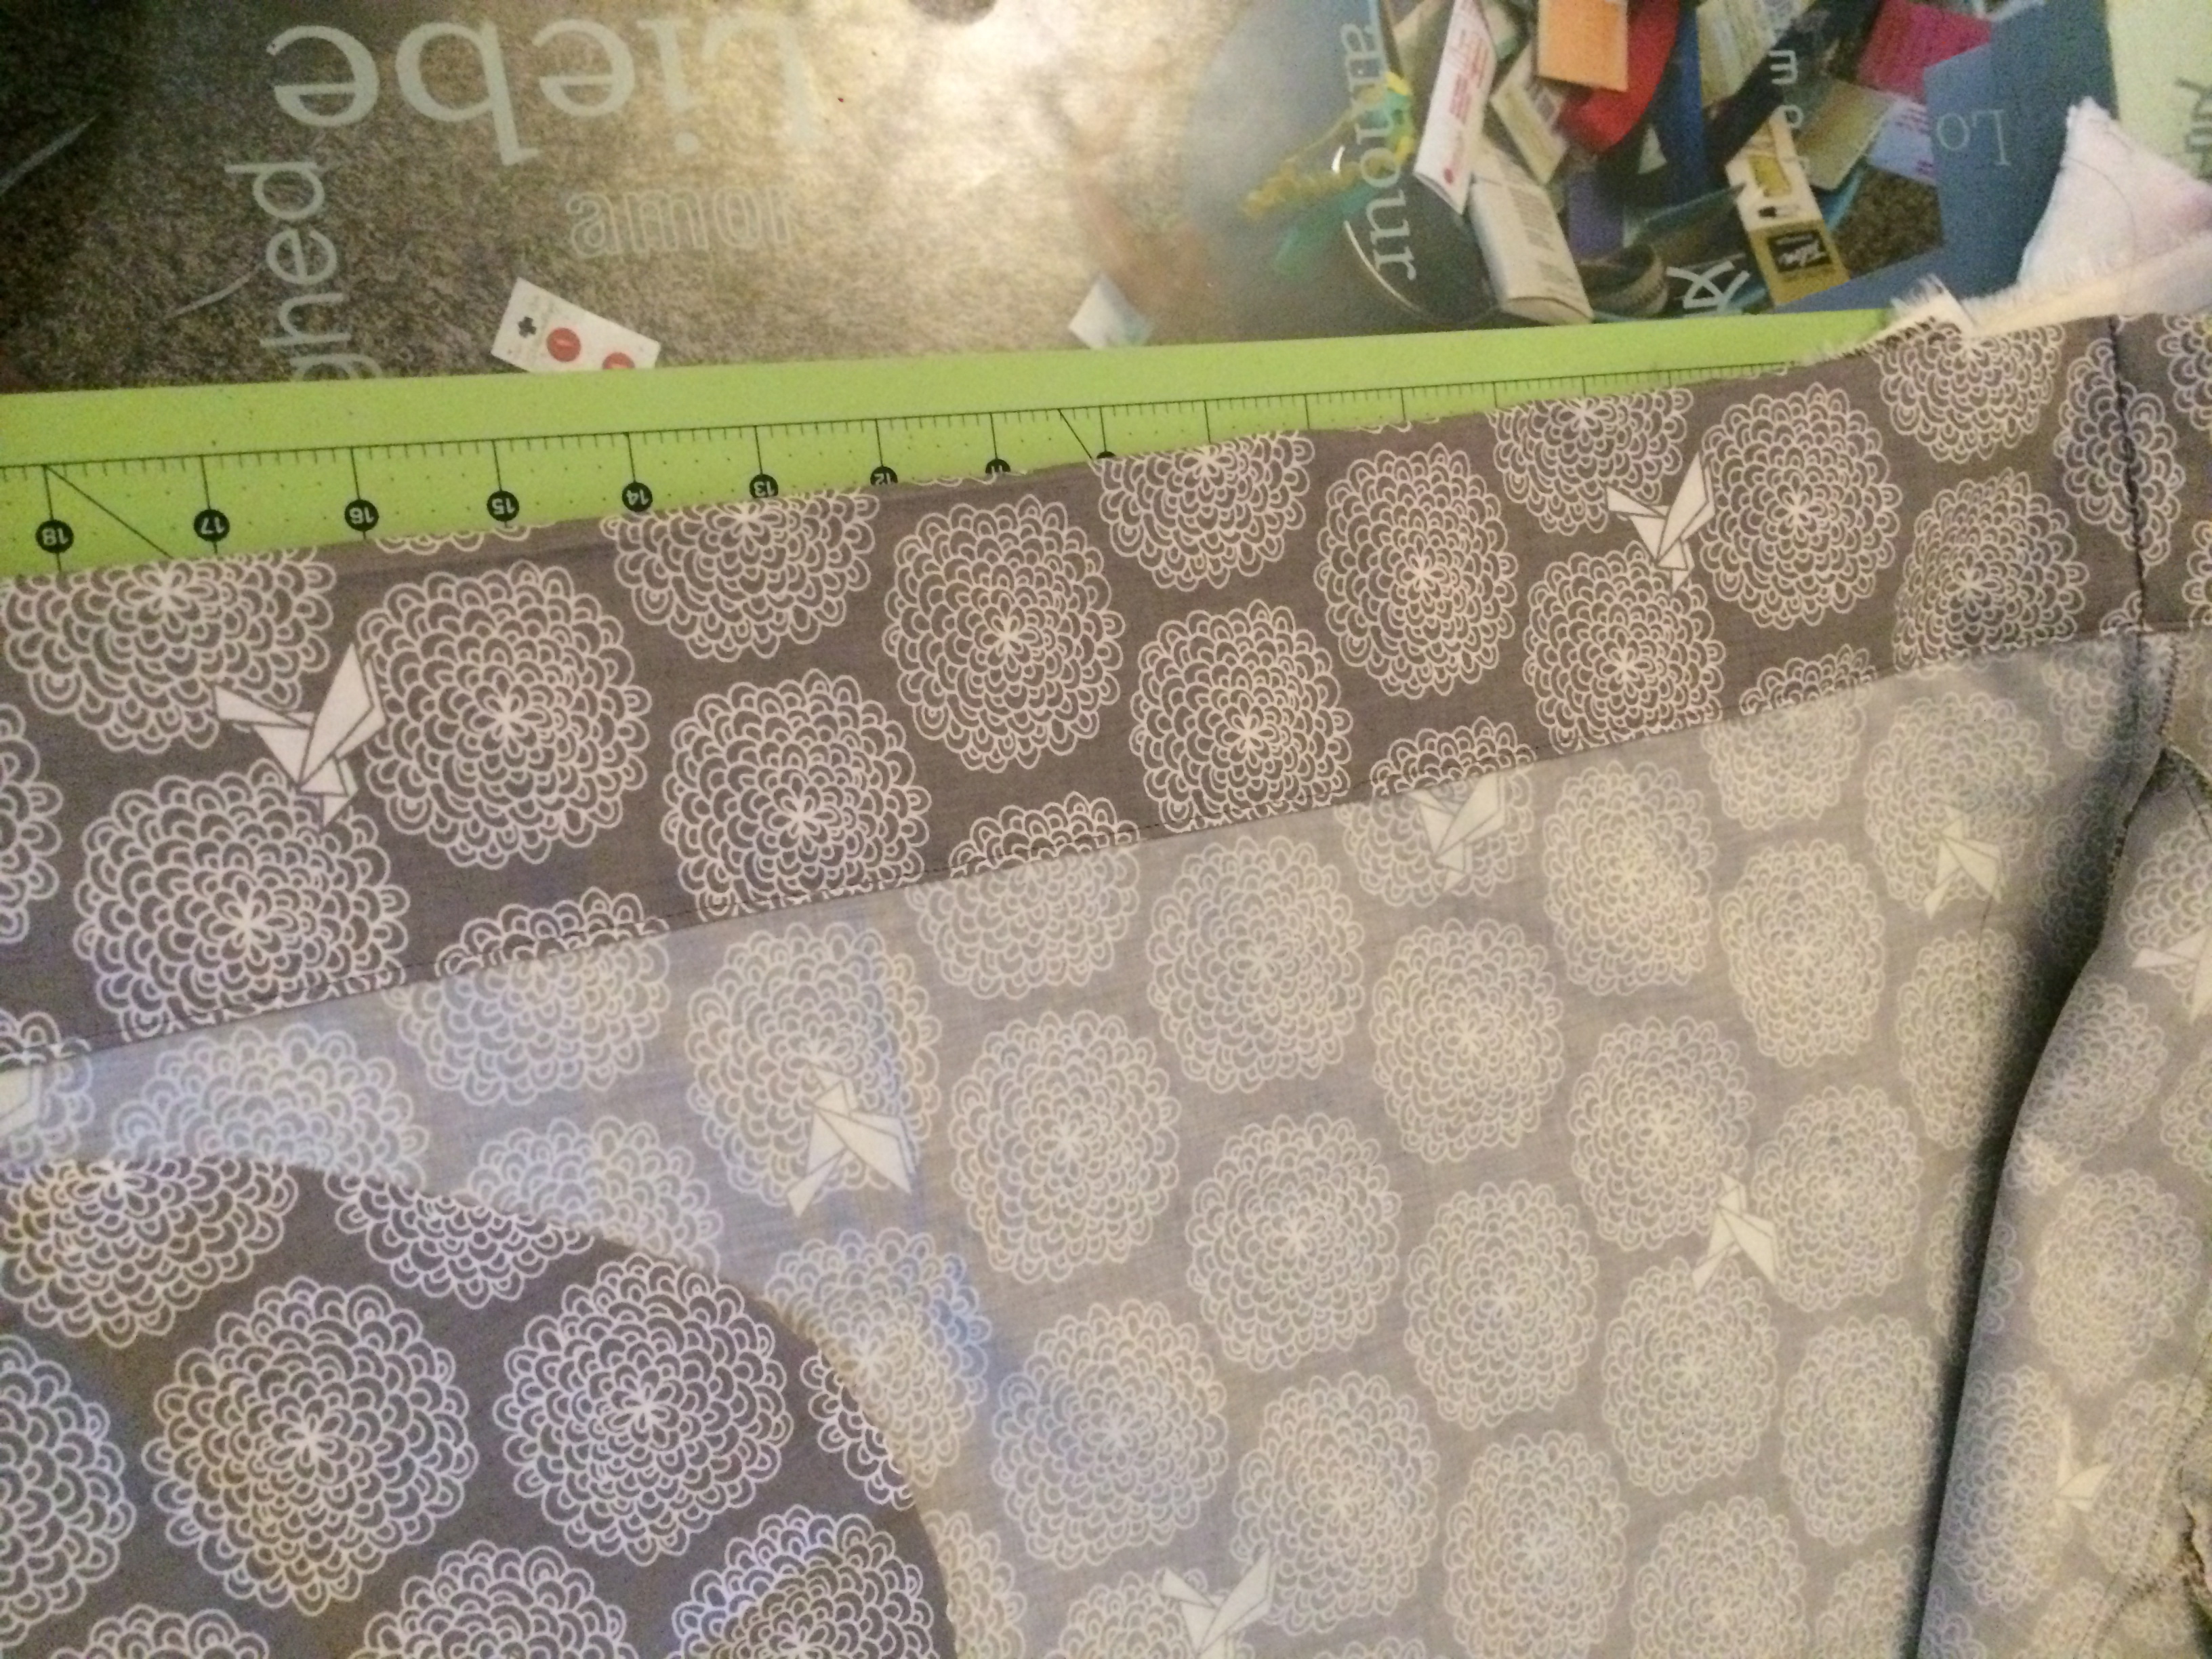
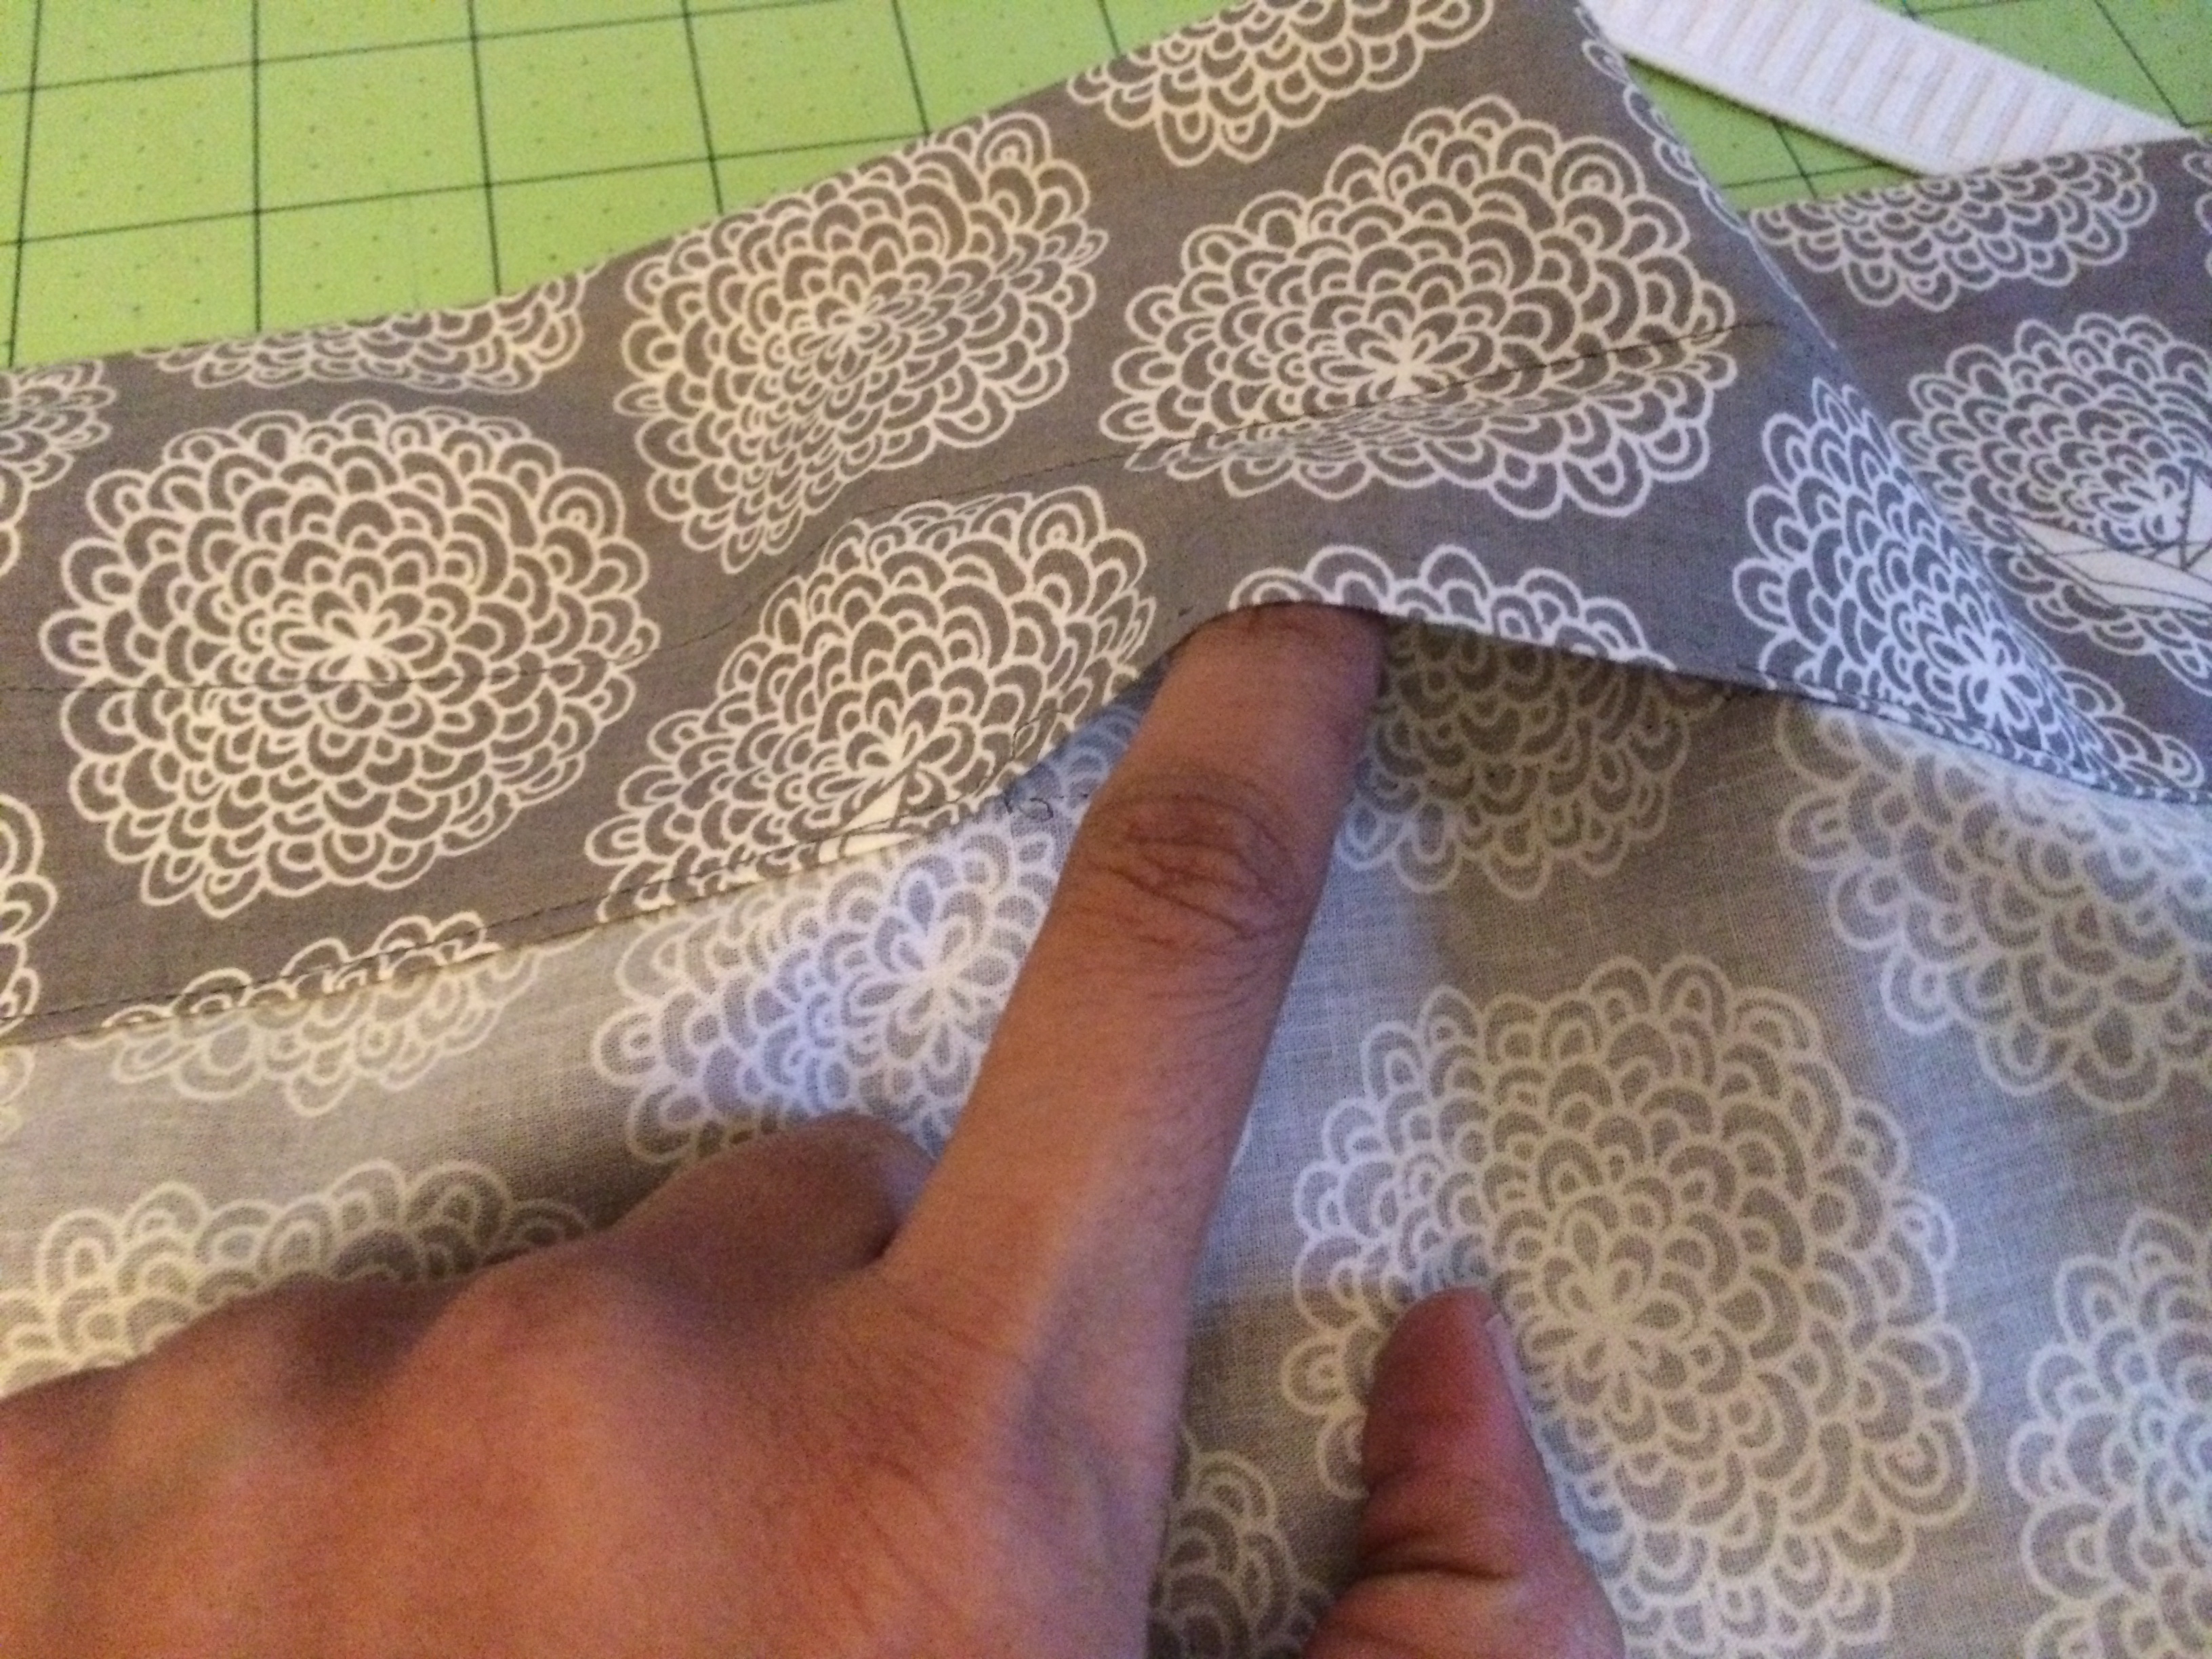
Next, let’s go ahead and close the other end of the skirt body , following the same procedure as you did earlier for the pocket. However, dont sew the slot you made for the elastic close. So, you will sew the top, stop when you reach your 1.25″ slot and then continue down after the slot.

Insert the elastic using your 2″ opening, sew it when you are done and sew the side piece you left open in the above step. You can now go ahead and zig-zag stitch or all edges or serge. 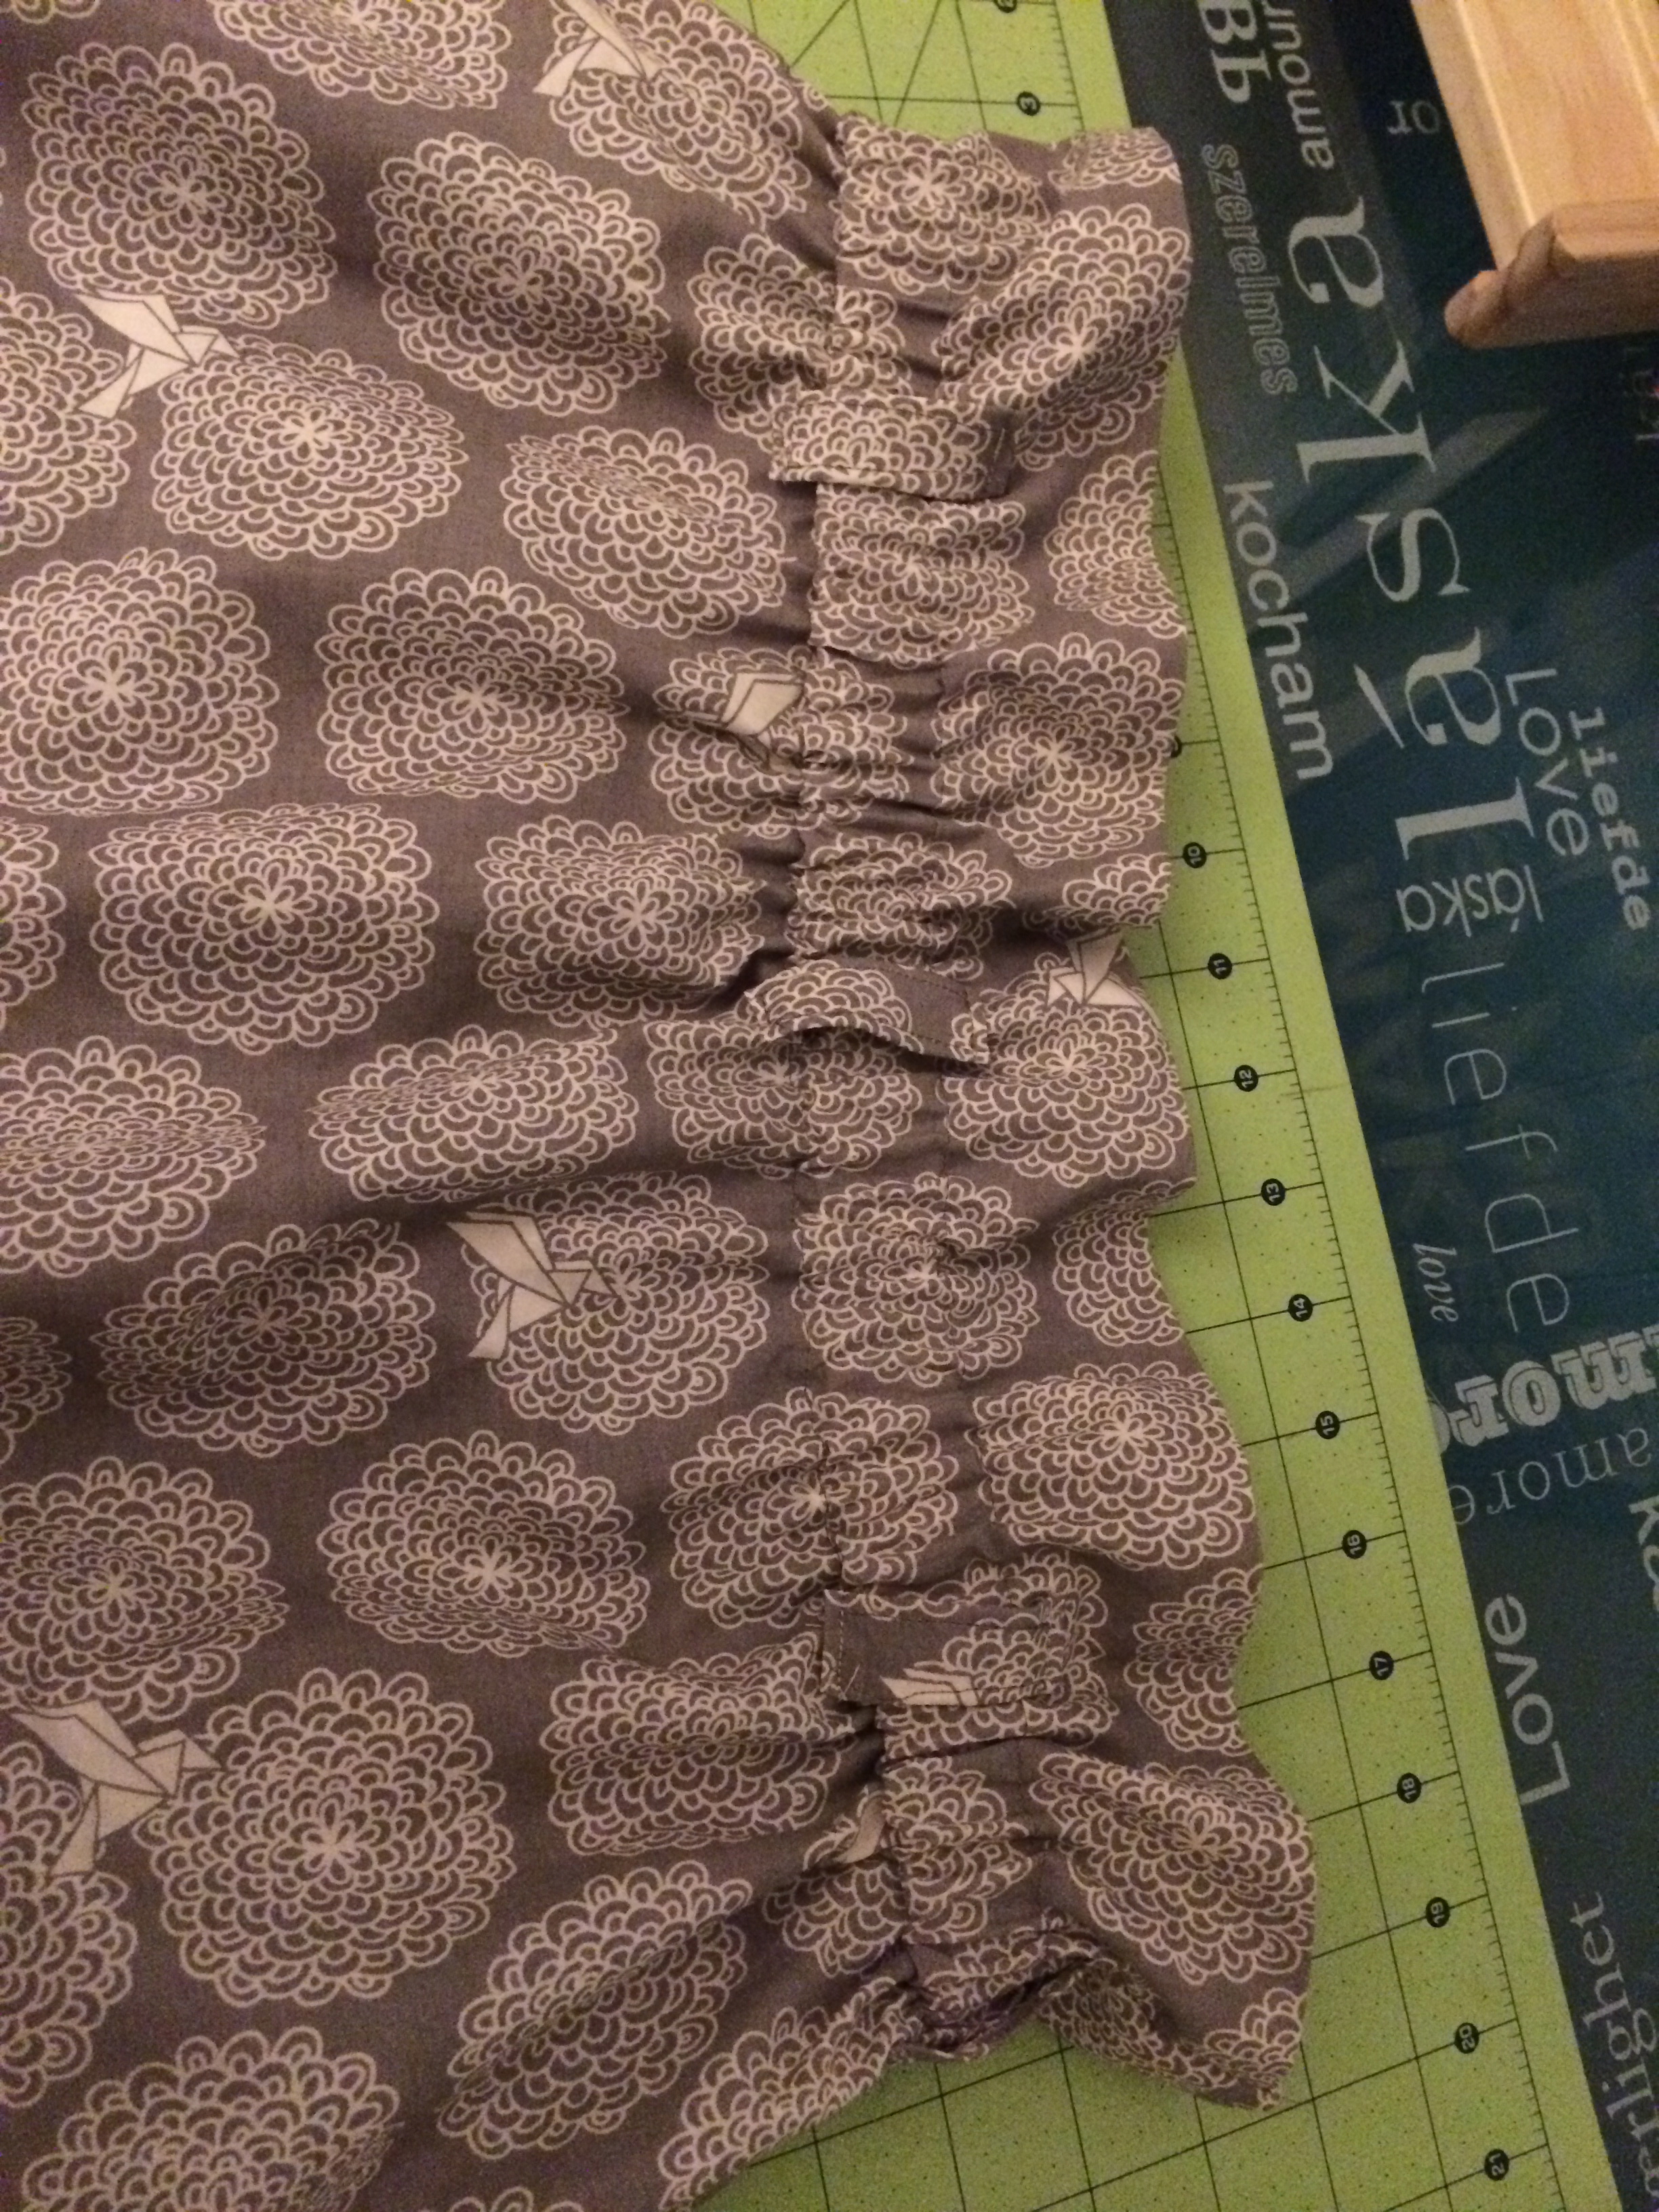
To make the belt, take your two coordinated pieces you cut earlier and sew right sides together. Hem the edges. I actually forgot to hem the bottom of mine but decided to leave it since I thought it gave it a bit of a rugged look. I may go back and hem it if I change my mind:-) Pass the belt through your bands and adjust.
Thats it, make your bow and you are done!
Check out a great selection of gorgeous fabrics like this and others at Fabricworm.