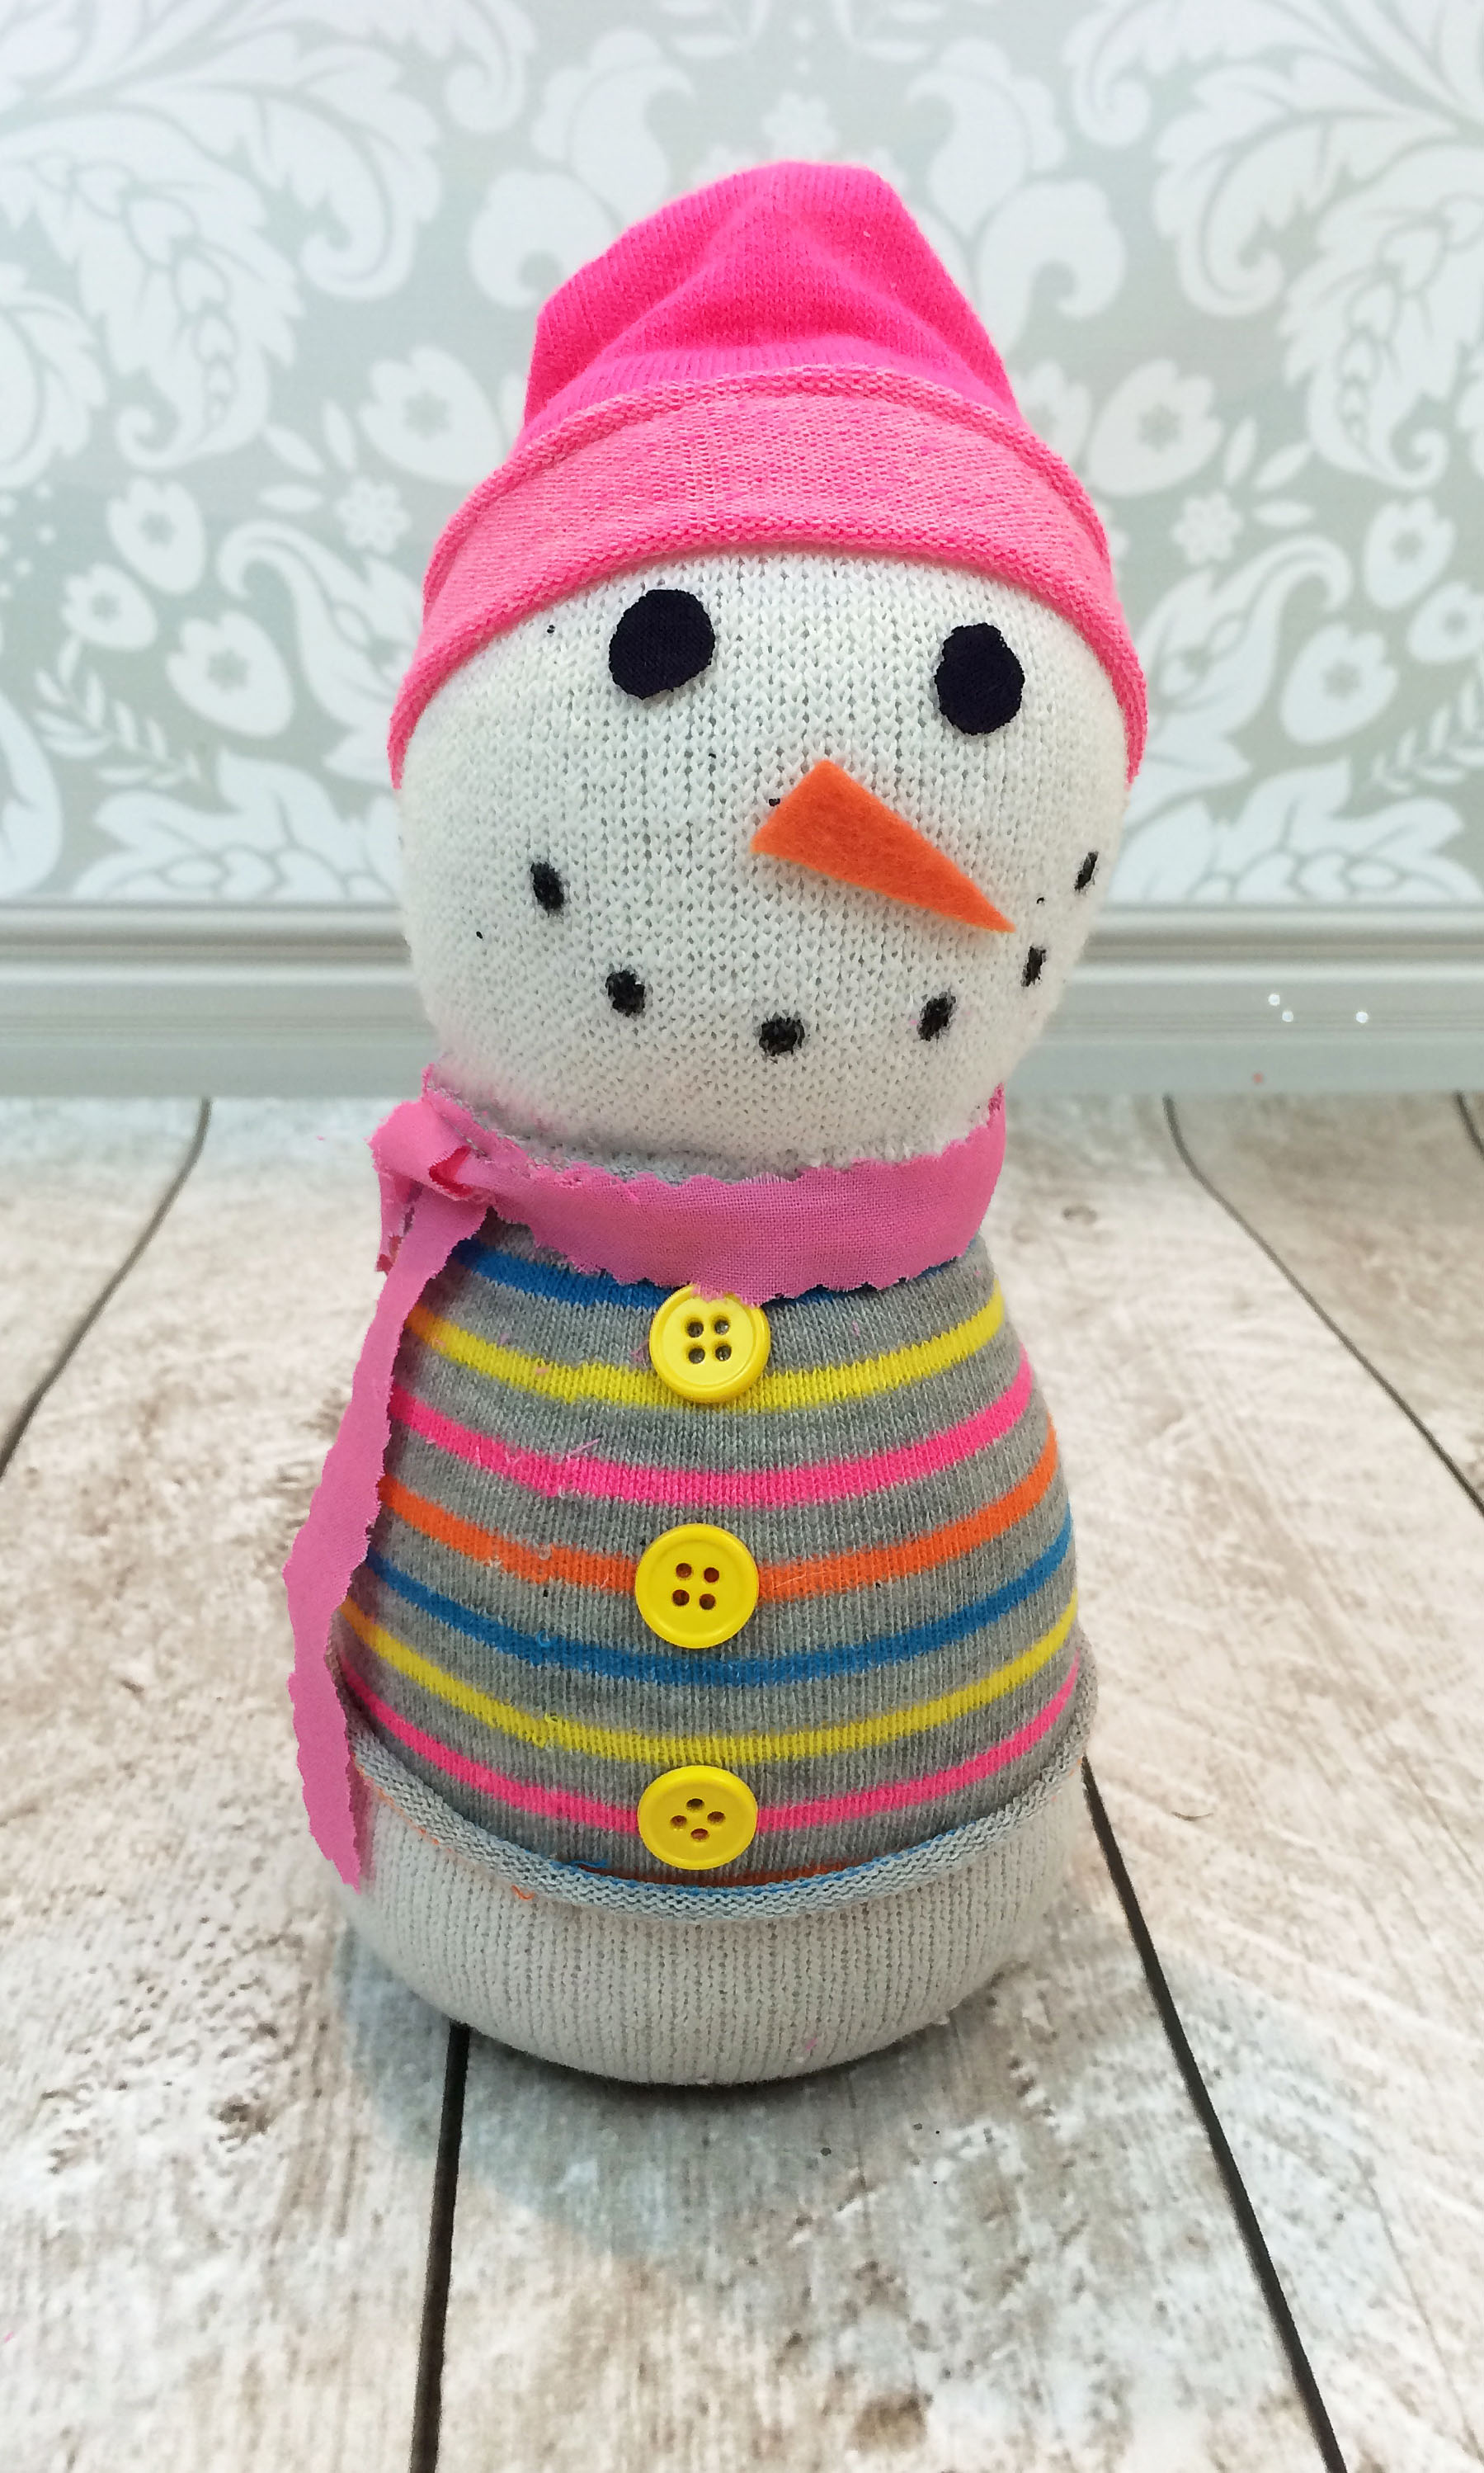
I have been meaning to make Mila a snowman for a while now. I have seen a few of these on Pinterest and wanted to re-create one for myself. This is a super easy project that you can do with your child. It’s fun and you can personalize to fit your child’s favorite colors. For this one I used one pair of men’s socks and 1 pair of colored women socks. I accessorized with a scrap fabric as a scarf and did the facial pieces using felt. I think it came out ok but I would have liked to make the bottom part a bit fatter. These were old socks so I made the snowman a sweater to cover it up:-). I glued on the buttons on the sweater to accessorize it. I honestly wanted to make this with all Christmas colors but I didn’t have any red or green socks.
To make this cute snowman you need
1 pair of mens’ socks
1 pair of colored women ankle socks
Polyfil or rice for filling
2 rubberbands
orange and black felt
1 8″x 1″ strip of colored cotton
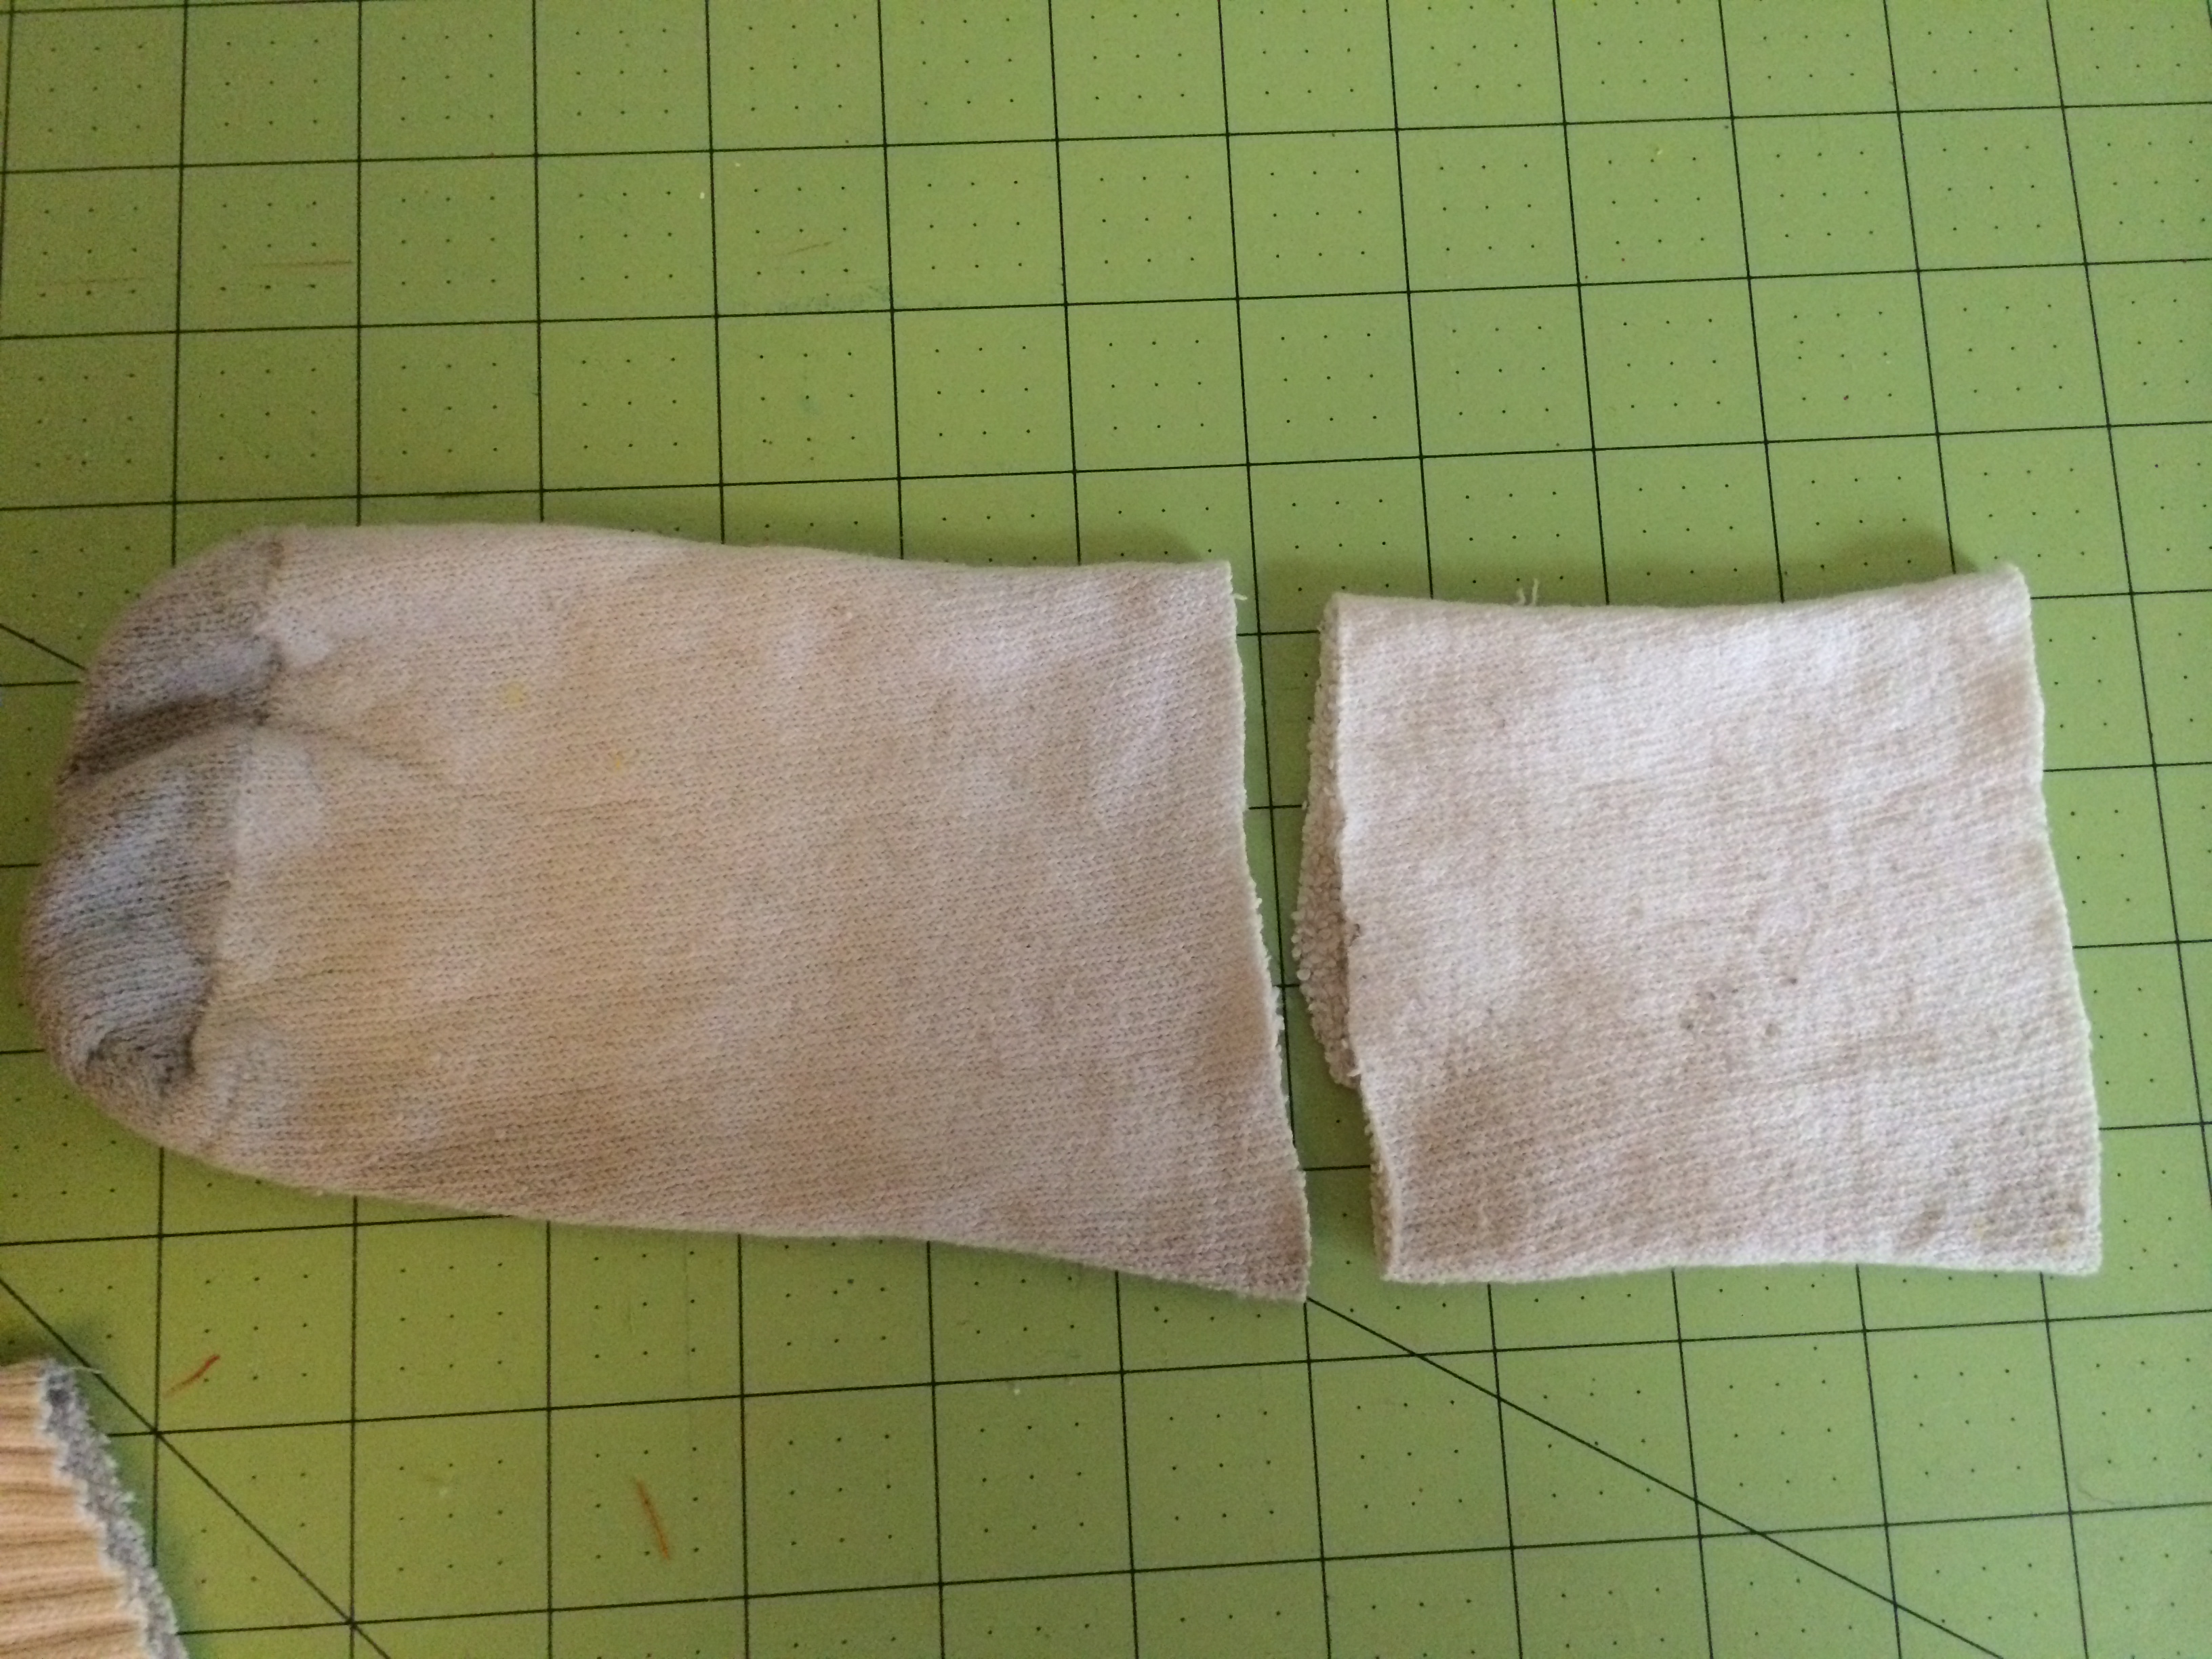
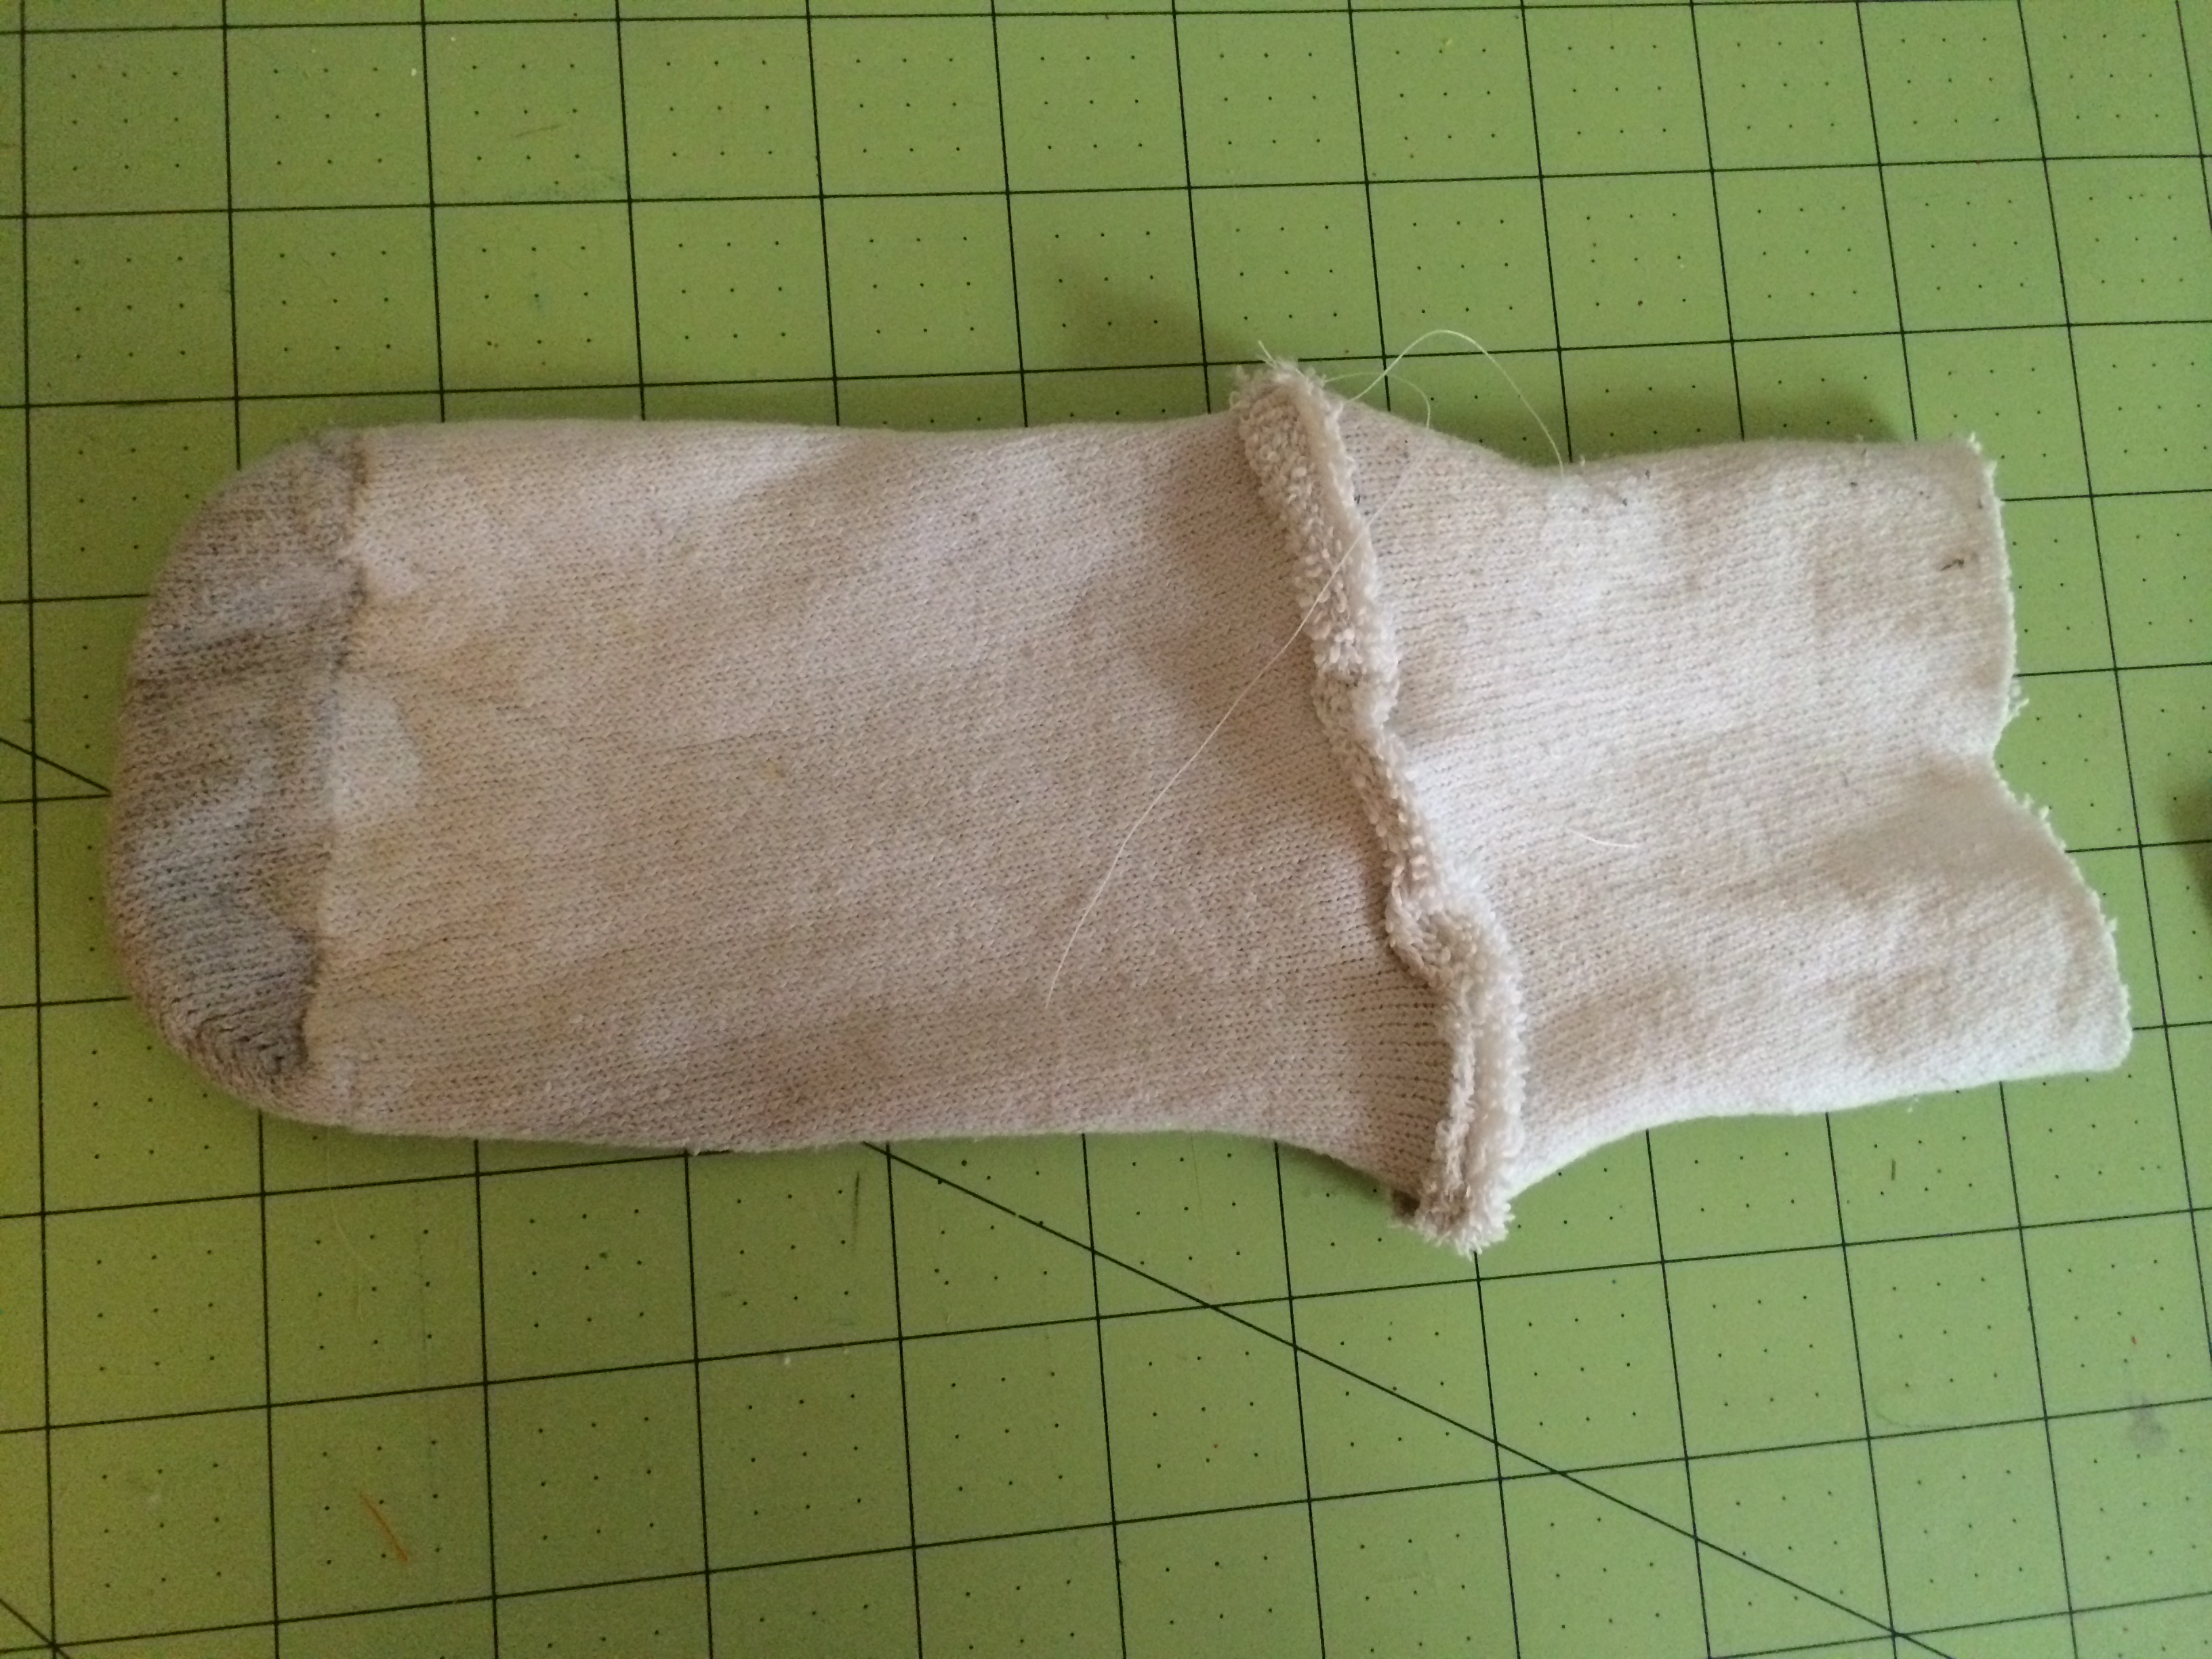
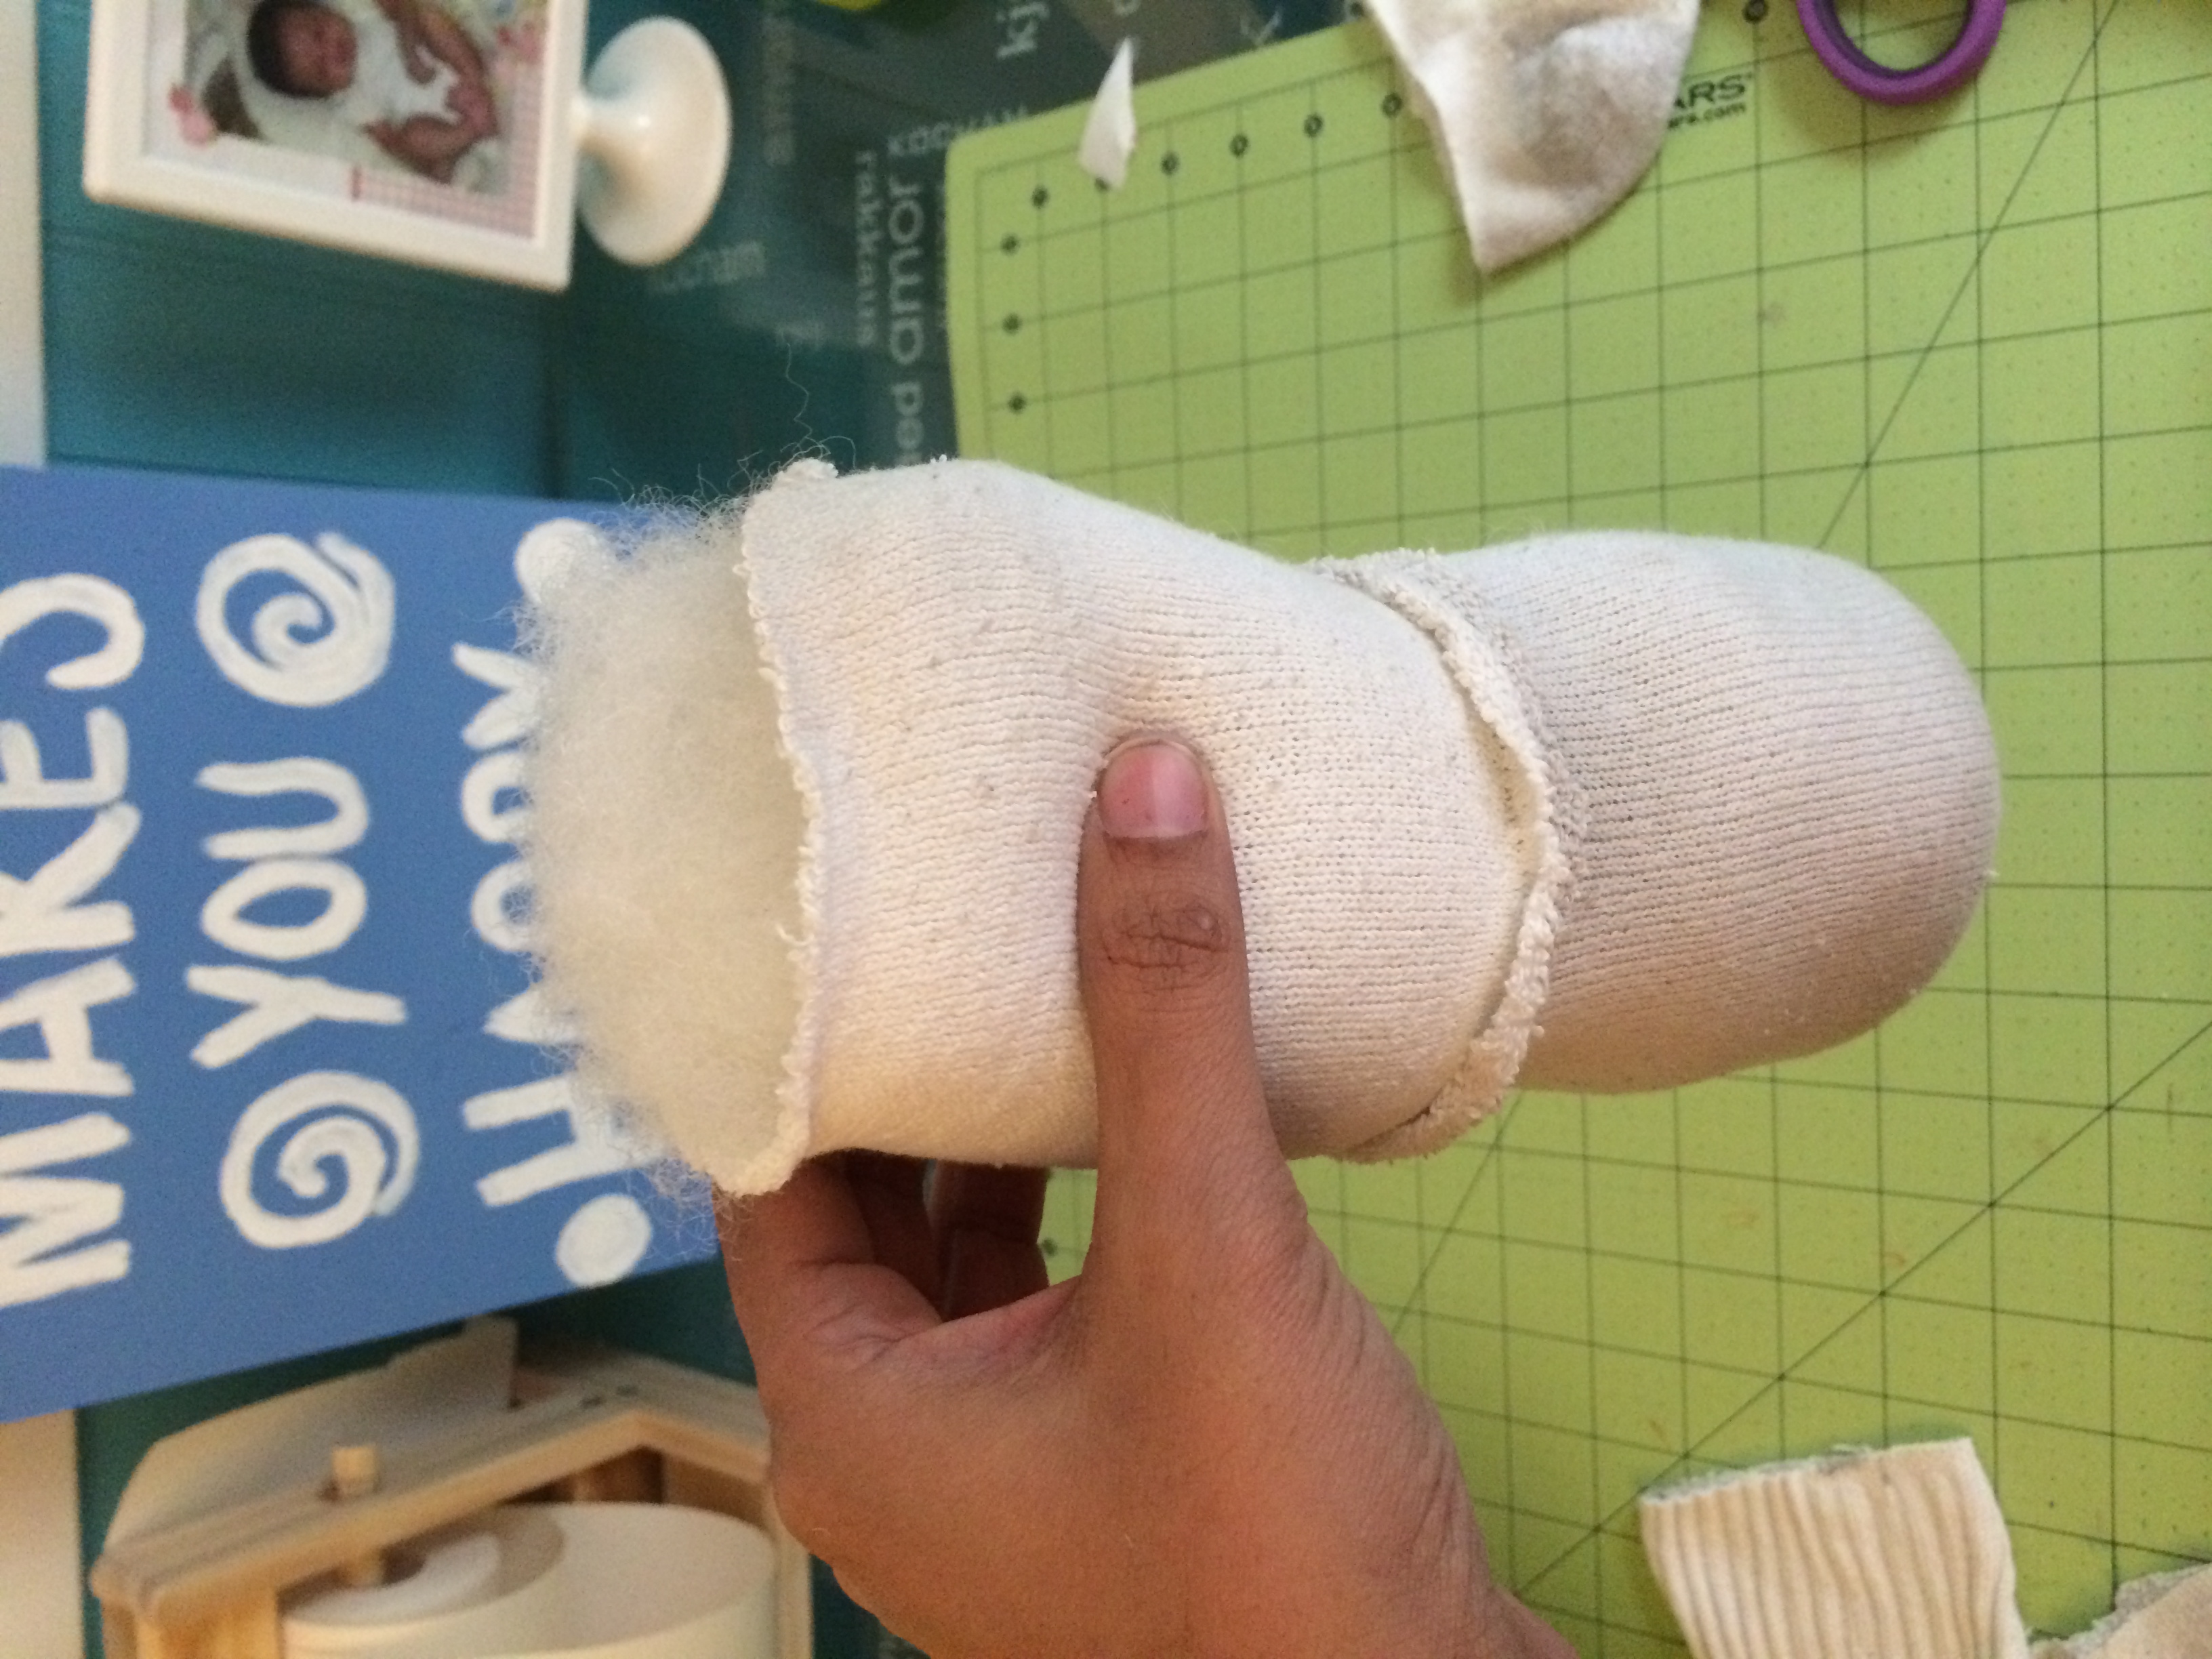
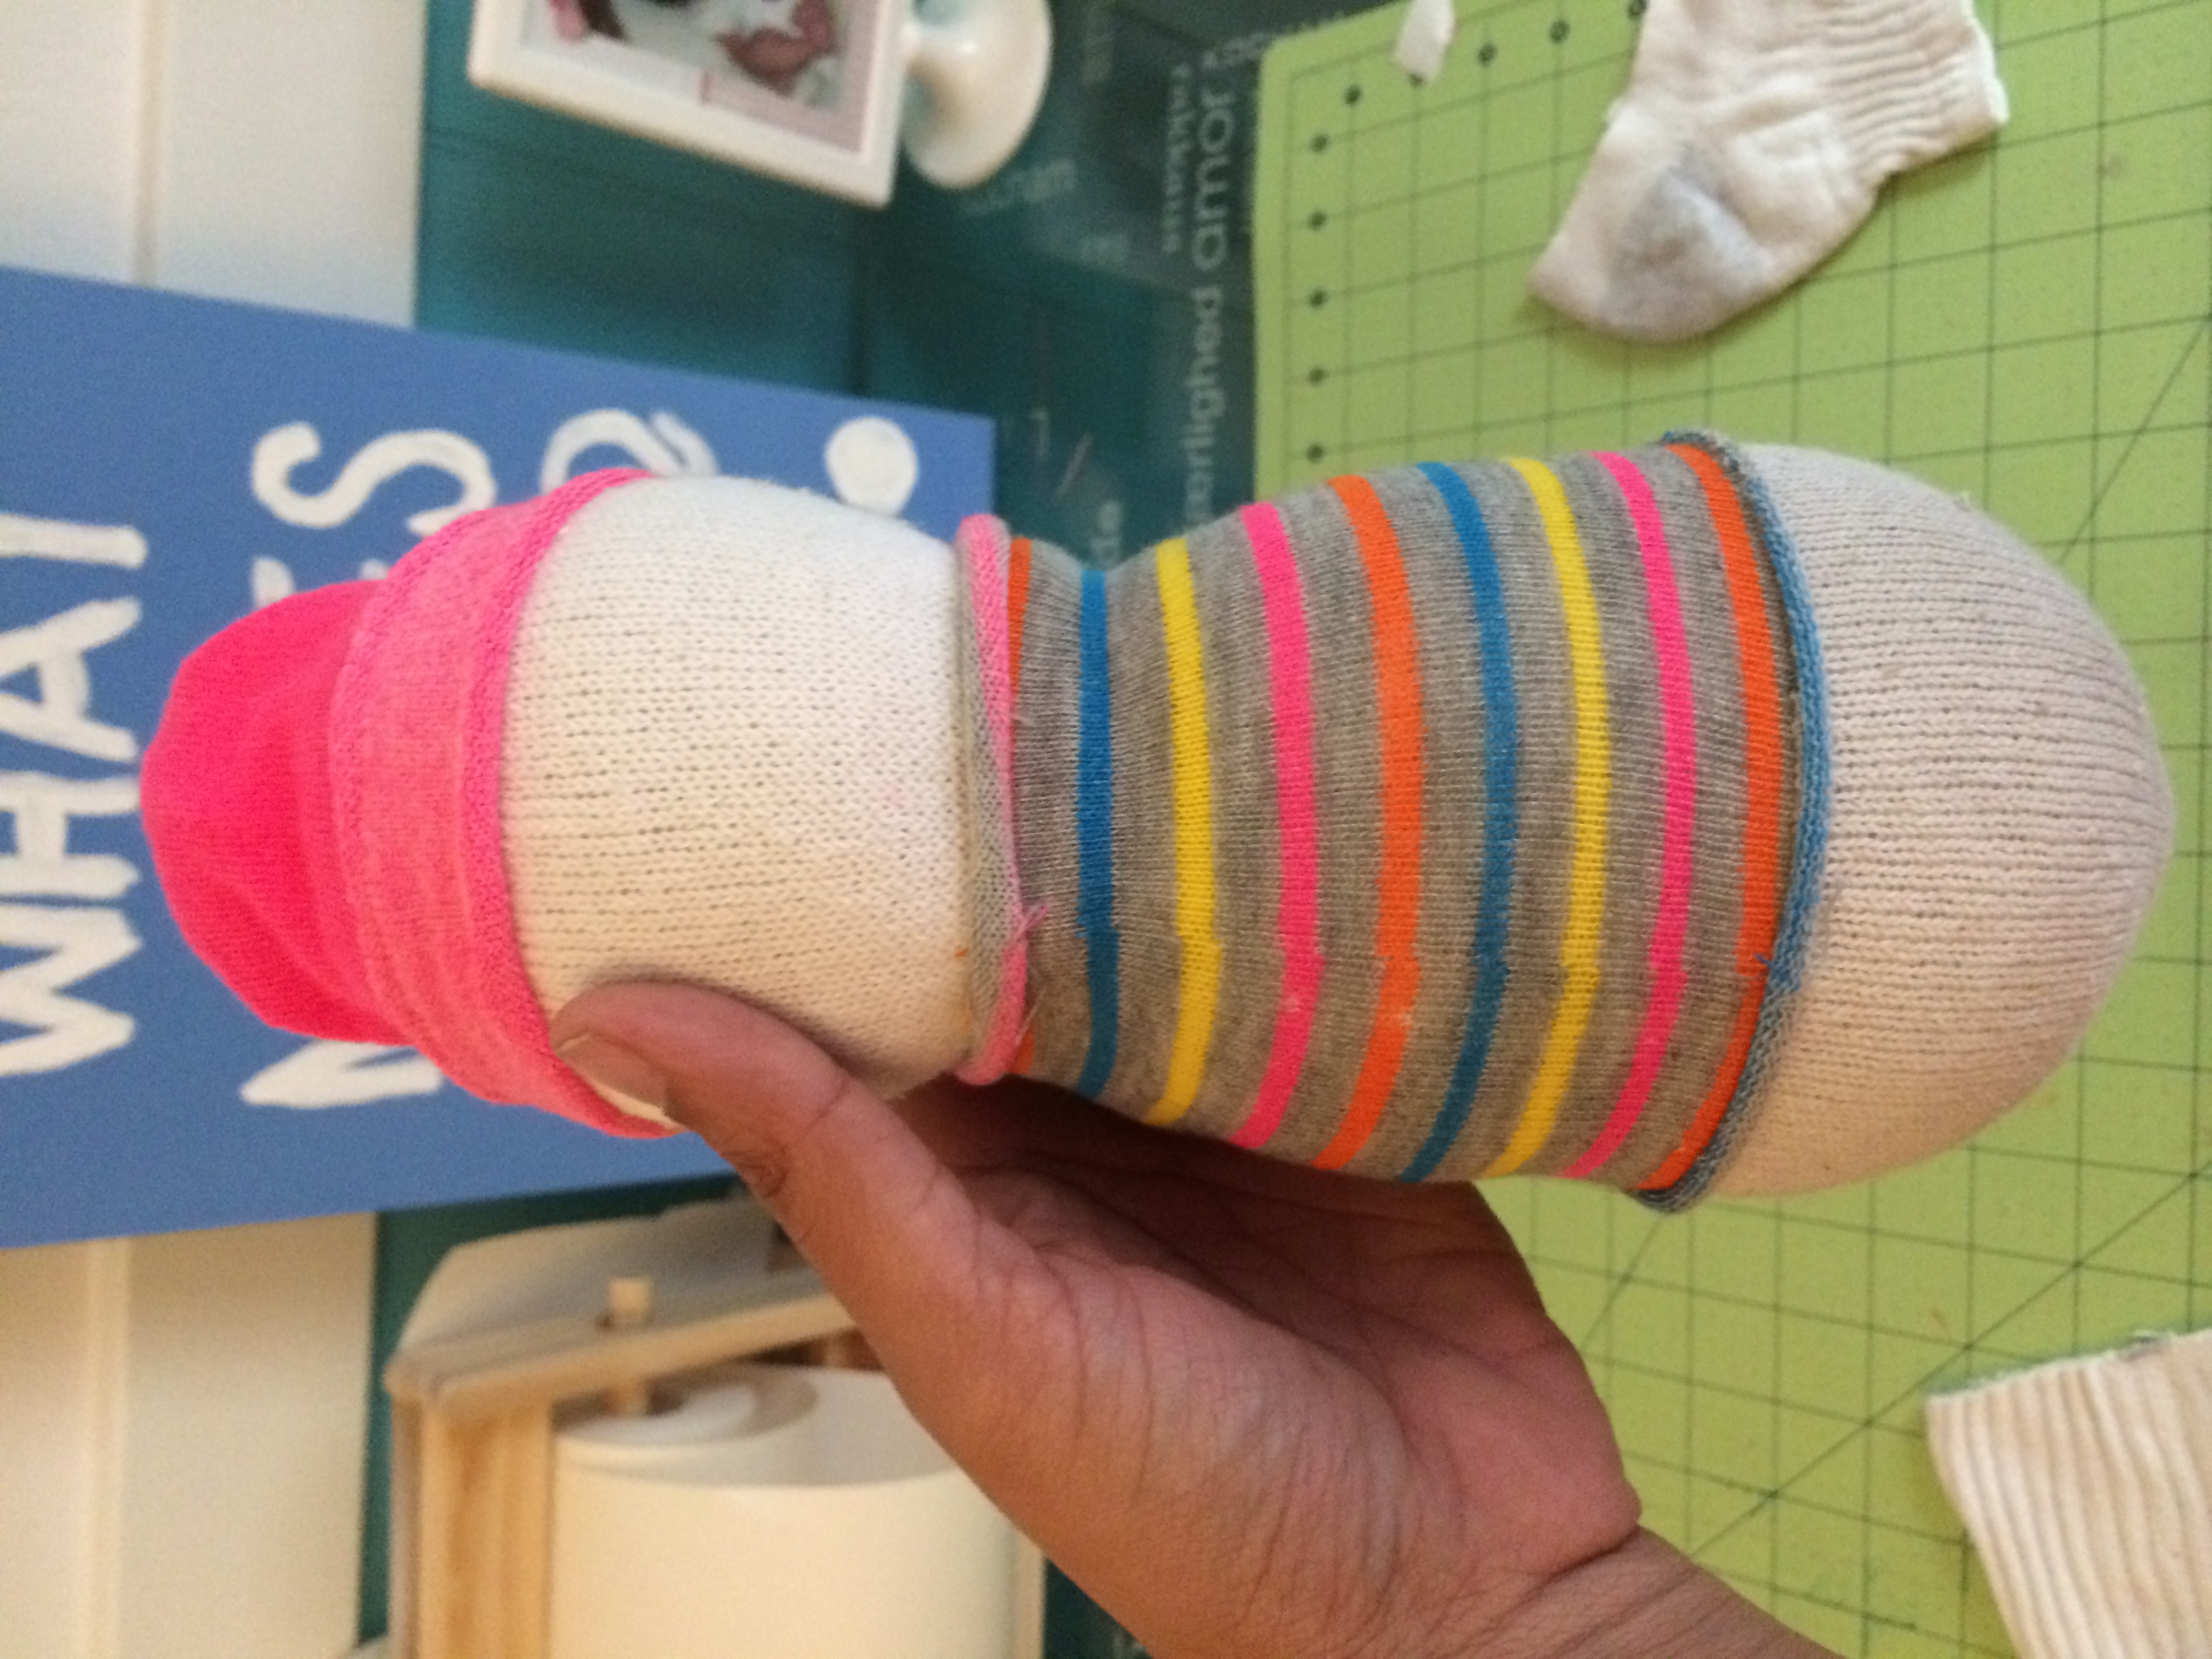
Take the pair of men’s socks and cut out the top part of one and a piece of the middle of the other one. Sew the two pieces together
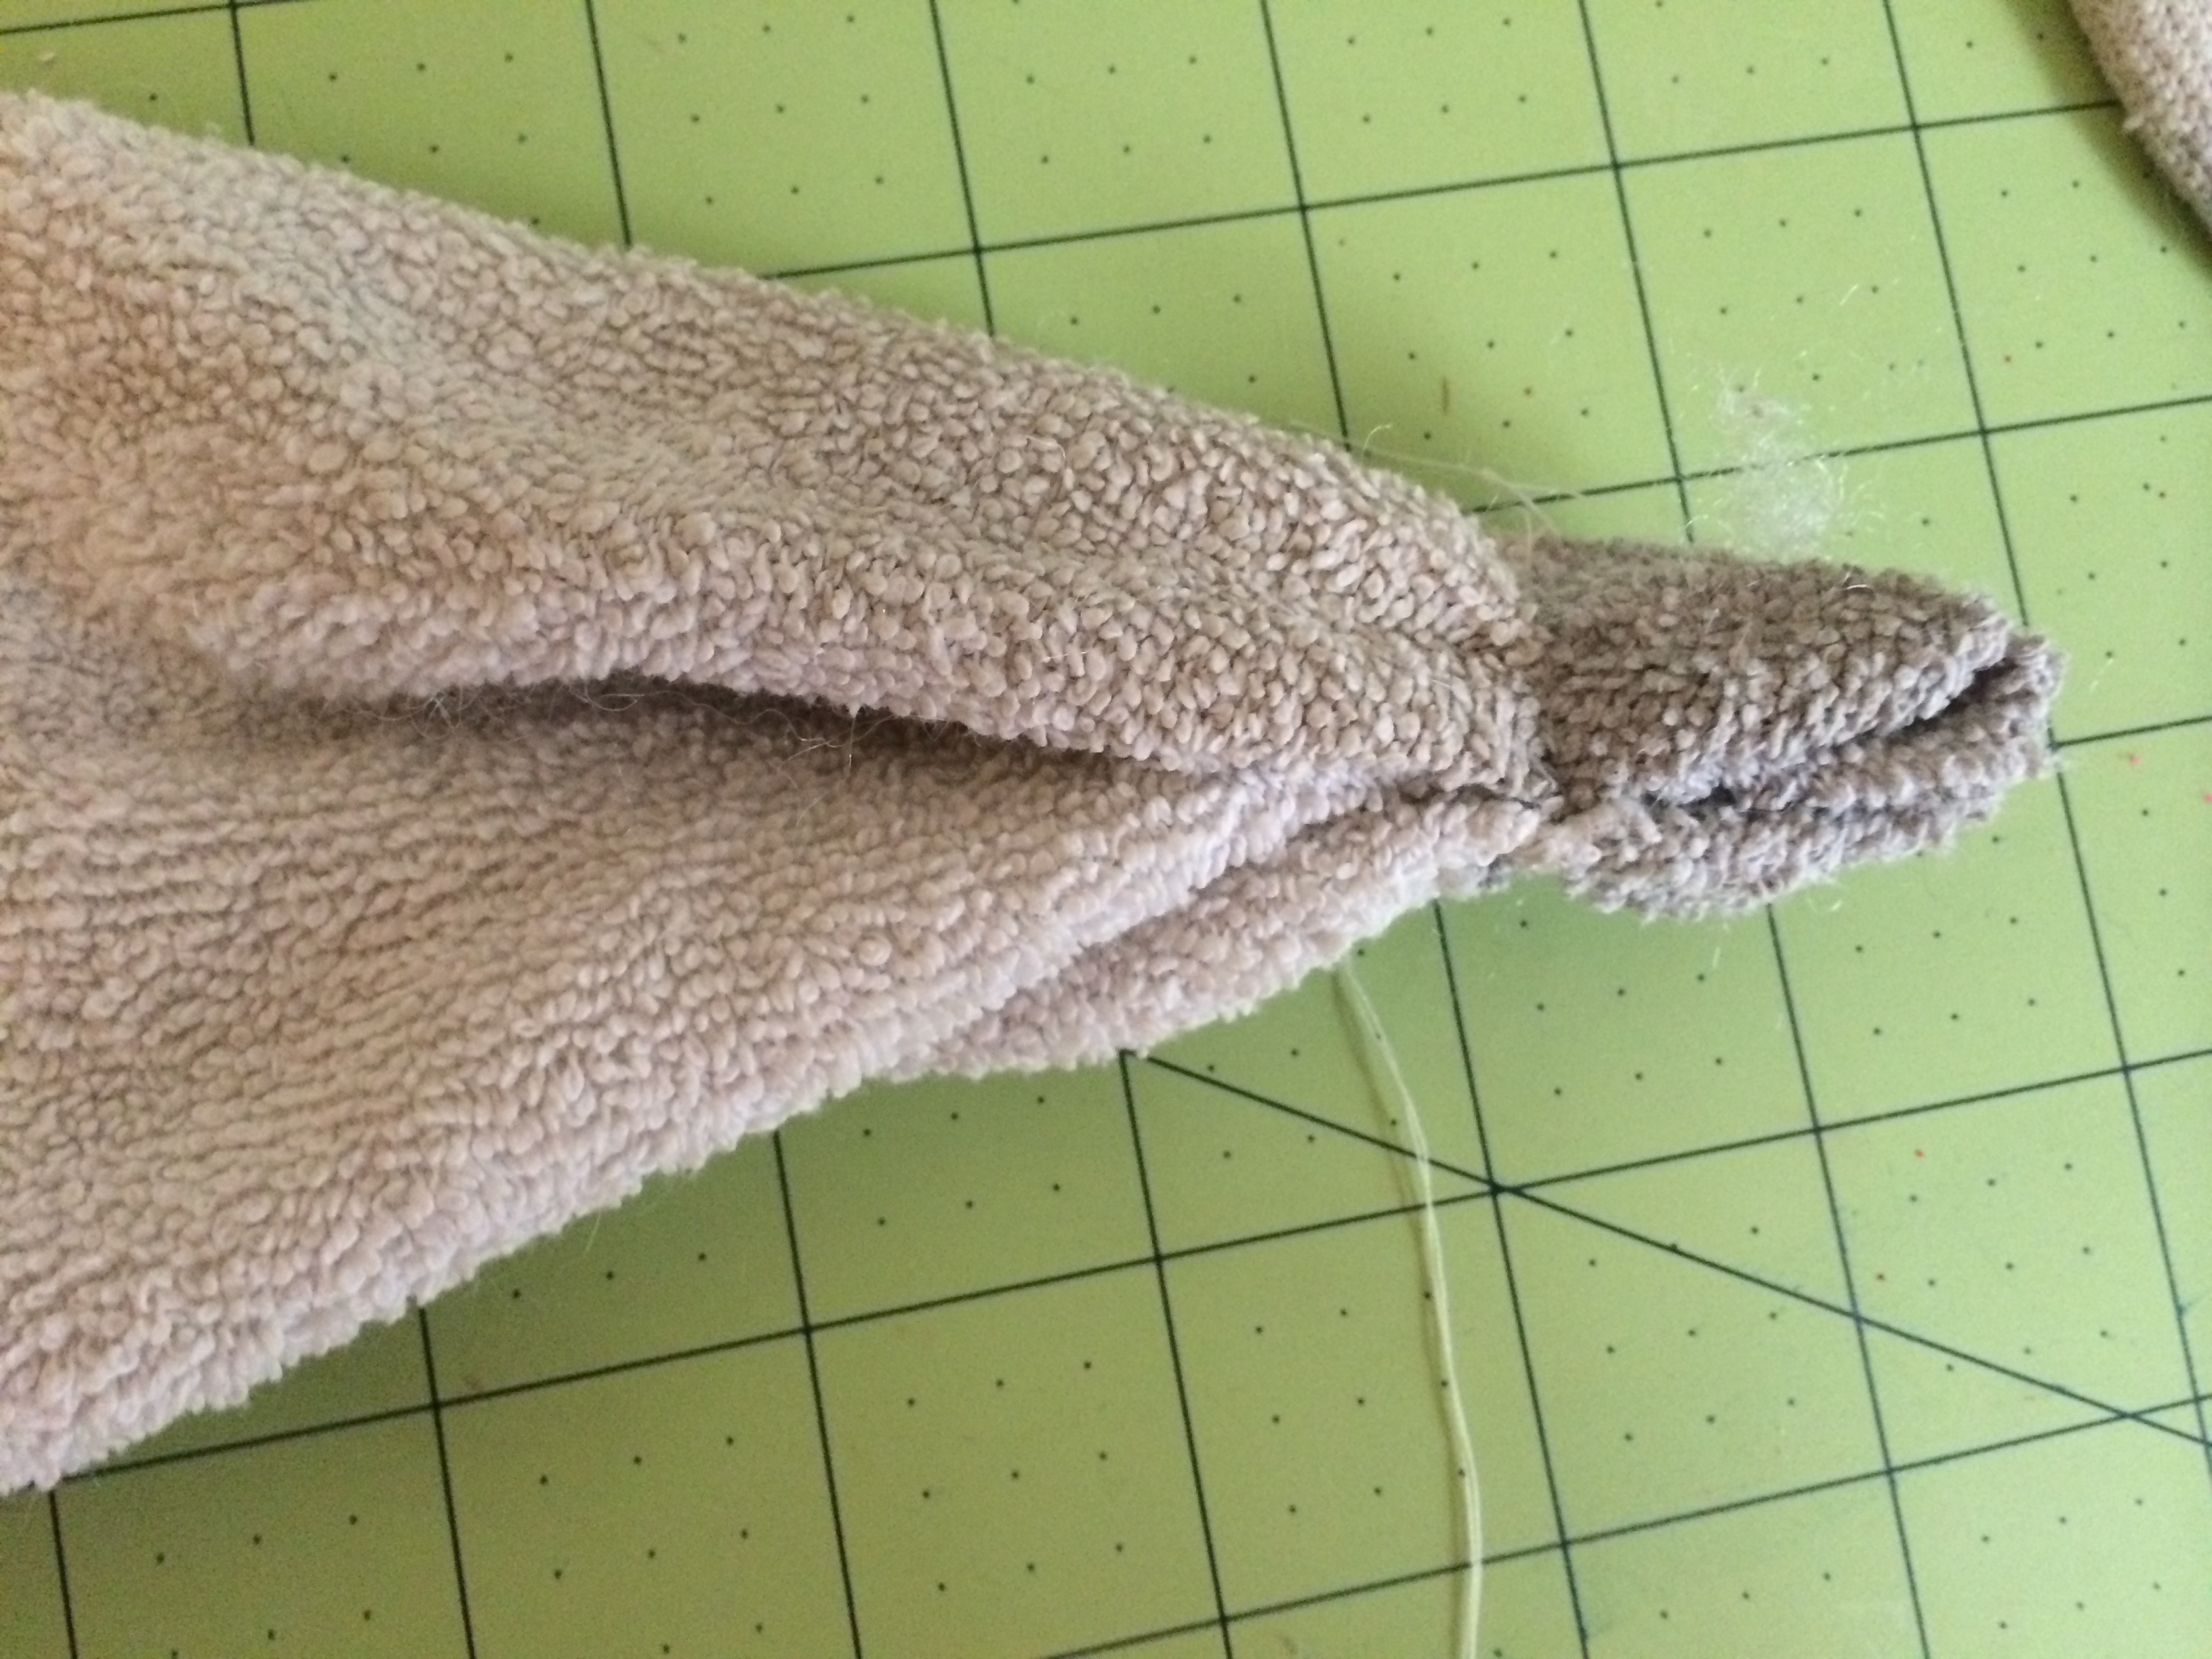
Turn it inside out and pull together the bottom piece and sew close.
Fill with polyfil stuffing or rice leaving some space on top. Sew the top close.
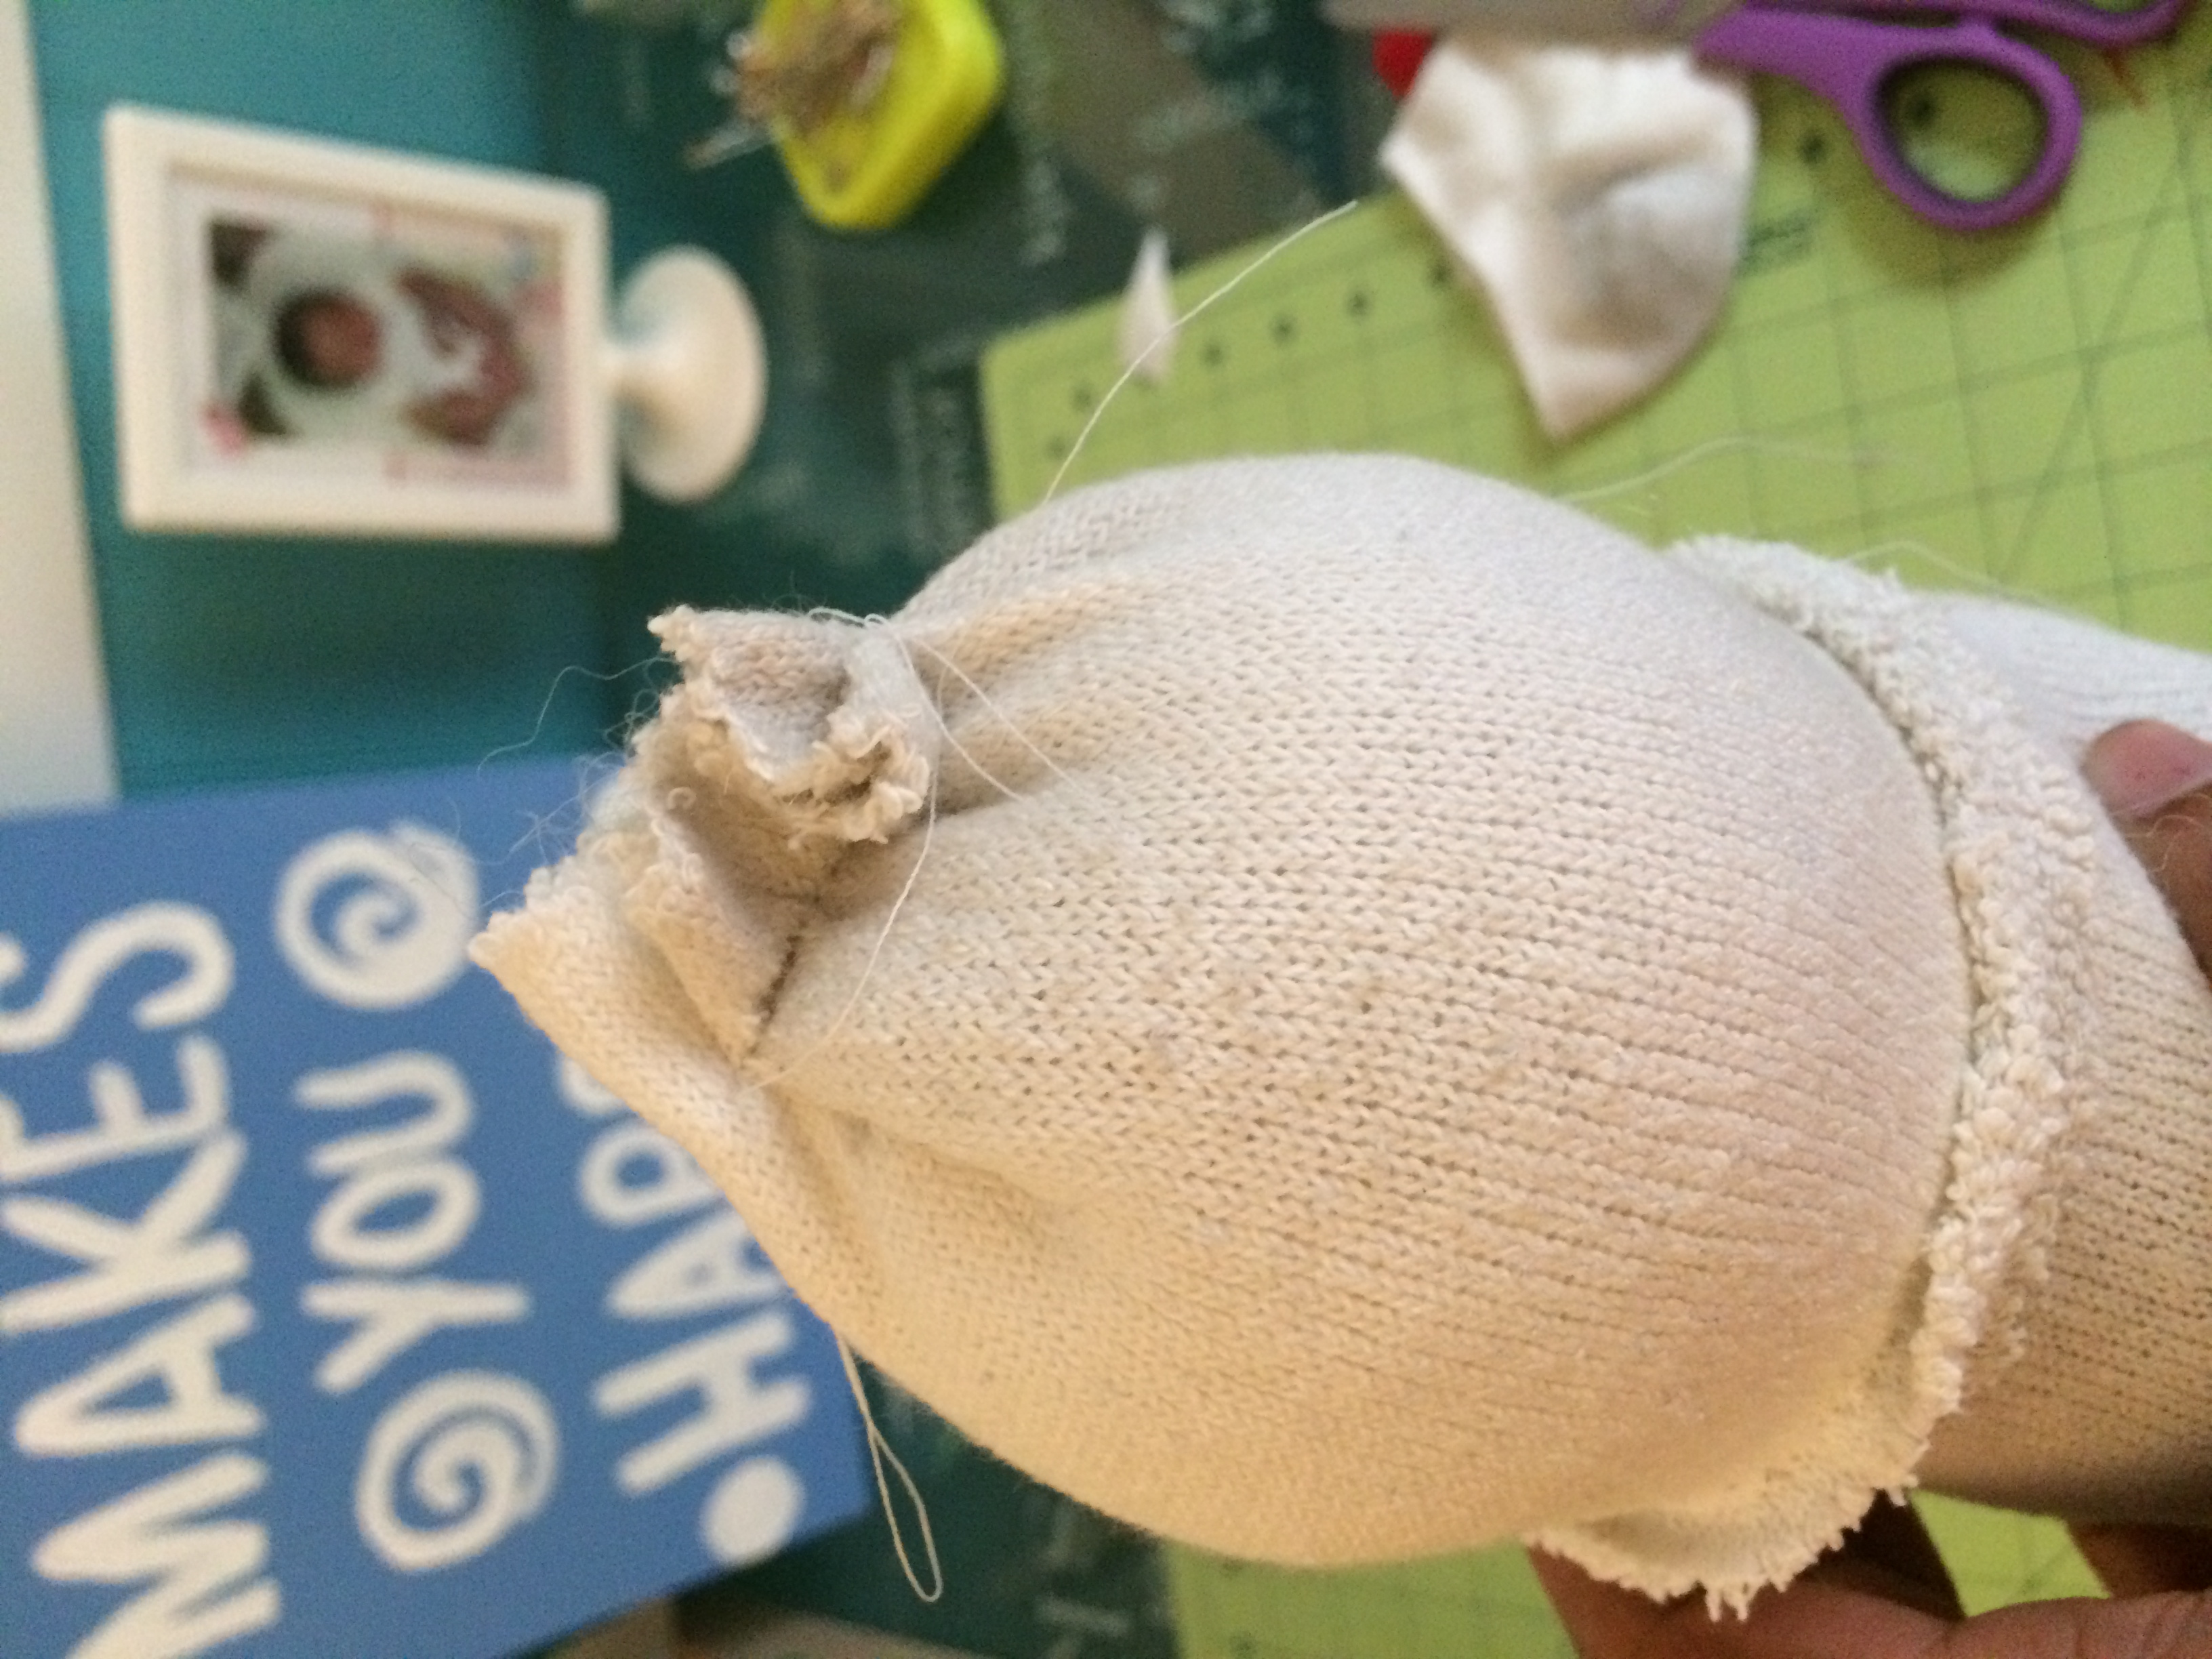
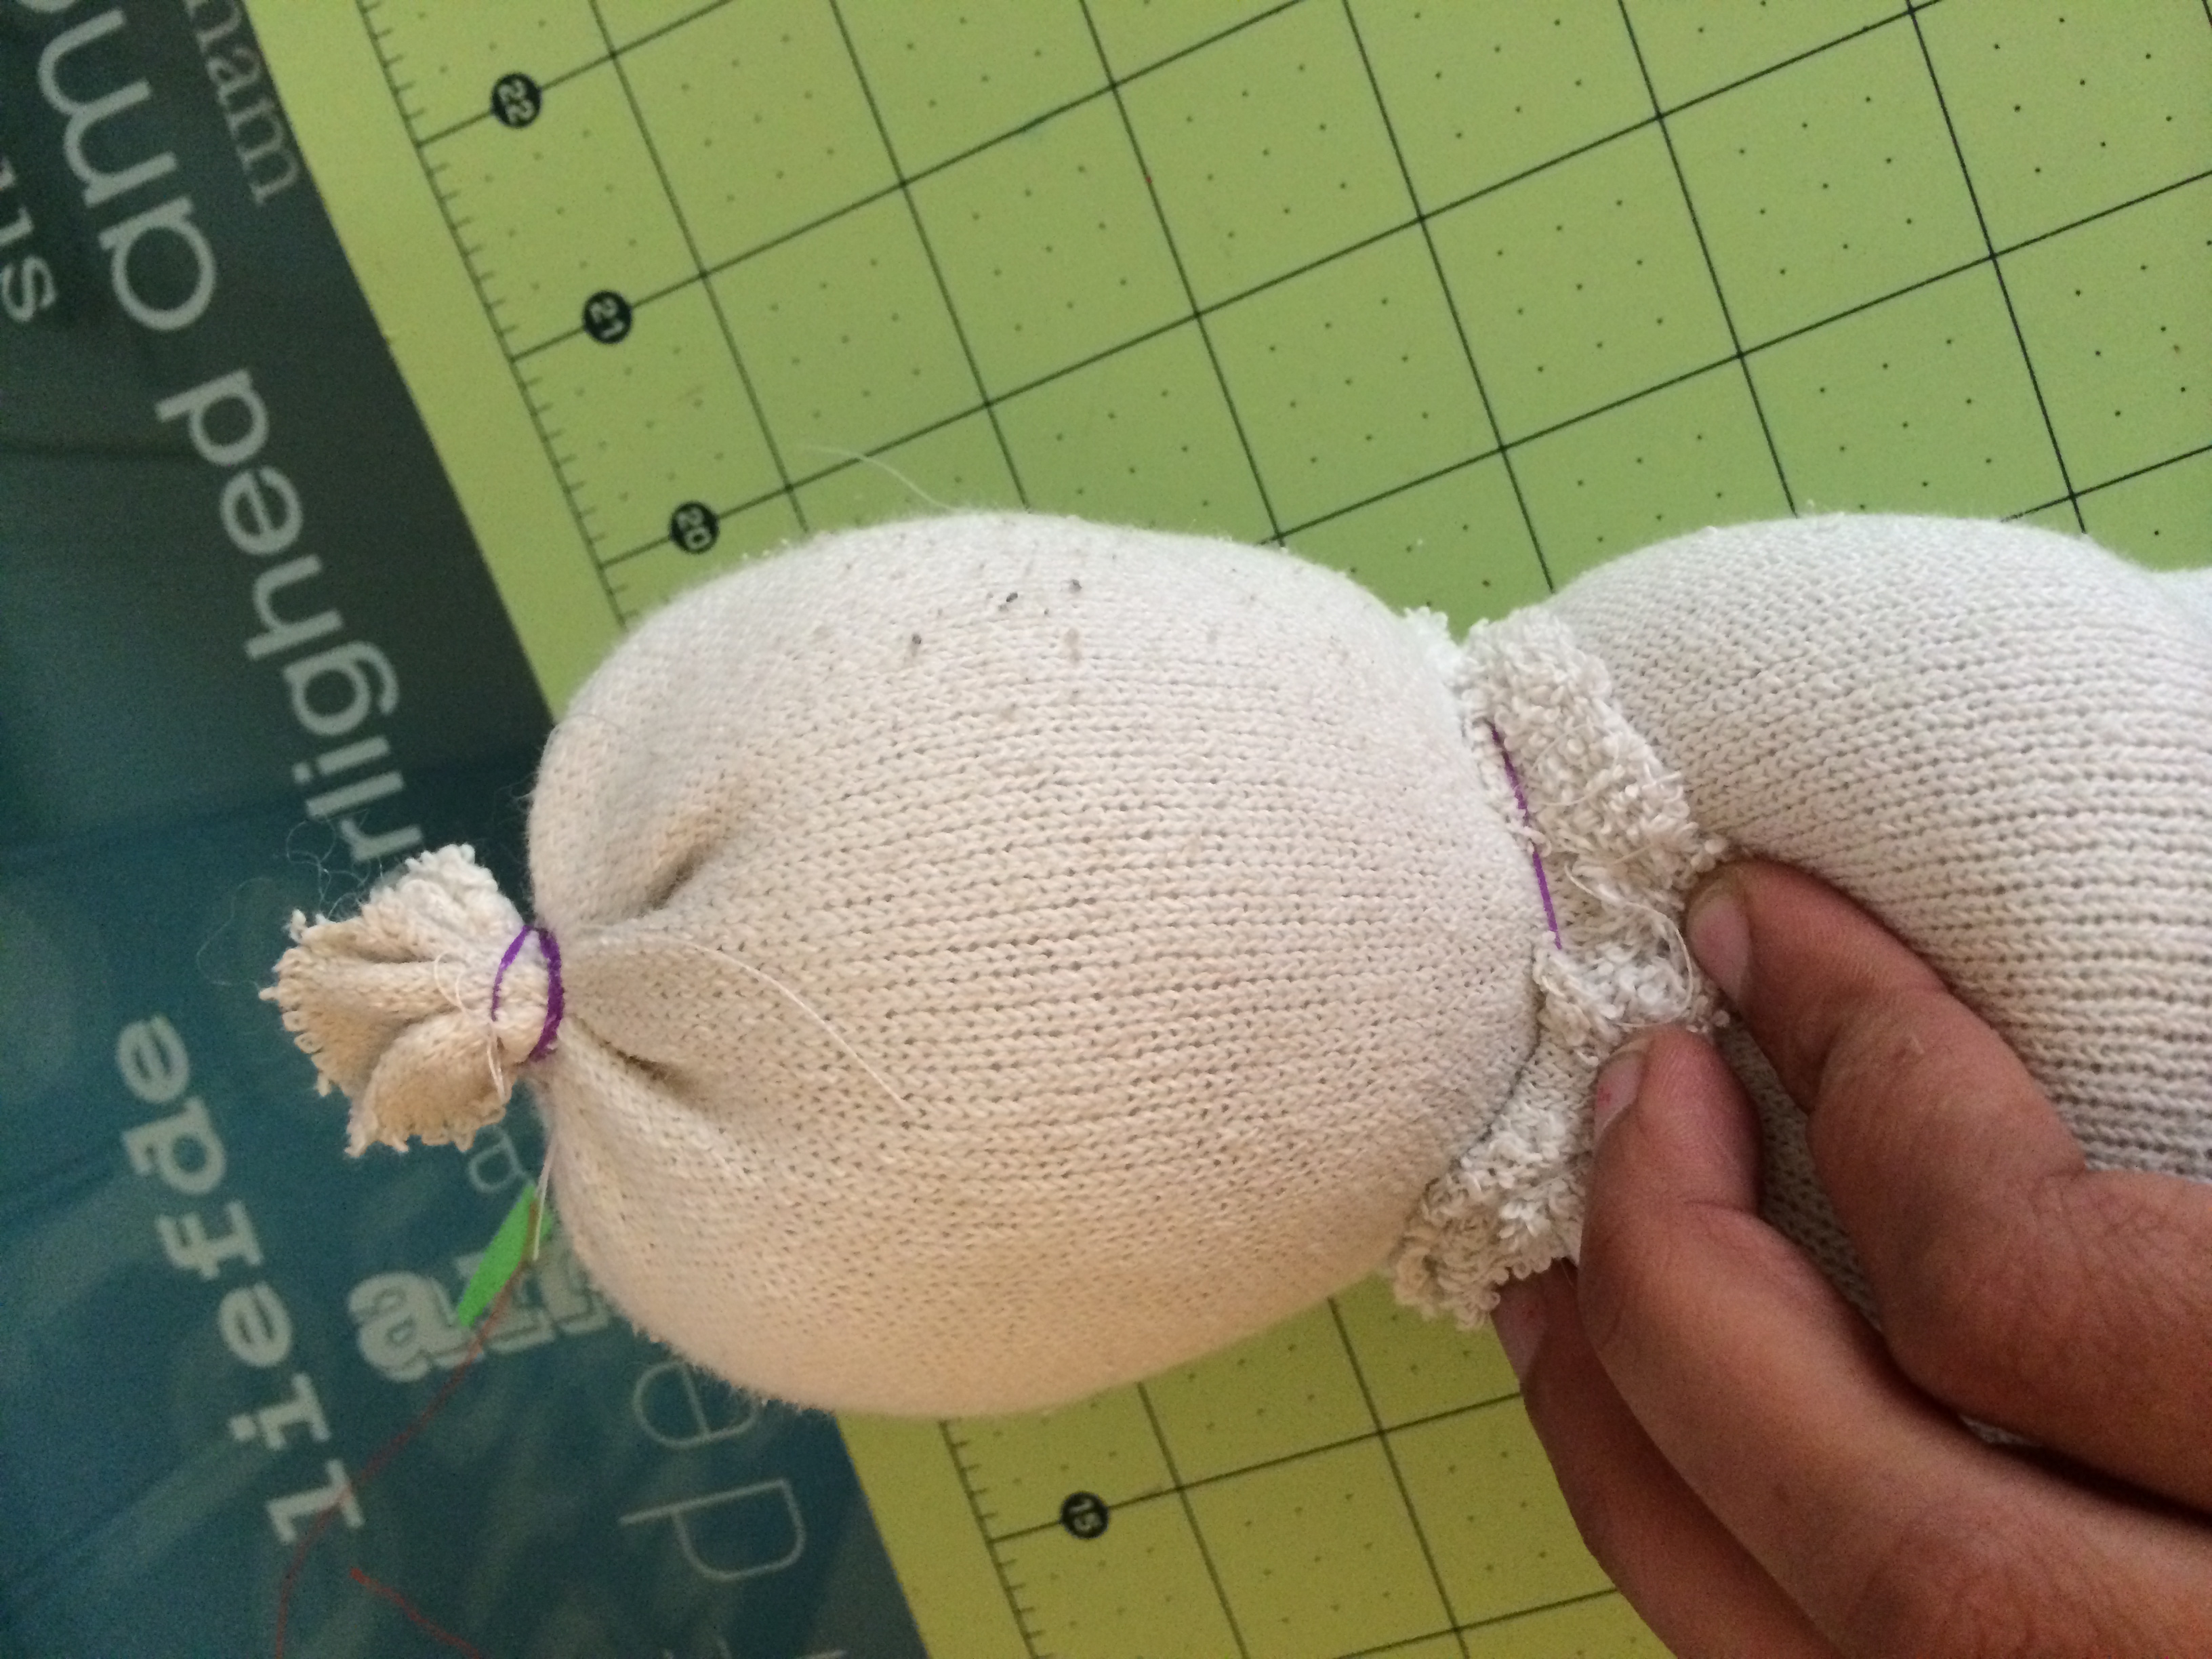
Take a rubber band or a piece of fabric and tie around the neck as well as the top of the head to make it secure.
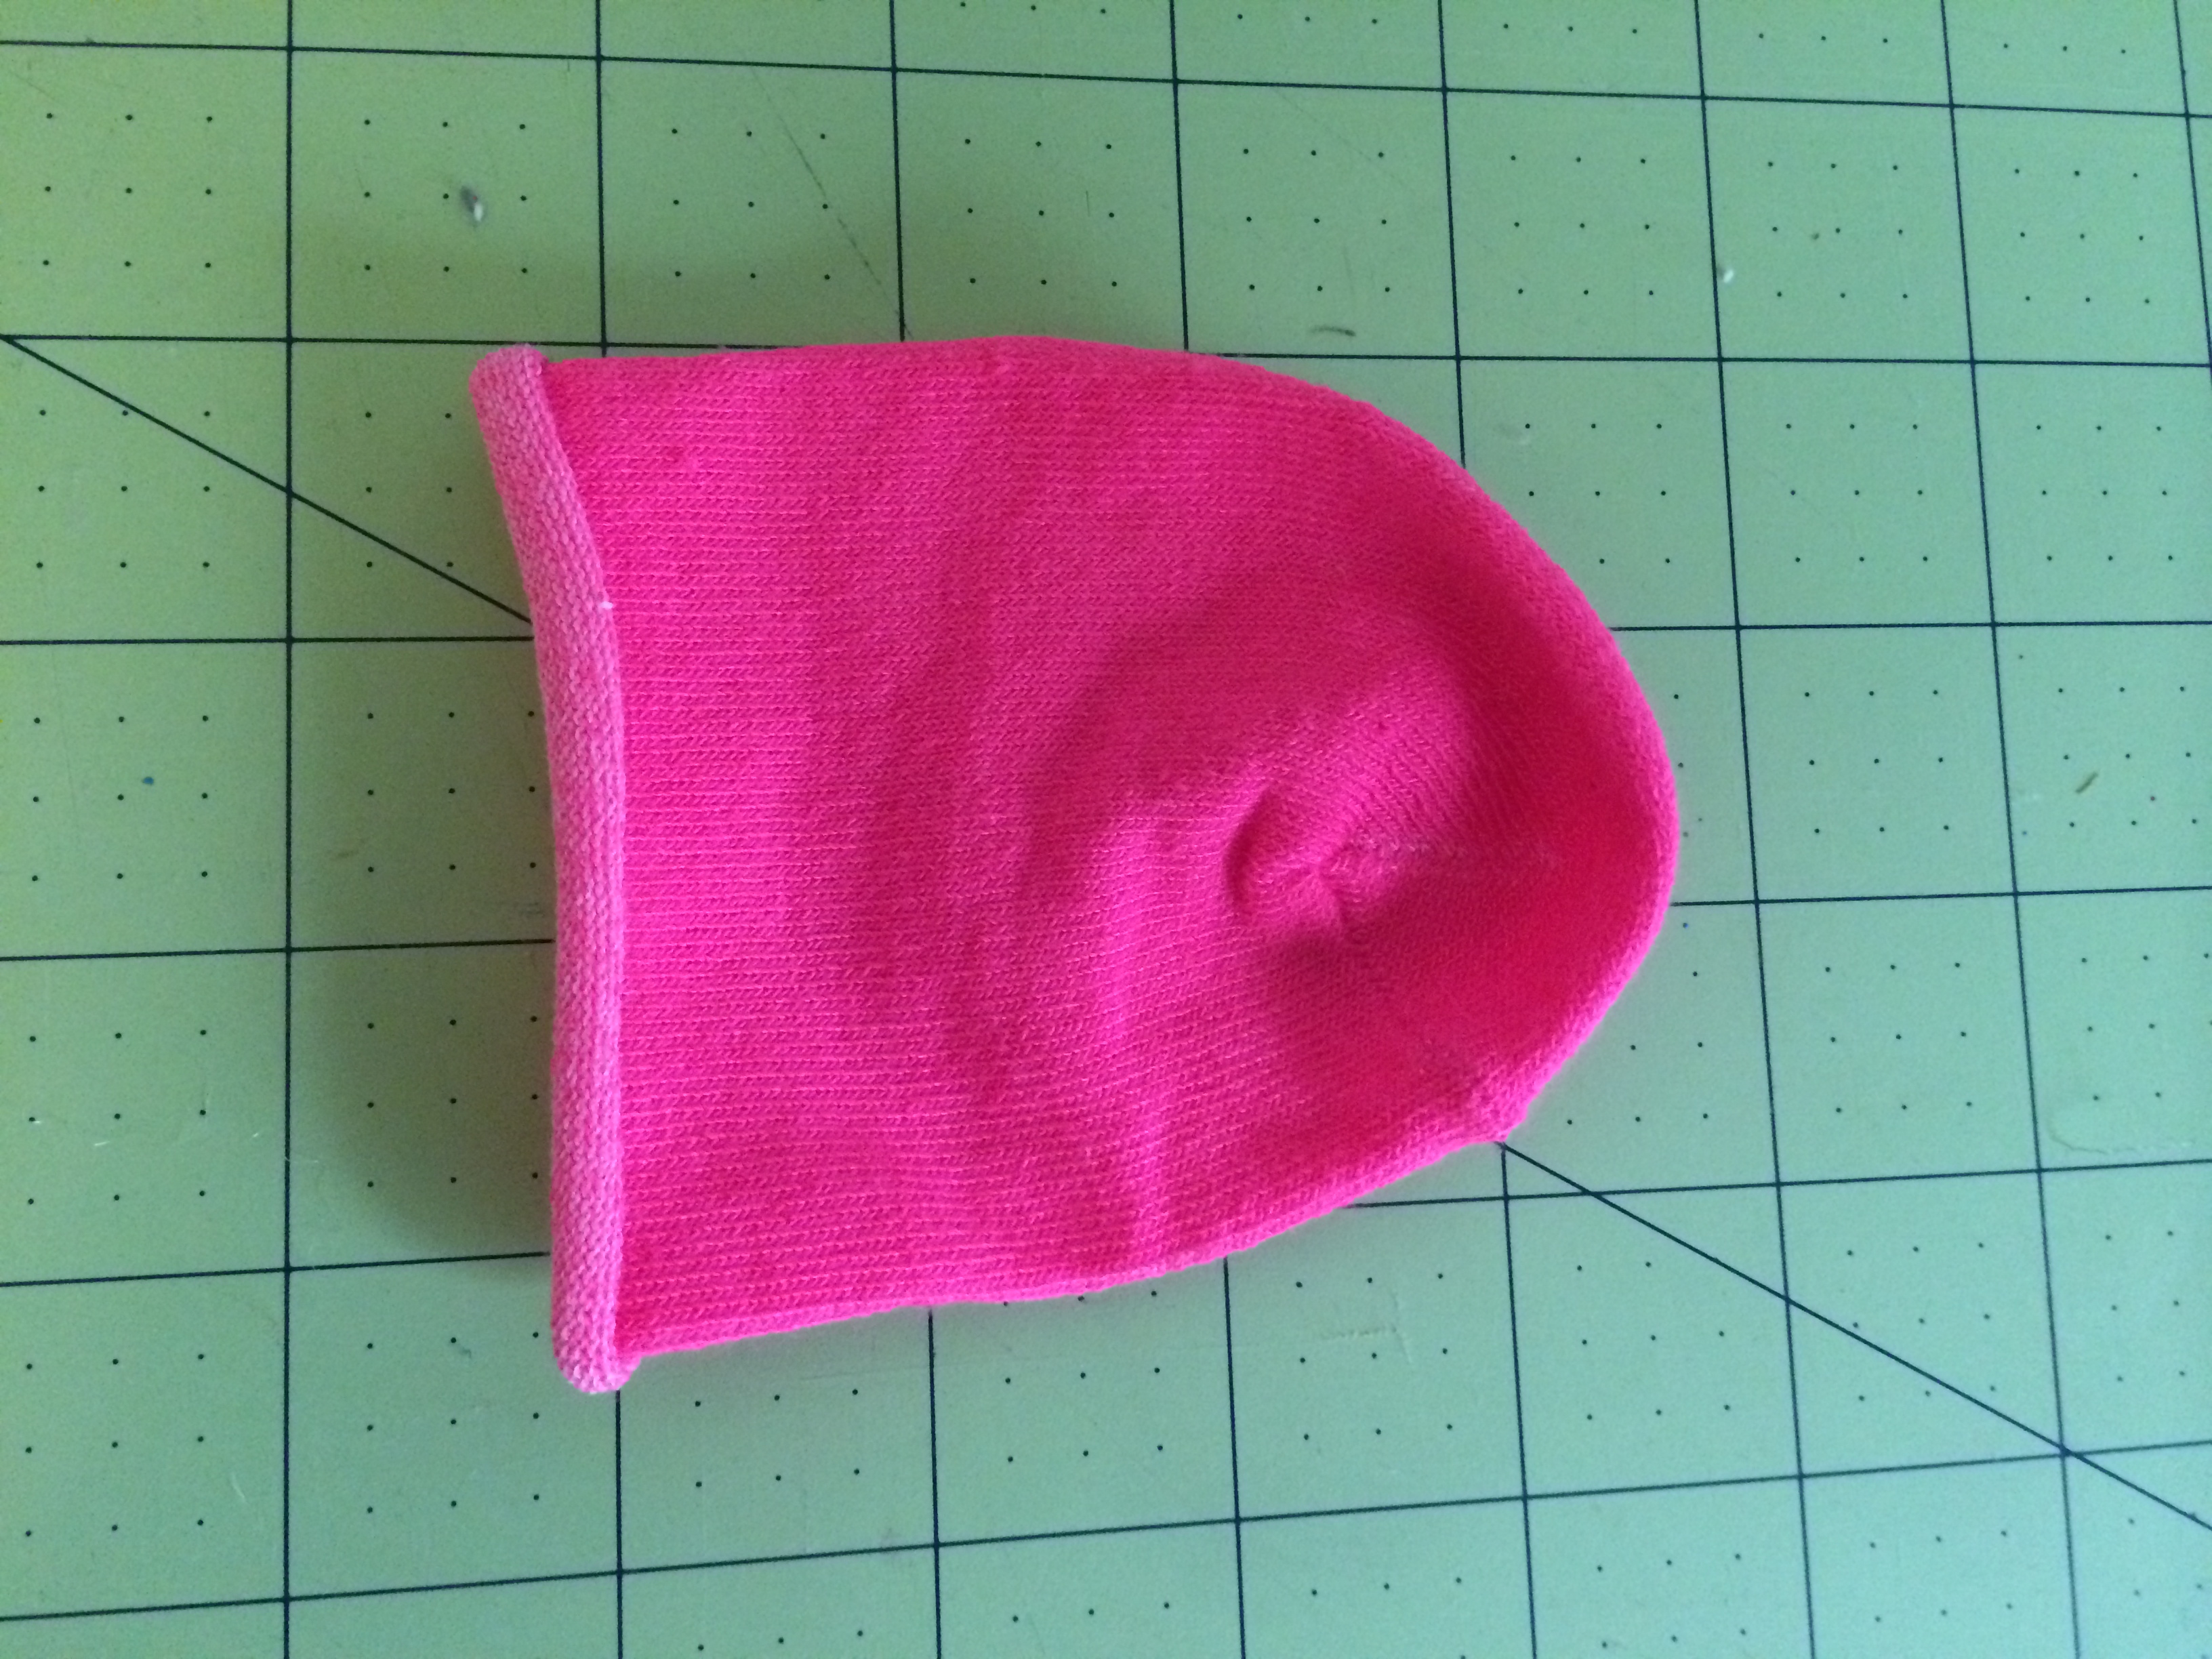
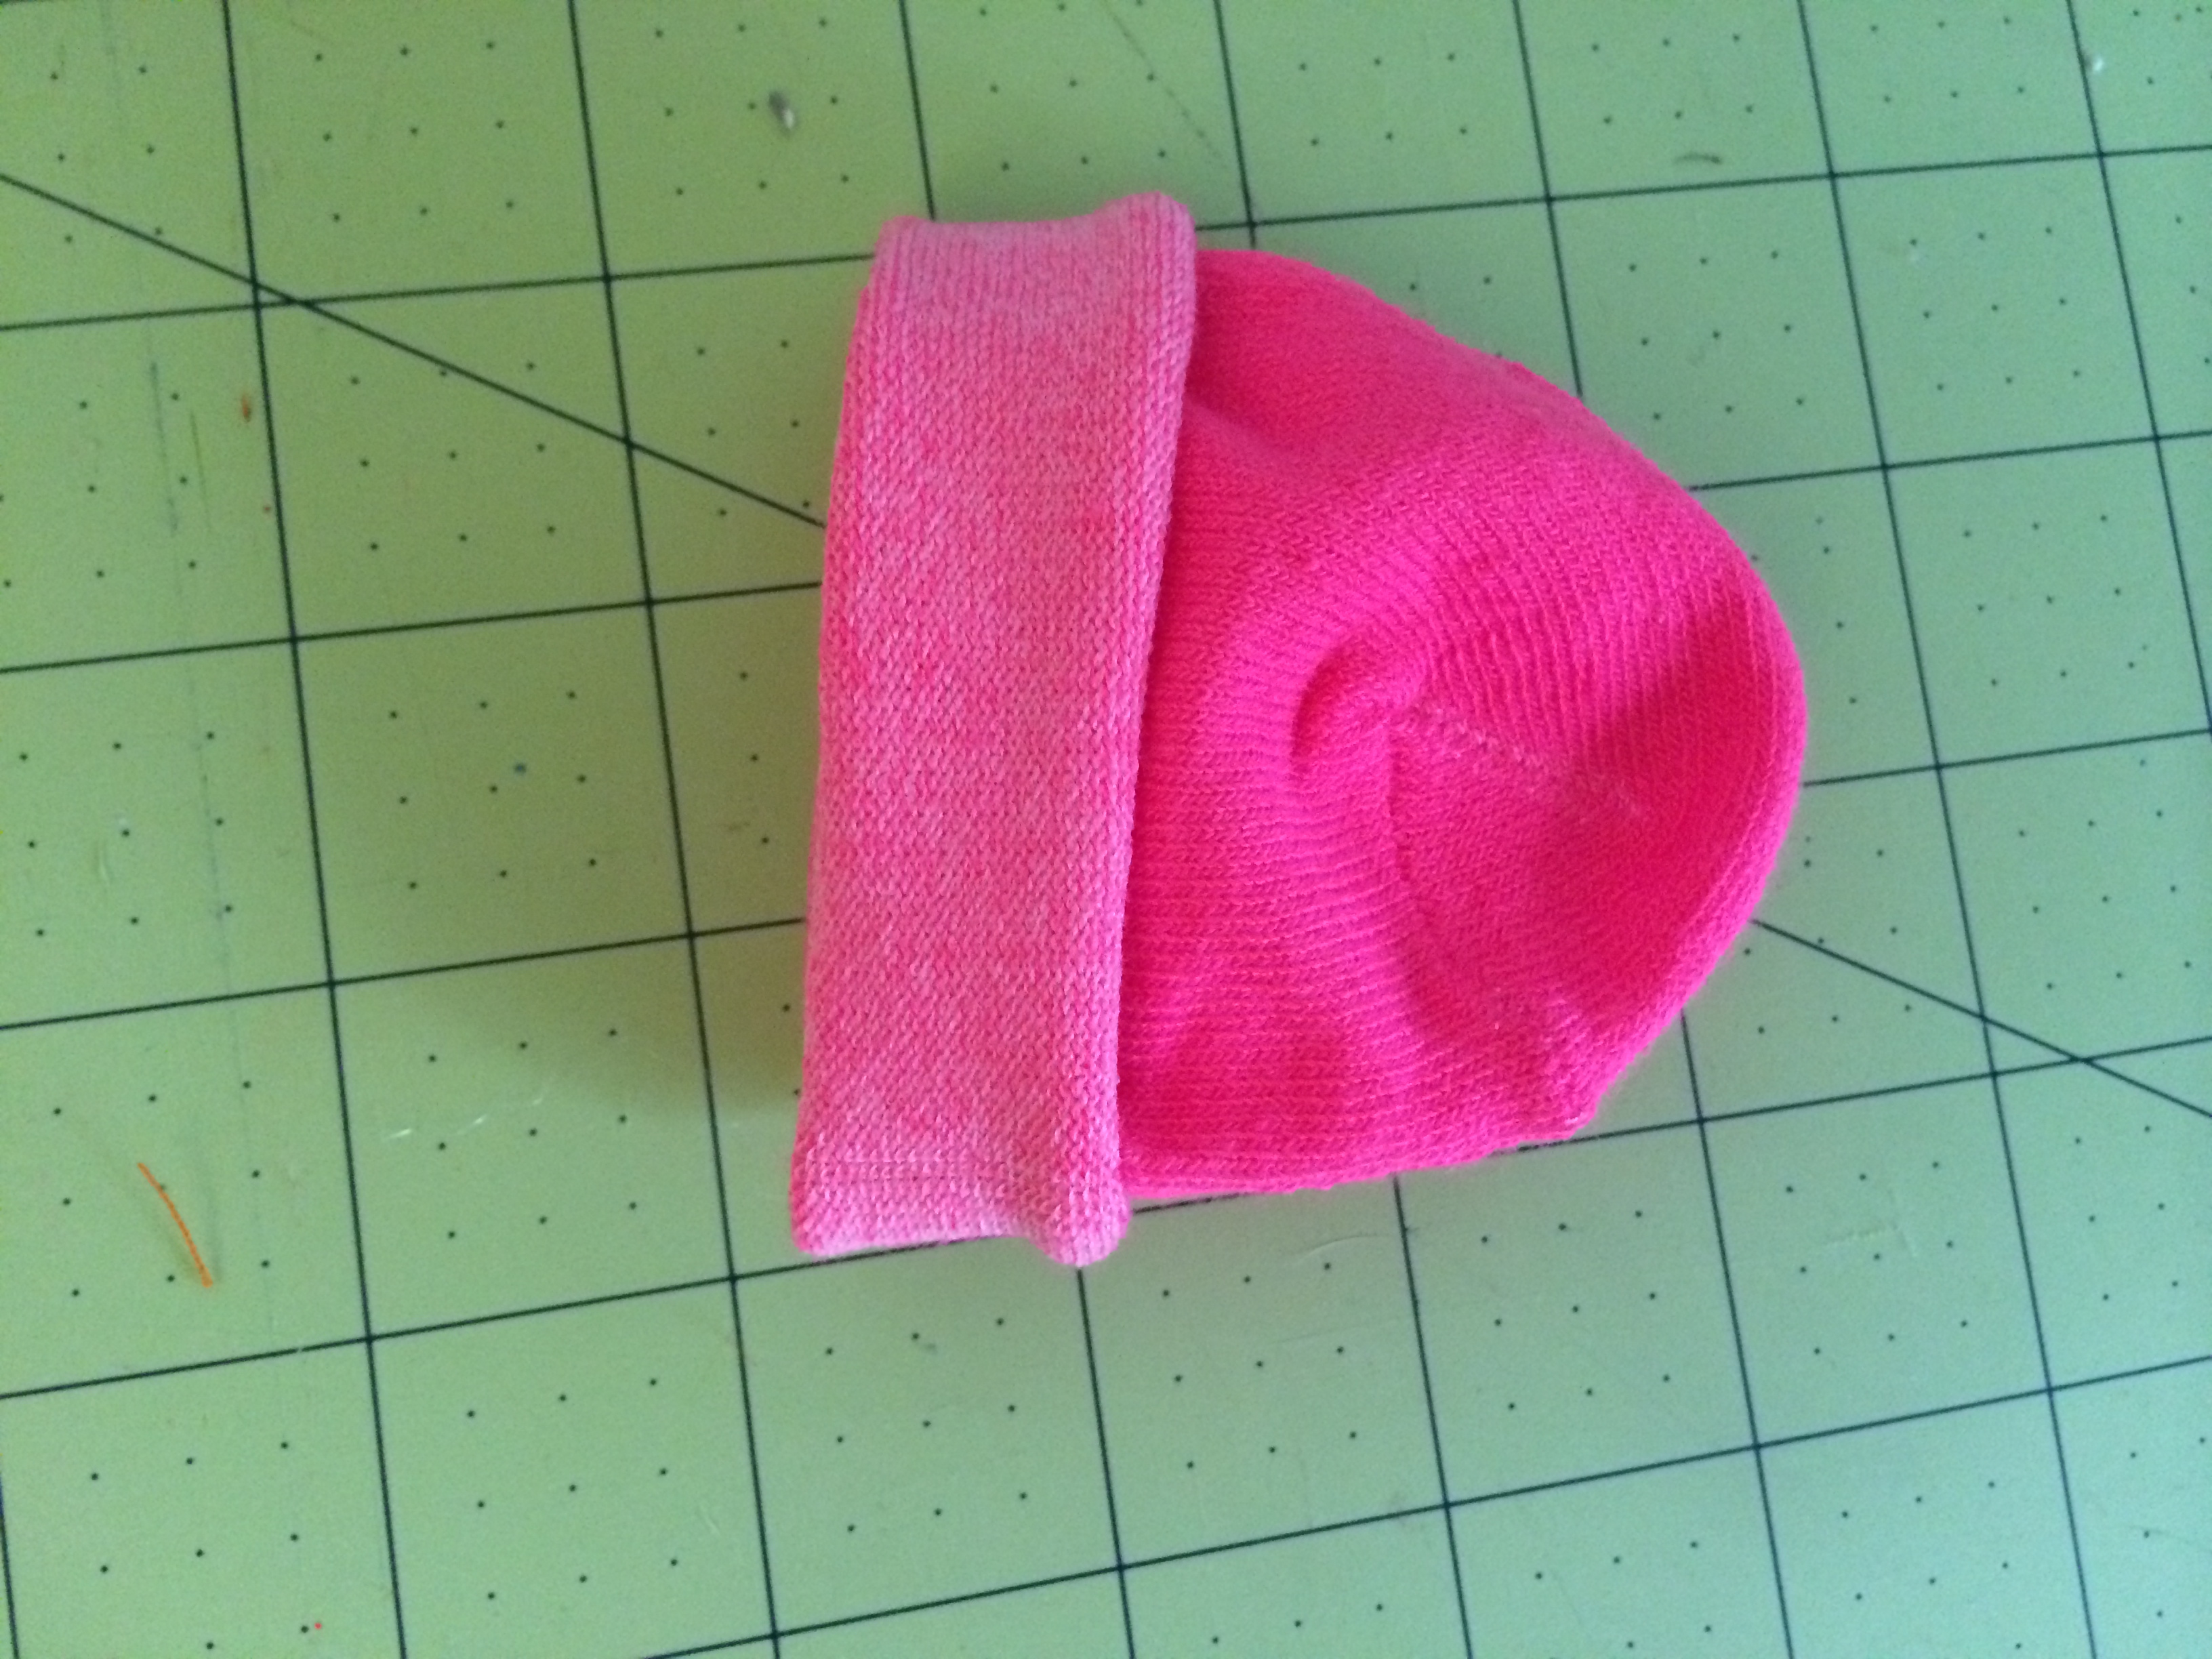
Take one of your women socks and cut about 4″ from the bottom. Fold the top and sew around to make the hat.
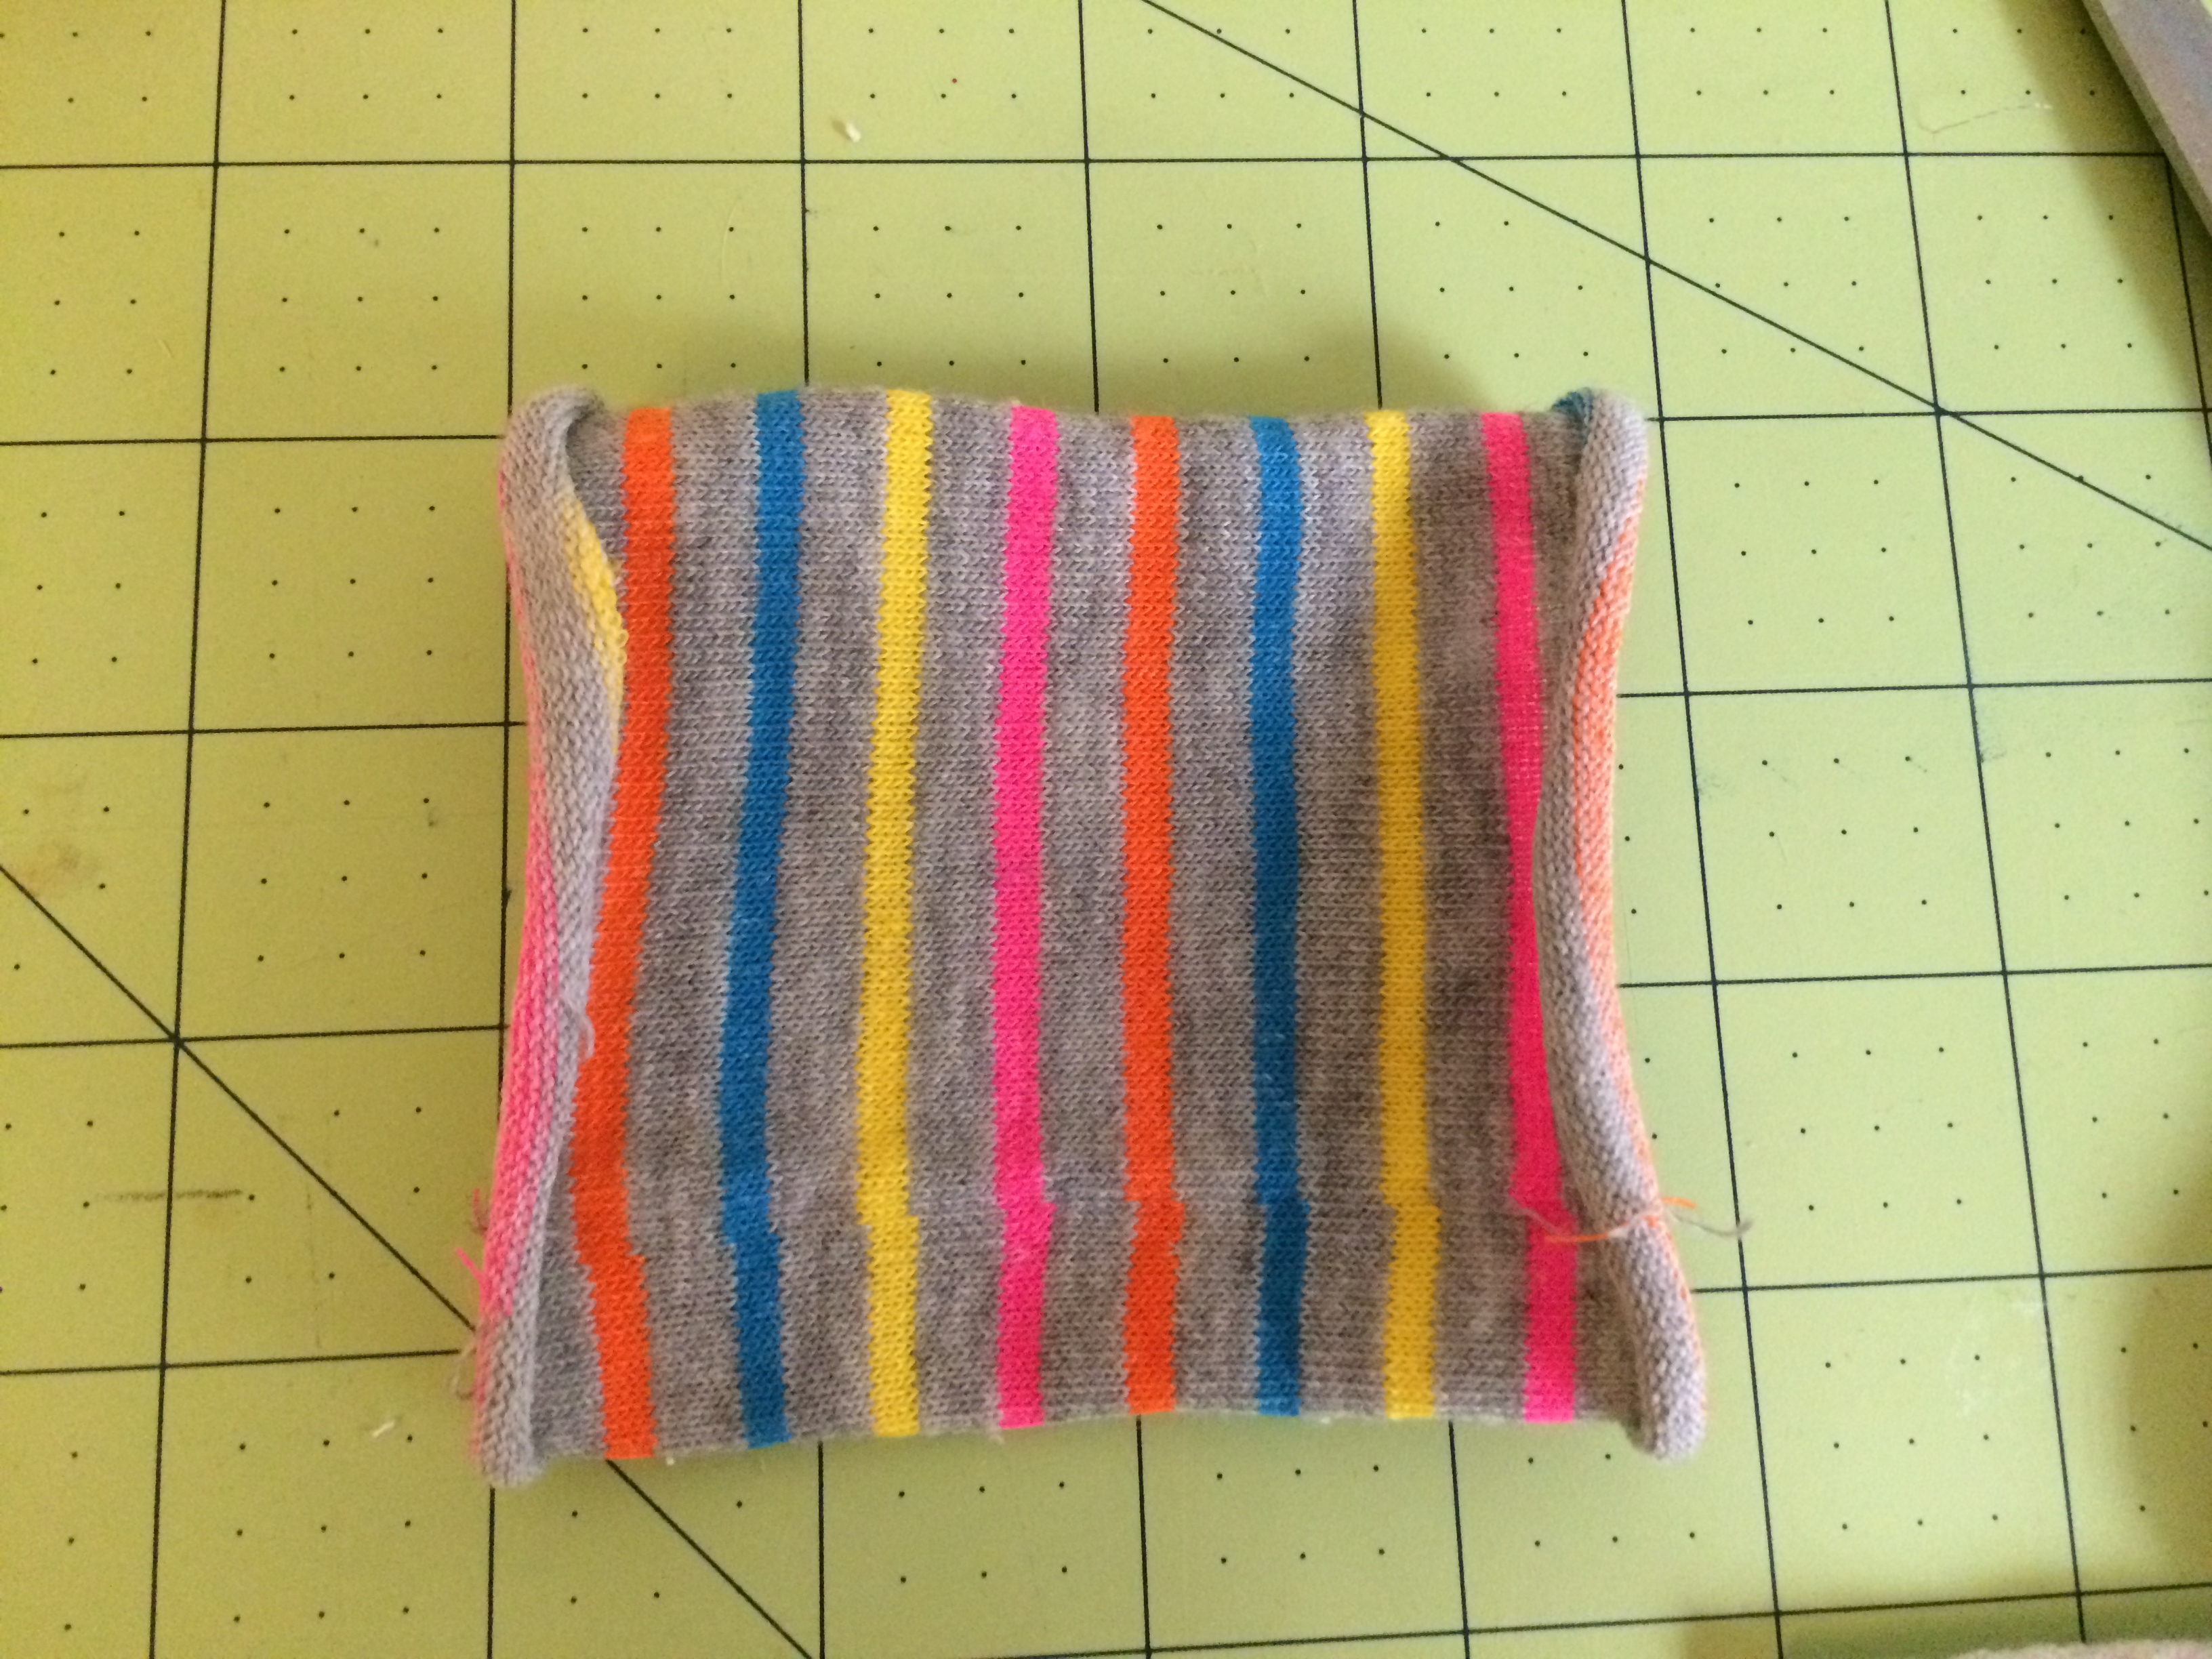
Take the other women ankle sock and cut out the two ends. You can then glue on 3 buttons in the center. Pull on the sweater to cover up your center seam. I glued my buttons at the end but I think its better to glue before you put your sweater on.
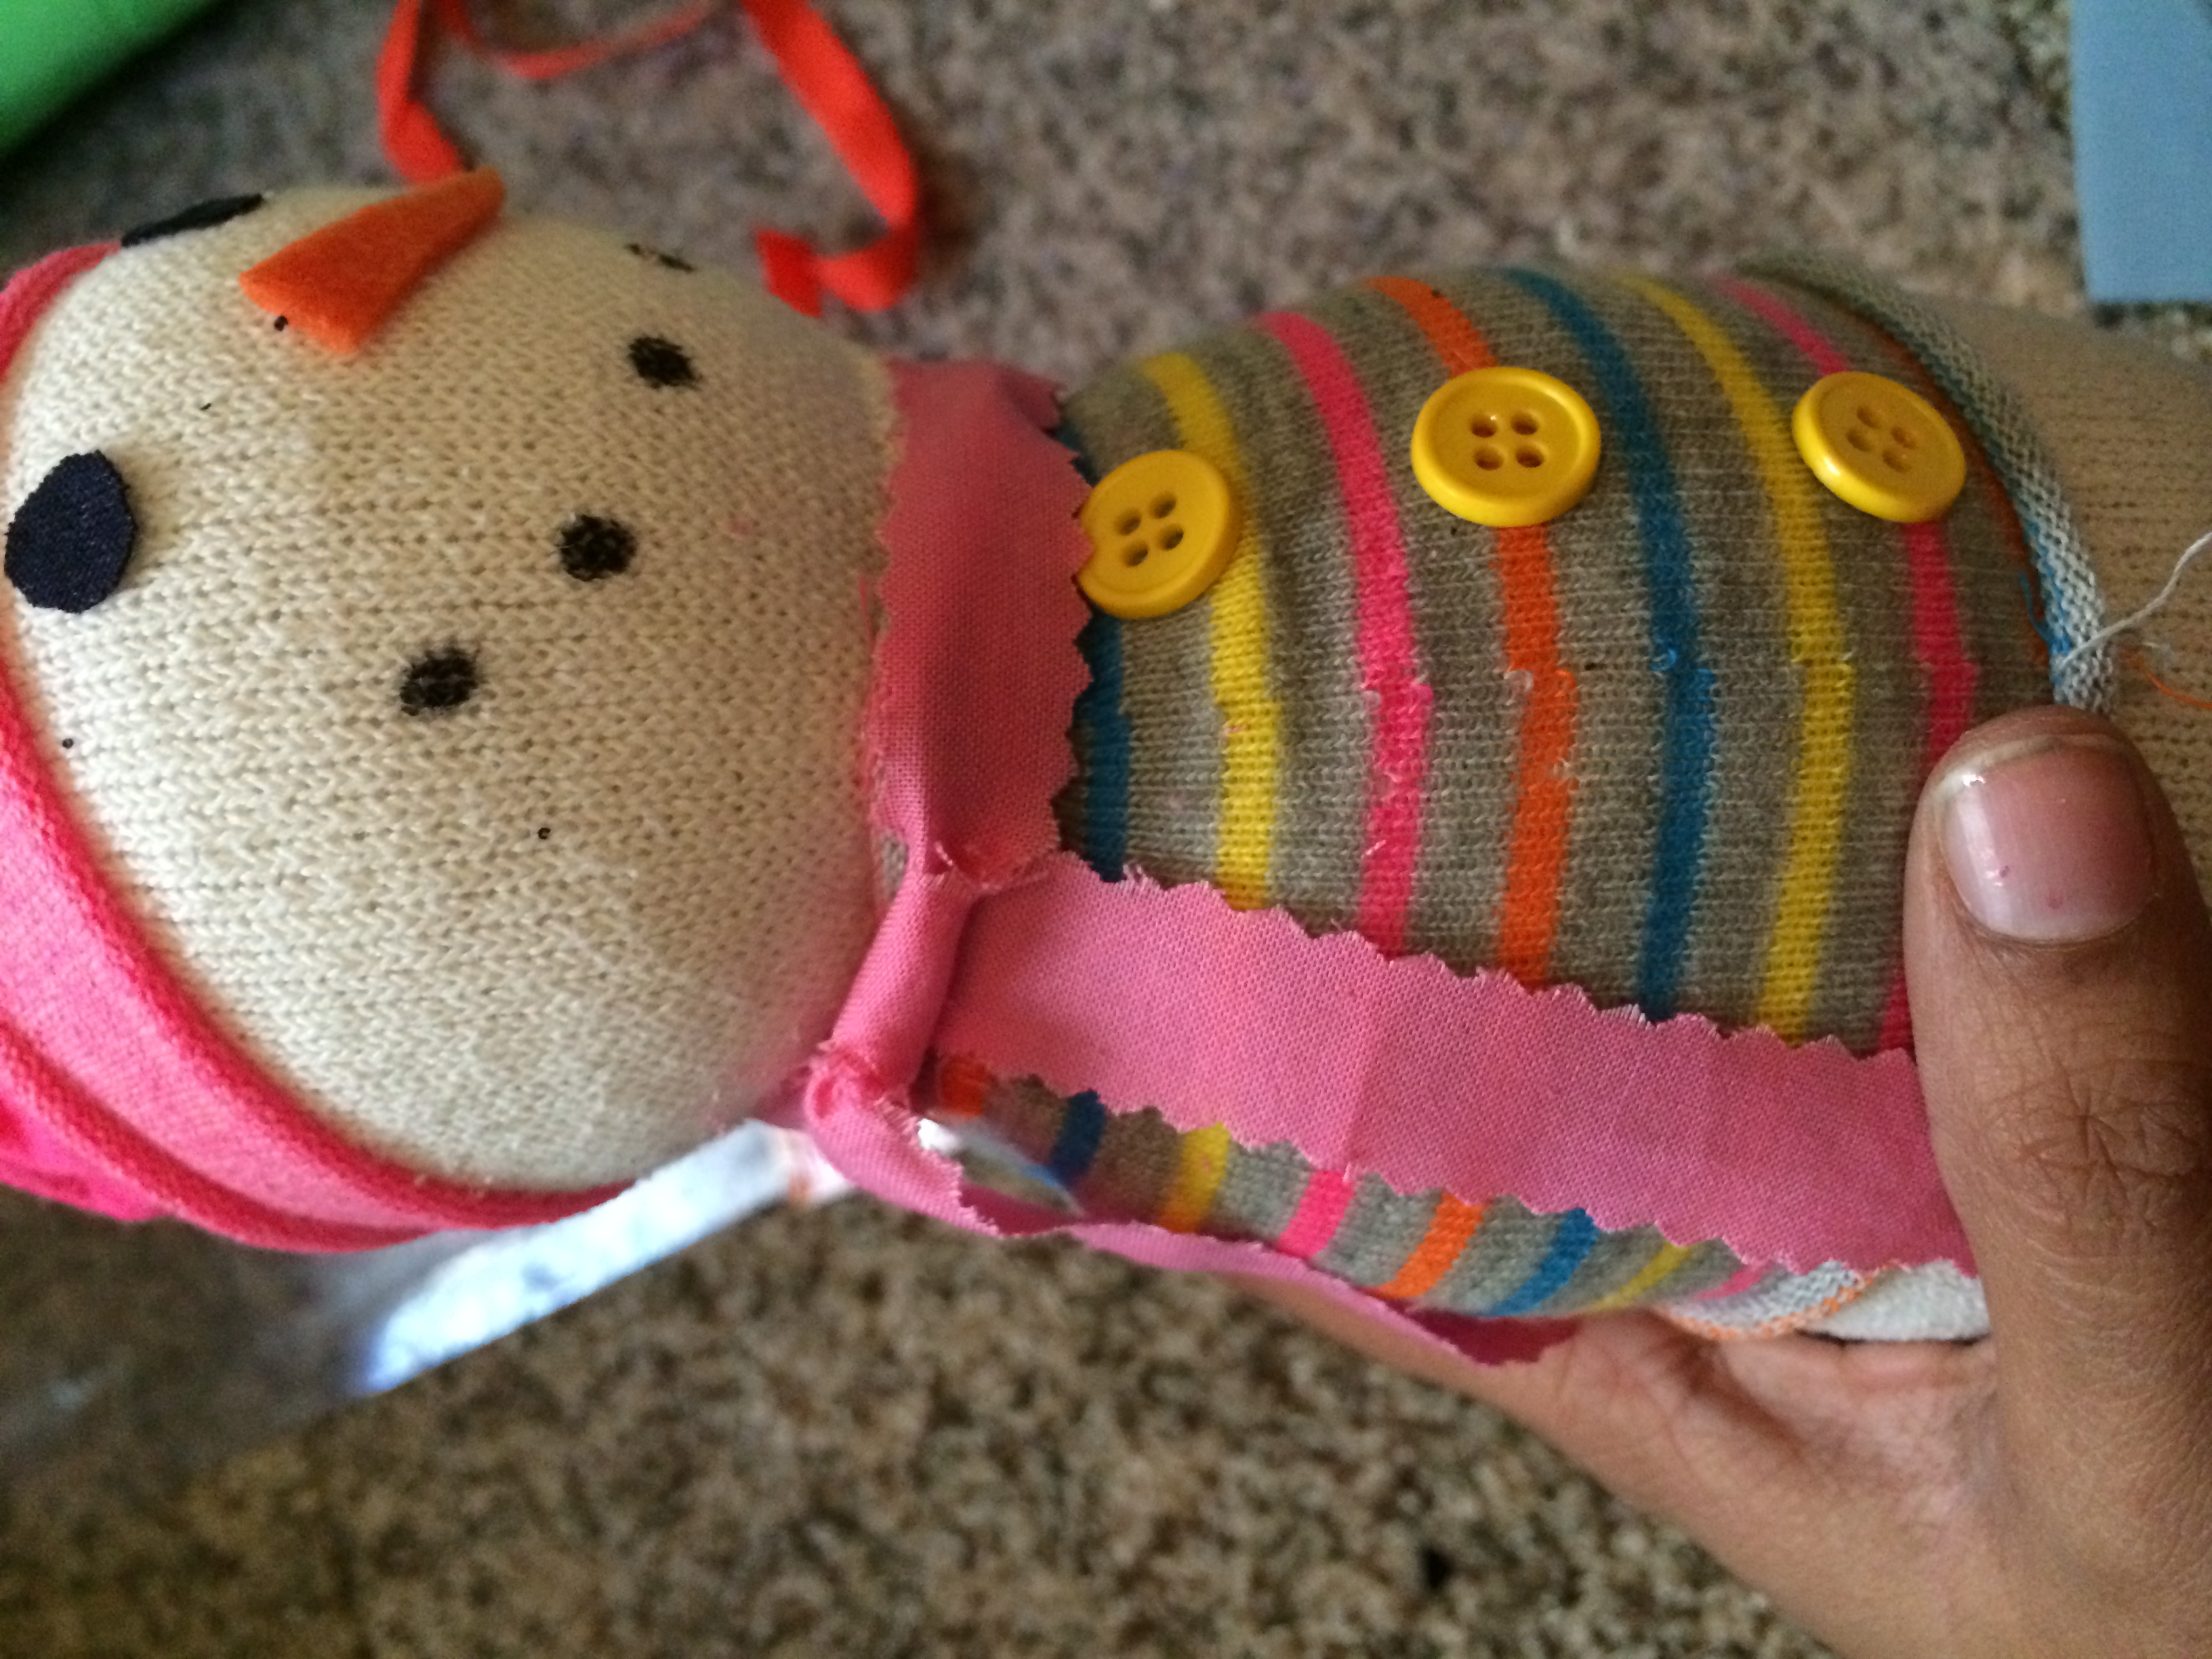
Cut out two small circles for the eyes and a small triangle for the nose and glue on the top head piece. You can draw on the small circles using black sharpie marker.

You can cut your scarf strip with pinking shears to give it an added feature or just regular scissors. Tie on the side and you are done!

[…] How Do You Make Sock Snowman […]