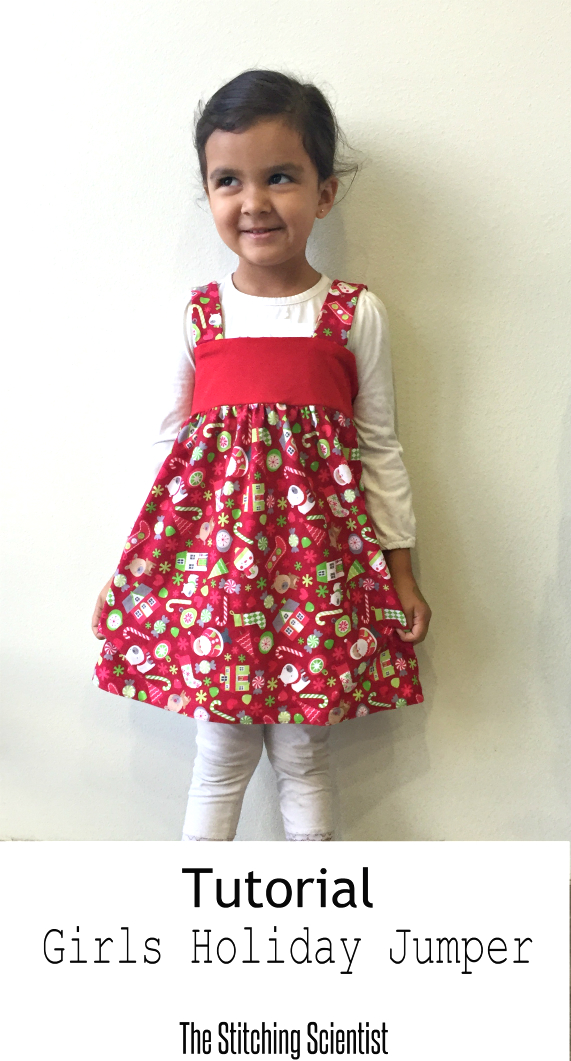
Its holiday season guys! It’s my favorite time of the year. I remember when I was a child, my mom had me in red jumpers in all my Christmas pictures. A holiday jumper for Christmas pictures of to go see Santa looks so classic and festive. In this post, I will show you how to make this pretty little girls holiday jumper pattern this holiday season. This is so simple and literally took me about 30 minutes to make. The knit fabric for this jumper is from Riley Blake’s Christmas Knit Basics Collection. I don’t know how you can get more into the spirit of the season than with this collection. The colors are all so Christmasy and playful. My little girl loves her Santa Jumper. For this jumper I used The Holiday Main Red for the skirt and the straps and a solid red for the bodice.
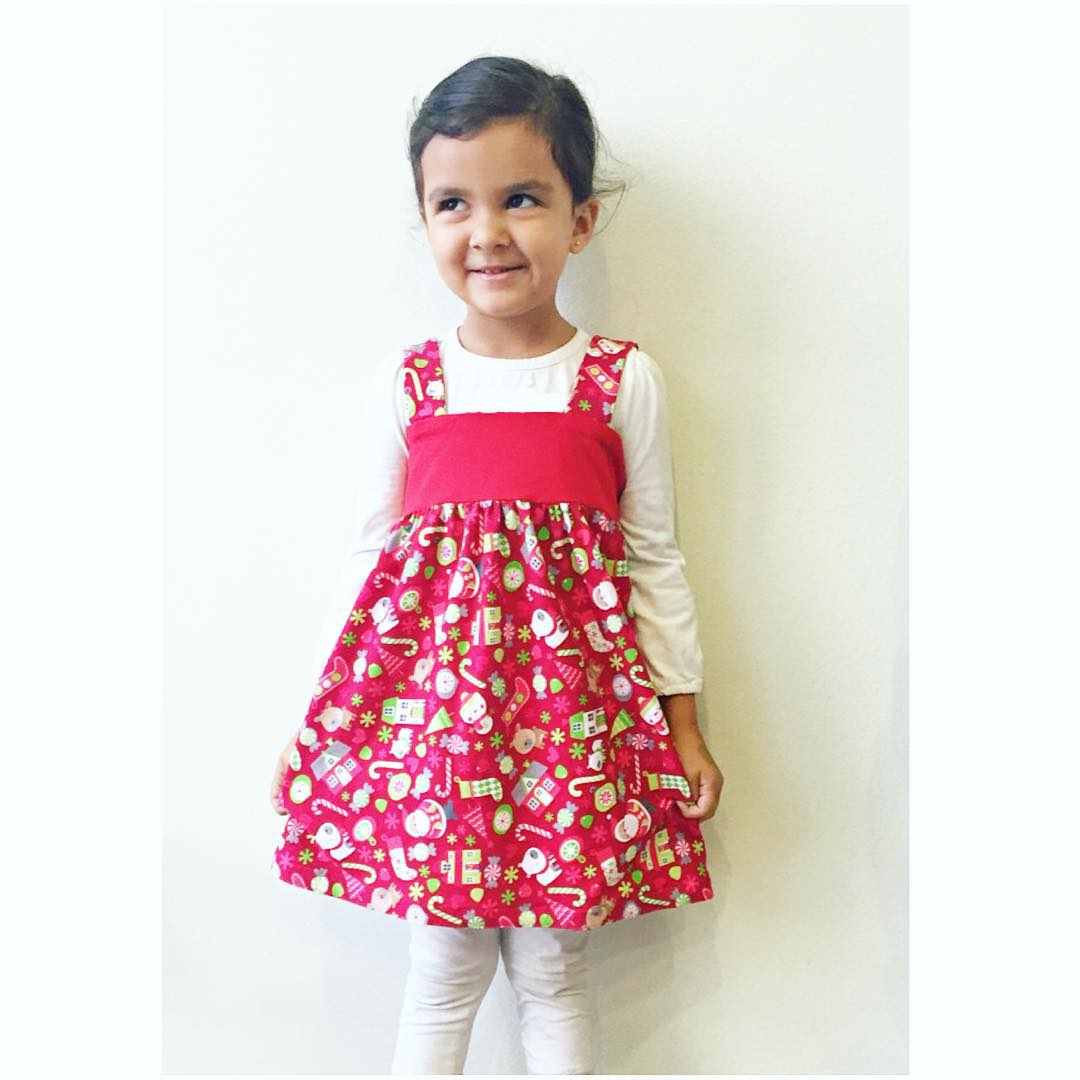
Taking these pictures were like pulling teeth. I literally took about 20 pictures to get 2 good ones. I also had to do some bribing for standing still. Nonetheless, it was way worth it! Love how this turned out.

Your Supplies:
- 1 yard knit pattern
- 1/2 knit solid.
Measure and Cut
Bodice: measure from under the arm to about 2-3″ above the belly button. This number will be your length. Mine was about 5″. Then measure all around the chest and add 2″. This will be your width. Mine was 22″. Now, cut 4 pieces of the solid knit fabric using this length and width measurement.
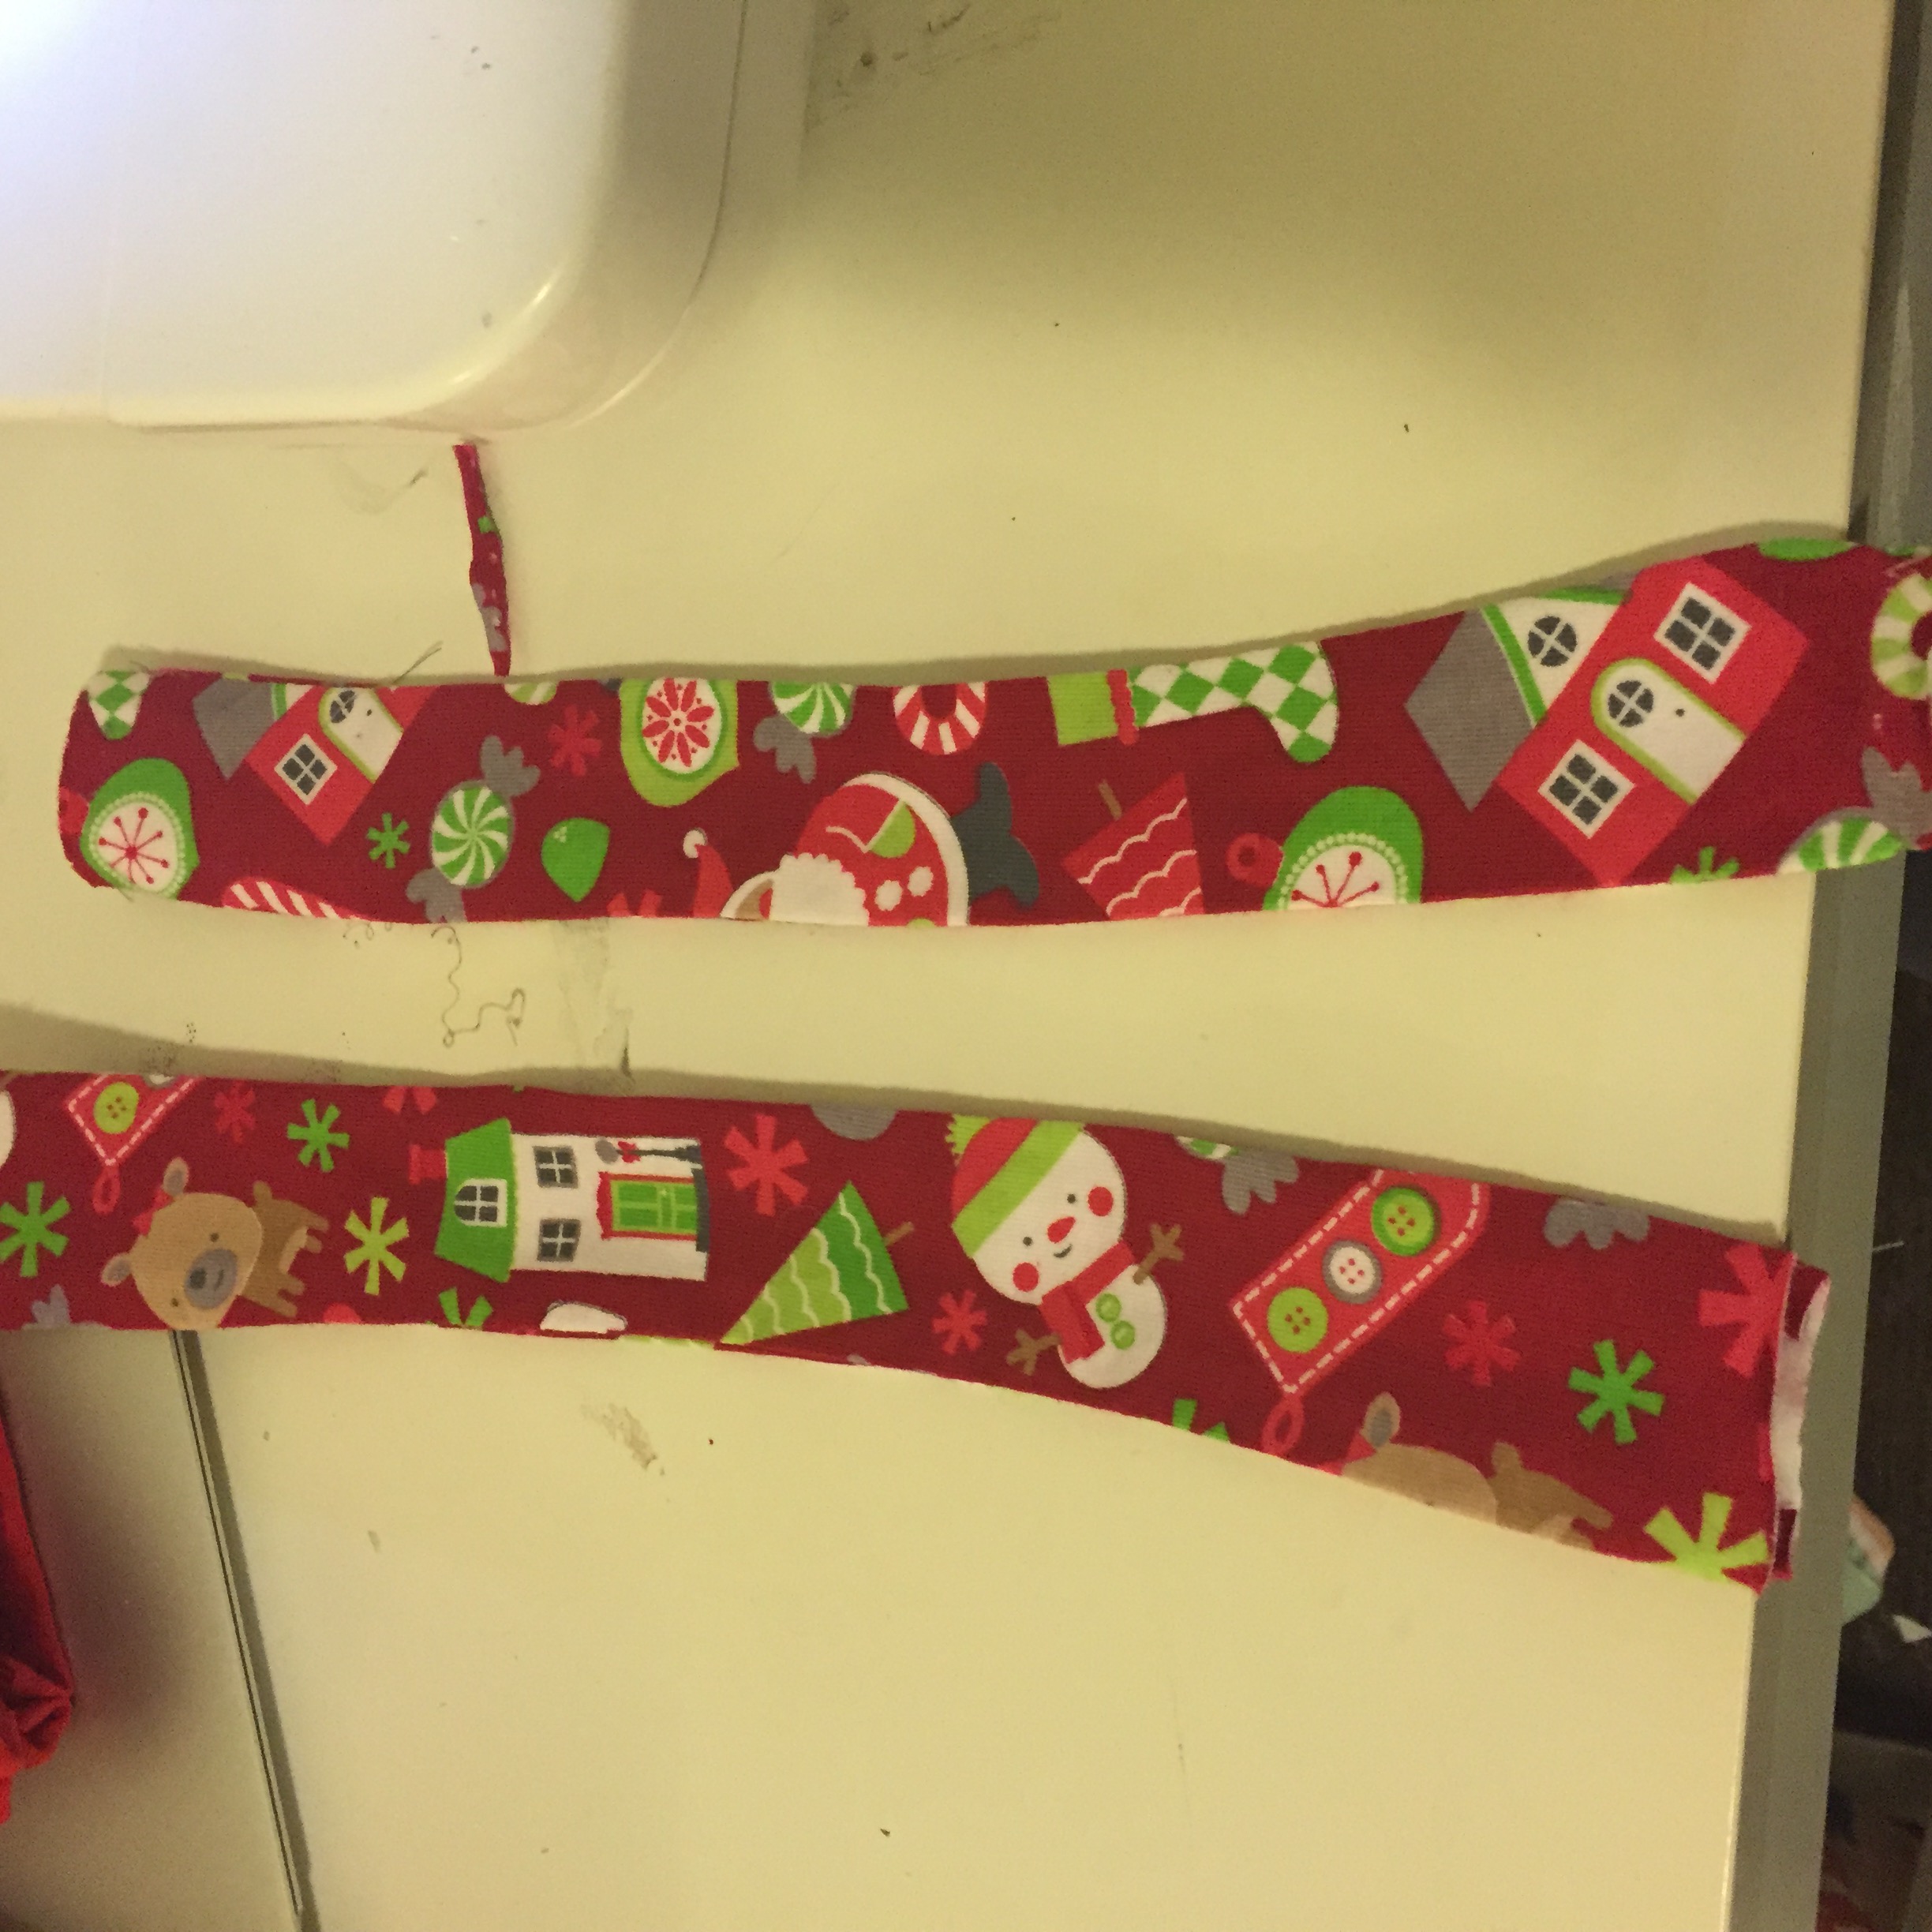
Straps: measure from under the arm to about 1/2″ above the breast. This will be your length. Mine was 7″. Your width will be 2.5″. Cut 4 pieces using your pattern knit.
Skirt: measure the waist of your child and add 15″. This will be your width. Mine was 30″. Measure about 2″ above the belly button to the knee and add 1″. This will be your length. Mine was 15″. Cut 1 piece of this fabric of your pattern knit fabric.
Sew
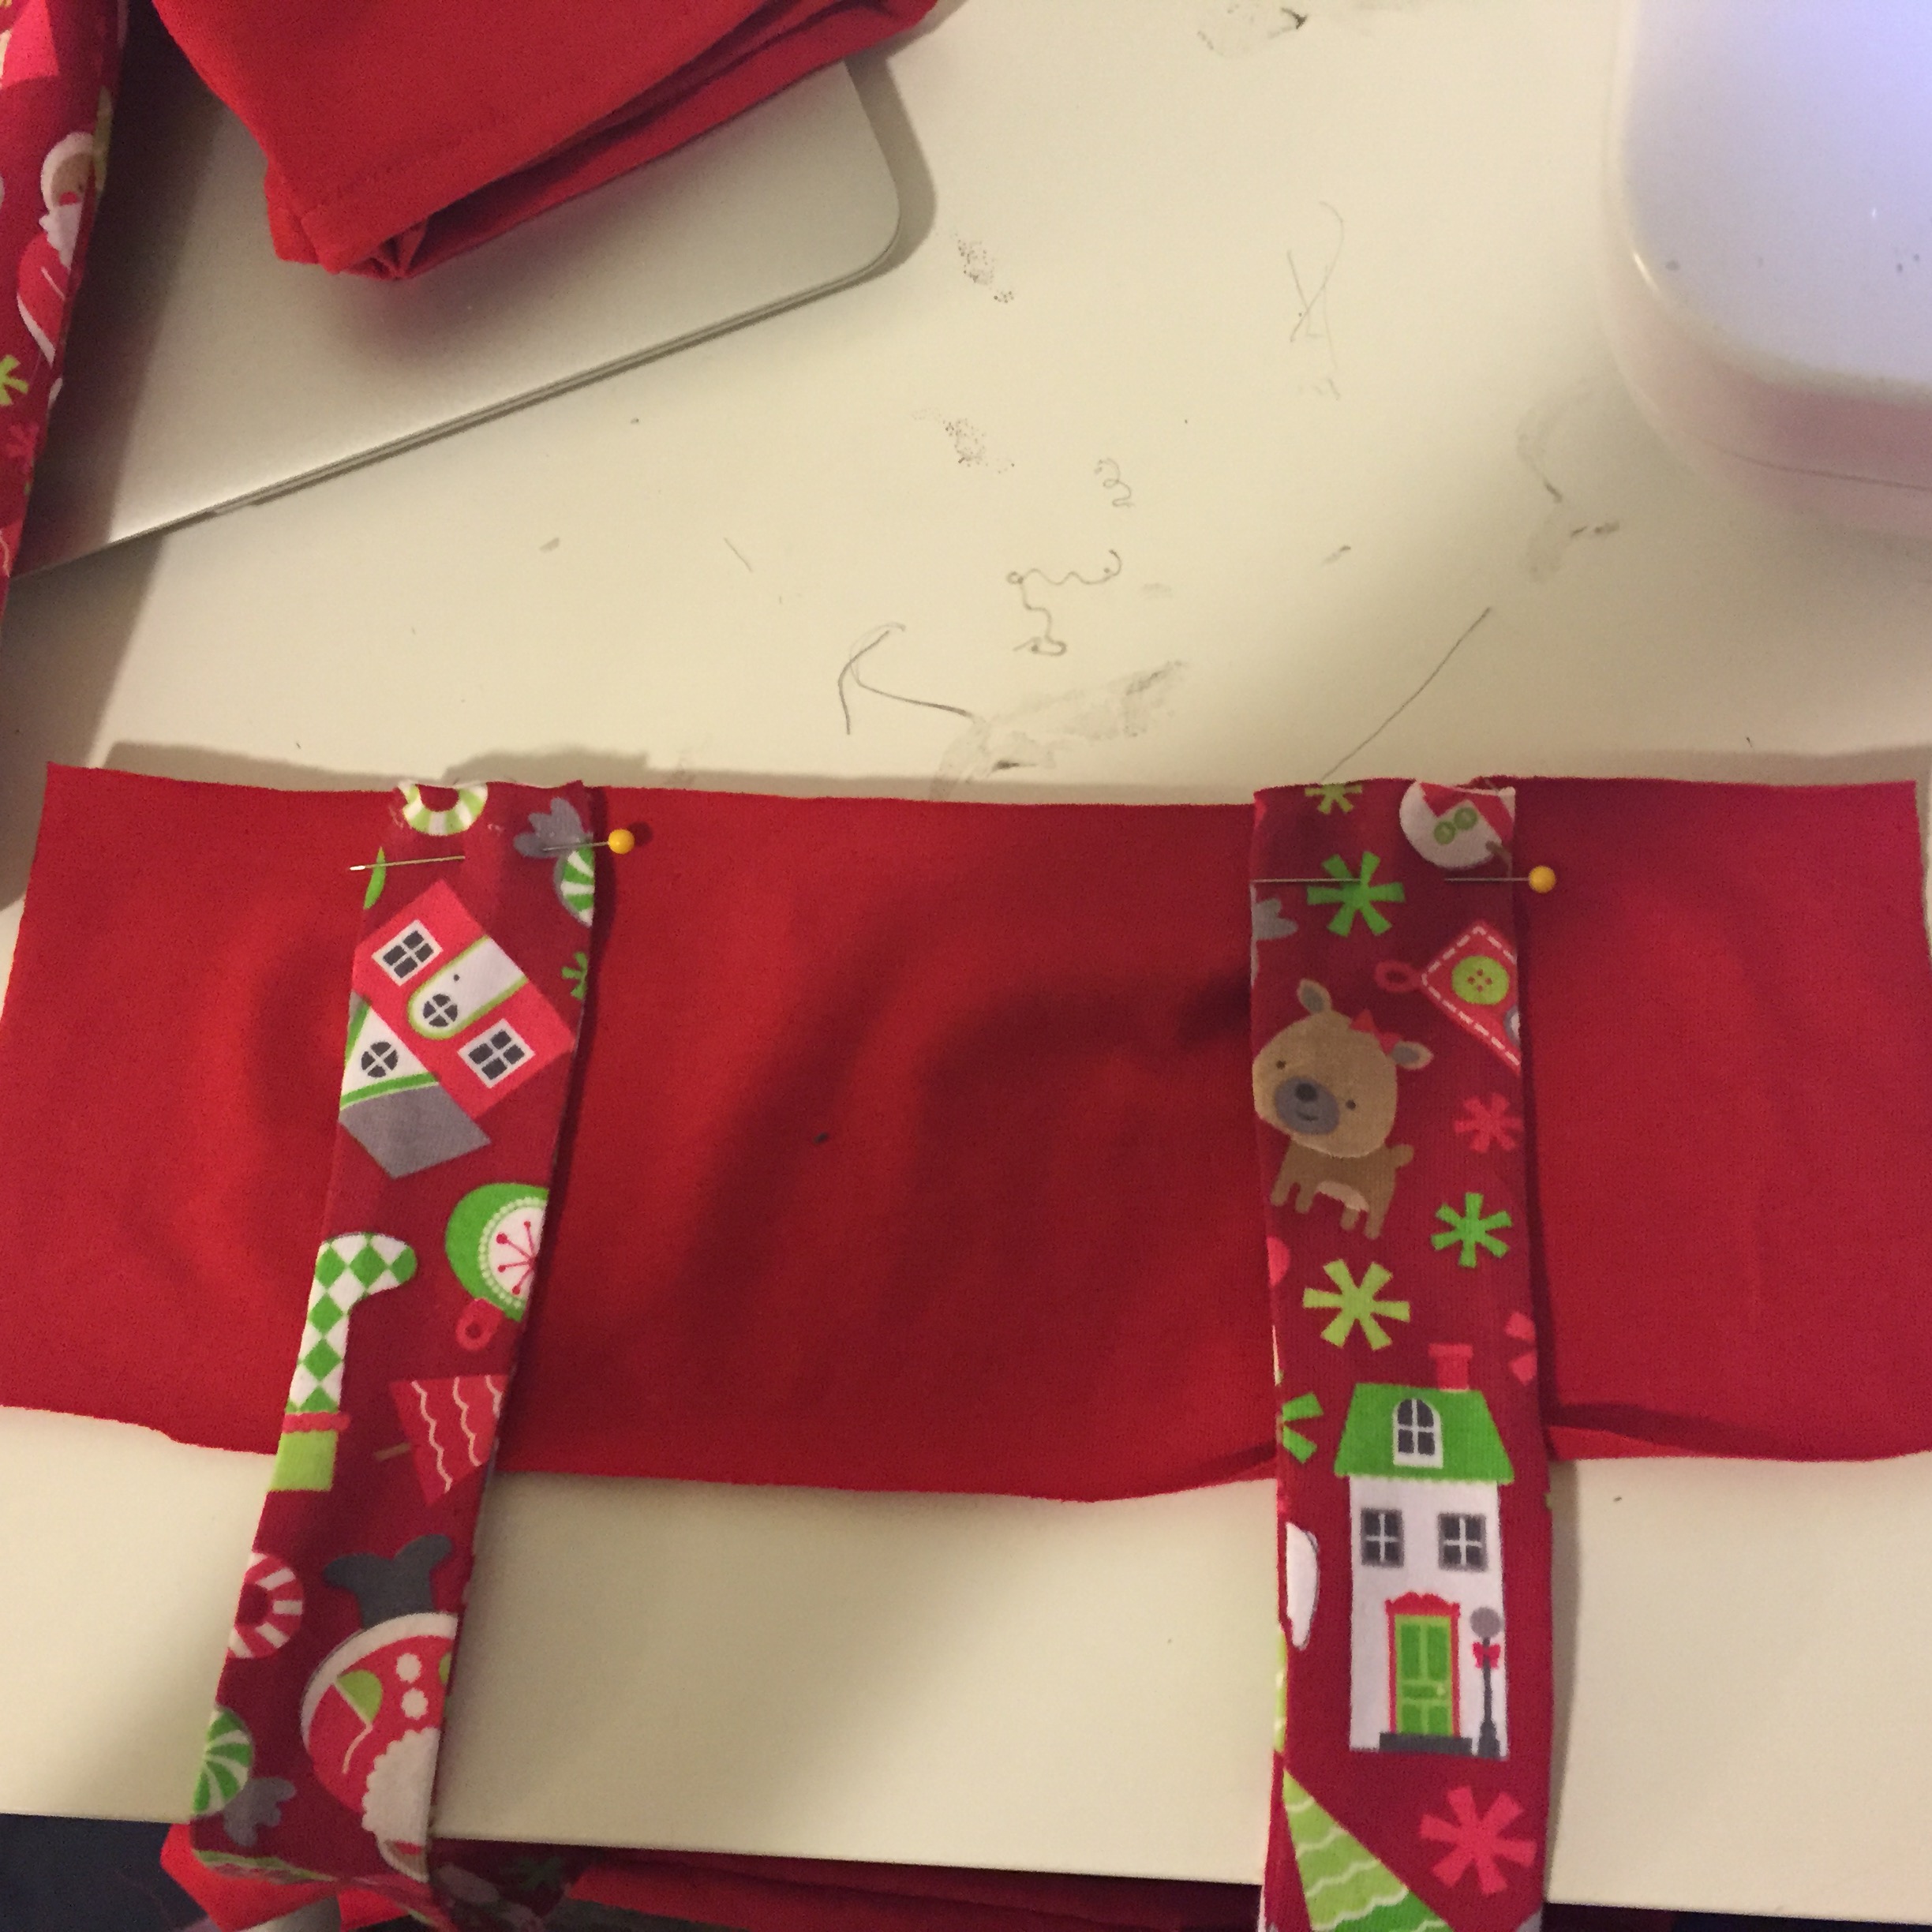
With right sides together, sew two strap pieces together on the long sides. Turn inside out and iron. Repeat for the other strap.

Now, take 1 bodice piece and lay it down right side up. Take your straps and pin them downwards about 2.5″ away from the sides of the bodice.
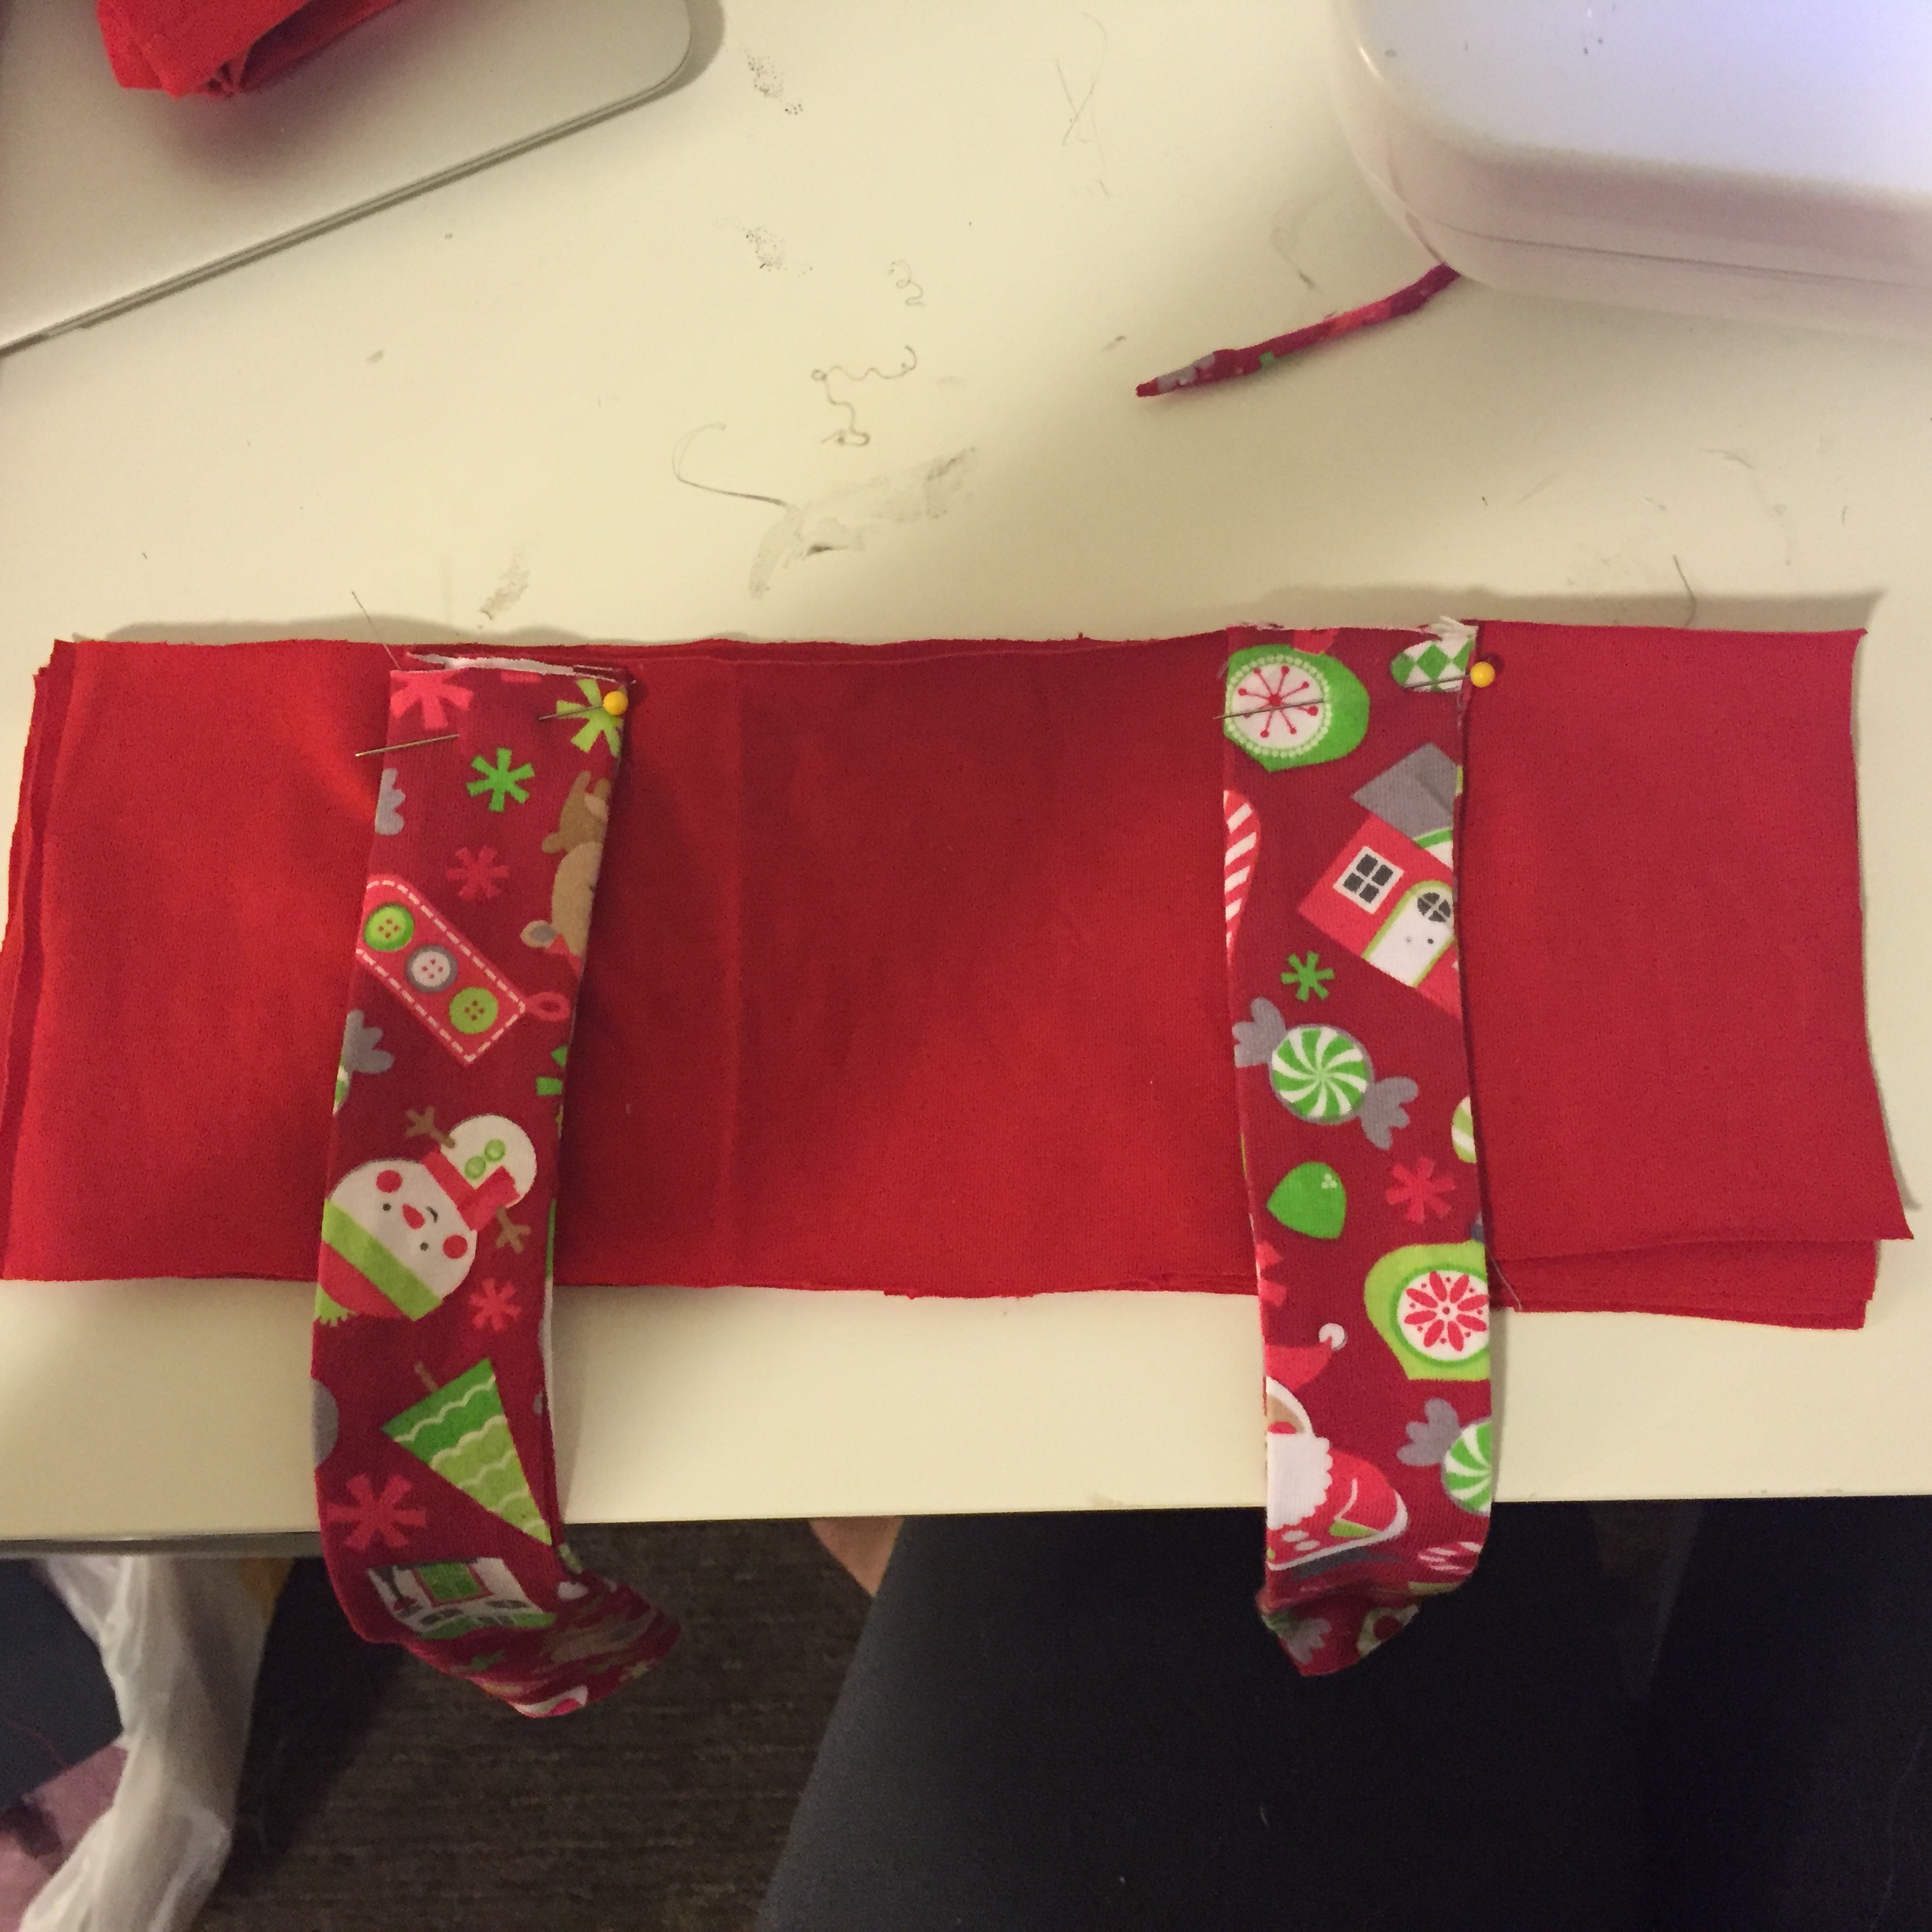
Take your other bodice piece and lay it over the image above right sides together. Pin and sew using 1/2″ seam allowance.
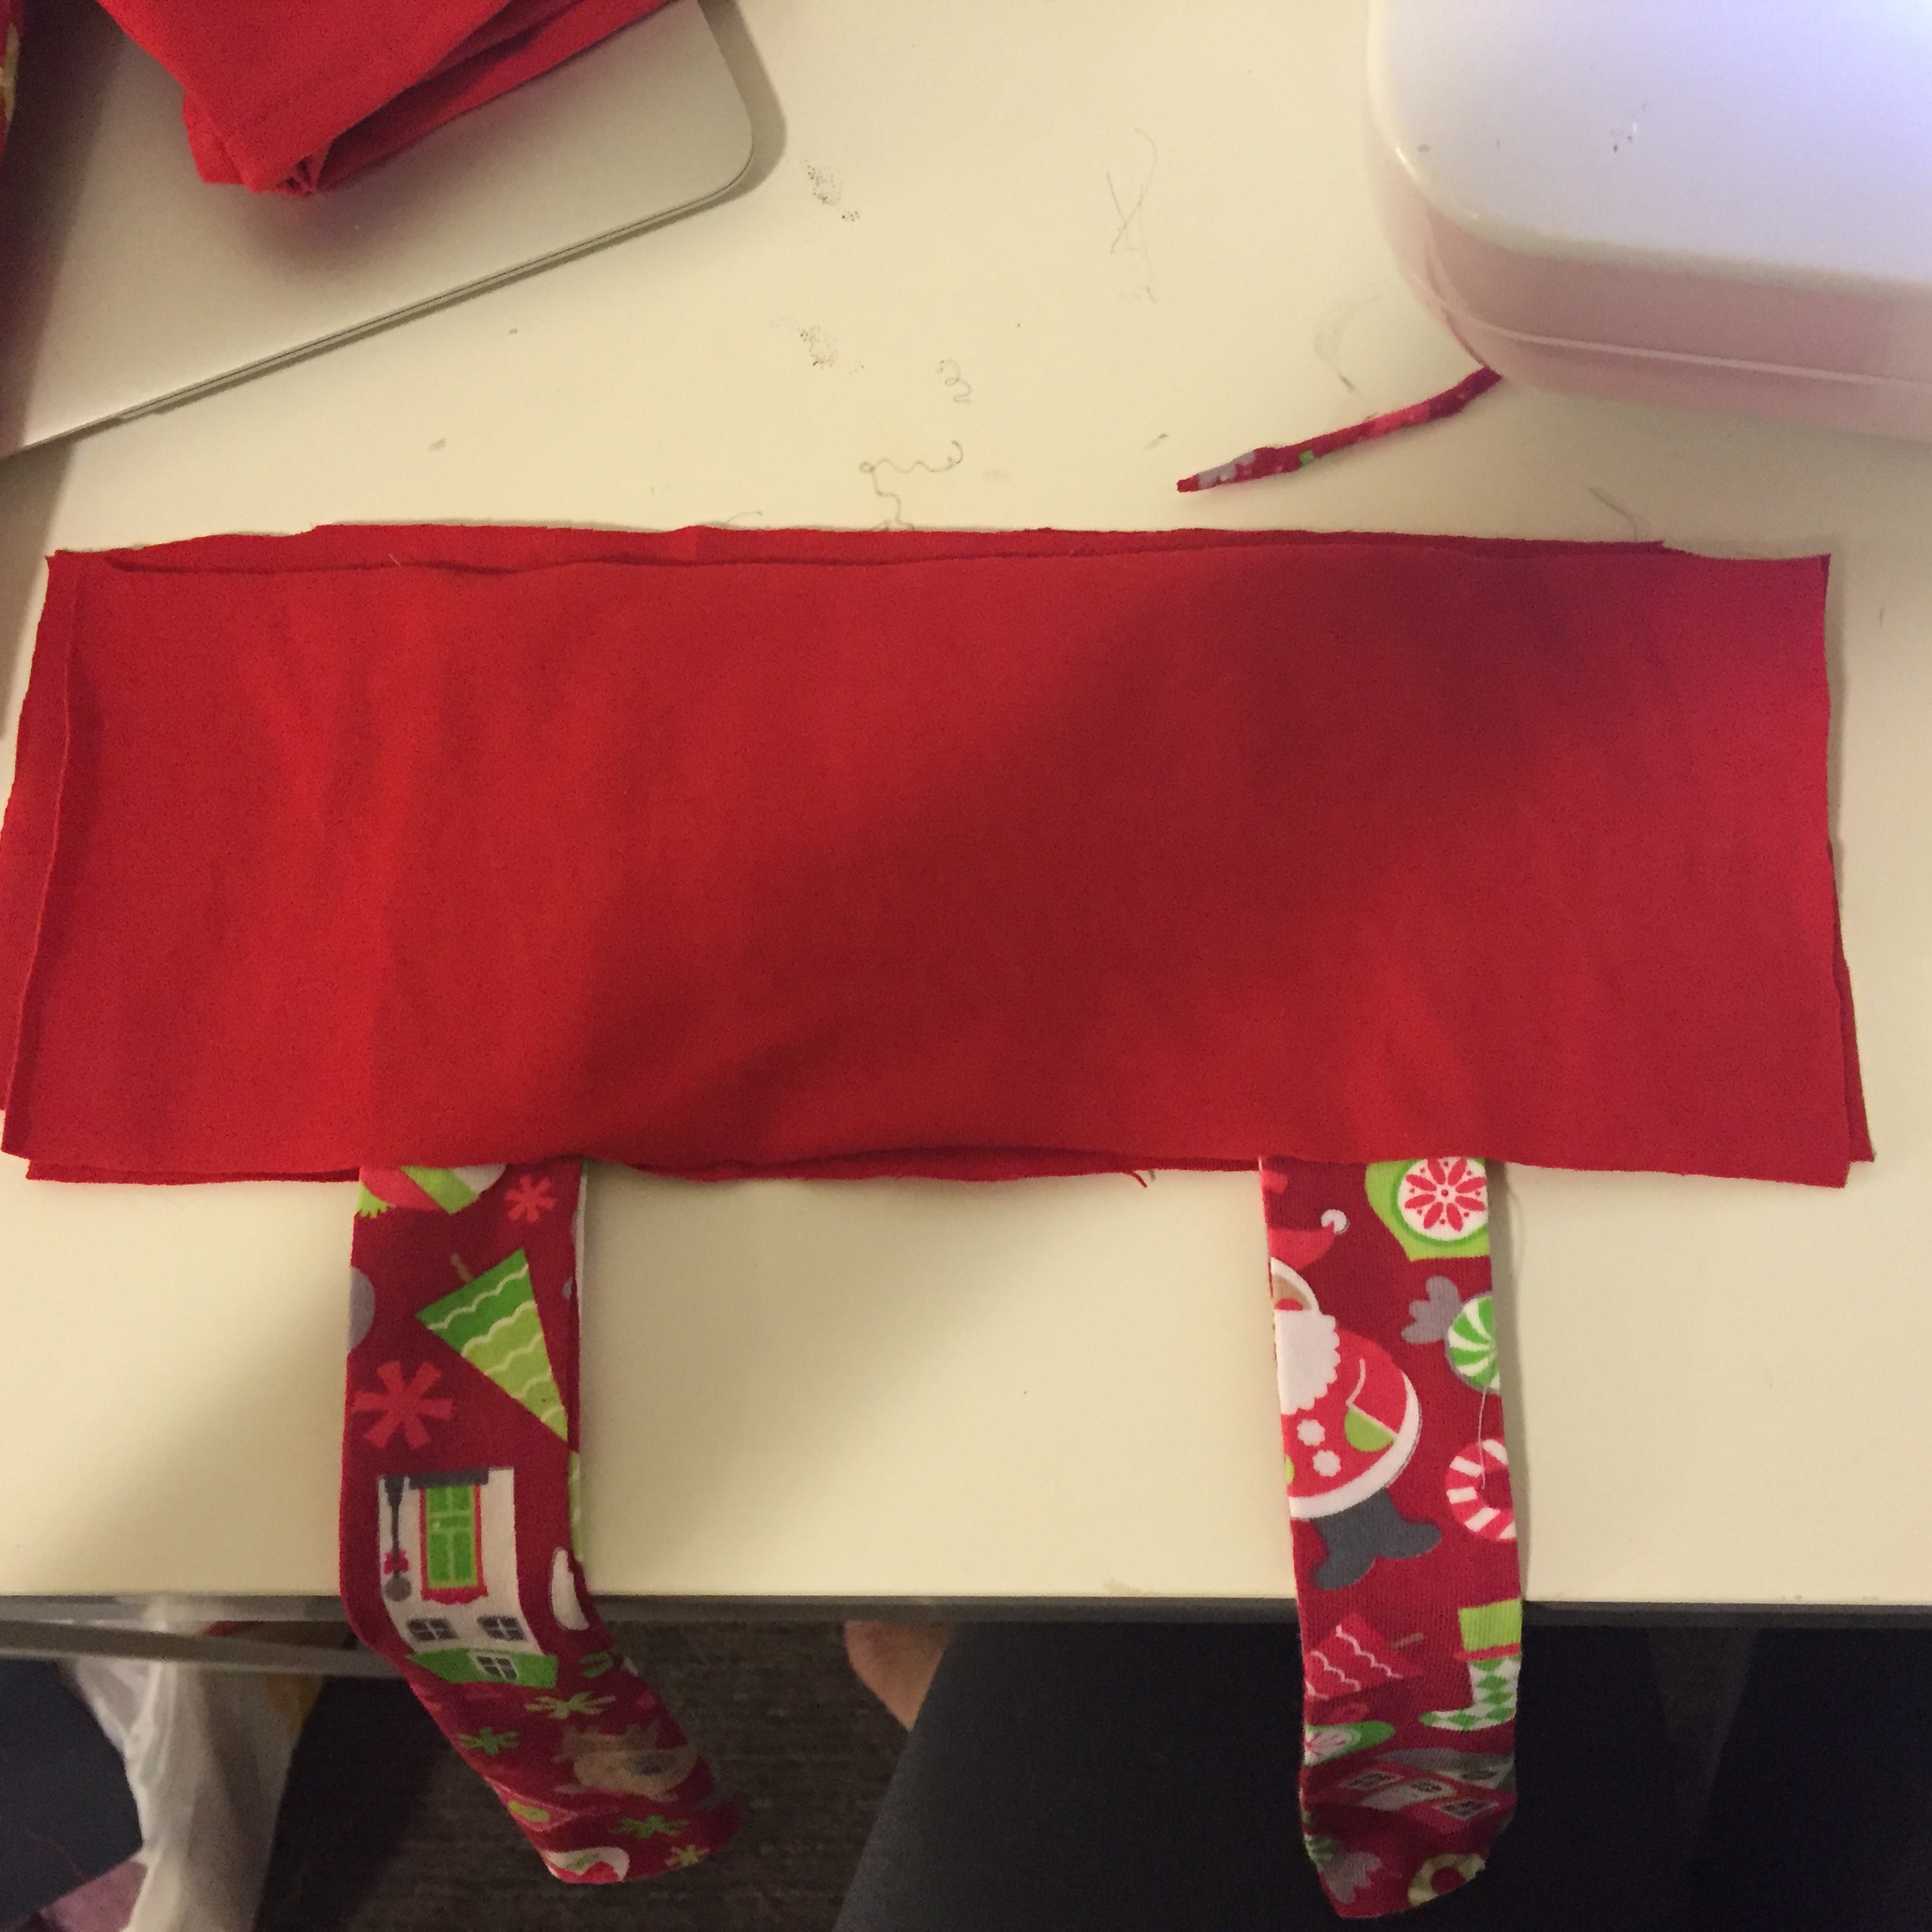

Now, lets connect this to your back bodice. Same like above, take one bodice piece and lay it right side up. Take straps and lay 2.5″ away from each side. Take the 4th and last bodice piece and lay it right side together and sew closed.

Sew the sides of your bodice closed using 1/2″ seam allowance. Set aside.
For the skirt piece, you can hem the bottom if you want but this is optional. Sew a long stitch (number 5) about 1″ away from the top and pull to gather the fabric so that the width fits the width of the bodice piece.
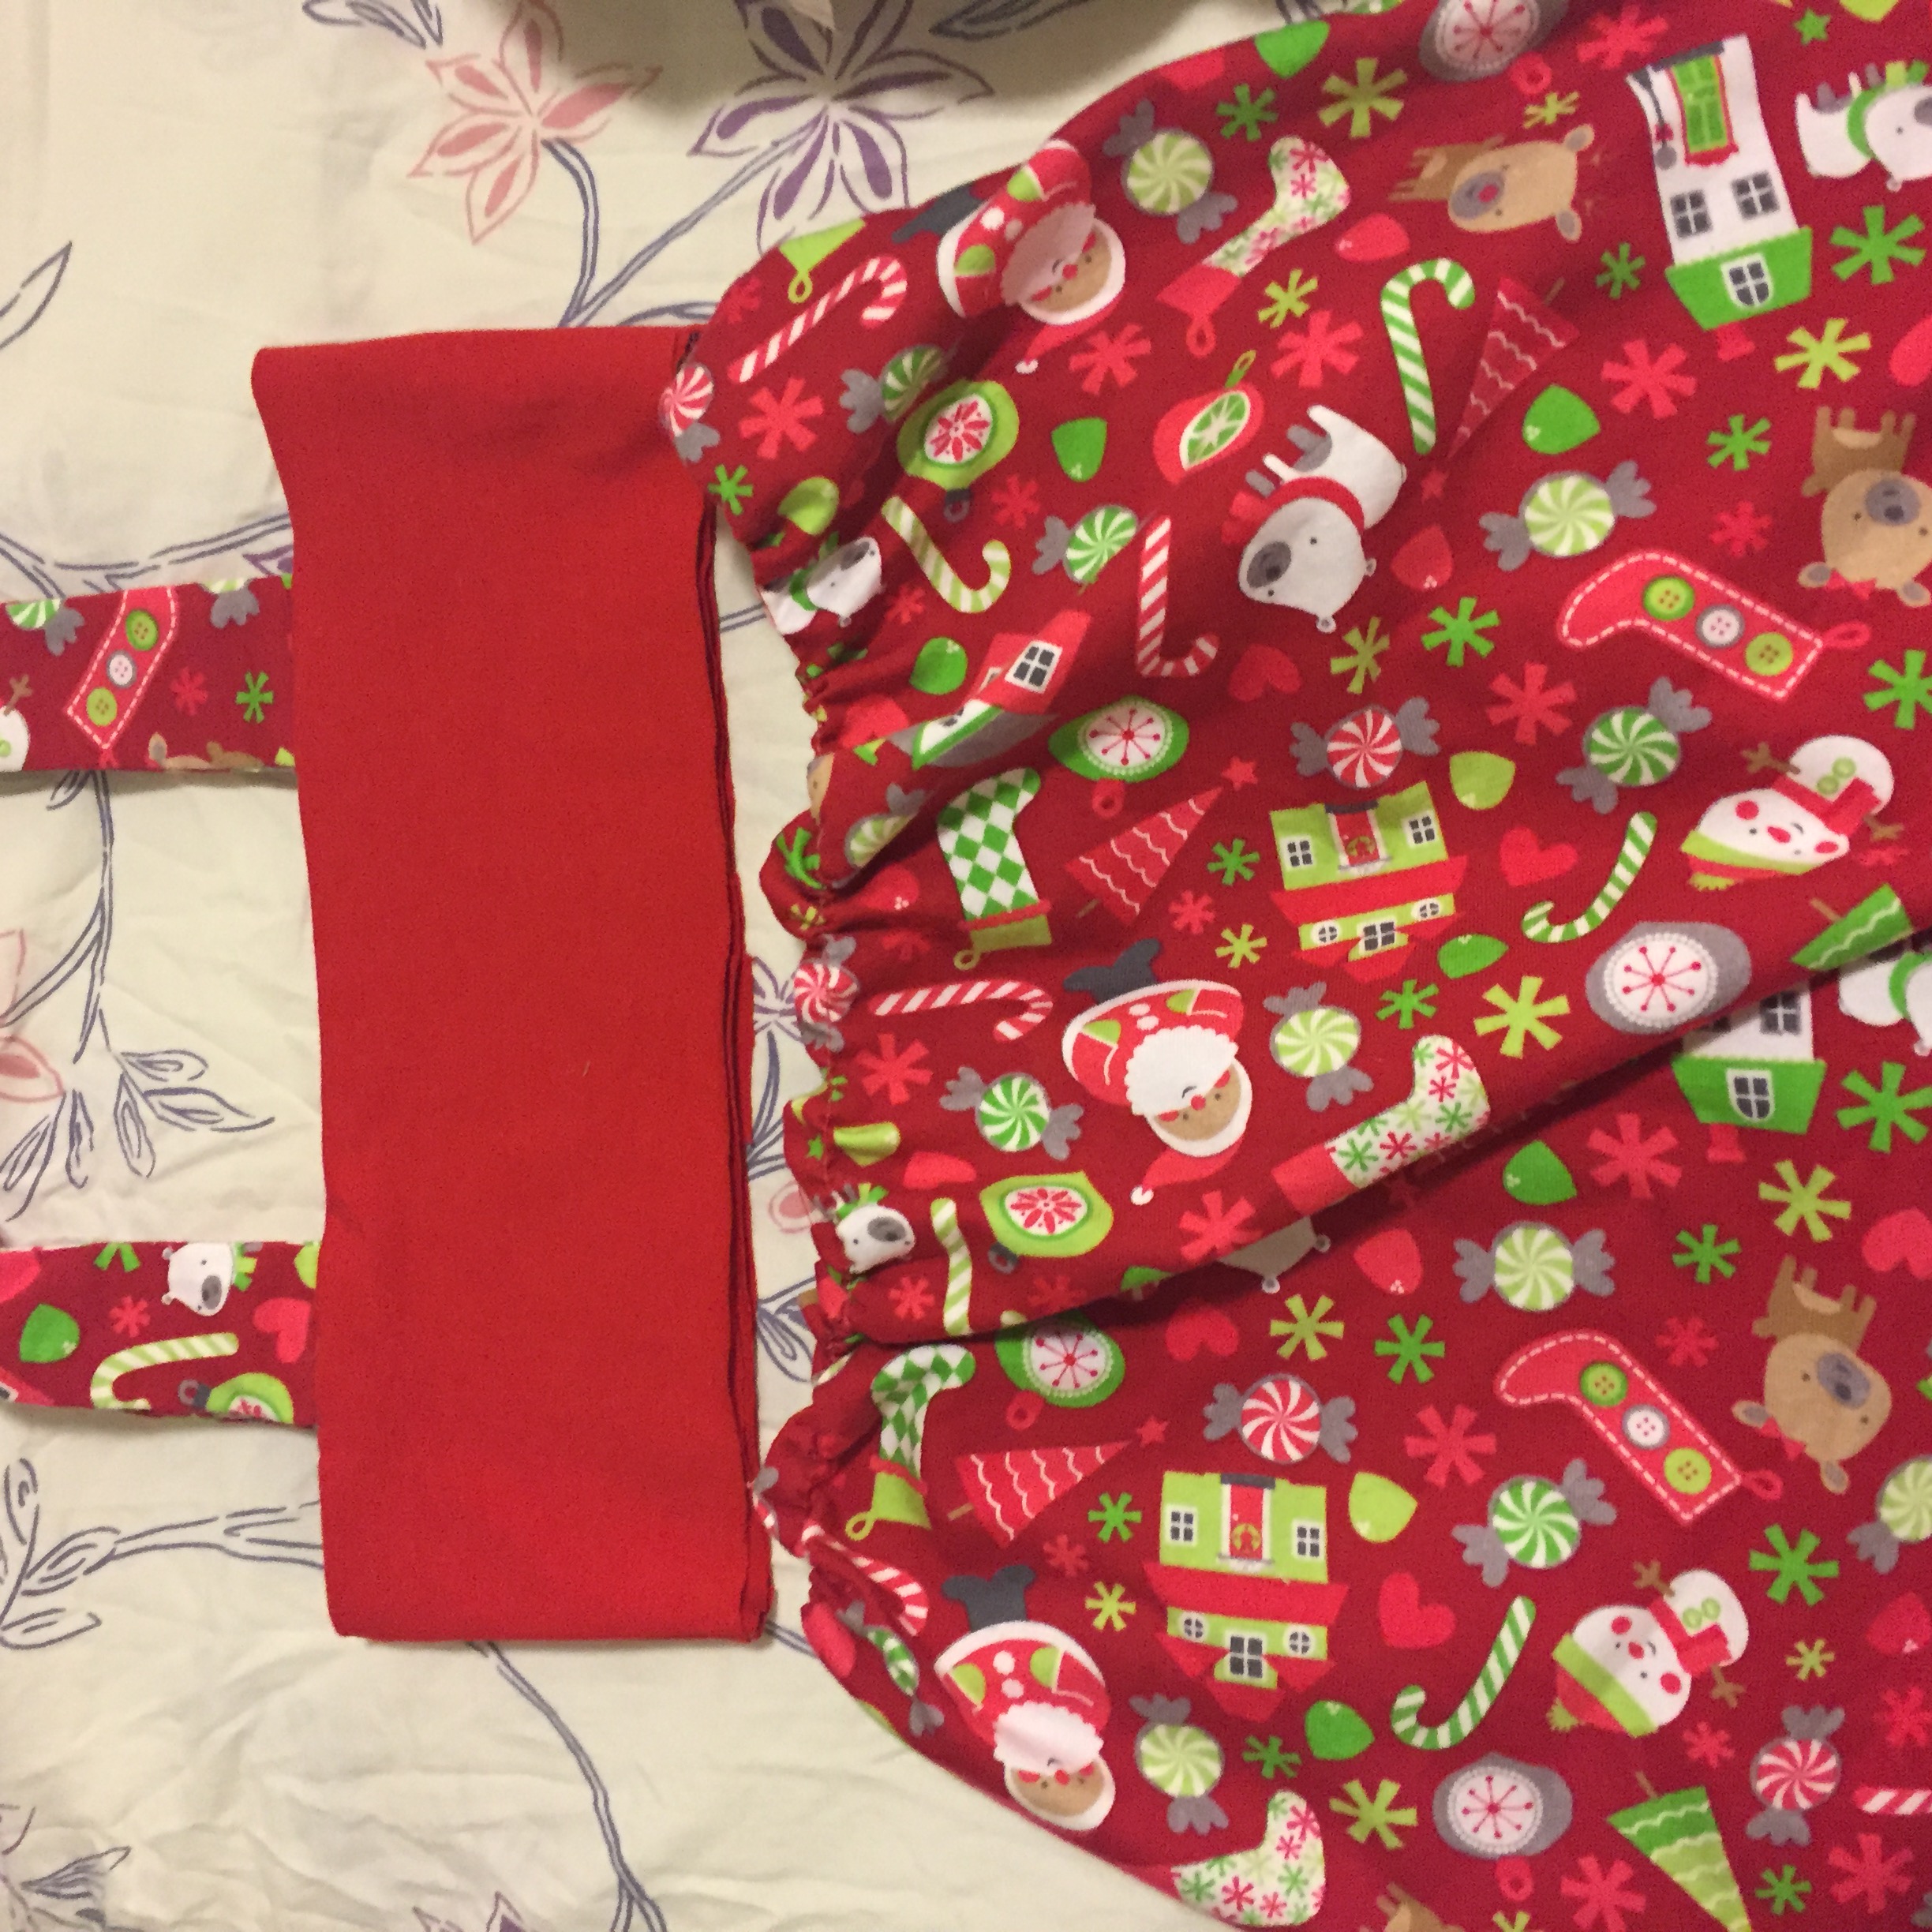
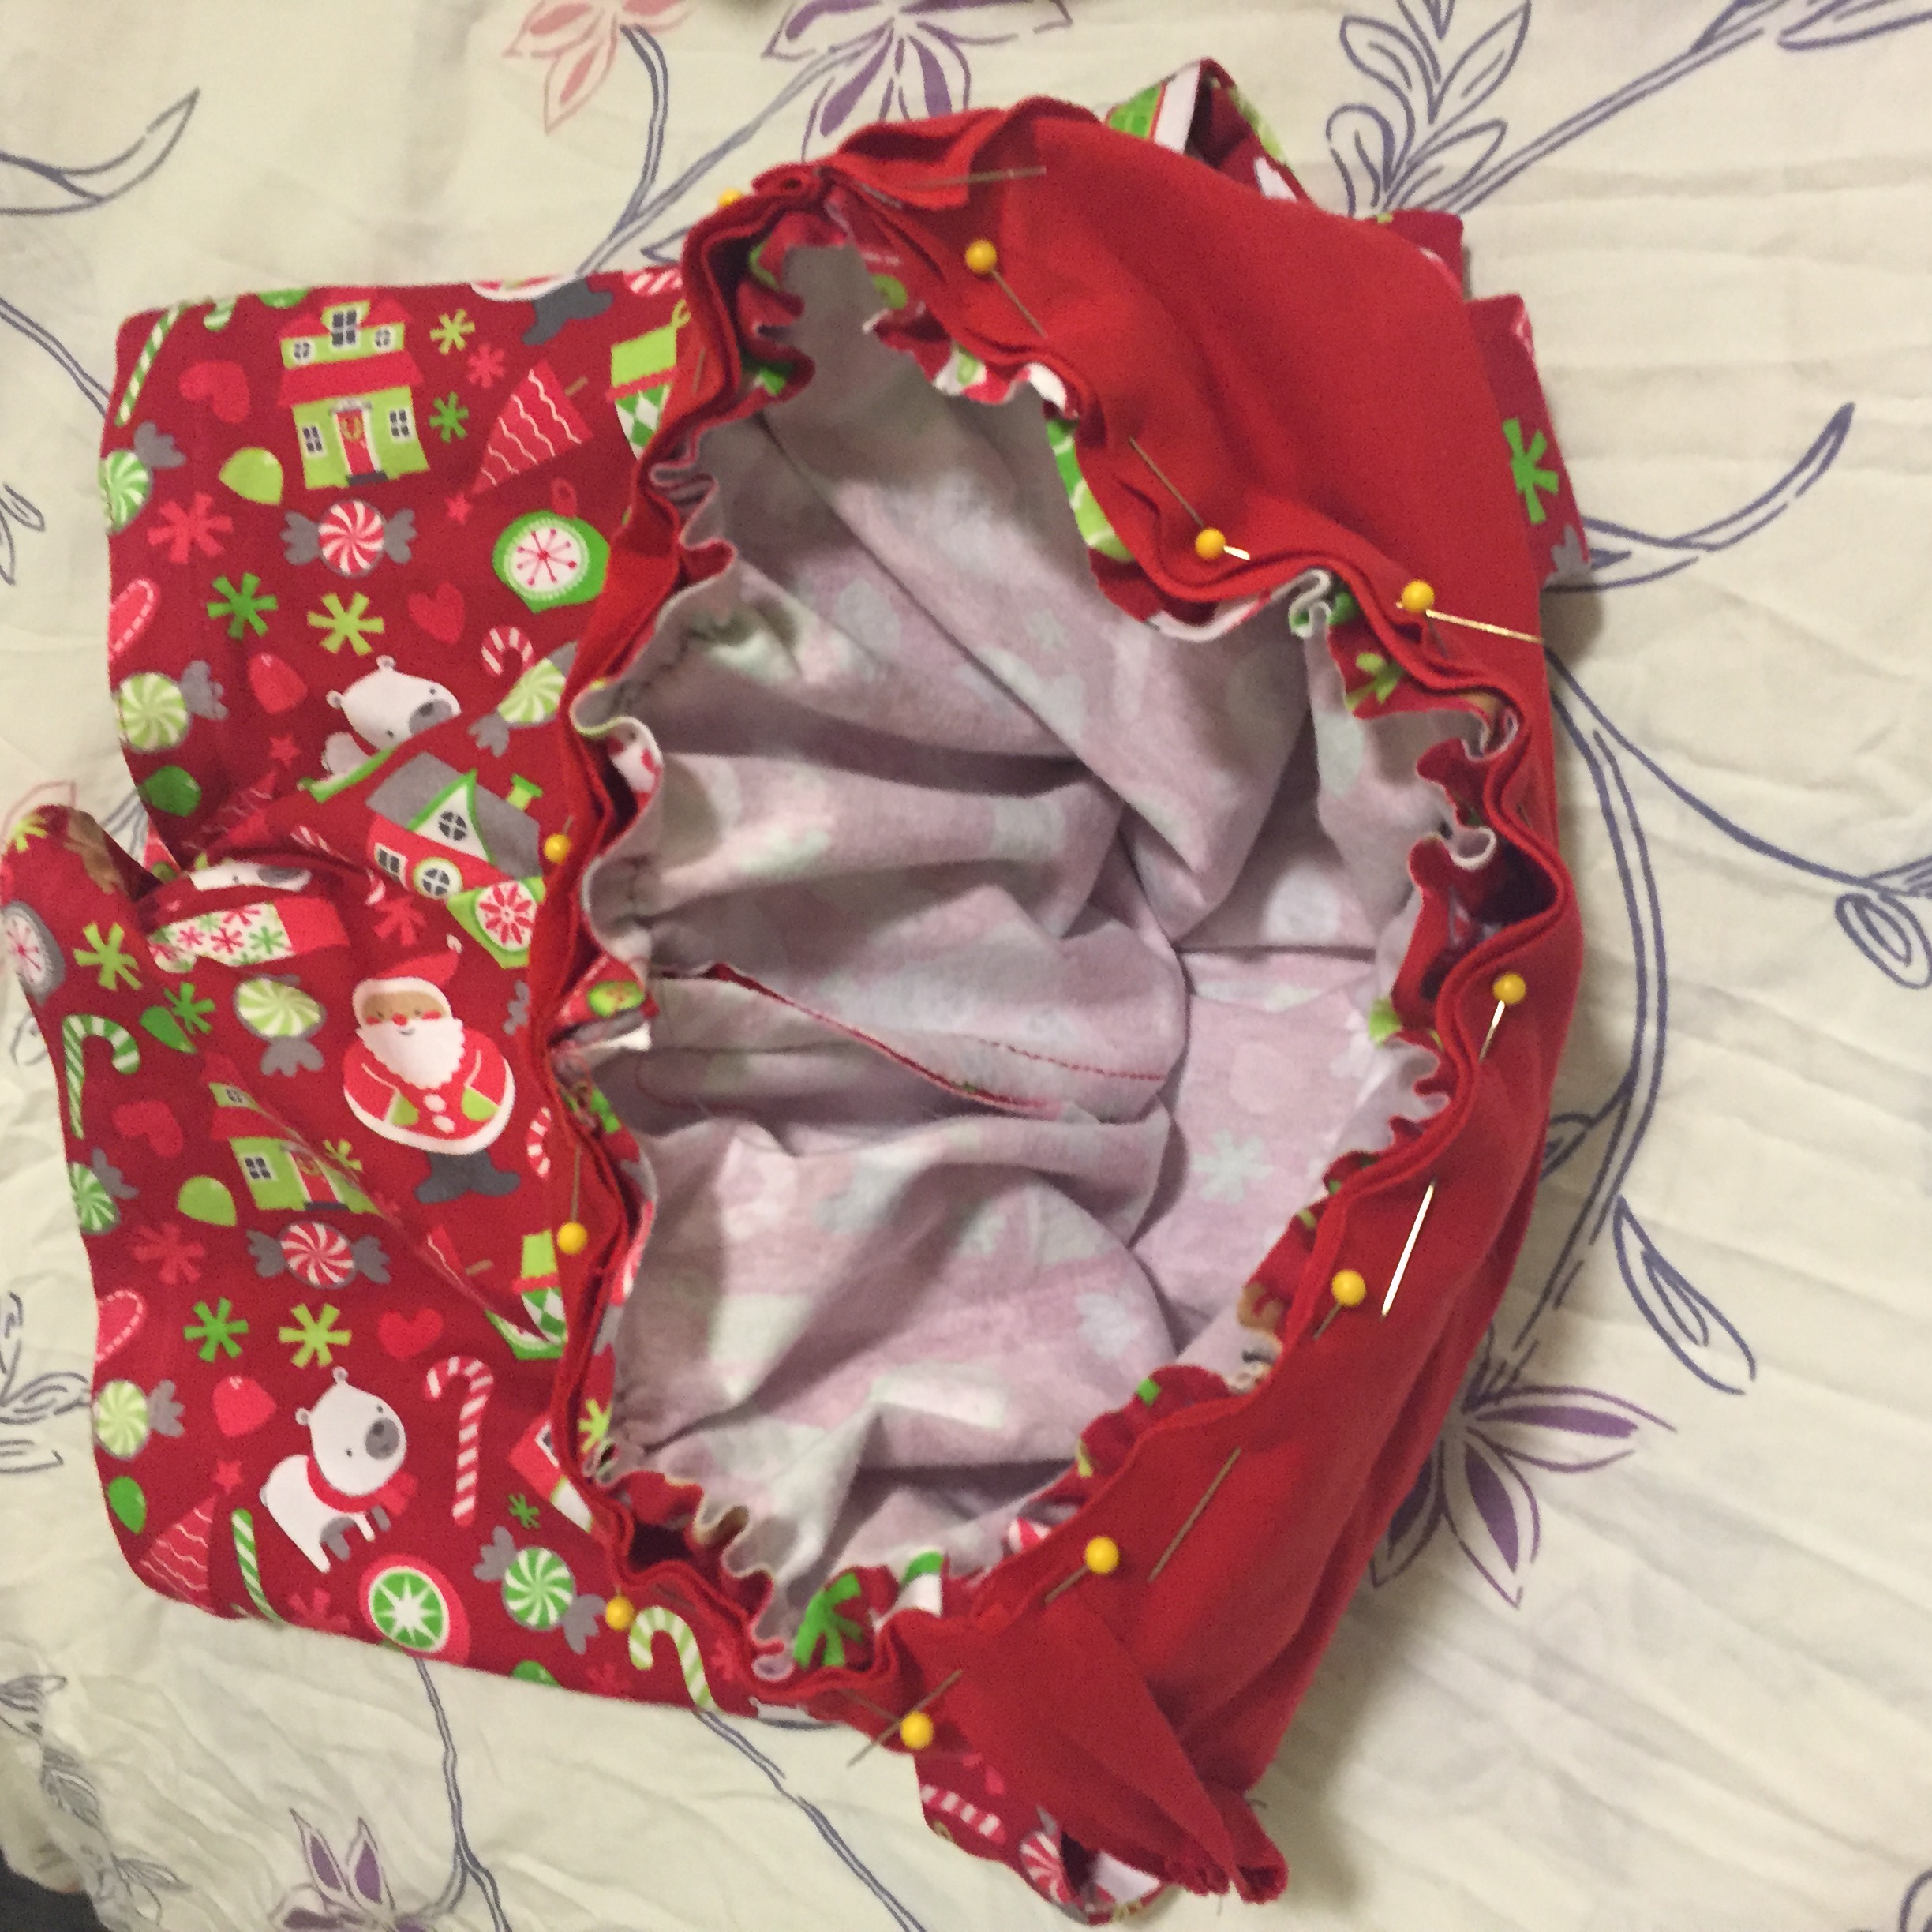
With right sides together, fit the skirt into the bodice. Pin and sew.
Iron and you are done! Go take some Christmas pictures.
Thanks for visiting and Happy Sewing!