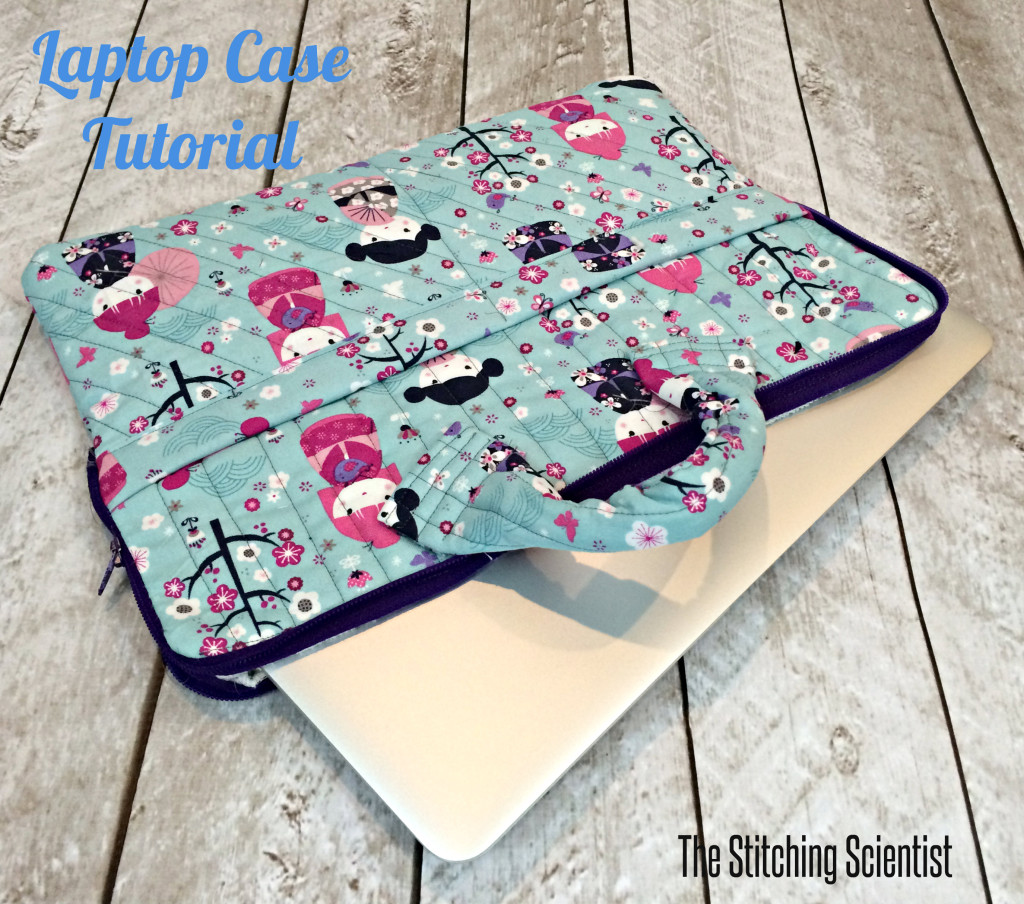
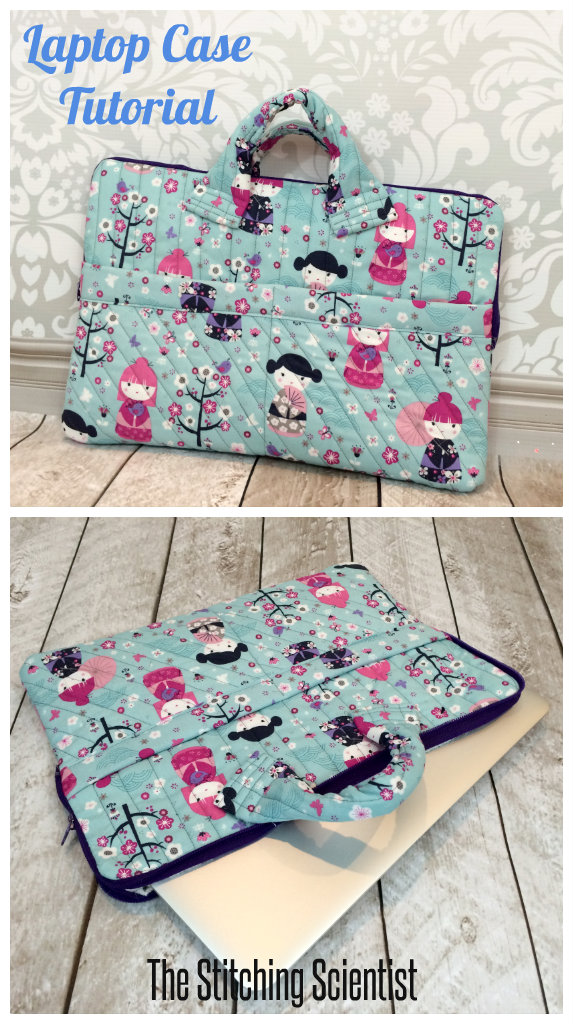
I just got a new computer which means, time for a new sewing creation…a new laptop case to all to my collection of bag patterns. Now that I can sew a bit, I refuse to buy things I know I can make for fraction of the cost. This laptop case is similar to a simple pouch but with the zipper extended down the side. It also has two pockets in the front to hold your headphones, charger, notes etc. I made mine with two handles but if you just want a simple sleeve, you can leave the handles off. I did a quilted diagonal design on the pocket and a horizontal design on the main case to give it a contrasting look. The tutorial can be adjusted to any size laptop or tablet.
To make this pretty case you need:
Two pieces of main of dimensions of front of laptop + 2″ (my MacBook Air is 11.5″x 7.5″ so my pieces were 13.5″x 9.5″ each)
Two pieces lining of laptop dimensions
2 pieces fleece interfacing of laptop dimensions
1 piece main for pocket 3″ shorter than the main (mine was 13.5″ x 6.5″)
3″ x 13.5″ strip for pocket binding
1 piece lining for pocket
1 piece fleece interfacing for pocket
22″ zipper
2 pieces 3″ x 9″ for straps
2 pieces 3″ x 9″ fleecing interfacing for straps
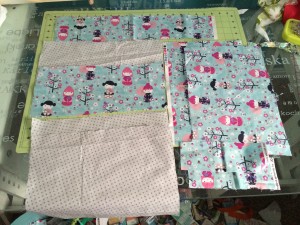
Cut all your pieces. Picture below is missing the interfacing.
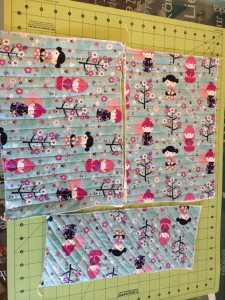
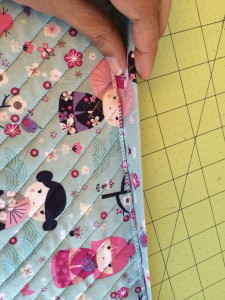
Iron on the fleece interfacing to the back of your two main pieces and the pocket. Then form sandwiches with your lining with right sides facing outwards. Sew 1″ stitches on your three pieces. I did diagonals for the pocket and horizontals for the main pieces. After you are done sewing your lines, serge or zig-zag all of your edges.
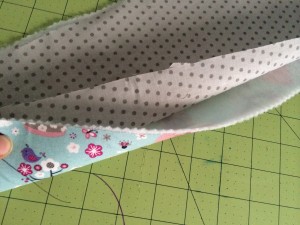
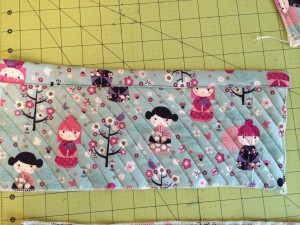
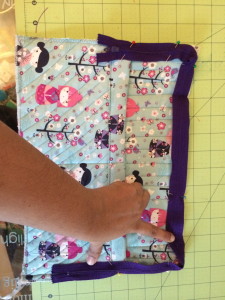
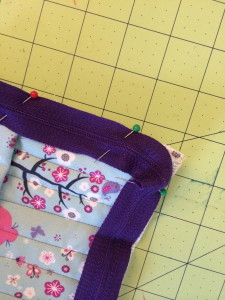
Attach the binding to the long side of the pocket. To make the binding, you fold your piece in the middle and then fit into your top edge of the pocket and sew down.
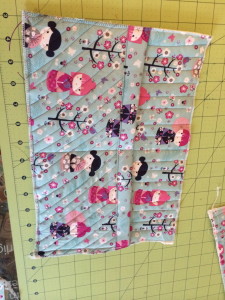
Sew the pocket to the main piece and then sew a line in the middle of the pocket so that you get two pockets.
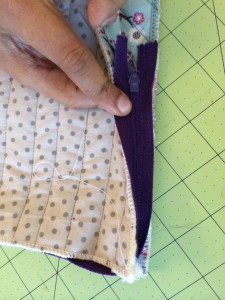
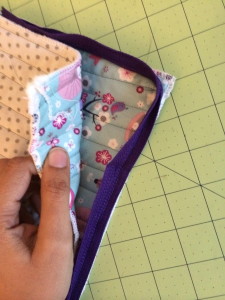
Pin the zipper on the right side of the front piece with zipper facing down. Sew using your zipper foot. Take it slow as your reach the corners.
Repeat for the back piece with right sides together so that the wrong side of the piece you are now sewing is facing outwards.
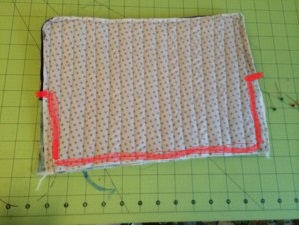
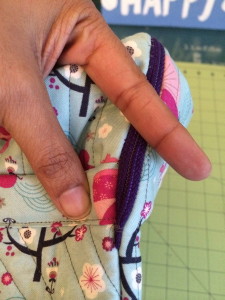
Open your zipper half way and turn the case inside out. Sew all the way around following the red line as indicated below. You want to come in at a perpendicular when you reach the zipper ends.
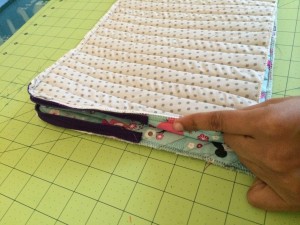
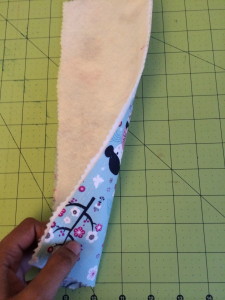
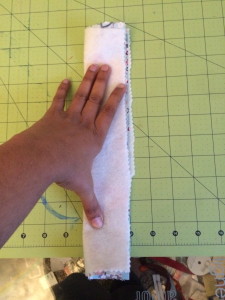
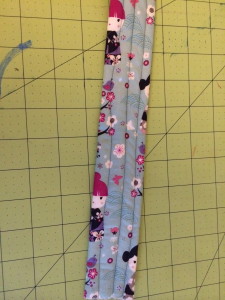
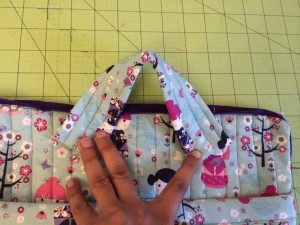
You can stop here if you dont want the straps. To put the straps on, iron on your interfacing and fold the straps in half. Sew down wrong sides. Turn inside out to create a tube. Iron down and sew lines straight down so that its quilted.
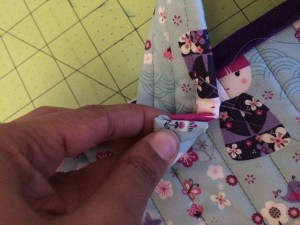
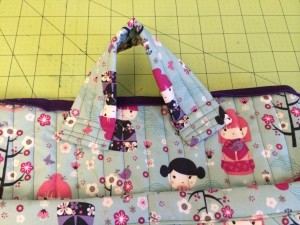
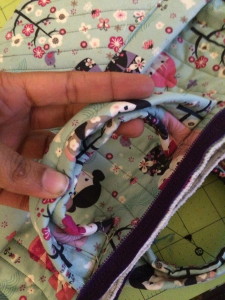
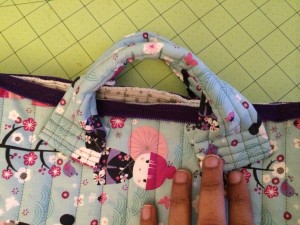
To attach to the case, fold the ends and pin down centering the strap in the middle of the case. Sew with with a few straight lines.
After I did the straps, I fold down the center and top stitch all the way down to about 2″ from each end. to get a corded effect. You can leave yours as is. Either way works fine.

