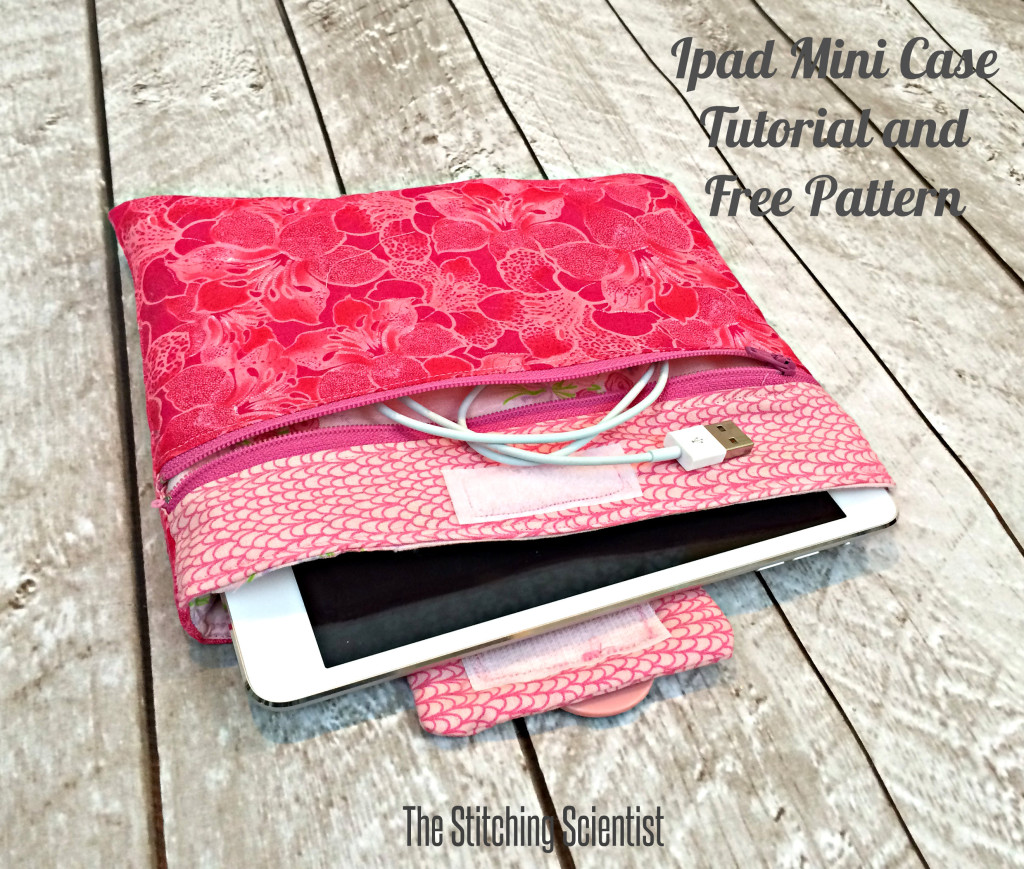
I am still chugging along on my handmade Christmas gift list. Next up is the Ipad Mini Case. I wanted to do something special for my boss this year and I know she has an Ipad Mini so I thought this would make a perfect gift for her. It’s handmade which I know she will appreciate and love, even if it’s not perfect:-). This case is a step up in skill level from my earlier simple case. This one has a zipper pocket which can be a bit tricking to do. I tried to make the tutorial as simple as possible so you can follow along and create one of these pretty cases for yourself or as a gift. I also included a free pattern specific for the Ipad Mini so you didnt have to do any measuring and calculating. As a beginner, I know it helps to have a template even if they are all standard shapes. I hope it simplifies the process for you a bit. This case is also a bit roomy. I think it leaves about 1″ extra space on both sides. If you want it snugged, scale the pattern down to about 90%. I also used batting for mine for some extra cushion. However, it can be made with fleece or thick interfacing for a lighter feel. The fabric amount recommended are estimates. You will have extra left over. Enjoy!
For the Ipad Mini Case you need:
1/4 yard Batting (warm and natural)
3 Fat Quarters (1 lining, 1 outer and 1 for the pocket)
12″ zipper
2″ velcro
Cut out the pattern pieces HERE. The seam allowance is 1/4″. If you want more seam allowance, scale the pattern to 110% and do 1/2″ seam allowance.
Preparation Work
I like to do prep work upfront during project that calls for a number of pieces. So, lets start!
Zipper ends
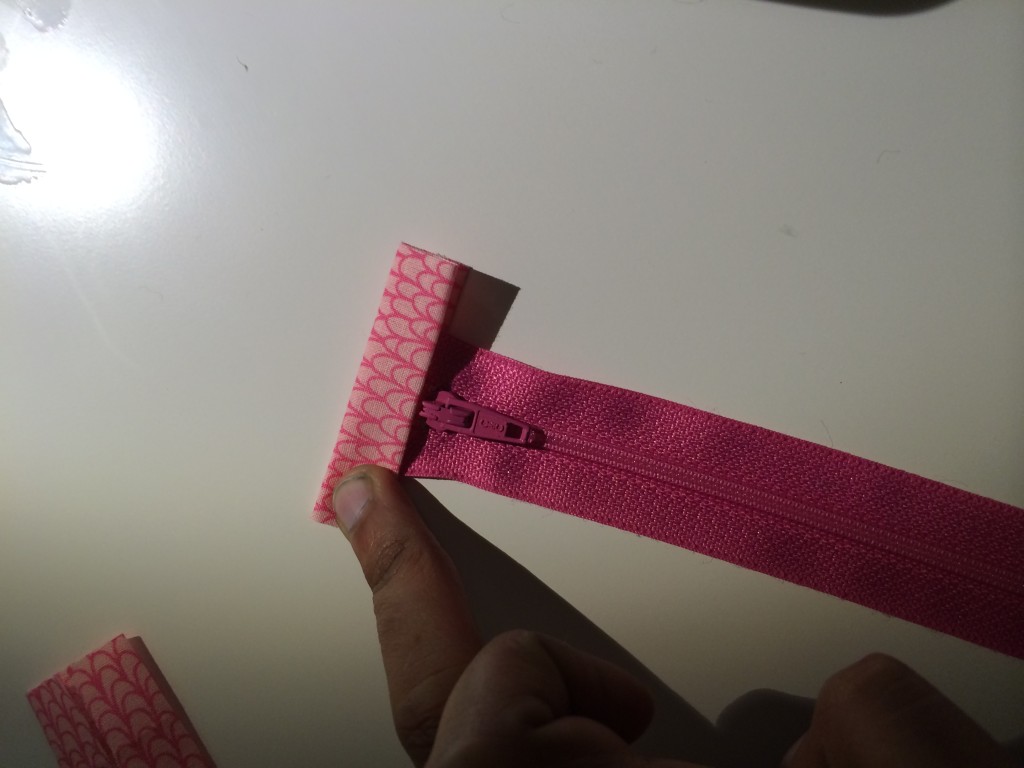
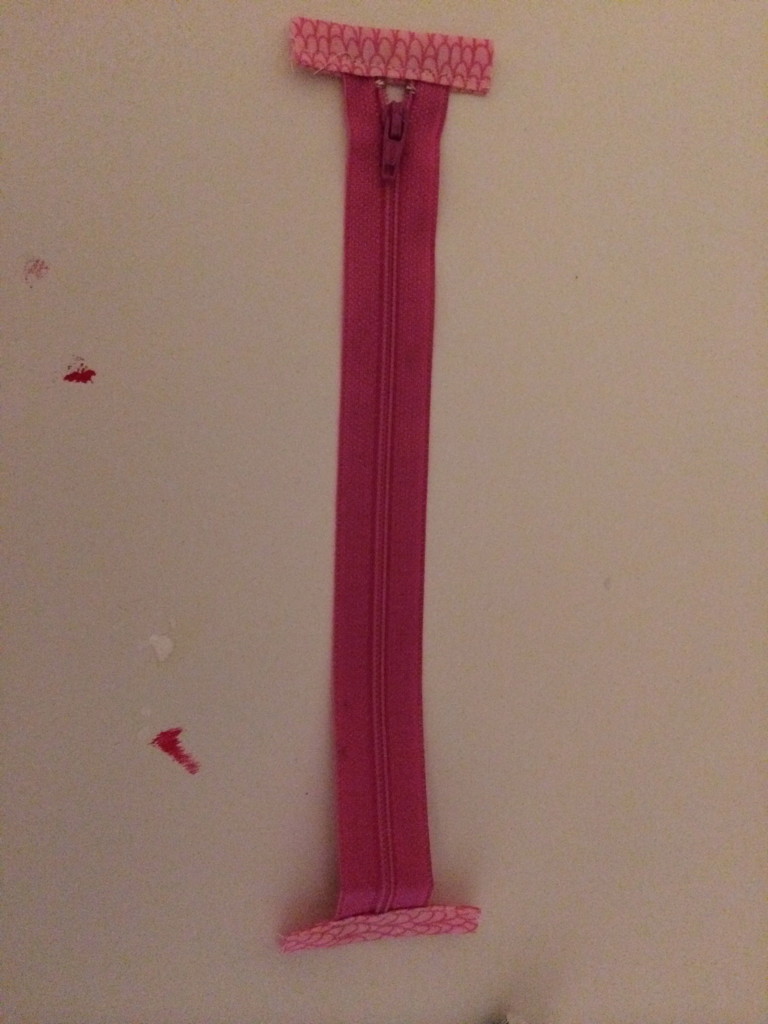
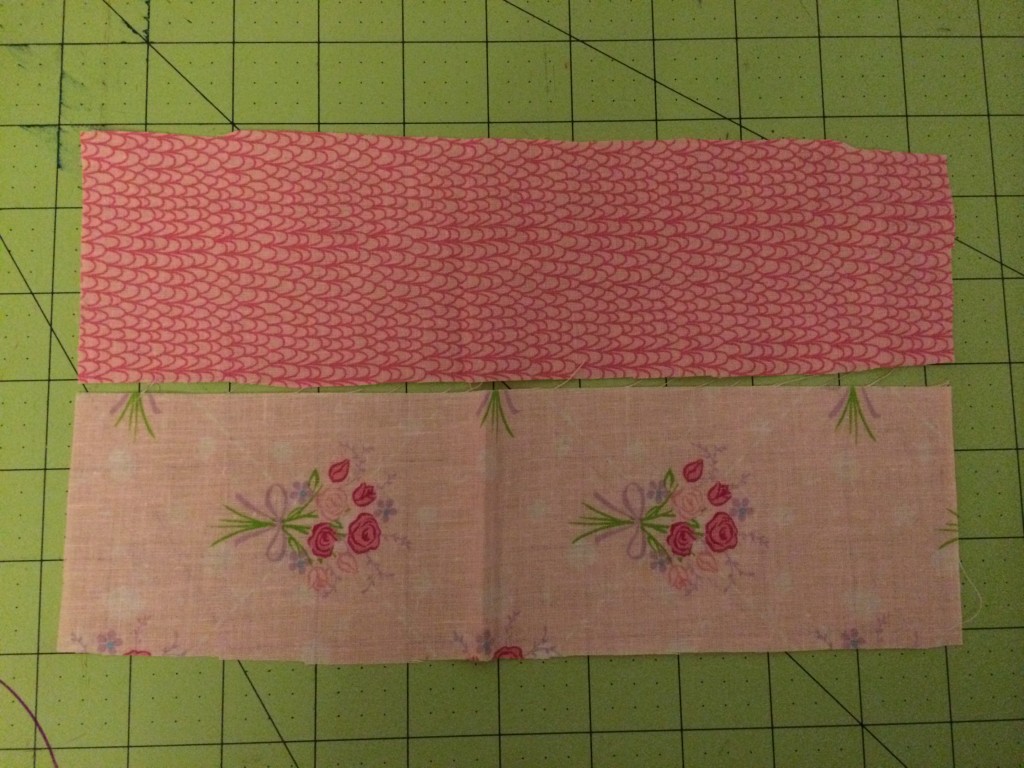
Cut the zipper to 10.5″. Fold in your zipper ends fabric and iron in the middle. Fold around the ends of zipper and sew down.
Strap
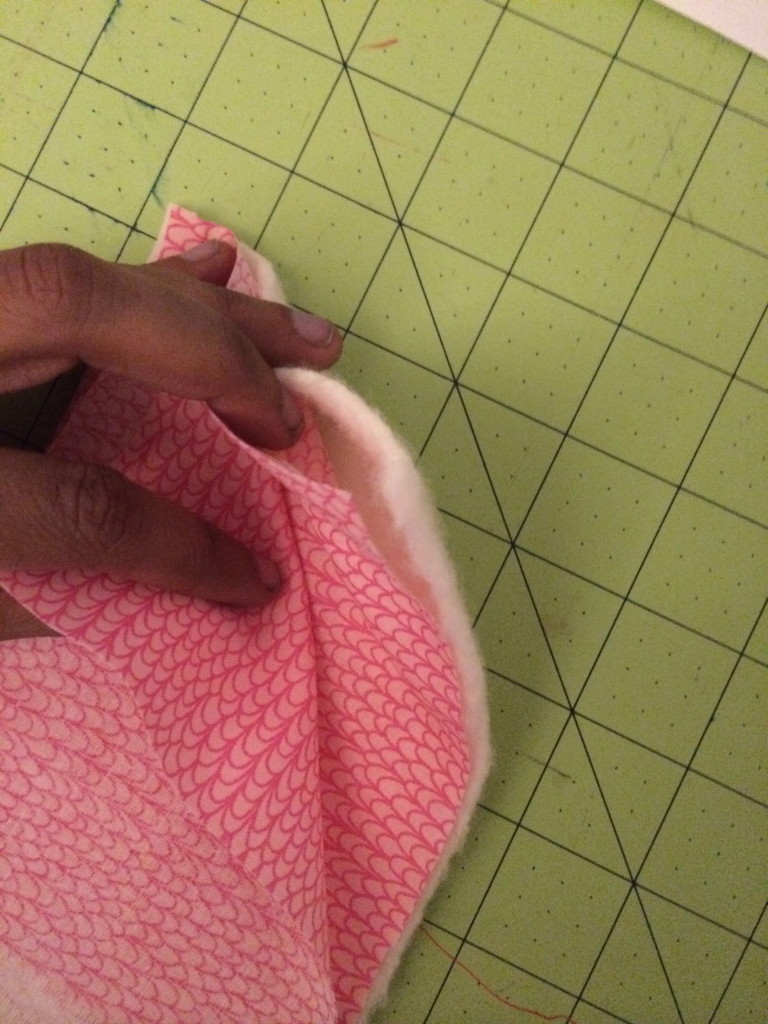
Sandwich your batting in between your two pieces of strap pieces so that the right sides are facing out. Sew around leaving the larger top open. Turn inside out and iron.
Main Front
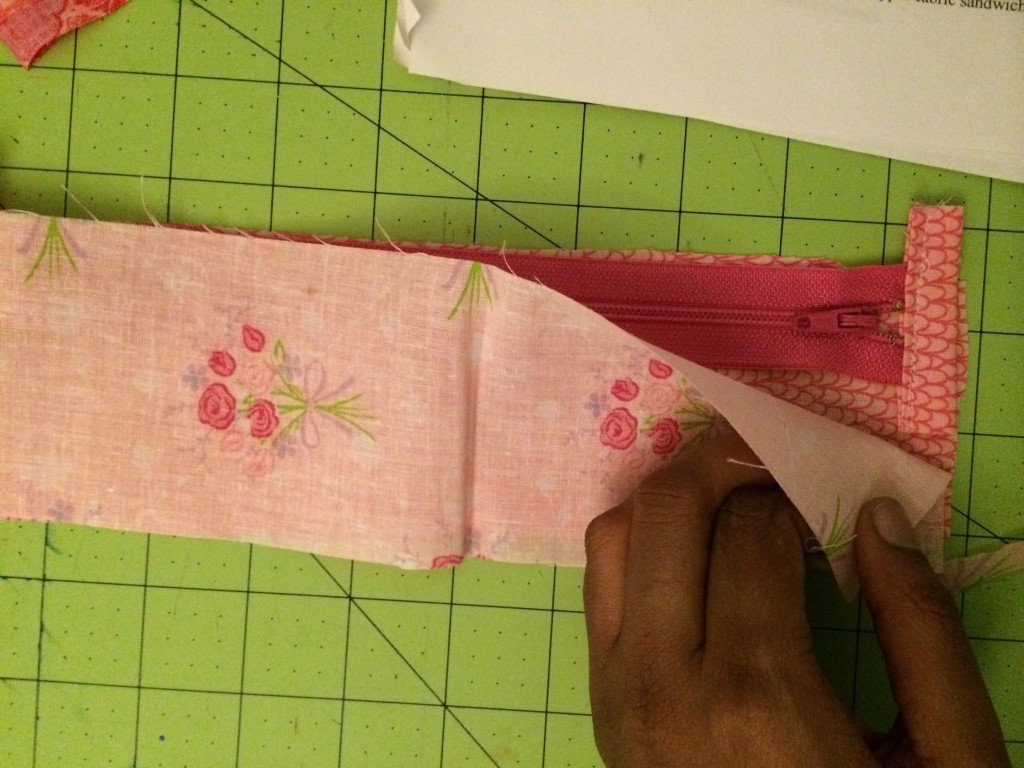
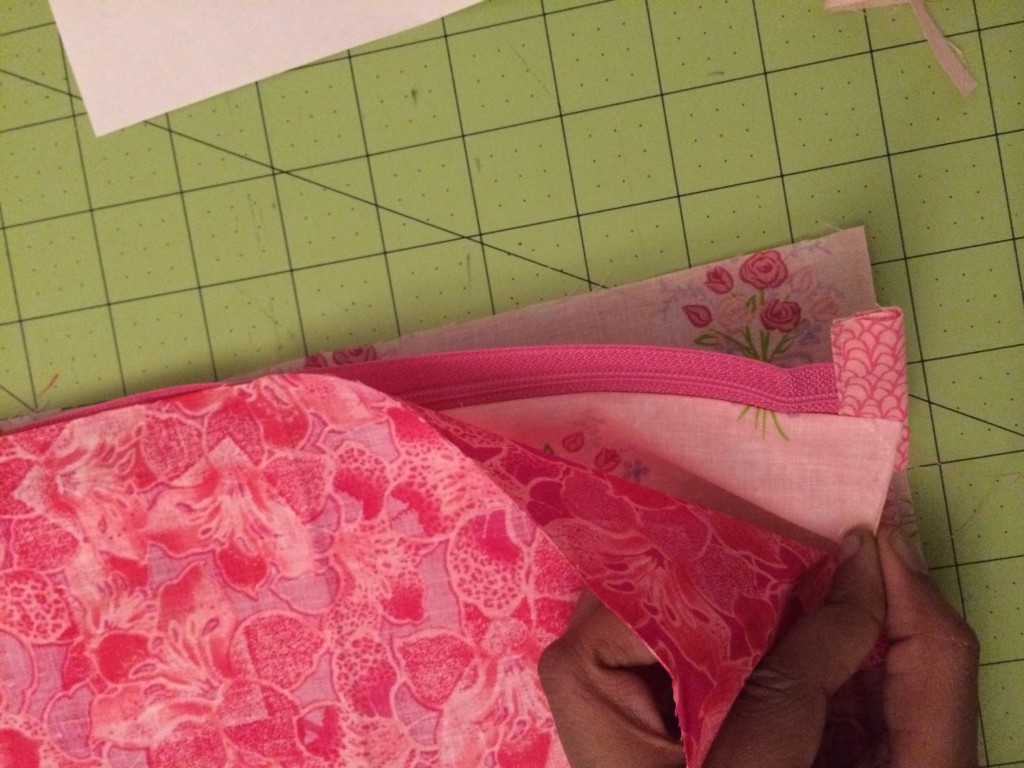
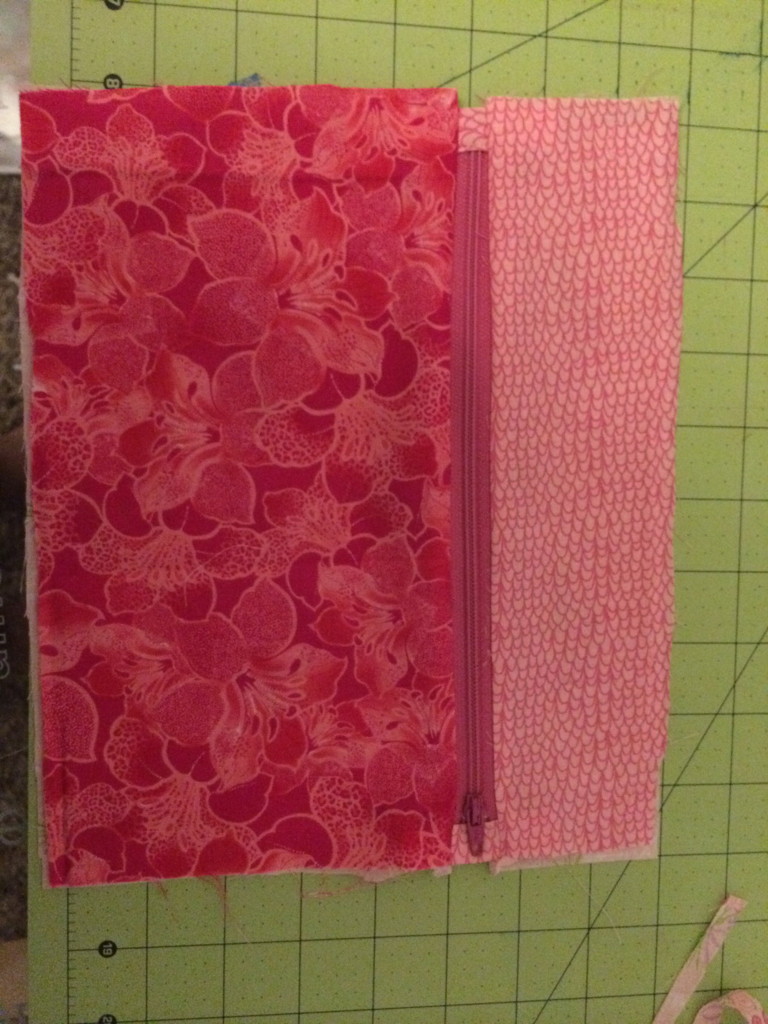
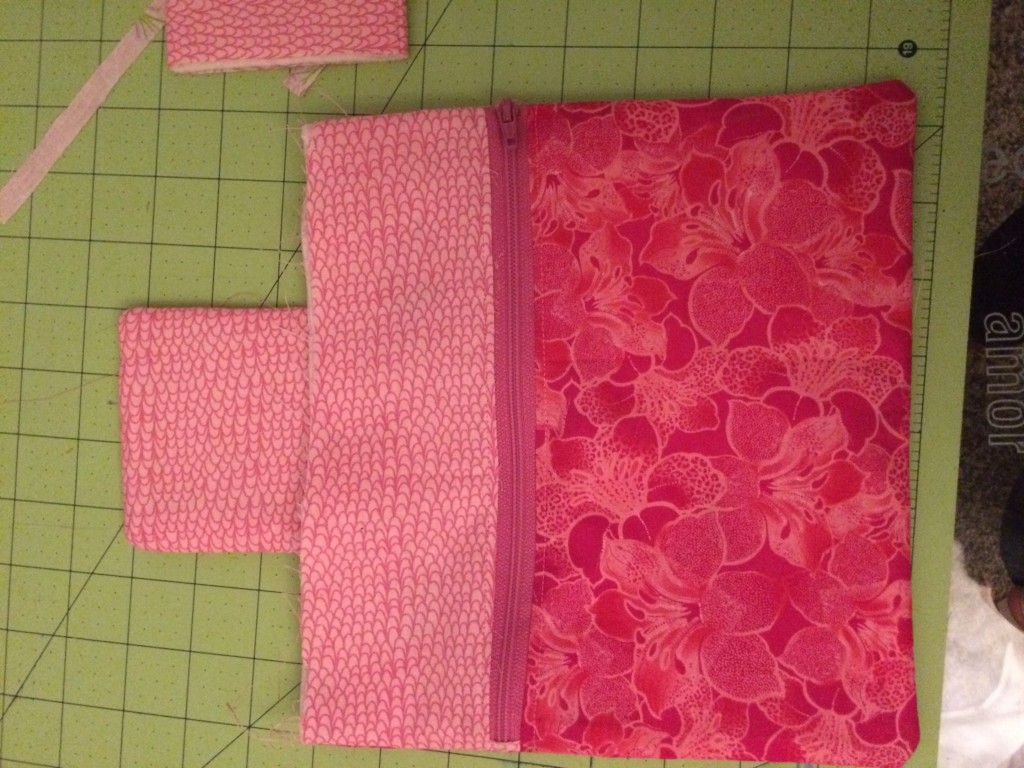
Make a zipper sandwich using your bottom lining and your bottom main piece. For the sandwich, your lining is facing right side up, following by zipper right side up, followed by outer main fabric right side down. Pin and sew down using the zipper foot on your machine.
Repeat the same sandwich step as noted above using your top pieces. Take the piece that you just did face it right side up, then take your other outer top right side down and pin. Sew down with your zipper foot.
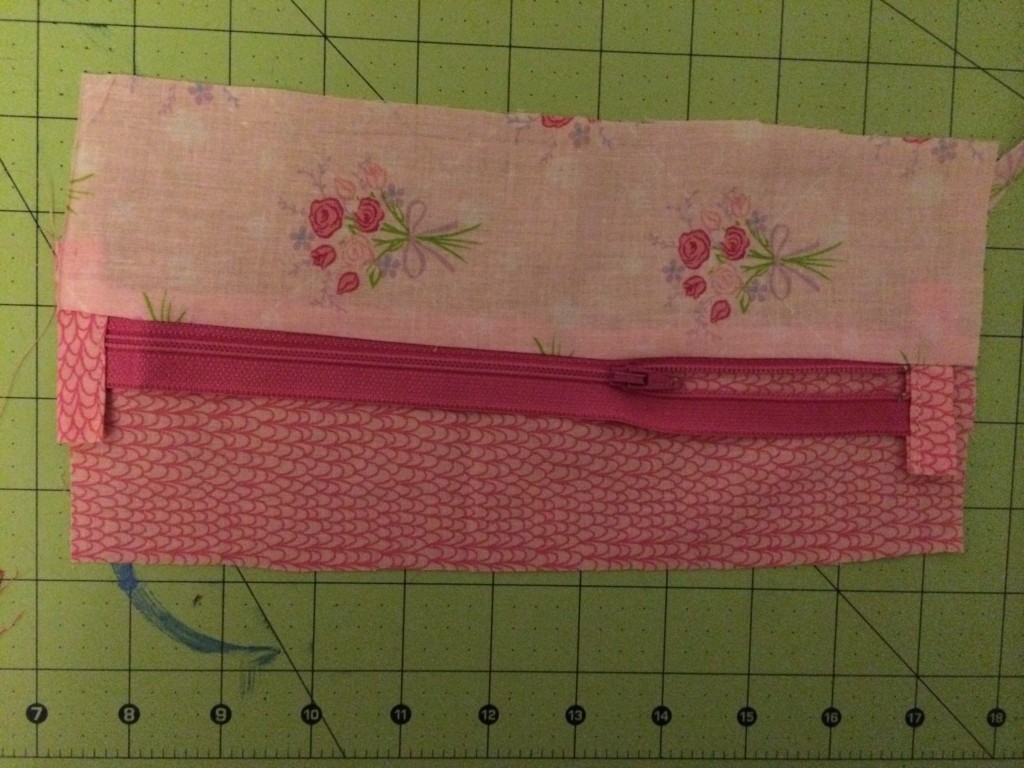
You can then top stitch around your zipper.
Back
Take the strap you made earlier and sew on top of the main back piece so that the strap is facing down towards the main back piece.
Back and Front Together
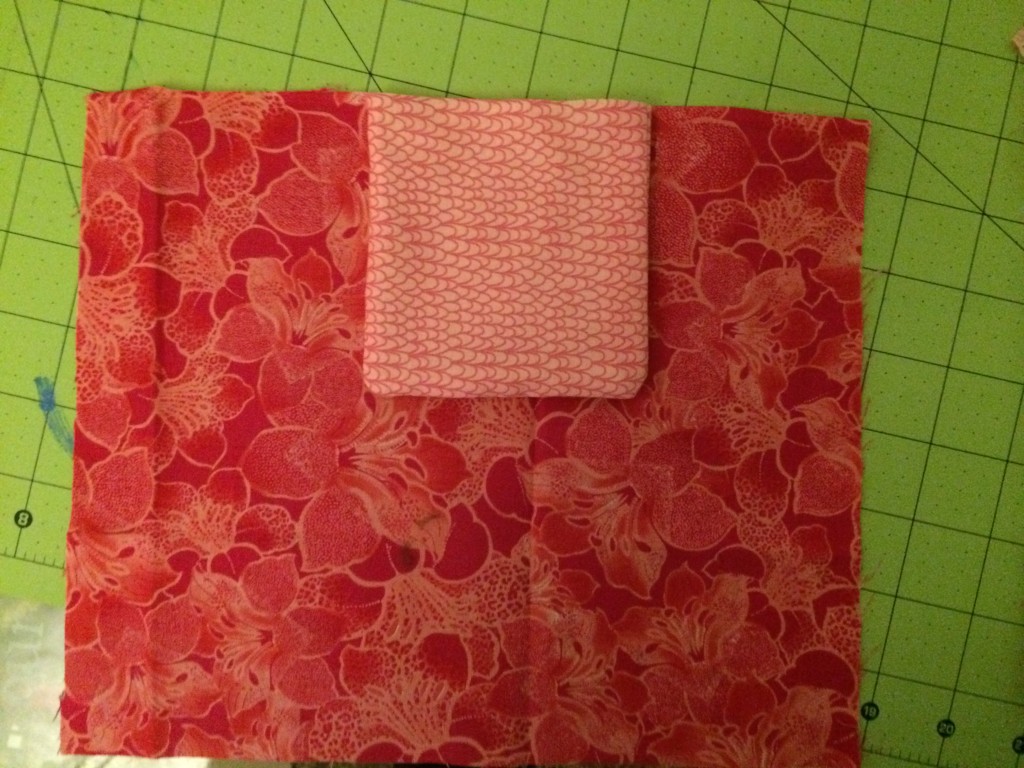
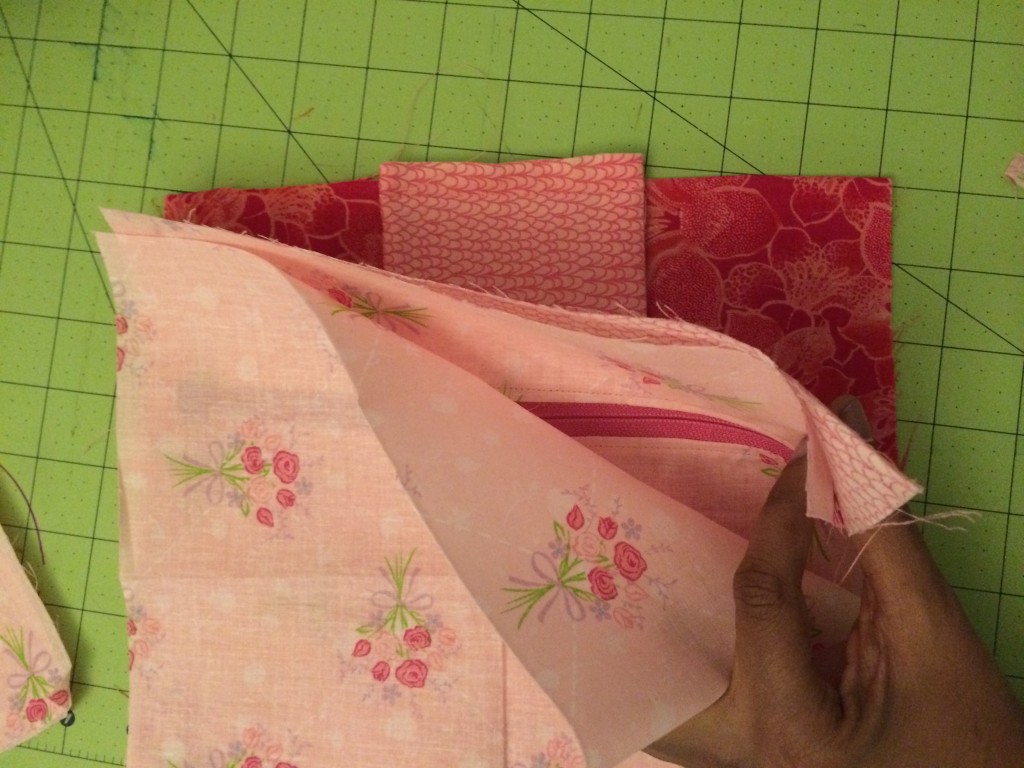
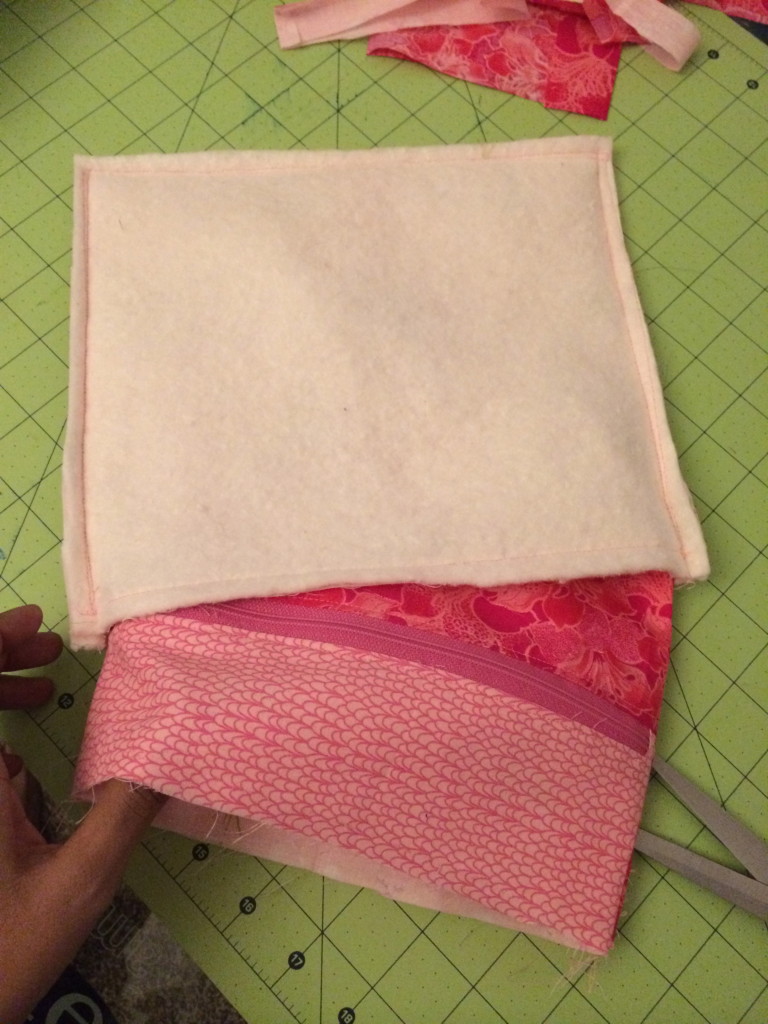
Take the back and lay it right side up, front with the zipper right side down, your pocket lining piece right side down. Sew all the way around, leaving the top open.
Inner Lining
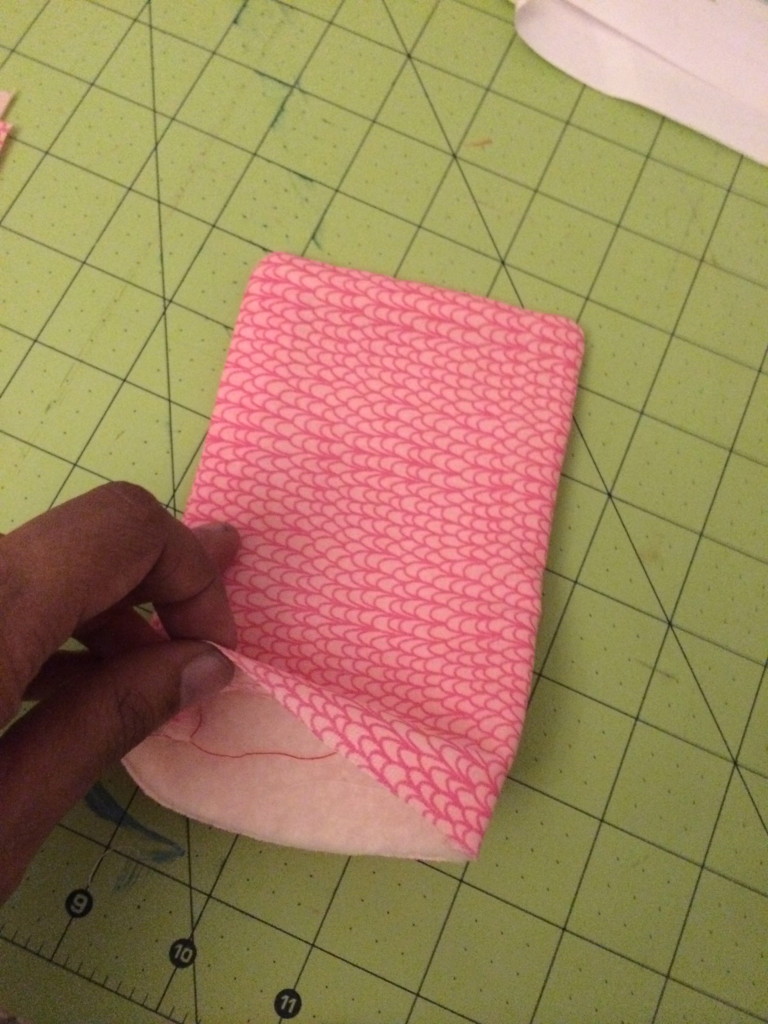
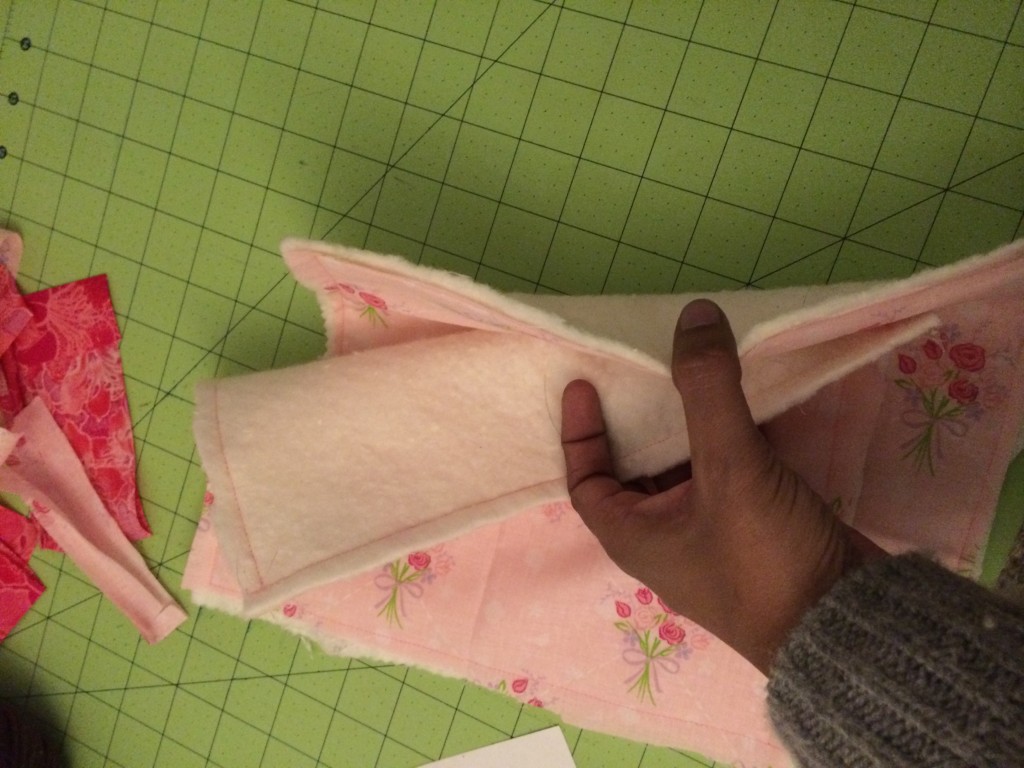
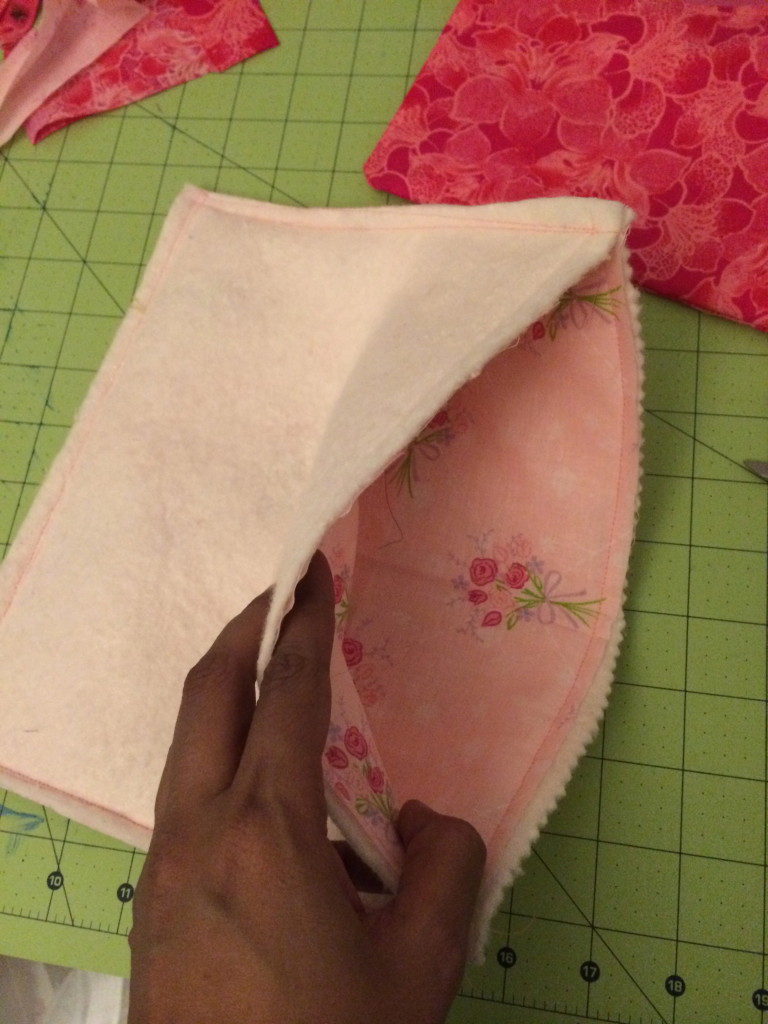
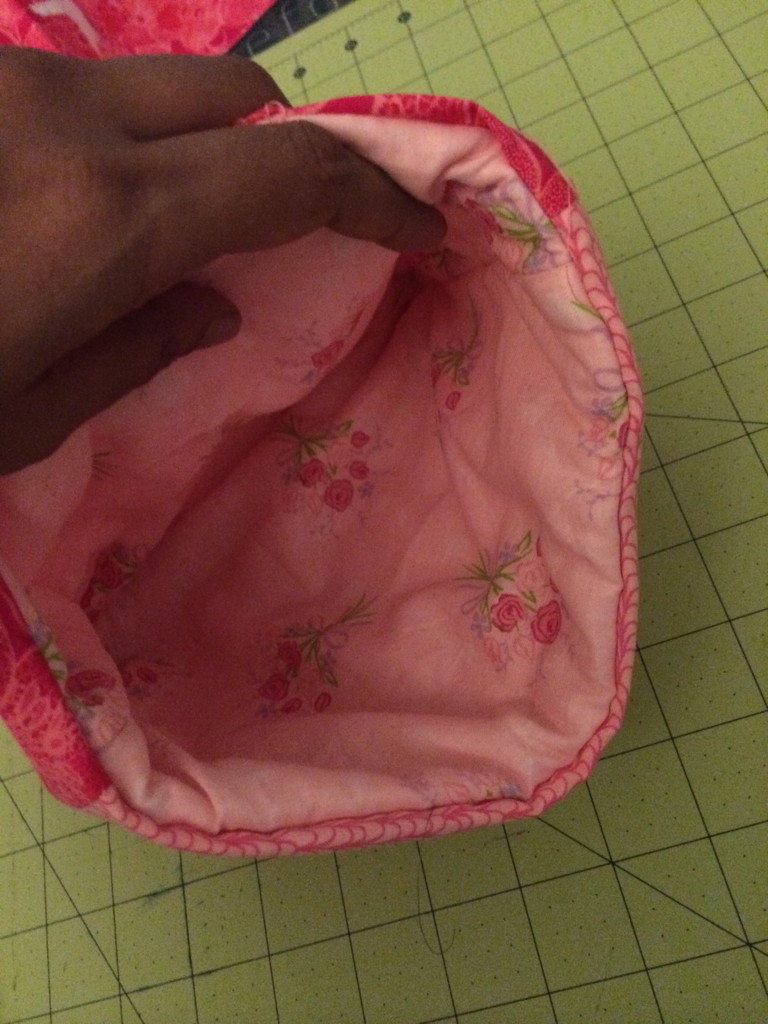
Baste stitch your batting unto the wrong sides of each of your lining pieces. Since I am using batting for this project, I also sew a few stitches across so that the batting stays in place. Once that’s done, sew around your lining pieces with the batting attached right side together, leaving the top open.
Finish up
Take your main case and fit it into the lining case right sides facing each other. Sew around the top, leaving 5″ open. Turn it inside out and push the lining into the main case. Top stitch the top all the way around. Attach velcro to the strap and top of the case. I also did a button to accessorize it.



 Logging you in...
 Loading IntenseDebate Comments...
medicationpower · 119 weeks ago