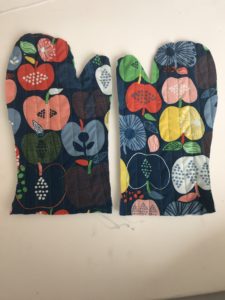
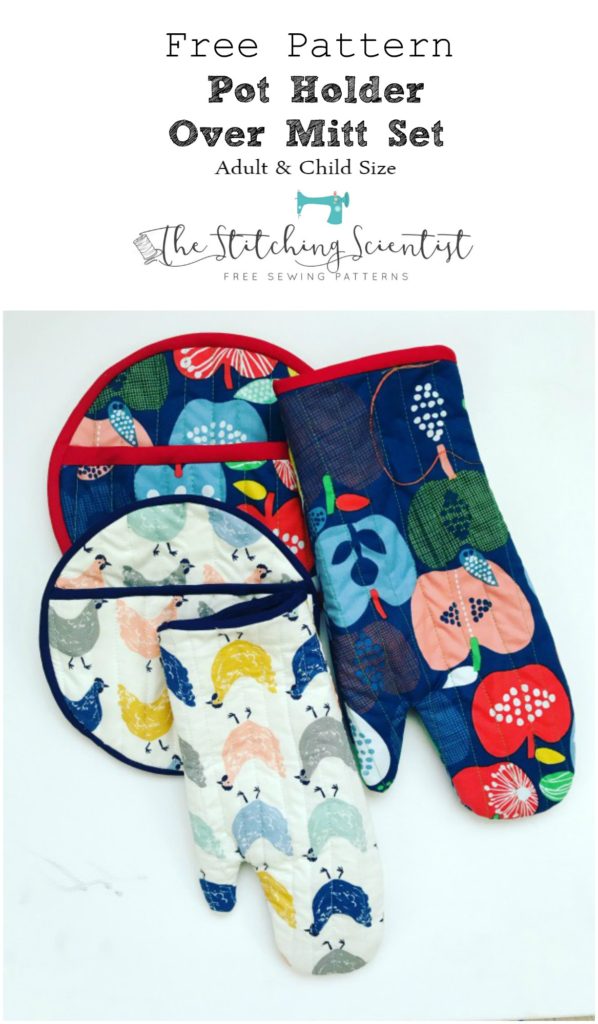
Happy Spring Everyone. I am finally out of my winter slum mood and ready to start sewing again. We will see how long this level of motivation take to end. I recently bought a pair of Pot Holders and Oven Mitt Set from Target and couldn’t believe how huge and bulky the mitts were! I like my hand protected but also functional when using pot holders. I decided to dig into my scraps bin and whip up a set that’s actually useable. I made one pair for my daughter as well. Hope you guys use the free pattern for the child or adult version of this pot holder and oven mitt set.
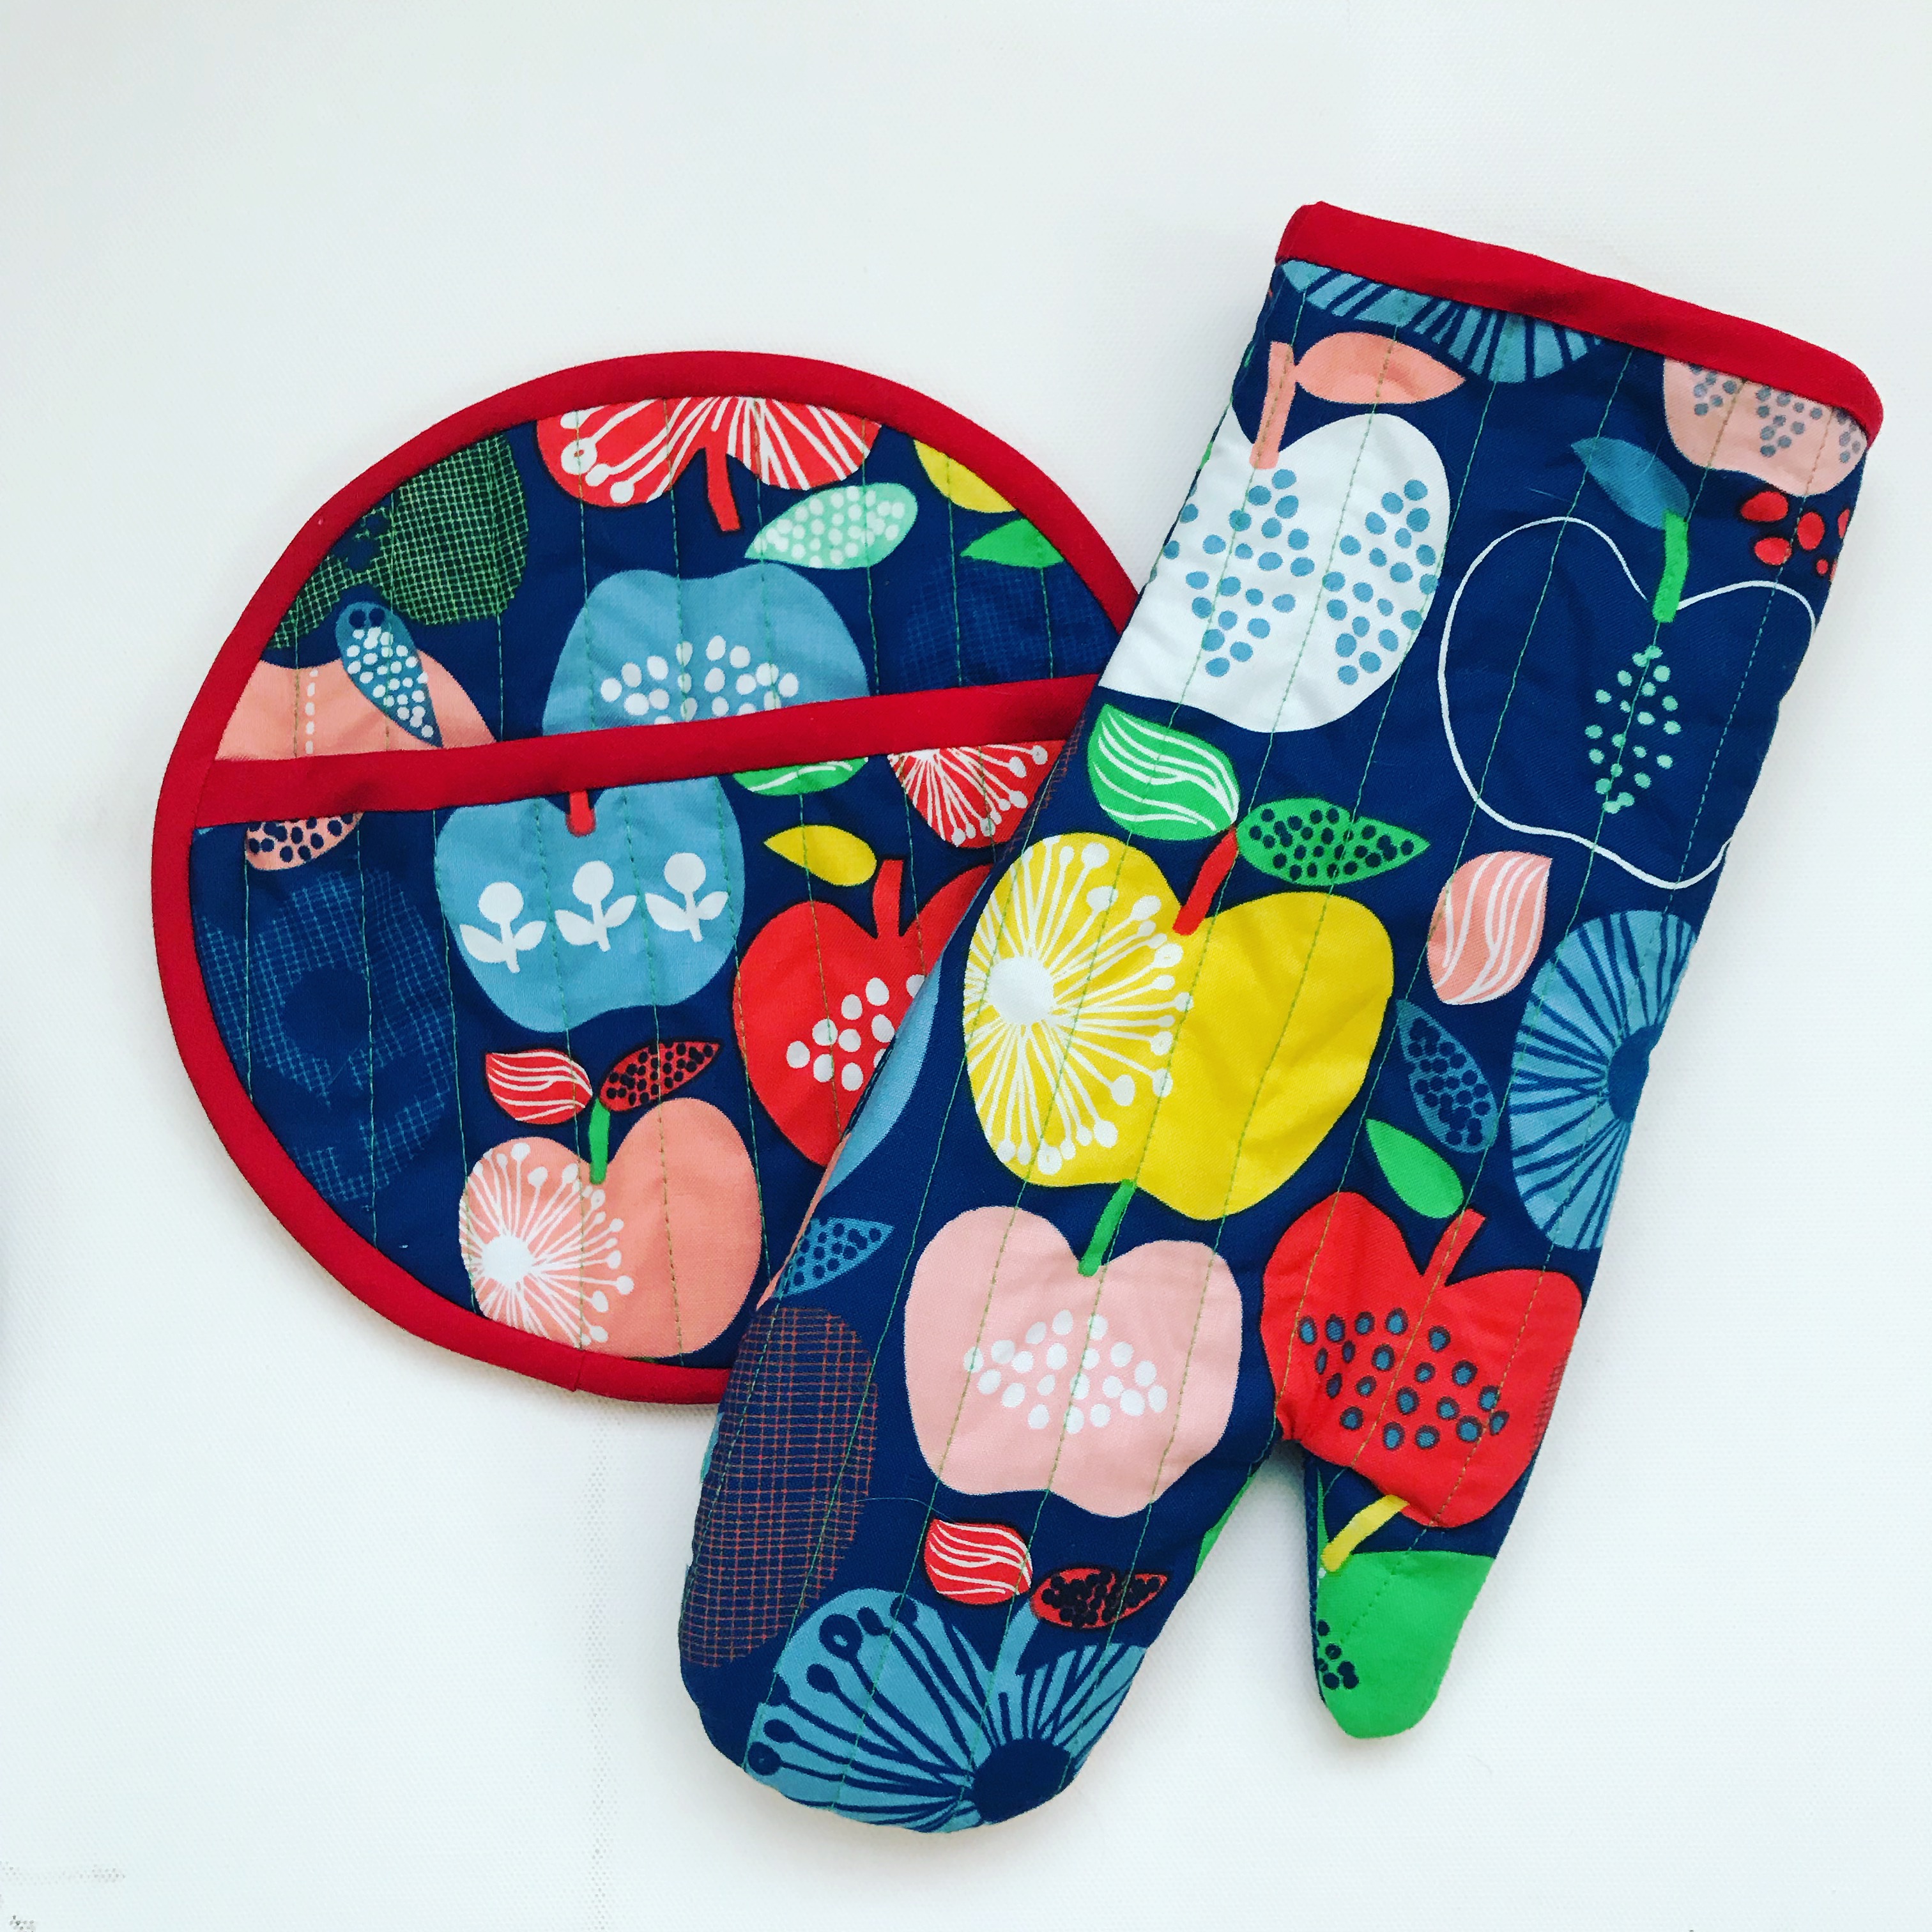
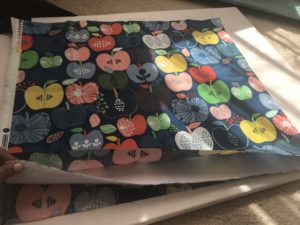
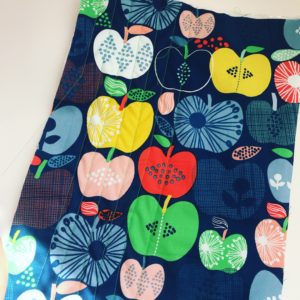
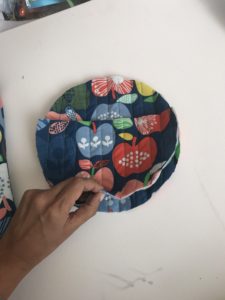
The fabric I used for top set is from KinderClothOrganics. The apple one is Windham Handpicked Collection. I really love the pop of blue and red for my kitchen. It goes well with a navy theme. I was debating binding with either blue or red binding but thought the red made the design on the pattern pop out more. Really love how they turned out.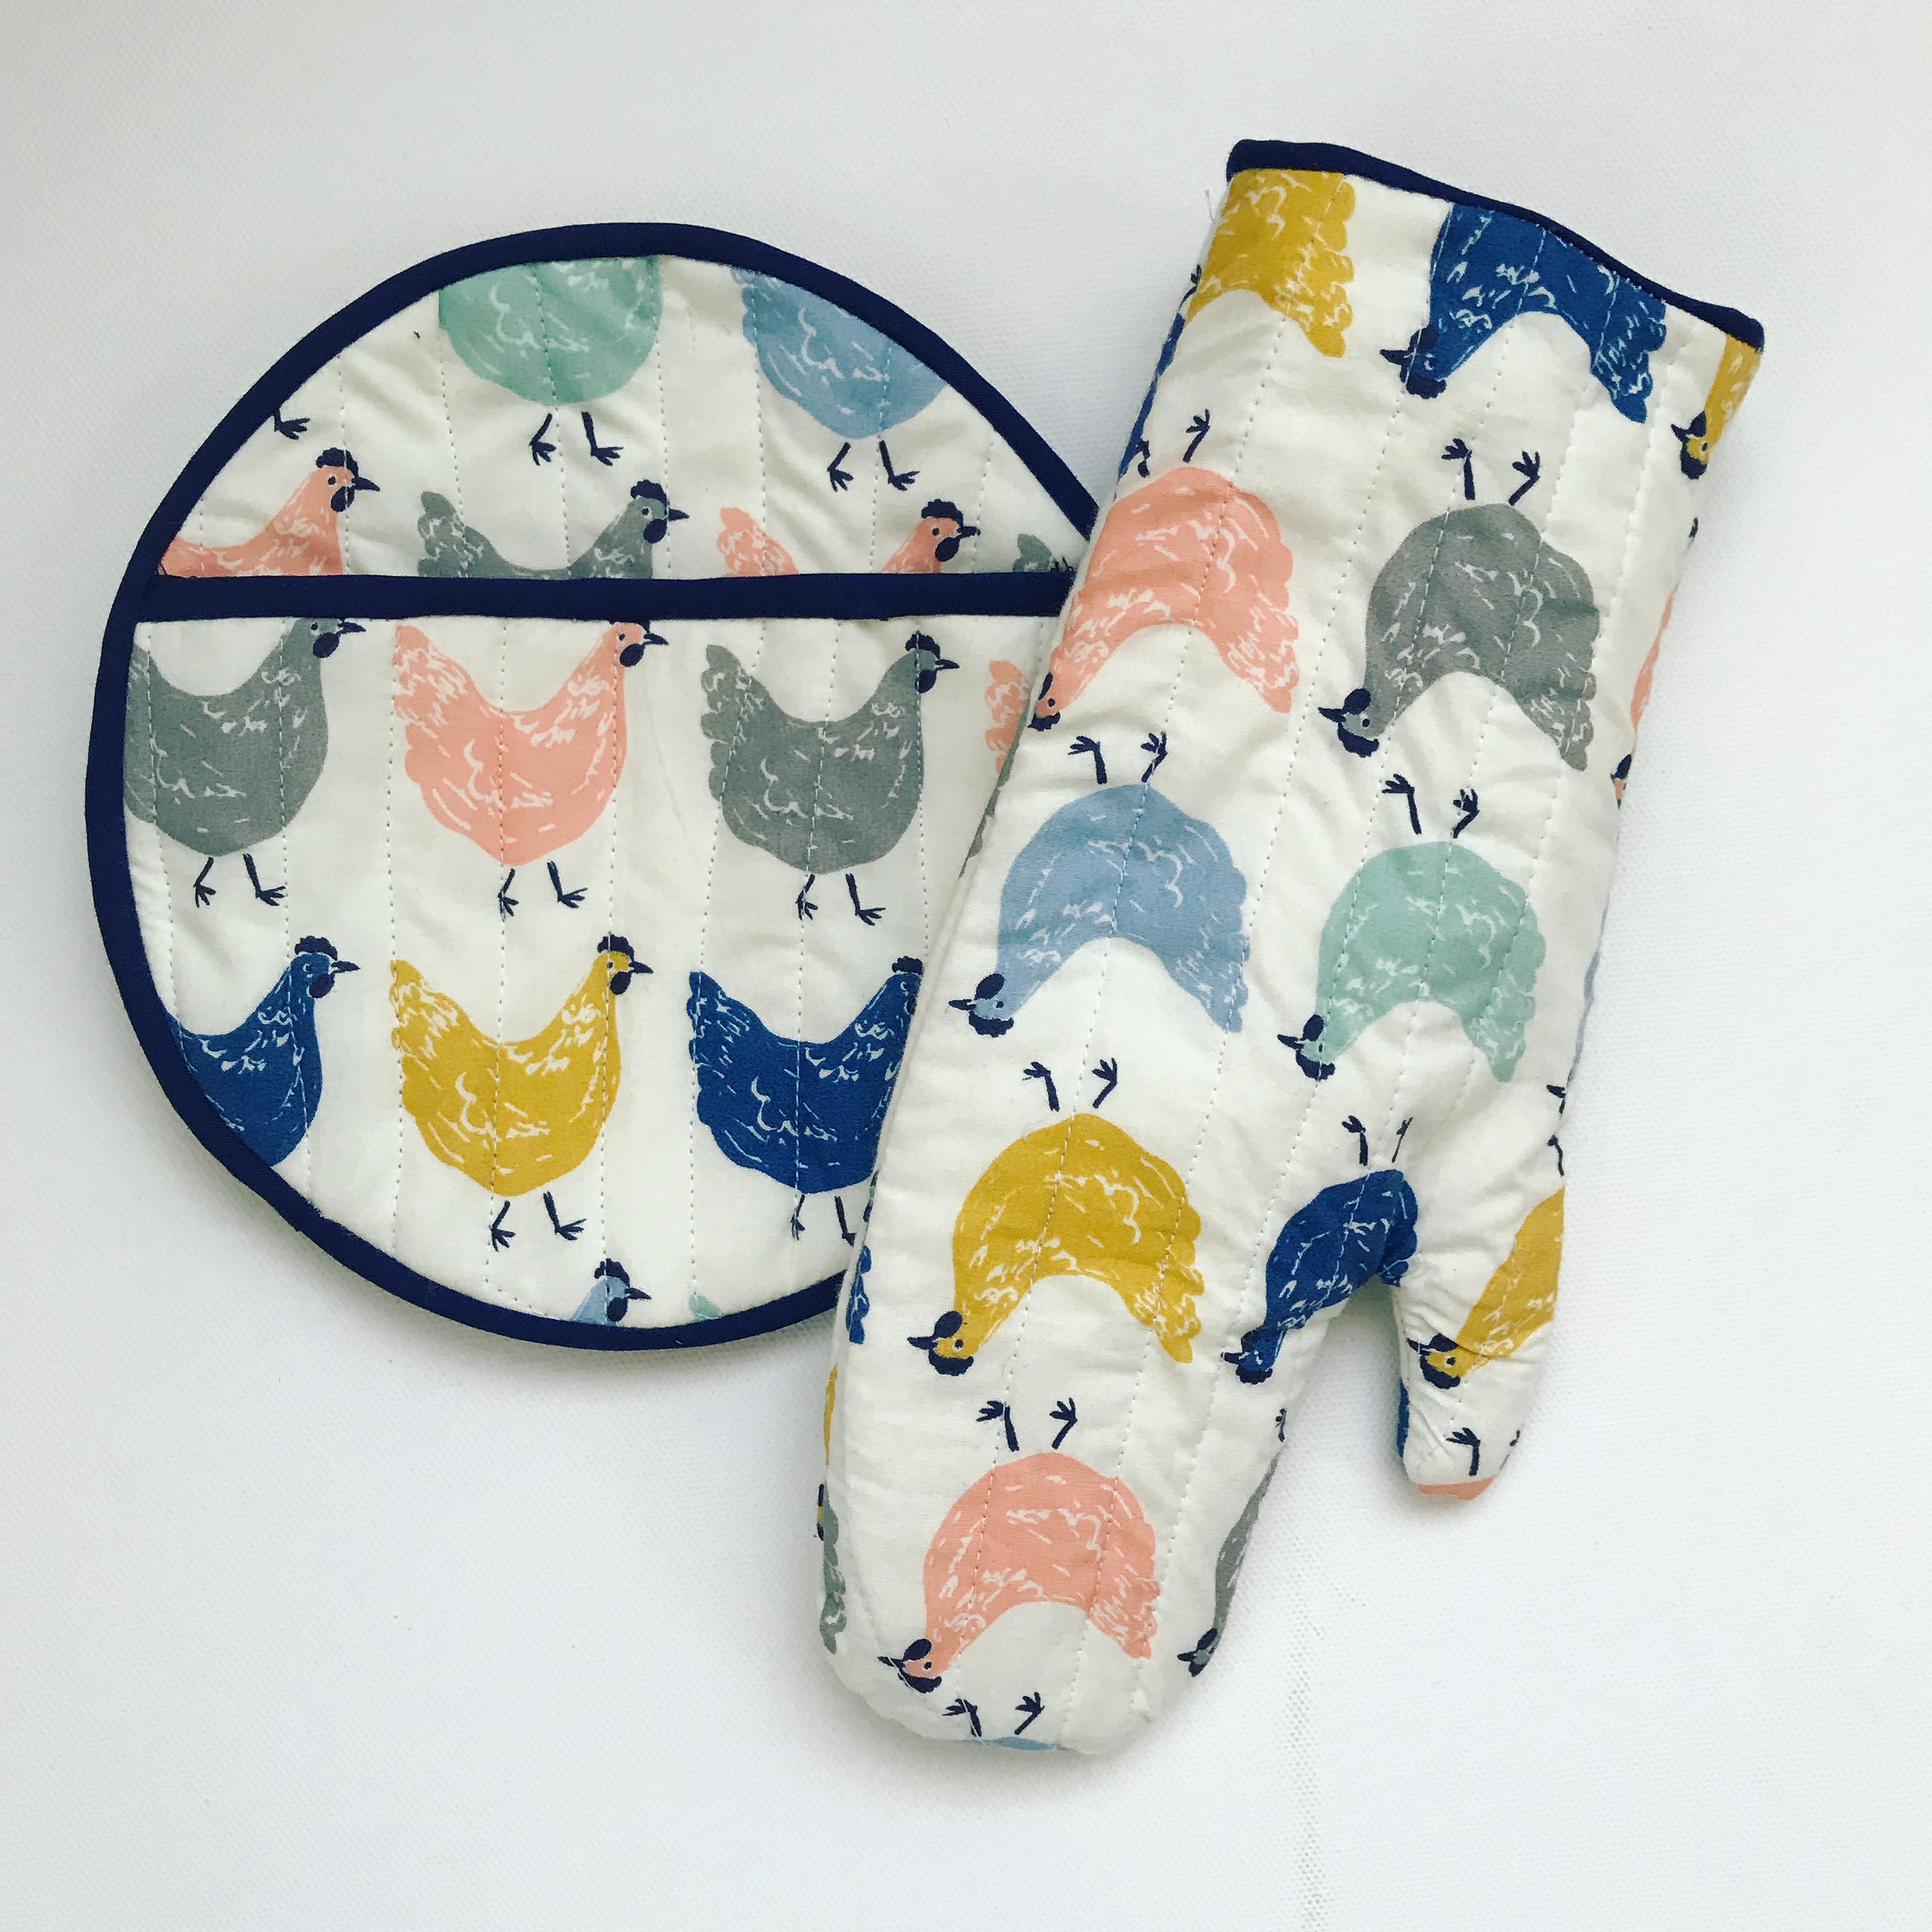
This chicken fabric is by far my favorite for my farmhouse kitchen. I love the color combination and paired with blue binding, it really accents my blue and white farmhouse decor. This fabric is Roost Homestead by Emily Isabella for Birch Organics. I purchased from FabricFetish; one of my favorite etsy fabric stores.
Your supplies:
- 1/2 yard cotton fabric
- 18″ x 21″ lining piece
- 1/2 Insul bright batting
- 1 yard binding
DOWNLOAD PATTERN HERE>>>DOWNLOAD PDF
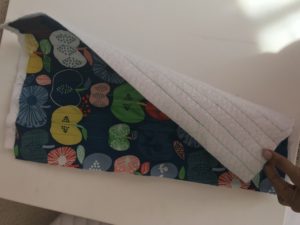
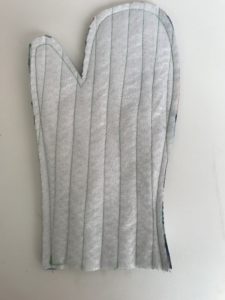
Step 1-Quilt the batting and fabric
Cut your fabric into four pieces, each measuring a fat quarter (18″x 21″). Cut 3 pieces of batting measuring the same.
Mitts: place one piece batting on wrong side of one piece of fabric. Quilt (sew straight lines 1″ apart). Repeat for another piece.
Pot holder: sandwich the batting in between two fabric pieces with right side facing outwards. Quilt.
Step 2-Cut out the pattern
Mitts: print pattern and place on quilted piece and cut all the way around. Repeat for other piece but flip the pattern when you cut. Repeat for the unquilted cotton fabric lining.
Pot holder: print circle pattern and place on quilted piece and cut one piece. If you want pocket, cut 3/4 circle with remaining quilted piece.
Step 3-Sew pieces together
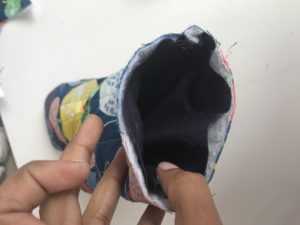
Mitts: with right sides together, sew outer mitts pieces all the way around, leaving the bottom open. Repeat for the lining.
Step 4 -Finish up
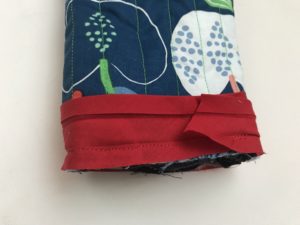
Mitts: turn outer mitts inside out. Take lining (don’t turn inside out) and place inside out mitts. Easy to insert if you just wear the lining in your hand and insert in the outer part. Bind the bottom using binding. Here is an excellent video on how to bind.
Pot holder: bind the pocket piece. Pin on outer circle and bind all the way around.
Thanks for visiting and Happy Sewing!