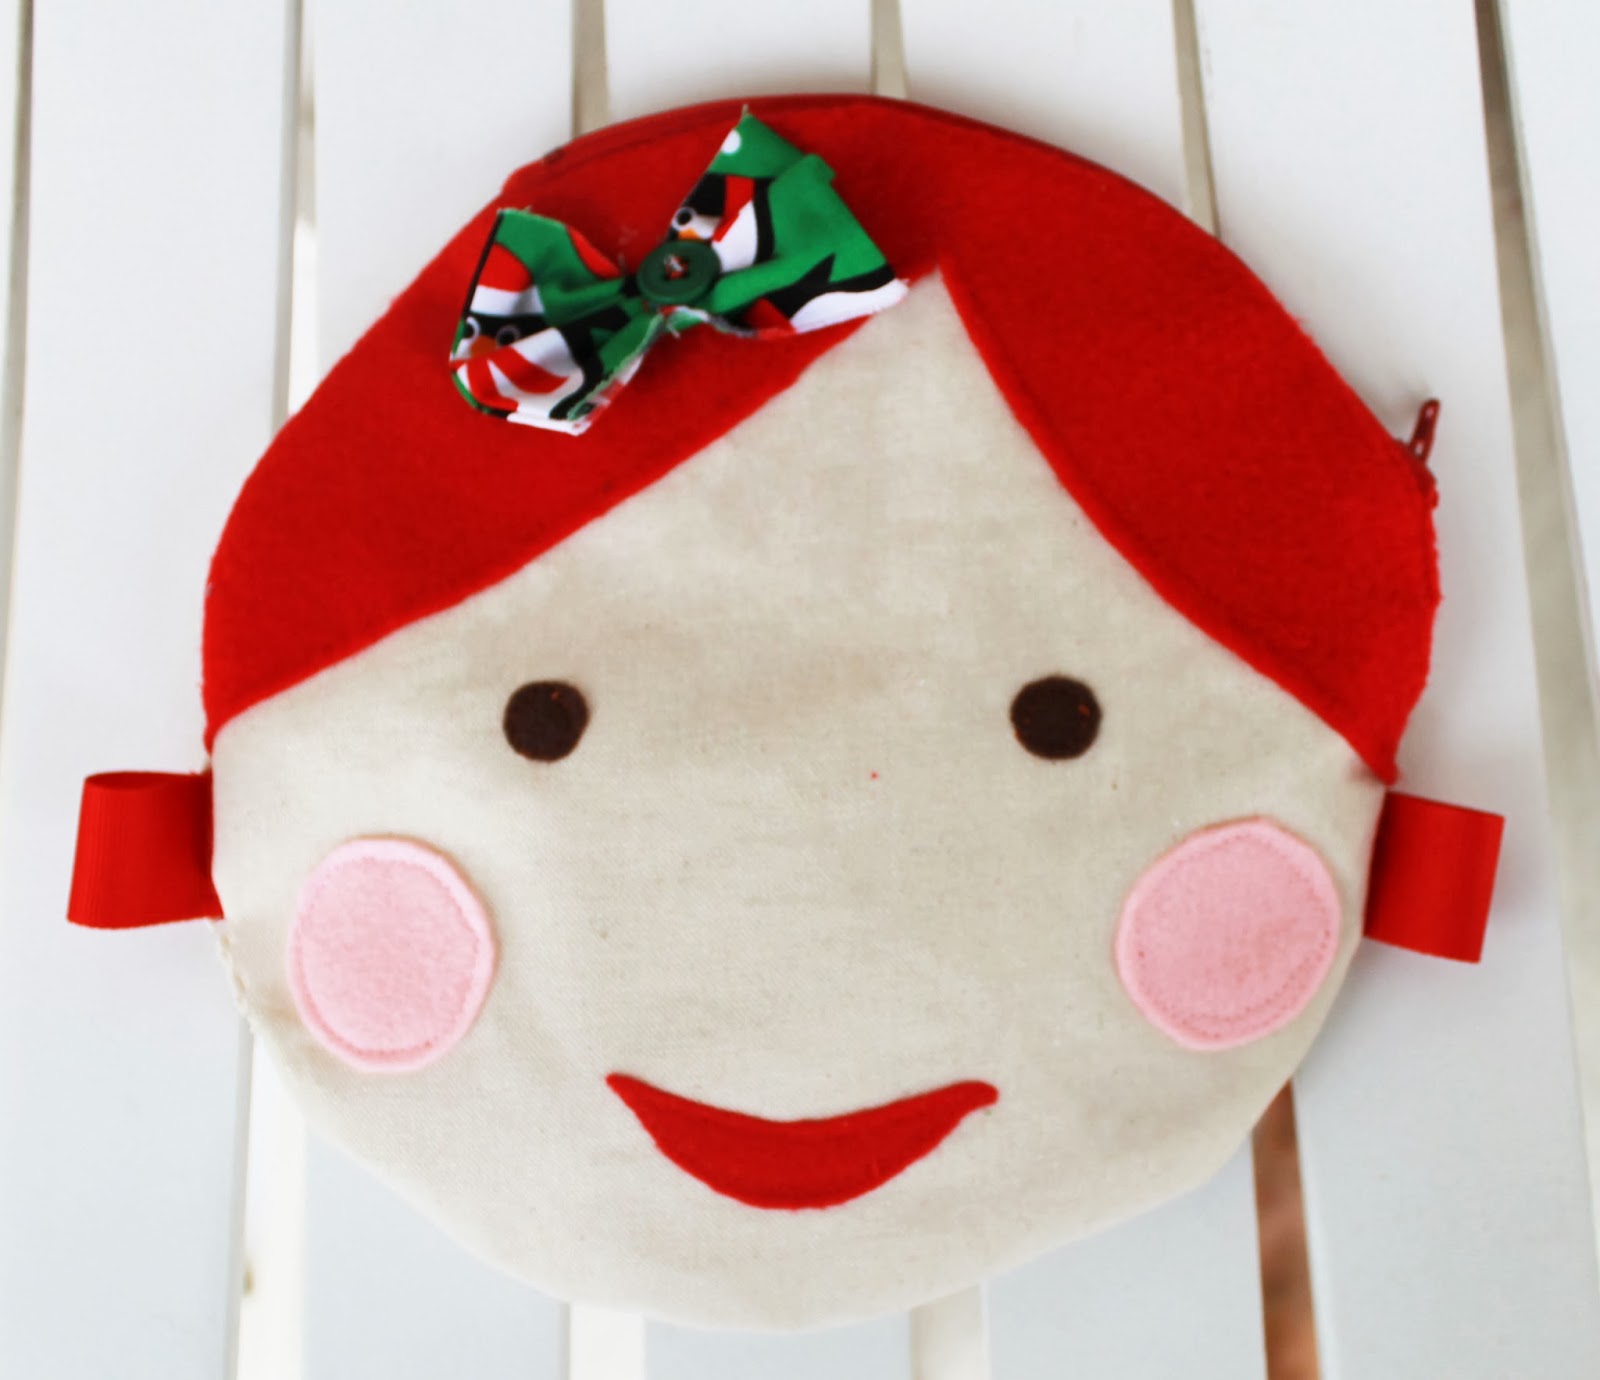
So, I have no idea why but I am a sucker for cute doll face decorative projects. I have also been looking for a tutorial on circular pouches and haven’t had any luck so I thought I would create one. This pouch is adorable, functional and can be customized to fit your little girl. I think I will make more of these as Christmas presents this year for Mila’s cousins and friends at school. They are easy and fun to make. If you like this doll face pouch, you may also like the doll face pillow pattern I did a few weeks back. I am enjoying these doll face patterns so expect more variations in the weeks to come:-)


 |
| I love how vibrant the colors came out. |
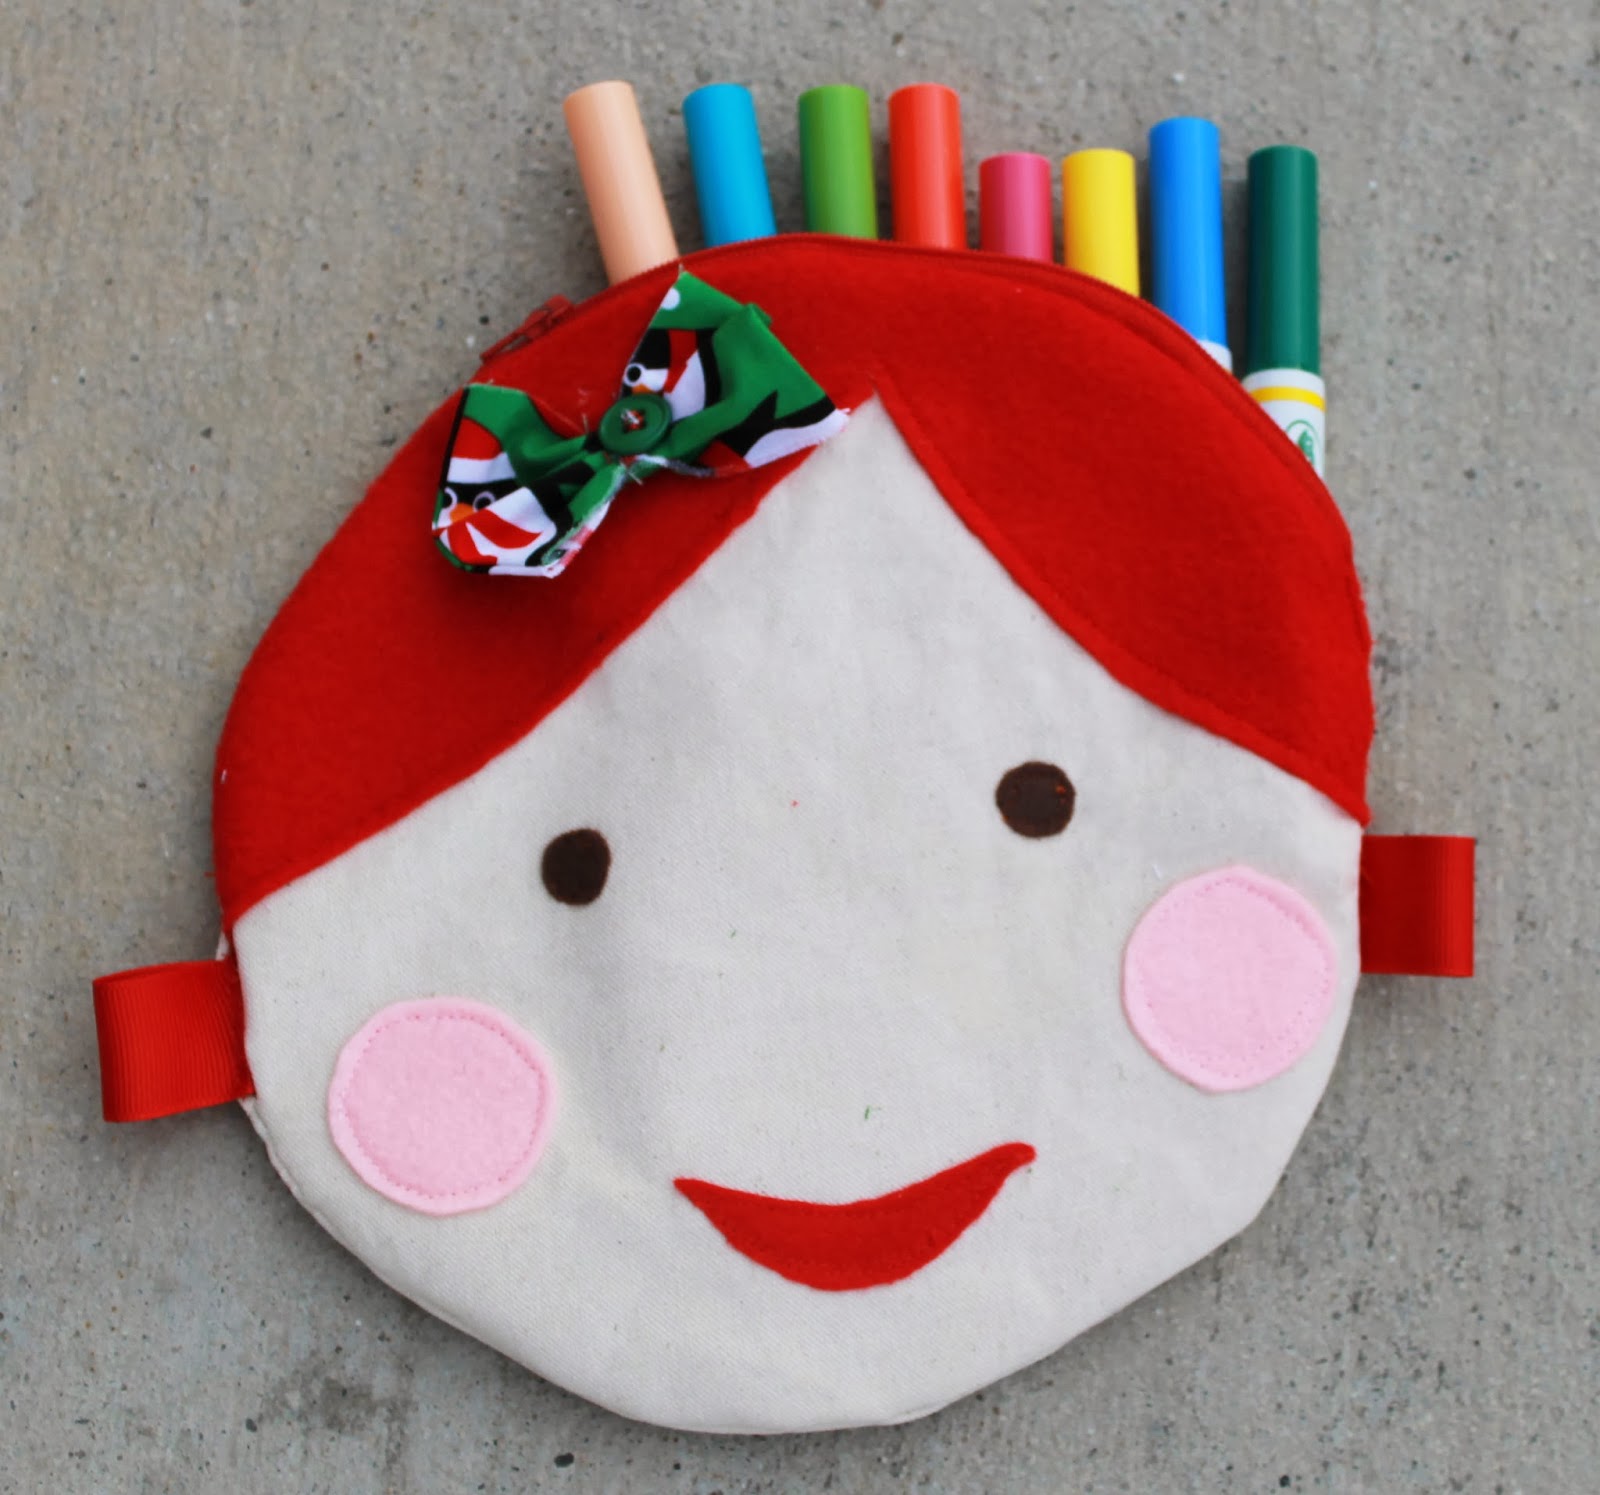 |
| I may add a longer zipper next time to get a bigger opening. |
You can download the pattern here. If you need it bigger or smaller, you can scale the pattern accordingly.
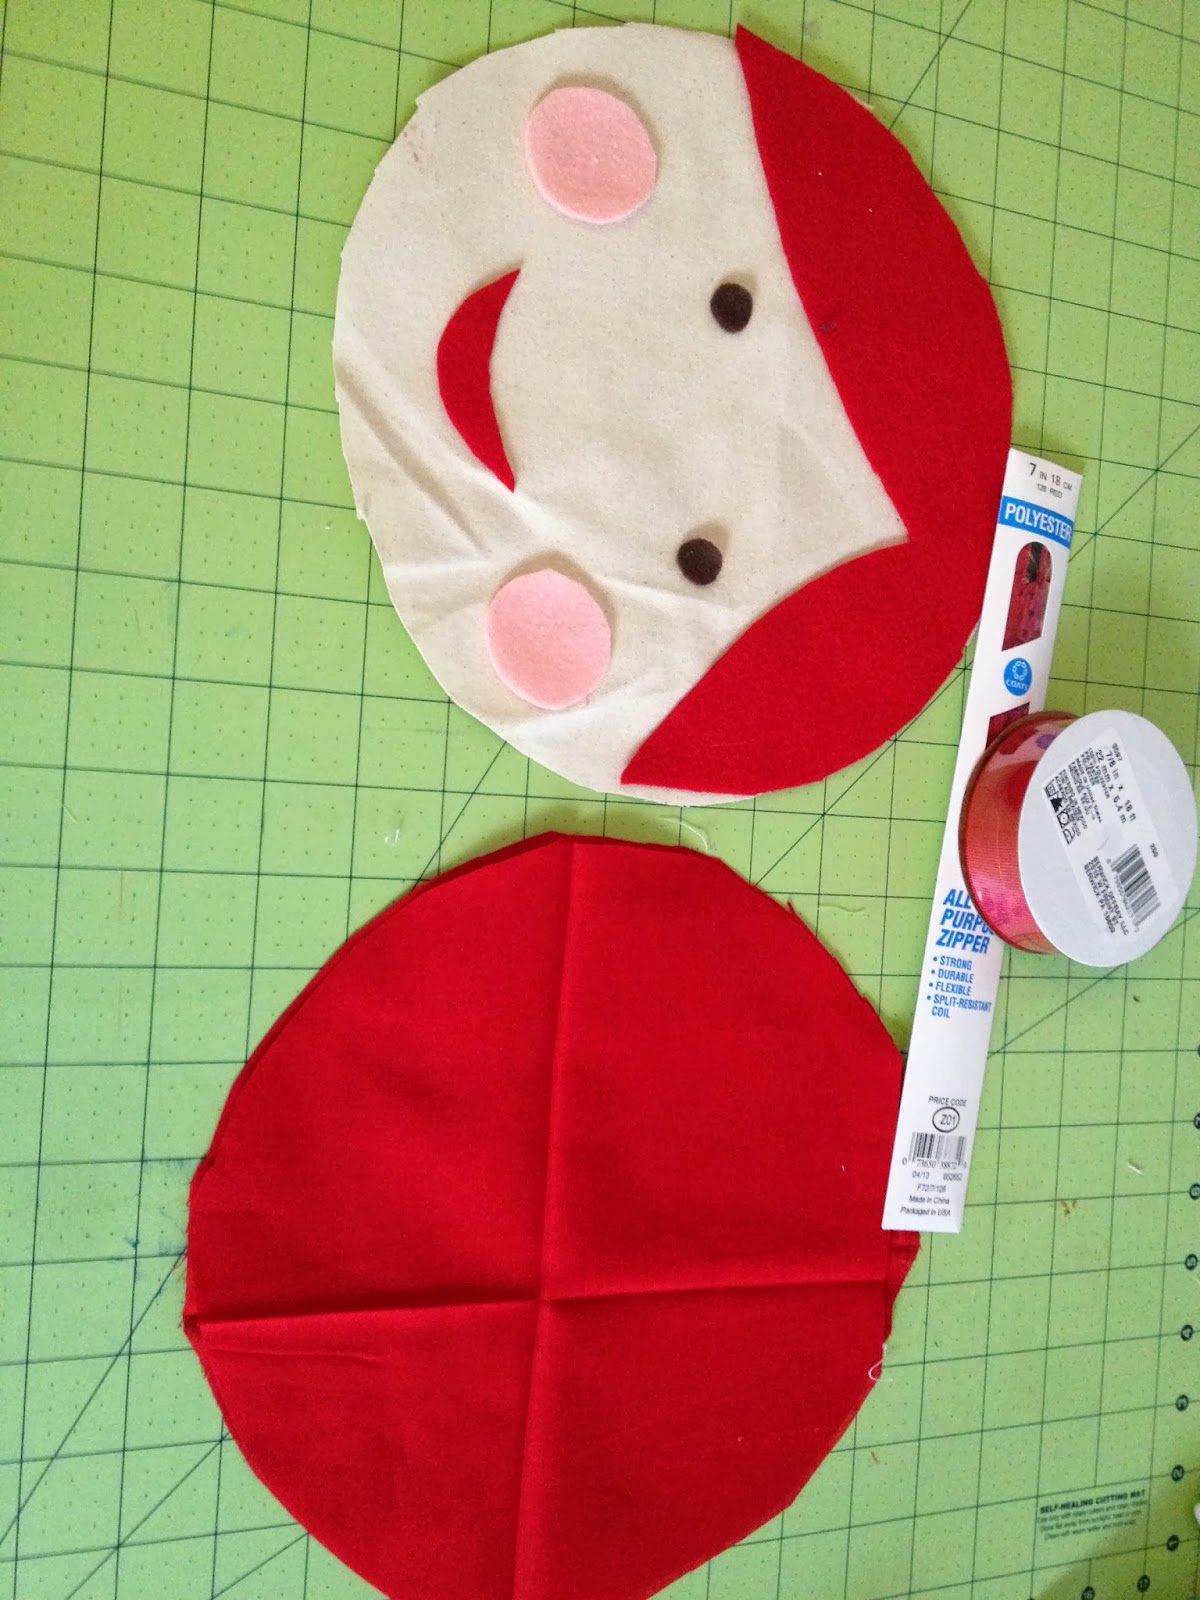
Step 1
Cut out all the pieces as seen below. Place your facial pieces on the right side of your muslin.
Step 2
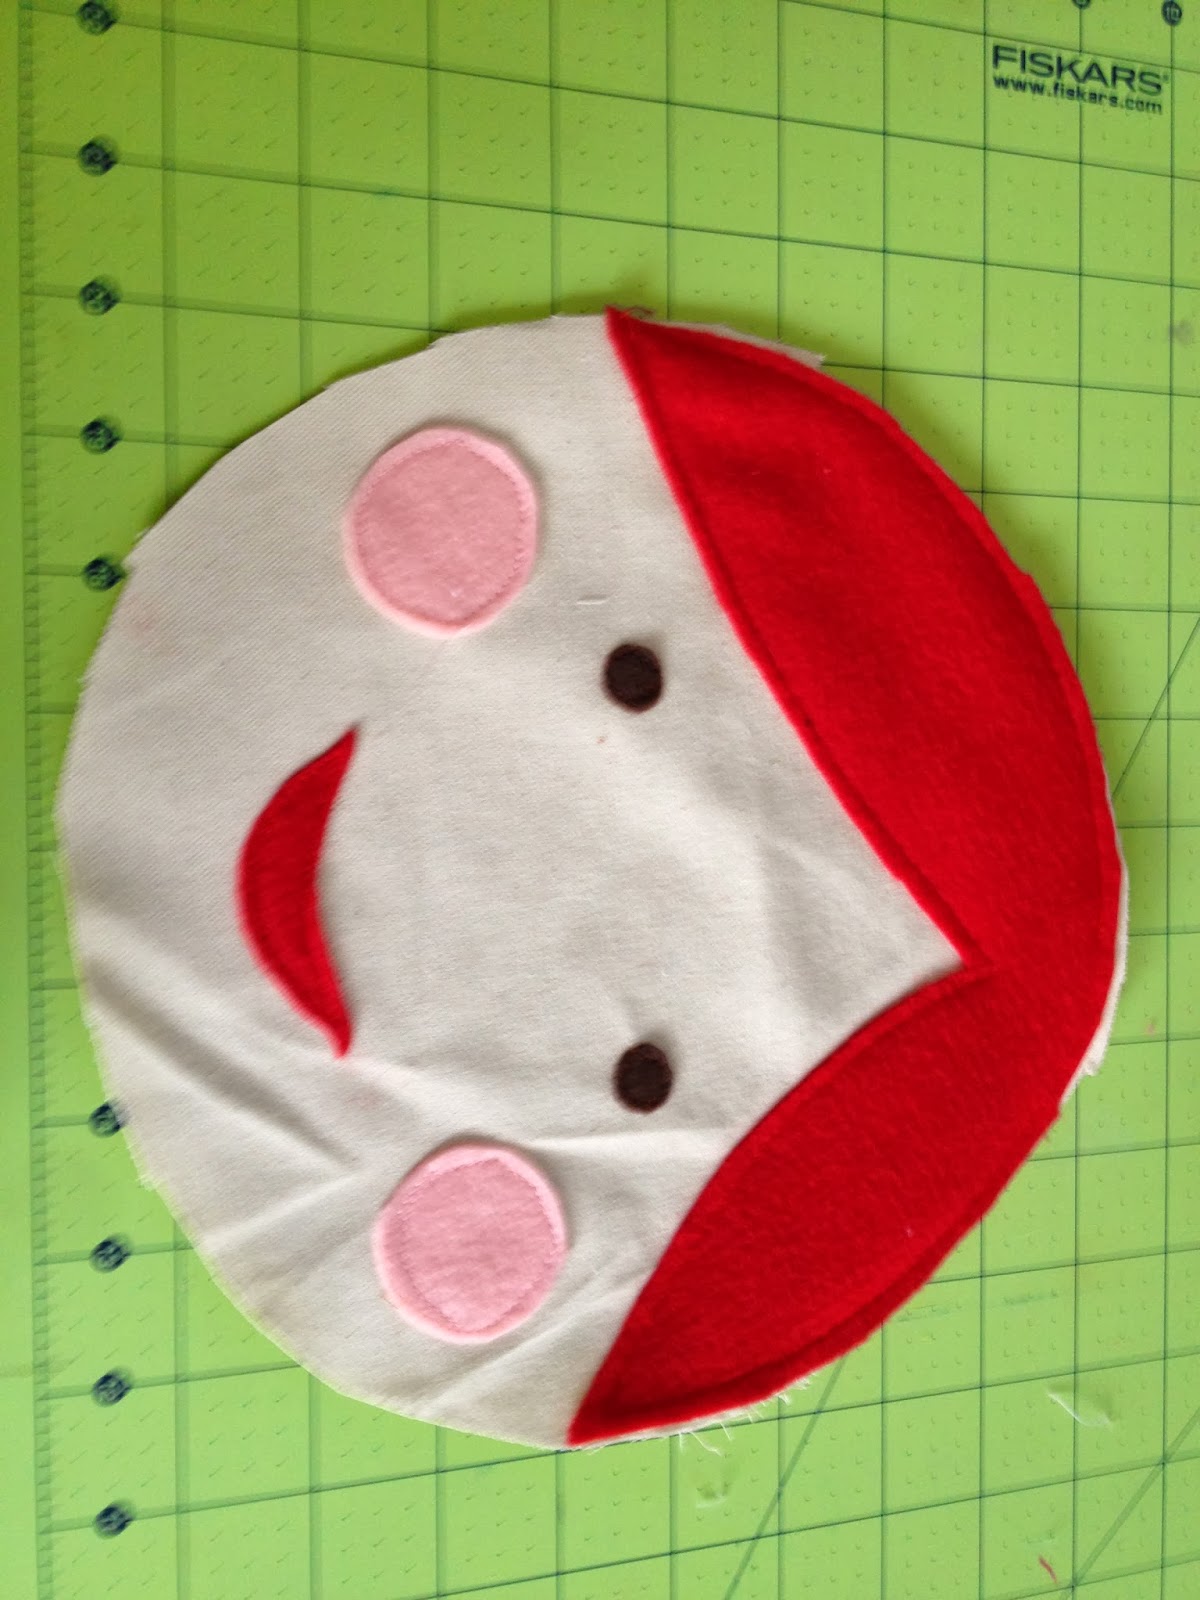
Top stitch your facial pieces using the corresponding color thread for each piece.
Step 3
Do a zipper sandwich with your lining right side up, zipper with puller facing up and one of the face pieces right side down. Pin all the way around. Sew with a zipper foot.


Step 4
Do another zipper sandwich with the other pieces.


Step 5
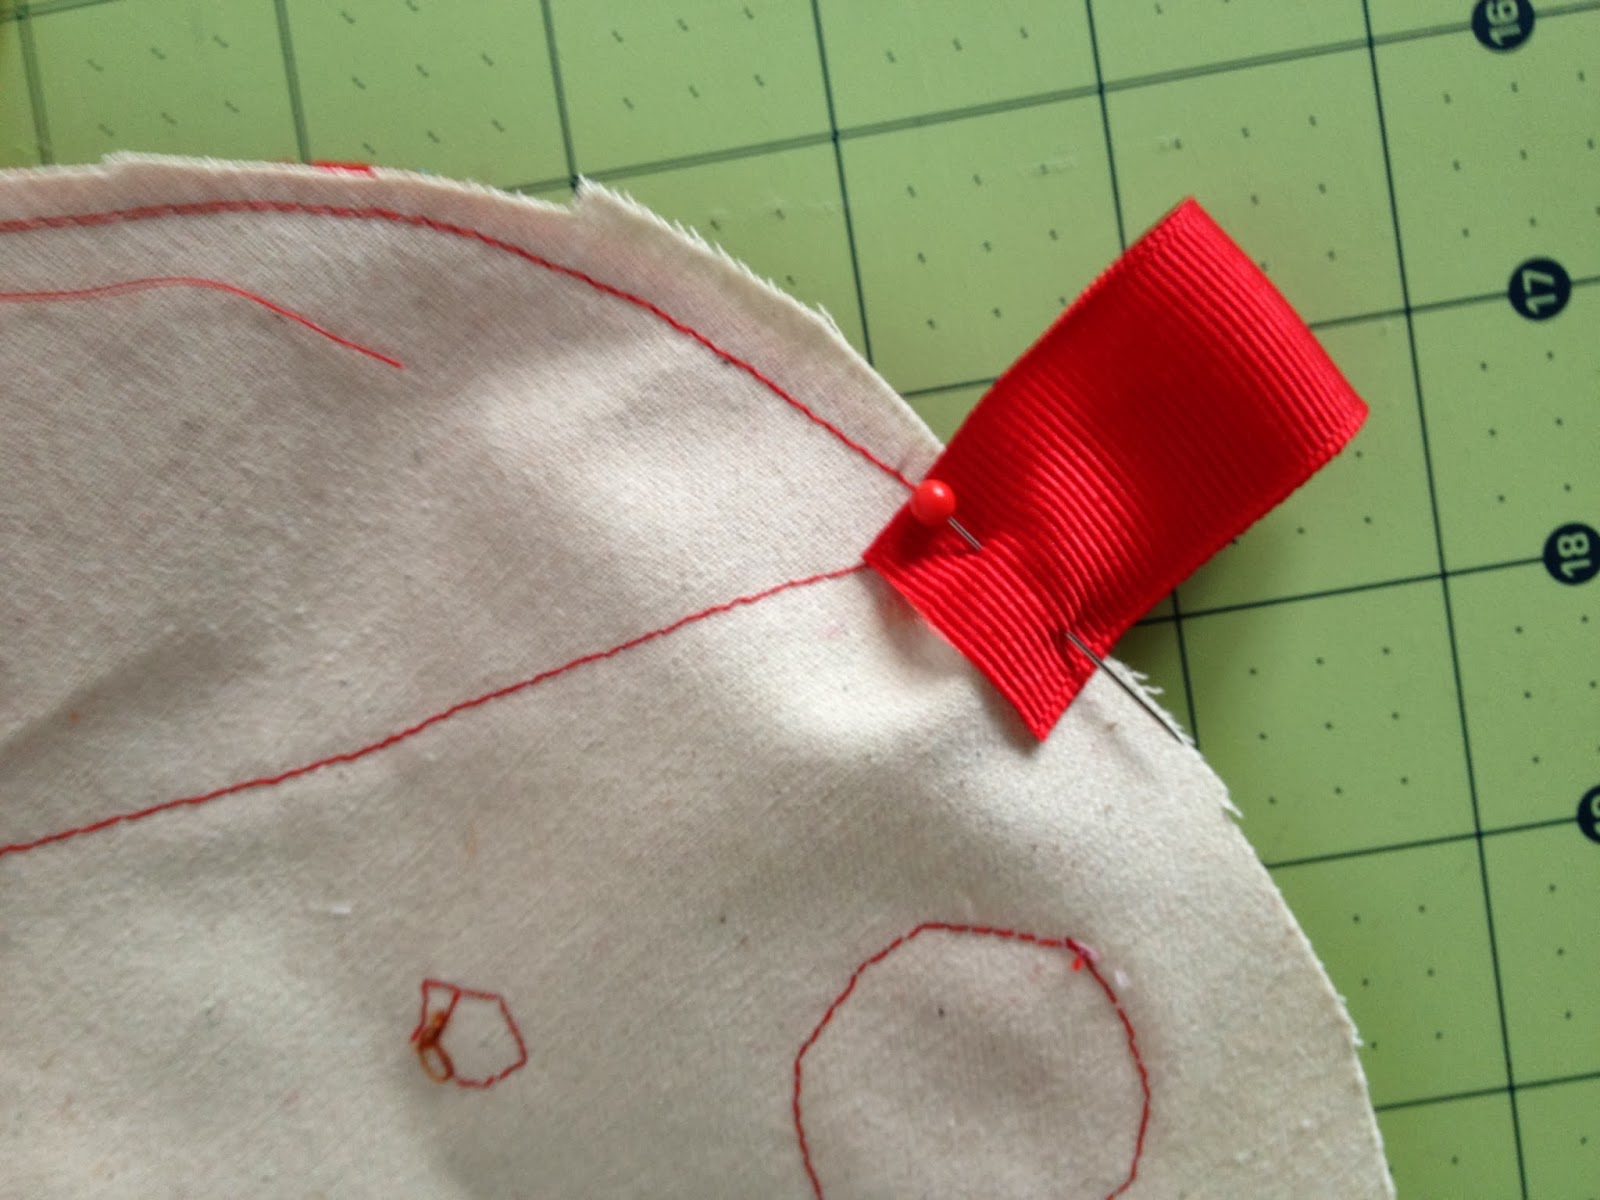
If you want ears, cut the ribbon and place it facing INSIDE. Sorry this picture shows it facing outside. With lining pieces together and front pieces together, sew all the way around leaving the zipper half way open and 5″ at the bottom of the lining open.

Step 6
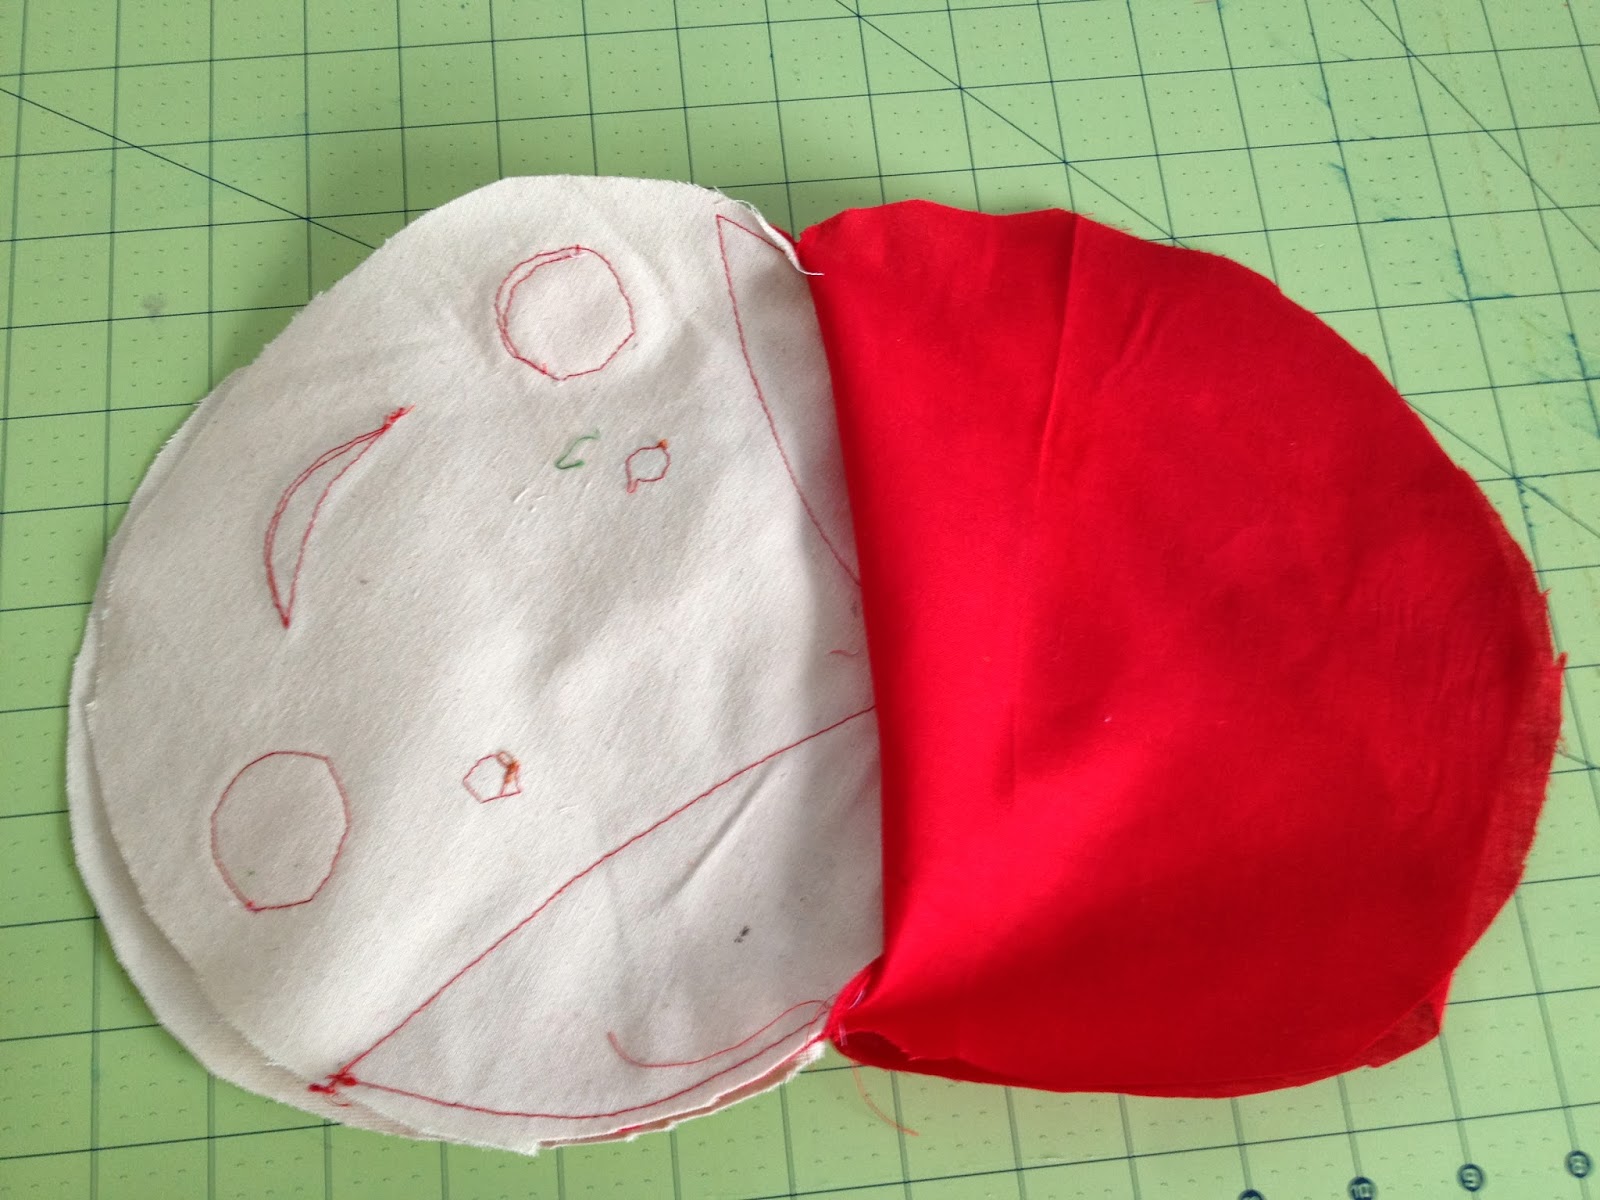
Turn the pouch inside out and top stitch your 5″ opening in the lining close.
Here is tutorial recap that you can easily pin and share! Thanks for visiting and happy sewing.