• Home
  • About Me
  • Tutorials
    • Bags
    • Children
    • Women
    • Home
  • Free Sewing Patterns
    • Bags
    • Children
    • Women
    • Quilts
    • Home
  • Shop
    • Sale
    • Essentials
    • Flash Sale
    • Kits
    • Sewing Gifts
    • Pre-cut Fabric
    • Sewing Patterns
  • Roundup
  • Contact

The Stitching Scientist

    The Prairie Patchwork Toddler Skirt

    Children

    7 Aug

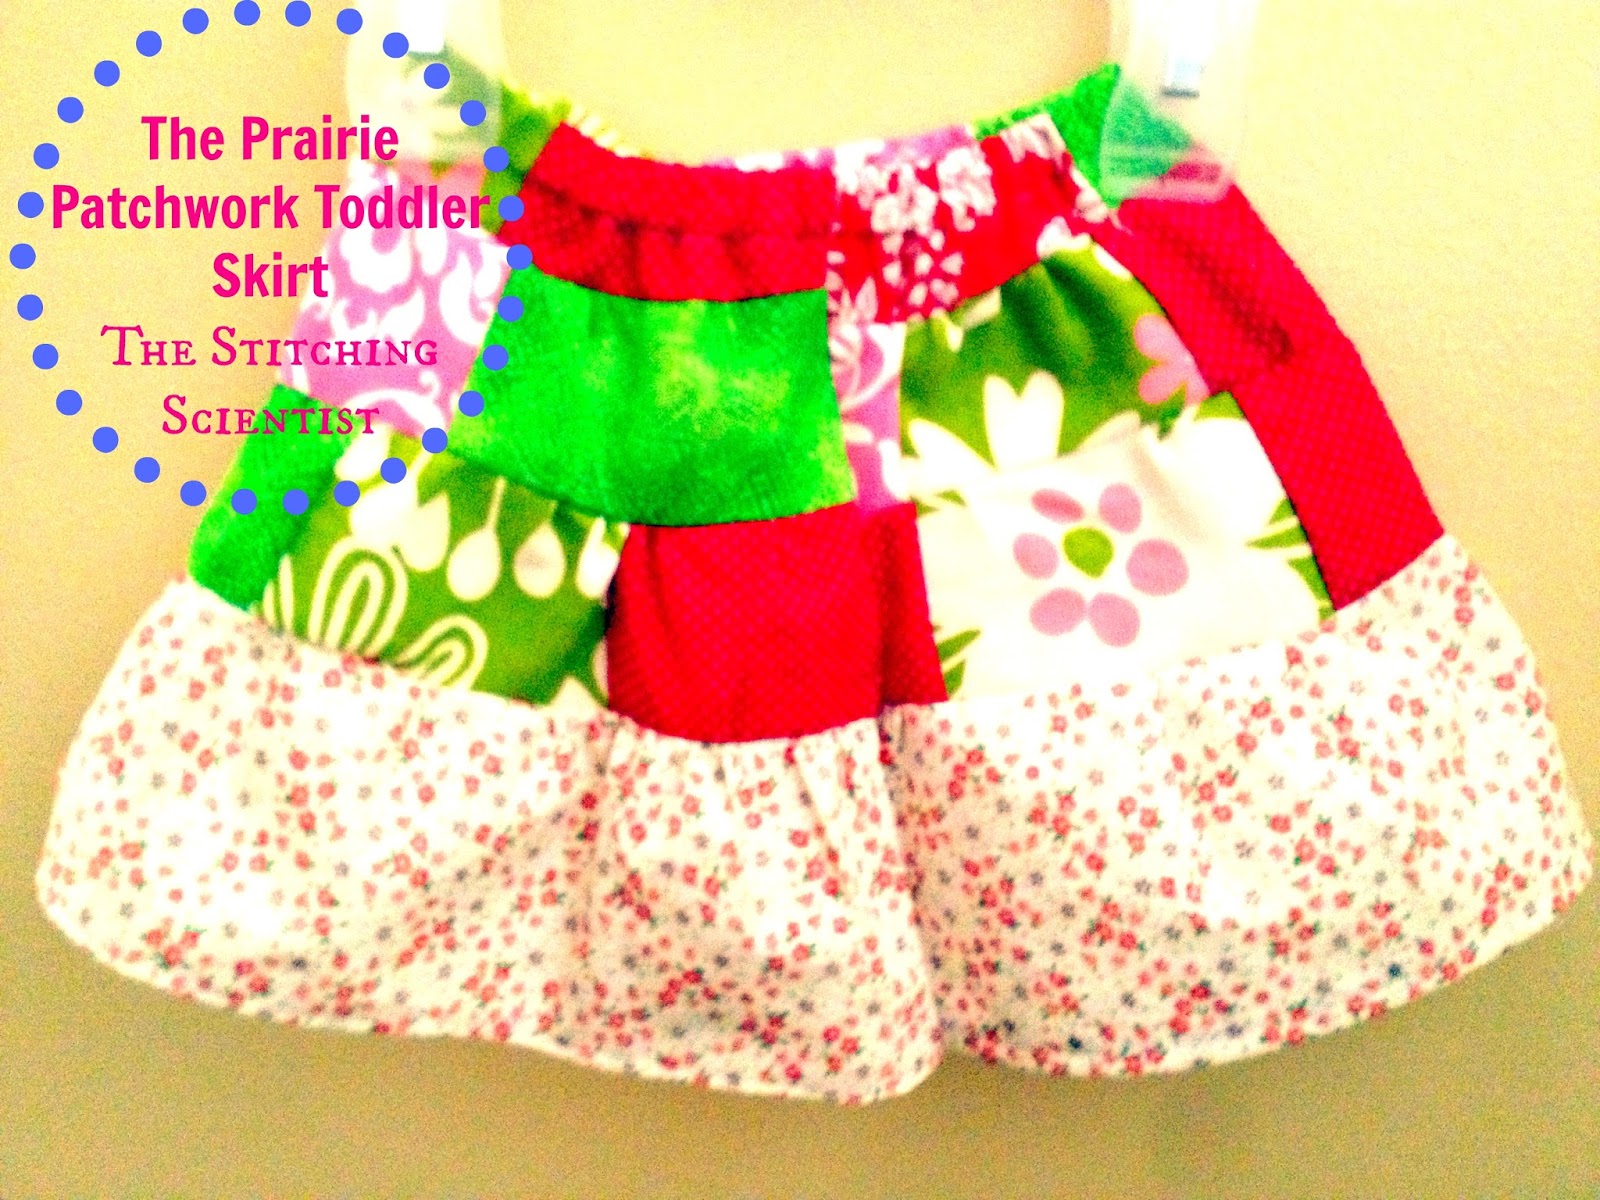
    I have a ton of scraps that I hate throwing away. I thought I would use up some of it and make a cute patchwork skirt for my 2 year old toddler.

     
    Here is what you need (2T)
      60 rectangular or square scrap pieces. Mine were approximately 3 inches x 4 inches
    Bottom strip of fabric measuring 5 inches wide x 80 inches long
    1/2 inch elastic measuring waist of child. Mine was 20 inches long
     
    In order to know how much fabric you need for your child if not 2T, measure her waist. Take that measurement and multiply it by 3. That’s how many 3×4 rectangular or 4×4 square pieces you will need. For the bottom strip, you need to multiply the waist by 4 to get the length of the 5 inch strip.
     
    Take your 60 scrap pieces and line them up randomly in 3 rows of 20 each.
     
     
    Sew each piece to the next, right sides facing each other using 1/4 inch seam allowance until you have all 3 rows completed. For the bottom strip, now would also be a good time to hem the side that will be used as the bottom end.


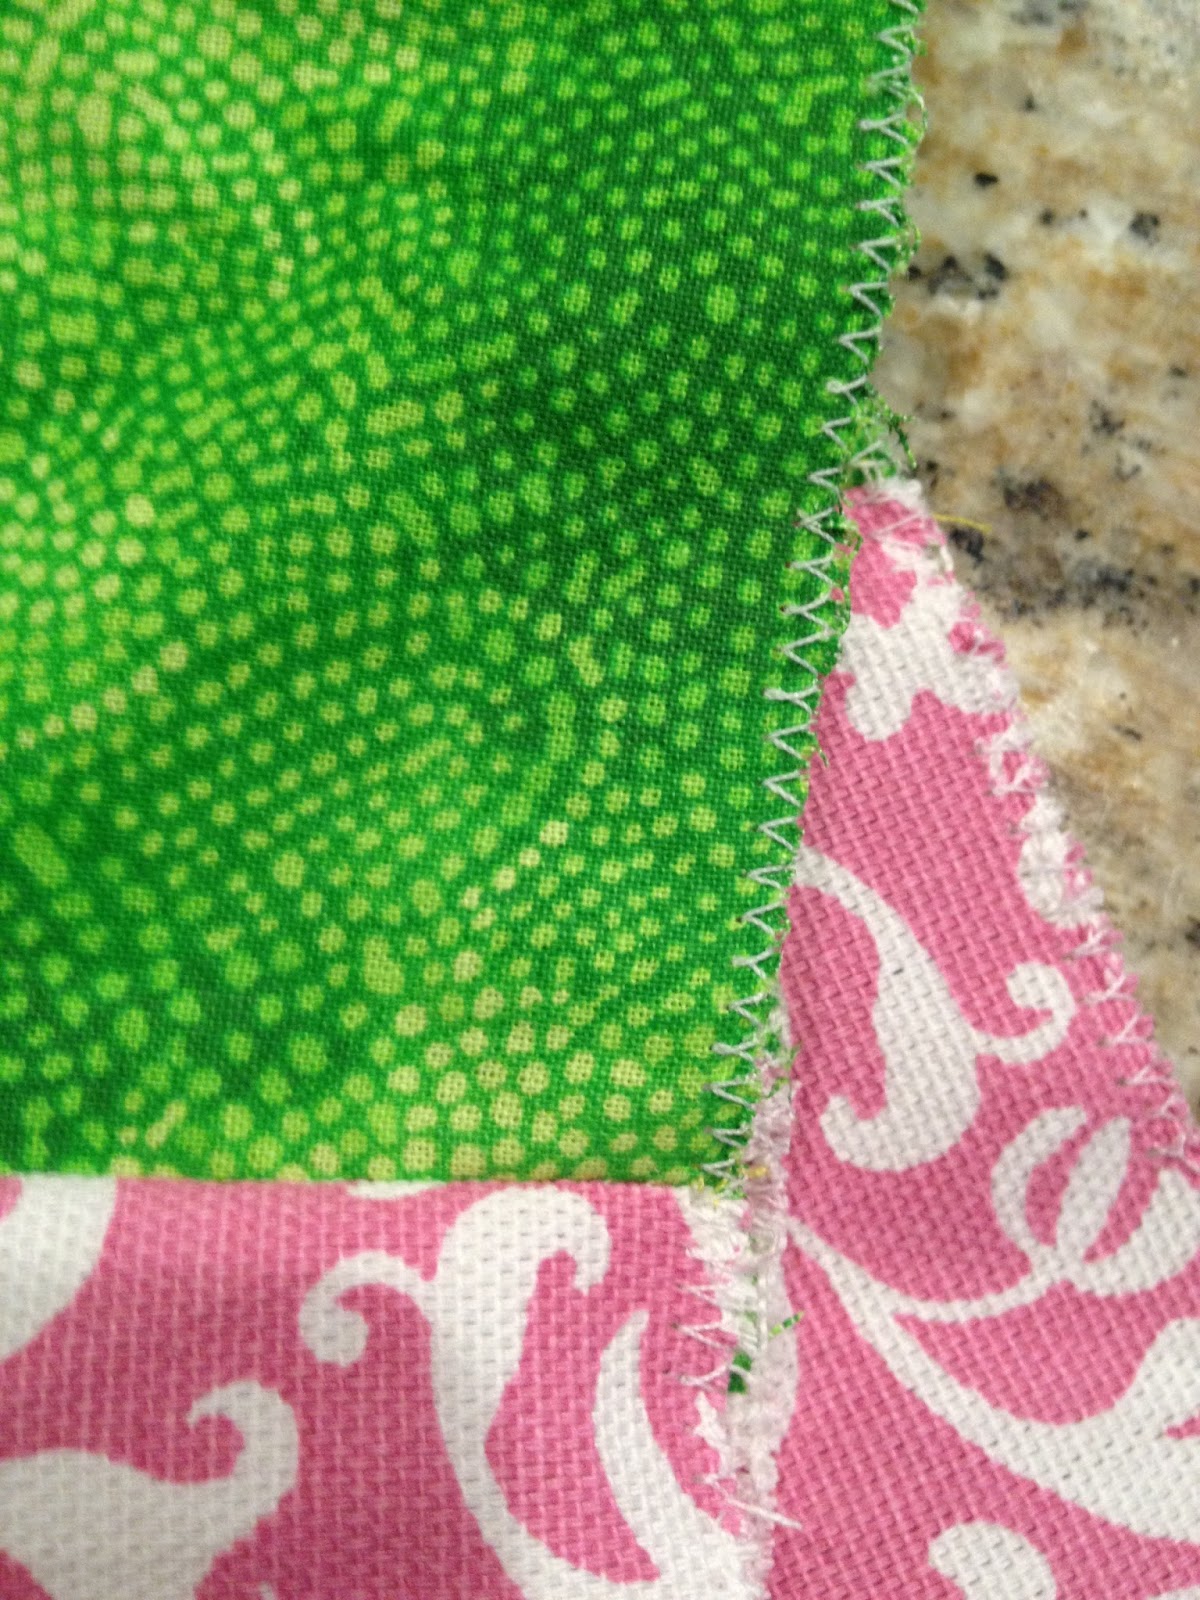
    Serge or zig zag all ends of each of your 4 strips so as to prevent fraying. Iron down your seams.

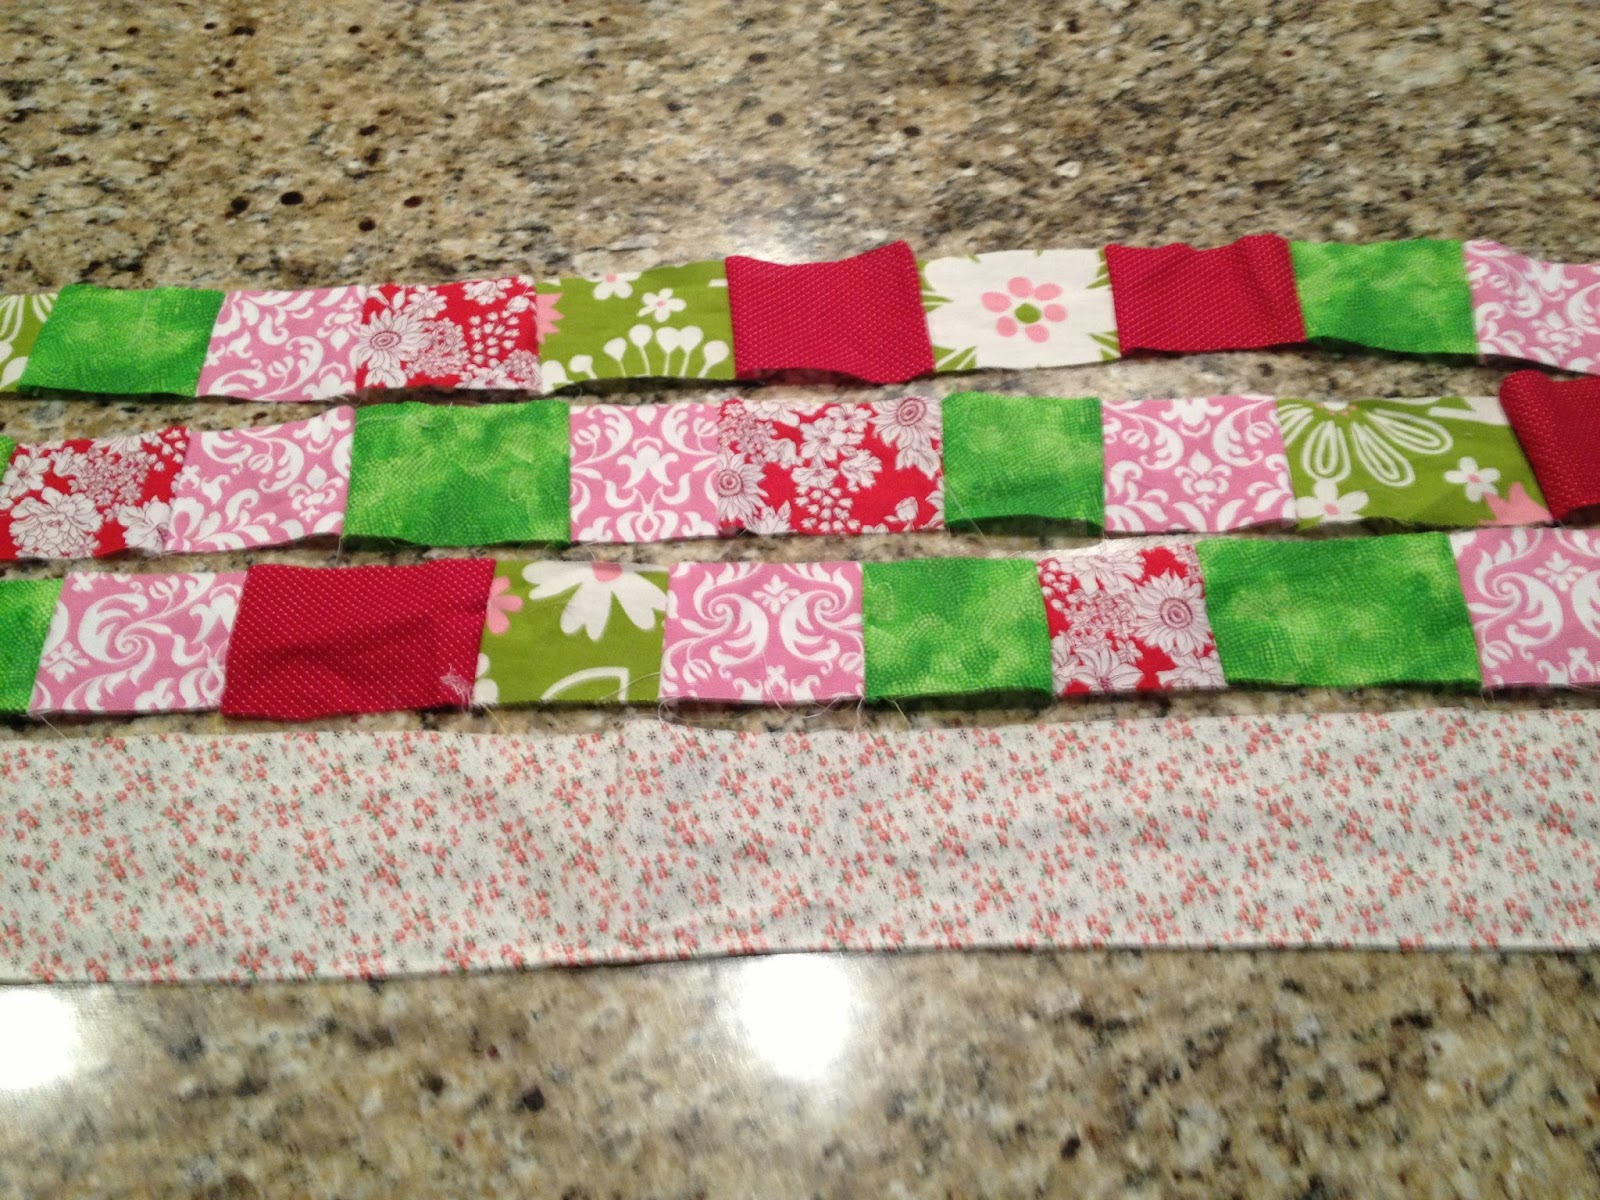
    Now its time to gather! Slightly gather your two middle strips and the bottom strip on one side of each strip. Remember to barely gather the fabric to create a small gathering effect. If you need to learn how to gather, this video is great. Here is what I mean by slightly gathering the strip:

    Now its time to sew the strips together. With right sides together, sew the gathered sides to the ungather side of the neighboring strip. Prior to adding the bottom strip, it will look like this:

    Attach the bottom strip the same way you did the middle strips. Sorry I forgot to take a picture of this. After you have the bottom done, you can trip off any extra outlier fabric that doesn’t line up so that all your trips line up neatly into one large rectangle.

    Now to put on the top elastic: fold the top of skirt, 1/4 inch down and iron all the way around. Then, fold another 3/4 inch and iron all the way around. Stitch all around the skirt leaving a 3 inch opening. Pull through your elastic with a safety pin. Sew the ends together and close the 3 inch opening.

    That’s it! Done. I think I may style my daughter in some cute tights or leggings with this skirt for the fall.

    « The Everyday Bag with Free Pattern
    The Reversible Hobo Bag »


    Welcome

    Hi there! Thanks for visiting my creative corner. I am a DIY enthusiast and single mom to a little girl and a slobbering dog. I enjoy my full time job as a research scientist during the week but like to experiment on sewing and crafty projects on the weekends. Join me as we explore the beautiful world of fabrics together. Read More…

    Craftsy

    Fat Quarter Shop Quilting Fabrics and Supplies

    • Home
    • About Me
    • Tutorials
    • Free Sewing Patterns
    • Shop
    • Roundup
    • Contact

    Copyright © 2025 · Refined theme by Restored 316