The Stitching Scientist

  • Home
  • About Me
  • Tutorials
    • Bags
    • Children
    • Women
    • Home
  • Free Sewing Patterns
    • Bags
    • Children
    • Women
    • Quilts
    • Home
  • Shop
    • Sale
    • Essentials
    • Flash Sale
    • Kits
    • Sewing Gifts
    • Pre-cut Fabric
    • Sewing Patterns
  • Roundup
  • Contact

Free baby dress pattern

Baby· Children· Dresses· Free Pattern

12 Aug

I love making baby dresses. They are fun to make, takes just a small amount of fabric and always turns out super cute. Here is a simple design I made in size 0-3 months. It took about 2 hours and cost around $5 for all the material. I found this pretty birds fabric at fabric.com. I hope you guys enjoy this free baby dress pattern! I think I should call it a Rickety Rac Dress.

 Here is what you need
1/4 yard main fabric
1/4 yard lining
2.5 yards ric rac
Coordinating thread

The Bodice

You can download the pattern here. This pattern is for 0-3 months and has built in seam allowance of 1/4 “. After you print out the pattern ,cut out all your fabric for both lining and main fabric of the bodice. You should end up with a set looking like the image below for the bodice.

Take your main back pieces and sew with right sides together to the shoulders of the main front pieces. Do this for the lining also. You will have one set for the main and one set for the lining when completed.

Now take both sets and line them up with right sides together. Sew the lining and main fabric together following the diagram below. Basically, you are sewing all ends except the side arm area.

After you sew the lining and the main fabric together, turn it inside out and iron out all seams.

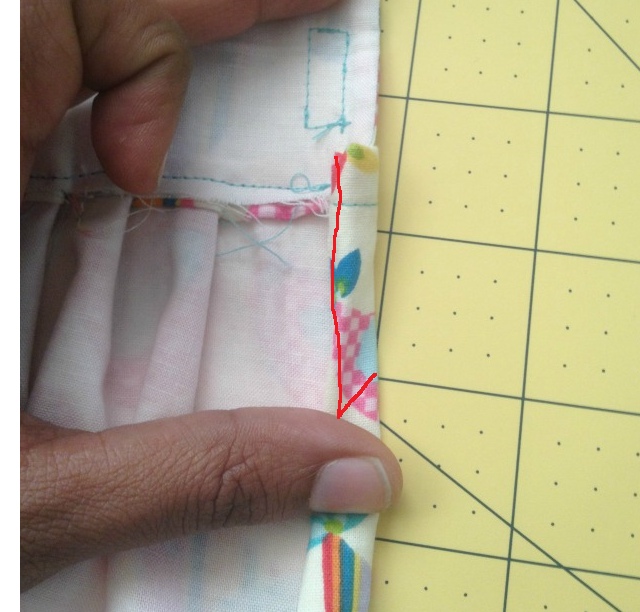
Now for the arm areas: take the lining pieces and fabric pieces and sew together with right sides facing each other. You can follow the red line in the diagram below.

Iron out the seams and zig-zag the bottom of the bodice all the way around. I like to sew my button holes at the back after this stage, so you can go ahead and do that now or wait until the dress is completed.

  The Bottom Body

You will need two pieces, one for the lining and the other for the main fabric. Cut out the main fabric at 10″ wide x 40″ length. For the lining, keep the length the same but increase the width to 12″.
When you have both pieces cut out, hem both pieces by folding the bottom 1/4″ and another 1/4″and sewing all the way around. Once you have both pieces hemmed, you can start putting on the ric rac. I know there are several methods to put on ric rac but this is what works for me: with right side of the fabric facing up, slide ric rac under the fabric so that half of it is covered. Top stitch all the way to the end.
Oops! I added my ric rac on the outside of my lining body piece instead of tucking it under the right side.

Oops!!! For my lining, I mistakenly add the ric rac on the wrong side so the entire ric rac was facing out at the end. Be careful not the make this mistake. I didn’t think it looked that bad, so I left it for this dress.

Once you have your ric rac done, line up lining fabric under the main fabric. Fold both in 1/2″ and then another 1/2″ and sew all the way around. Its like hemming but with two pieces instead of one.

To connect the bottom body piece to the bodice, line up your bottom body piece which is your lining and main fabric sewn together, as seen above, to your bodice. The right side of the bodice will be facing the wrong side of the bottom body piece. You will want to start from the back of your bodice piece.

Leave about 1 inch out as seen above. This will come into play when you connect your two ends of your body pieces together.

Pin the end 1″ out to the bodice and start folding in 1/2″ increments all the way around. If you don’t like pinning, you can fold in 1/2″ increments as you sew around the bodice piece.

Sew all the way around, removing your pins as you go. Its best to go really slow for this step so that you get all your folds lined up nicely.
When you reach the end, fold it in 1/4″ and then another 1/4″ and iron all the way down. If you end up with a lot of extra fabric when you come around the bodice, just cut it off leaving 1/2 “. Once you have one side folded, sew down about 2 inches and then a diagonal to the end. See red illustration below.
Do this for both ends of your body fabric. You can then sew the two ends together with right sides facing each other all the way down to the bottom.
 If you didn’t sew on you buttons or do button holes, now would be the time to finish those.
If you want to embellish the dress, you can add a flower to the middle. It just gives it a little extra cuteness:-)

« The Reversible Hobo Bag
The Simple Clutch Tutorial with Free Pattern »


Welcome

Hi there! Thanks for visiting my creative corner. I am a DIY enthusiast and single mom to a little girl and a slobbering dog. I enjoy my full time job as a research scientist during the week but like to experiment on sewing and crafty projects on the weekends. Join me as we explore the beautiful world of fabrics together. Read More…

Craftsy

Fat Quarter Shop Quilting Fabrics and Supplies

  • Home
  • About Me
  • Tutorials
  • Free Sewing Patterns
  • Shop
  • Roundup
  • Contact

Copyright © 2023 · Refined theme by Restored 316